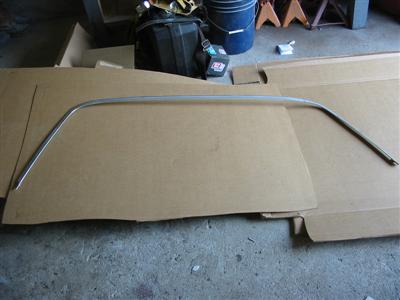
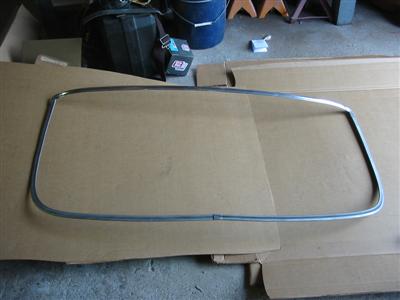
| Here is the front and rear windshield trim before they were painted with SEM Trim Black. |
|
|
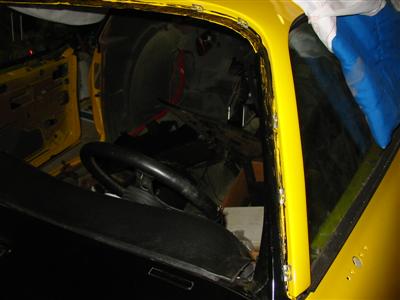
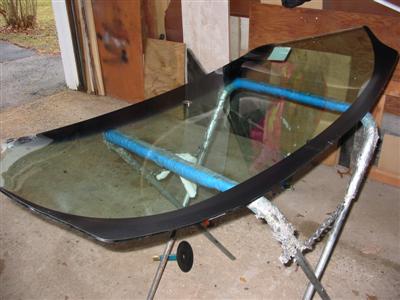
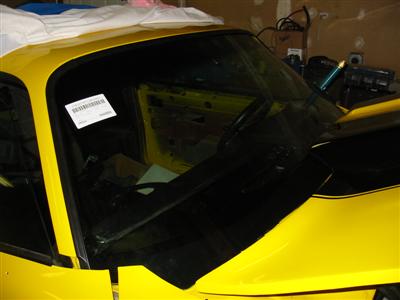
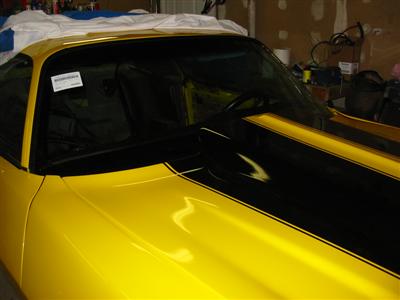
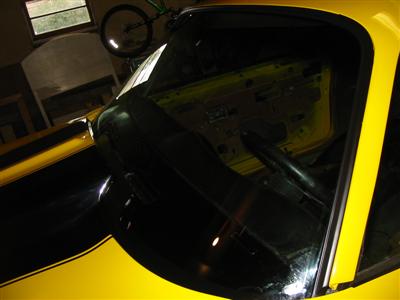
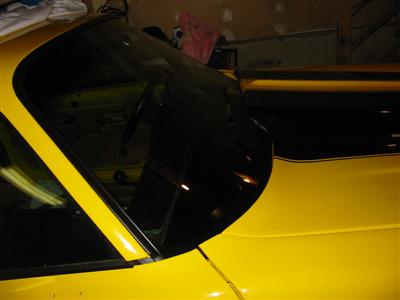
| I had someone install the windshield and back glass. The installation person first put
primer down on the channels then used urethane to seal the windows in place. After
the glass was installed, I then installed the black window trim. |
|
|
|
|
|
|
| Here is the rear backglass installed. |
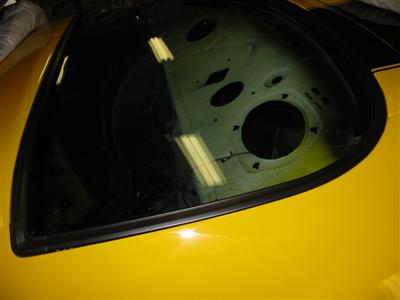
|
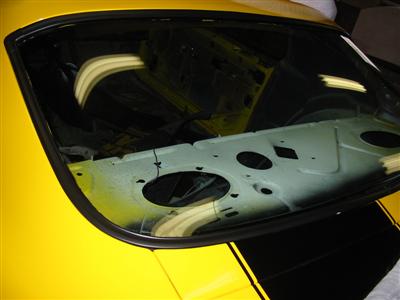
|
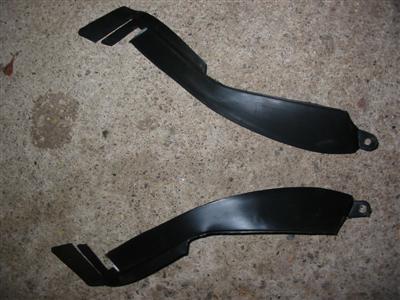
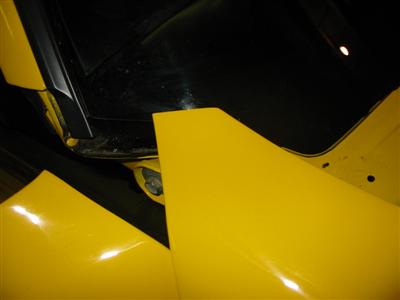
| Once the windshield and trim was installed, I installed the lower window trim pieces.
This is a part that was missing on my car for as long as I owned it. |
|
|
|
|
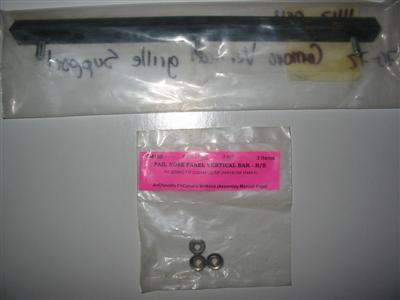
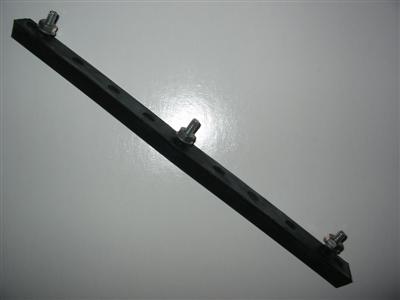
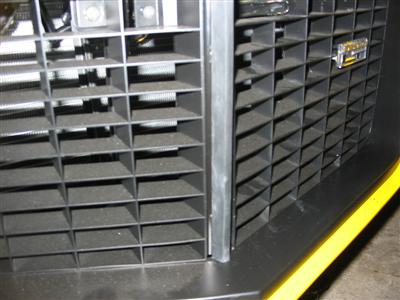
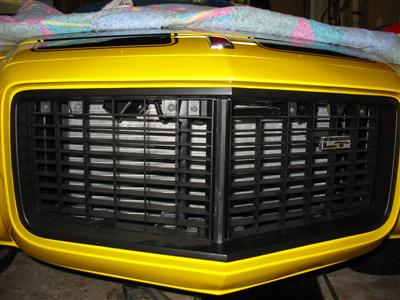
| Here is the installation of the vertical grille support. |
|
|
|
|
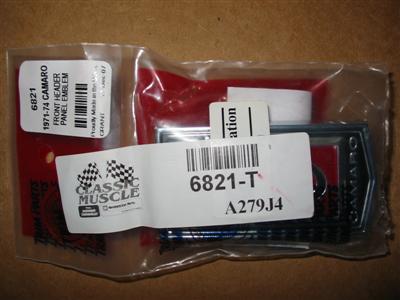
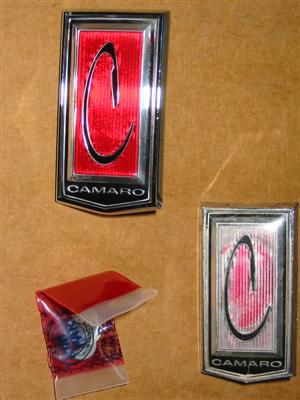
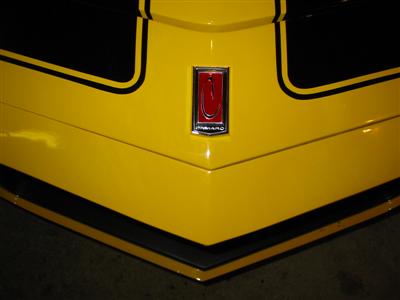
| Here is the installation of the front Camaro emblem that goes on the header panel. I needed
a new one since the orignal was faded. |
|
|
|
|
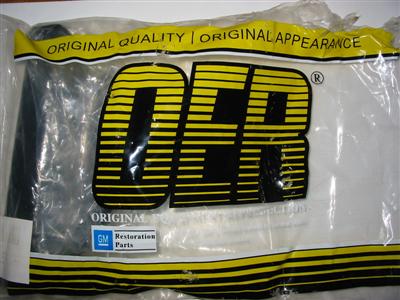
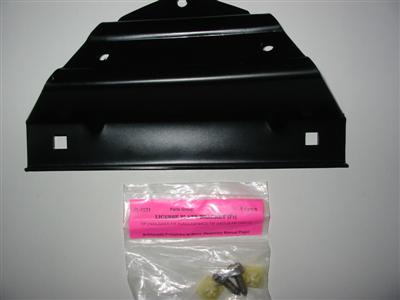
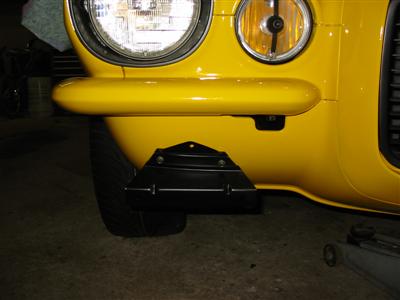
| Here is the installation of the front license plate bracket. Unfortunately, my state
requires a front license plate so I needed to buy and install the bracket. |
|
|
|
|
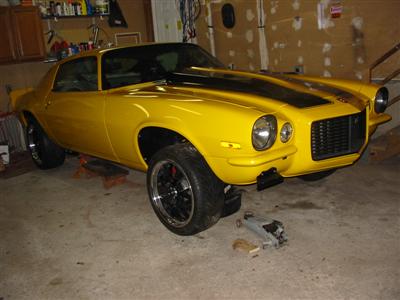
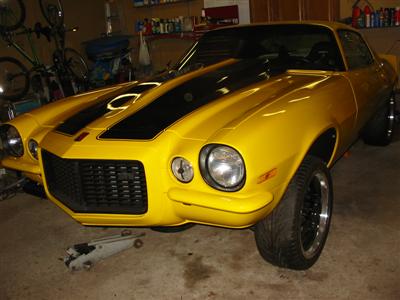
| Here are a few shots of the front of the car. |
|
|
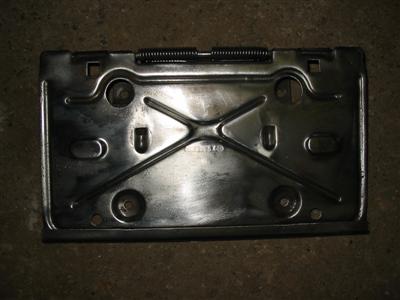
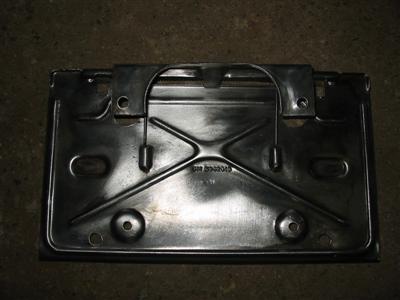
| I next installed the rear license plate bracket. I first stripped the bracket to bare
steel. |
|
|
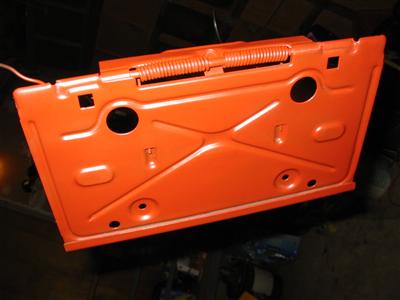
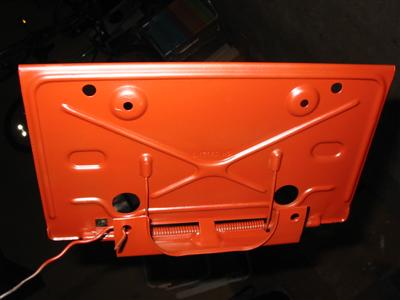
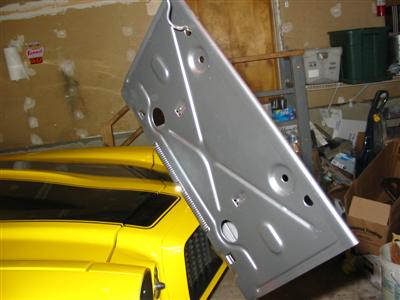
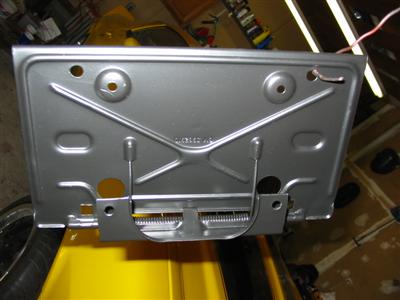
| I then primed the rear license plate bracket and coated it with Trim Black |
|
|
|
|
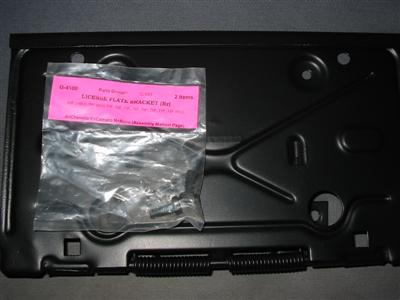
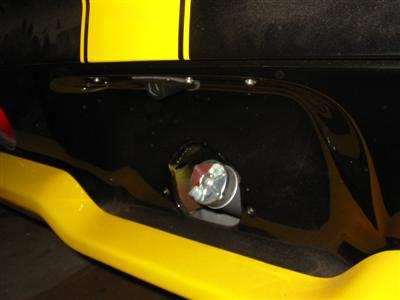
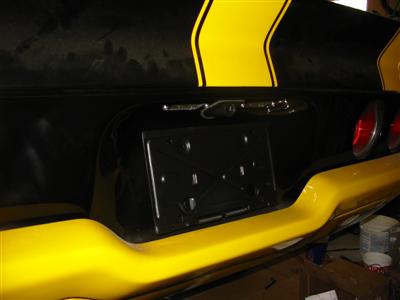
| I then installed the newly painted rear license plate bracket. |
|
|
|
|
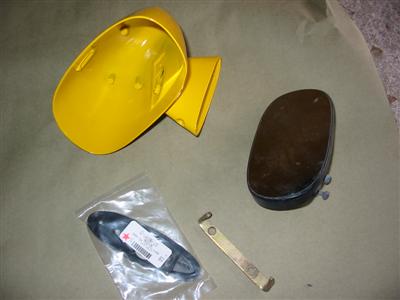
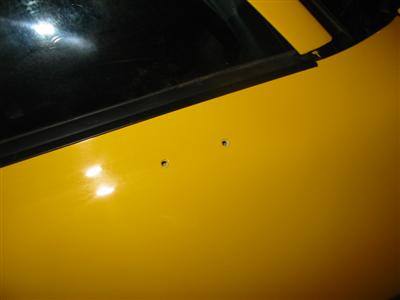
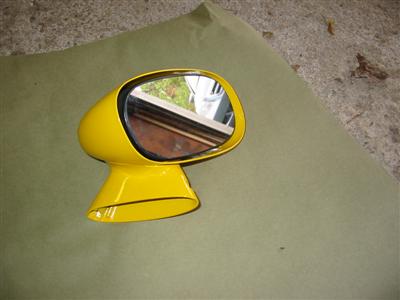
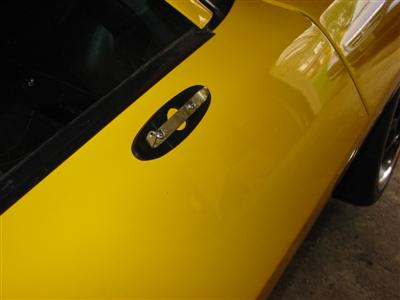
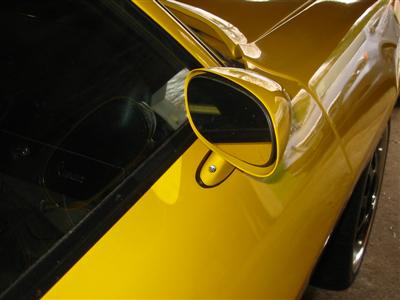
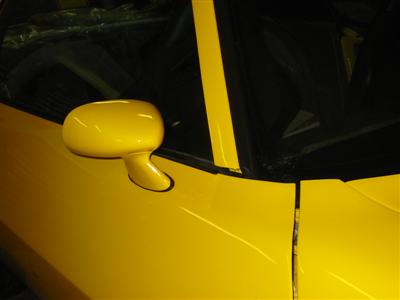
| Here is the installation of the passenger side mirror. |
|
|
|
|
|
|
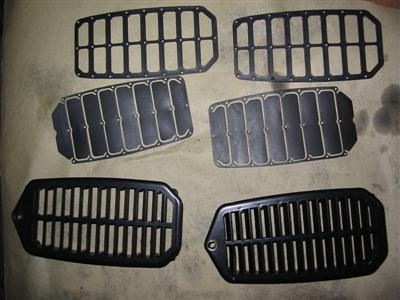
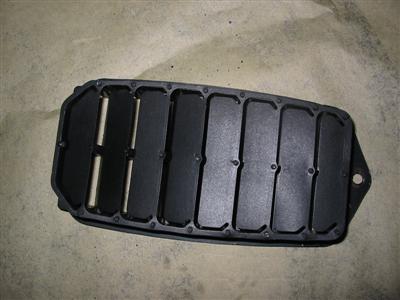
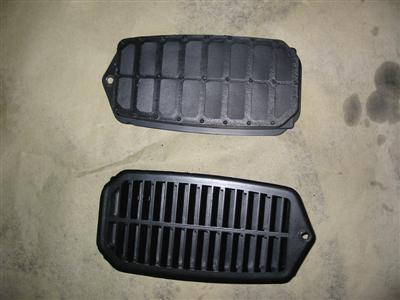
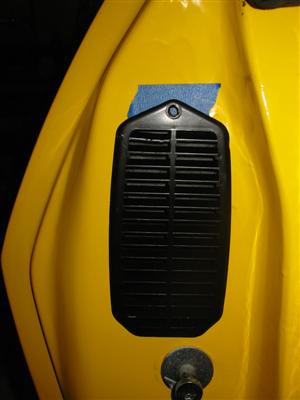
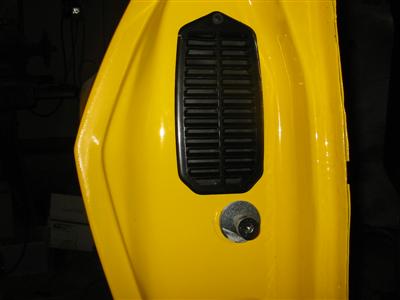
| I also cleaned up and painted the door vents. I was able to dissamble the pieces which made
cleaning and painting easier. |
|
|
|
|
|
|
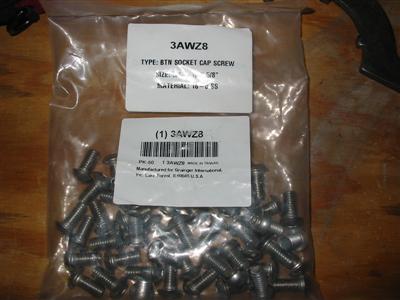
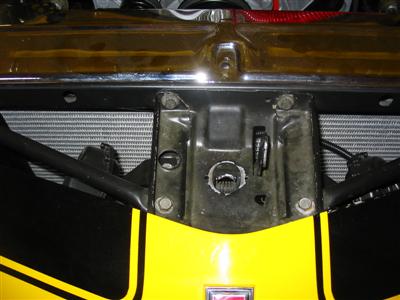
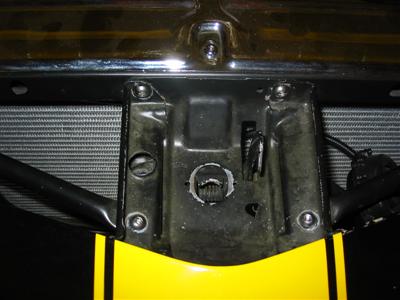
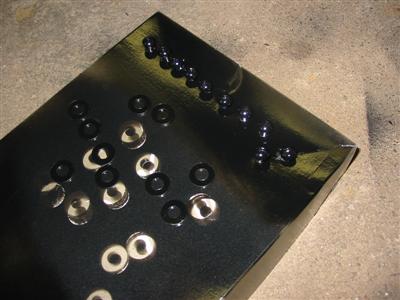
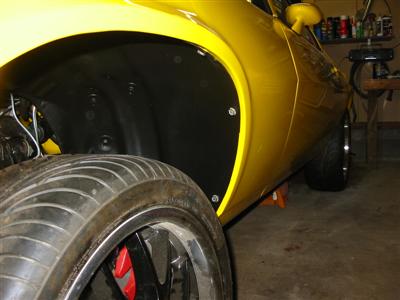
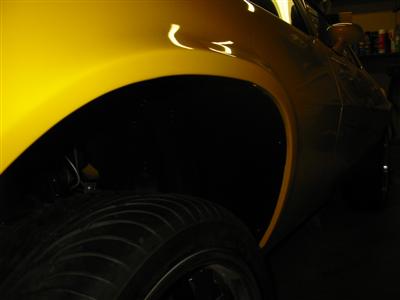
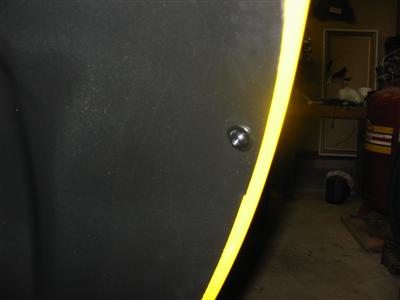
| Lastly, I purchased a bag of stainless steel button head bolts to replace some of the
underhead bolts and the front wheel well liner bolts. These bolts look nicer than the
factory bolts and give a little more clearance. I decided to paint the wheel well
bolts so they would blend in better. |
|
|
|
|
|
|
|
|
