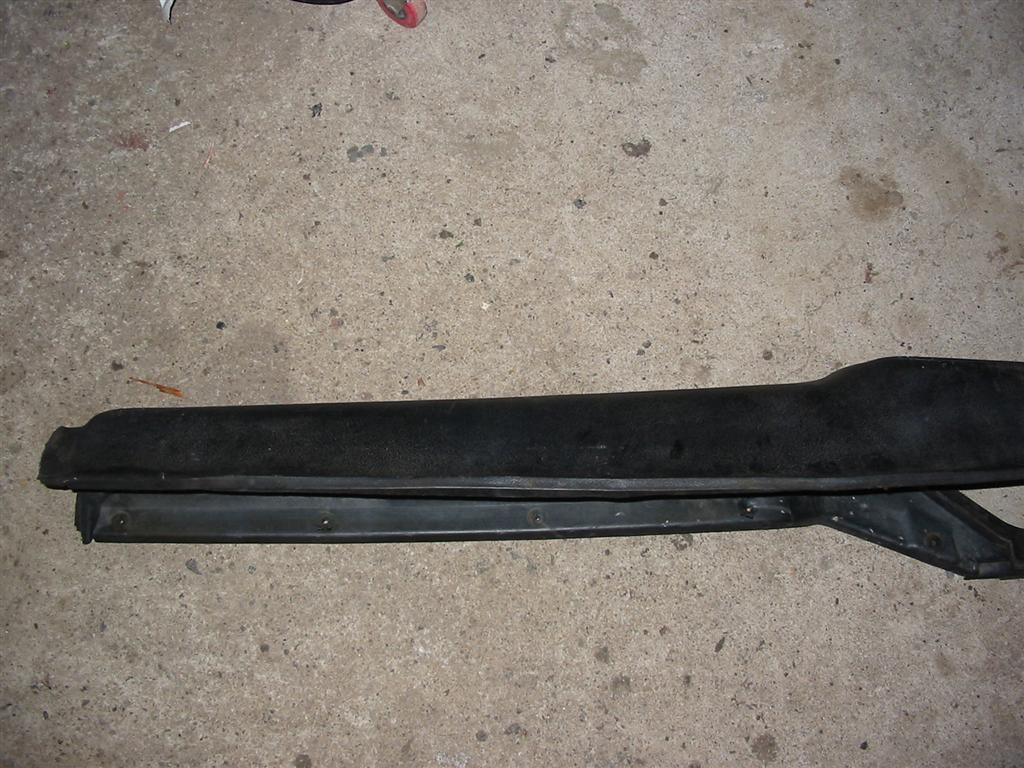
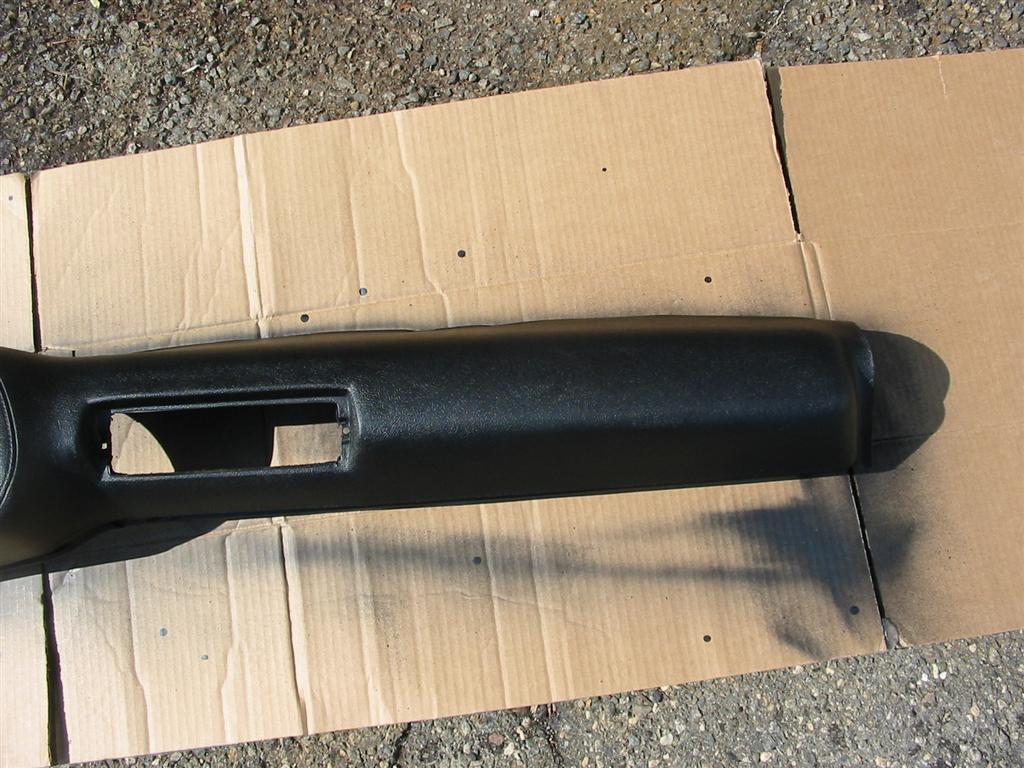
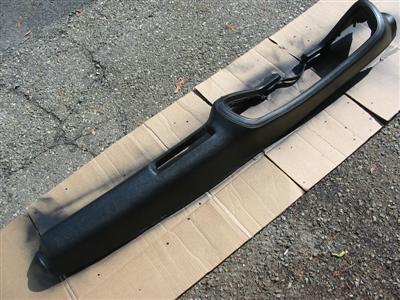
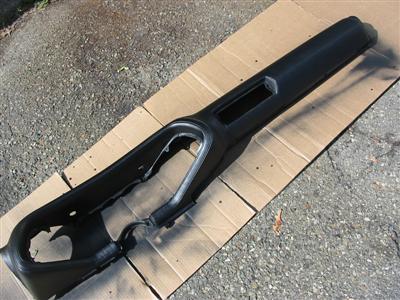
| Here is the dashpad. Notice that there is some of the dreaded curl that is common for these old dashpads.
This is a picture of it repaired the best that I could. |

|
|
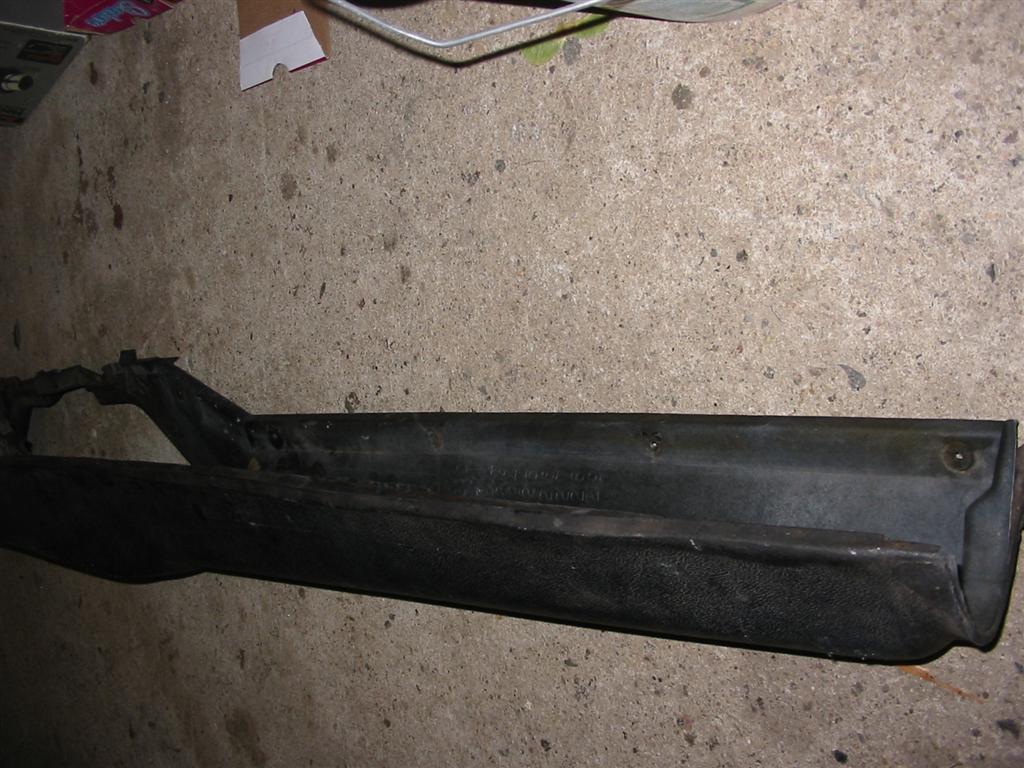
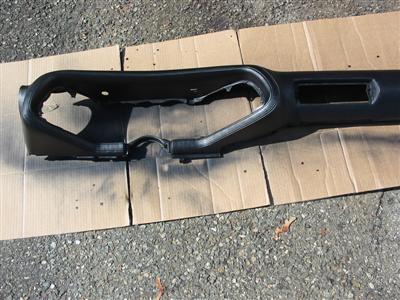
| Here is the dashpad stripped and ready for paint. |

|
|
|
|
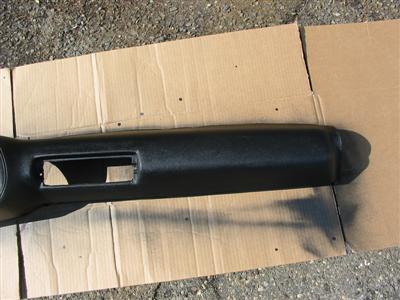
| Here is the dashpad coated with the black vinyl dye applied. |
|
|
|
|
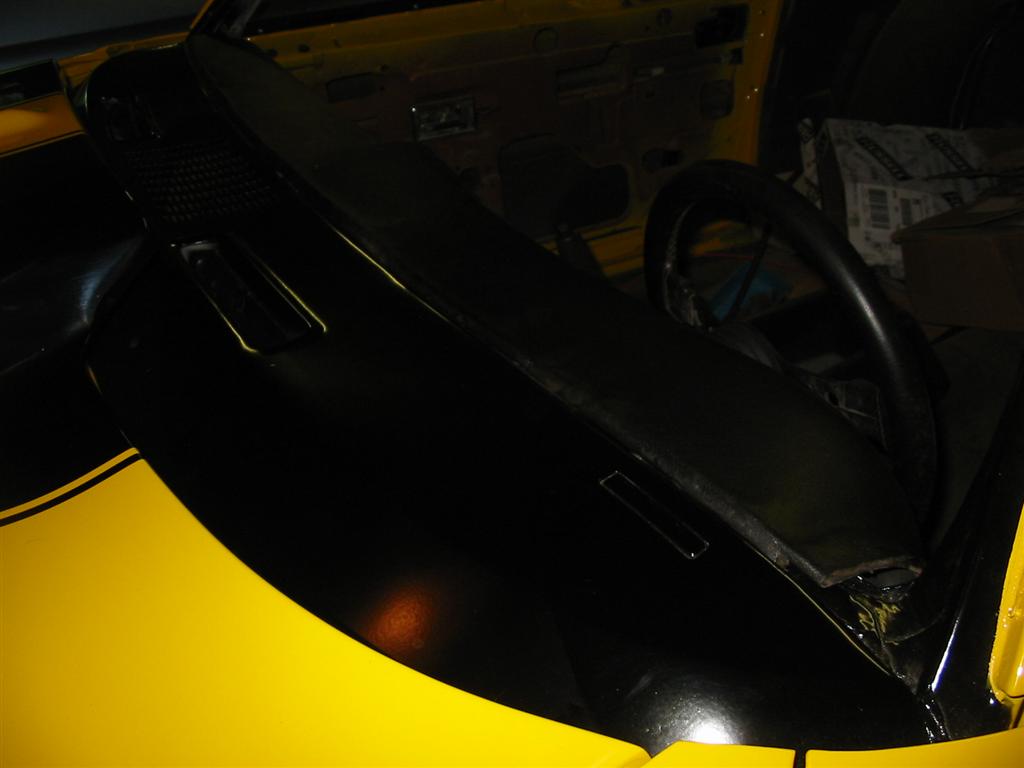
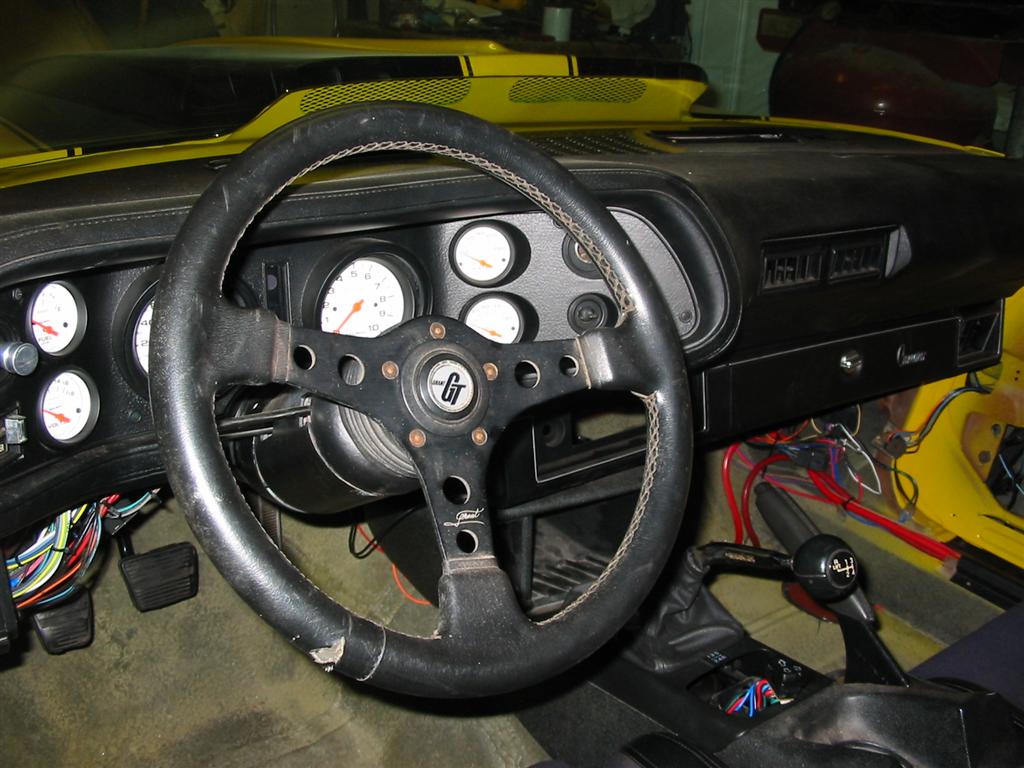
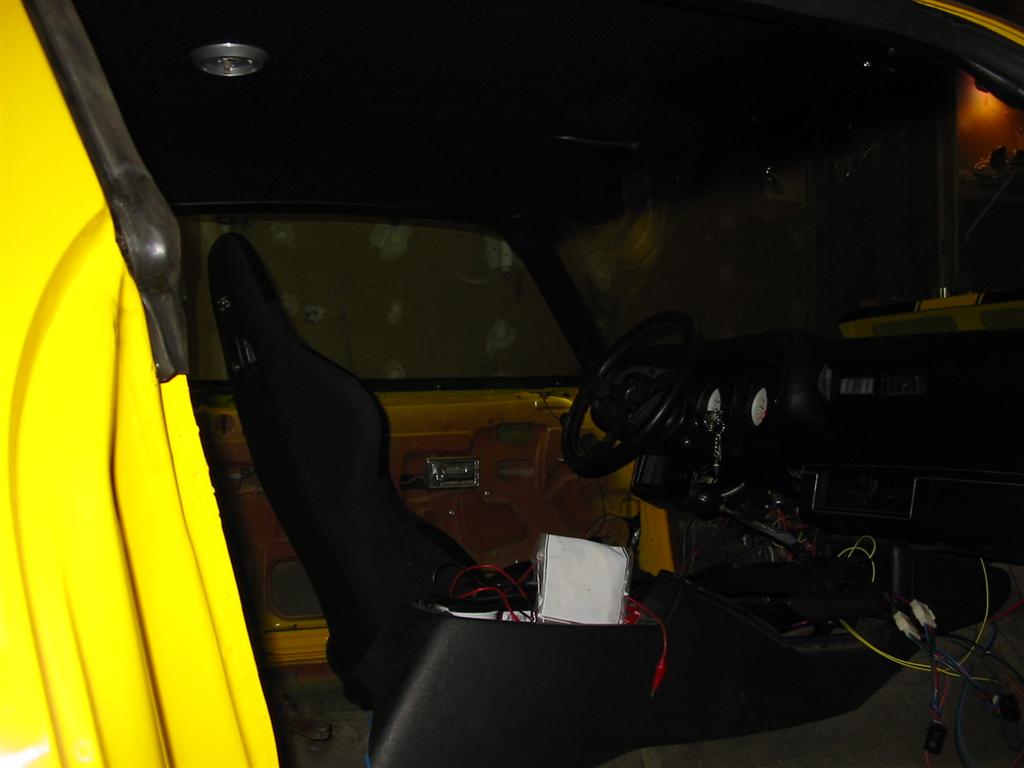
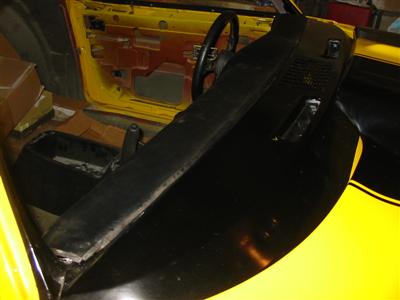
| Here is the dashpad installed. The flash makes the pad look worse than it really is. |
|

|
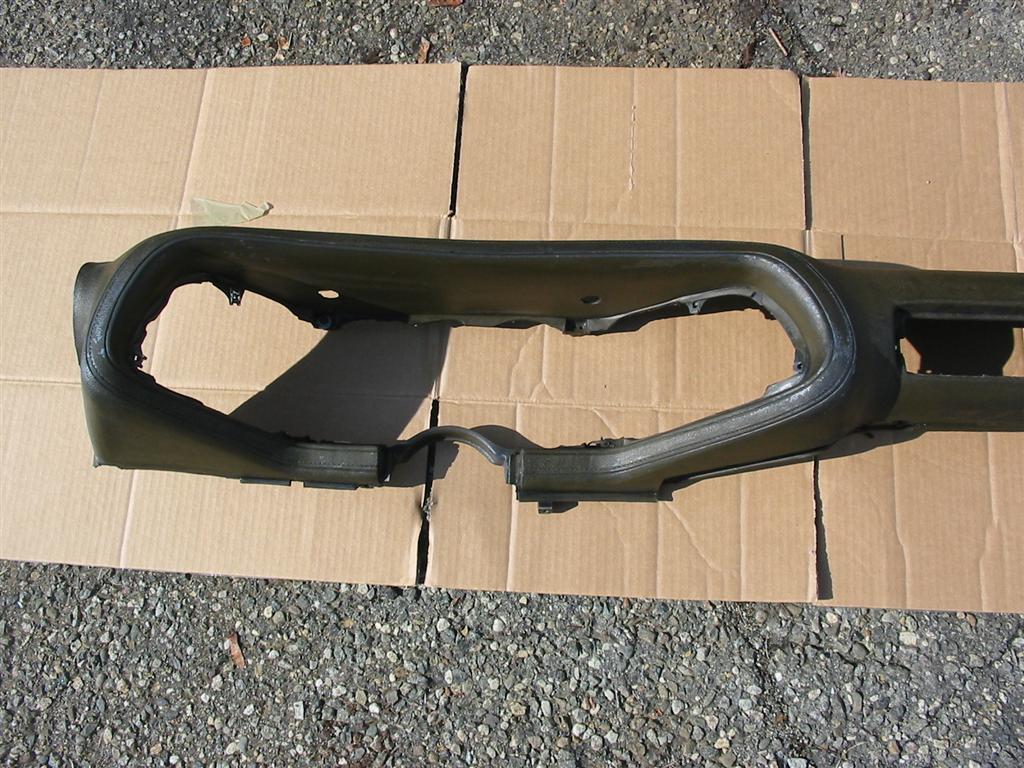
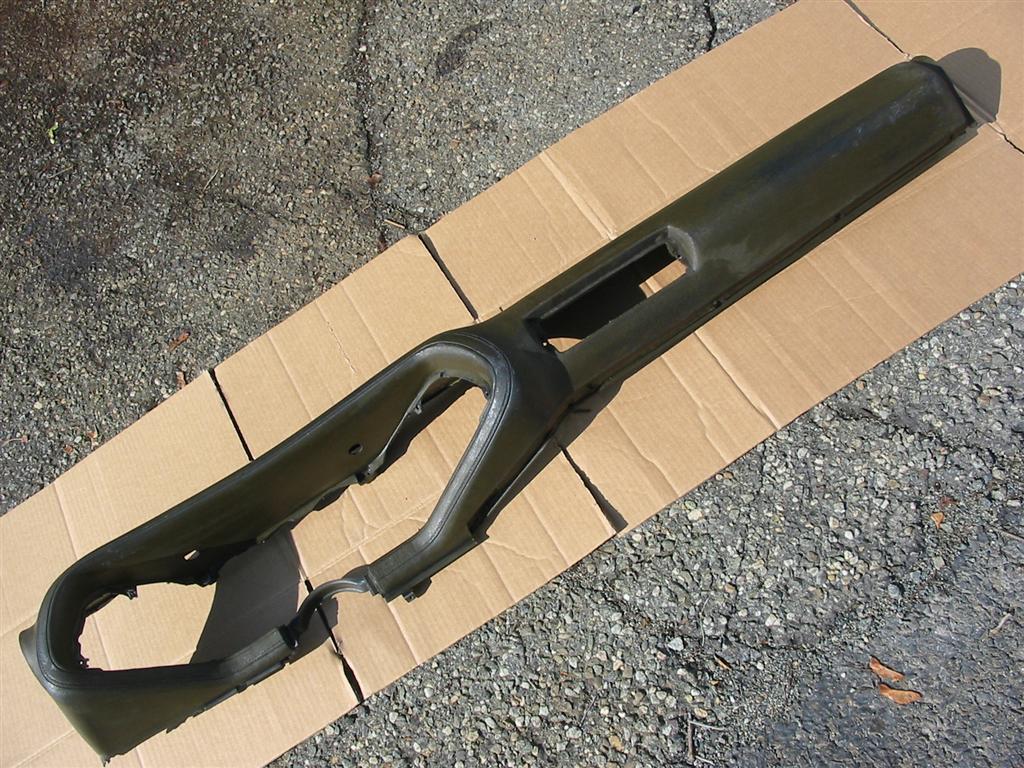
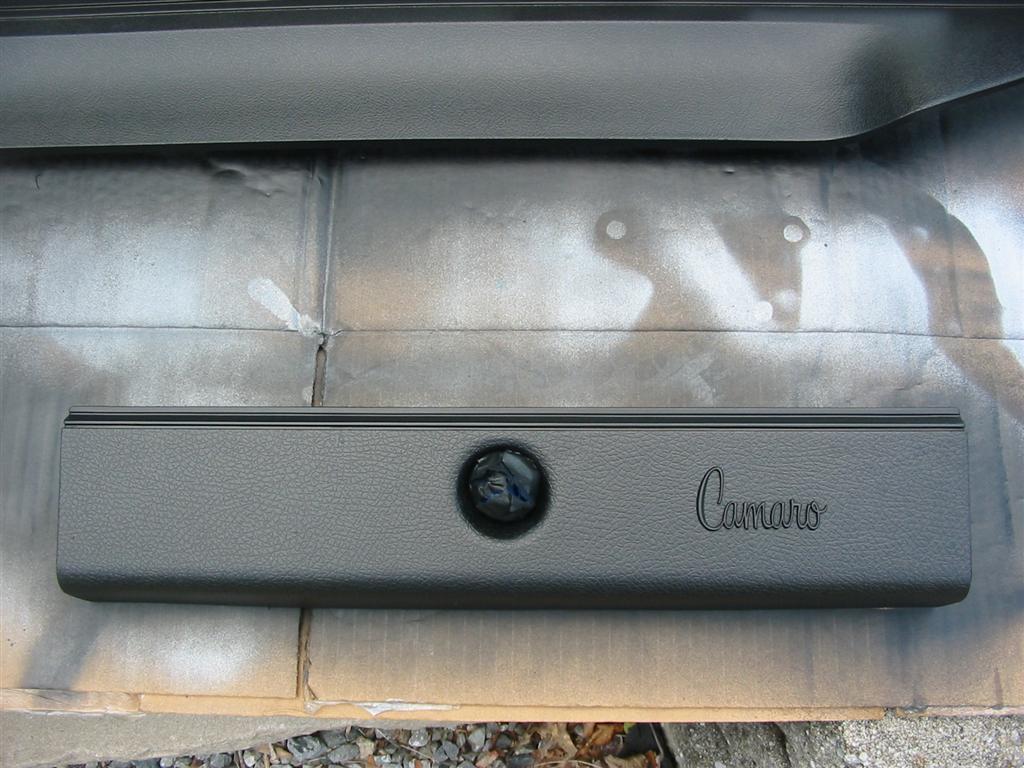
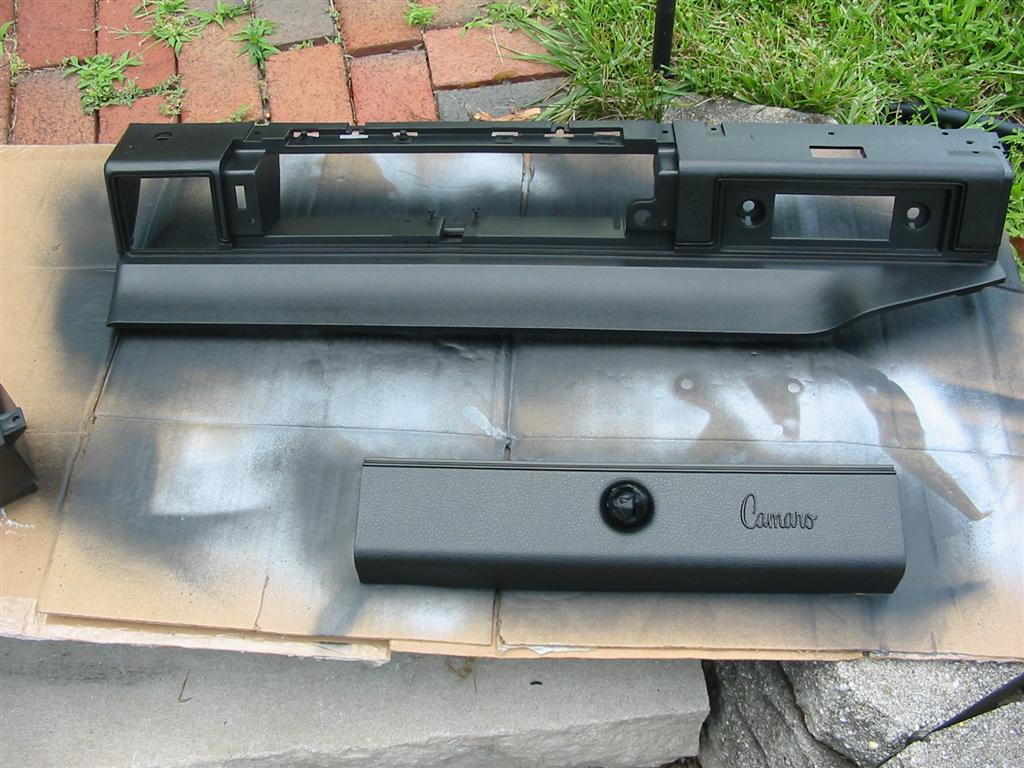
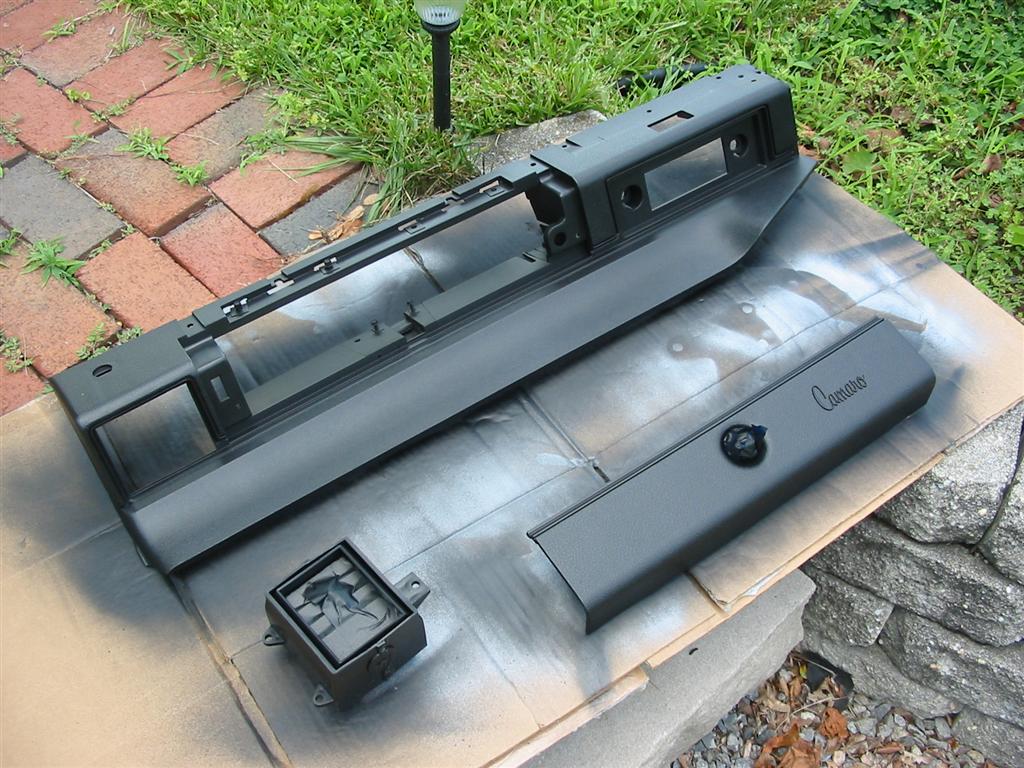
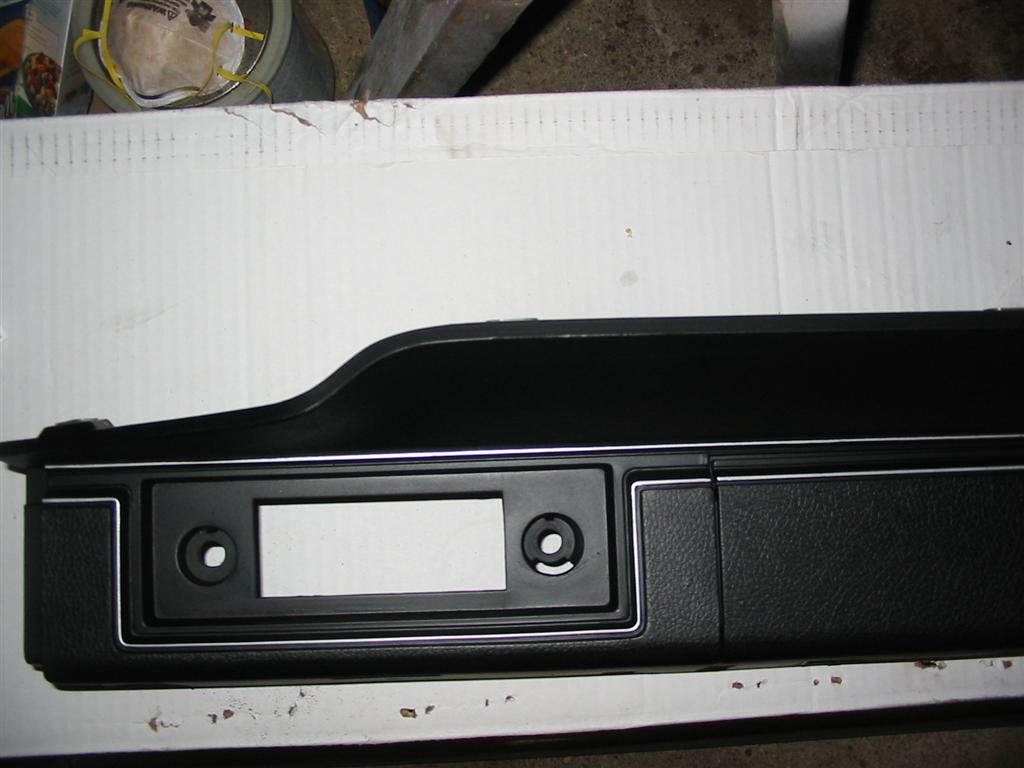
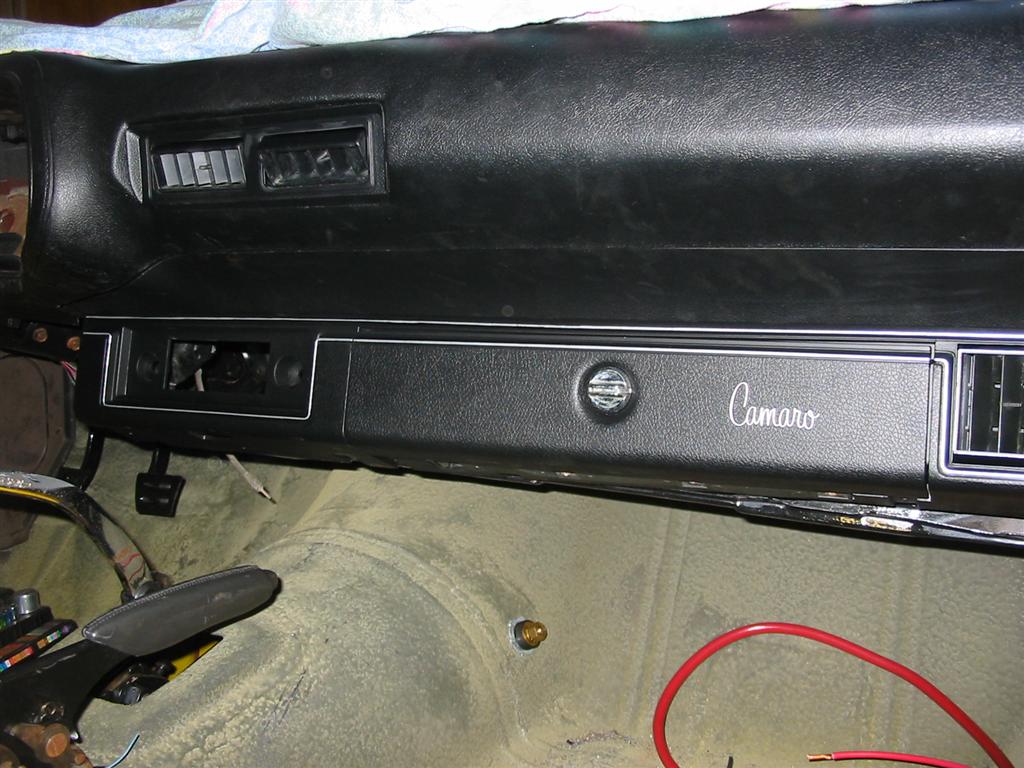
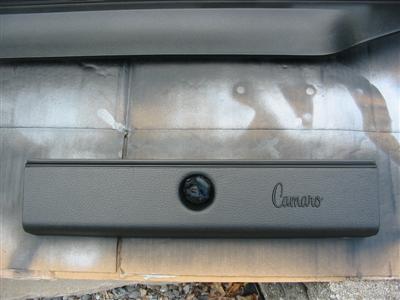
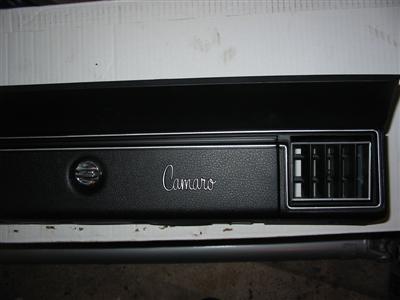
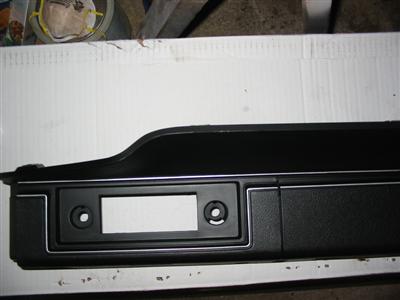
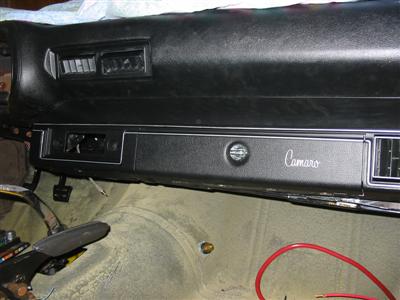
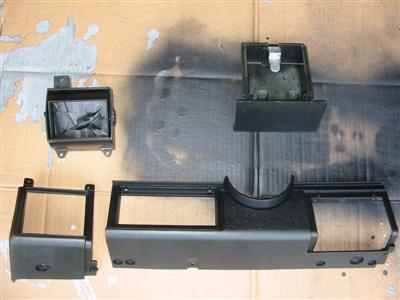
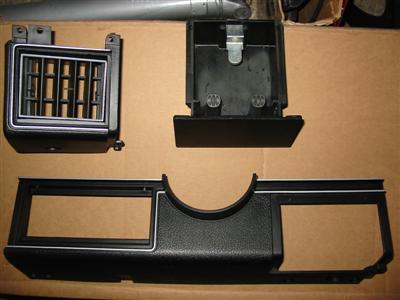
| I also used the black vinyl dye on the lower dash panels. |
|

|
|

|
| I then used a silver paint pen to repaint the raised areas silver on the lower dash pieces. I then
installed the right lower dash and glovebox. |
|
|
|
|
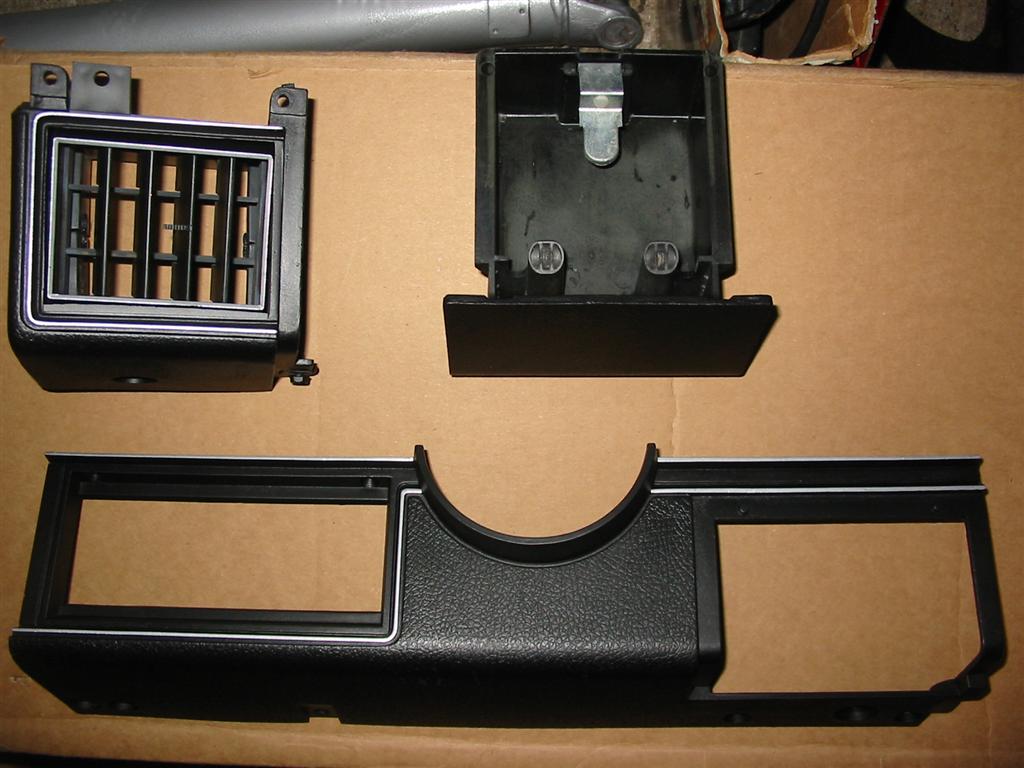
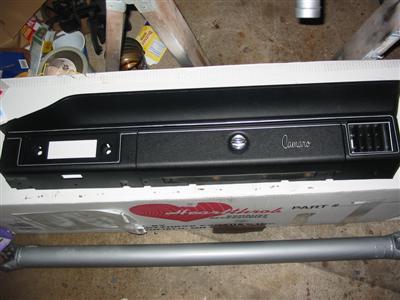
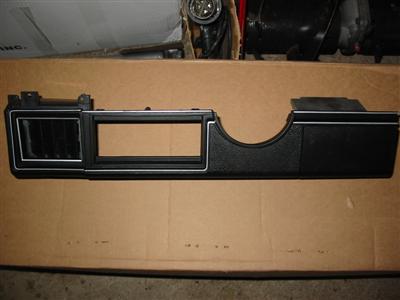
| I then dyed and painted the lower left side dash pieces. |
|
|
|

|
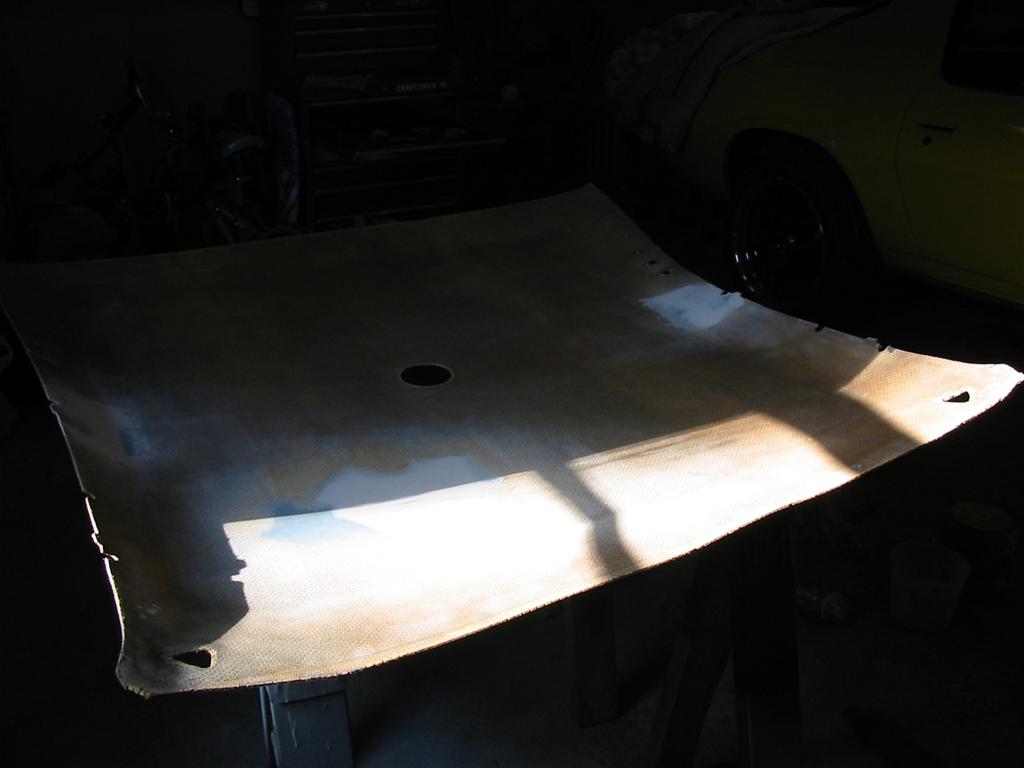
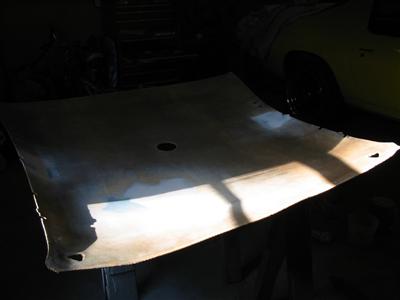
| Here is the backing board for the headliner. I had to repair a few cracks in the board. I used
fiberglass resin and cloth to strengthen the crack and then regular filler to smooth the area
over. I then sealed the filler with an epoxy primer. |
|
|

|
|
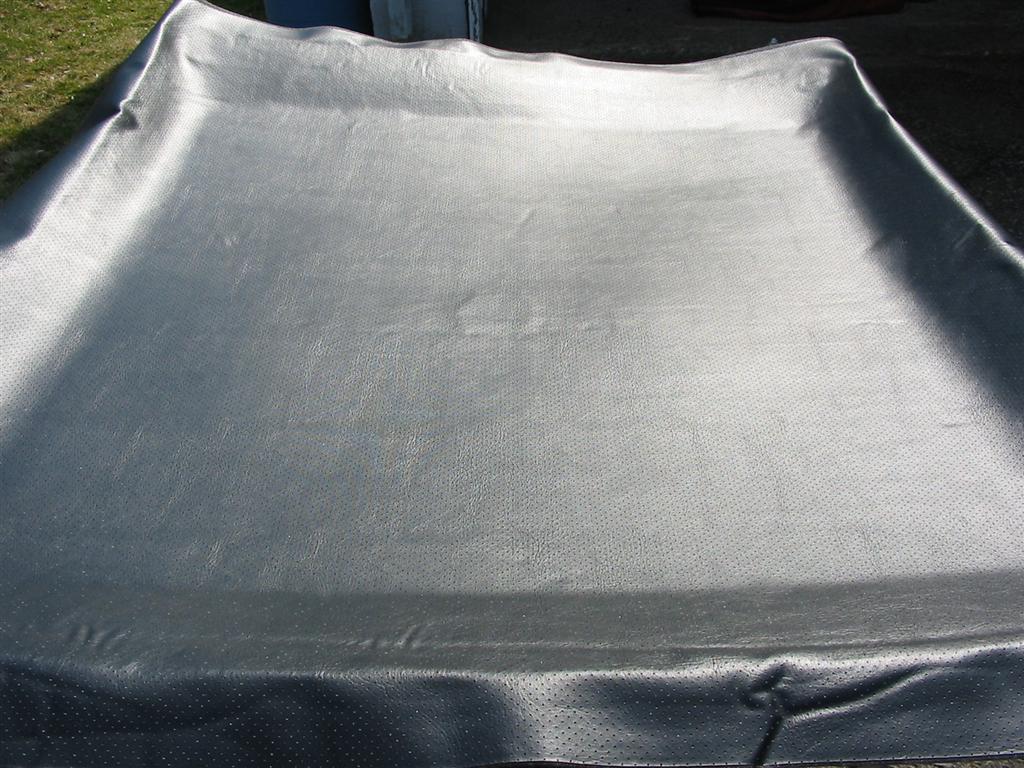
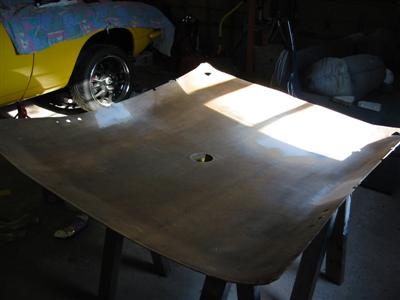
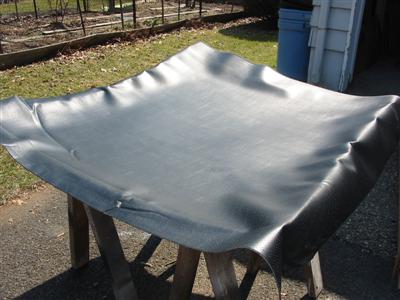
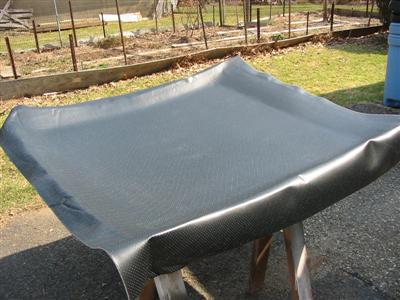
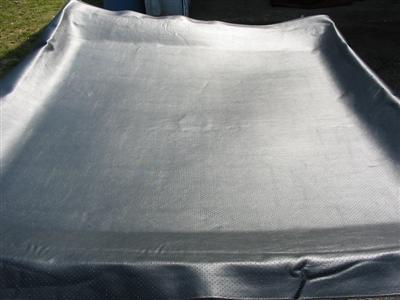
| The next step was to spread the headliner material out and let it sit out in the sun. Sitting in the sun would heat
the material out so the wrinkles would disappear and the material would be easy to work with. I them
sprayed the back of the material and the headliner board with 3M headliner glue. After a few minutes I
installed the material to the board and worked all the wrinkles out. |
|
|
|
|
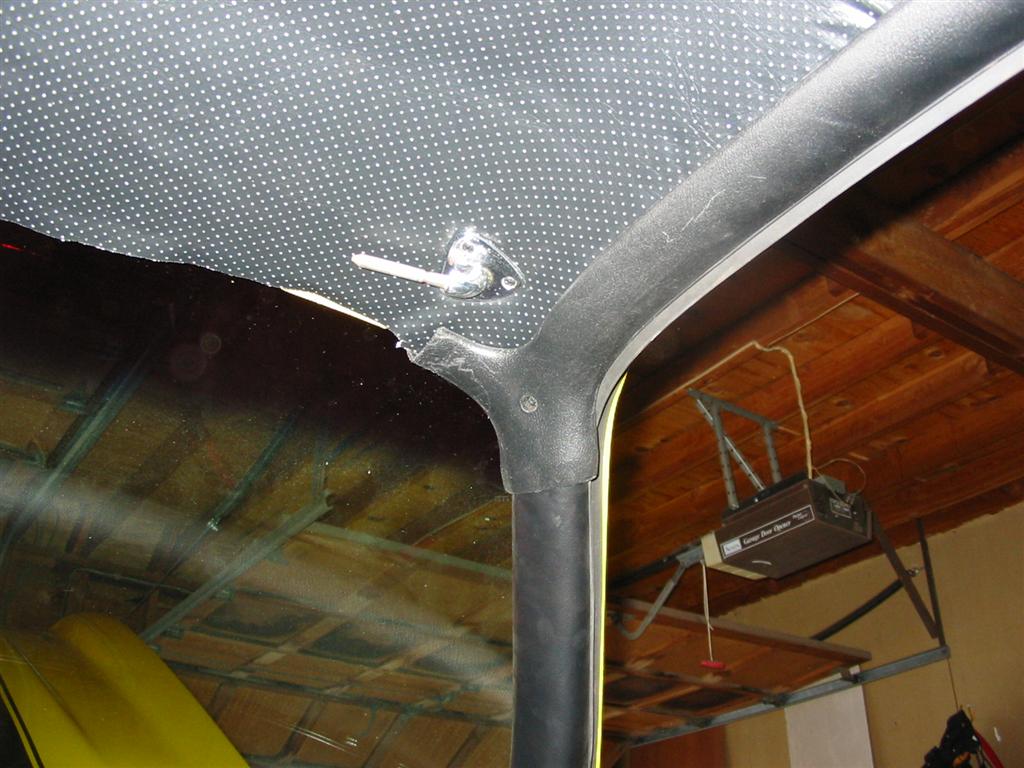
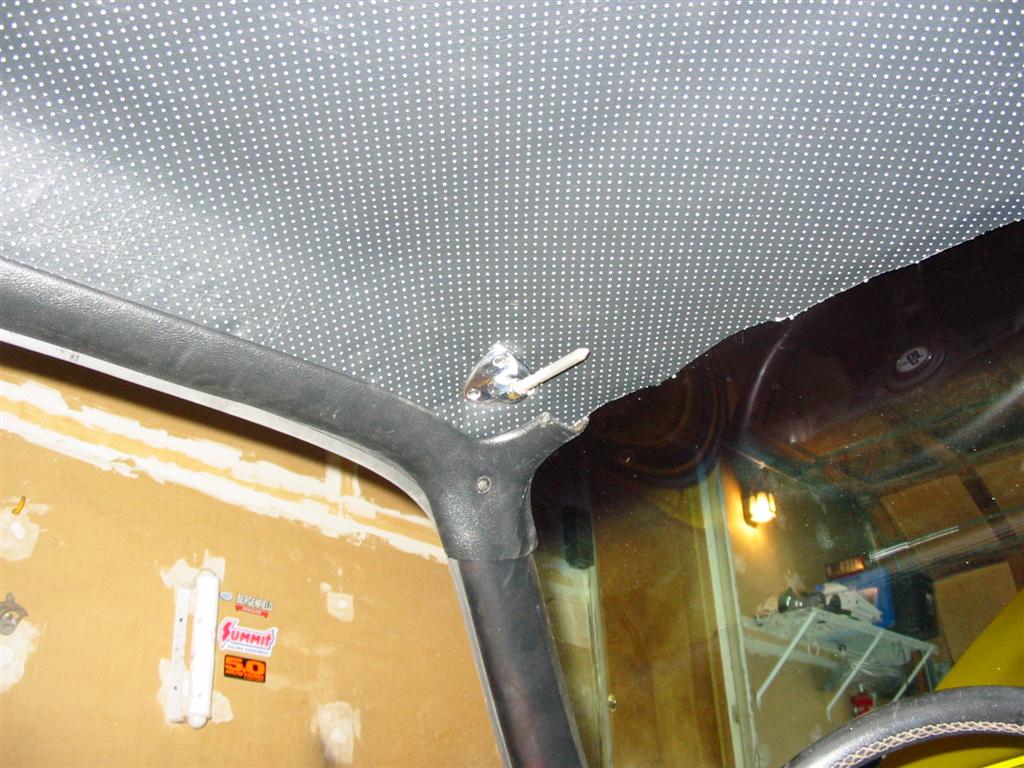
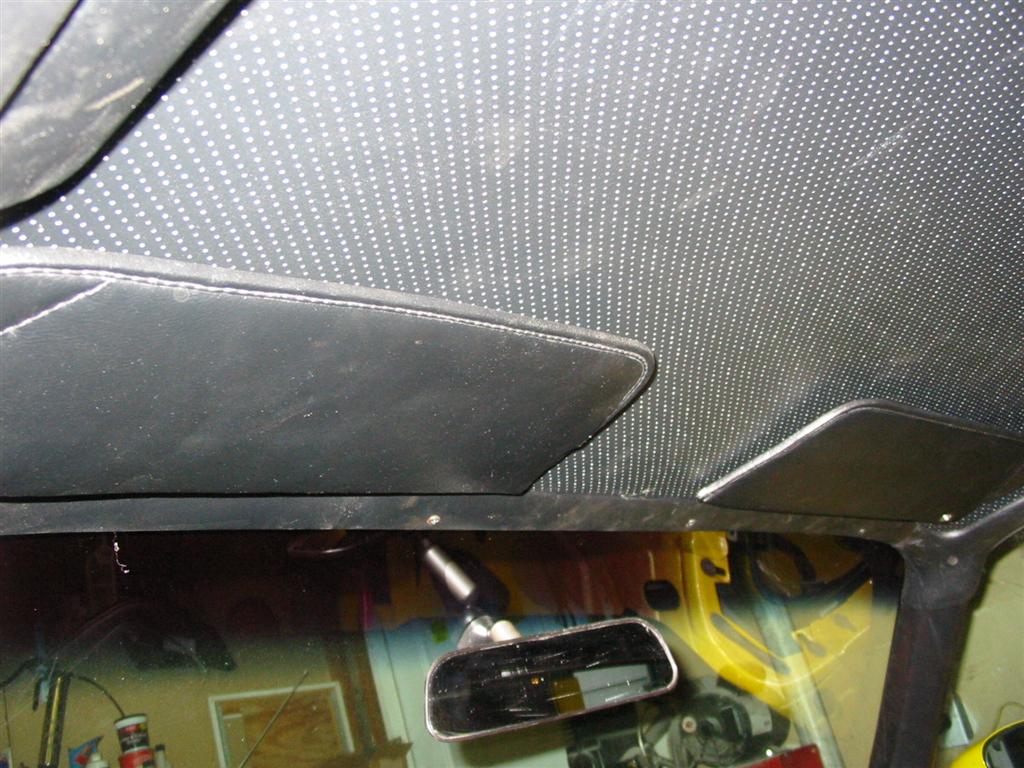
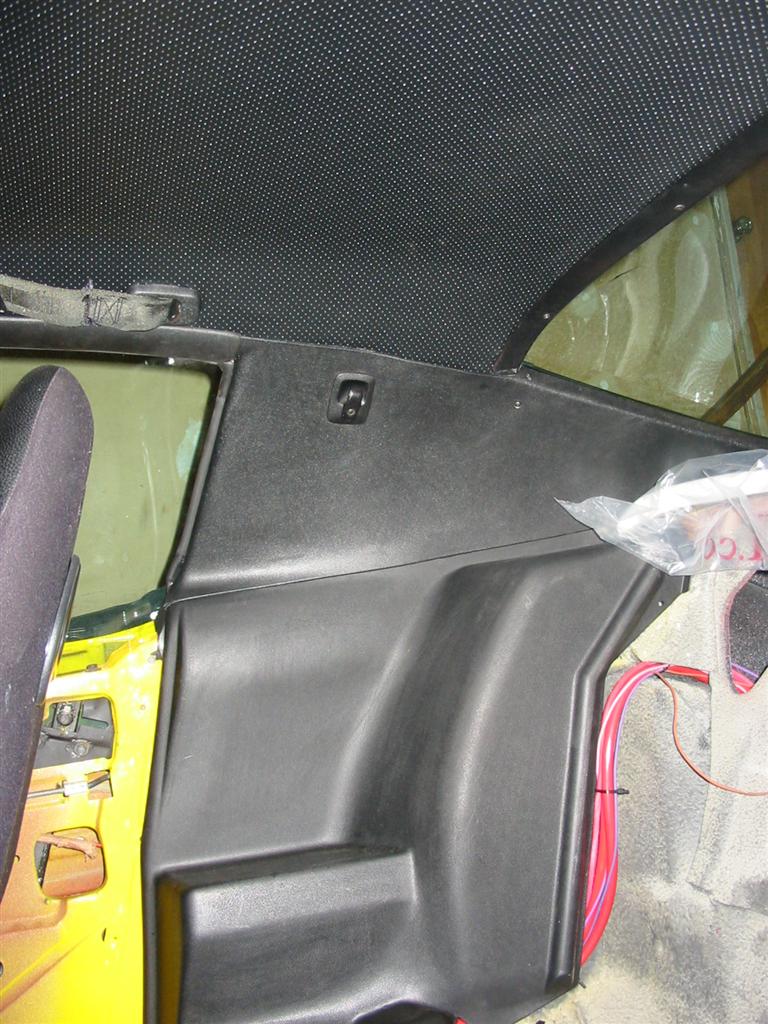
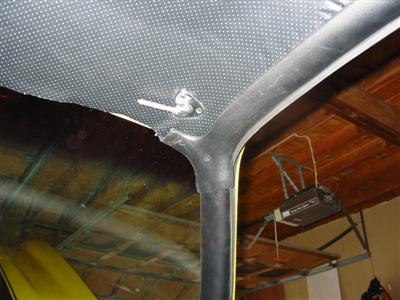
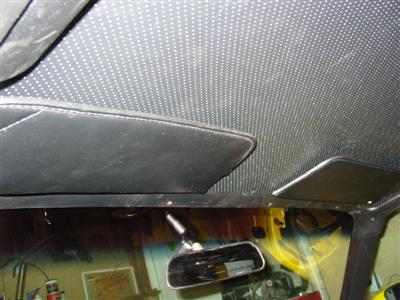
| Here is the headliner installed in the car. |
|

|

|
|

|
|
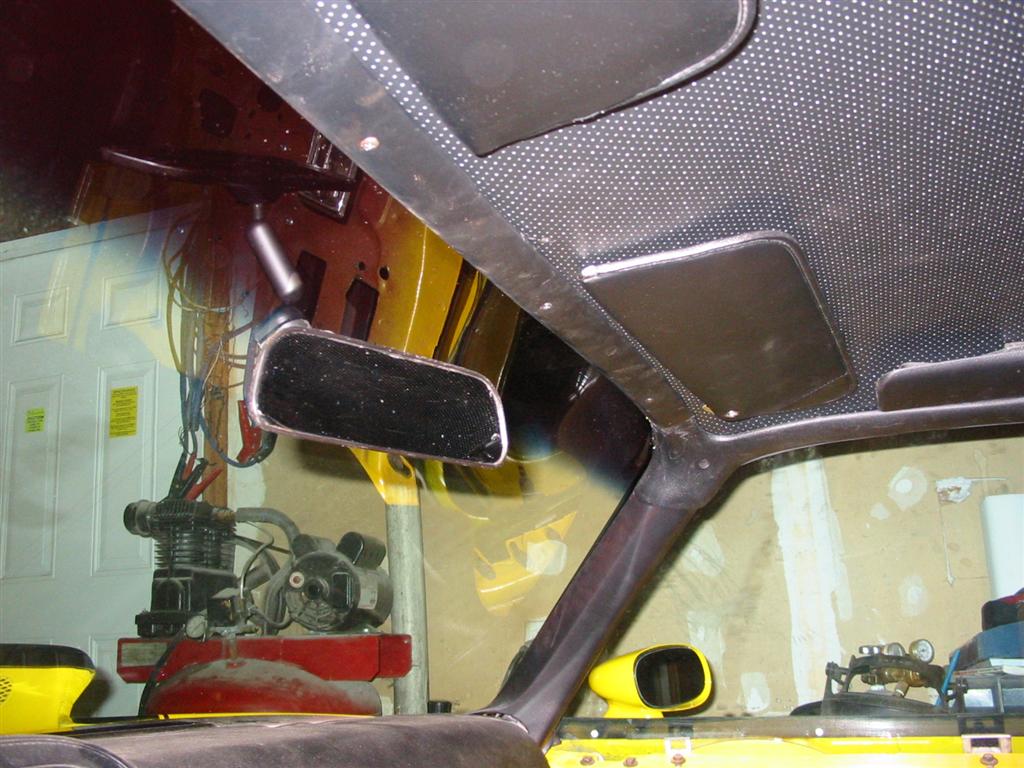
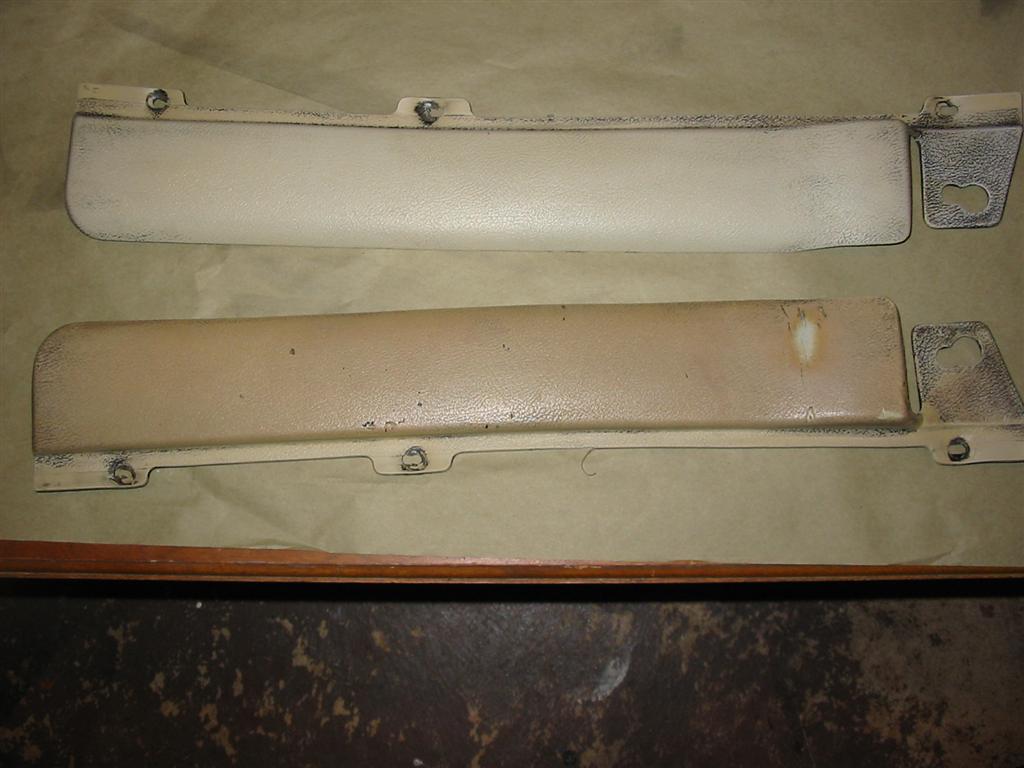
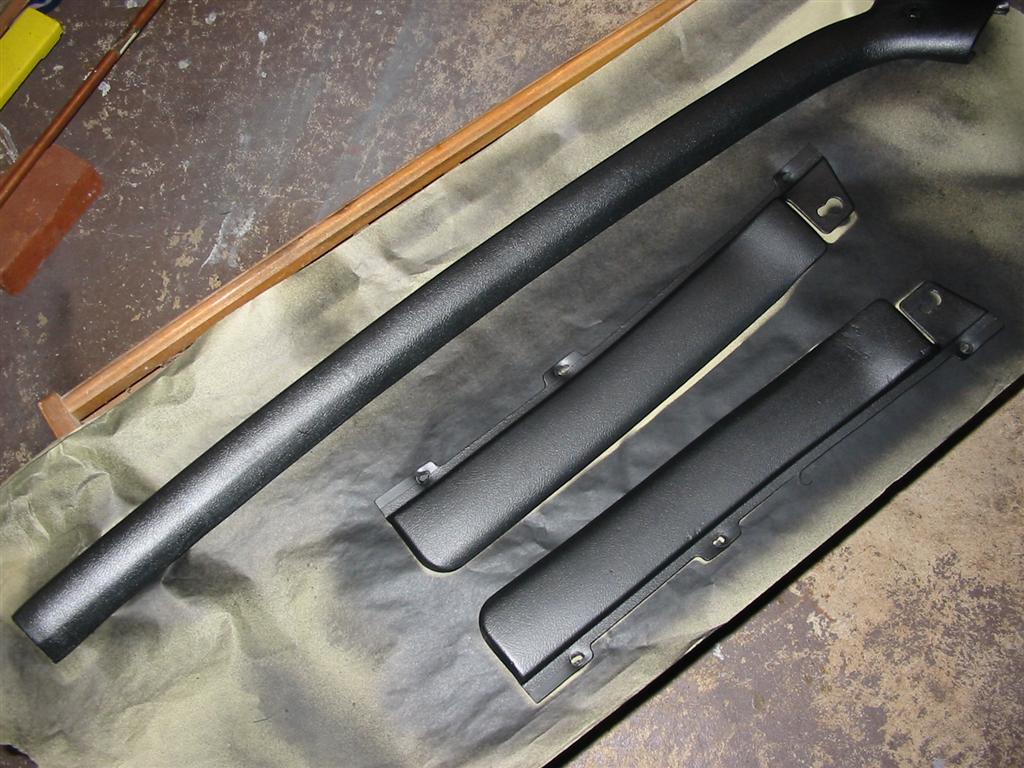
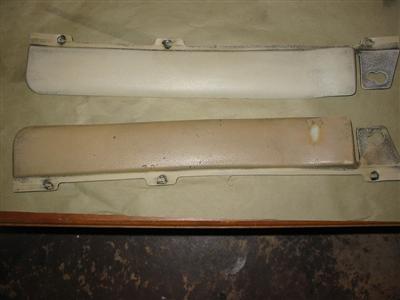
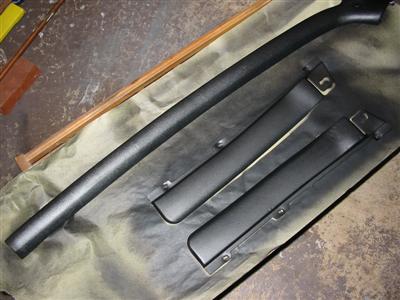
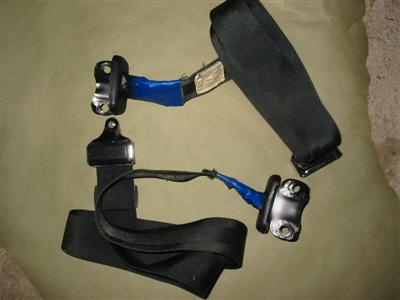
| Here is the holder for the seat belt shoulder harnesses. These mount above the doors and hold the shoulder
belts when not in use. I stripped them and dyed them black with the vinyl dye. I also cleaned the shoulder
harnesses and dyed the trim on them black. |
|
|
|
|
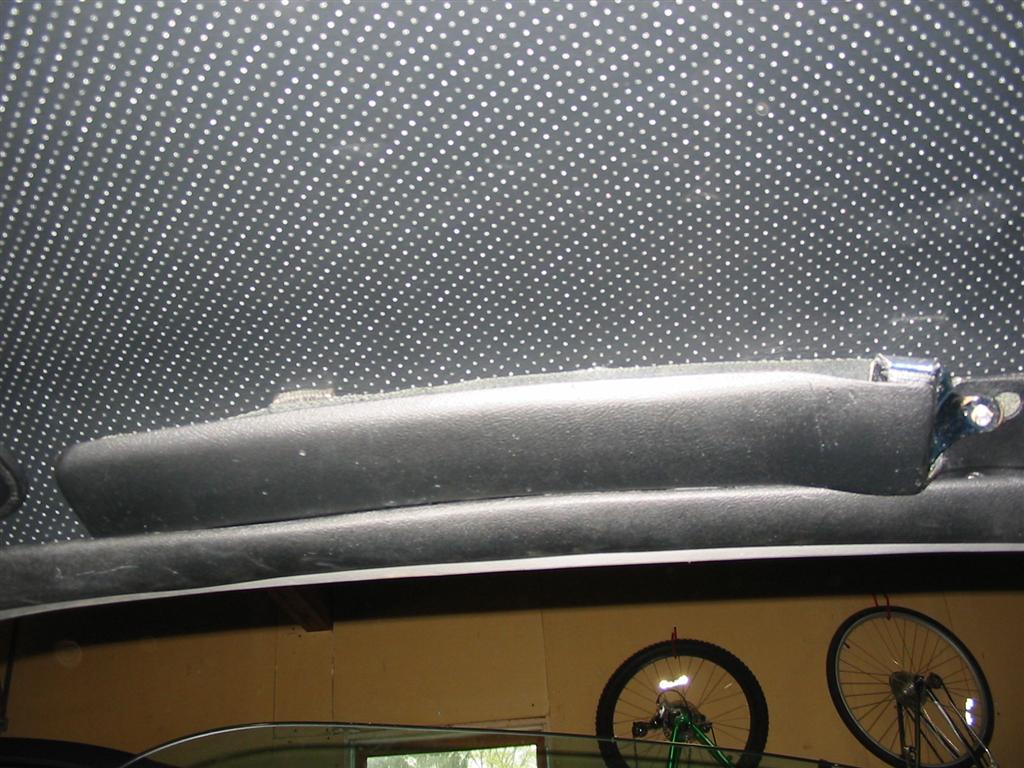
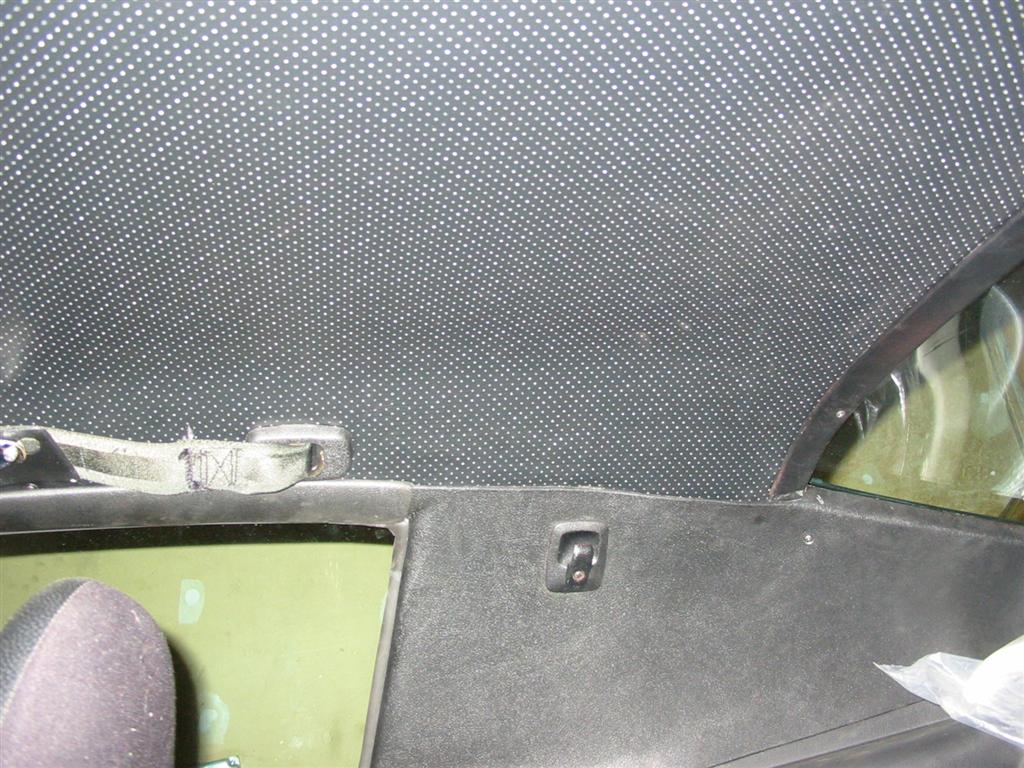
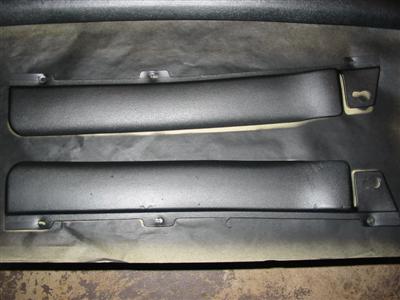
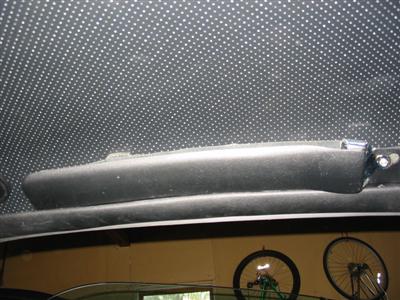
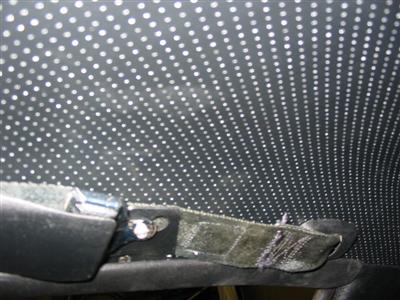
| Here are pictures of the shoulder belt and holder installed. |
|
|
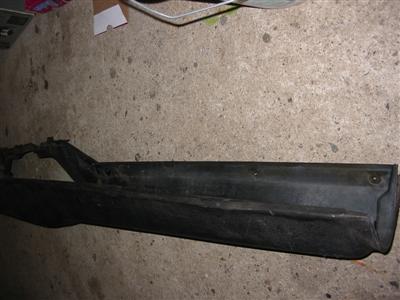
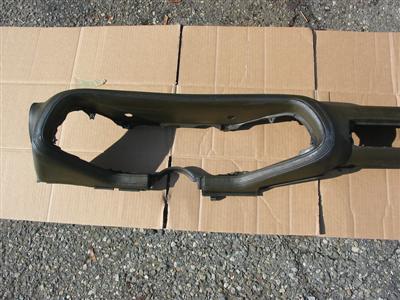
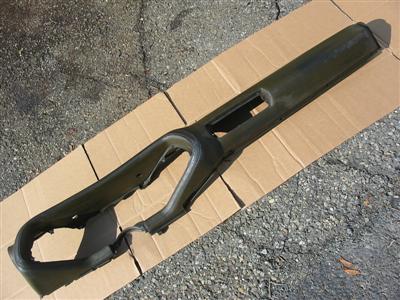
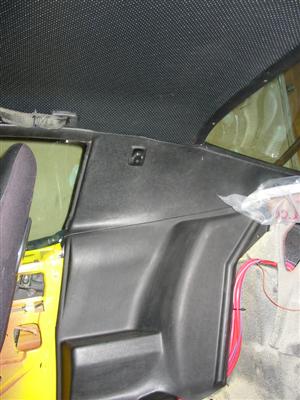
| Here are pictures of the rear trim. |

|
|