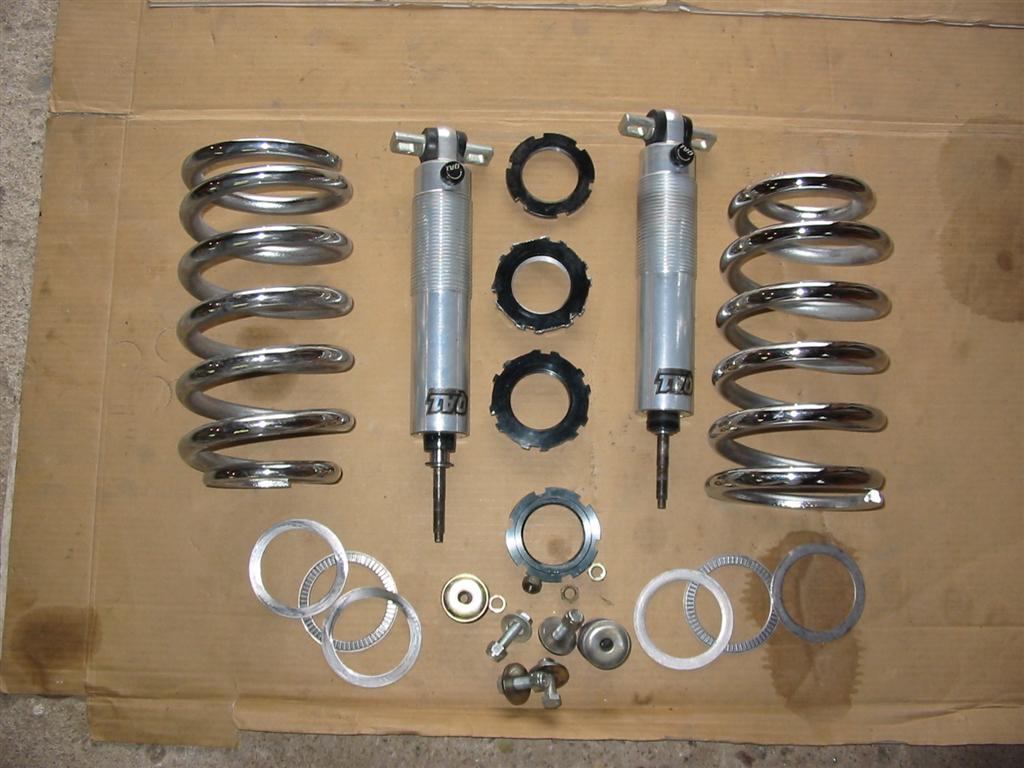
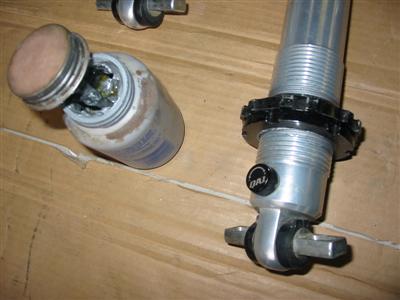
| Here are the QA1 coil overs that I installed. These have the 450 lb/in springs and the single
adjustable shocks. They also came with the lower mount with the bearings to make adjustments easier. I
also made sure that I used anti seize on the shock threads when installing the coil overs. |

|
|
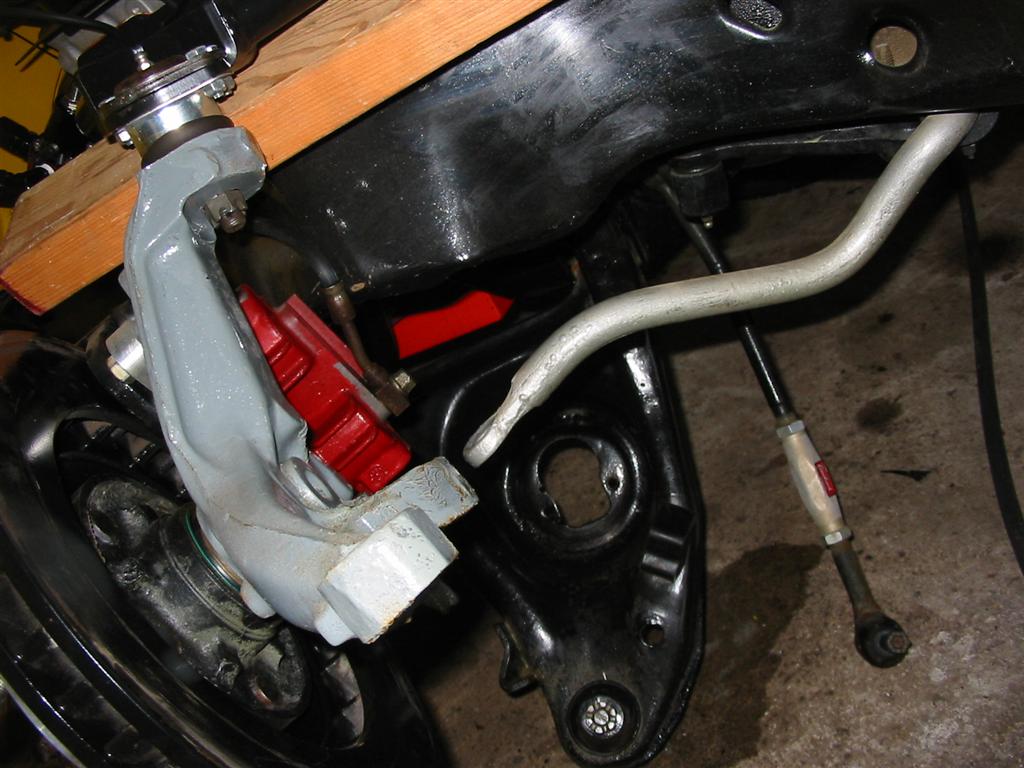
| Here are pictures of the tubular upper control arms and the factory spring removed. |
|

|
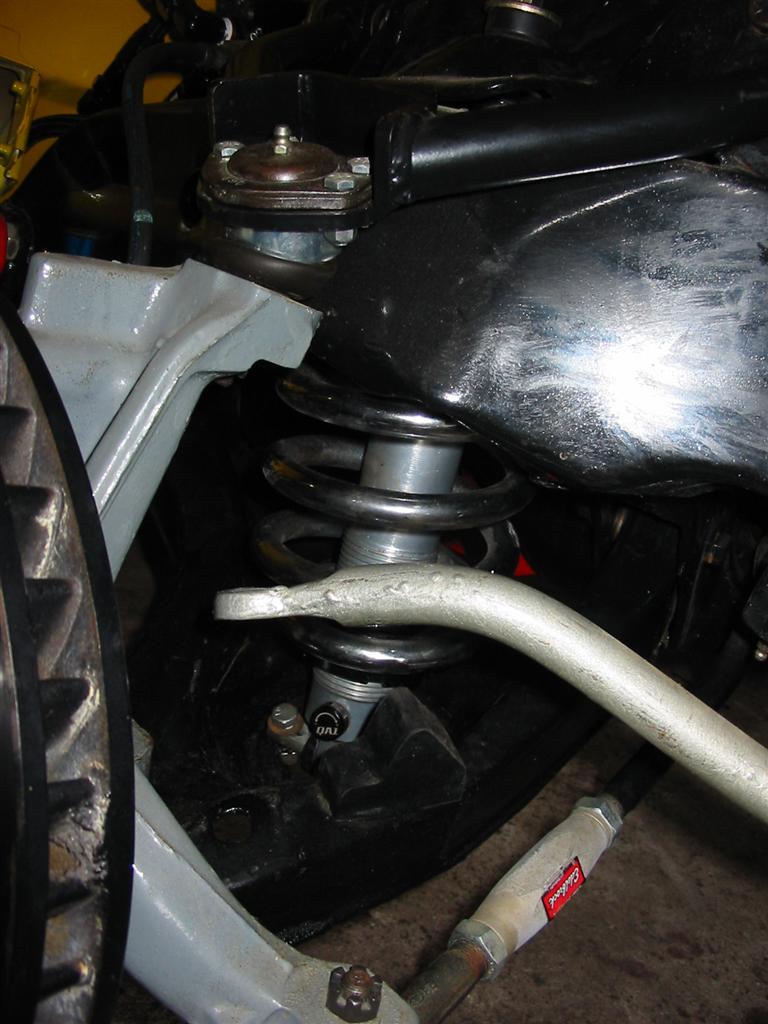
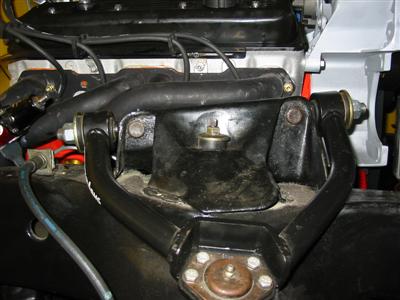
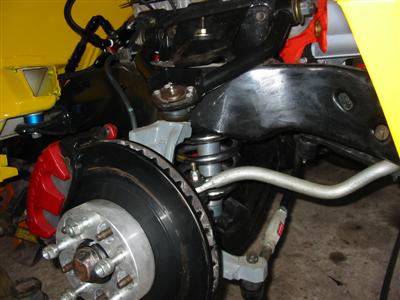
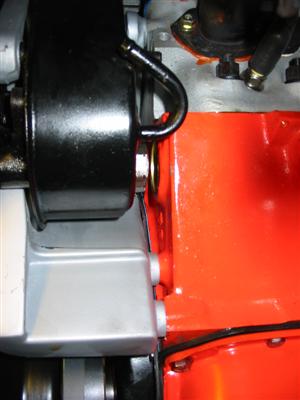
| Here is the coil overs and tubular upper arms installed. |

|
|
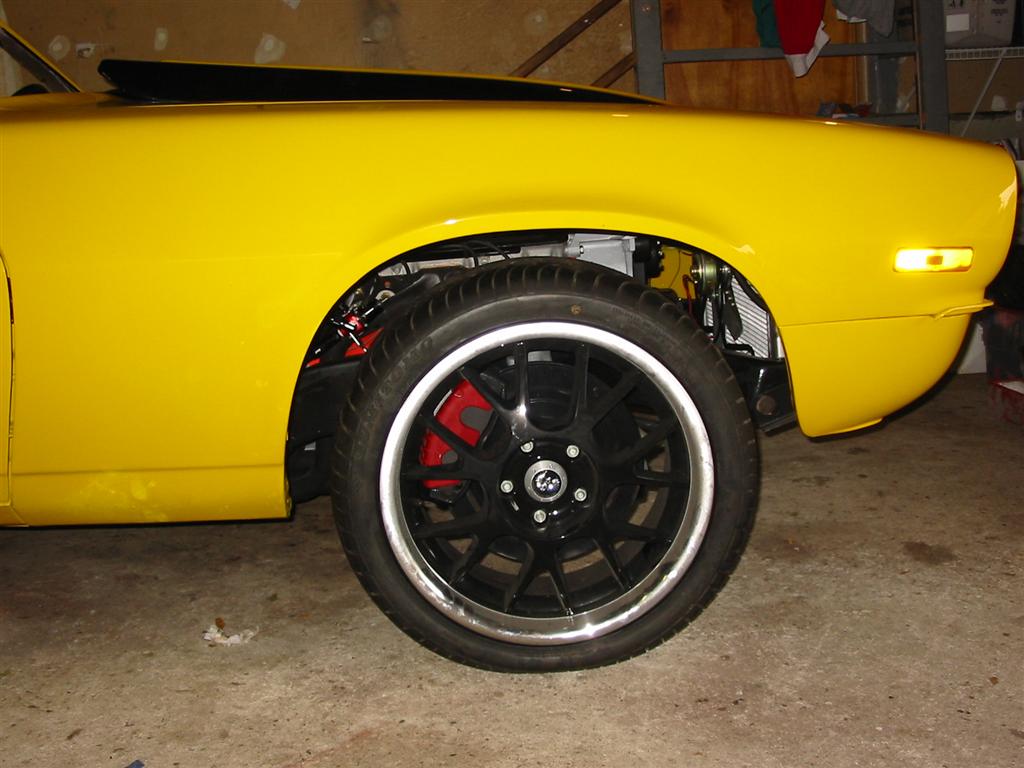
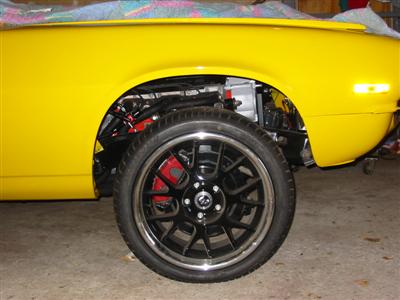
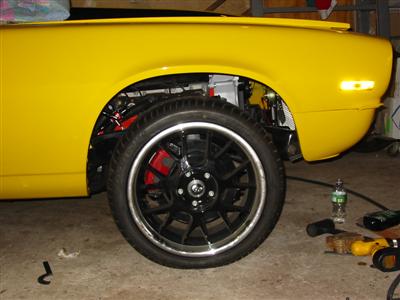
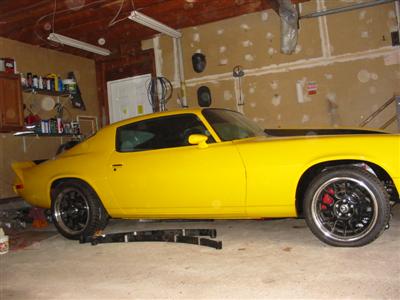
| Here are a few before and after shots. At this time the car wasn't complete yet. The
inner fenders and glass was not installed in the car yet. The first picture is before. The second is
immediately after and the third is after rocking the front of the car a bit. |
|
|

|
|
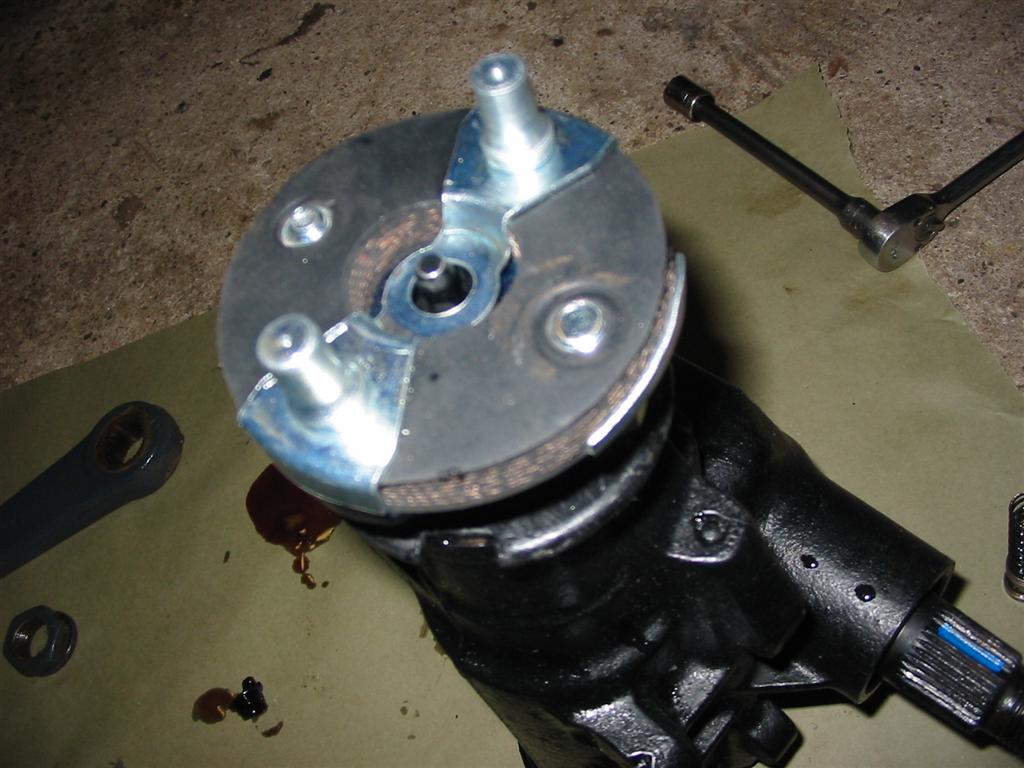
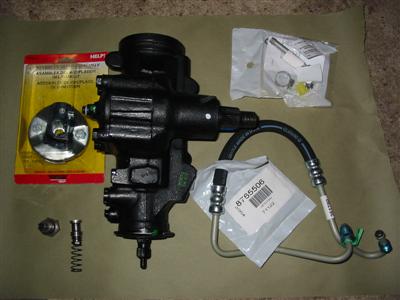
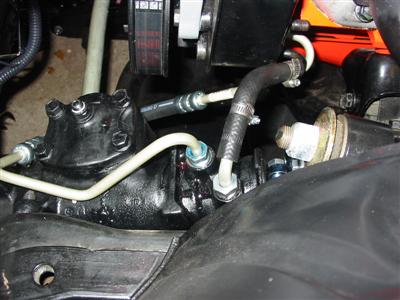
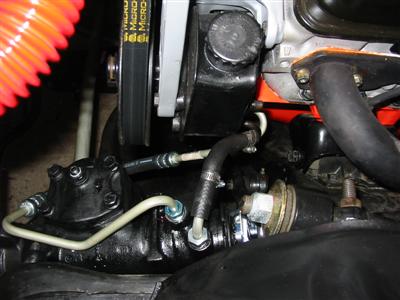
| Here are all the parts I needed to install an IROC steering box into my car. Included in this
picture is the box with a 12.7 to 1 steering ratio, a ragjoint from a 77 Camaro(DORMAN Part # 31011), Return line and pressure line from
an 81 Camaro since the new box has metric fittings and a metric pressure line fitting for a GM power steering
pump. These fittings are found on steering pumps from the late 70's and up. |
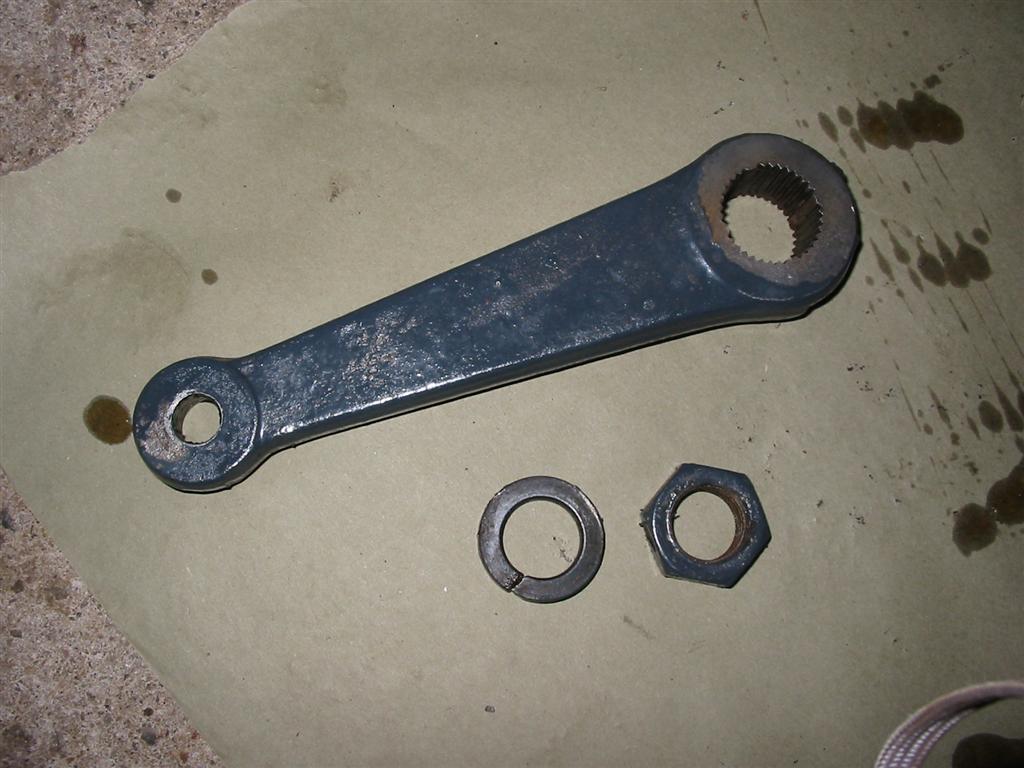
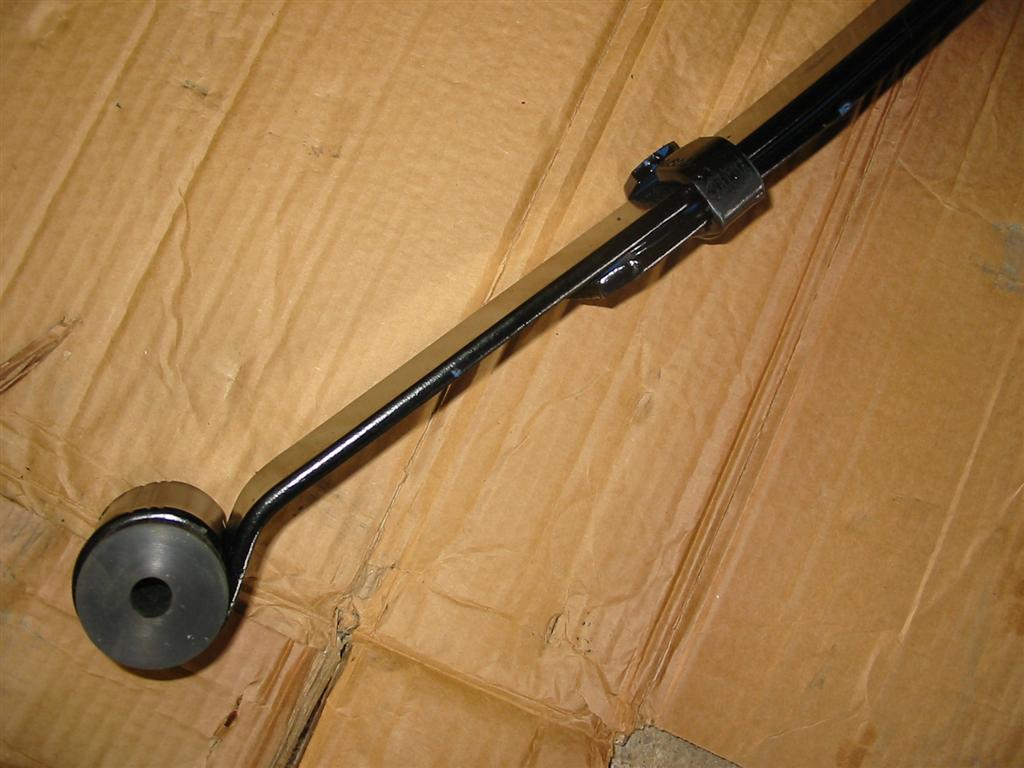
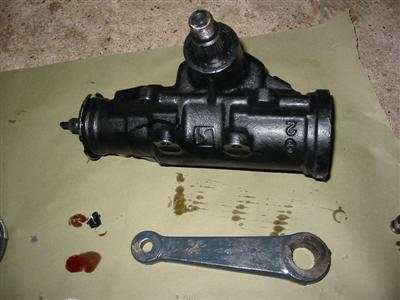
Here is my old tired leaking box. I removed the pitman arm because I will need to install it onto the
new box. |
|
|
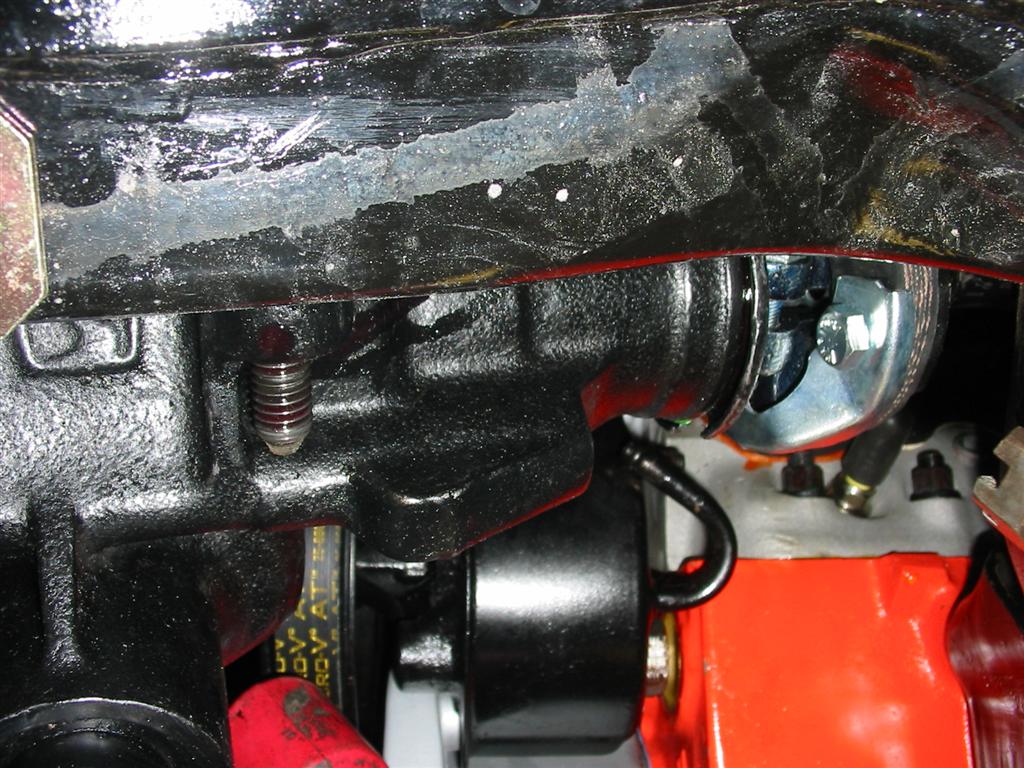
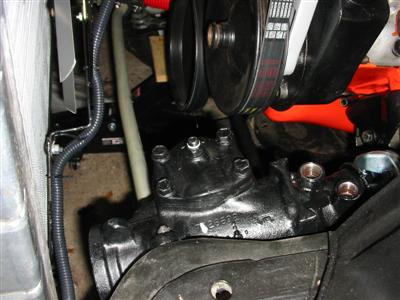
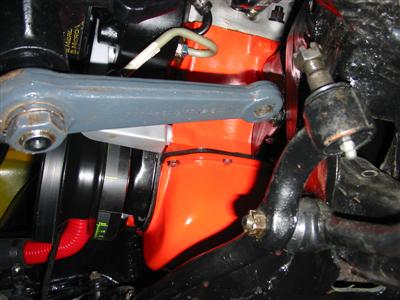
| I installed the ragjoint onto the box and installed the box into the car. |

|
|
|
|
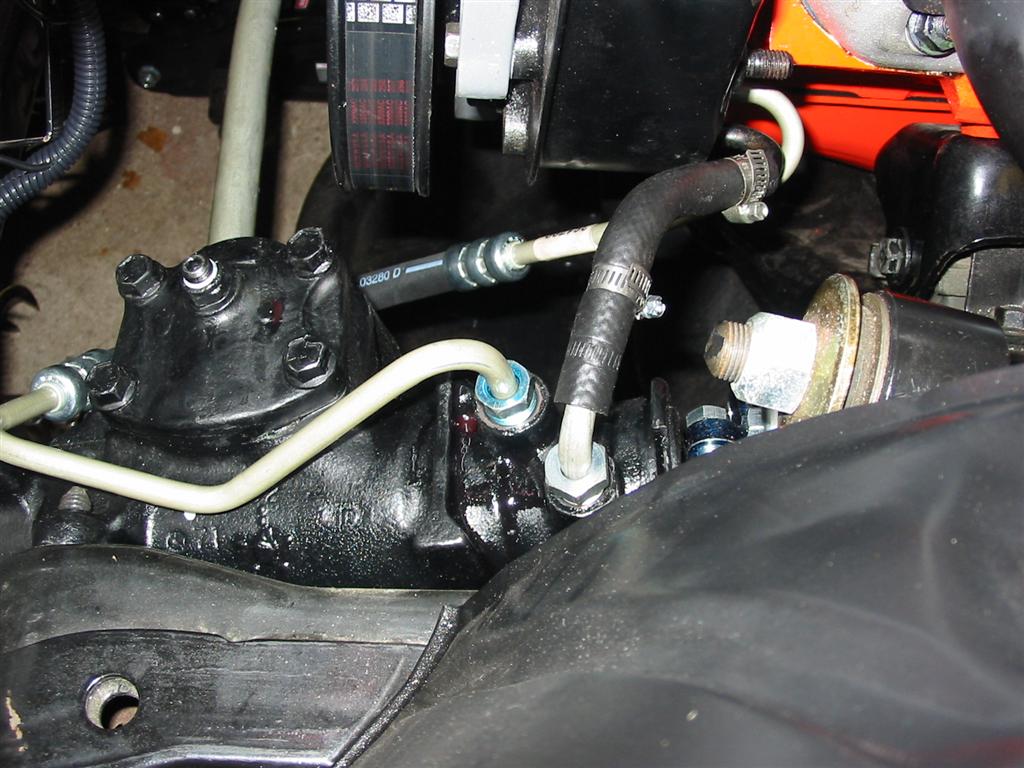
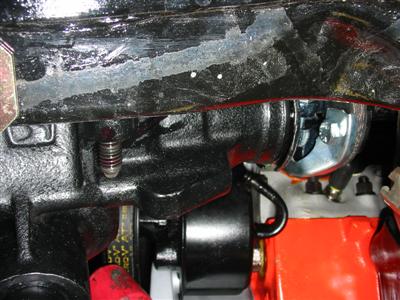
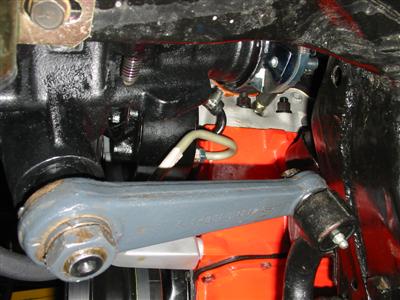
| I installed the metric adaptor onto the box and then installed the lines. |
|
|

|
|
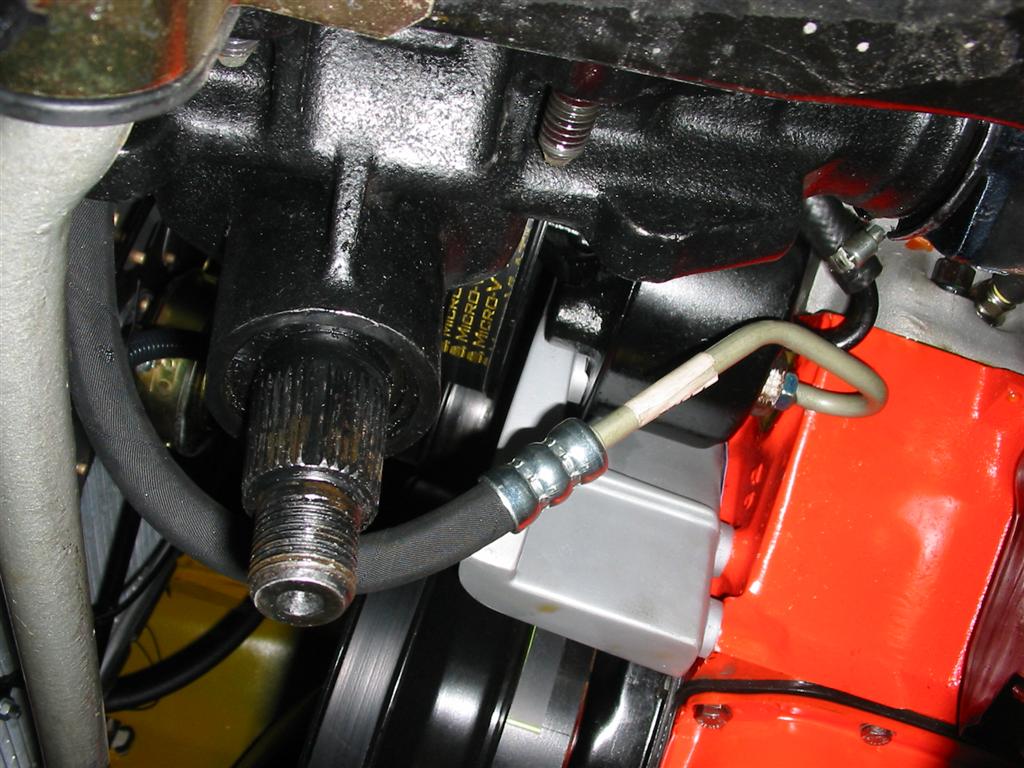
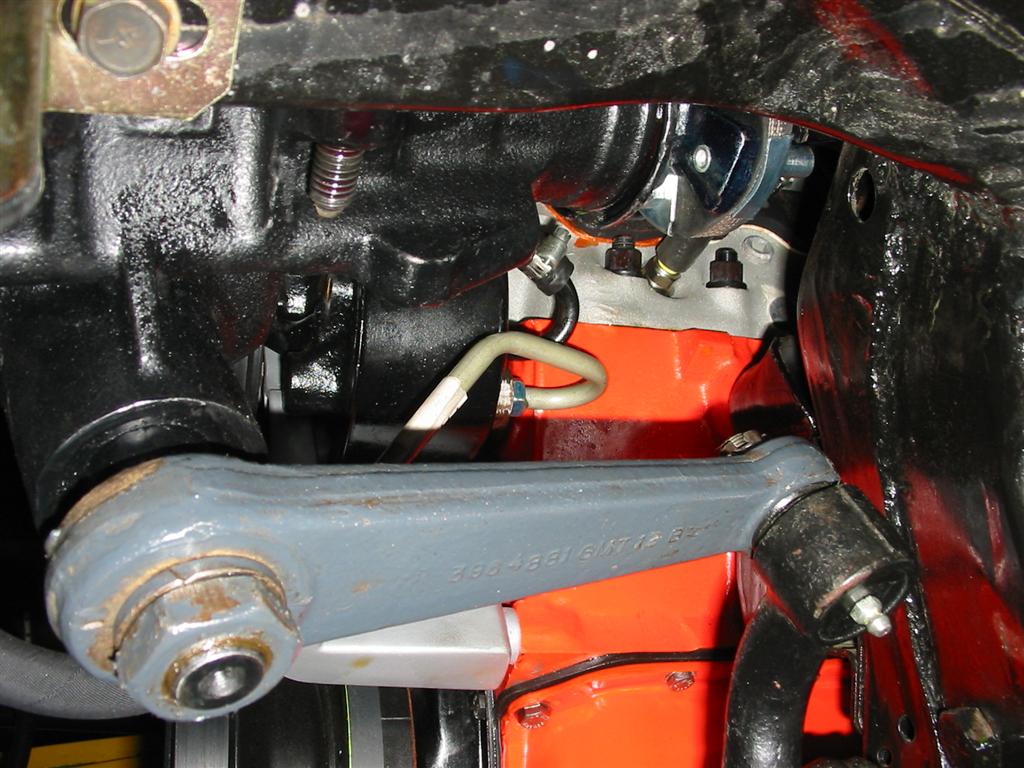
| Lastly, I installed the pitman arm and the installation was complete. |

|
|
|
|
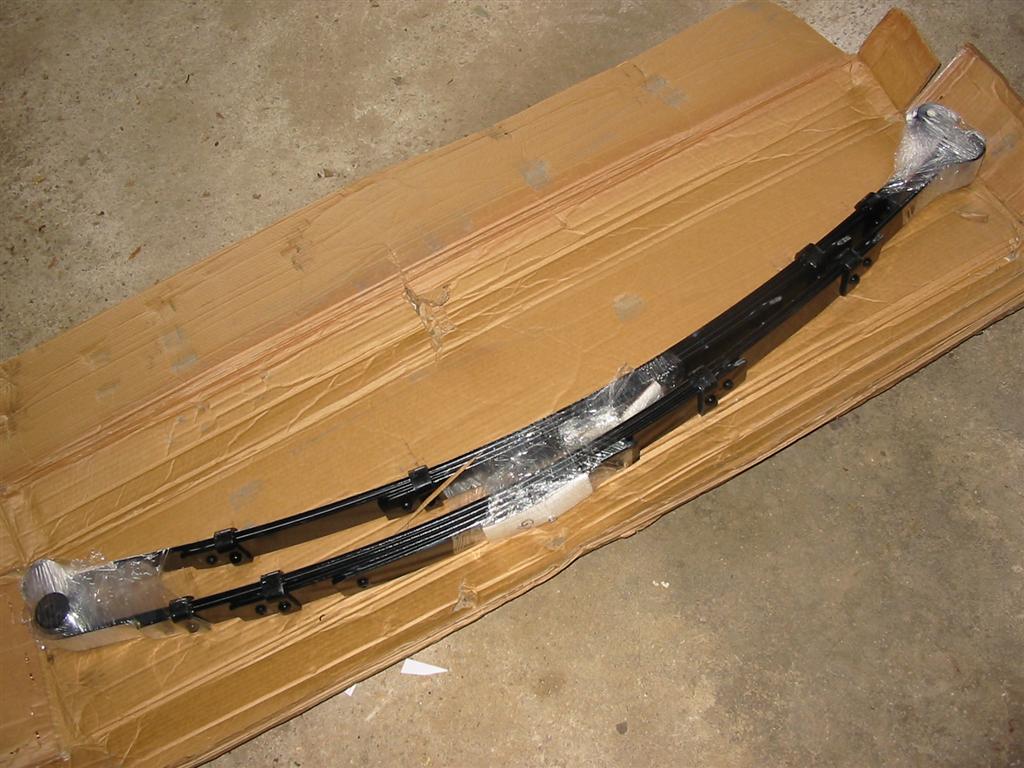
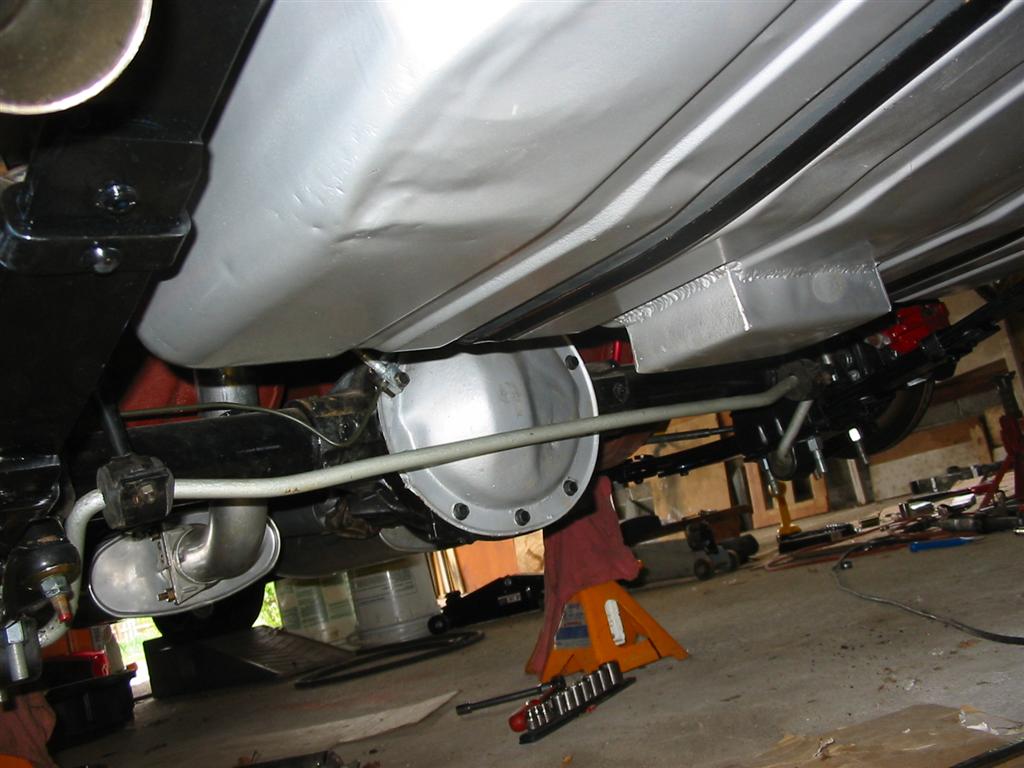
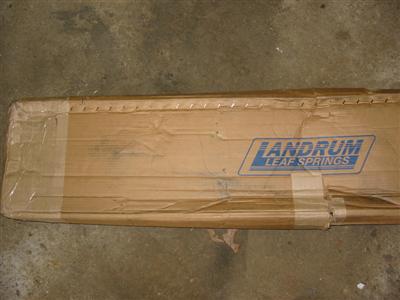
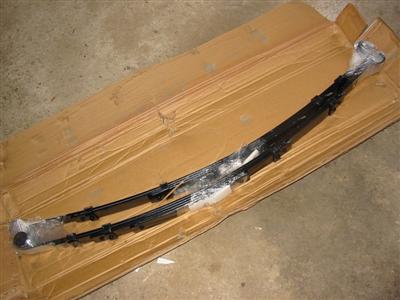
| The final piece of the suspension upgrade was the installation of the GT rear springs. These
springs are made by Landrum. |
|
|
|
|
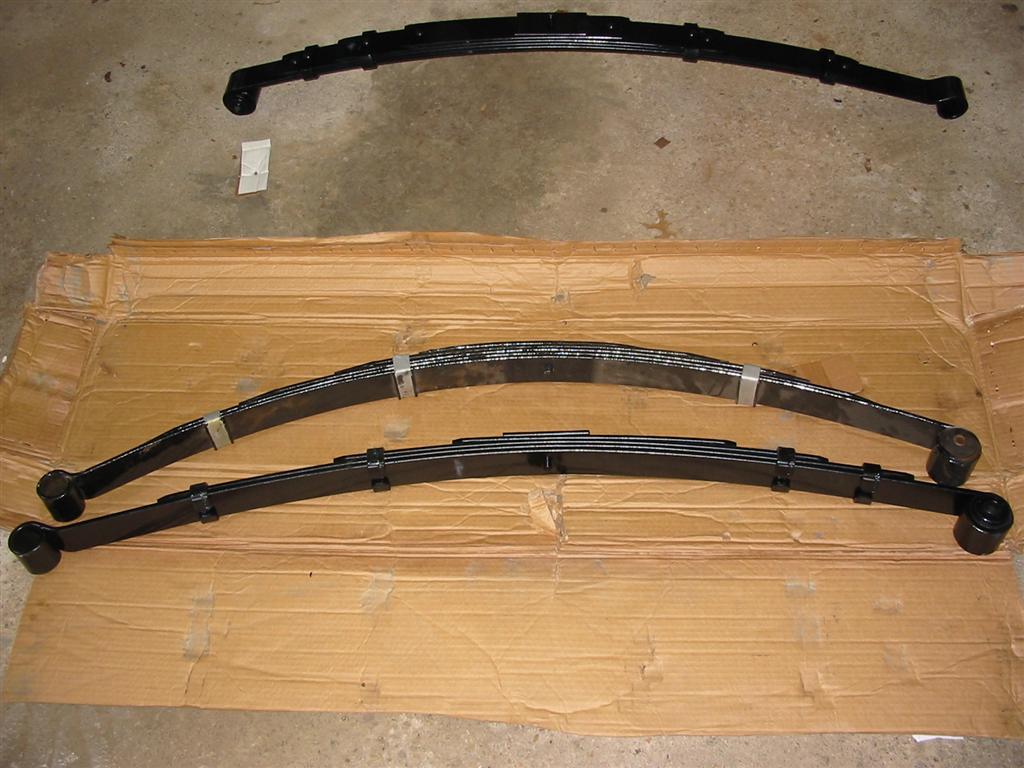
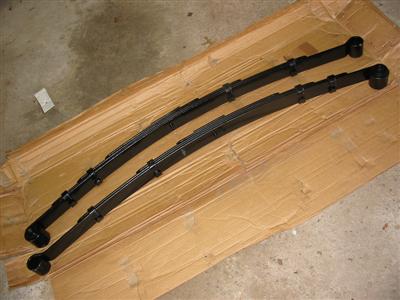
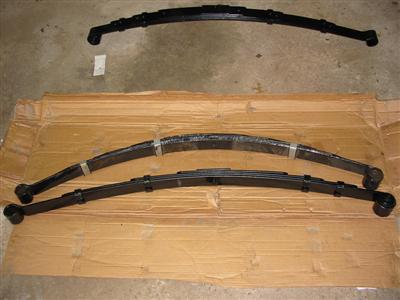
| Here is a comparison of an old spring and a new spring. The new spring measure 55 1/4 inches from
mount to mount where the old spring measured 53 1/4 inches. The new spring arch height is 7 1/2 inches where
the old spring arch height was 10 1/2 inches. |
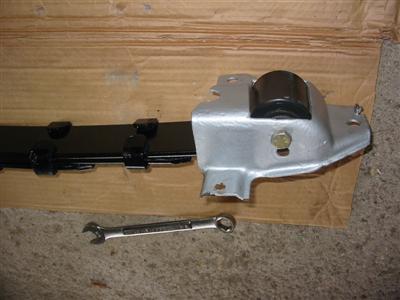
Here is the front spring mount with the Herb Adams modified mount. I later decided to remove the modified
mounts because I didn't want the car to sit too low in the rear. |
|
|
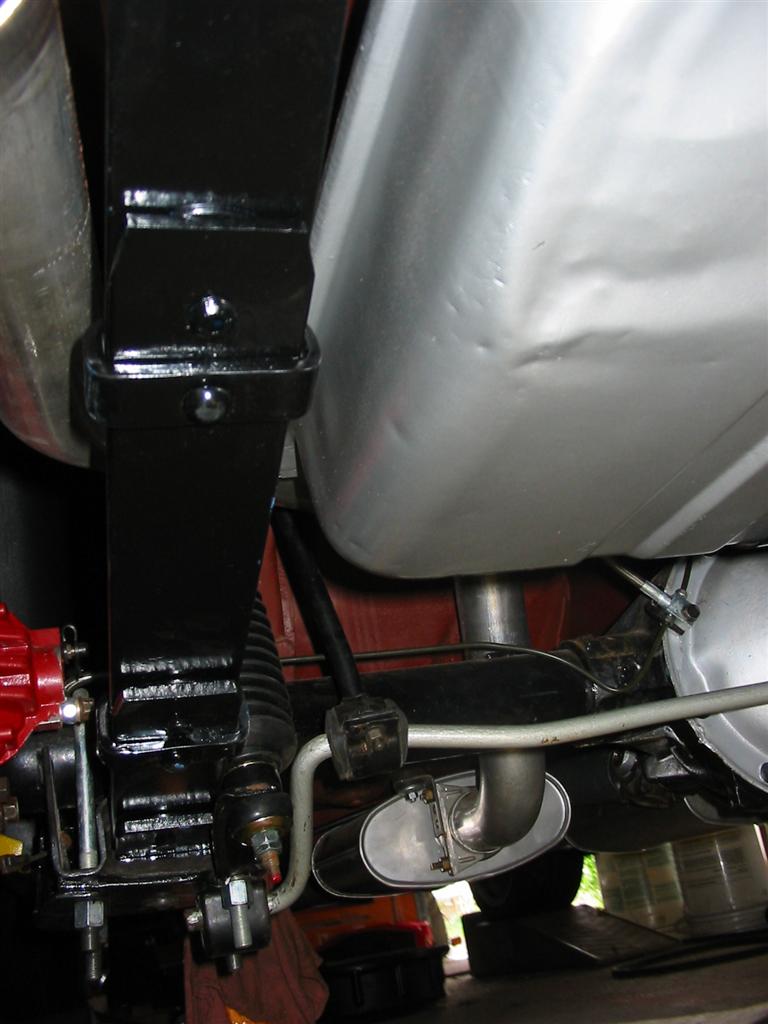
| Here is a picture of the rear spring mount installed and the springs installed in the car. |

|
|
|

|
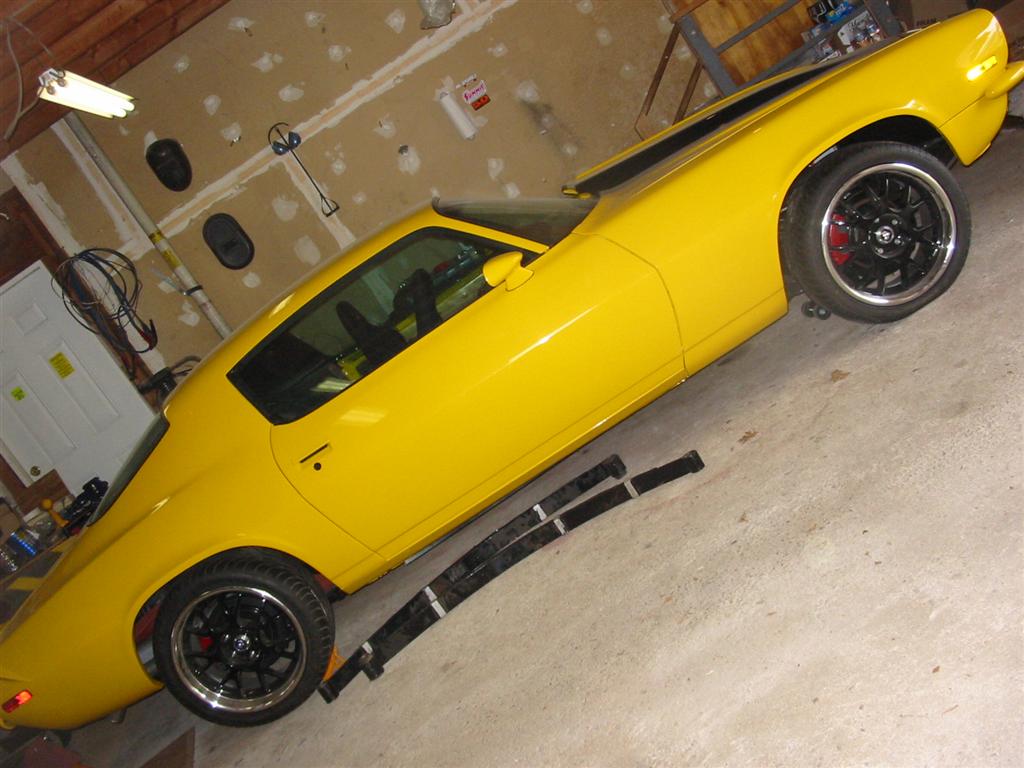
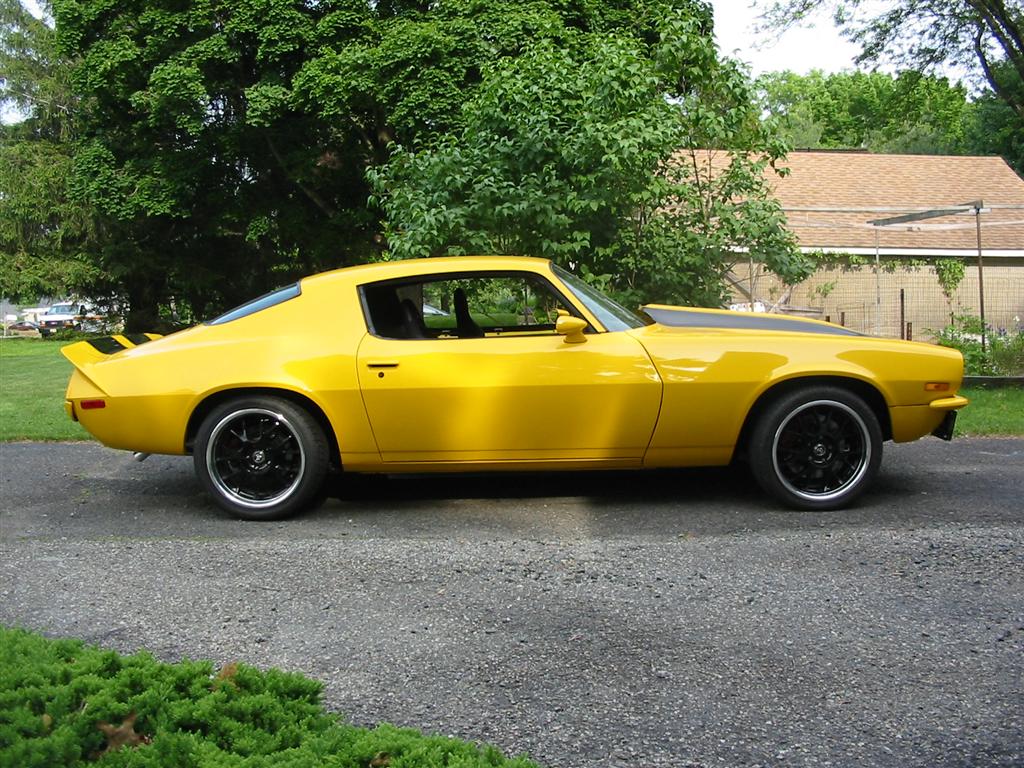
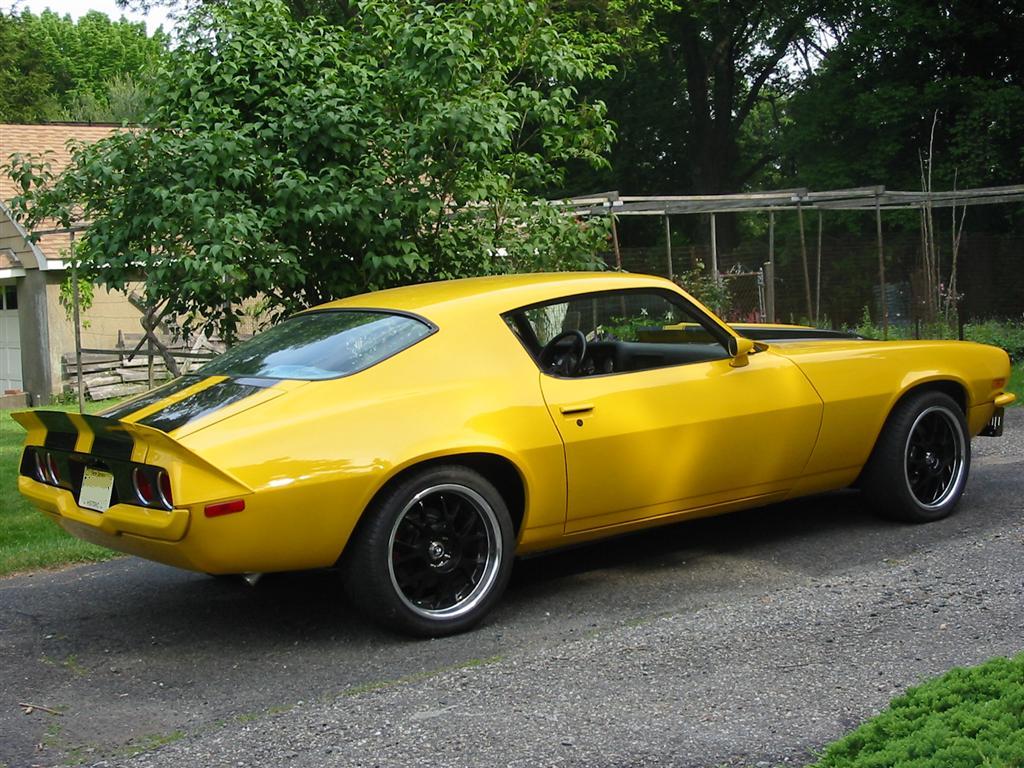
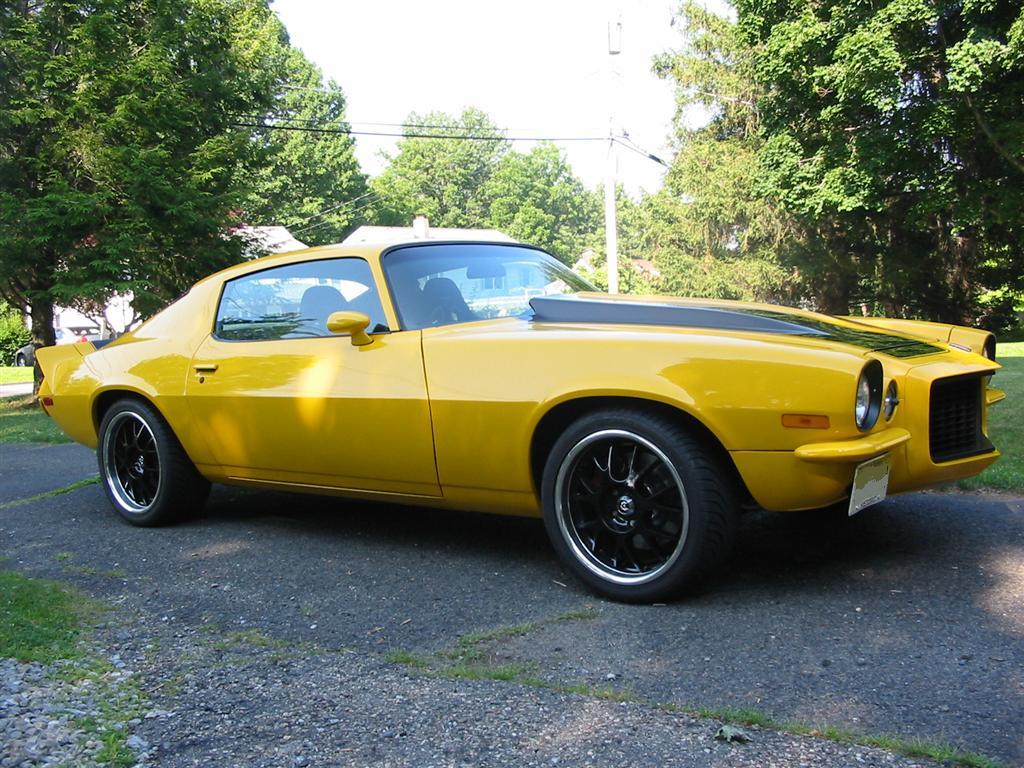
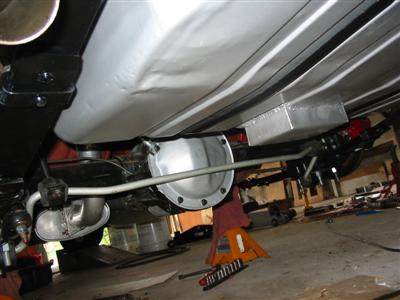
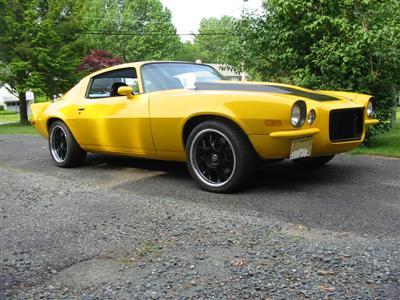
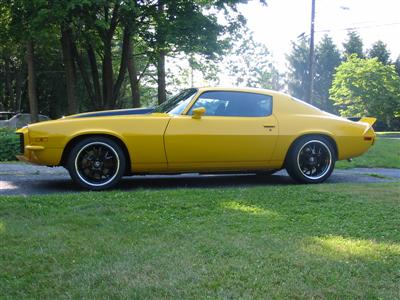
| Here are pictures of complete suspension installed. I still have been tinkering with the
ride height in the front. |
|

|
|

|

|
|

|
|