|

Seats and Interior Part 2 (August 12, 2010)
This page documents the installation of my Corbeau seats, rear package tray, and carpet. The seats I installed are black cloth Corbeau A4 seats. Rolex Explorer Replica I picked these seats up used for cheap. They really hold you in. I didn't buy the track adaptors so I made some out of u channel 1/8 inch steel and used the factory tracks. I originally made up a set of brackets for both seats. When I installed these brackets they positioned me too far from the pedals. So I kept them on the passenger seat but made a new set for the drivers side.Also on this page is the installation of carpet and related items. I had some holes in the floor that were used to access the sub frame mounts. I could have welded these holes up, but decided to make some screw in covers in case I ever needed to get to these mounts again. I installed them and sealed them up with seam sealer. After I installed these covers, I decided to put another layer of Lizard Skin on the floor to cover up any areas that were bare. On top of the Lizard Skin I installed a layer of RAAMaudio Ensolite IUO Peal and Stick. This is a a very durable, light weight, closed cell foam sound absorbing material. Then I installed the carpet. I have noticed that the Lizard Skin, Ensolite and carpet has really quieted the car down on the inside without adding much weight at all. Also, the Lizard Skin really keeps the heat out of the car. I would really recommend this combination.Rolex Yacht Master II Replica
Status photos as of 8/12/2010:
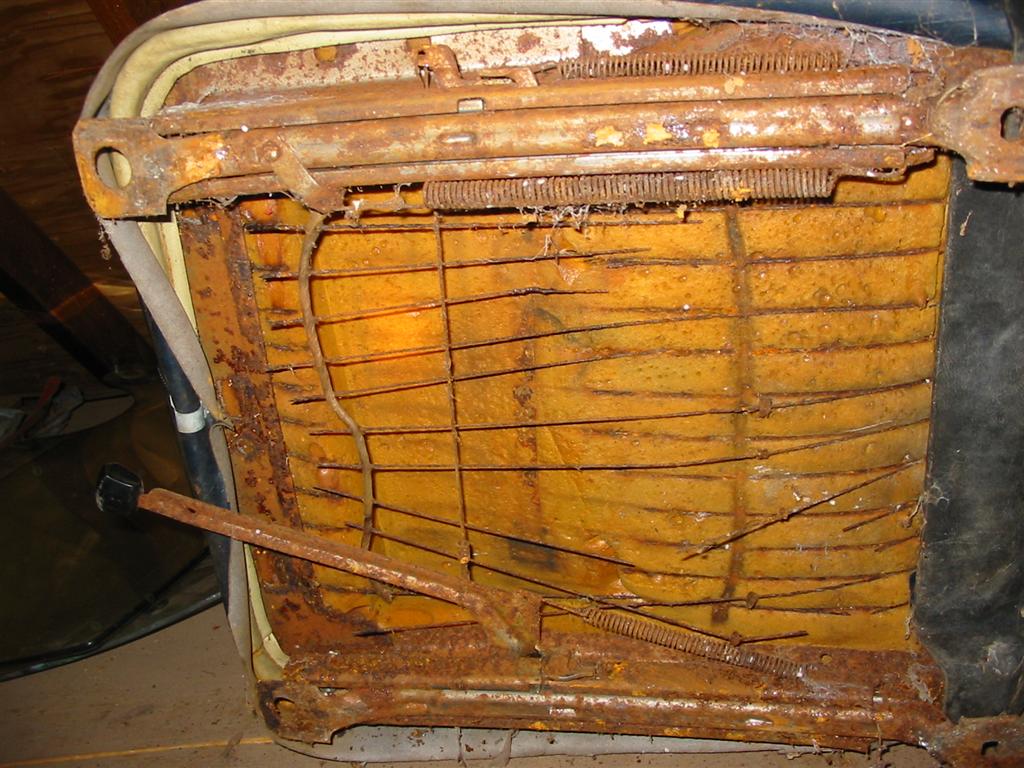
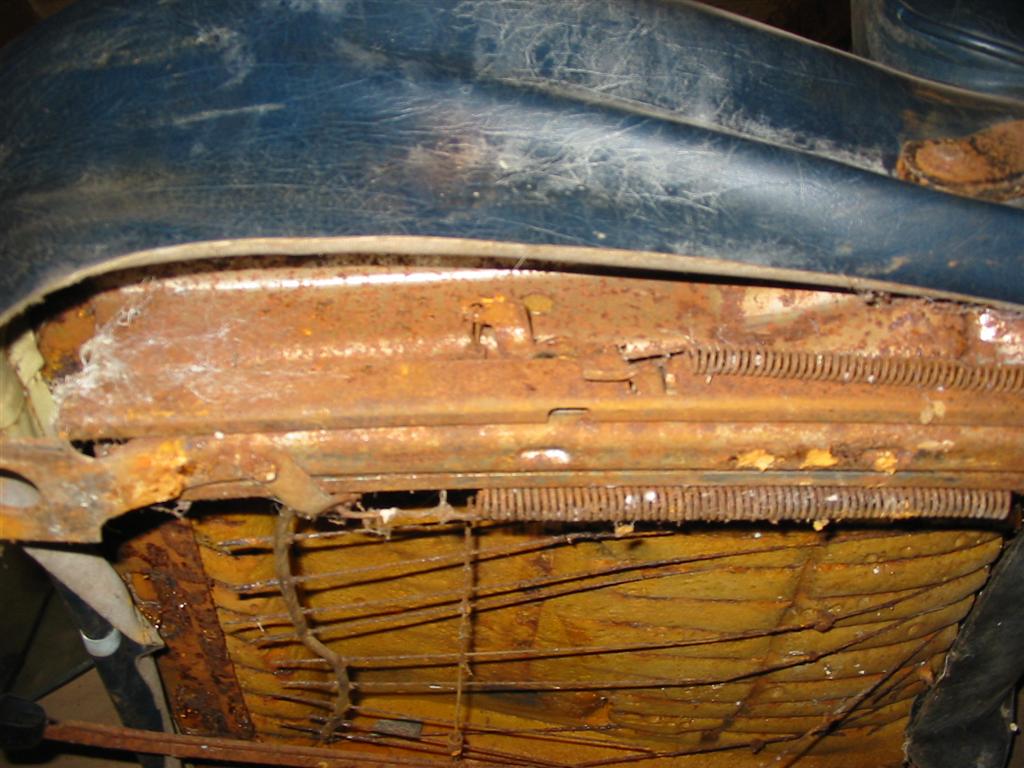
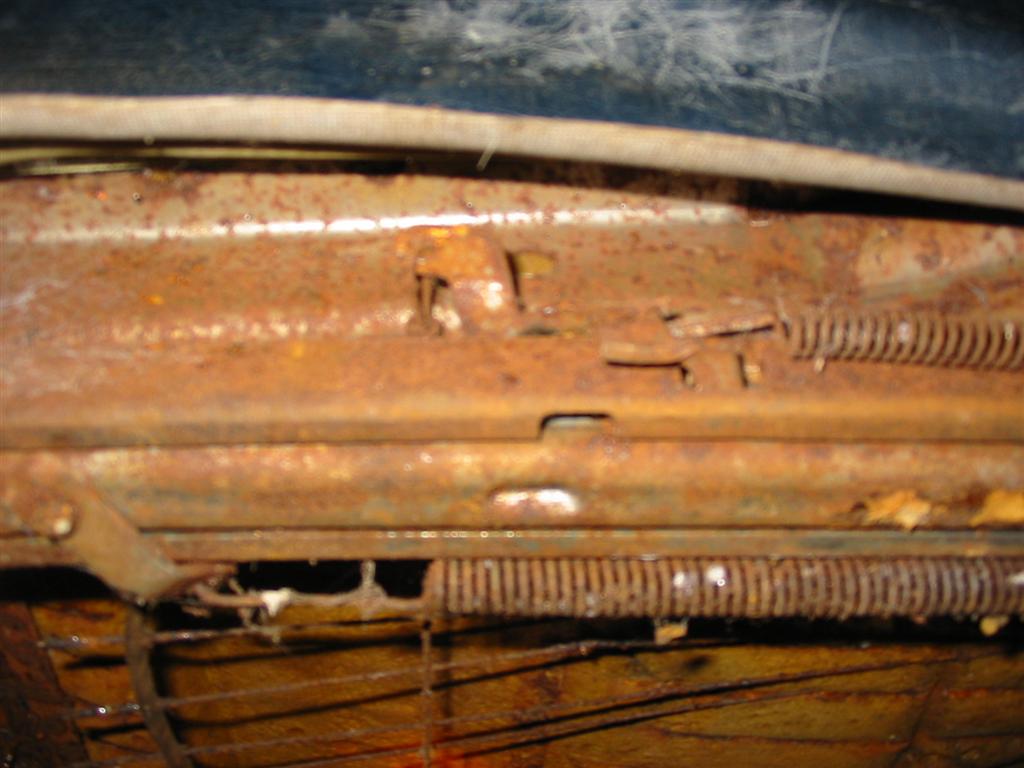
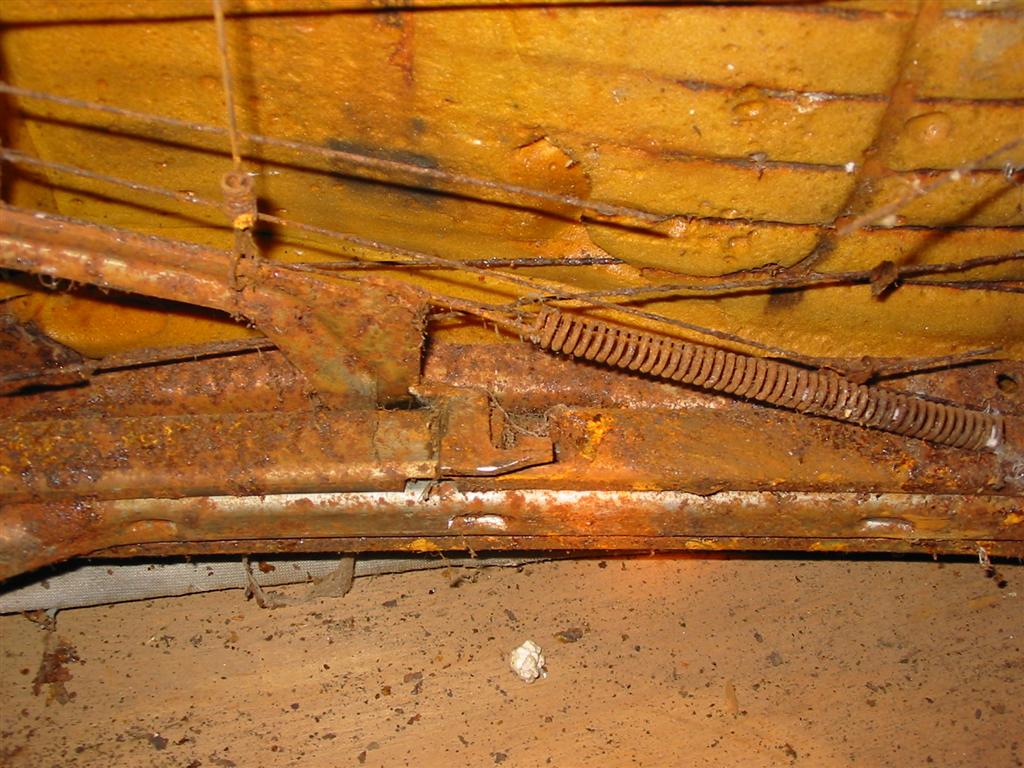
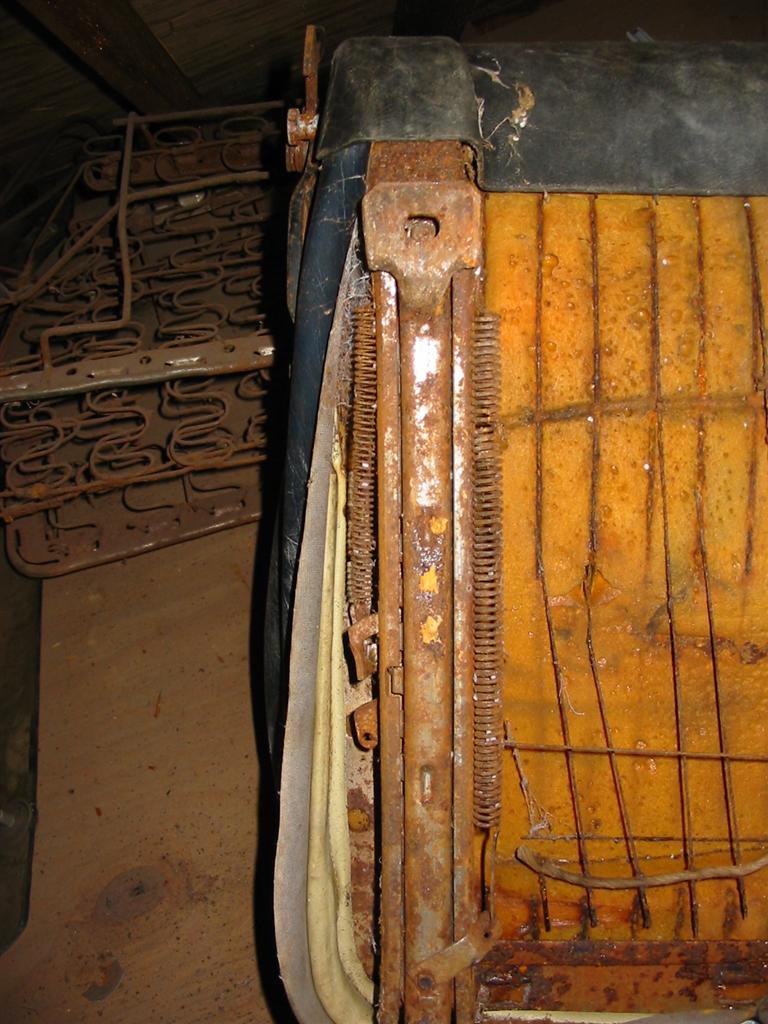
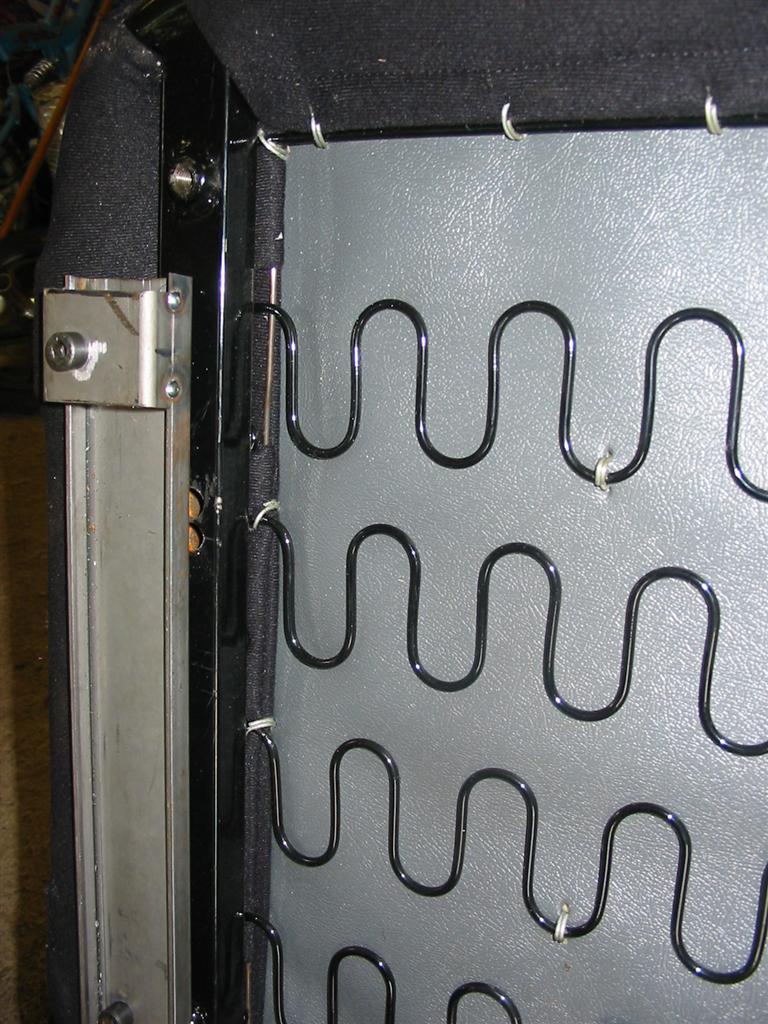
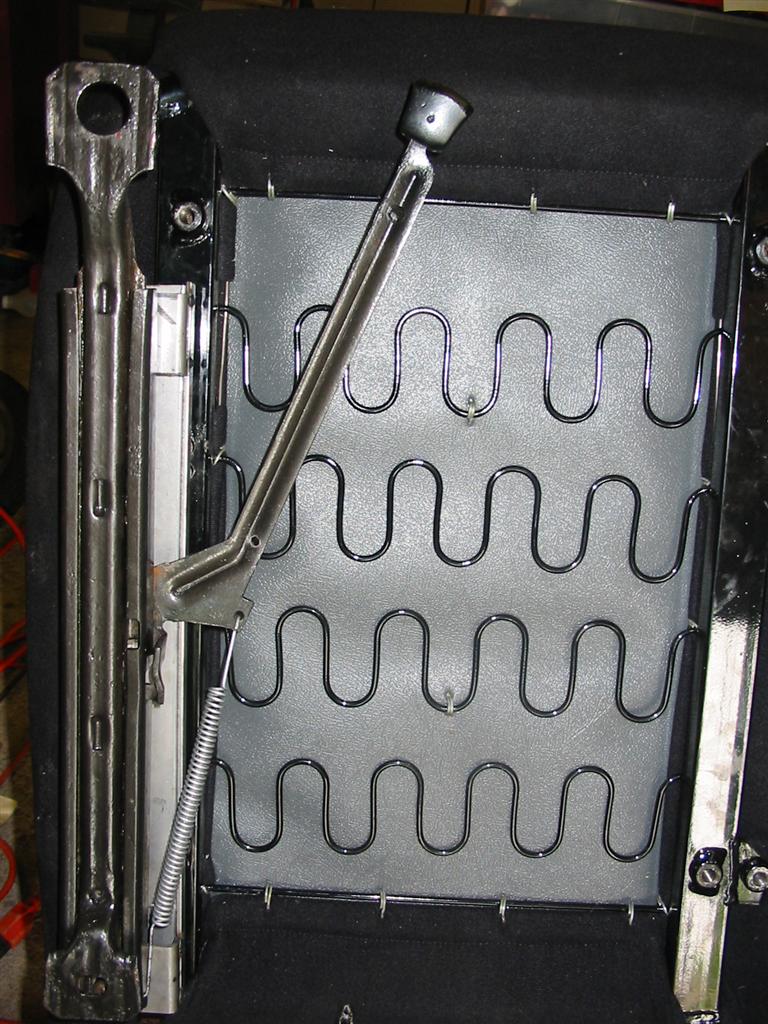
| Here are the original seat tracks mounted to the factory seats. The nearly 40 year old tracks are pretty rusted. | |
|
|
|
|
|
|
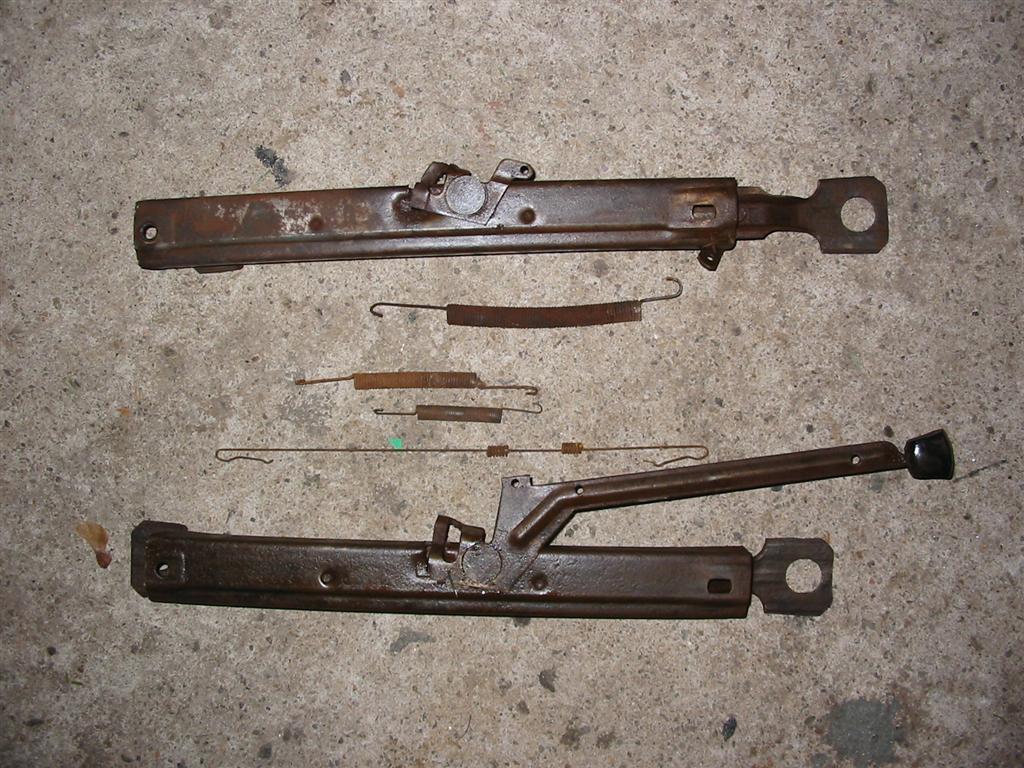
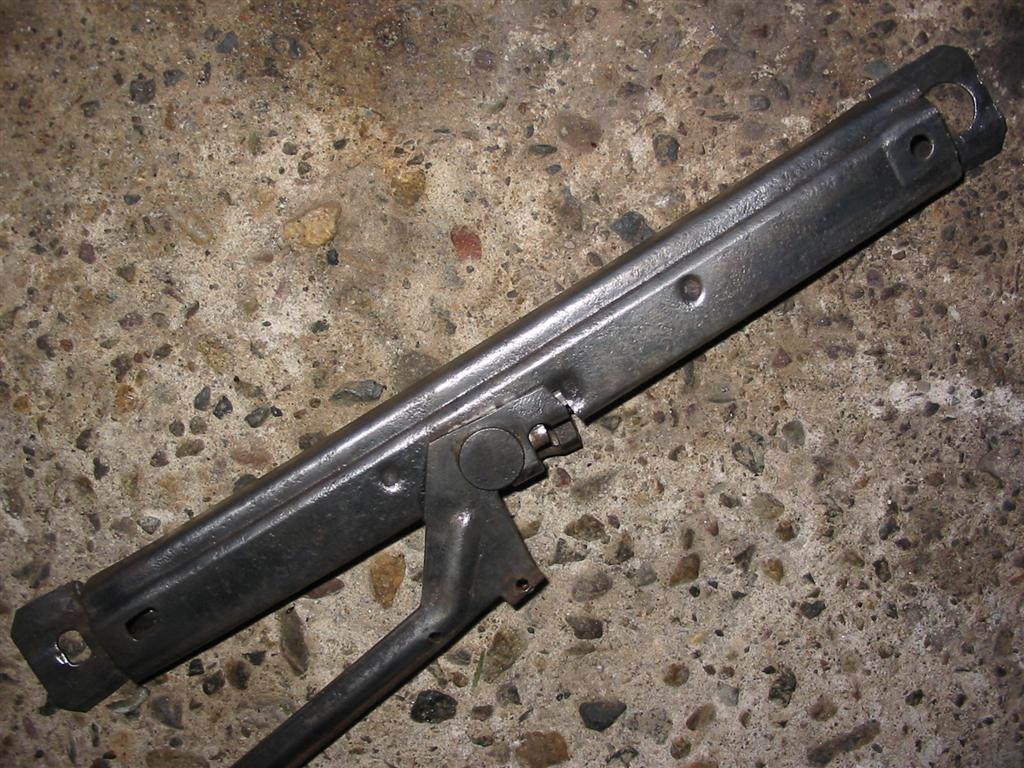
| Here are the seat tracks removed from the seat. I then hit them with a wire brush to knock of the loose rust. | |

|
|
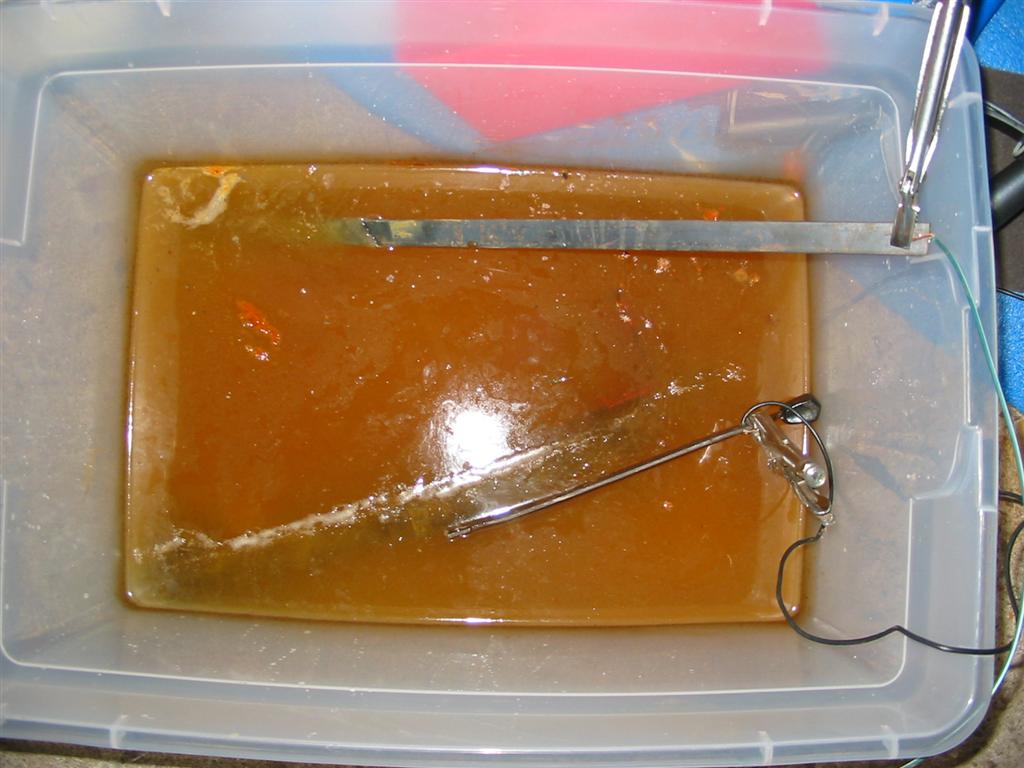
| I then used a solution of water and backing soda and electrolysis to remove the rust from the tracks. This worked very well and took a couple of days to do both tracks. | |
|
|
|
|
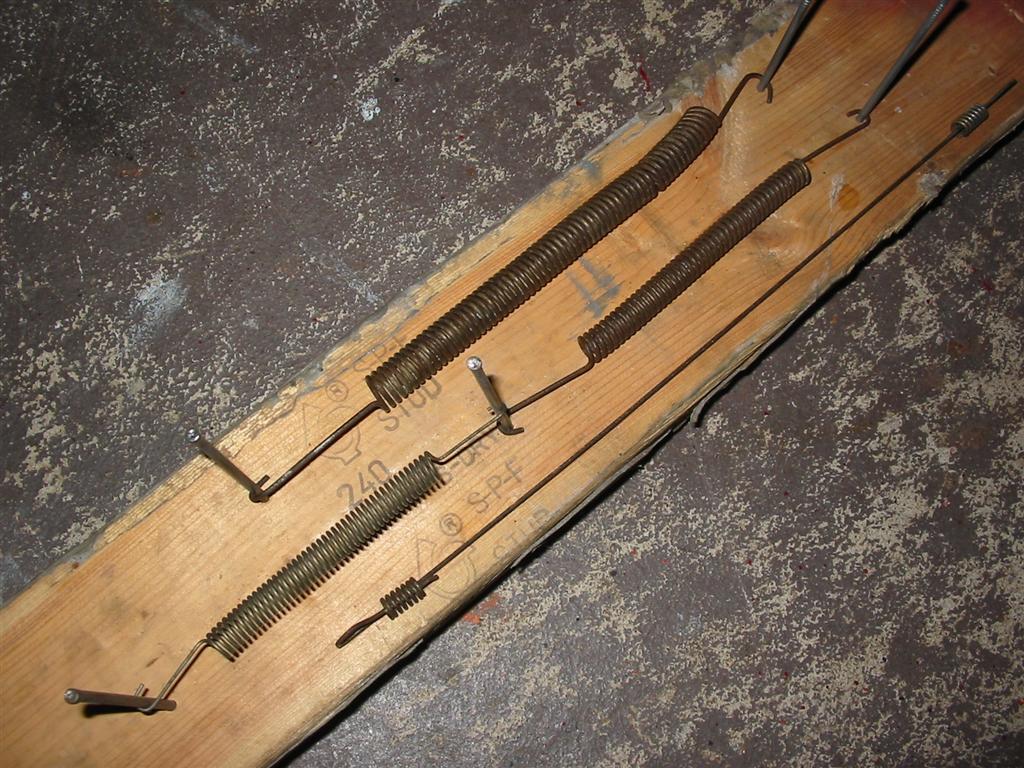
| I then cleaned up the track springs and painted them silver. | |
|
|
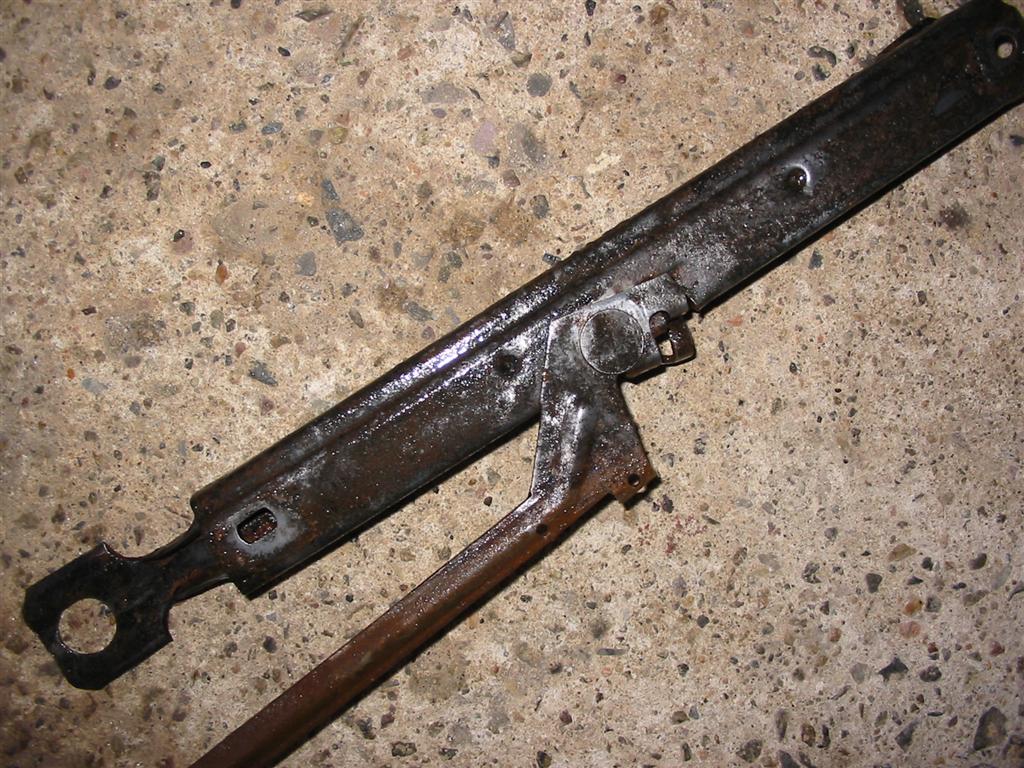
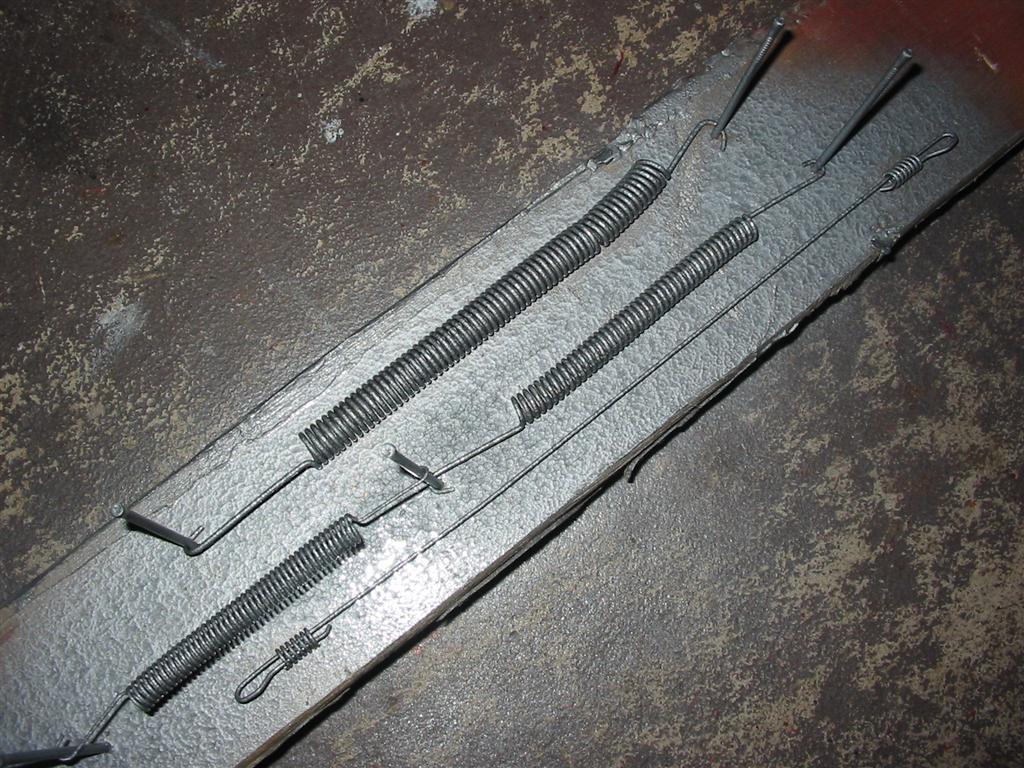
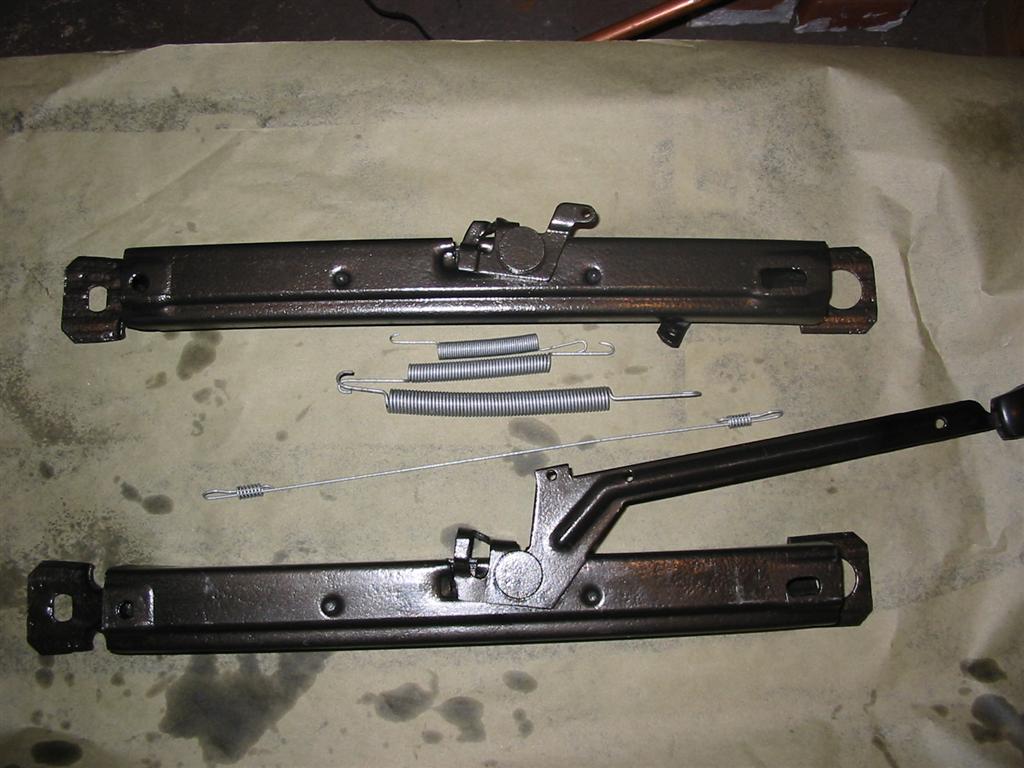
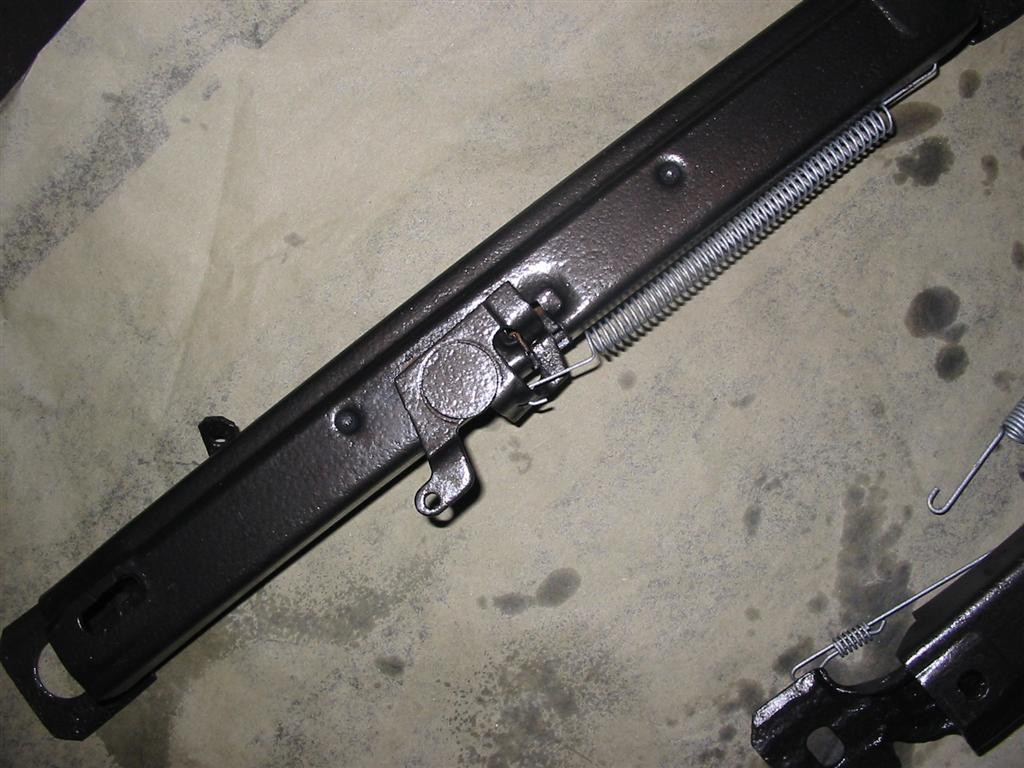
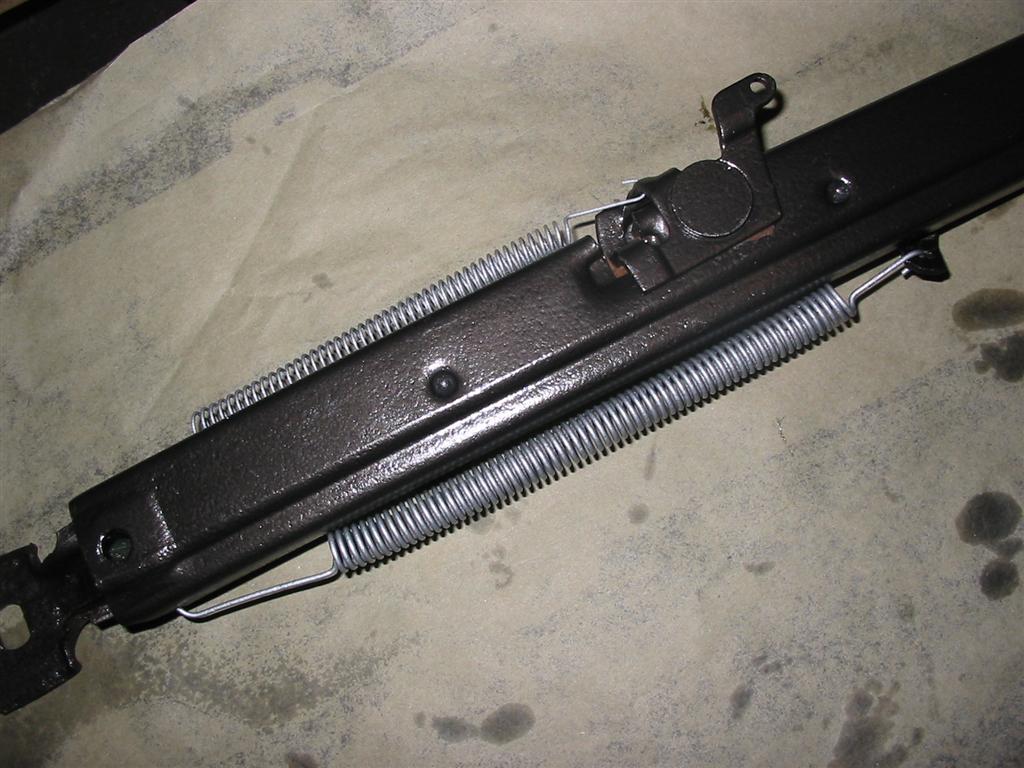
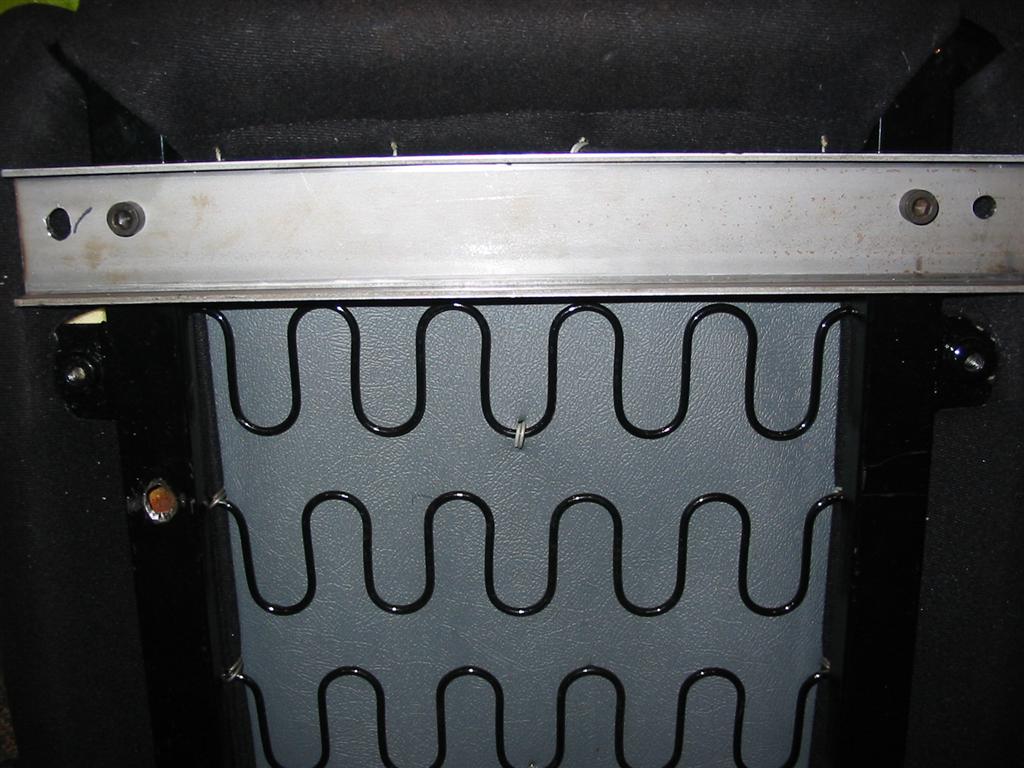
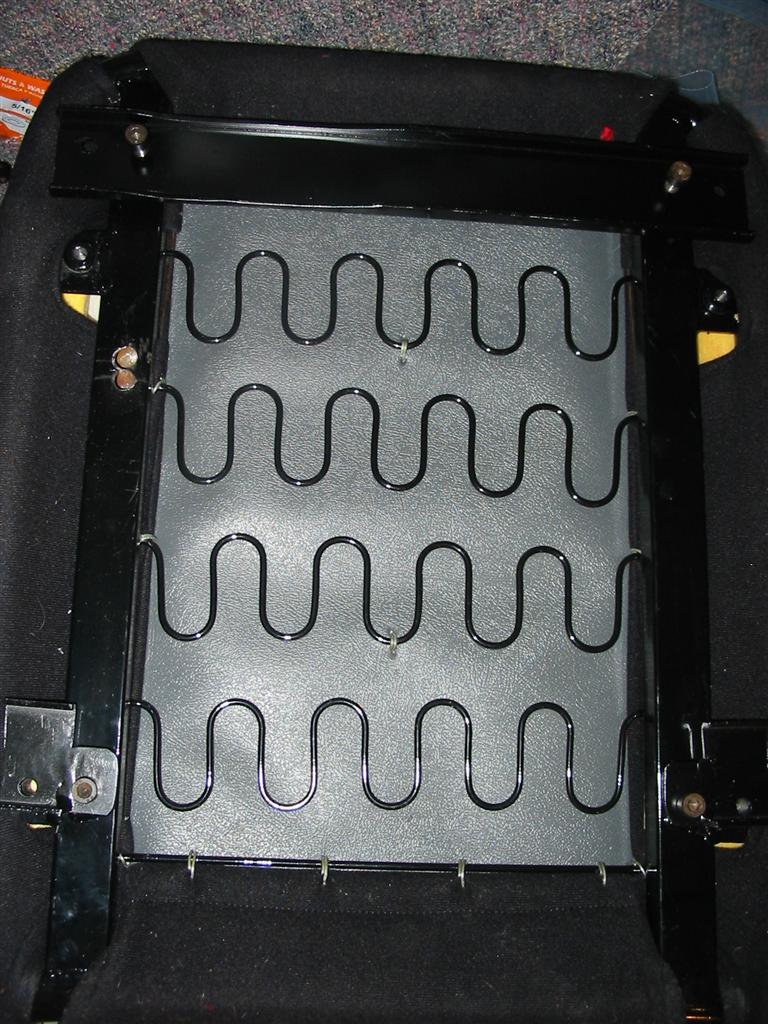
| I then painted the tracks using hammered black and assembled them. | |
|
|
|
|
|
|
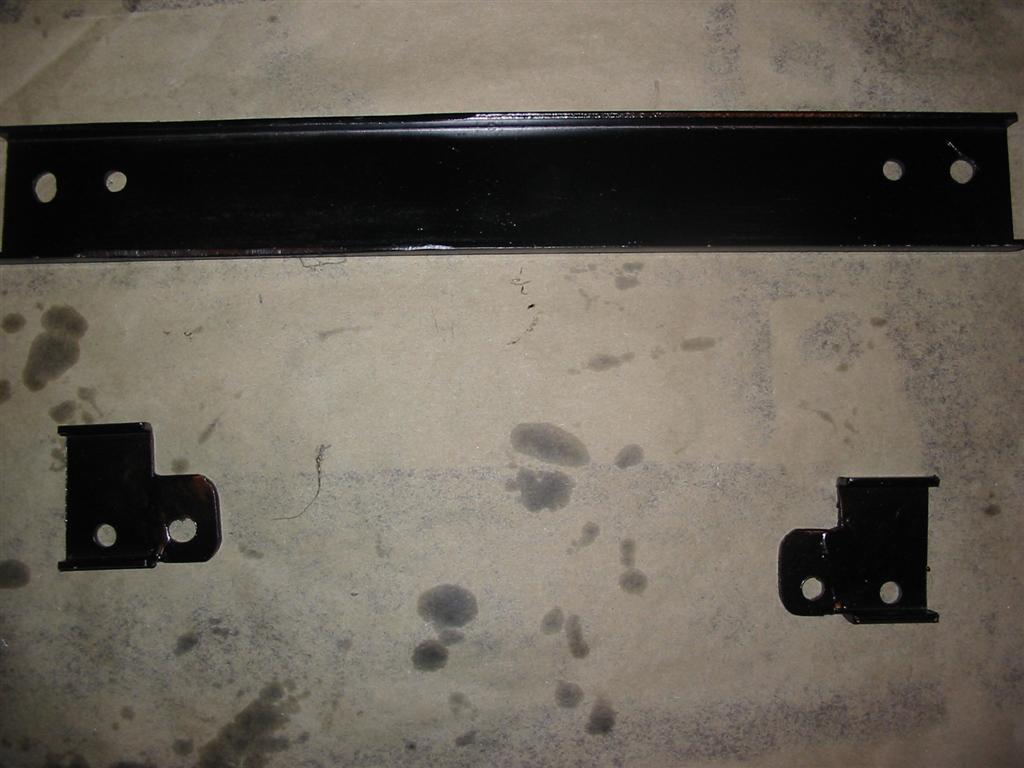
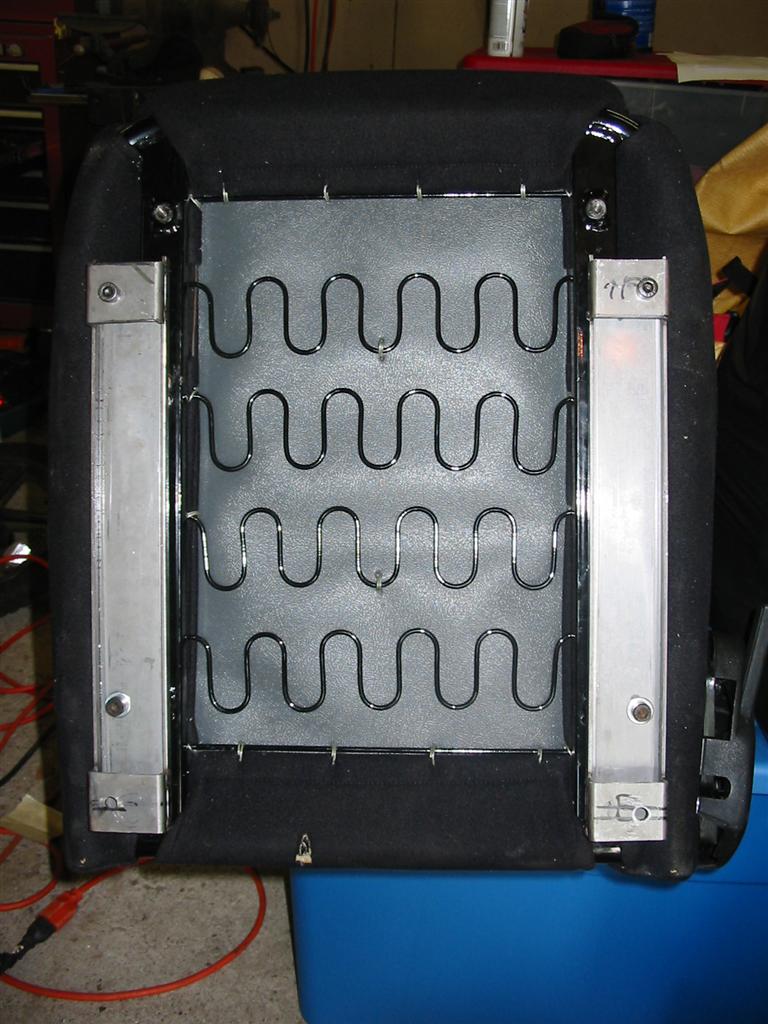
| Here are shots of the adaptors I made to mount the tracks to the seat. This was my first design that did not work on the drivers side for me. I kept them on the passenger side. | |
|
|
|
|
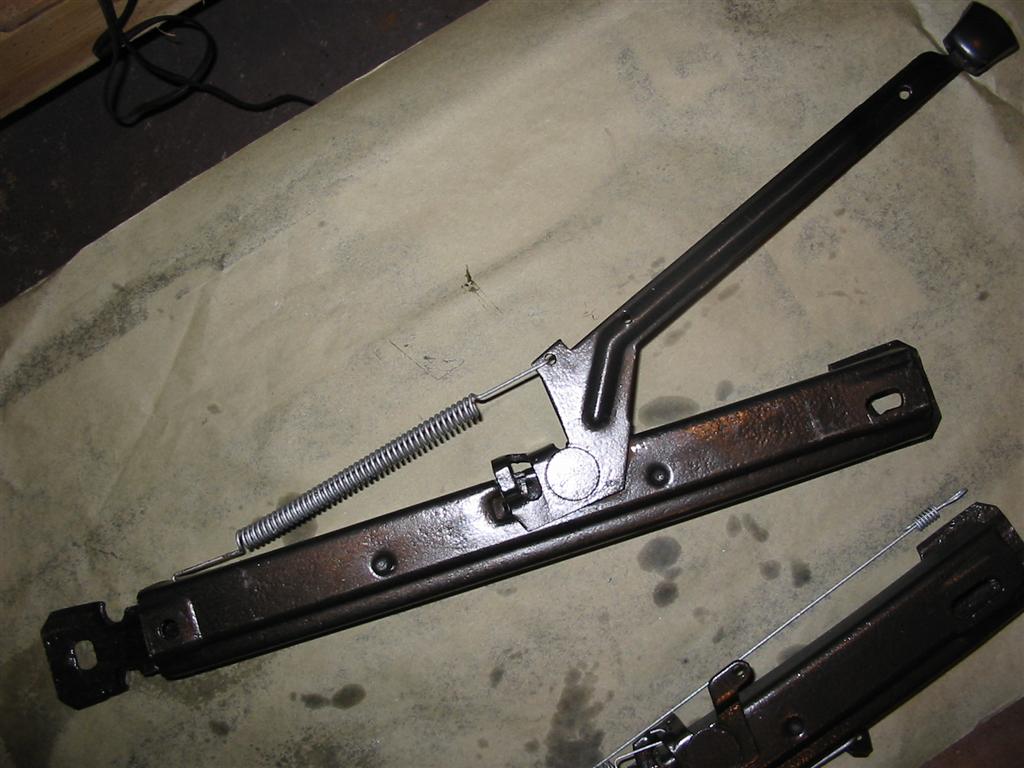
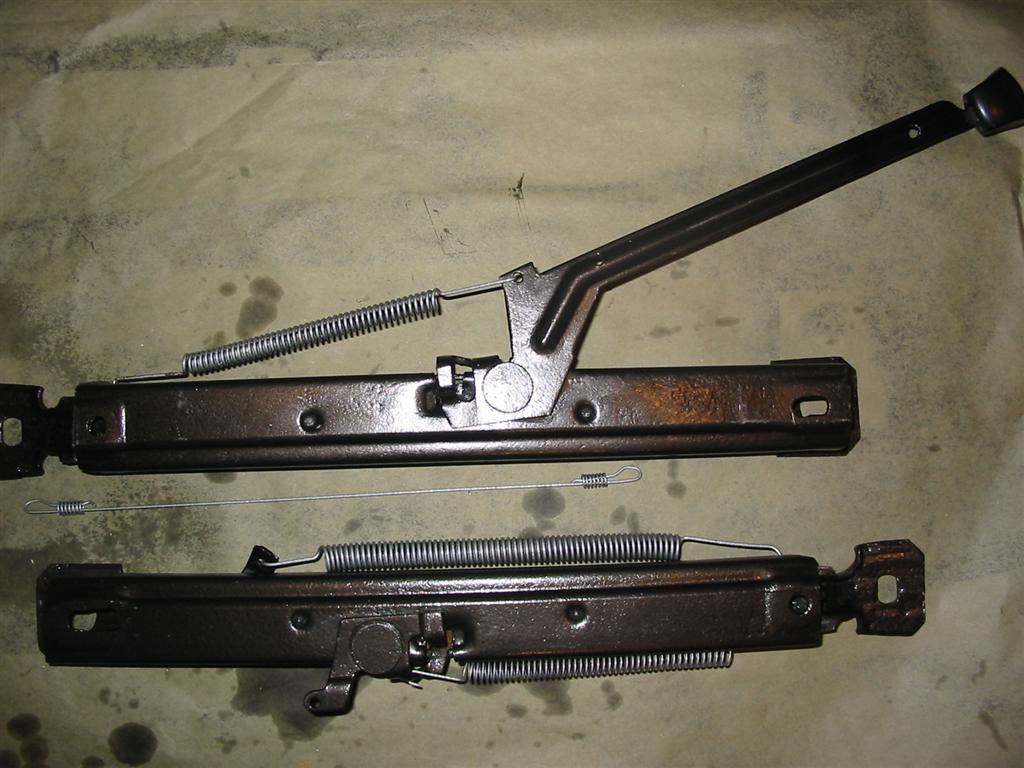
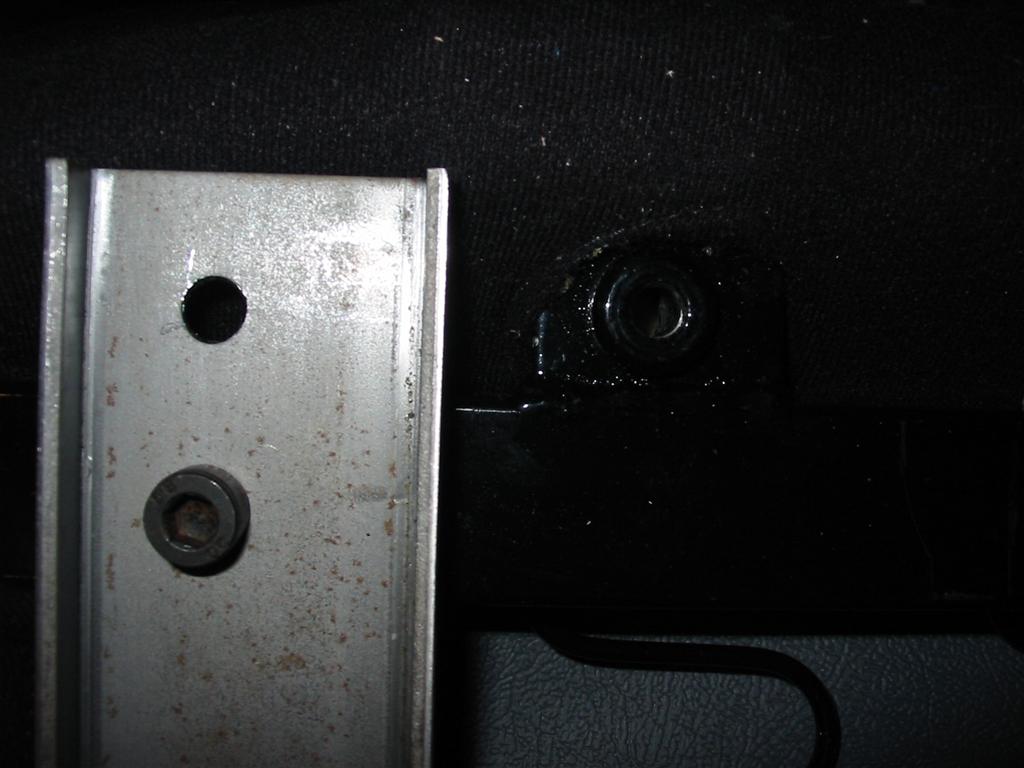
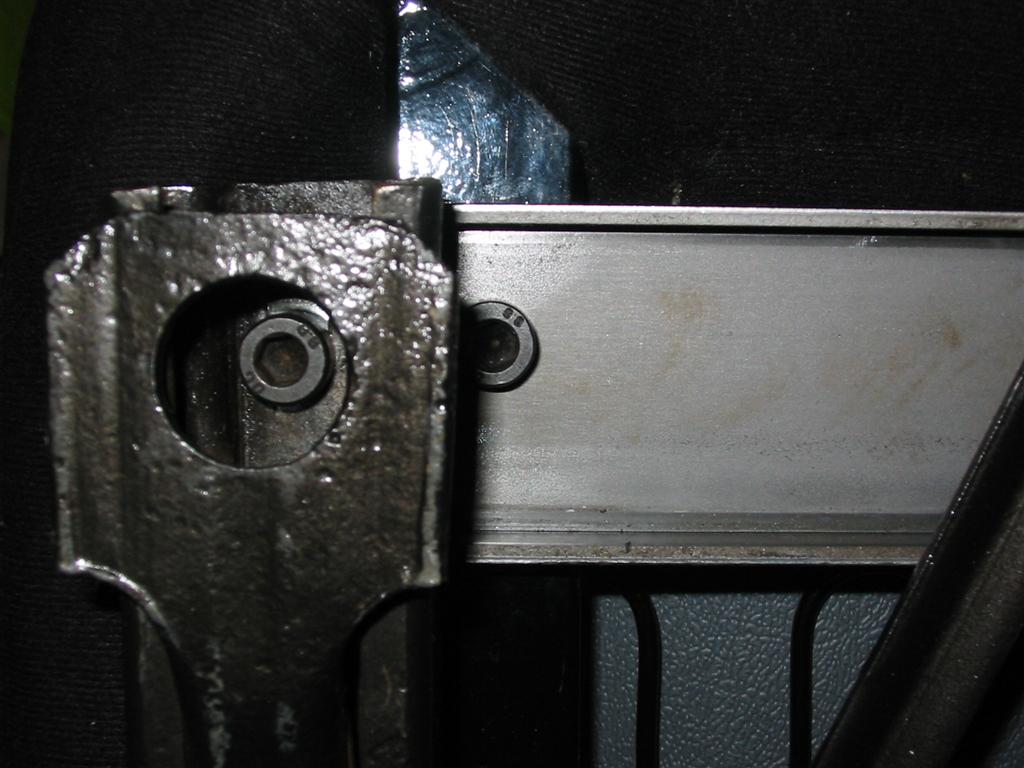
| I then painted the track adaptors and did a final assembly. | |
|
|
|
|
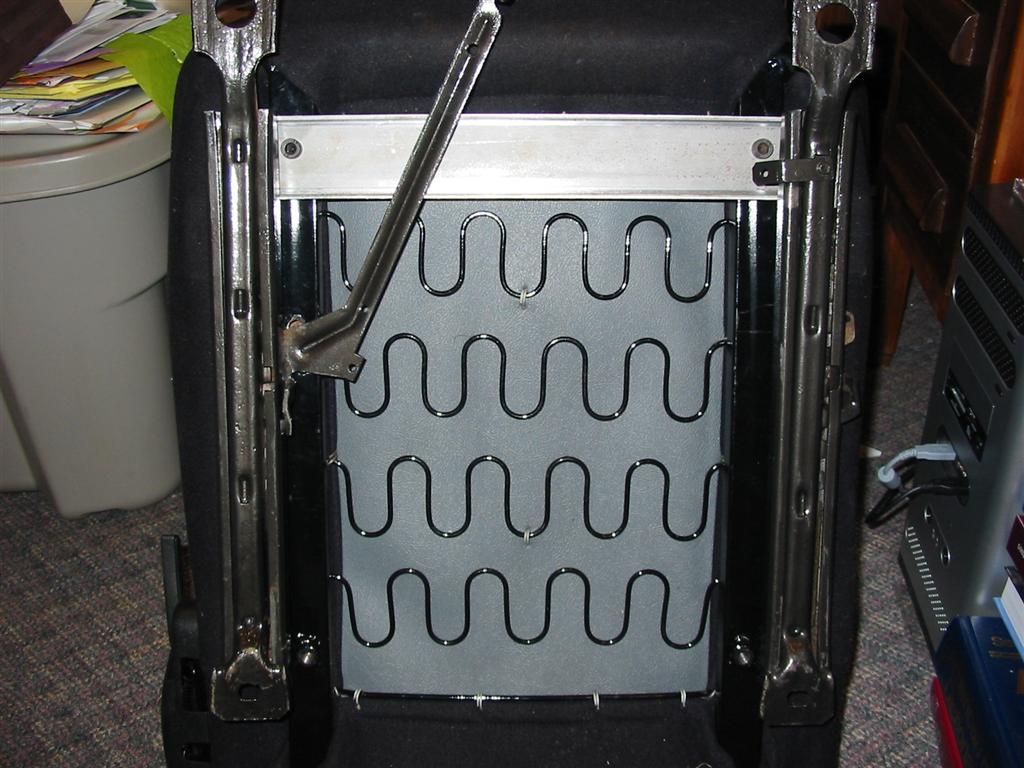
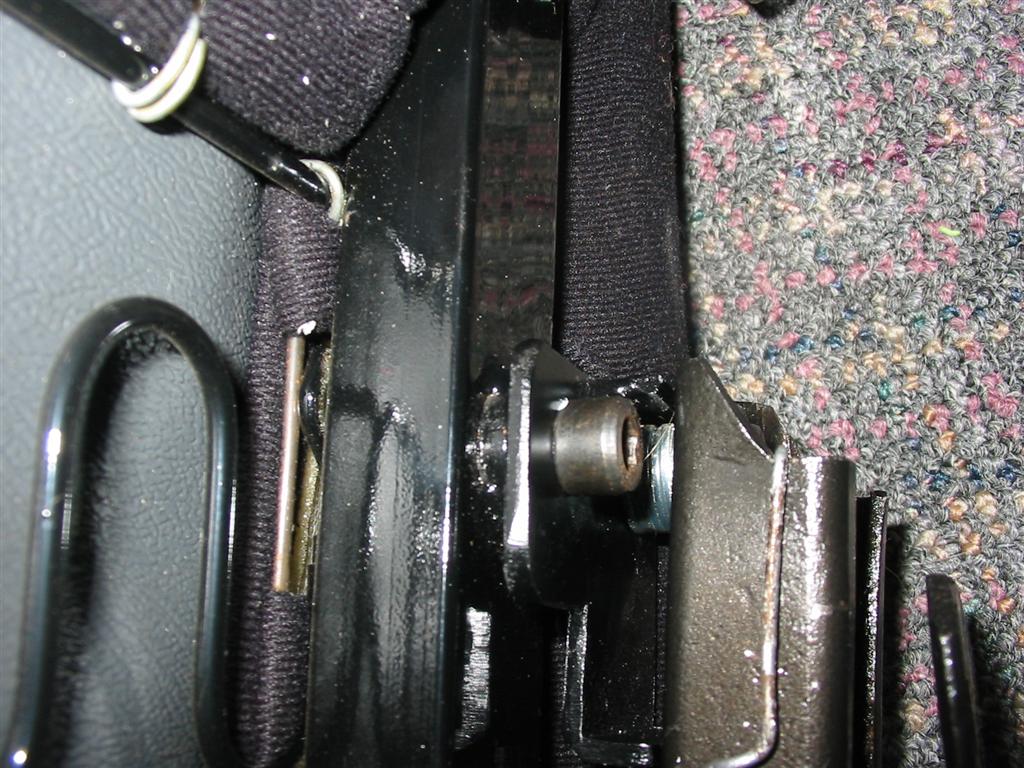
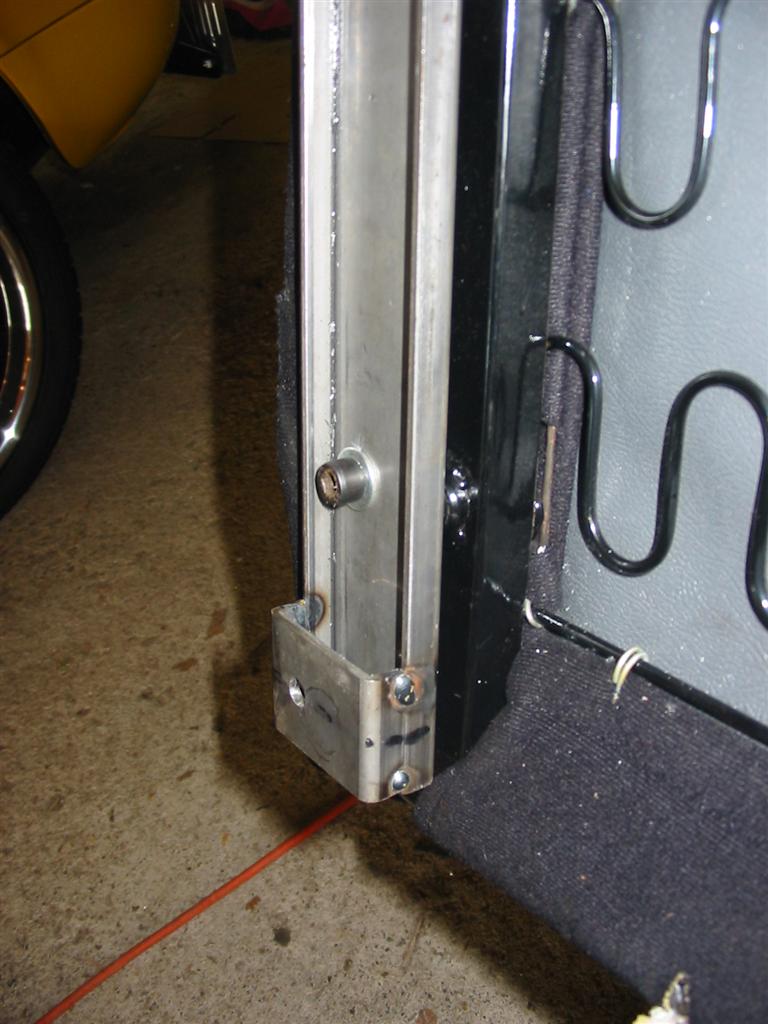
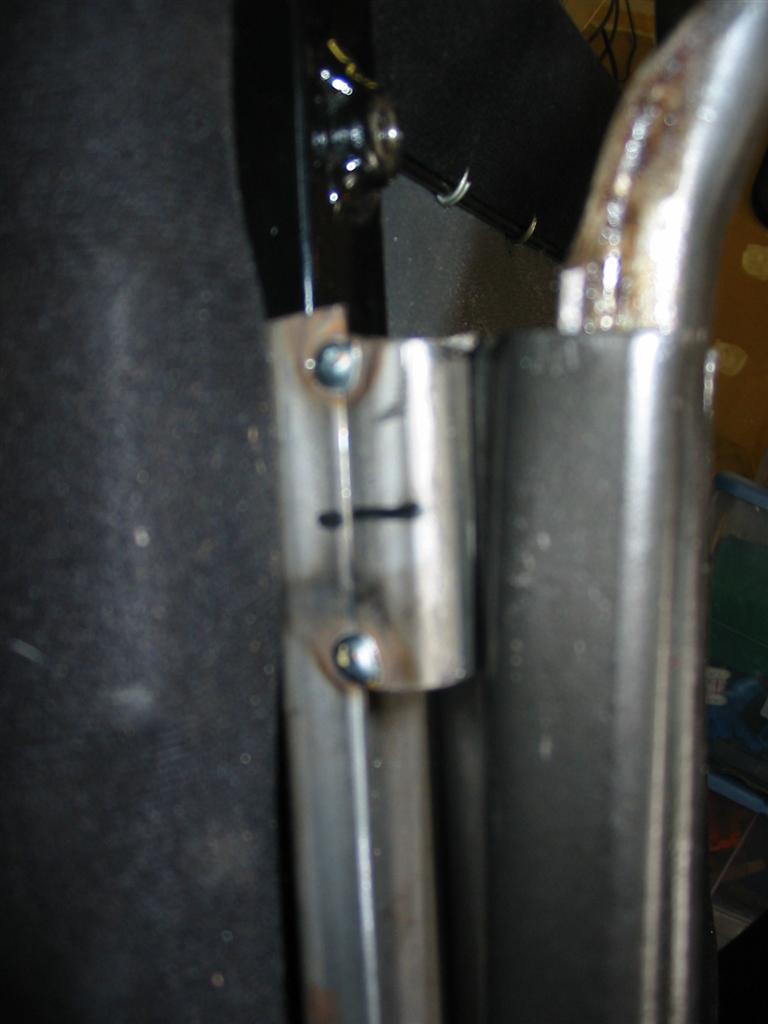
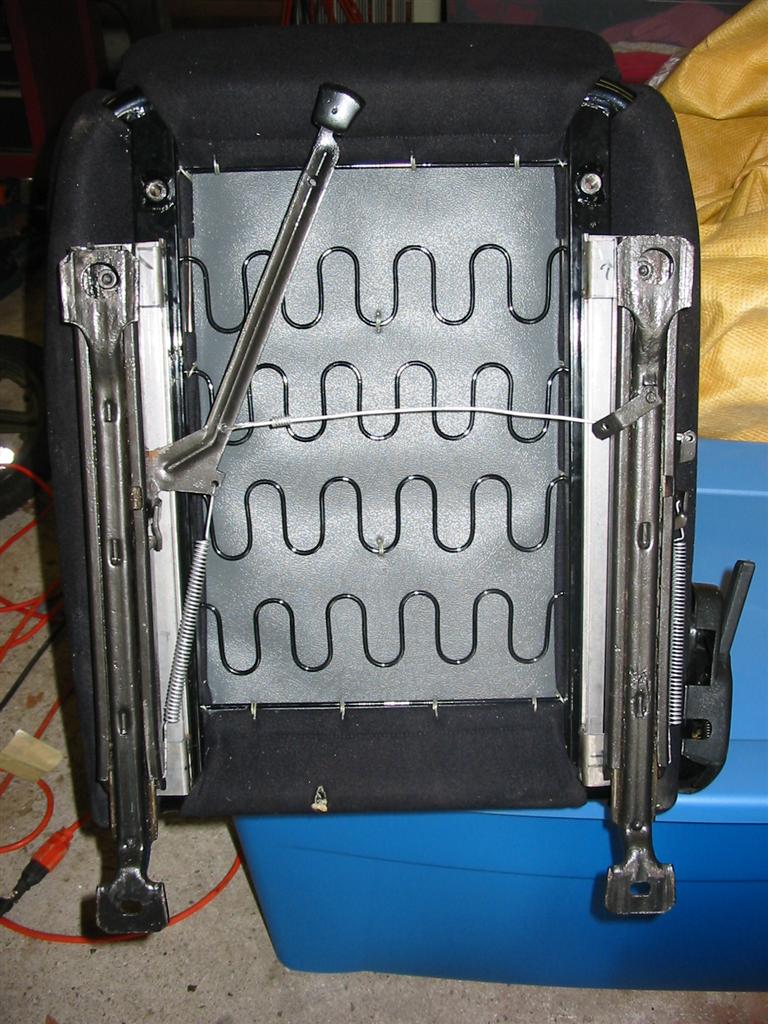
| Here is the creation of the driver side brackets. These move my seat forward and up a little bit more than my previous adaptors. All the welds in the pictures below are just tack welds. I fully welded them before I installed finished them up. | |

|
|
|
|
|
|
|
|
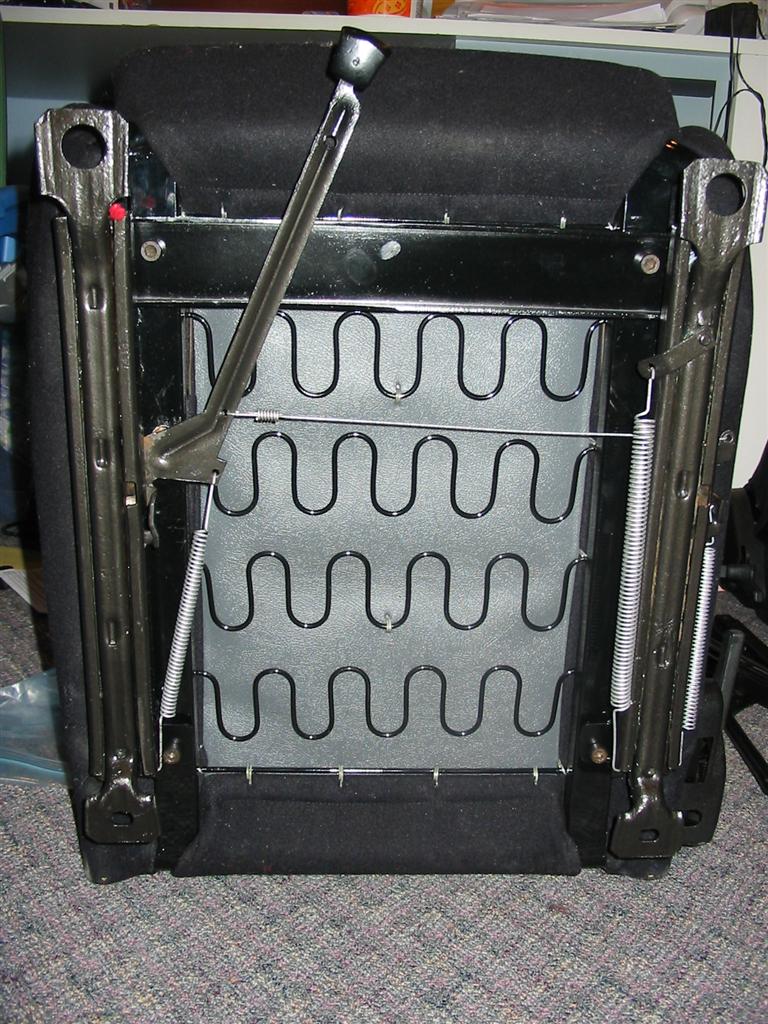
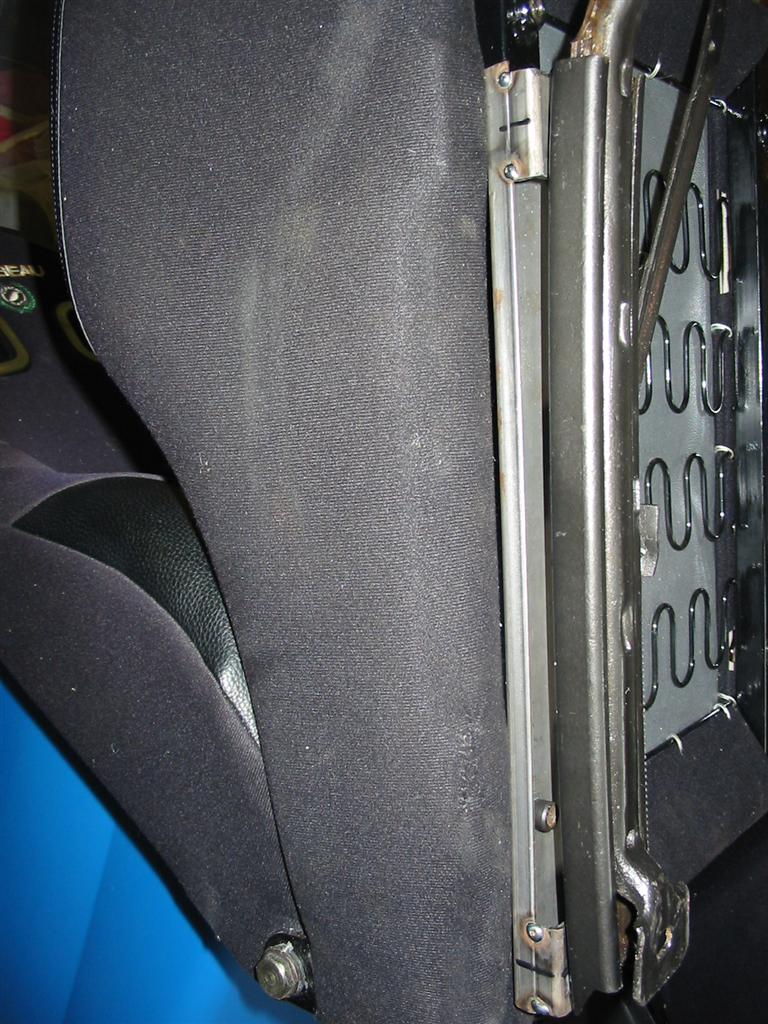
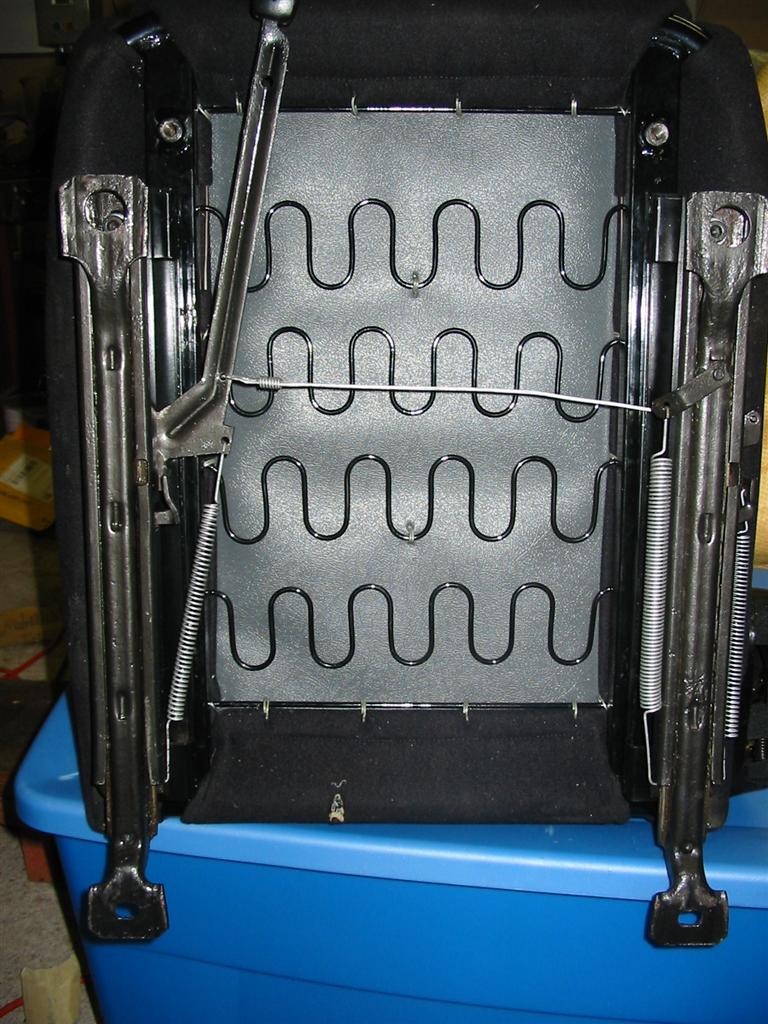
| I painted the adaptors black and put everything together. | |
|
|
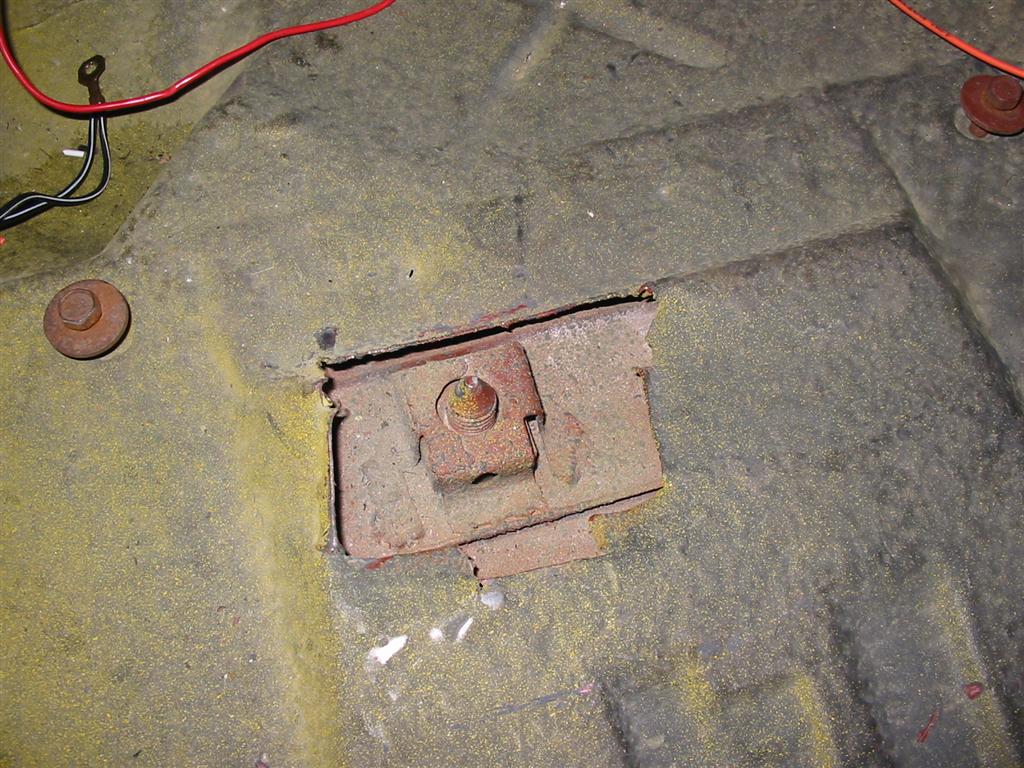
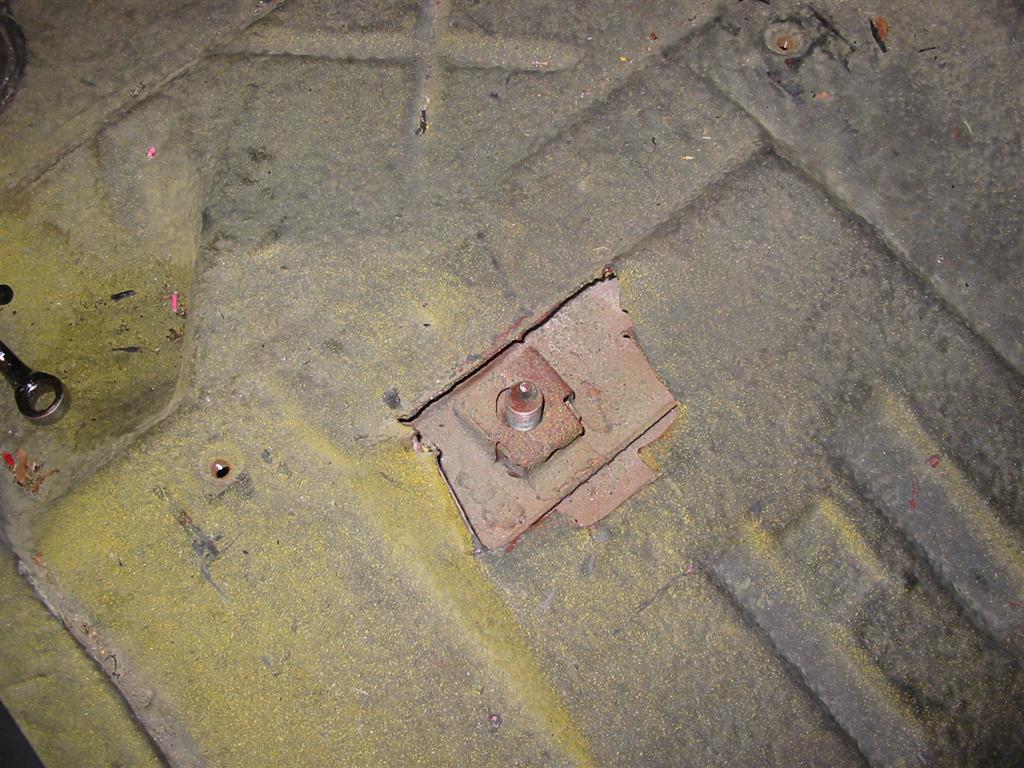
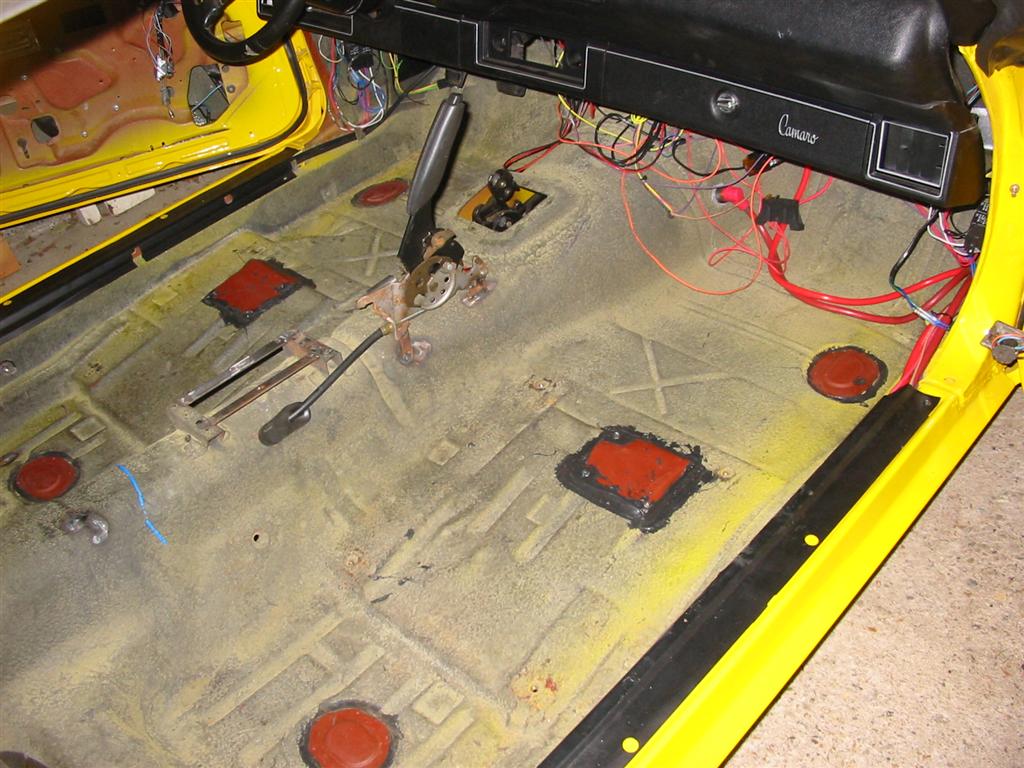
| Here are the holes that were in my floorpan to acces the body mounts. These were butchered back in the 90s. | |
|
|
|
|
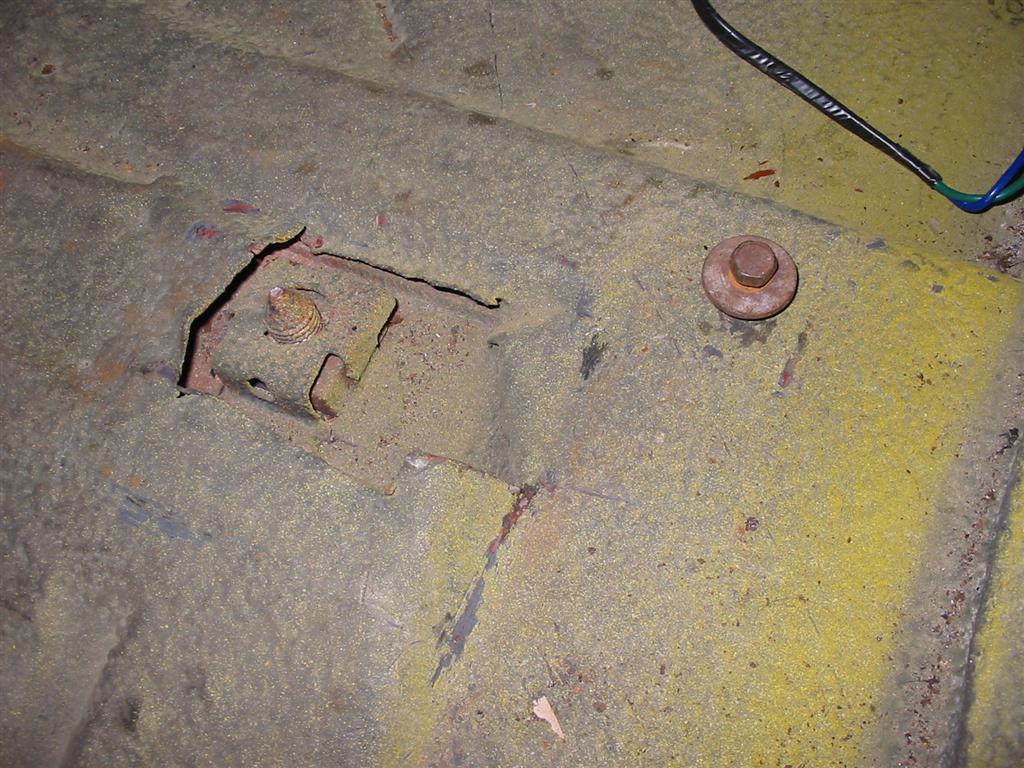
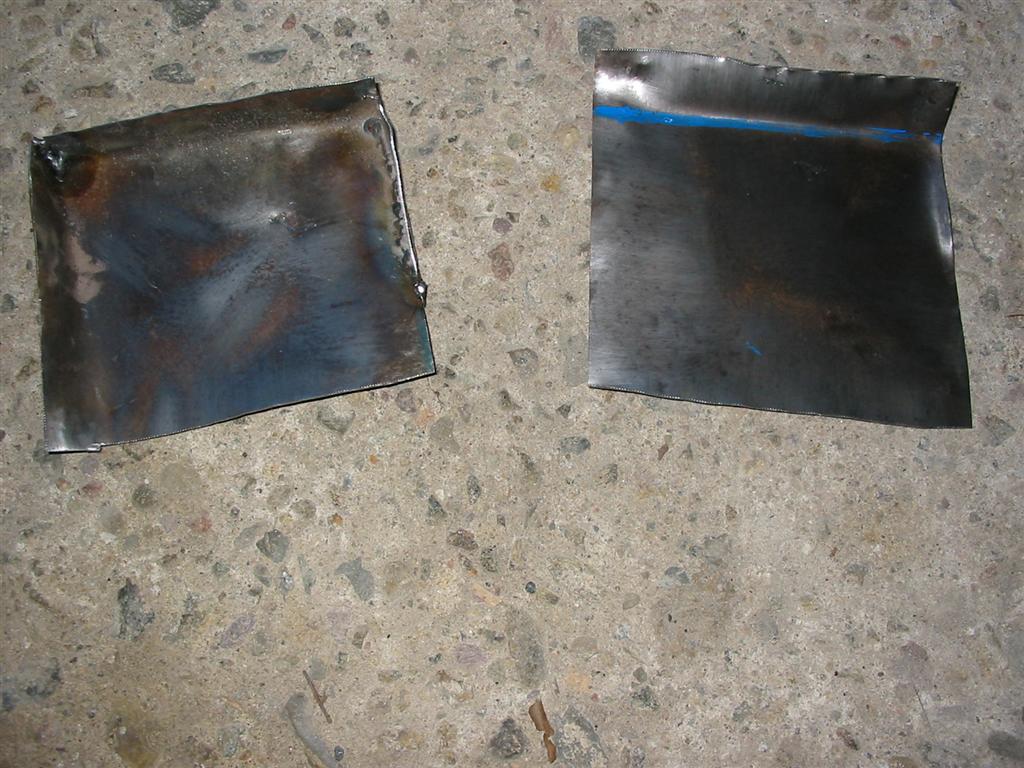
| Here are the patches that I made. | |
|

|
|
|
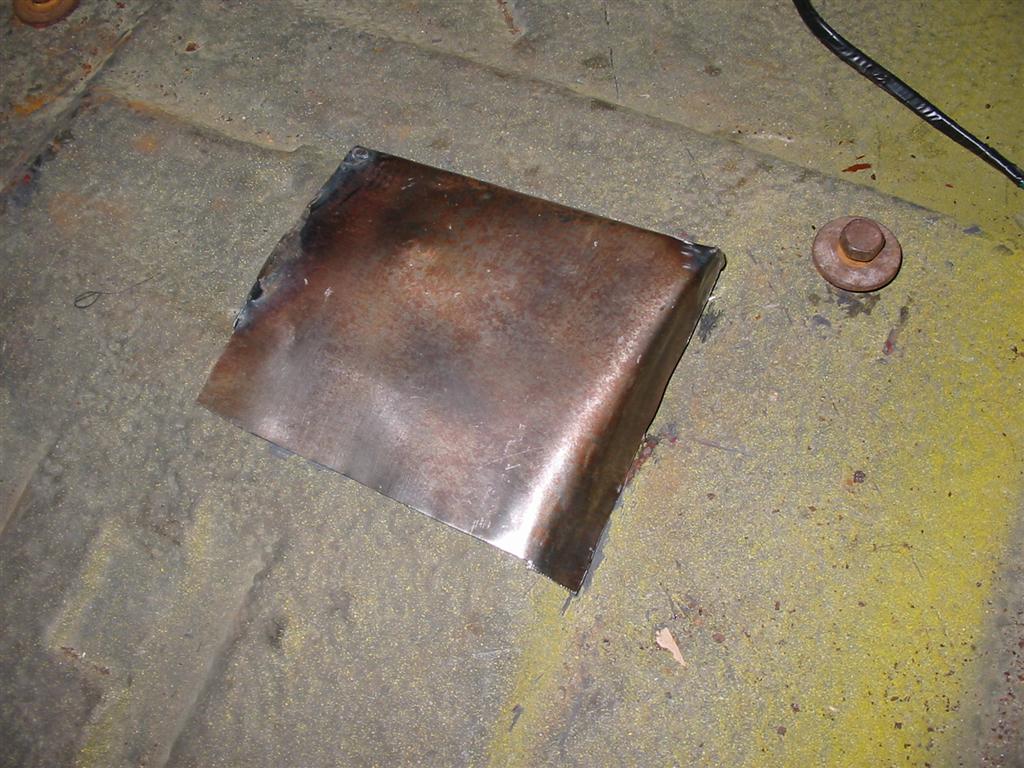
| Patches painted and another trial fit. | |
|
|
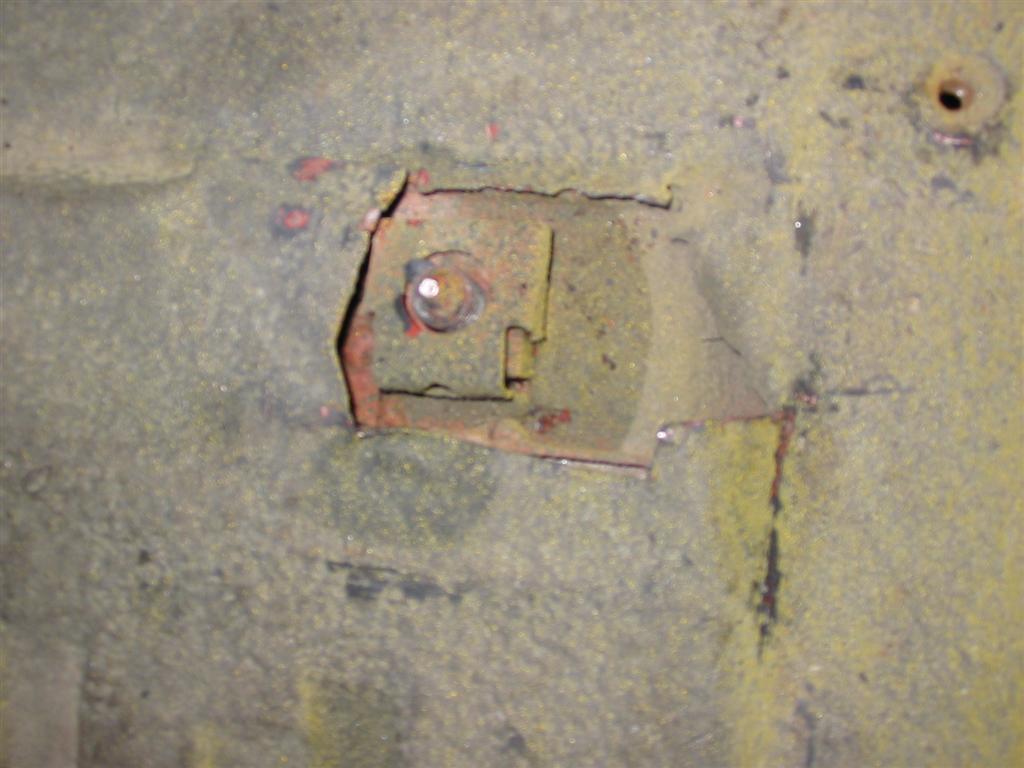
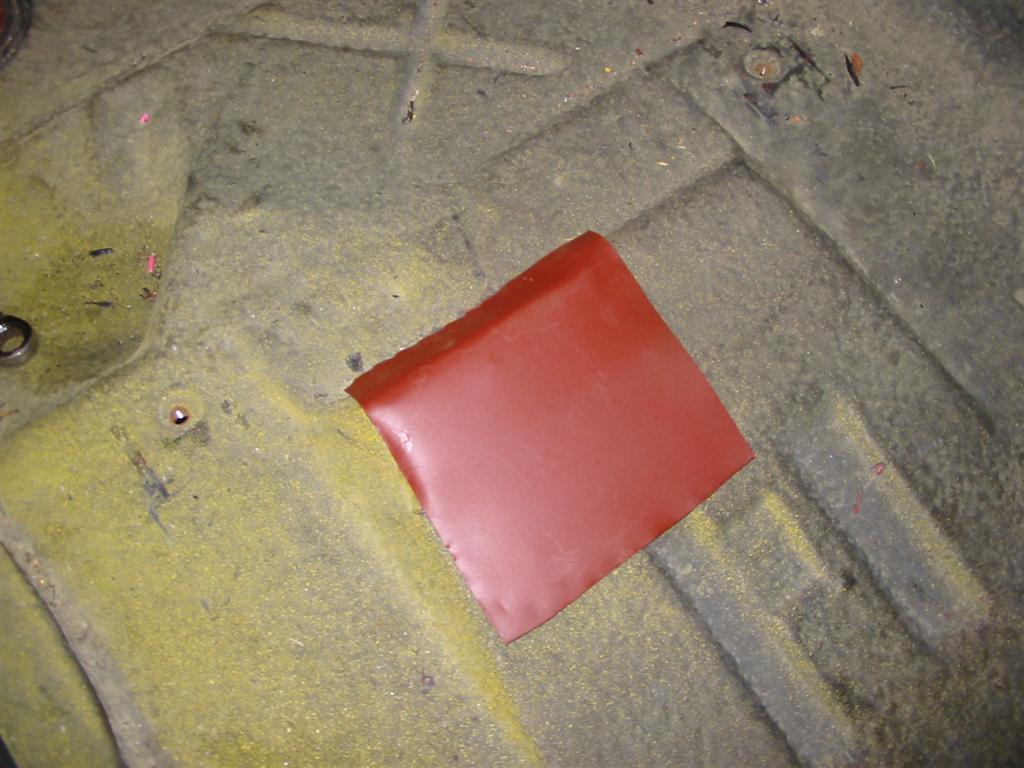
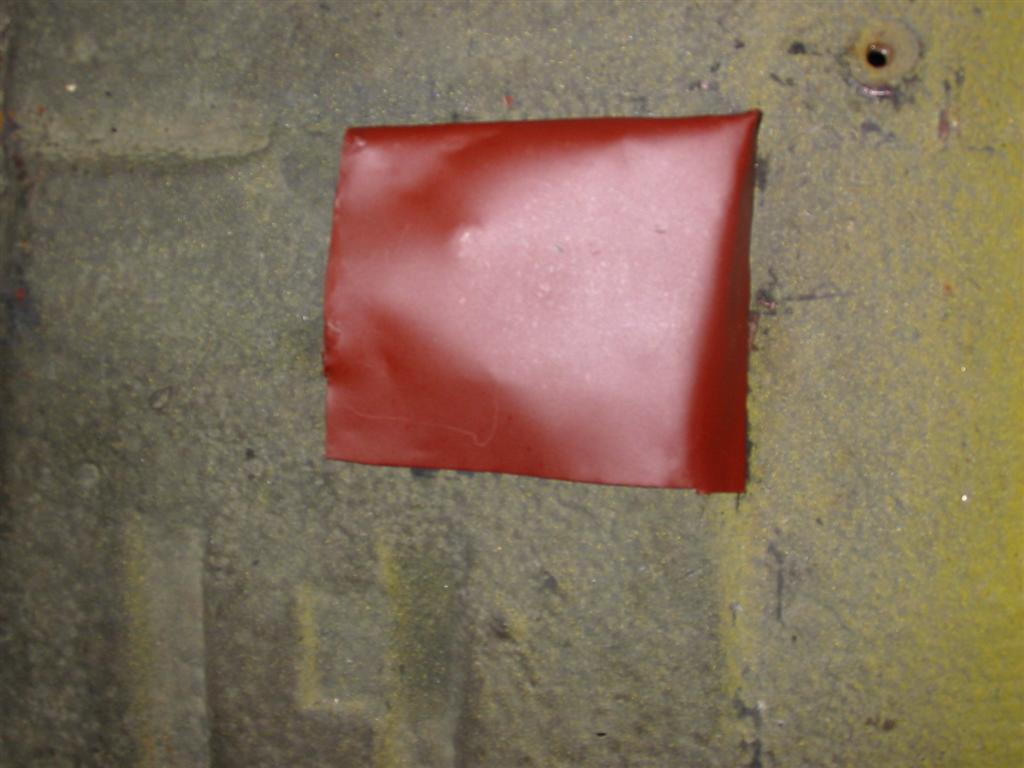
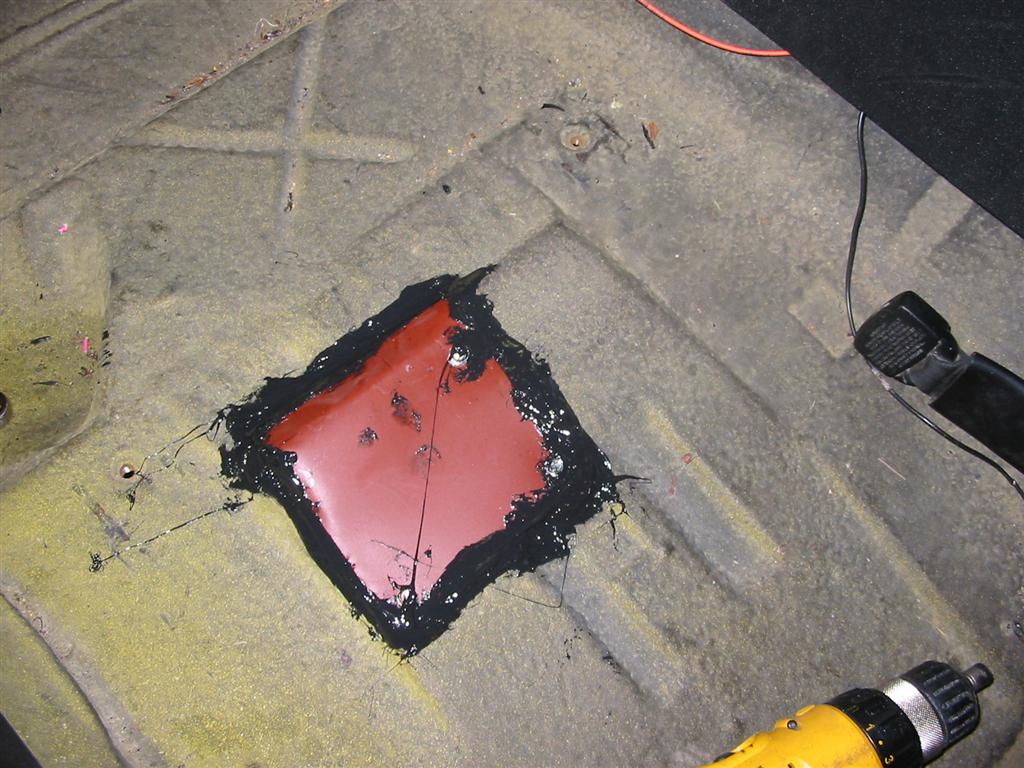
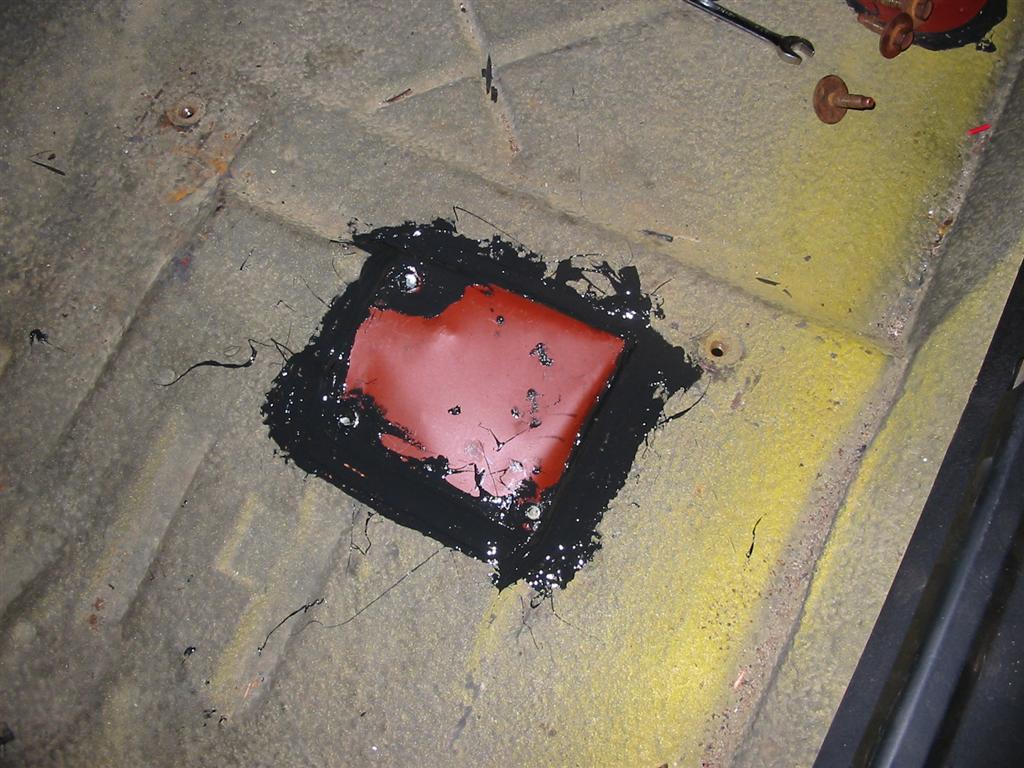
| Patches installed with screws and seam sealer. | |
|
|
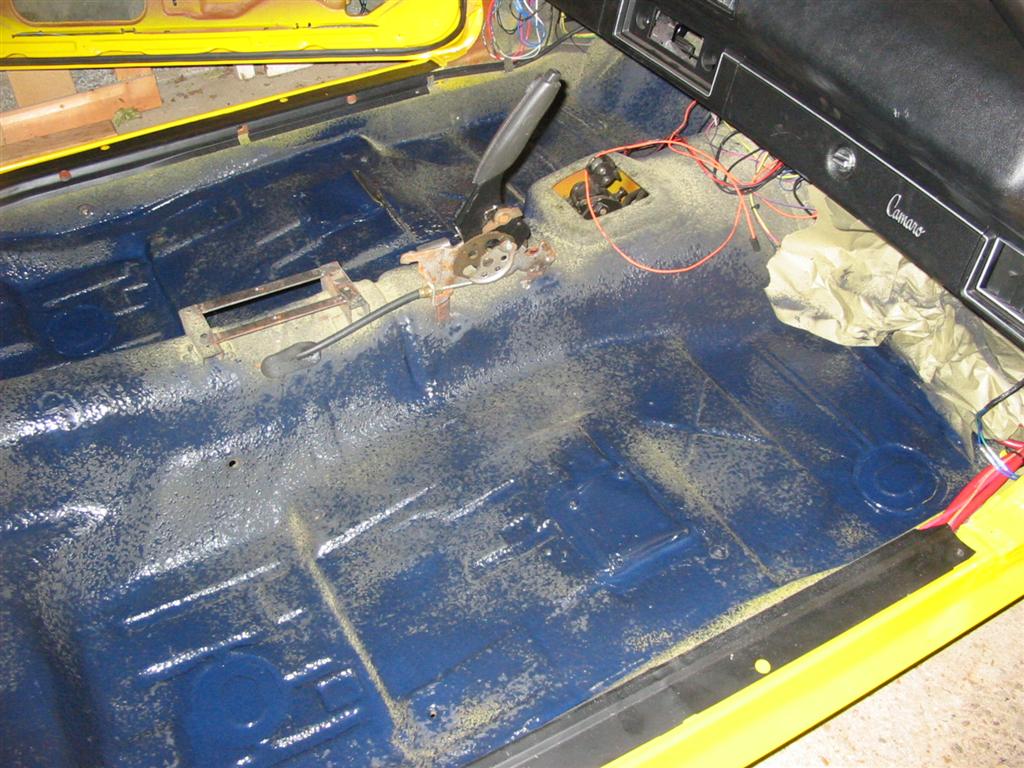
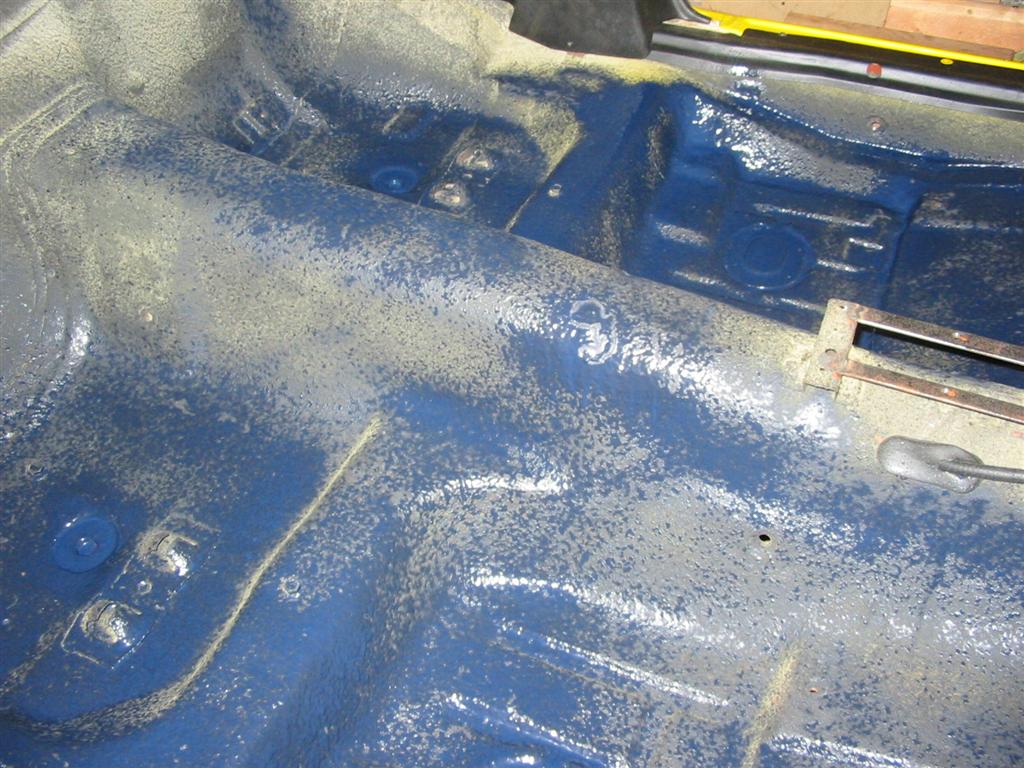
| The floor is now ready for a touchup coat of Lizard Skin. | |
|
|
|
|
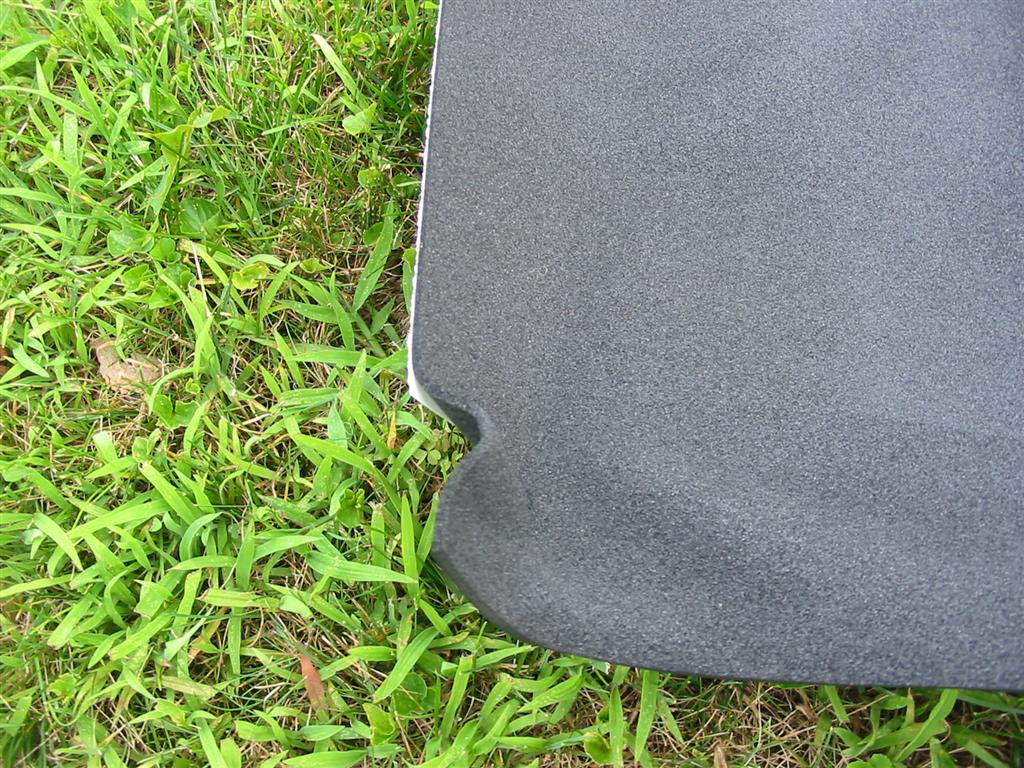
| I laided the Ensolite IUO Peal and Stick out and cut it up and mounted it to the floor of the car. | |
|
|
|
|
|

|
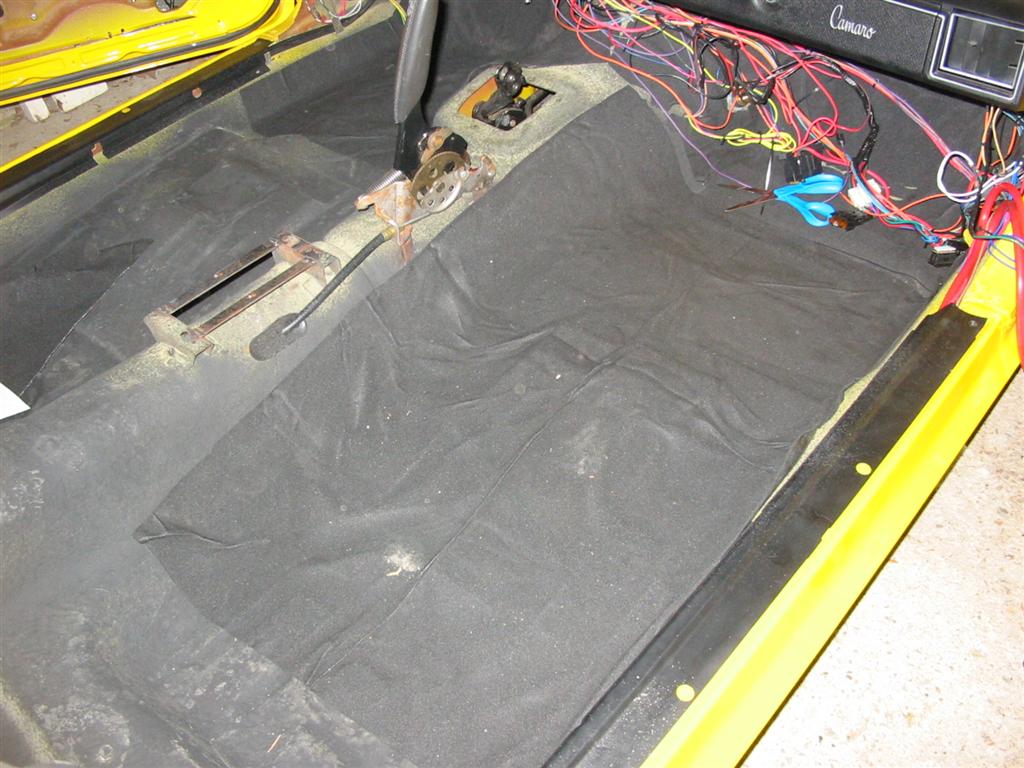
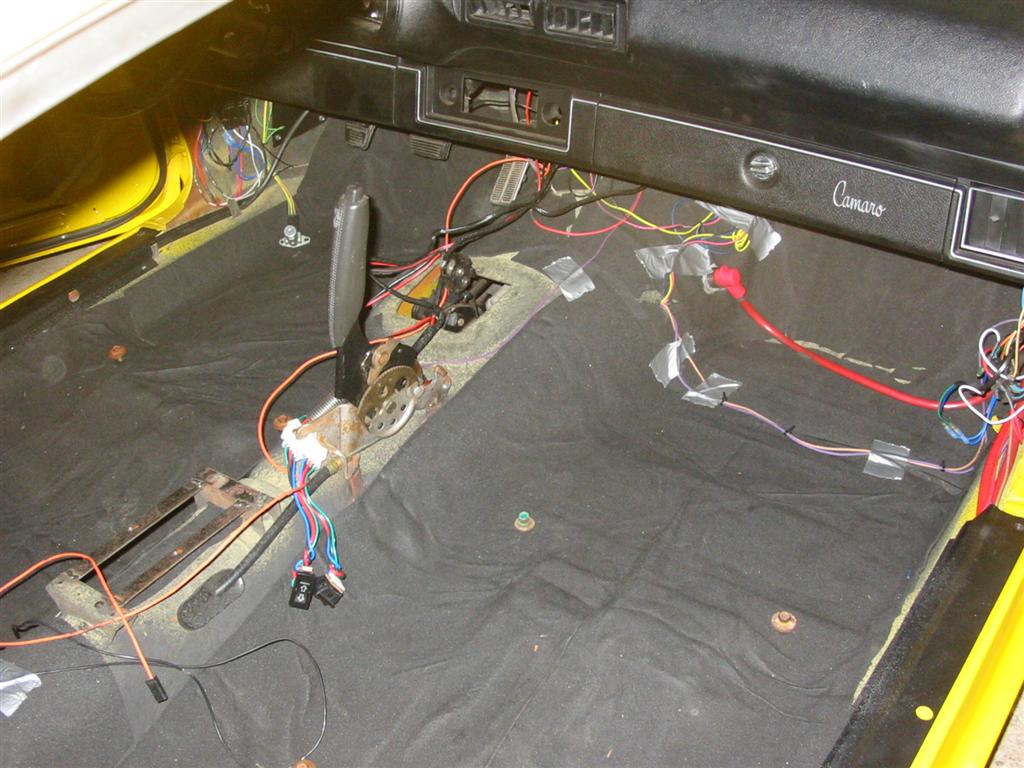
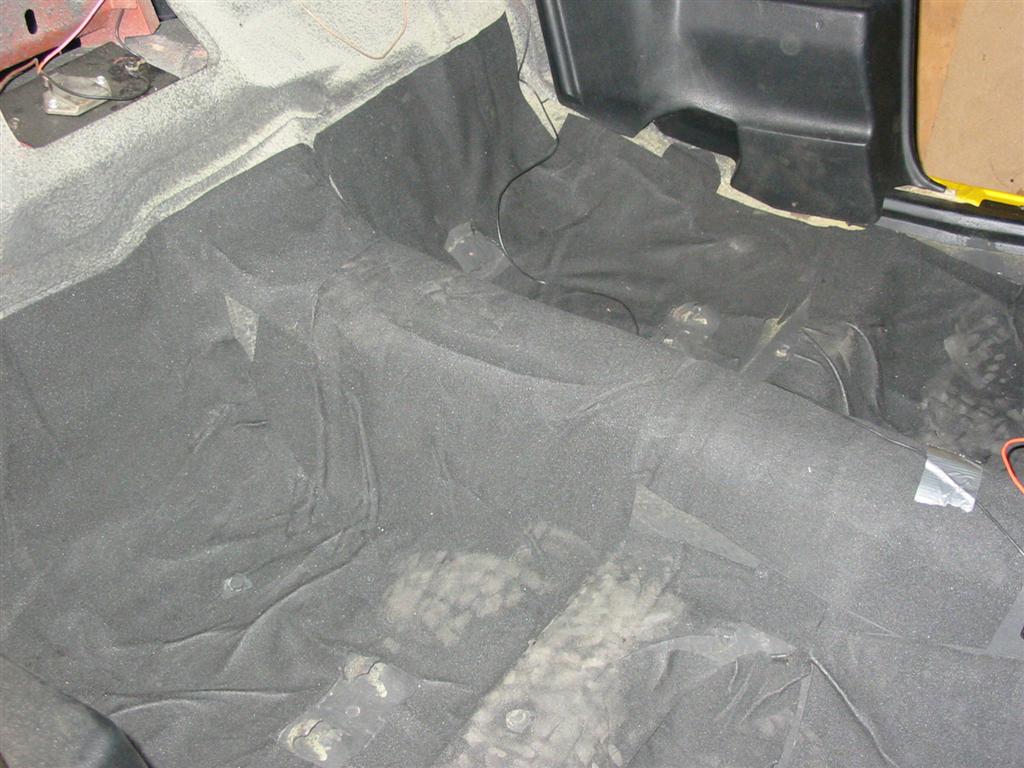
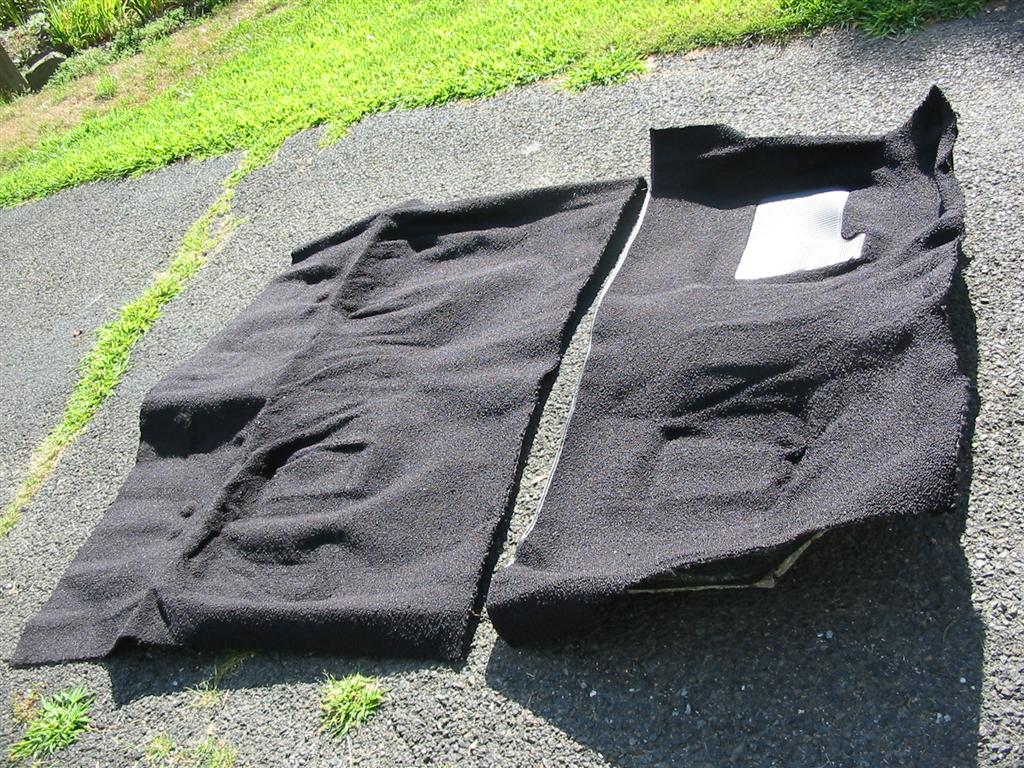
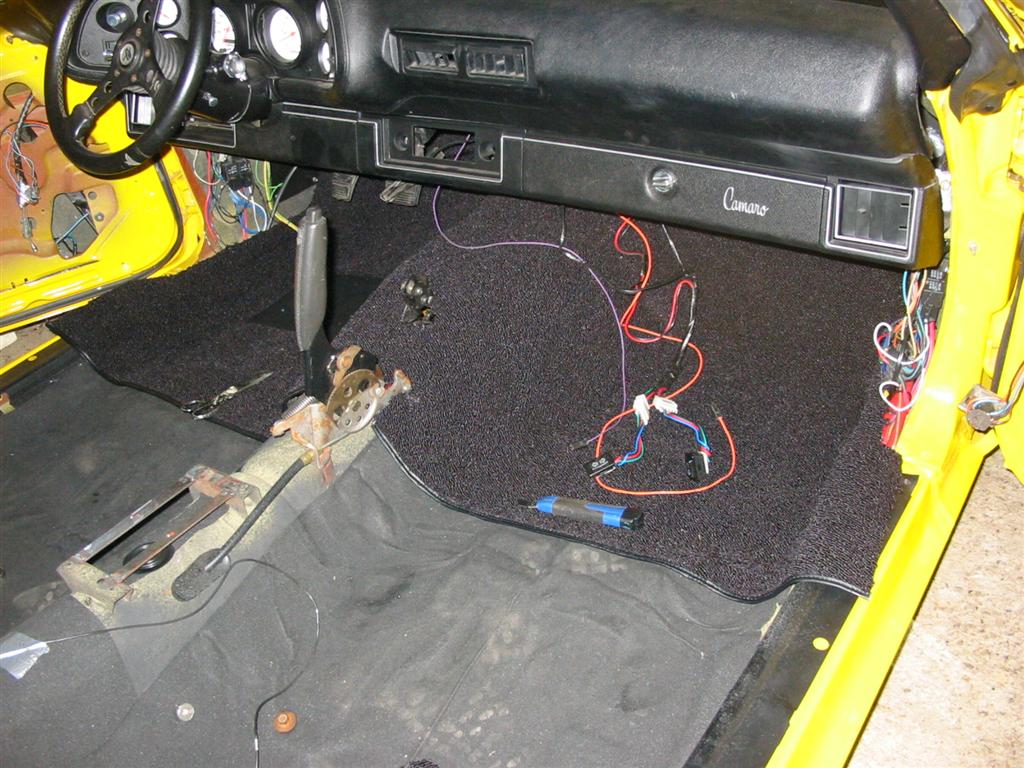
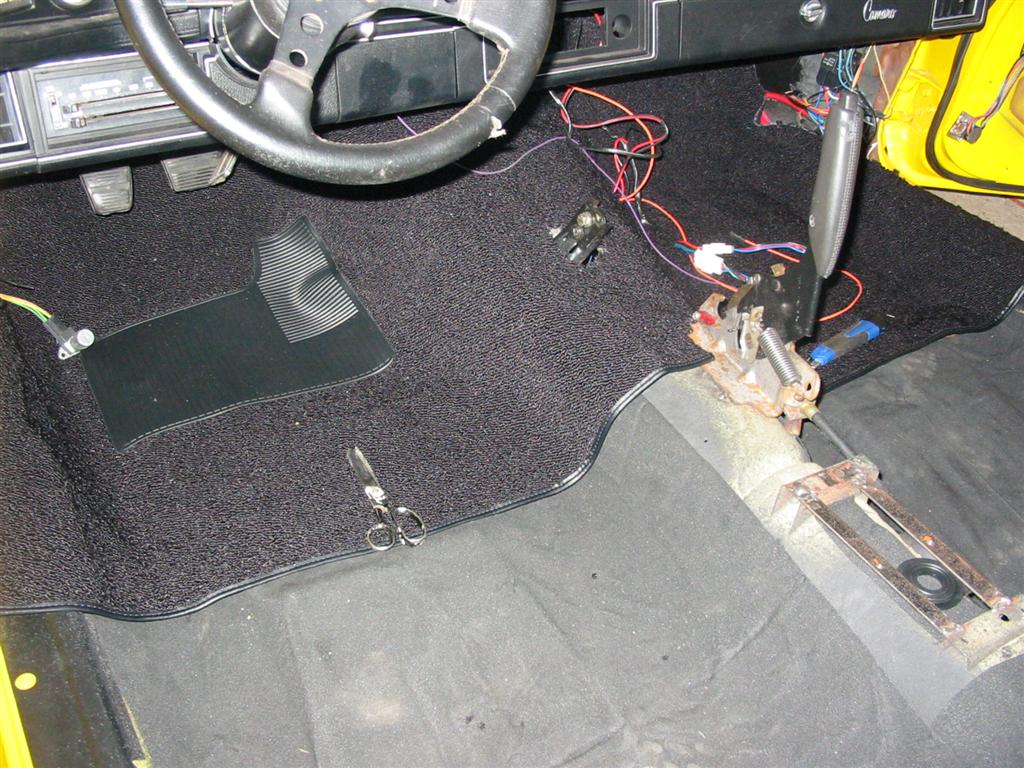
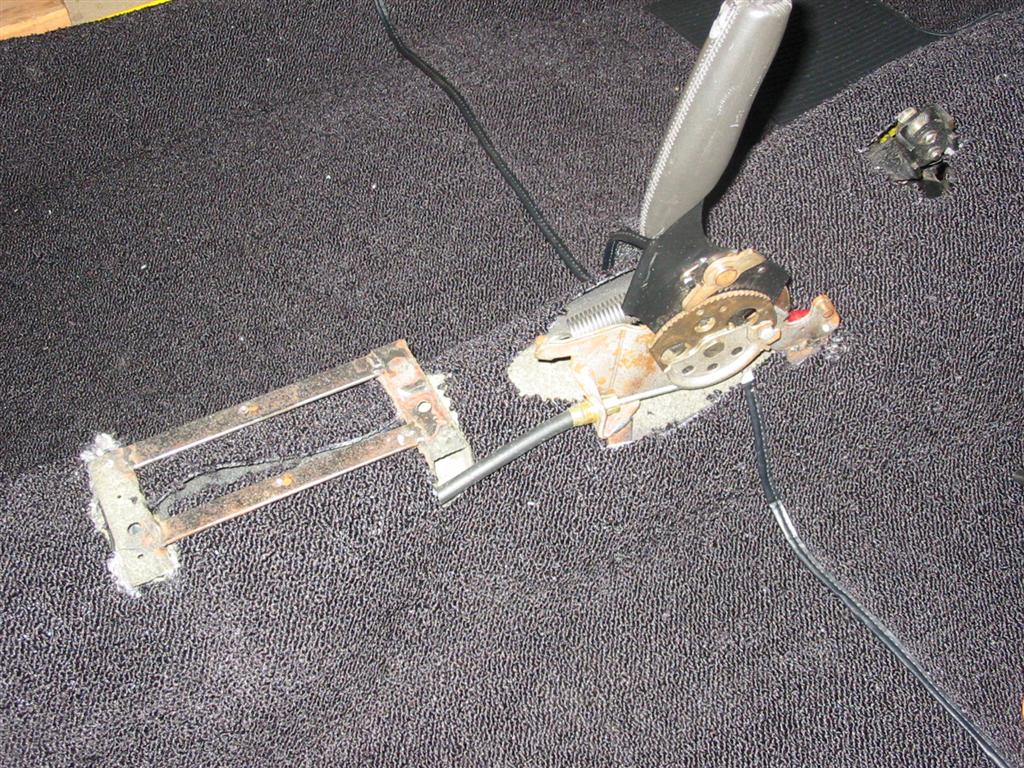
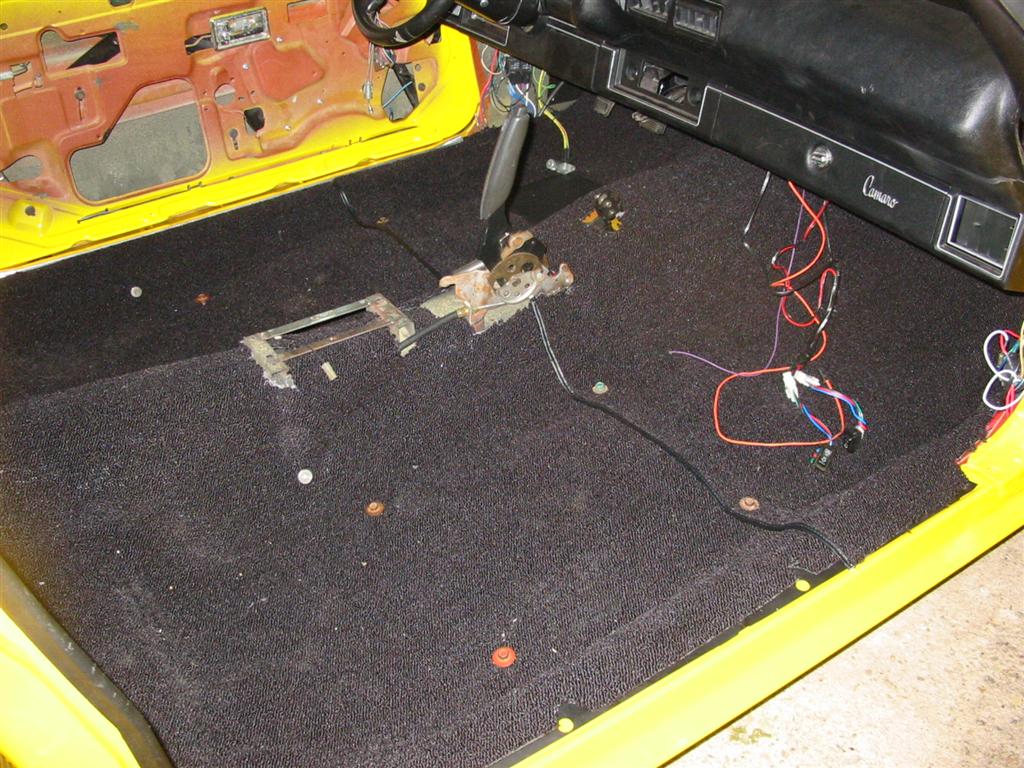
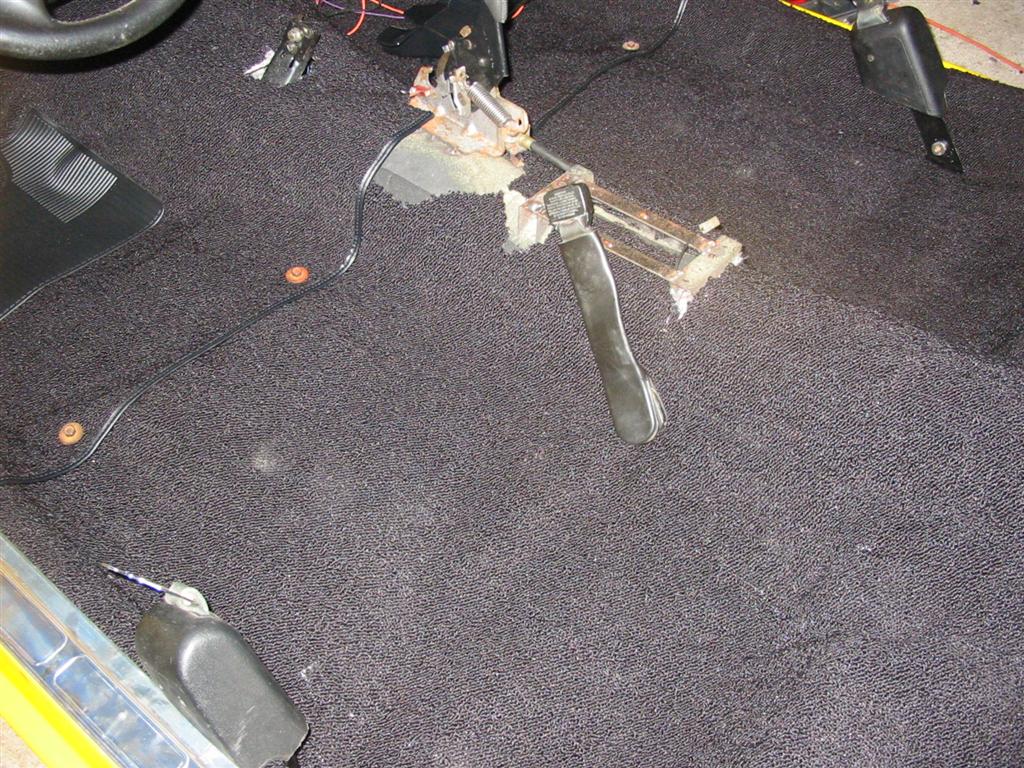
| Here is the installation of the carpet. | |
|
|
|
|
|
|
|
|
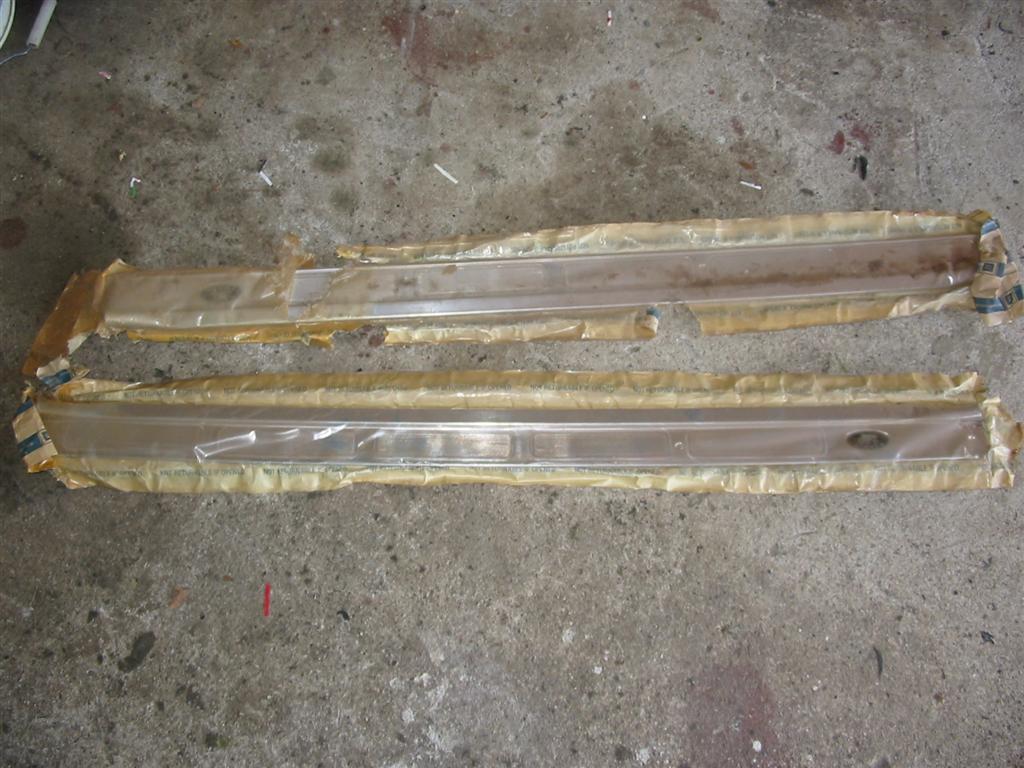
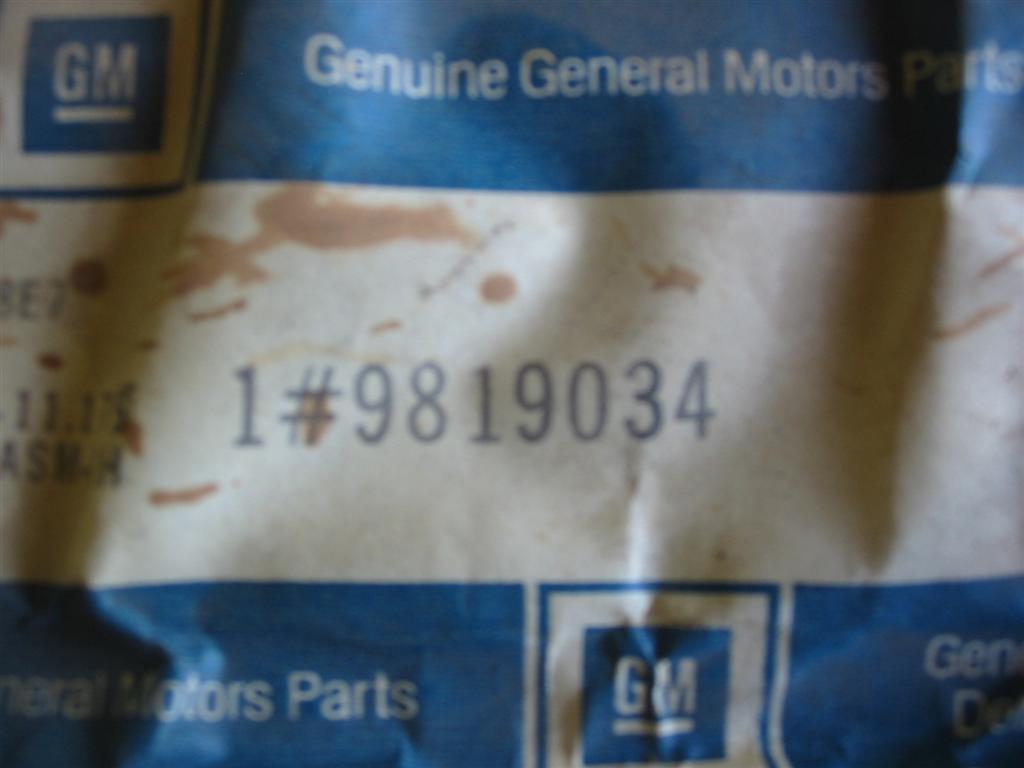
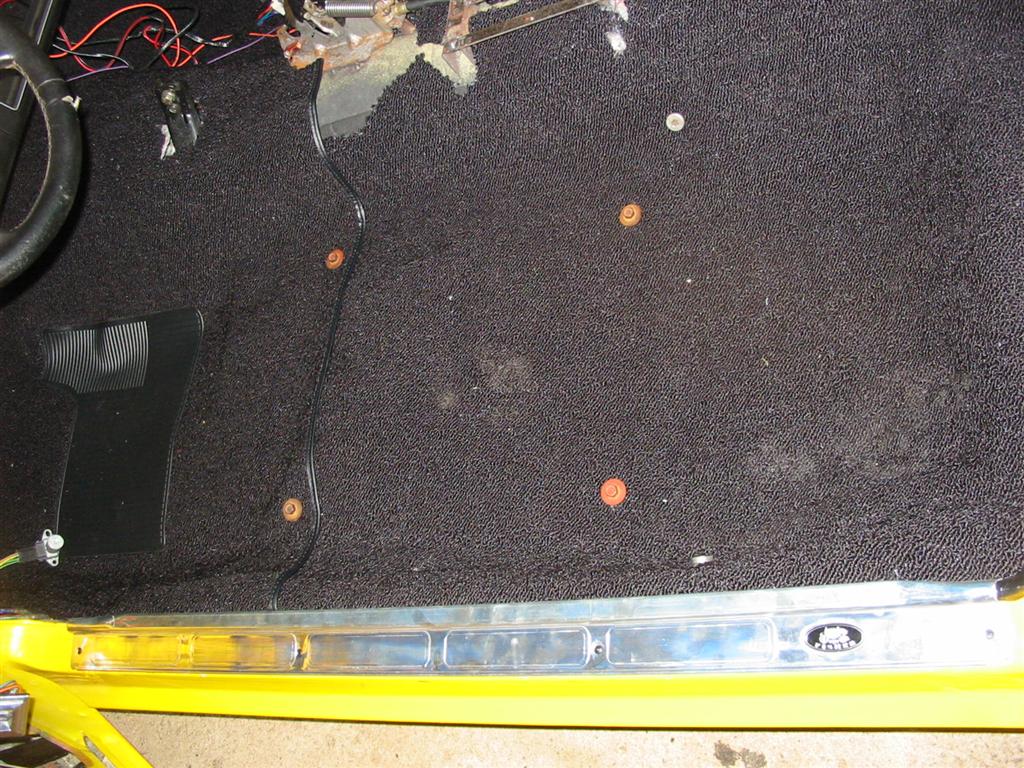
| Next I installed the sill plates. These are GM sill plates. | |
|
|

|
|
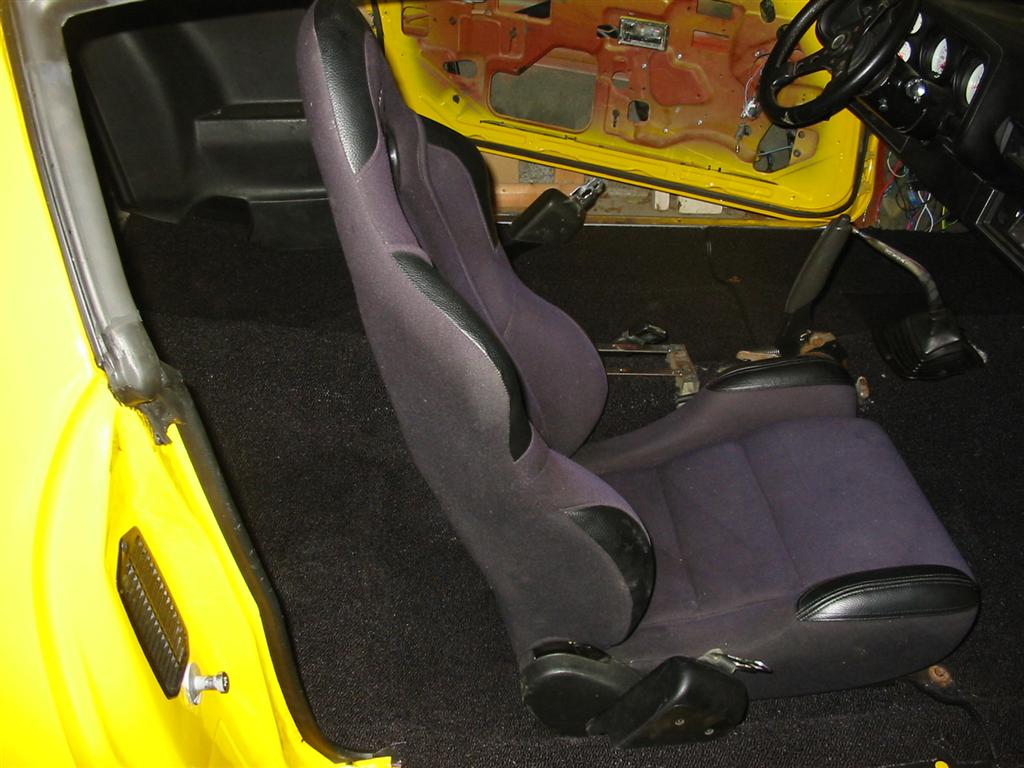
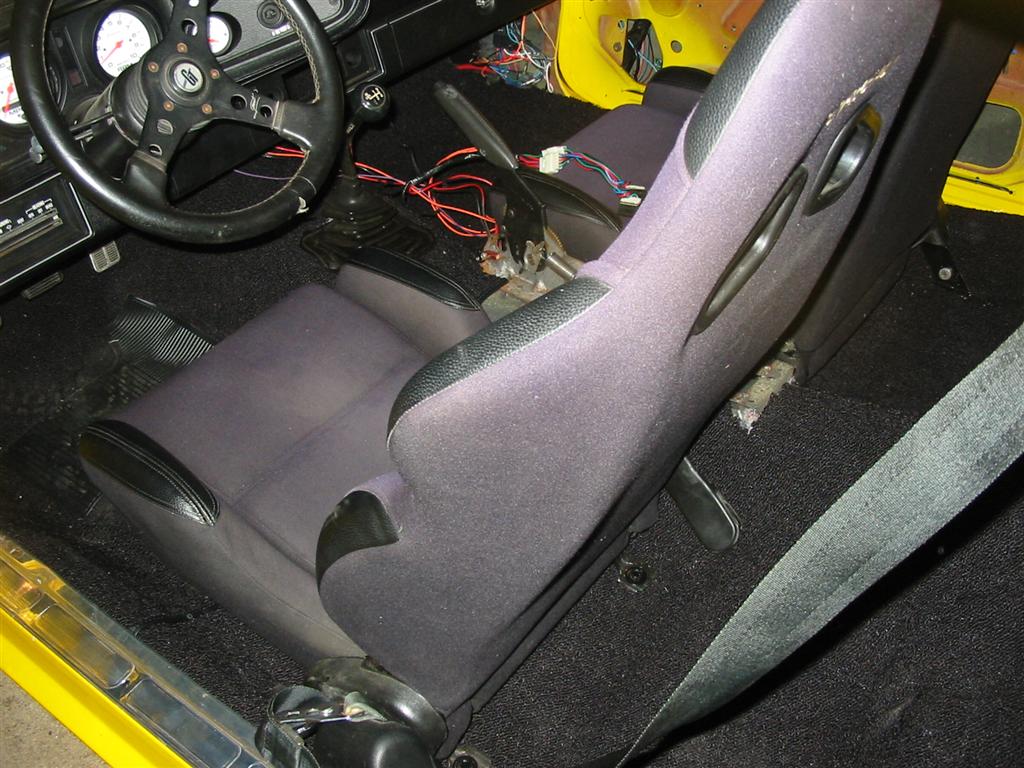
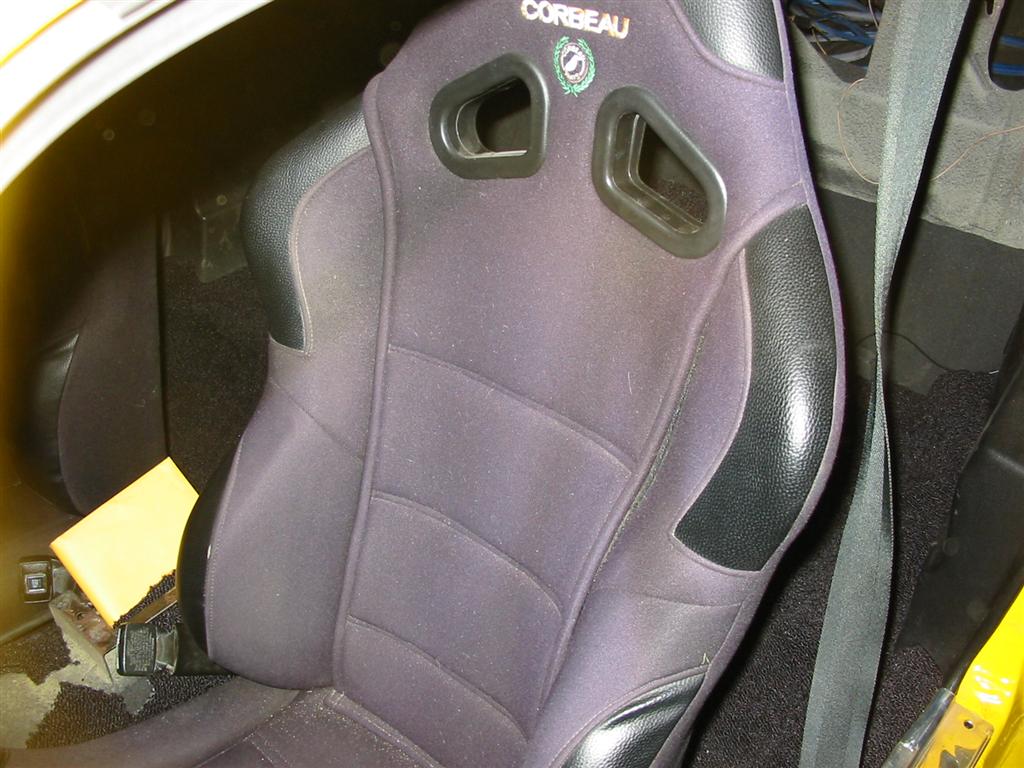
| The seat belts went in next, followed by the seats. | |
|
|

|
|
|

|
| Here is the carpet guard that is mounted behind the pedals. | |
|

|
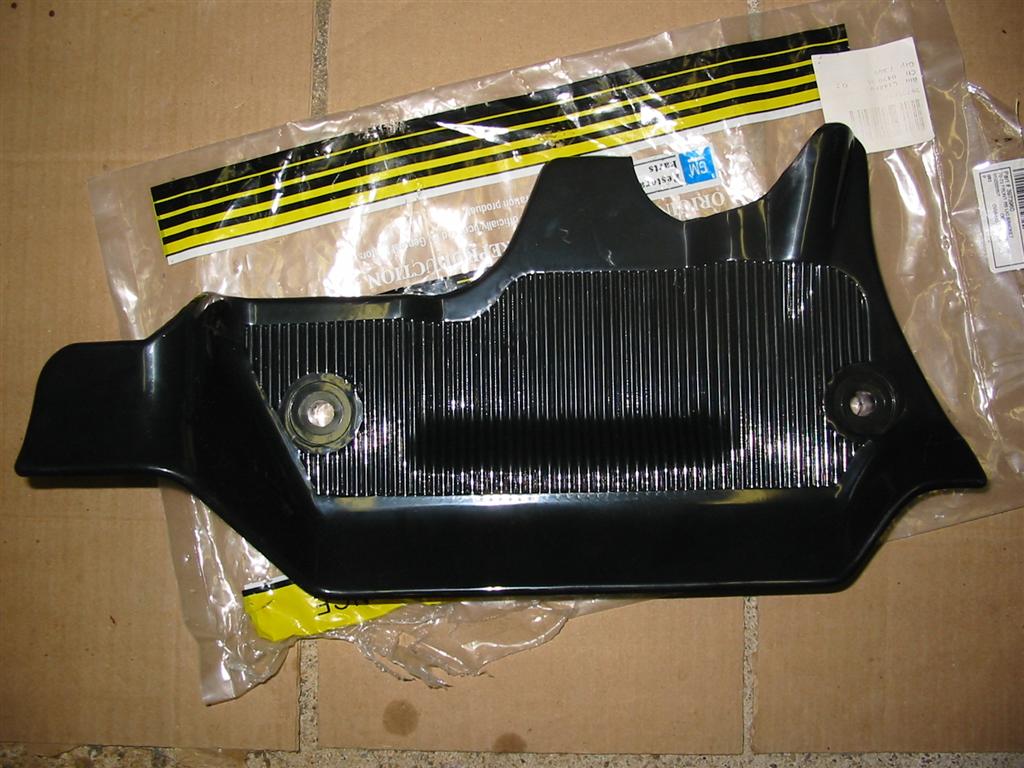
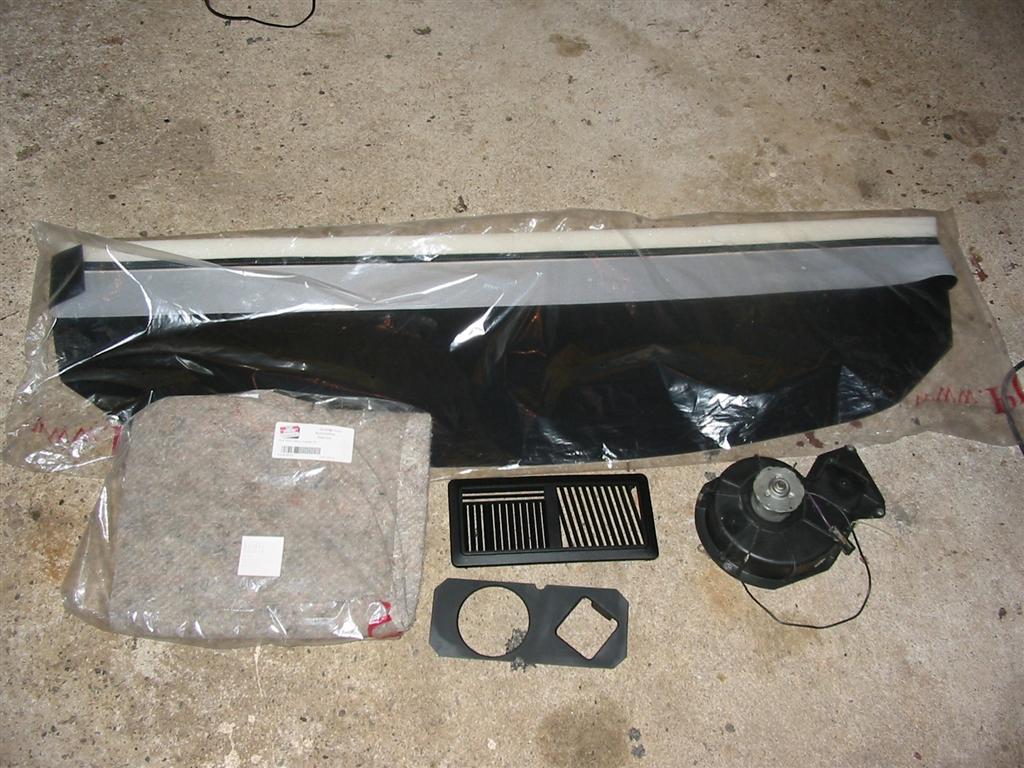
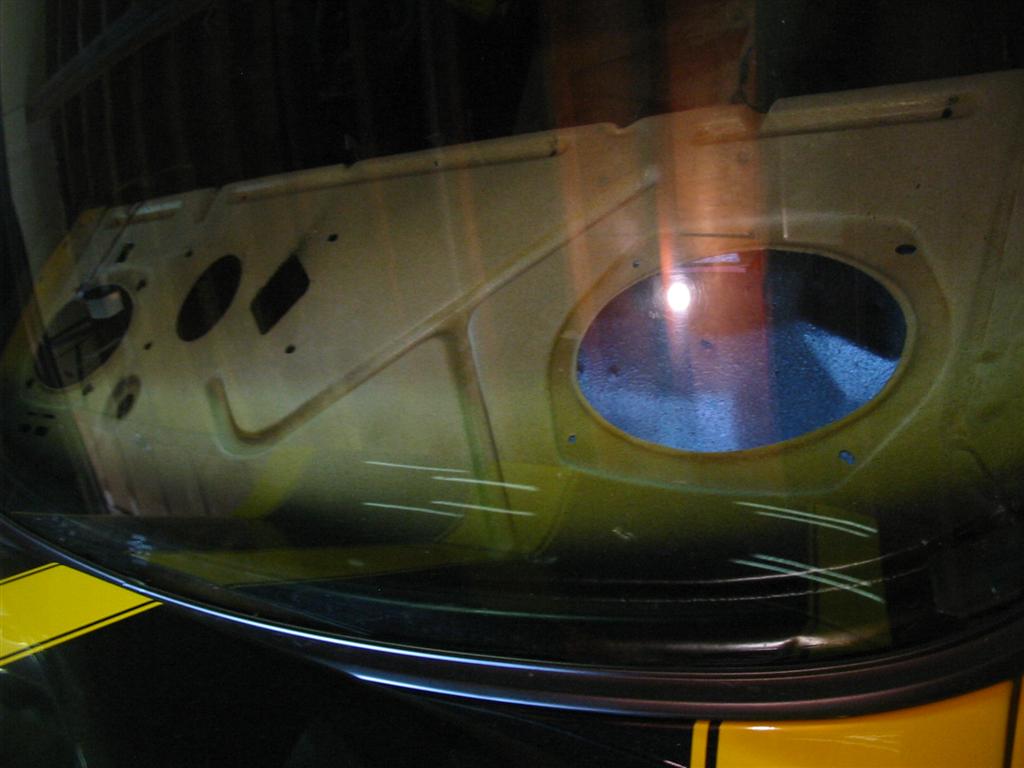
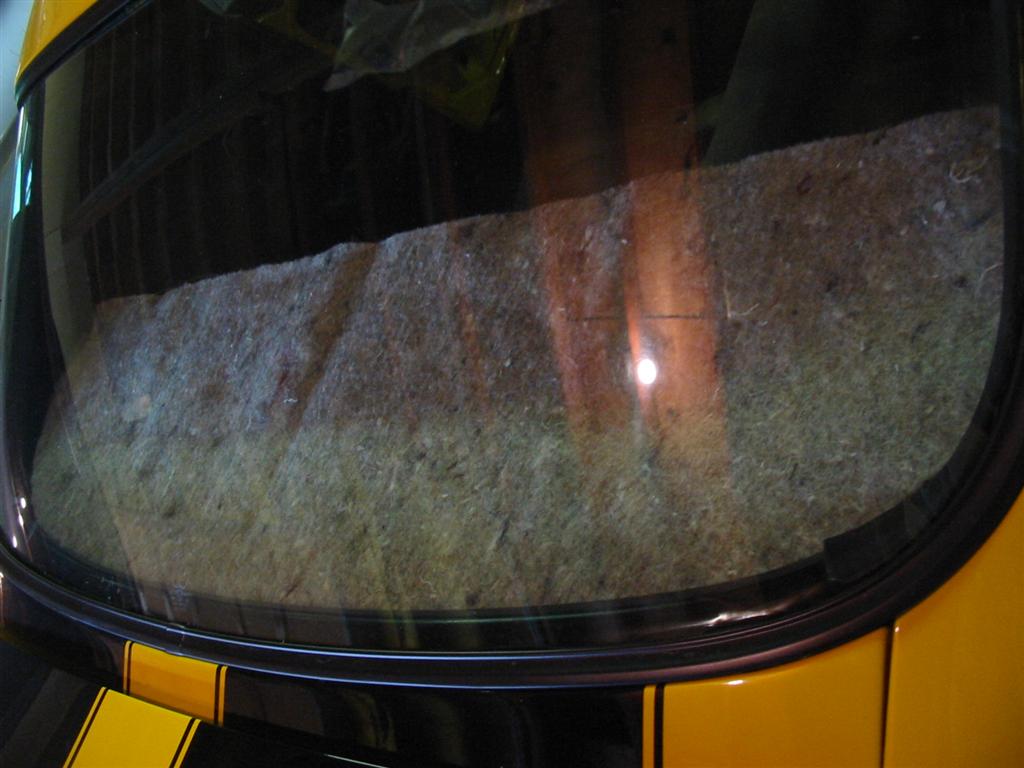
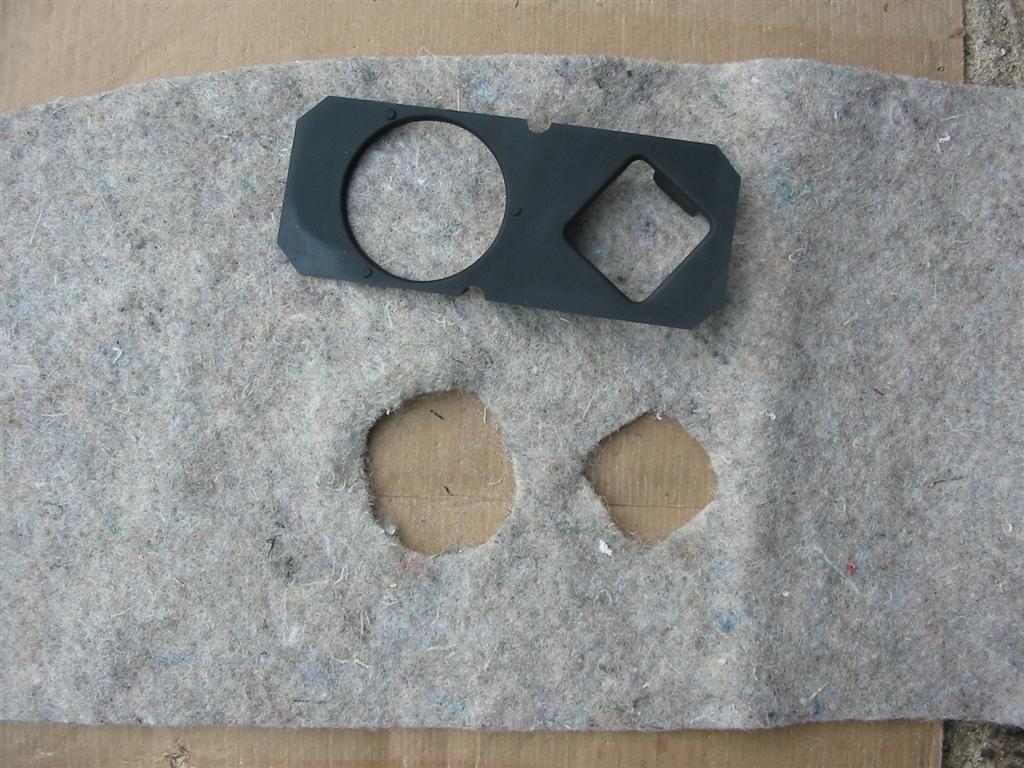
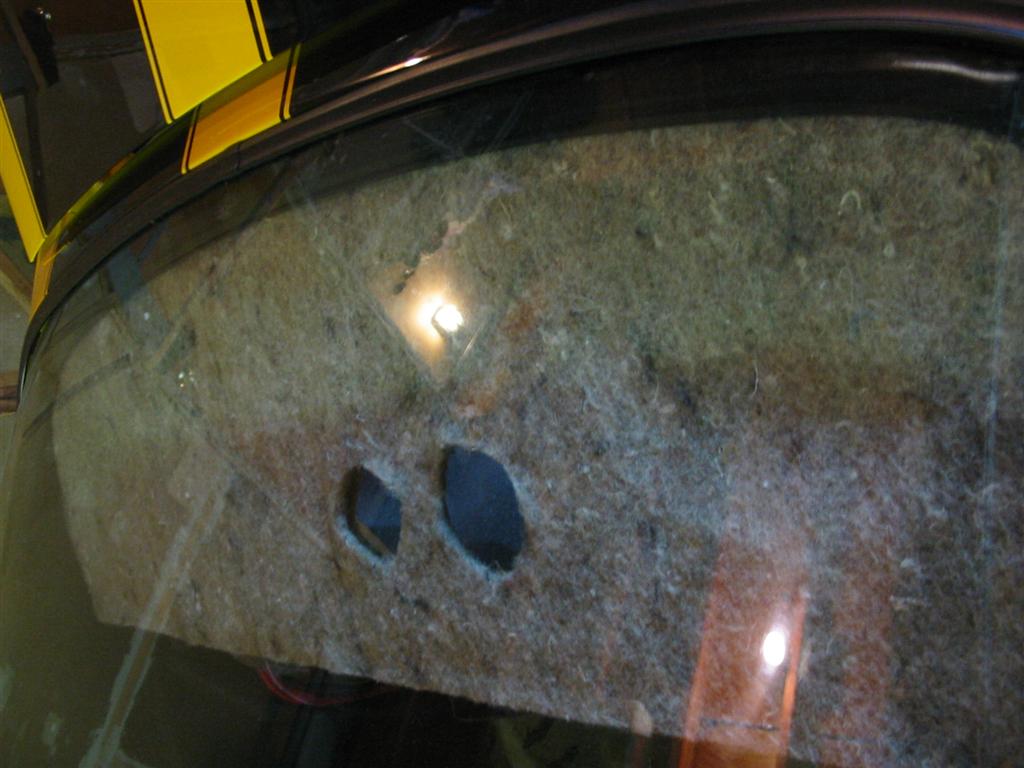
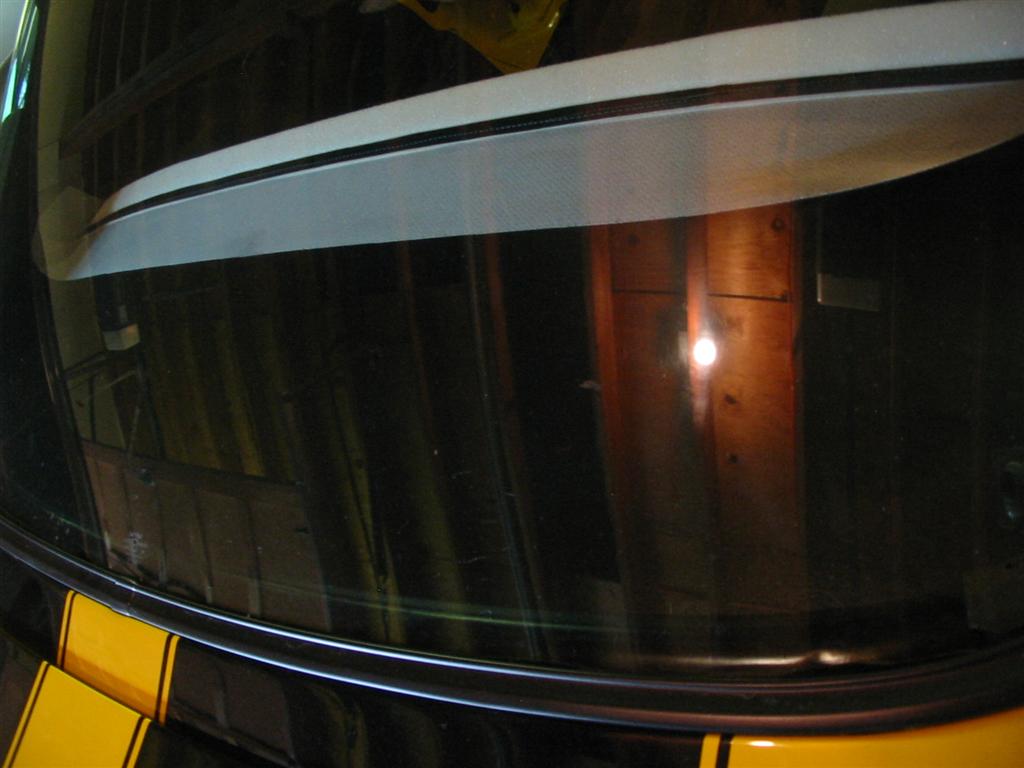
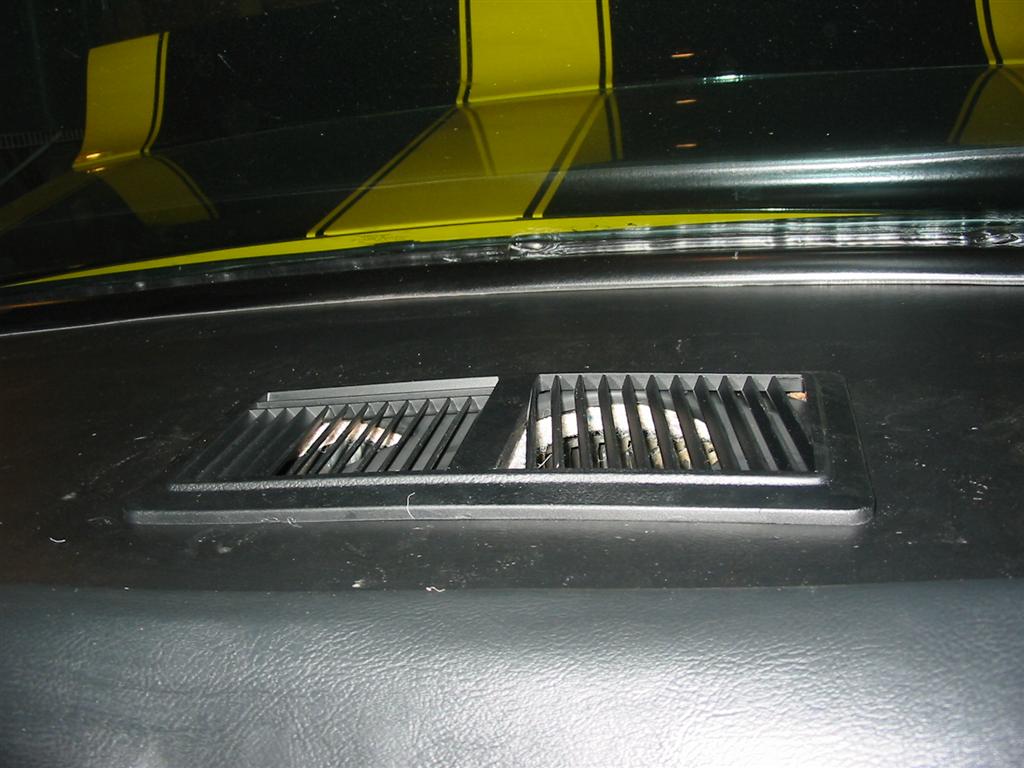
| Lastly I installed the rear package tray with the jute barrier and the rear defroster. | |
|
|
|
|
|
|
|
|