|
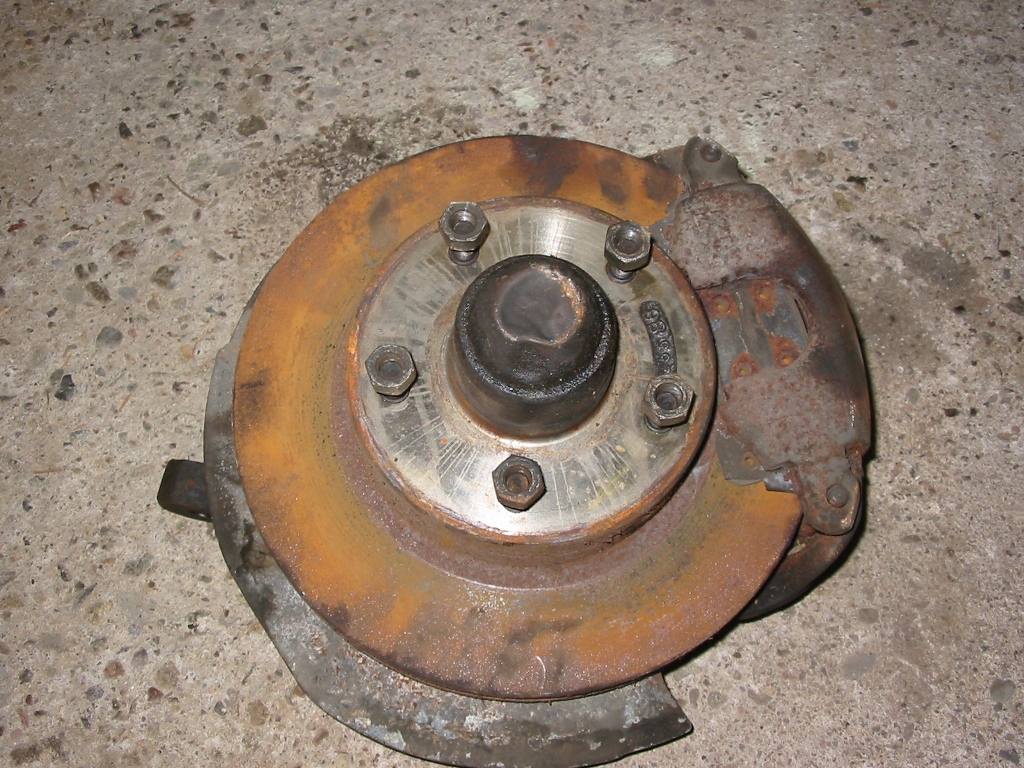
Here are pictures of the original brakes mounted to the spindle
|
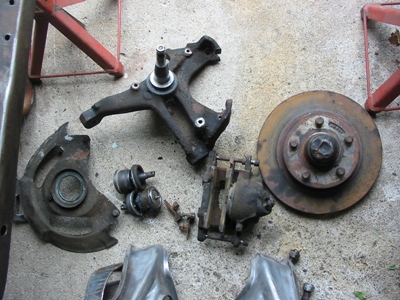
Here are pictures of the original brake components off of the spindle. Only the spindle will be
reused and only after it has been altered to use the caliper adaptor.
|

|
|
|
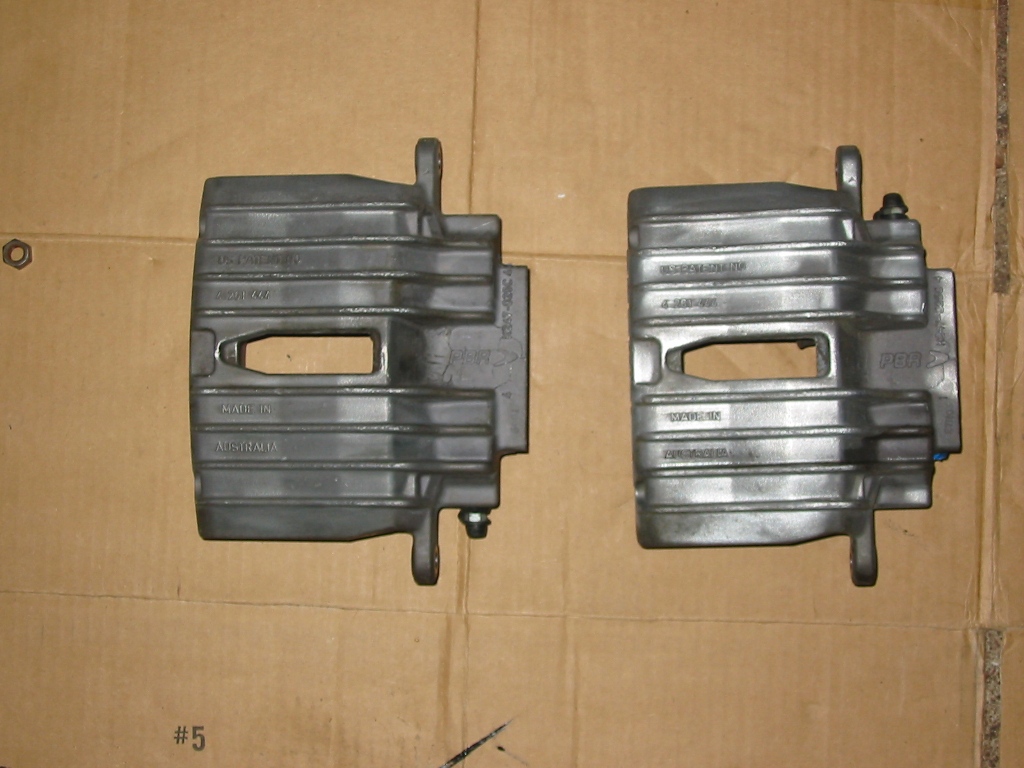
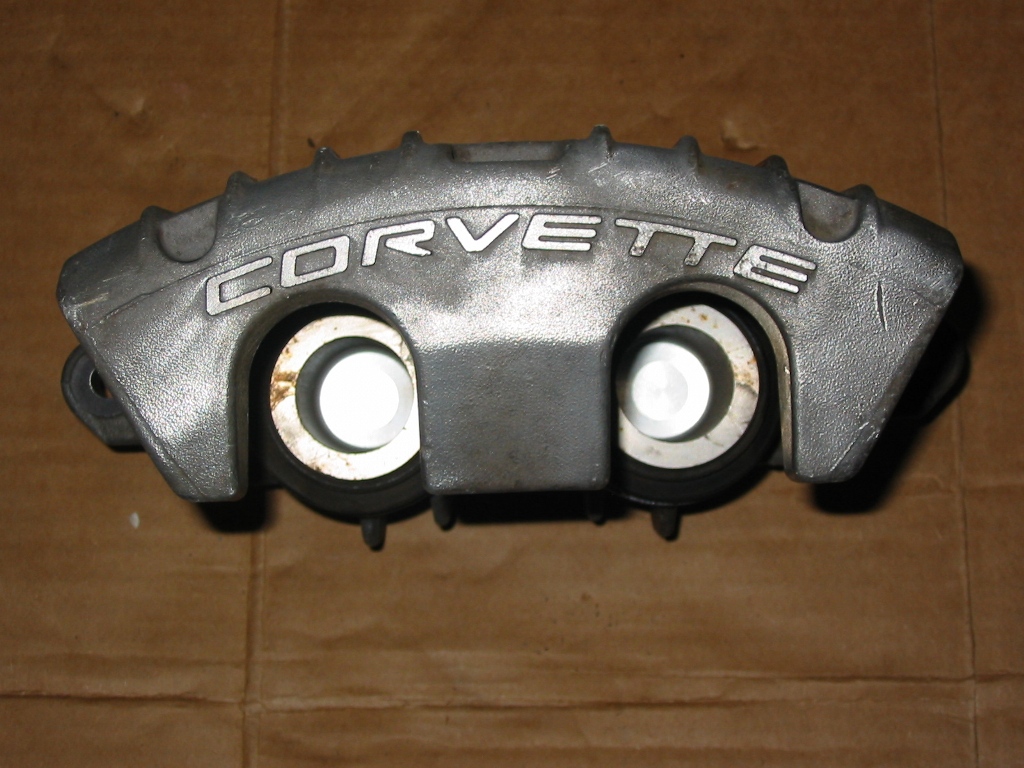
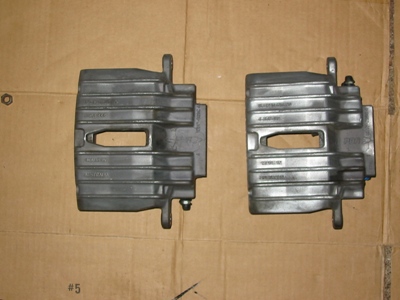
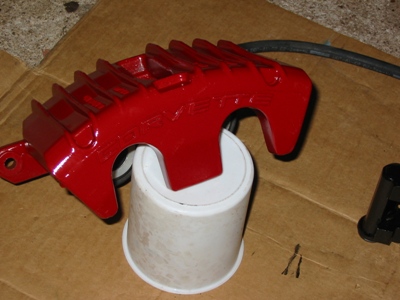
Here are some pictures of the 97-02 Corvette calipers before I cleaned
and painted them red with caliper paint.
|
|

|
| Here is a caliper after being coated with red caliper paint. |
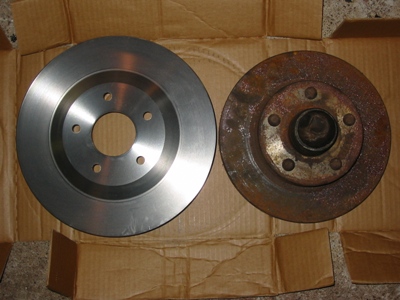
Here is a comparison of the original and the C5 rotor. The C5 rotor is nearly
2 inches wider than the factory rotor.
|
|
|
|
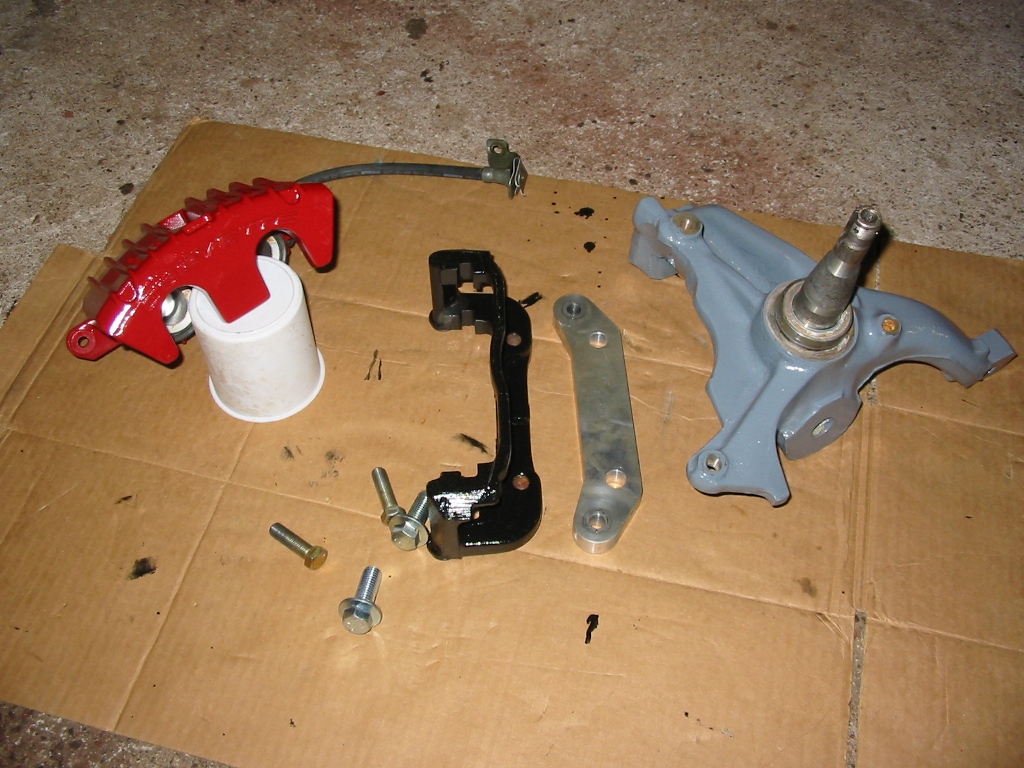
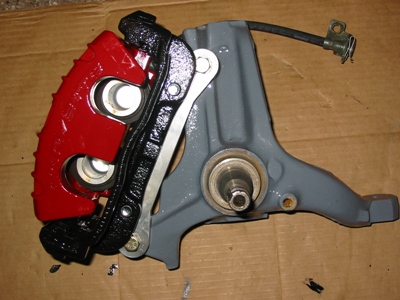
Here are most of the components for the C5 conversion. Missing is the rotor and the hub that will
be machined out of a third generation F-Body.
|
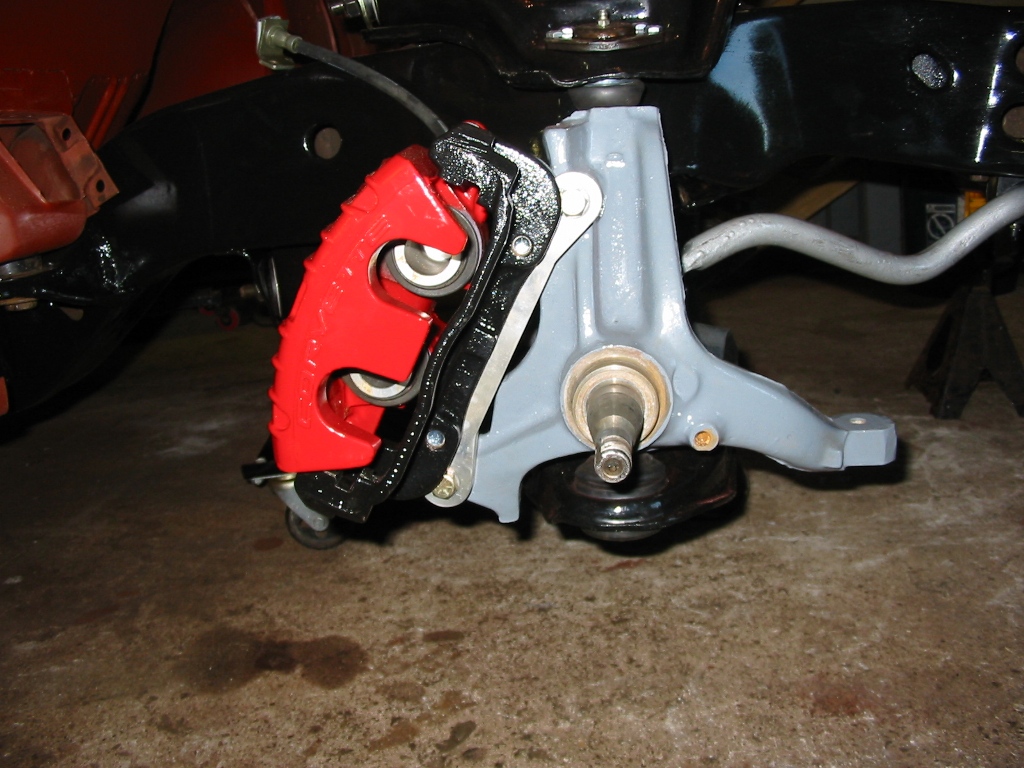
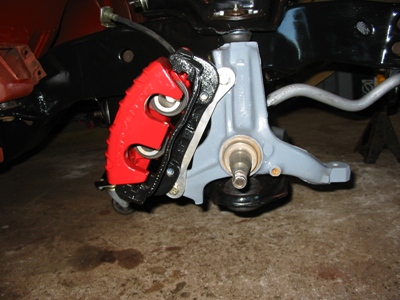
Here are the components mounted for a mock up fitting.
|

|
|
|
|
|
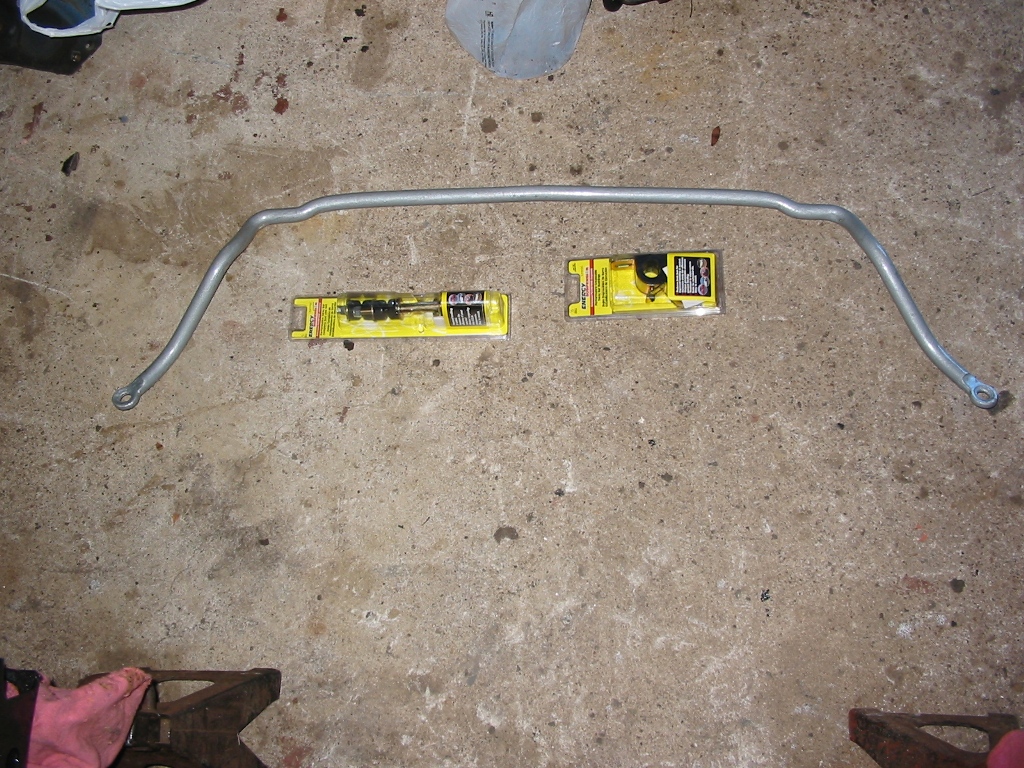
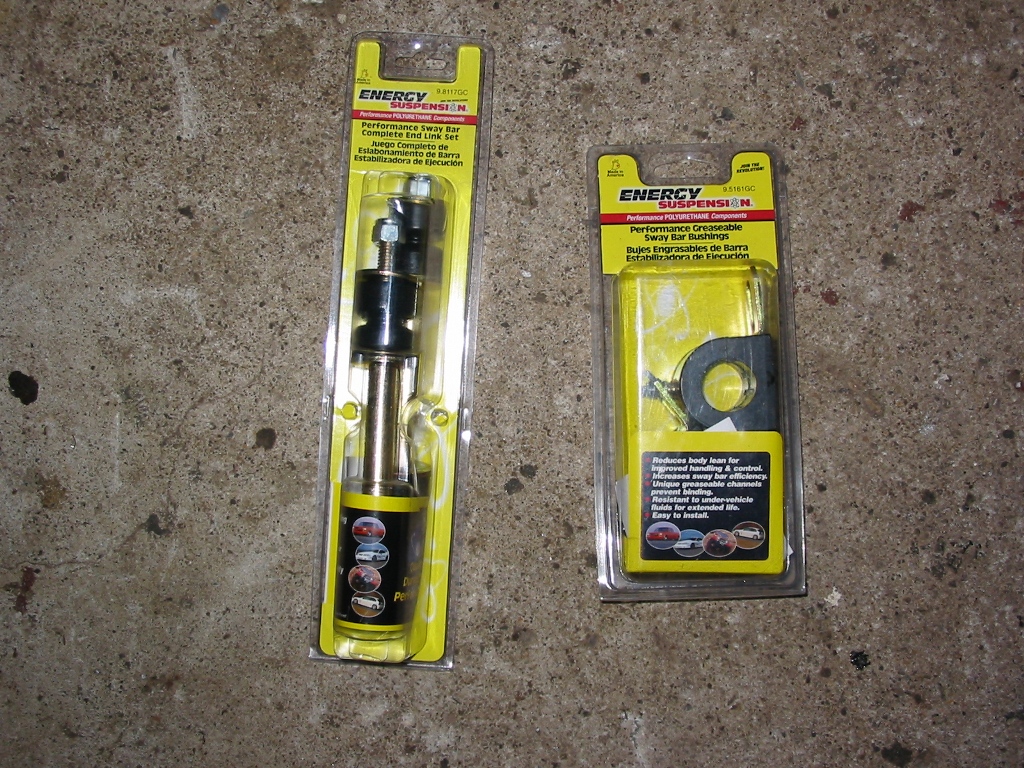
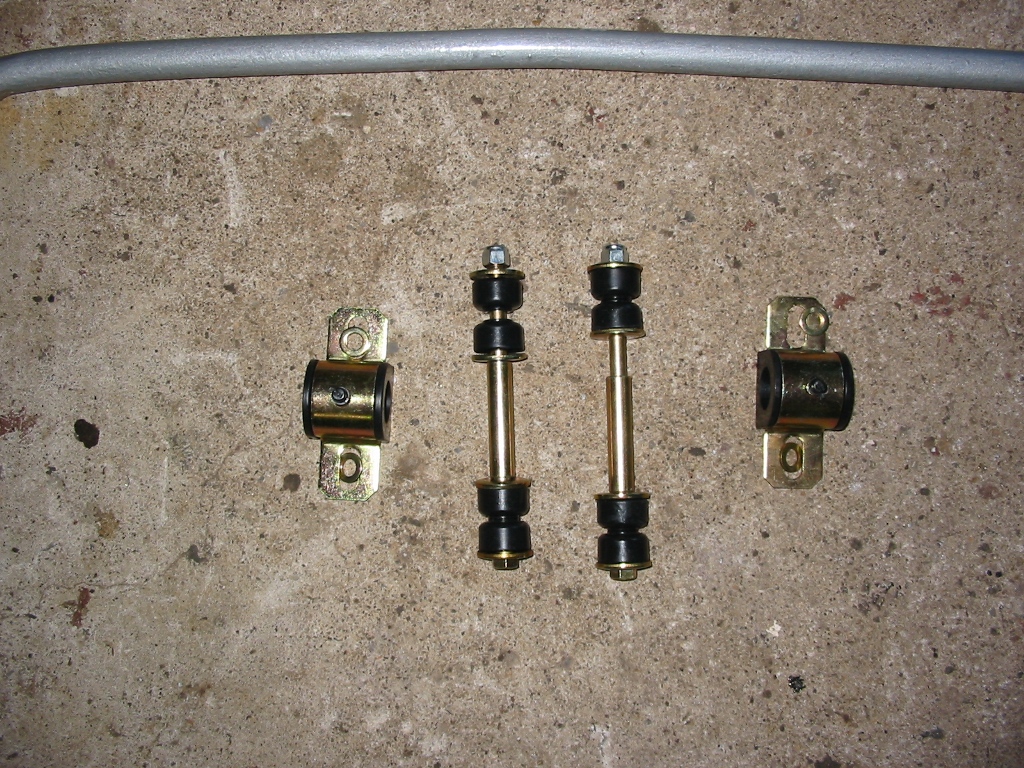
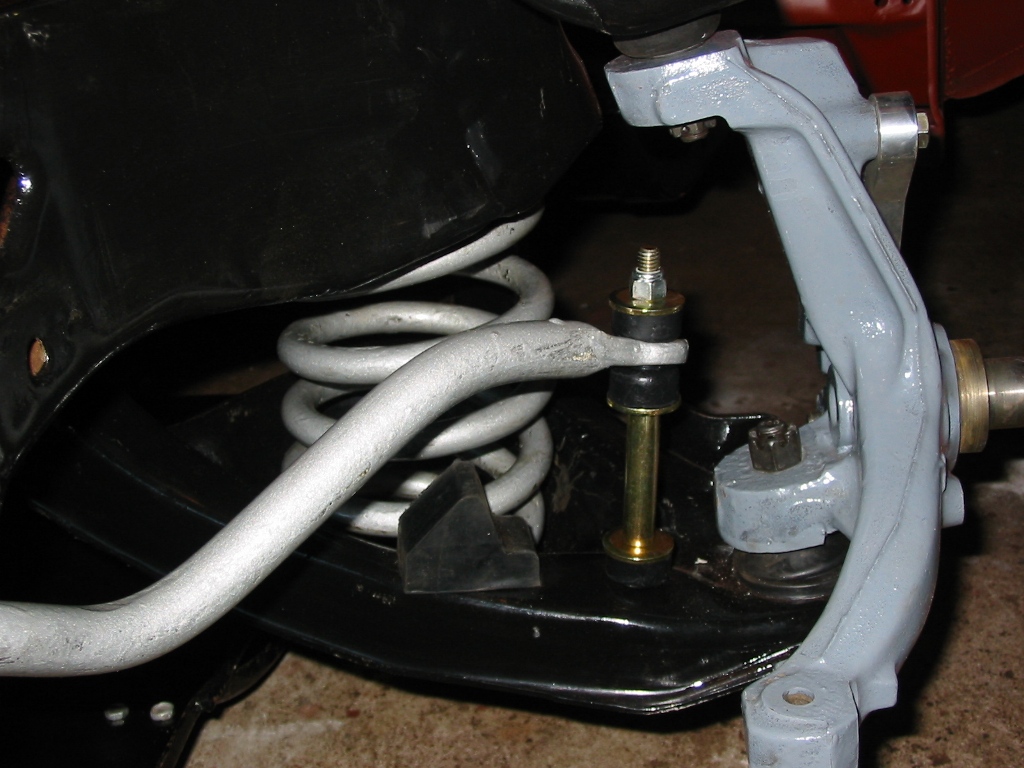
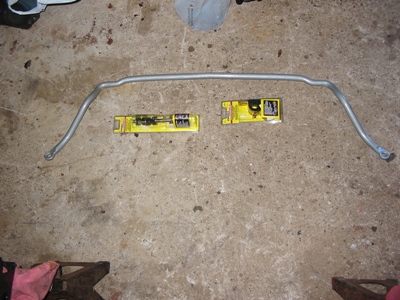
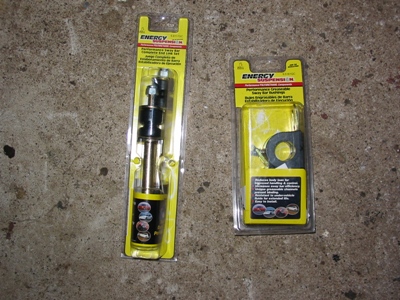
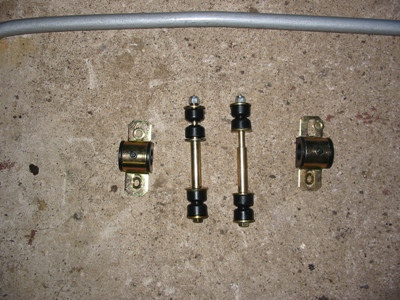
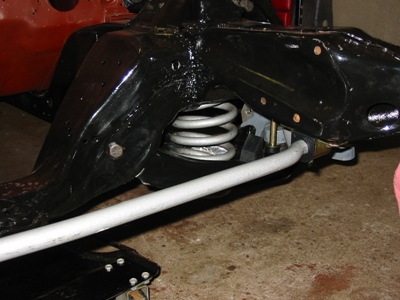
Here are pictures of the front swaybay and poly bushings I purchased for it. I am going
with the factory 1 inch bar and I have added polyurethane end links and bushings. I
used Energy Suspension universal greasable bushings for the front bar.
|
|
|
|
|
|
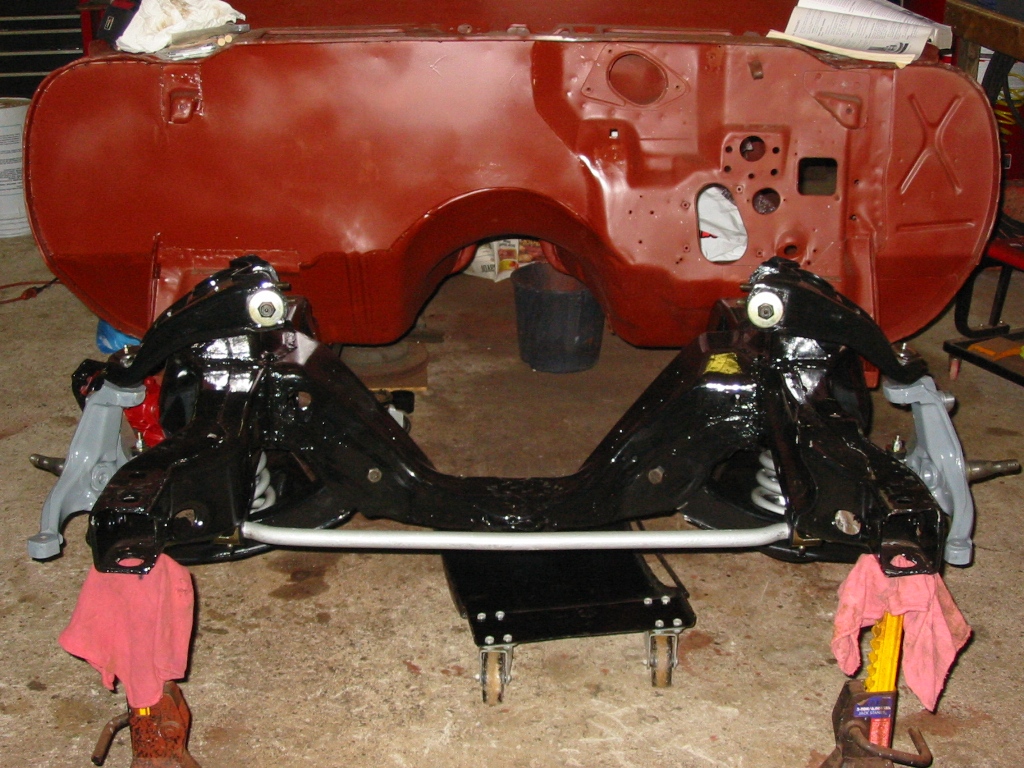
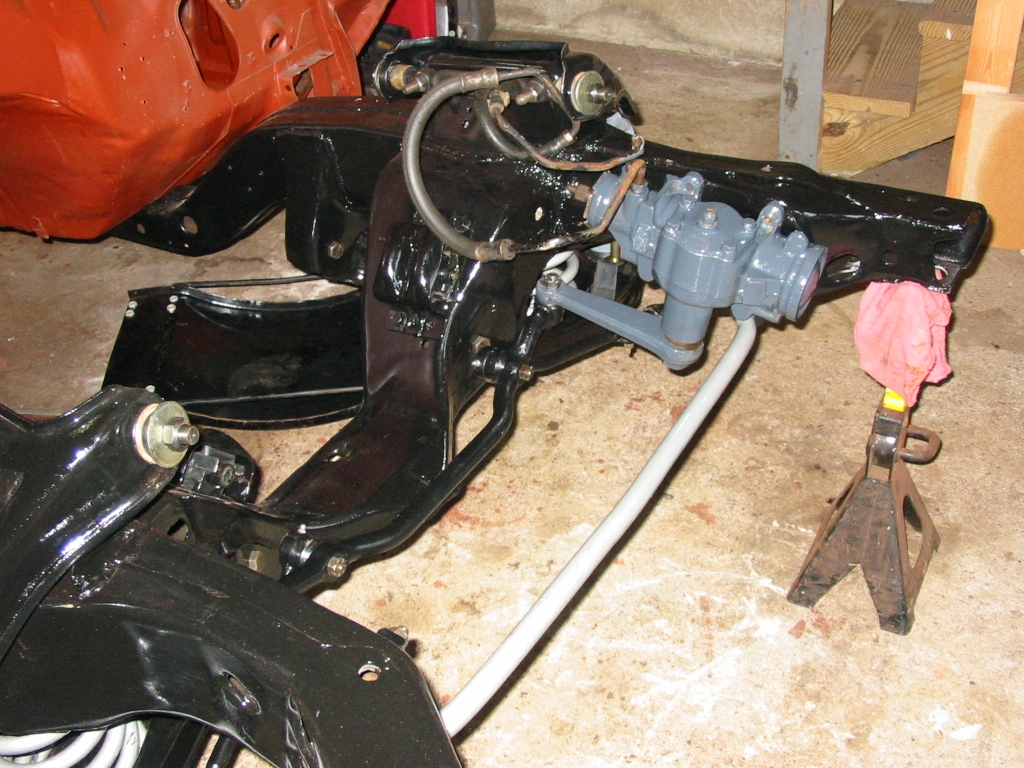
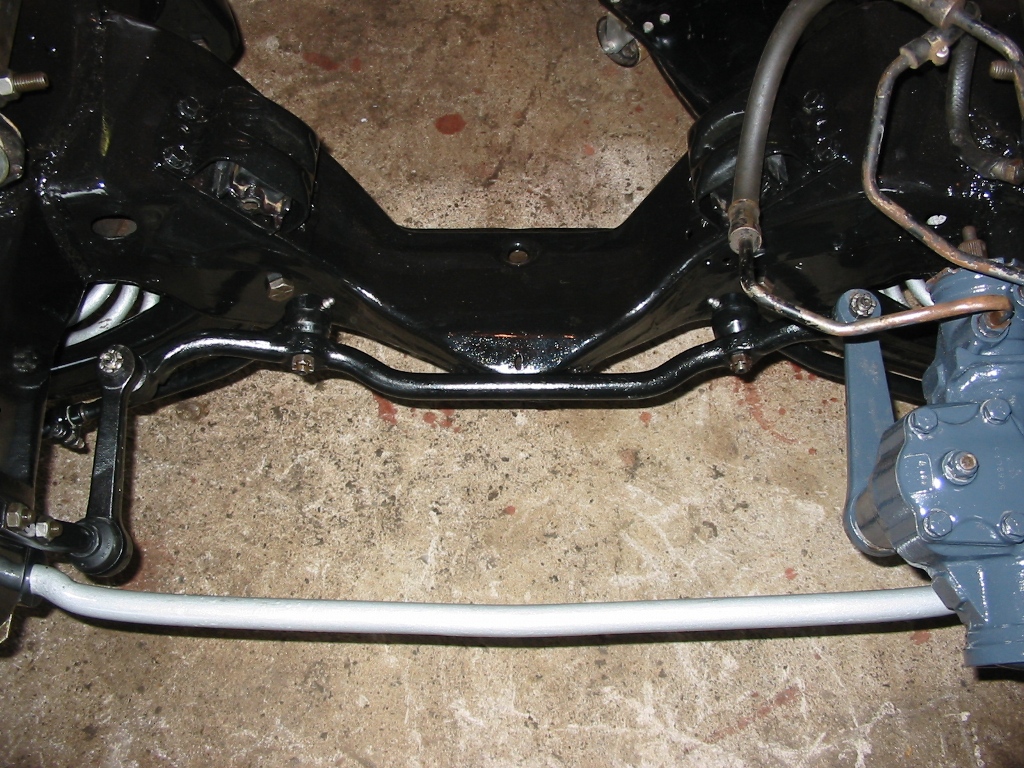
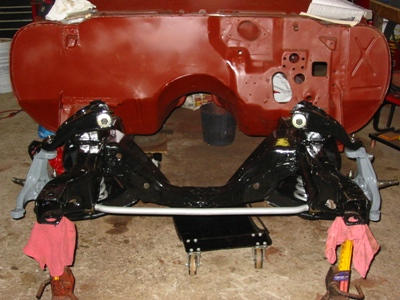
Here is the front bar installed on to the subframe.
|
|
|

|
|
|
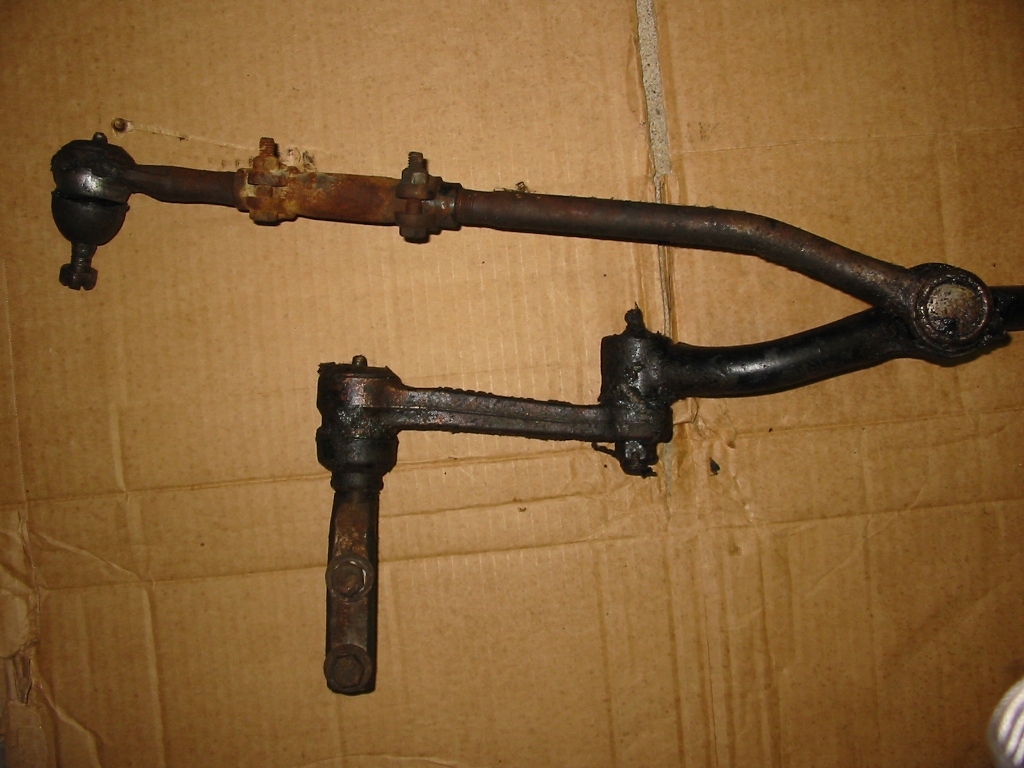
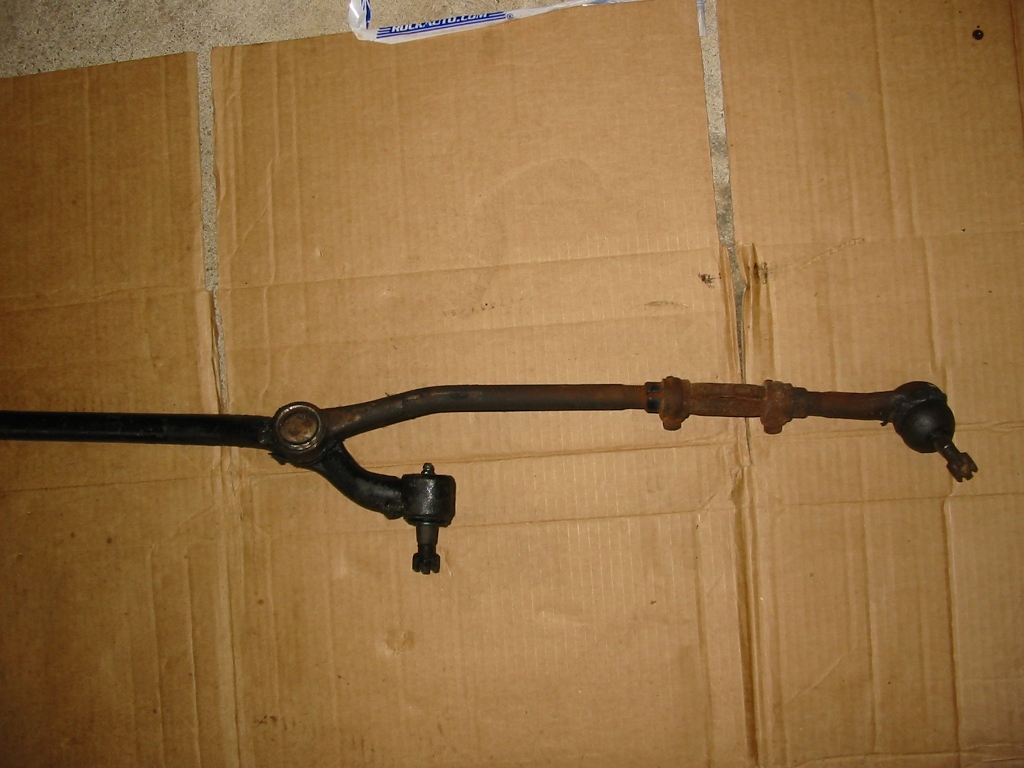
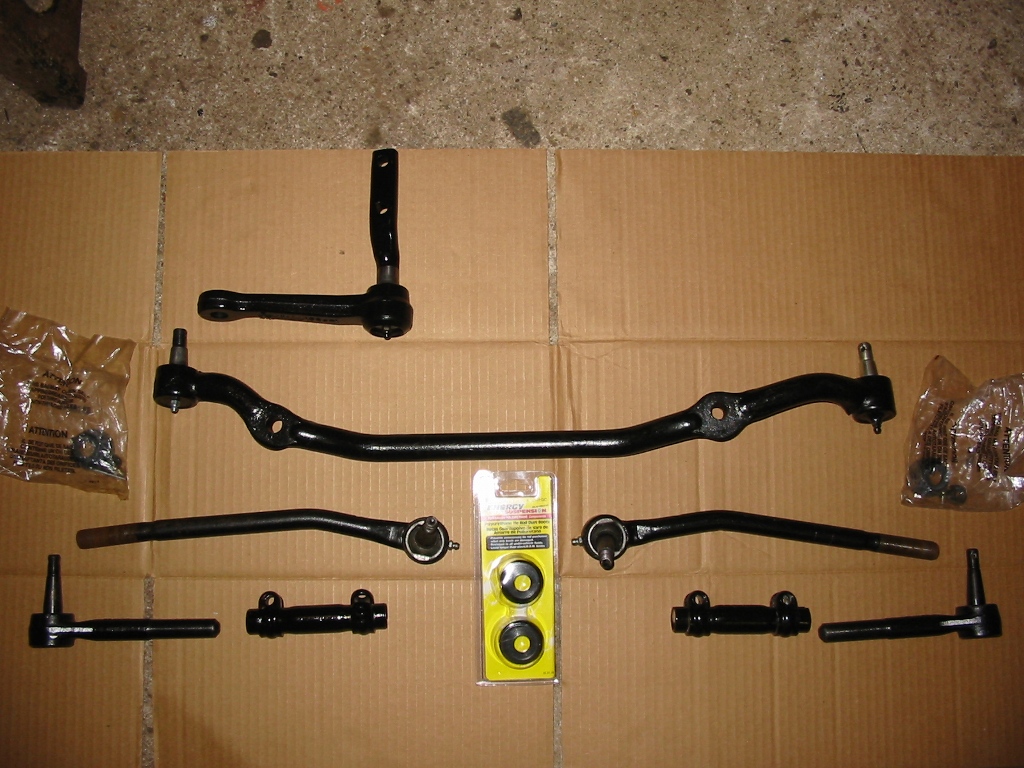
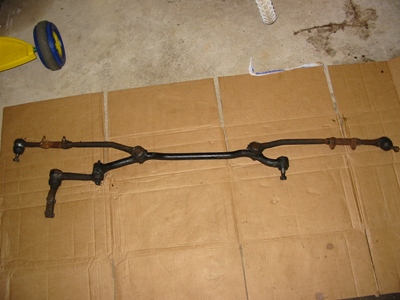
Here are pictures of the factory steering linkage. It took some work to strip
the grime off of them. Luckily they cleaned up nicely.
|
|
|
|
|
|
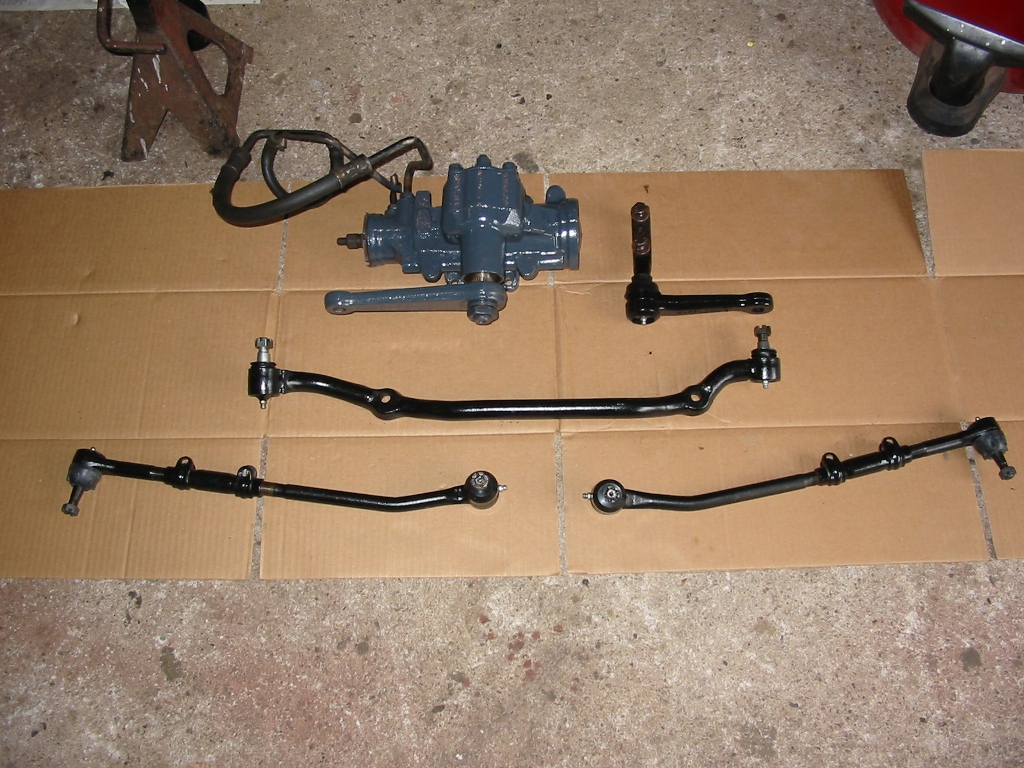
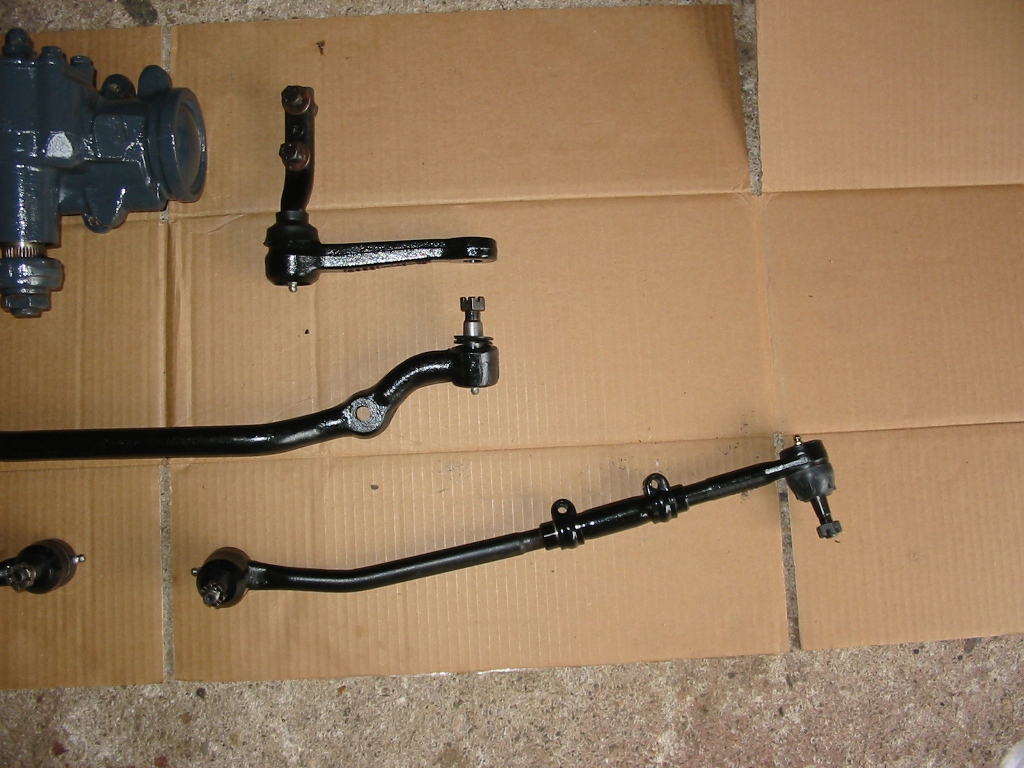
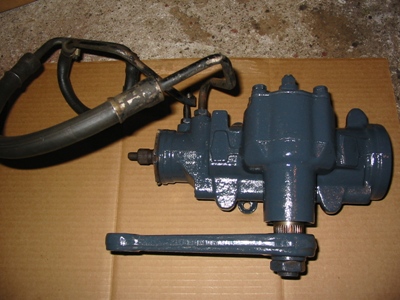
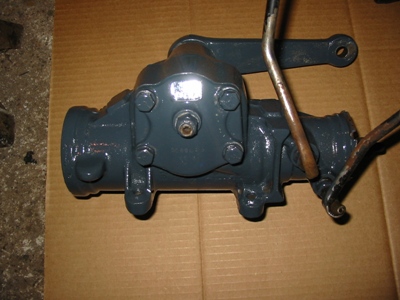
Here is the steering box after being cleaned and coated with POR-15. I made the
color by mixing some black with the gray.
|
|
|
|
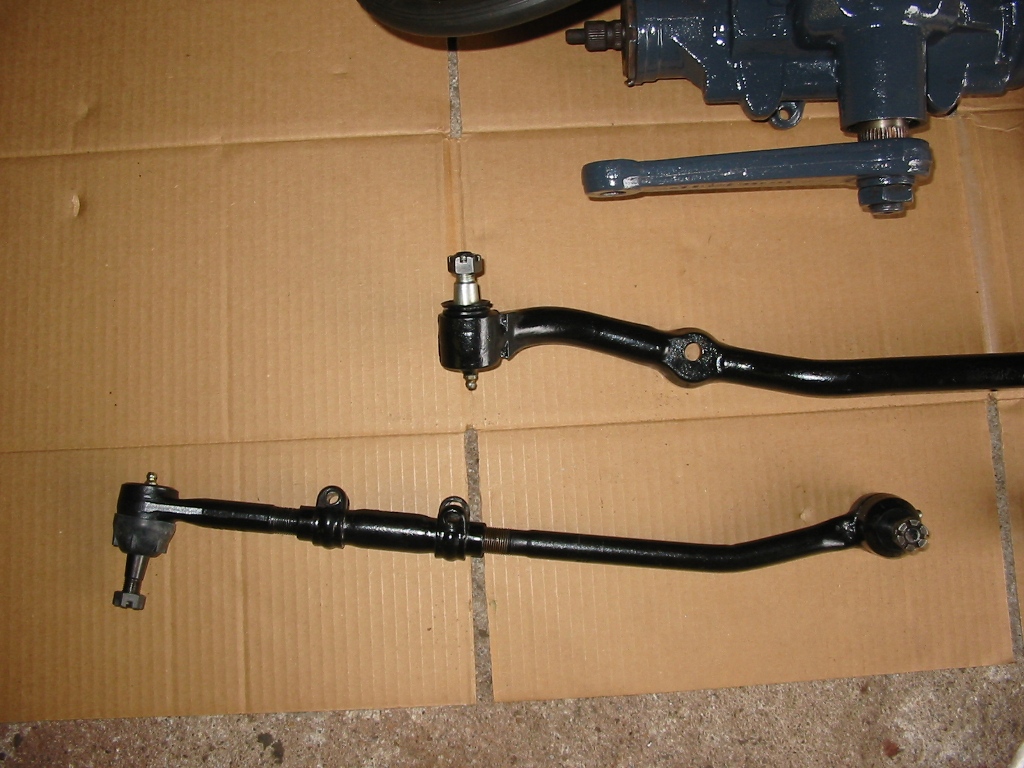
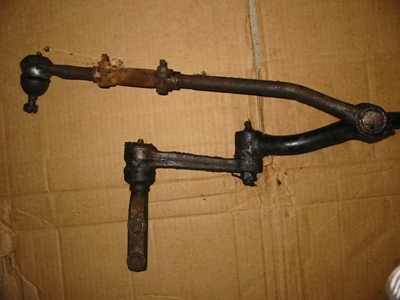
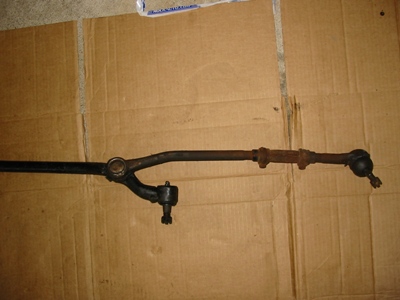
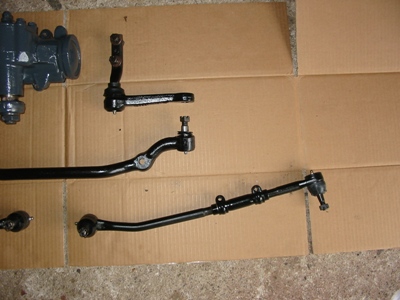
Here is the steering linkage components cleaned up and coated with Eastwood's
chassis black. The outer tie rod ends are new and were included in the rebuild
kit I purchased from Kanter. I also added poly boots for the inner tie rod ends.
|

|

|
|

|
|
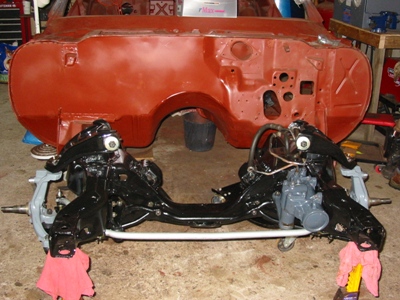
Here is everything installed on the subframe and ready to go.
|
|

|

|

|