|
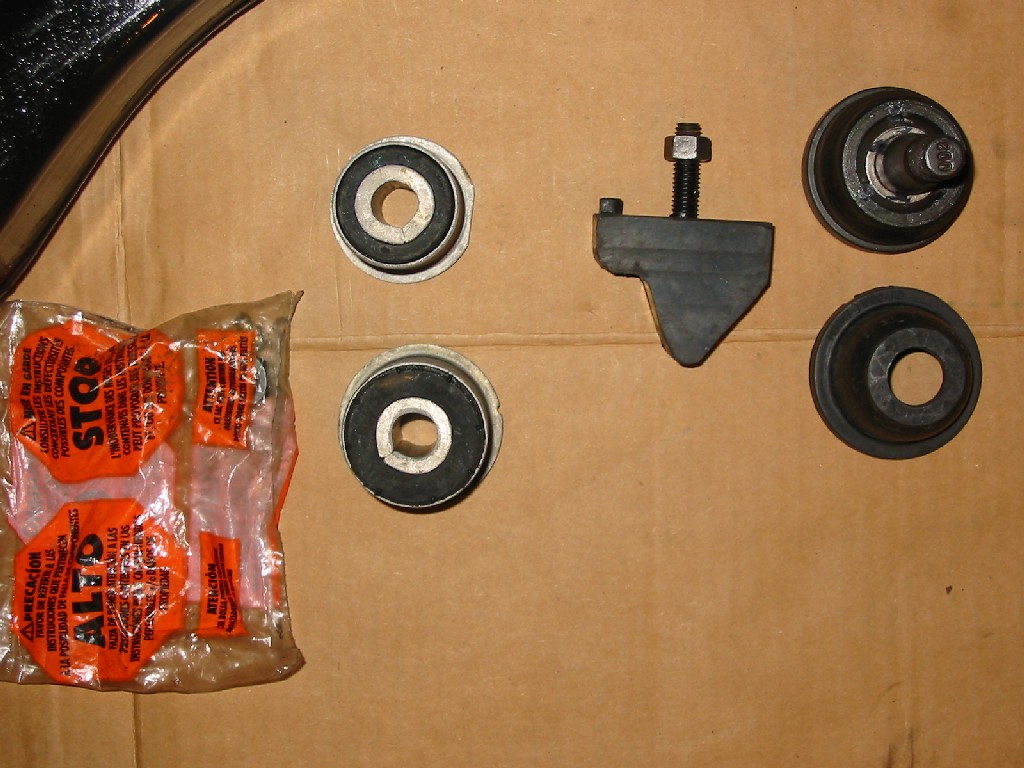
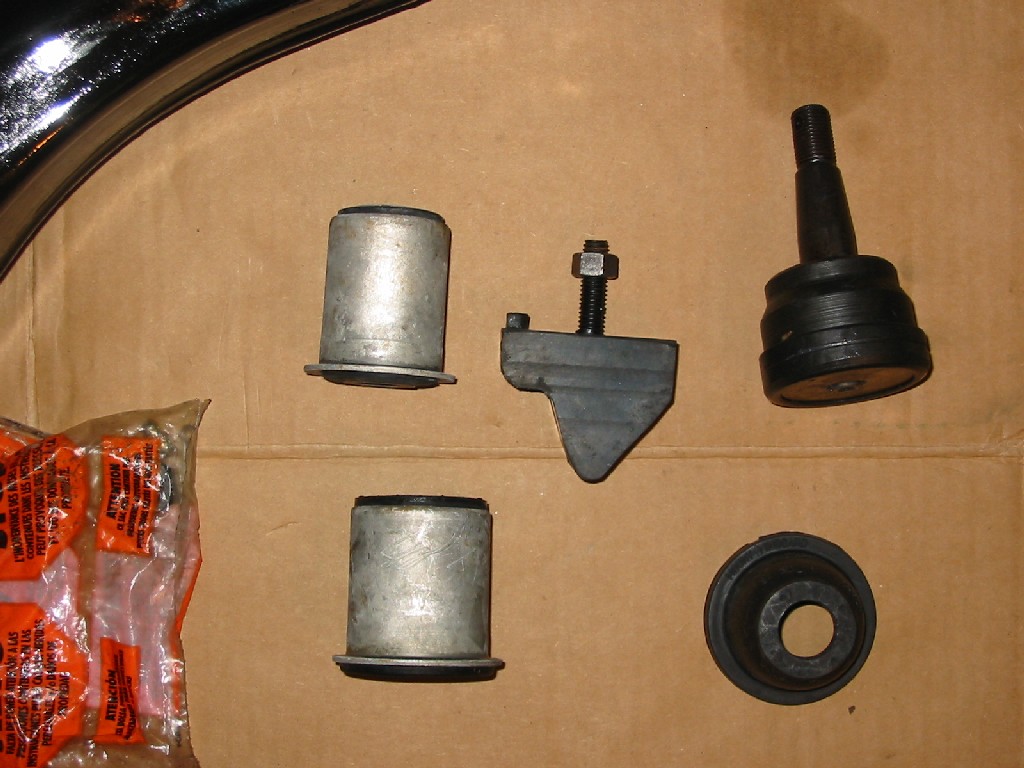
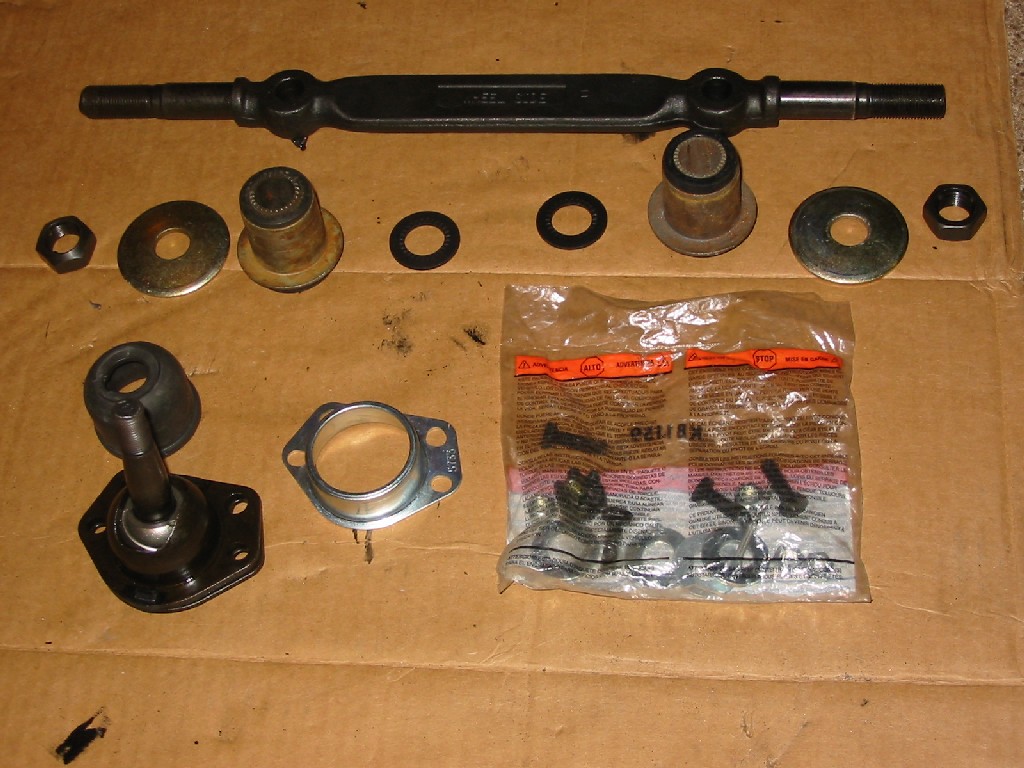
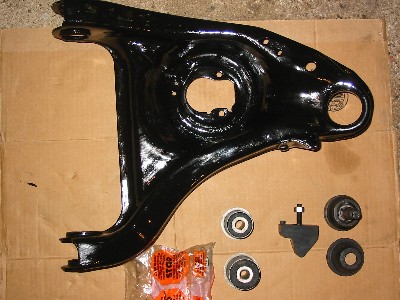
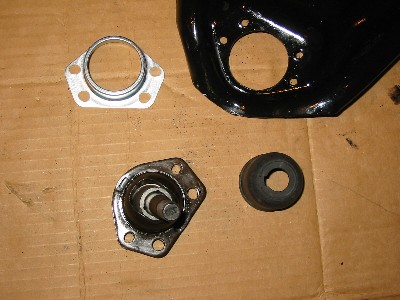
Here are the parts necessary for rebuilding the left lower control arm.
This picture shows both bushings, ball joint, ball joint dust boot, lower
control arm bump stop, and bag with necessary hardware for the ball joint.
|

|

|
|
|
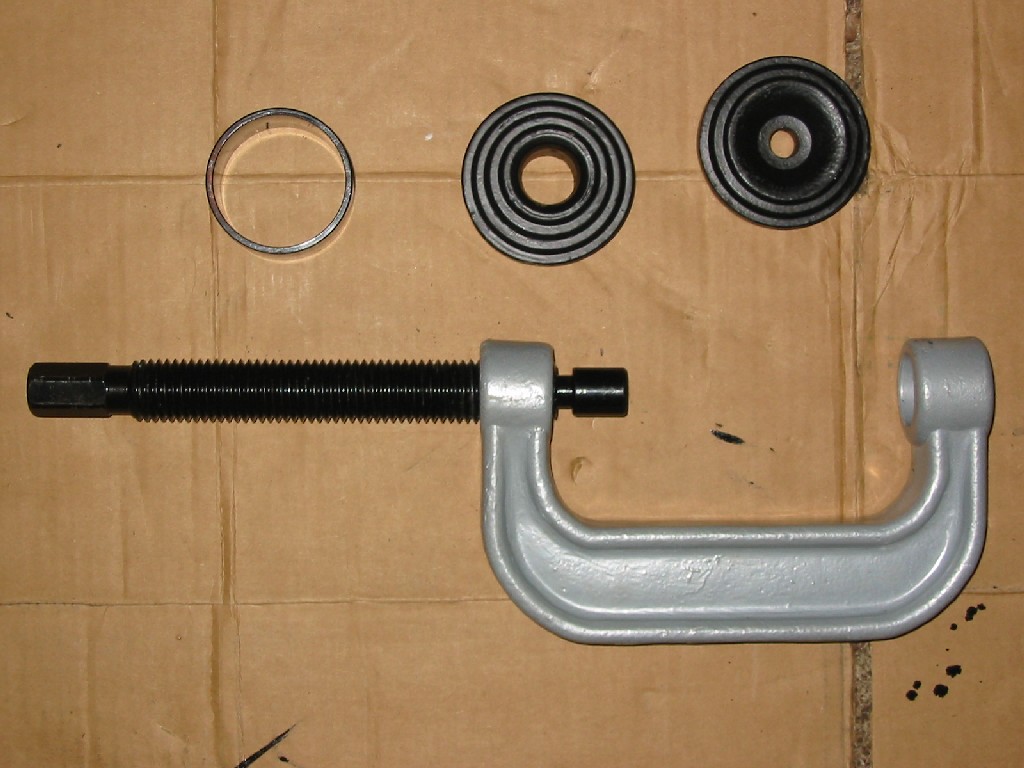
| Here is a picture of the ball joint tool I used to install the parts. |
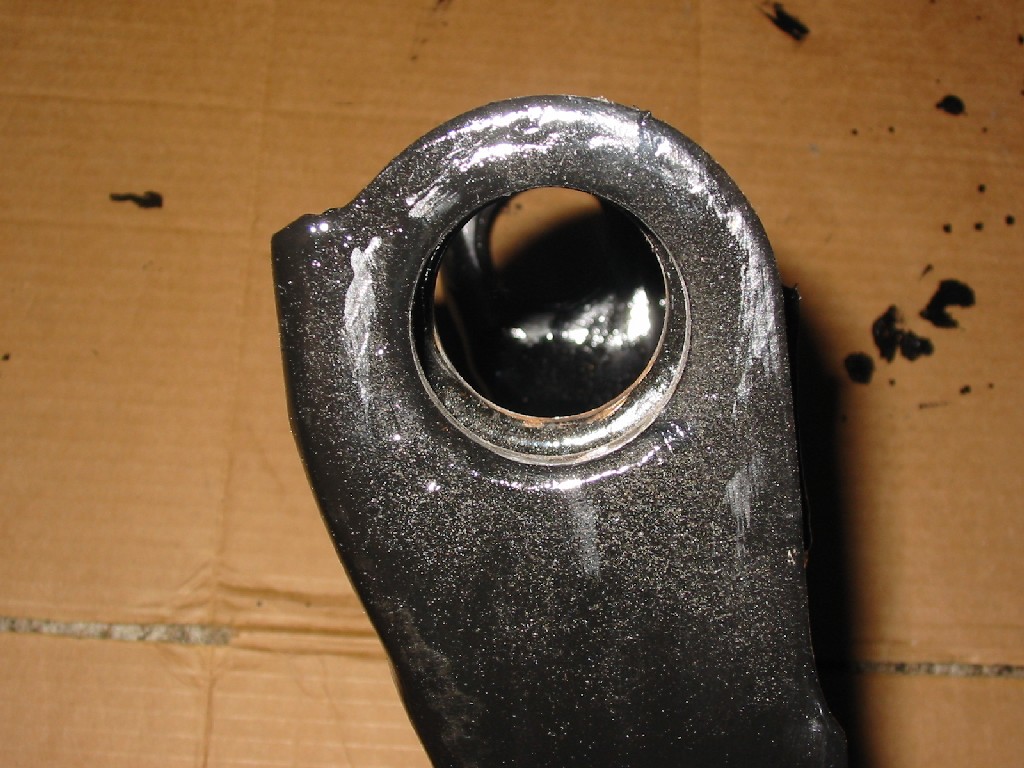
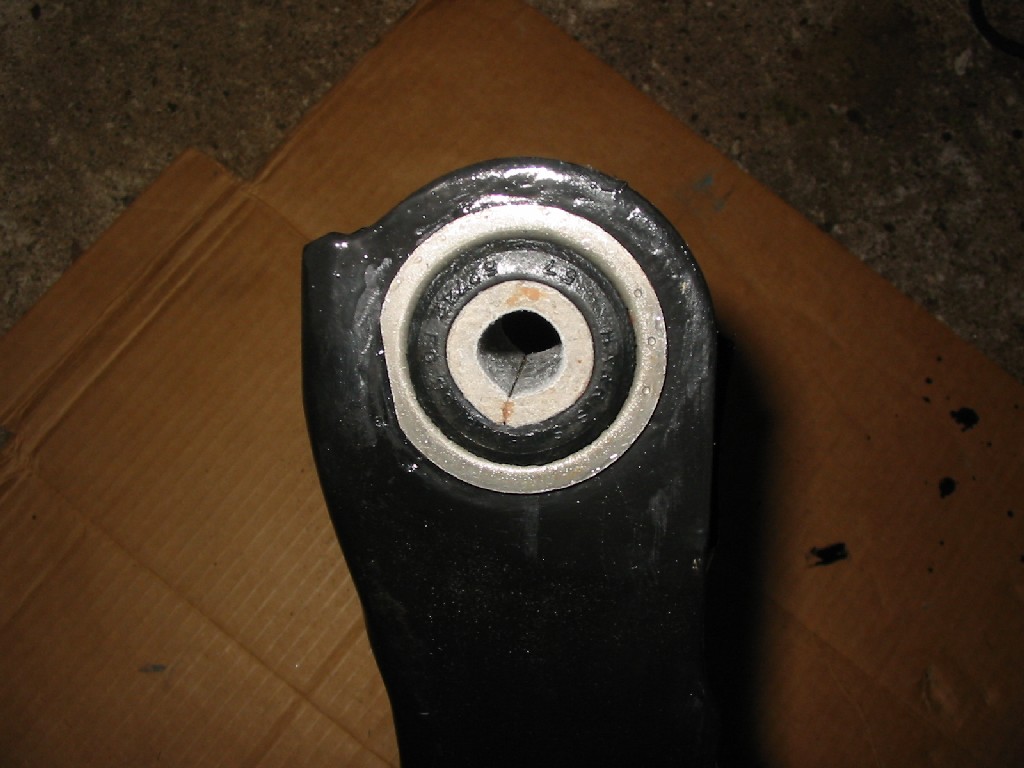
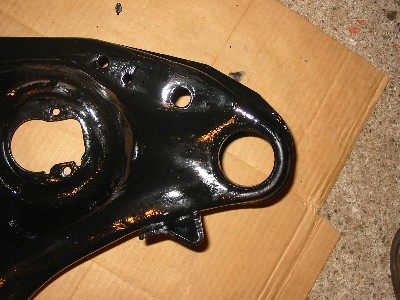
Here is the right lower control arm bushing hole. |

|
|
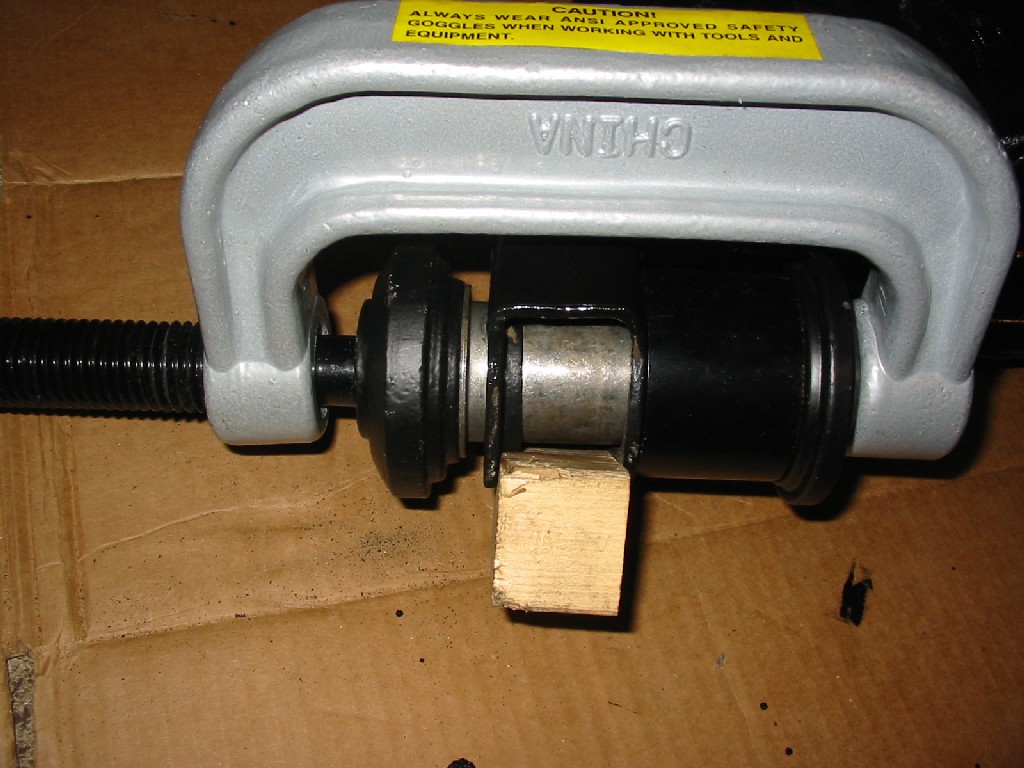
| Here is the ball joint tool being used to install the control arm bushings. |
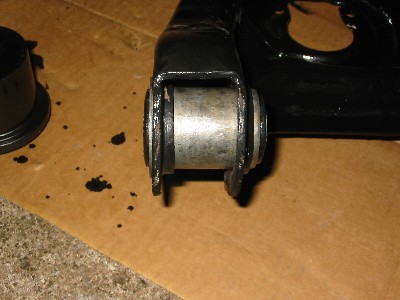
Here are some pictures of the installed bushings. |

|

|

|
|

|
|
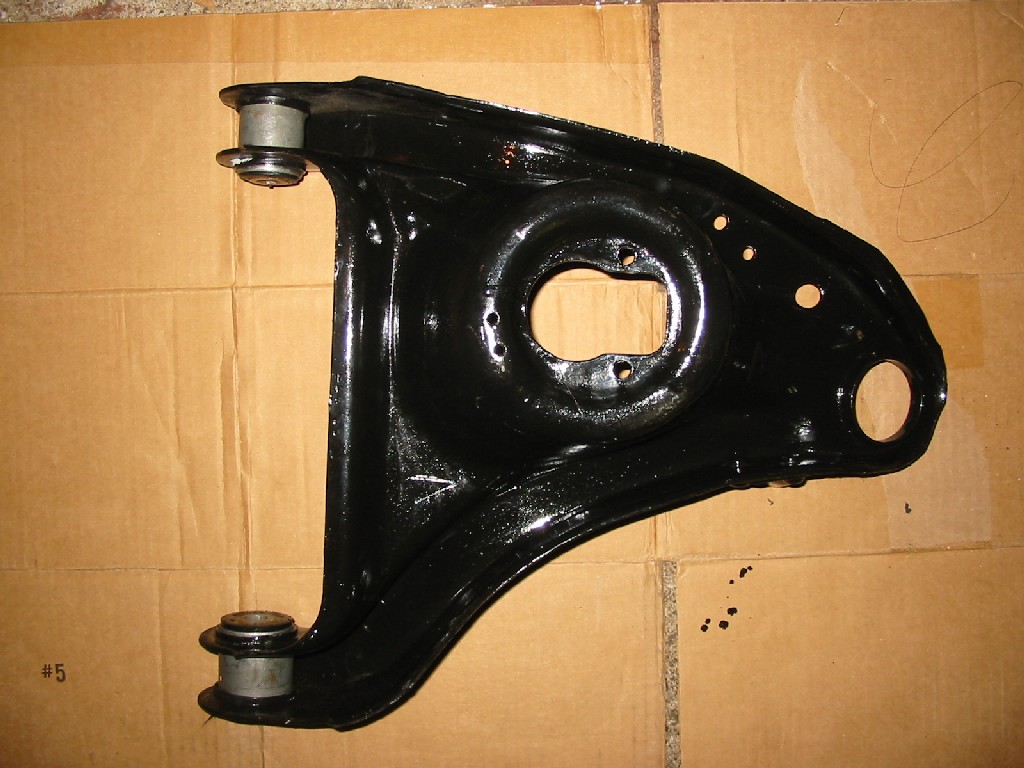
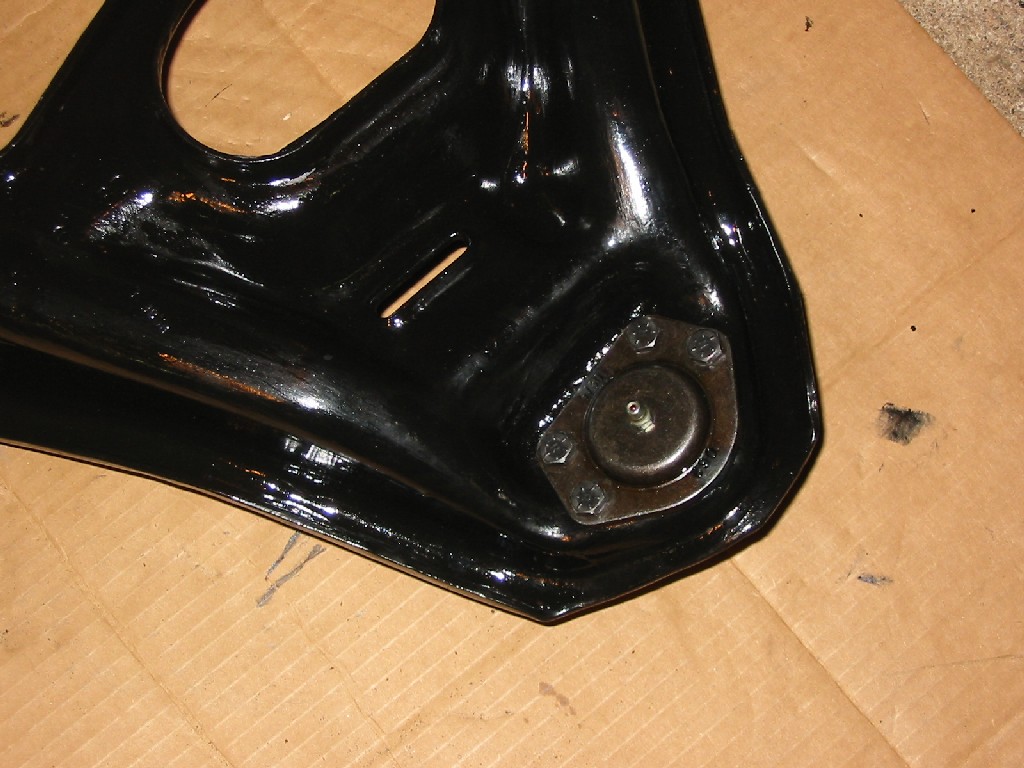
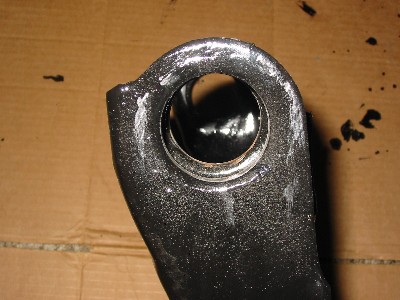
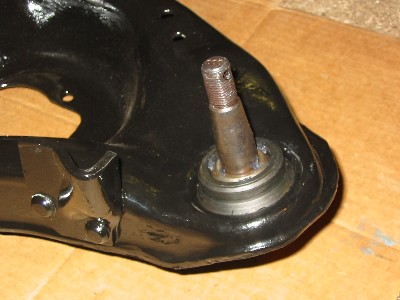
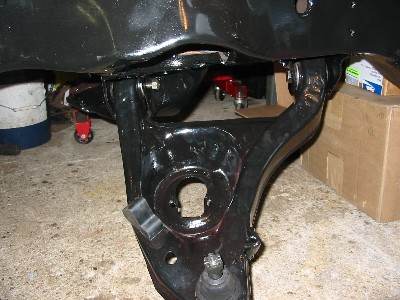
| Here is empty hole where the ball joint should be on the right control arm |
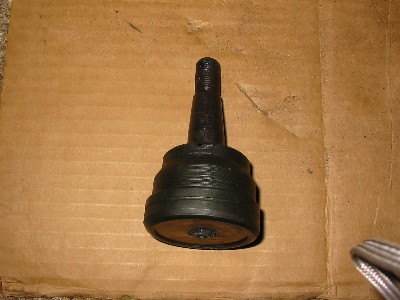
Here is the ball joint. |
|
|
|
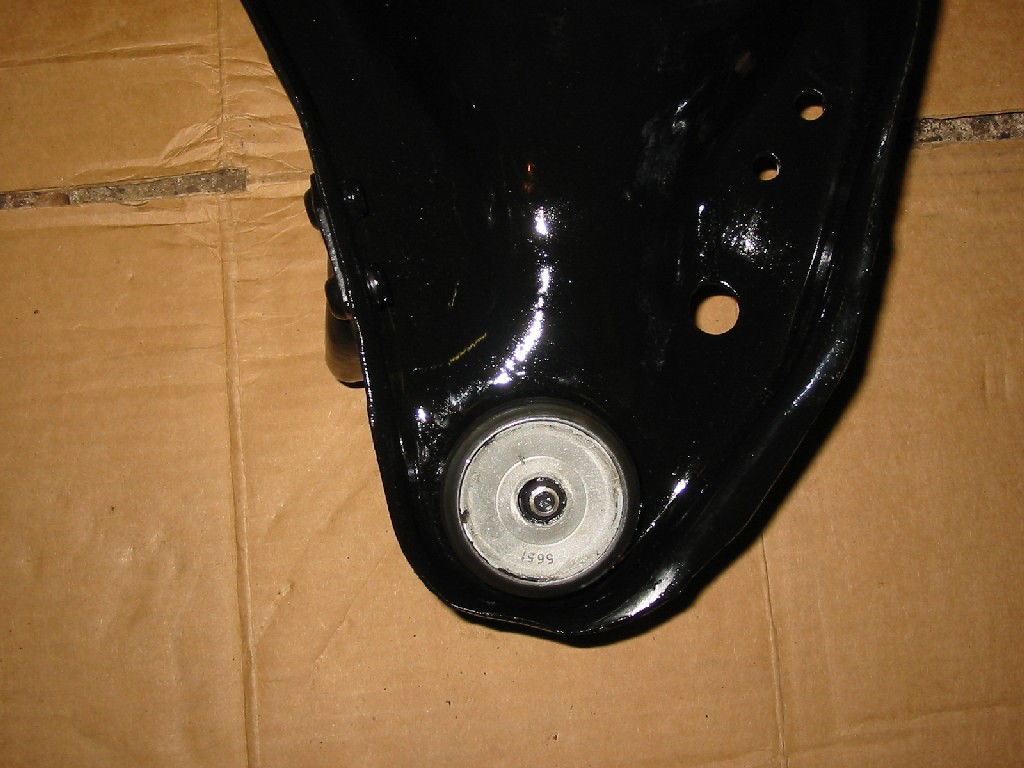
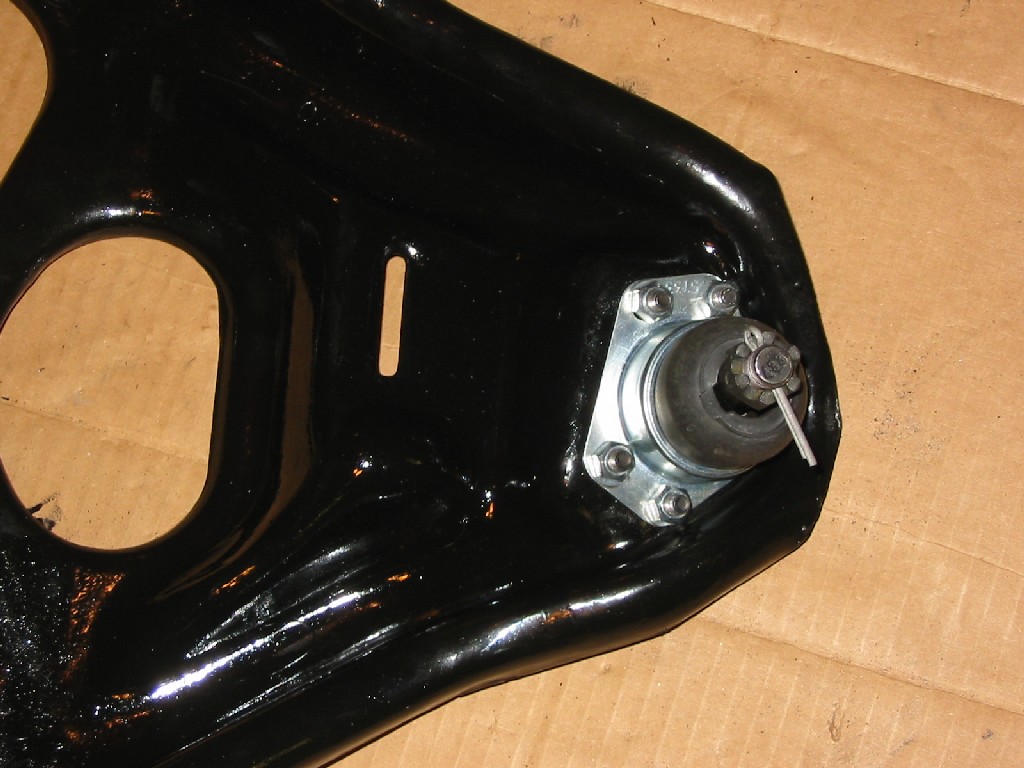
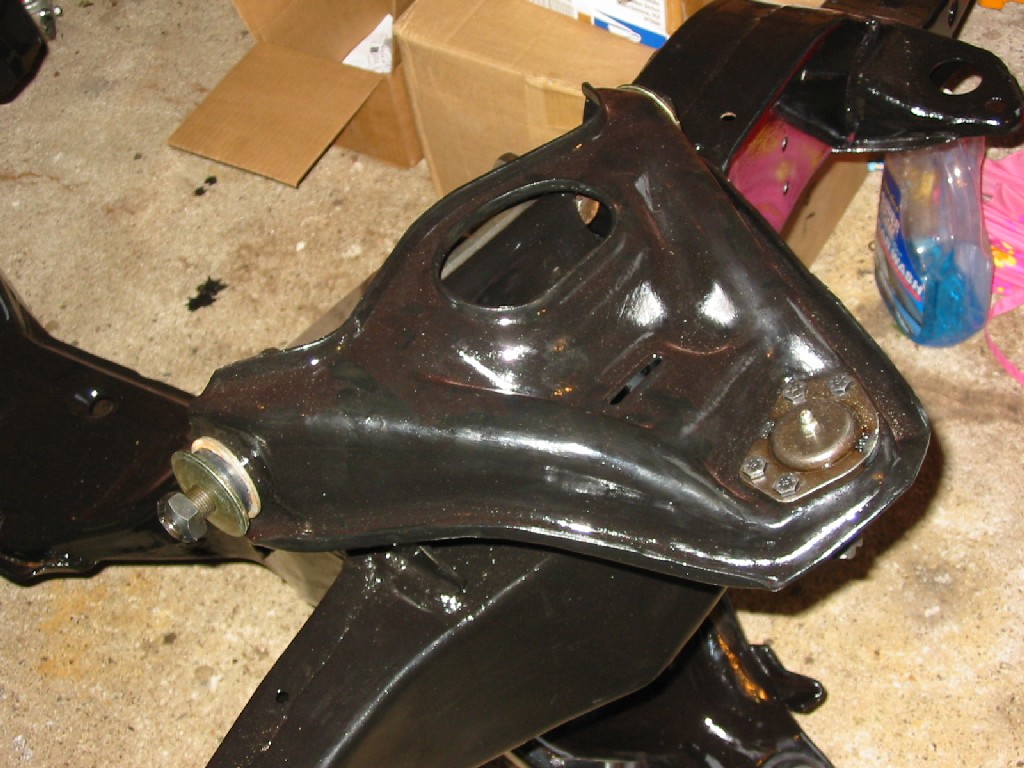
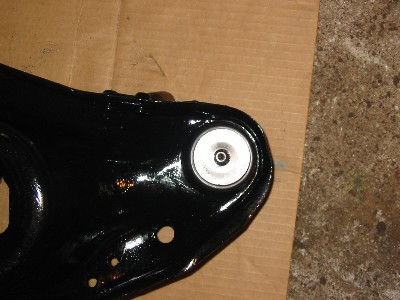
Here is the lower ball joint installed in the lower right control arm
|
|
|
|
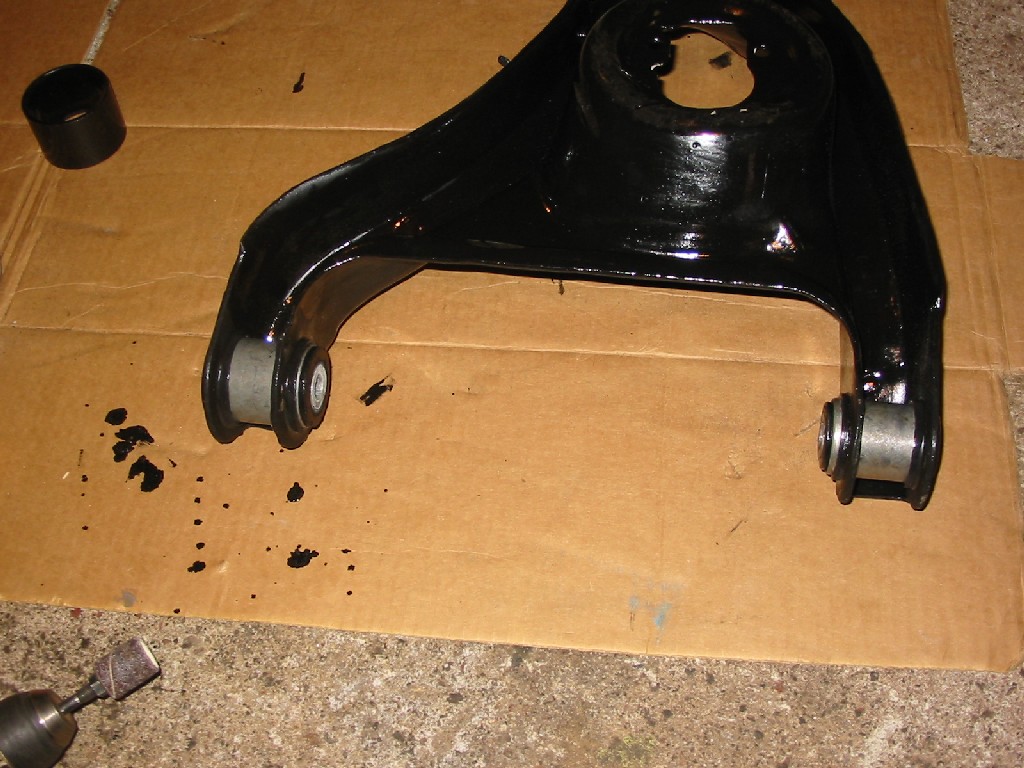
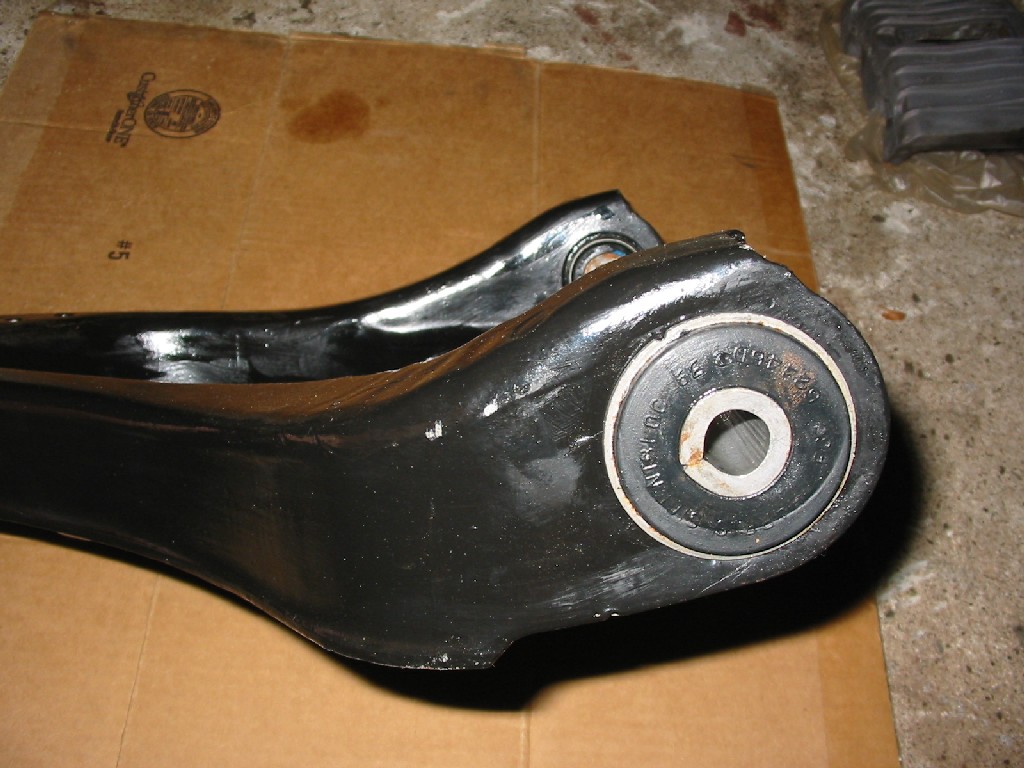
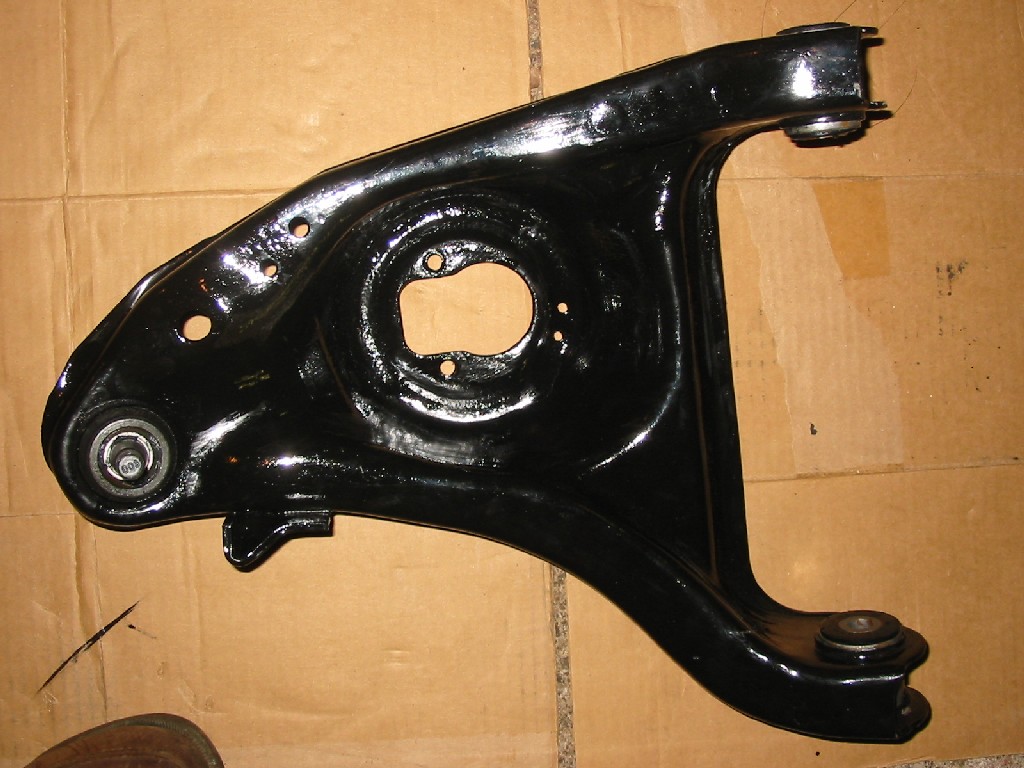
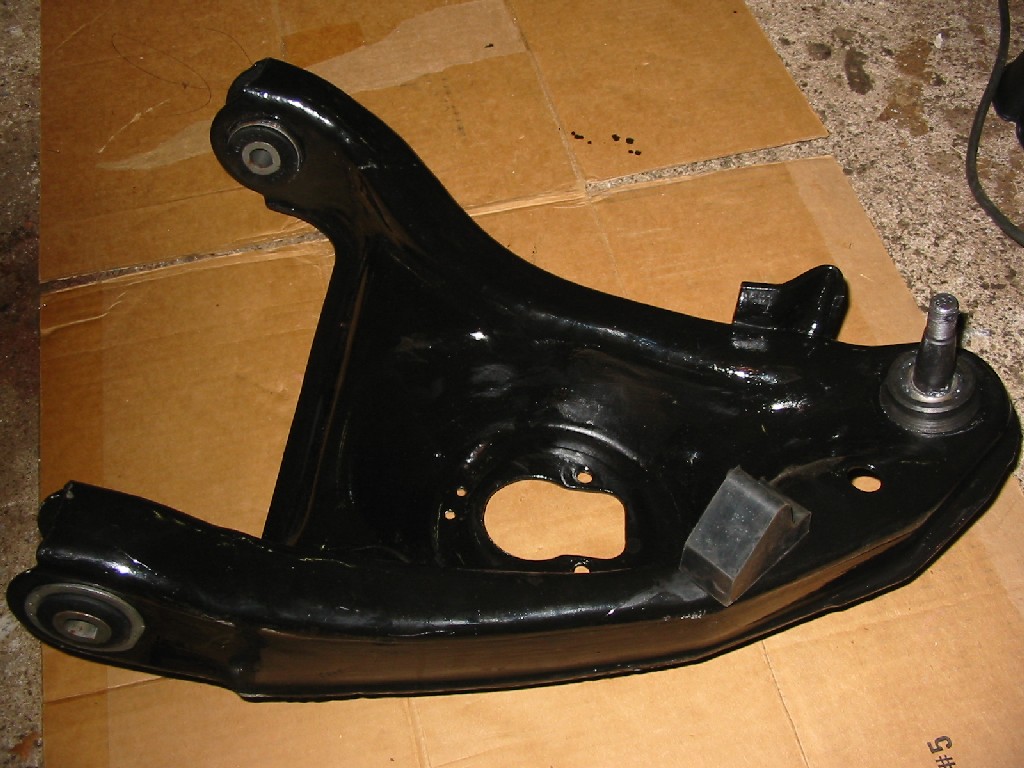
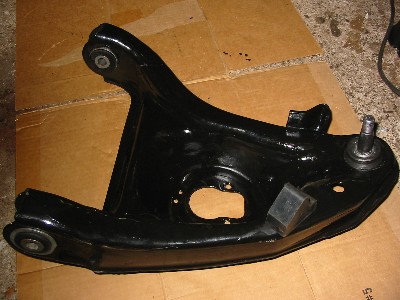
Here are pictures of the lower left control arm
|

|

|

|

|

|
|
| Here are the parts for the upper left control arm |
Here is the ball joint for the upper left control arm |

|
|
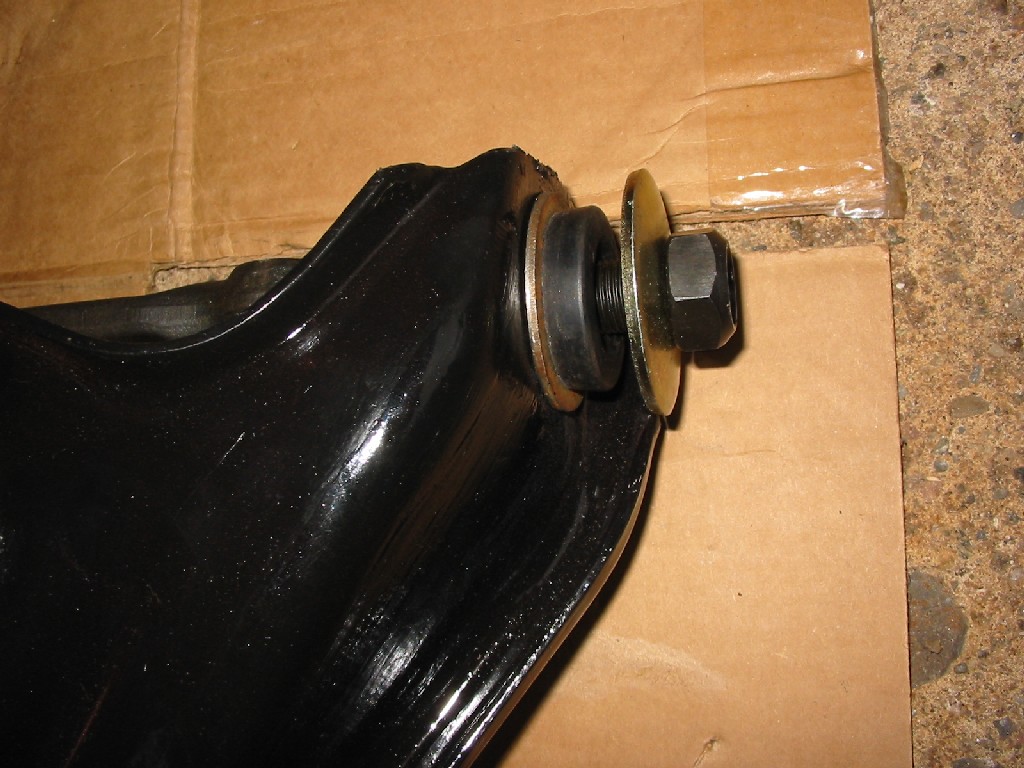
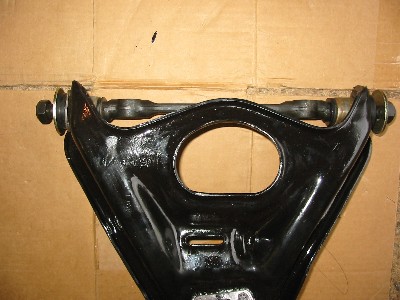
| Here is the ball joint for the upper left control arm installed |

|

|
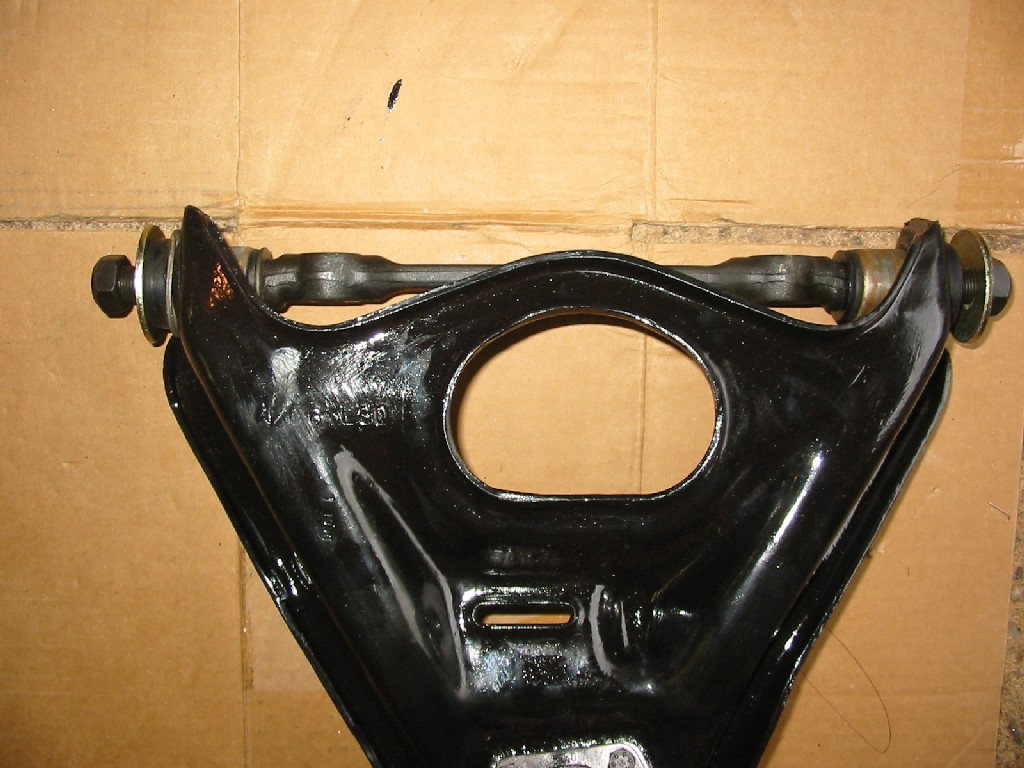
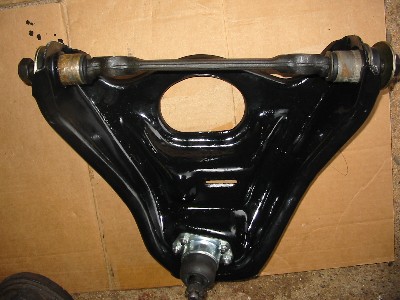
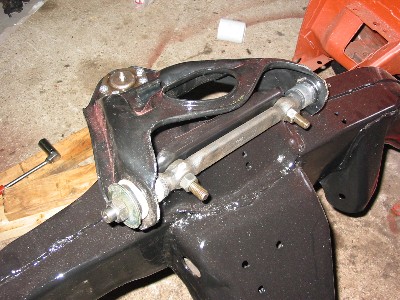
| Here is the cross shaft and bushings installed in the upper left control arm |
|
|

|
|
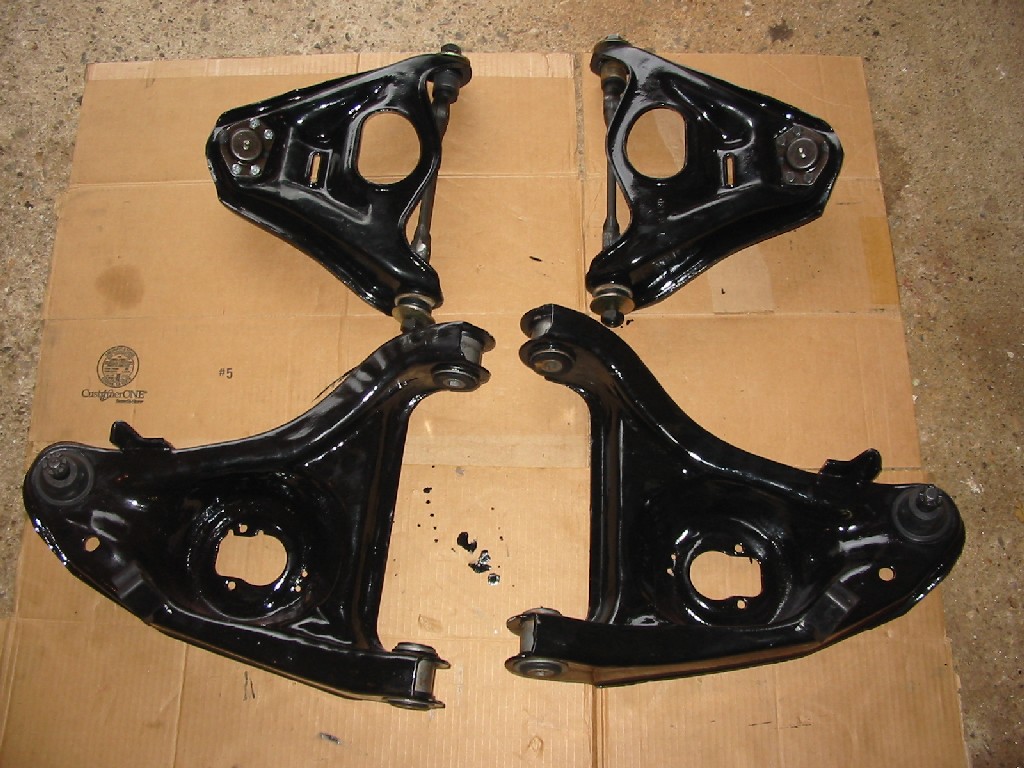
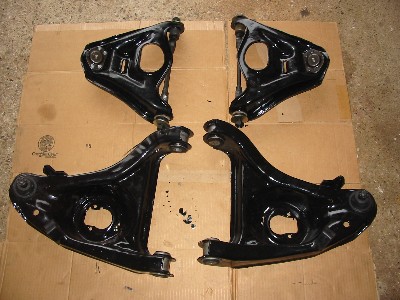
| Here is a picture of all the control arms ready to be installed |
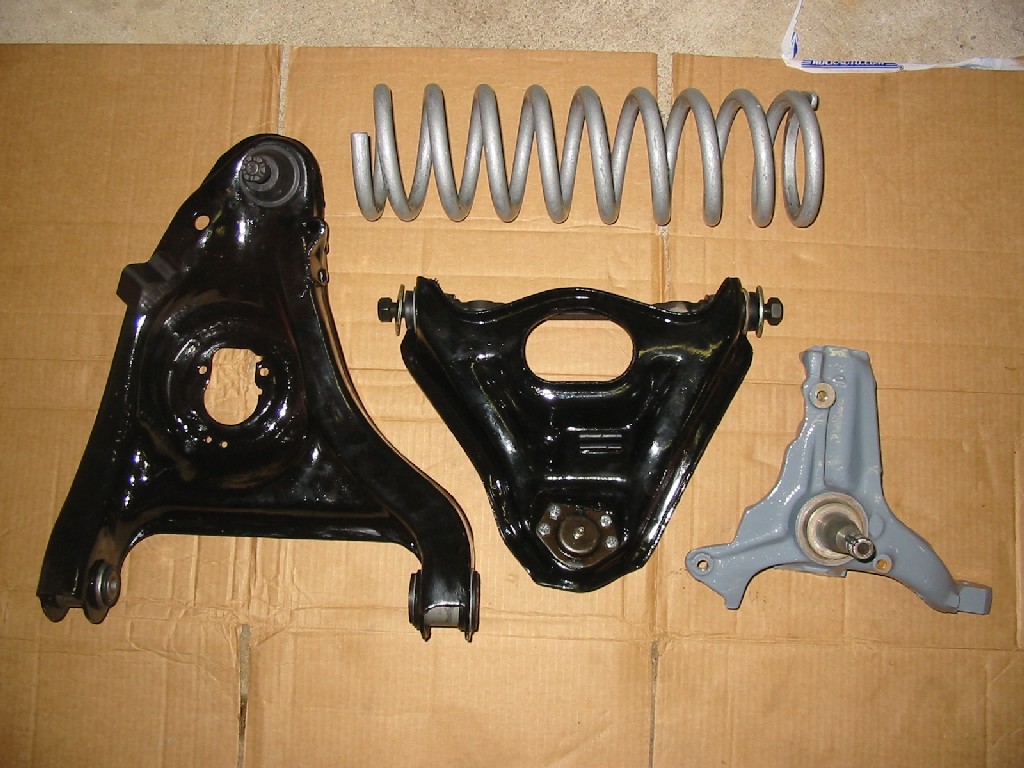
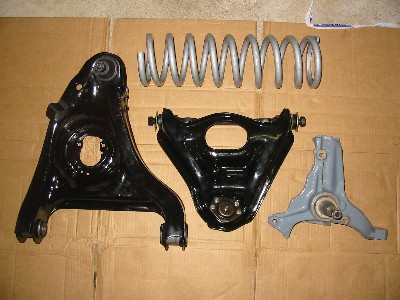
Here is a picture of the right side control arms, spring and spindle before installation |
|
|
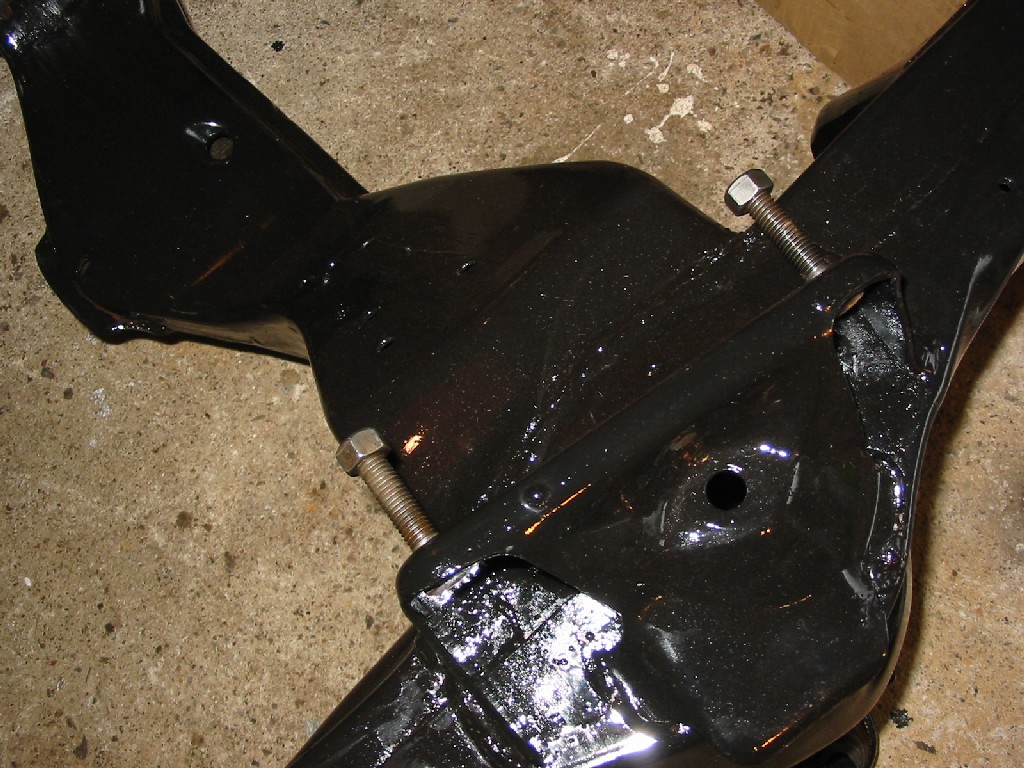
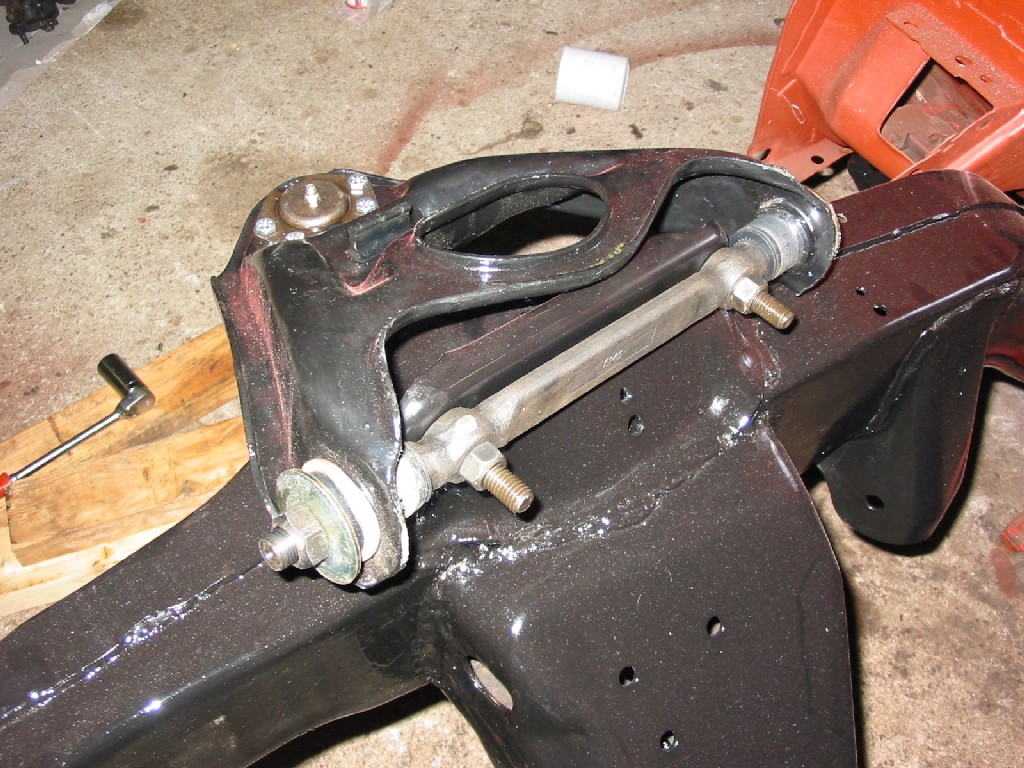
| Here is a picture of bolts used to mount the right upper control arms |
Here is the right upper control arm installed. I will not fully torque down all control
arm bolts until the car is together and on the ground. |

|
|
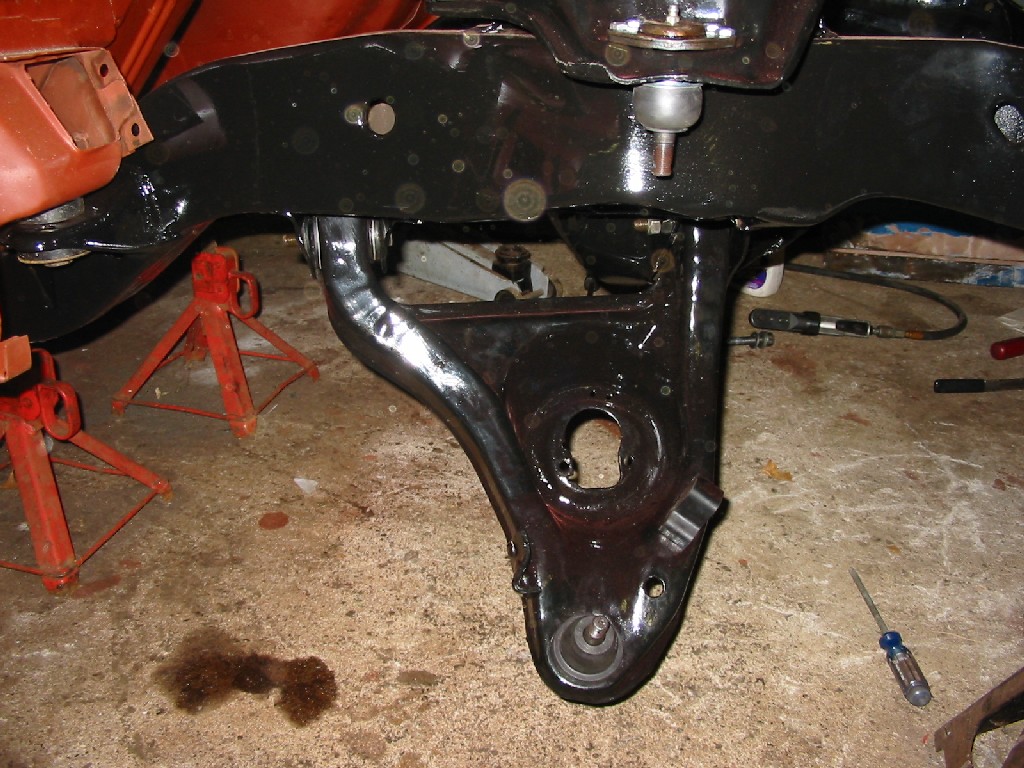
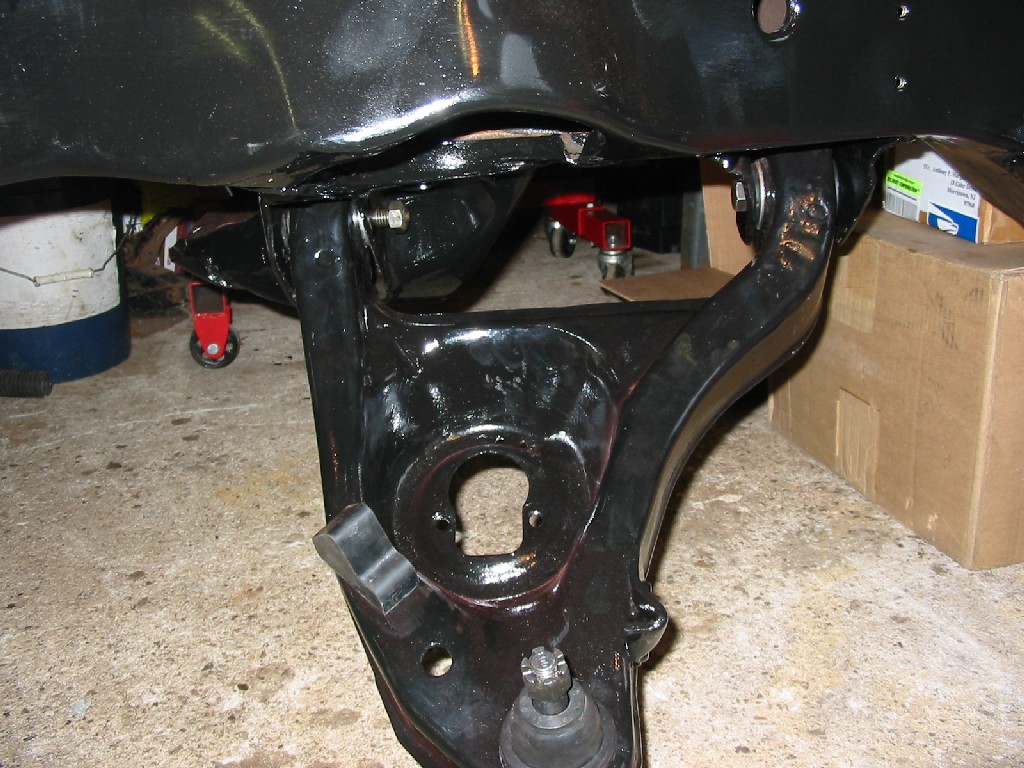
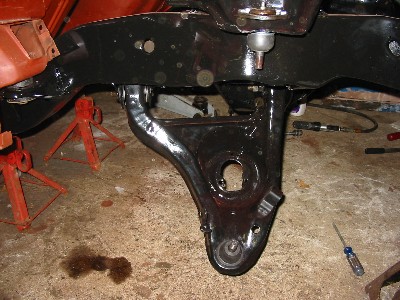
| Here is the right lower control arm installed. |
|
|
|
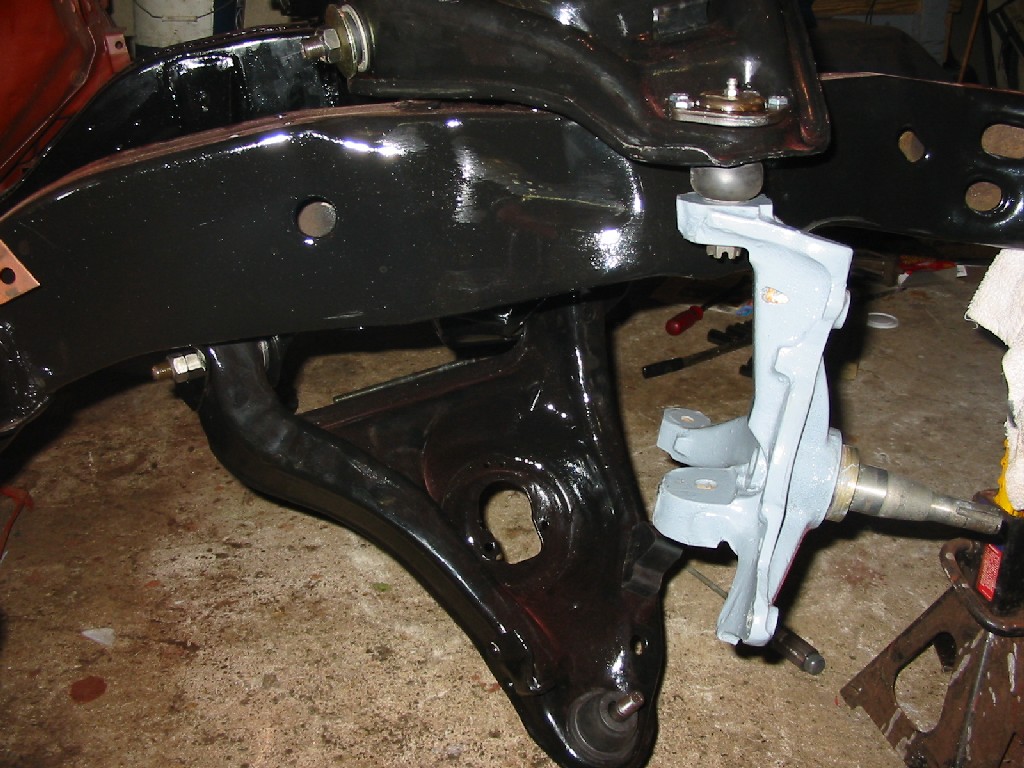
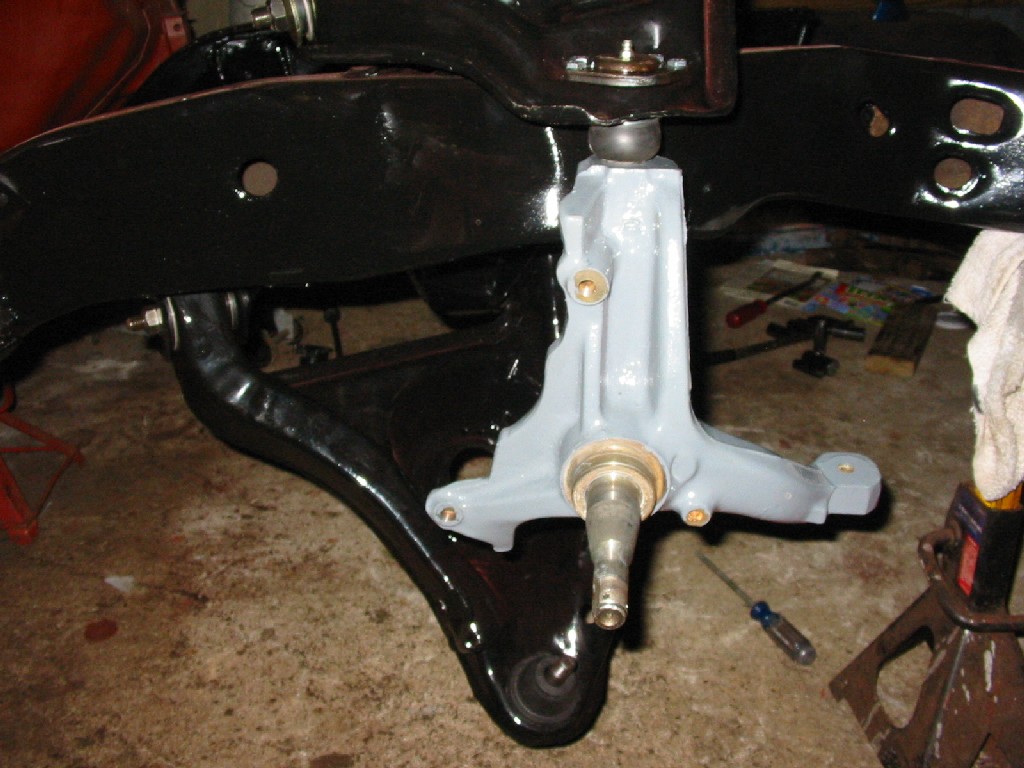
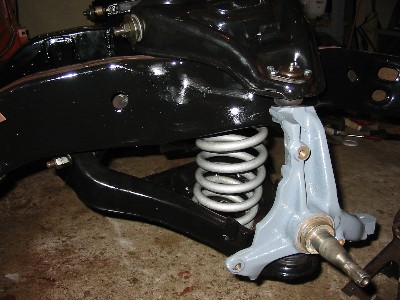
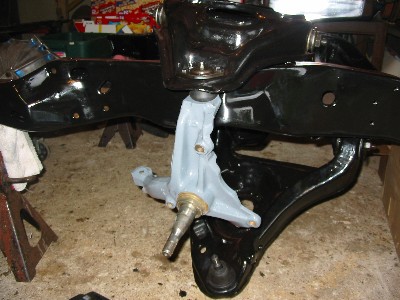
Here are pictures of the spindle mounted to the right upper control
before spring installation
|

|

|
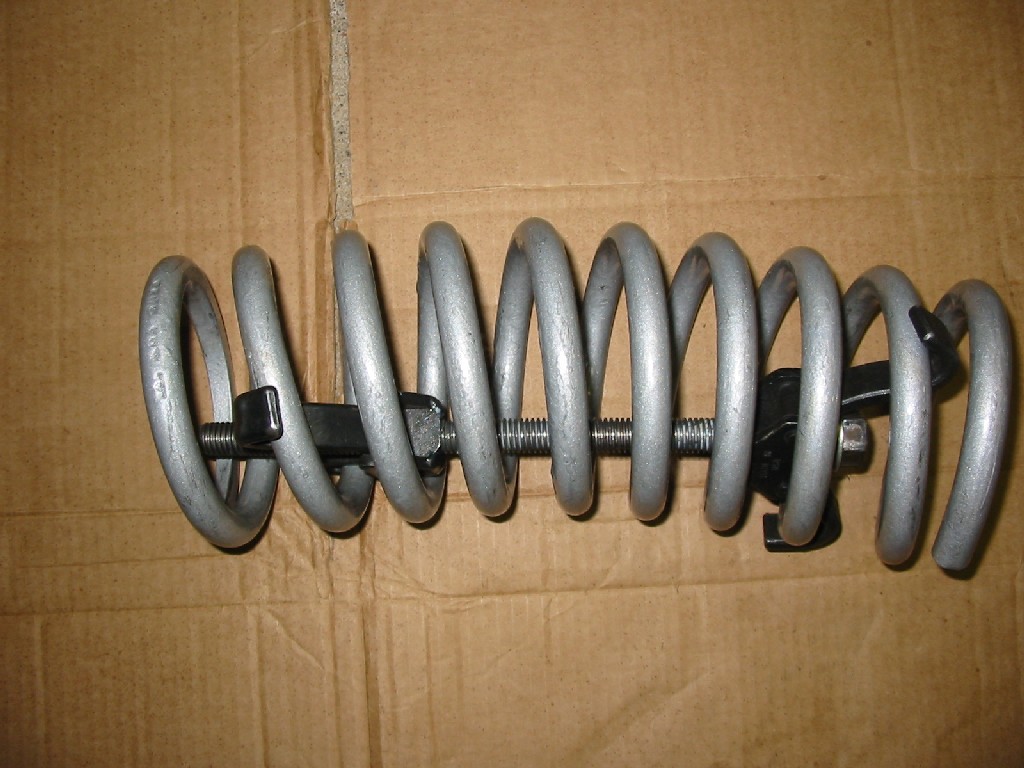
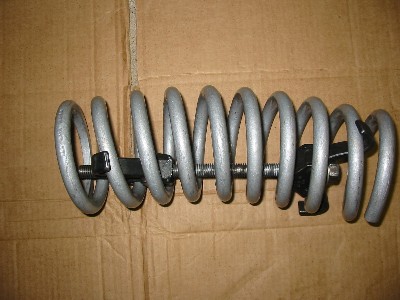
| Here is a picture of the right spring being compressed by the spring compressor. |
|
|
| Here is the completed right suspension |
|

|
| Here is the lower left control arm installed. |
Here is a picture of bolts used to mount the left upper control arms |
|
|
| Here is the upper left control arm installed. |
Here is a picture of the spindle mounted to the upper control before spring installation |

|
|