| Here is a shot of the front control arms and cross shafts stripped and prepped with Metal Ready. |

|

|
|
Here are the control arms after a coat of POR-15 semi-gloss black. I had originally thought
of coating them in semi-gloss but later I changed my mind and coated them in gloss to match the
subframe.
|

|

|

|

|
| Here are the front springs, front swaybar and rear swaybar after being cleaned and prepped. |
|

|
|
|
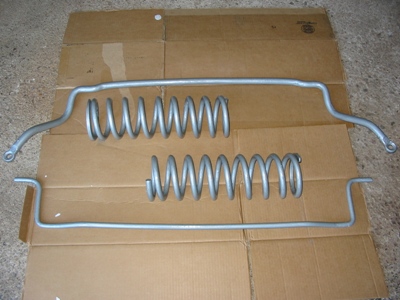
Here are the front springs, front swaybar and rear swaybar after being coated
with POR-15 silver. I went with silver to break up all the black.
|
|

|
| Here are the before shots of the motor mounts. Oddly enough the tops of my mounts were
painted light blue. I am not sure if this was factory or not.
|

|

|
| Here are the motor mounts after I split them apart and prepped with Metal Ready. I was going to install
polyurethane mounts but decided against it for comfort reasons. I did replace the rubber inner with a practically new
rubber mount. I had purchased replacement frame mounts back in the 80's but never installed them when I rebuilt the motor.
After lying around for 20 years the metal clam shells had rusted but the rubber inners were good. I am using the two sets
of mounts to make one like new set.
|

|

|
|
Here is a picture of one of the front spindles. These will be modified because I am upgrading my brakes to use
Corvette C5 brakes. The first step was to drill and tap two of the dust shield bolt holes to accept larger bolts.
The first picture shows the spindle with larger bolts mounted. The second is with the caliper bracket mounted for
a test fit.
|

|

|
| Here are the spindles with the original caliper mounting ears cut off and prepped with Metal Ready. The ears
needed to be removed to allow clearance for the new calipers. I used a sawzall and a grinder to remove the material. |

|

|
| Here are pictures of the spindles coated with grey POR-15. |

|

|

|

|
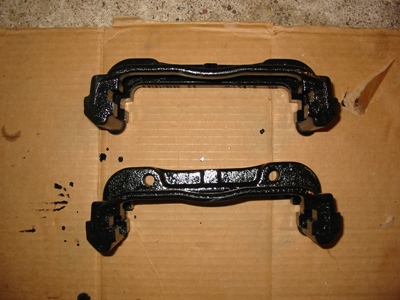
| Here are pictures of the Corvette caliper mounts. These mounts are what the calipers mount to.
I coated these with gloss black POR-15. |
|

|
| Here is the spindle with the caliper adaptor mount installed. |
Here is the spindle with the caliper adaptor mount and caliper bracket installed. |

|

|
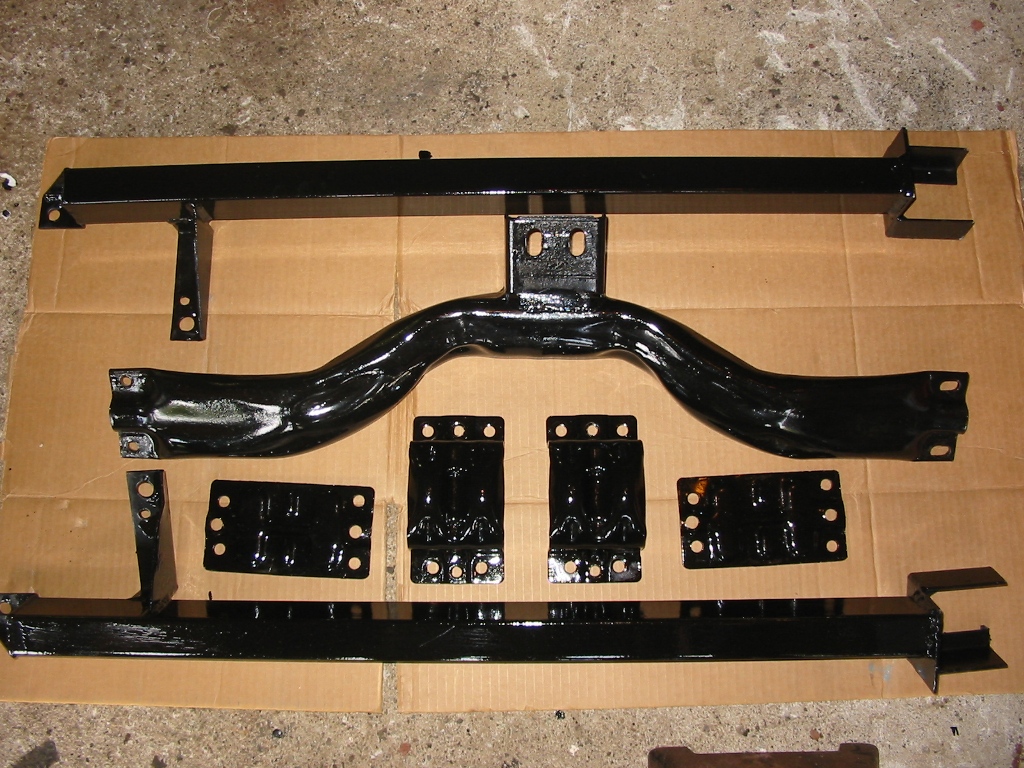
| Here are pictures of the subframe connectors, motor mounts and transmission crossmember coated
with gloss black POR-15. |

|

|
| Here are pictures of the completed subframe coated with gloss black POR-15. |

|

|

|

|

|

|

|
|
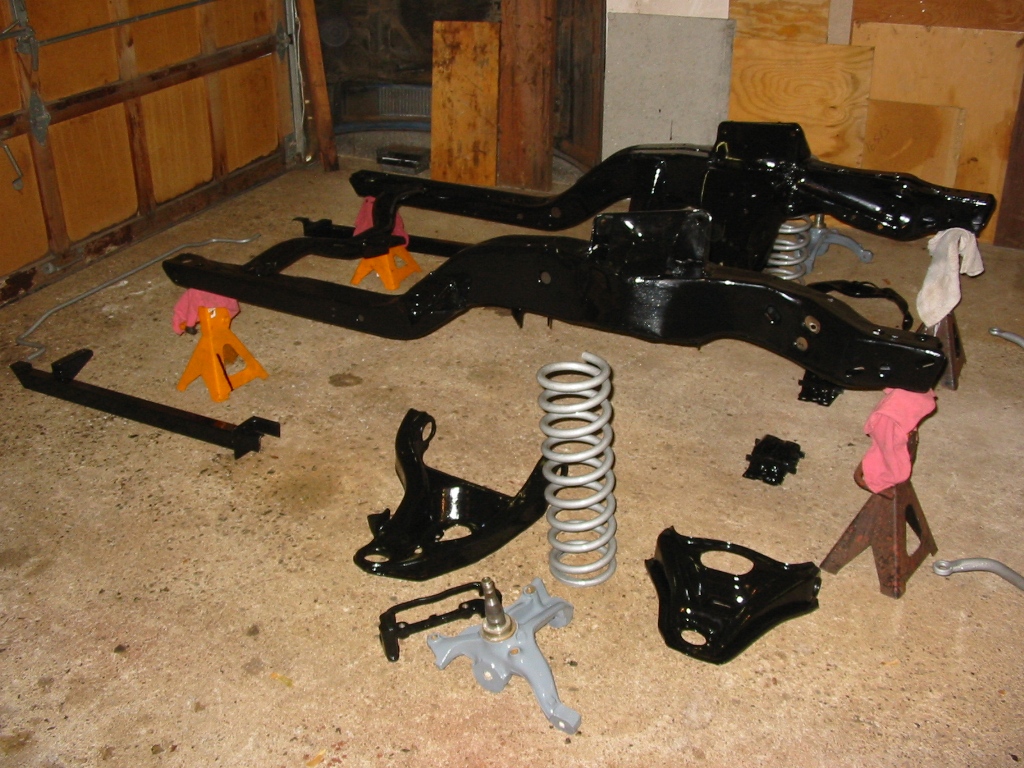
| These pictures show everything displayed out before assembly. |

|

|

|

|

|

|

|

|