|

Epoxy Primering of the Shell (October 12, 2006)
Here are pictures of the body shell getting a coat of Epoxy primer. After doing some research on the web I went with Southern Polyurethanes epoxy primer. They came highly recommended and the price was right. They weren't the cheapest but they were cheaper than PPG, Dupont and other name brands.These pictures show the prep work before the spraying of the shell. I sanded all the ZeroRust coating with 220 grit sandpaper to give the primer a surface to stick to. The ZeroRust was fully cured for over 60 days. This was twice the recommended time of 30 days given to me by ZeroRust. I wanted to make sure that there would be no solvent trying to evaporate through my primer coat.
I chose white primer because I intend to use it as my sealer coat once my bodywork is done. The white will really make the Viper Yellow paint pop when it is time to do color.
Overall the paint came out ok for my first time. There are some runs and some thin spots. In the spring, I will block the car and put a second coat on. I wanted to get the body in primer before the winter hit to keep rust from forming.
Lastly, I have a new found respect for painters. Doing a car is hard work and takes lots of practice. I just hope my second coat comes out better and there is less tiger stripping.
Audemars Piguet Replica Watches
Status photos as of 10/12/2006:
| Here is the shell after a good sanding with 220 grit on the ZeroRust and E-Coat. I also went over the bare steel with 80 grit. After all the sanding and scuffing, I wiped the shell down with wax and grease remover. | |

|

|

|

|

|

|

|

|
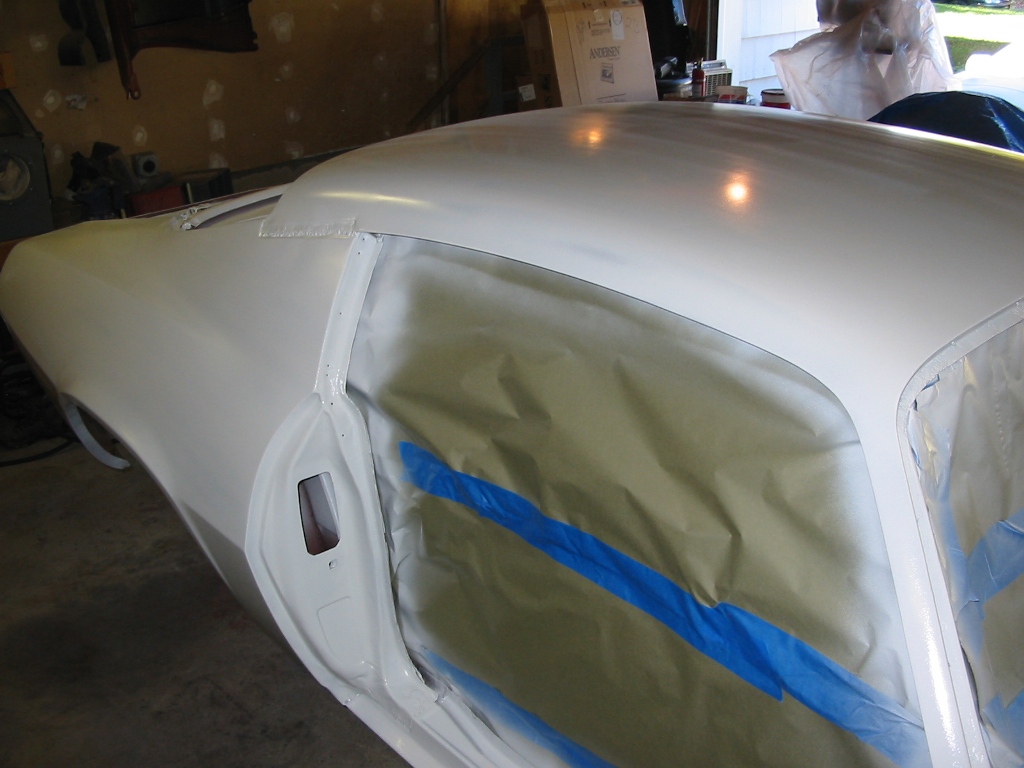
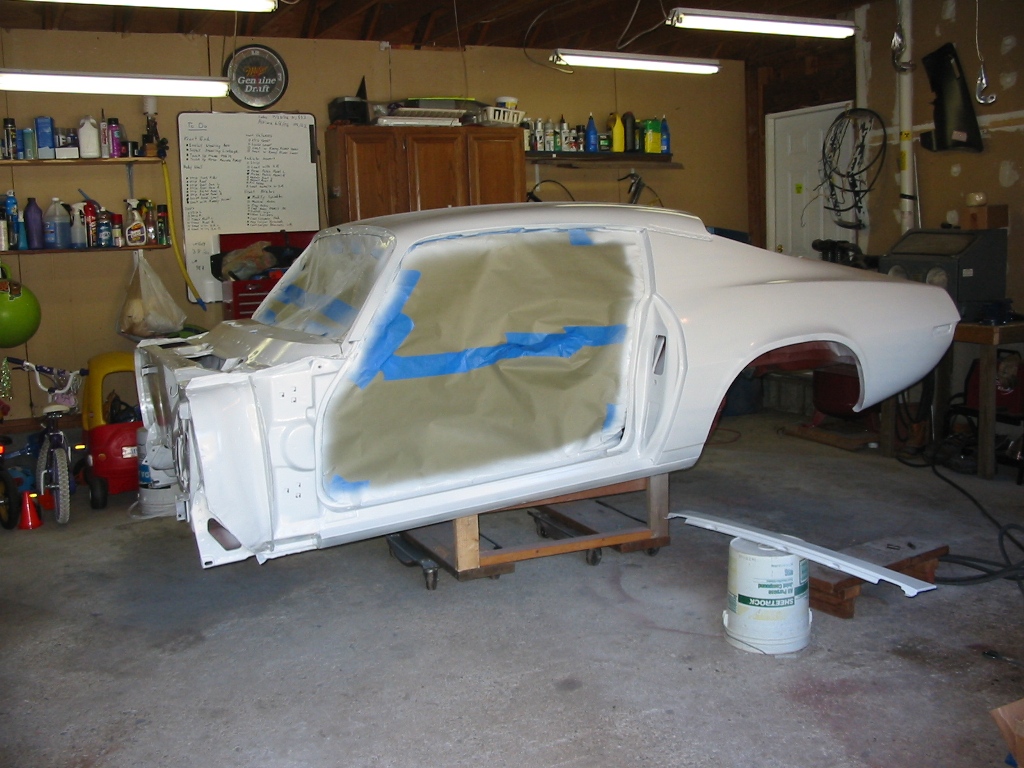
| Here is the shell with a coat of primer. In some of the shots you can see the tiger stripping and a few lightly covered spots. I will fix this with a second coat in the spring. I waited on the second coat because of weather concerns. It was getting close to 55 degrees out which is the lowest temp that you can spray the primer. | |

|

|

|
|

|

|

|

|
|

|