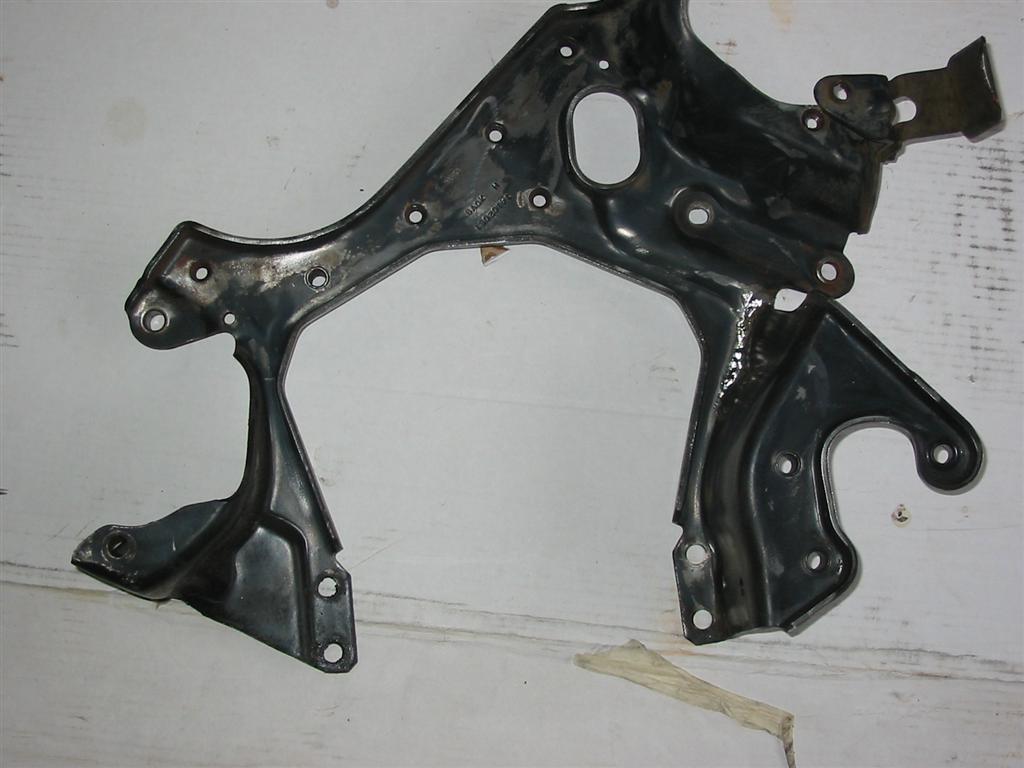
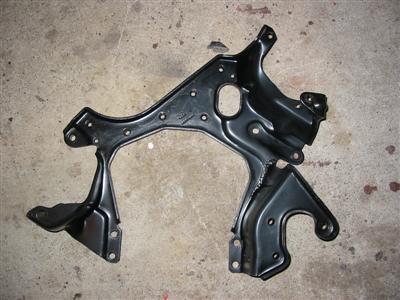
| Here is the original steel bracket. I saw that it had a crack in it and welded it back up.
Later I found a deal on a set of aluminum brackets. The brackets were cheaper than trying
to find the tensioner part that was missing from the steel brackets that I bought. |

|
|
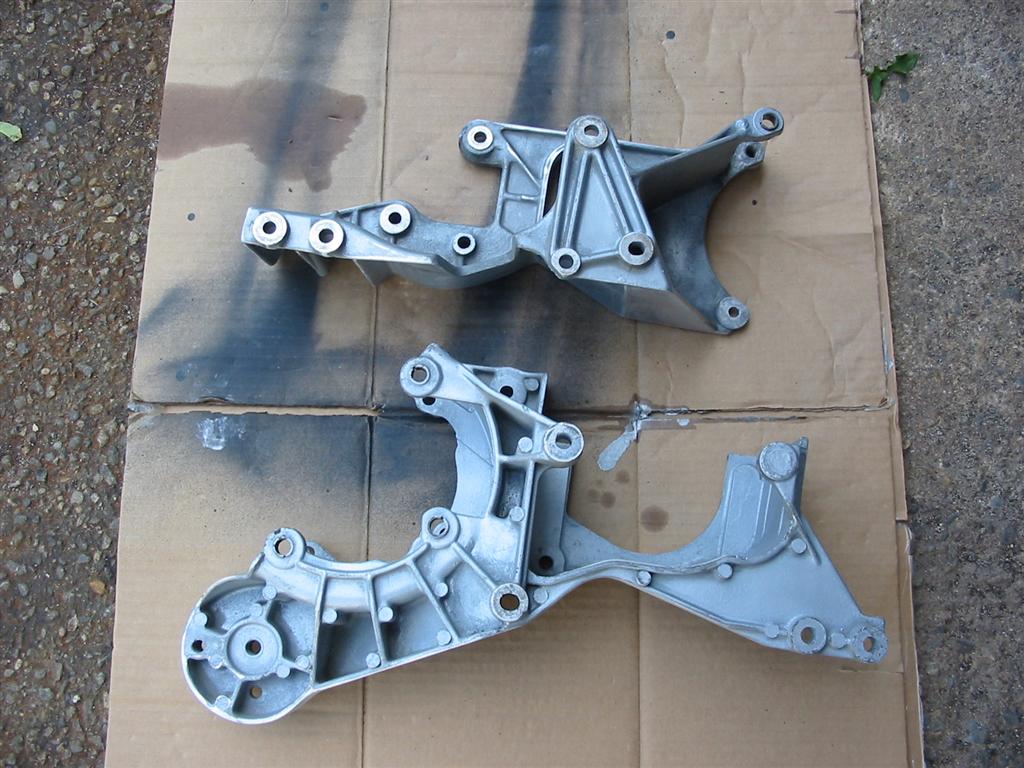
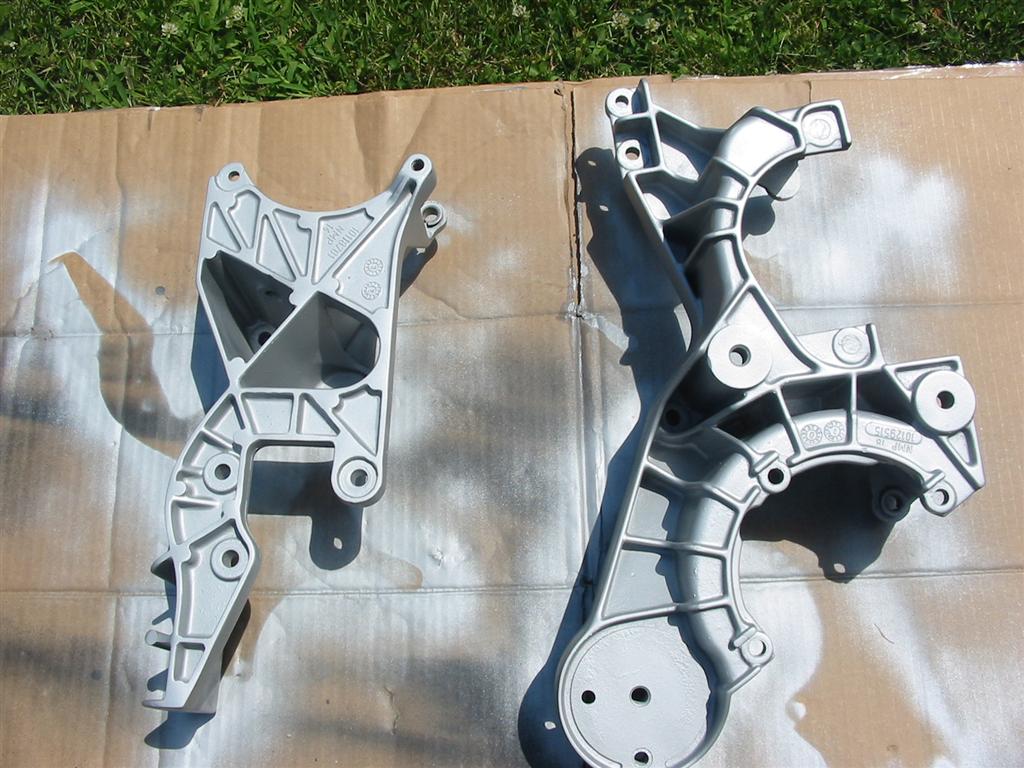
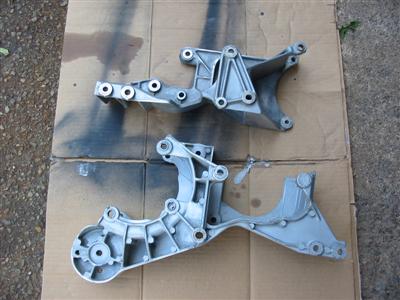
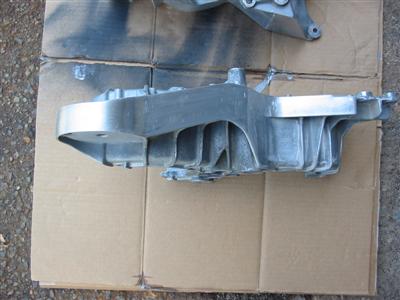
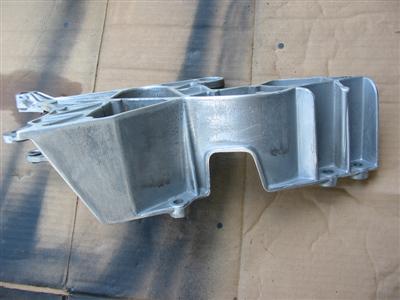
| Here are the aluminum brackets. I took a grinder and sandpaper to them to smooth out some
of the casting lines. |
|
|

|

|
|
|
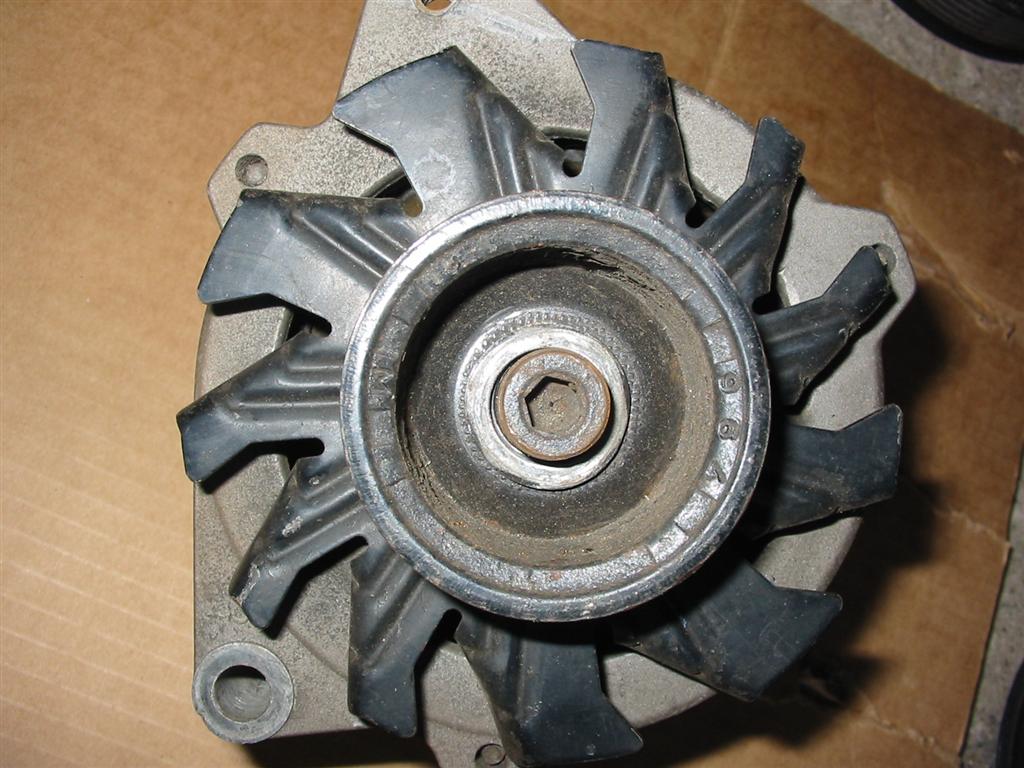
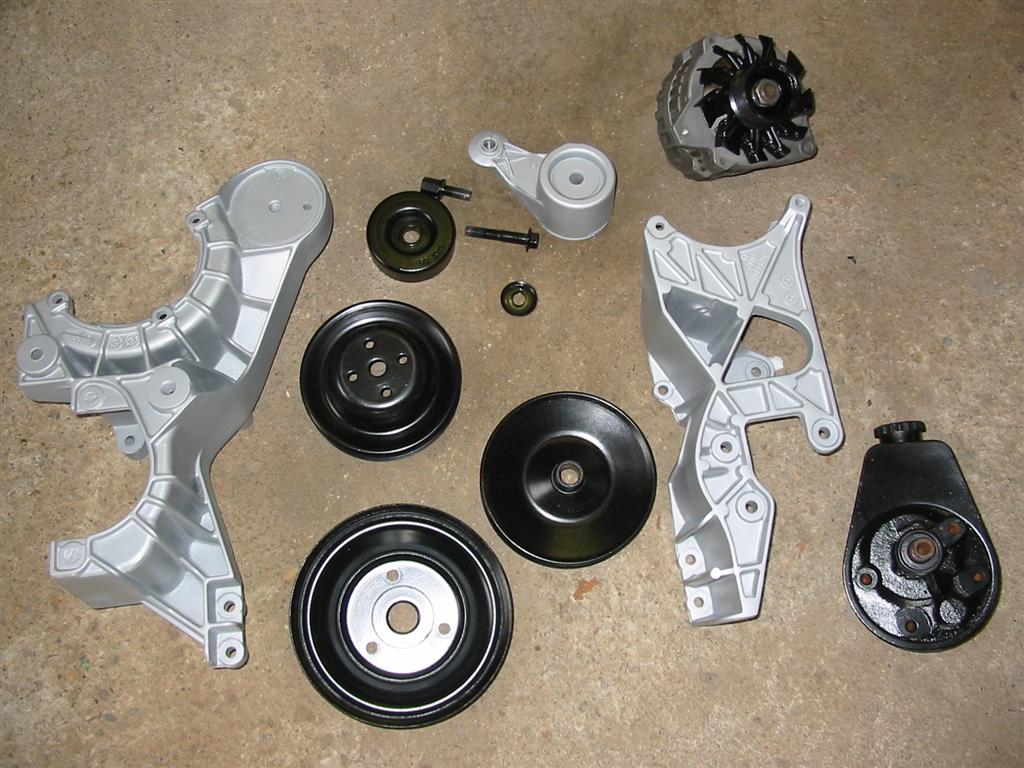
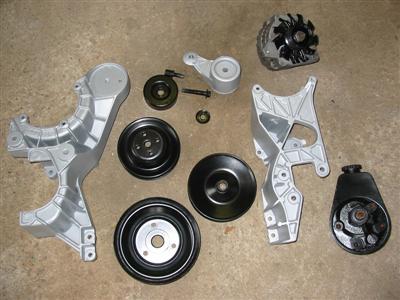
| I also cleaned up the 100amp alternator. |

|
|
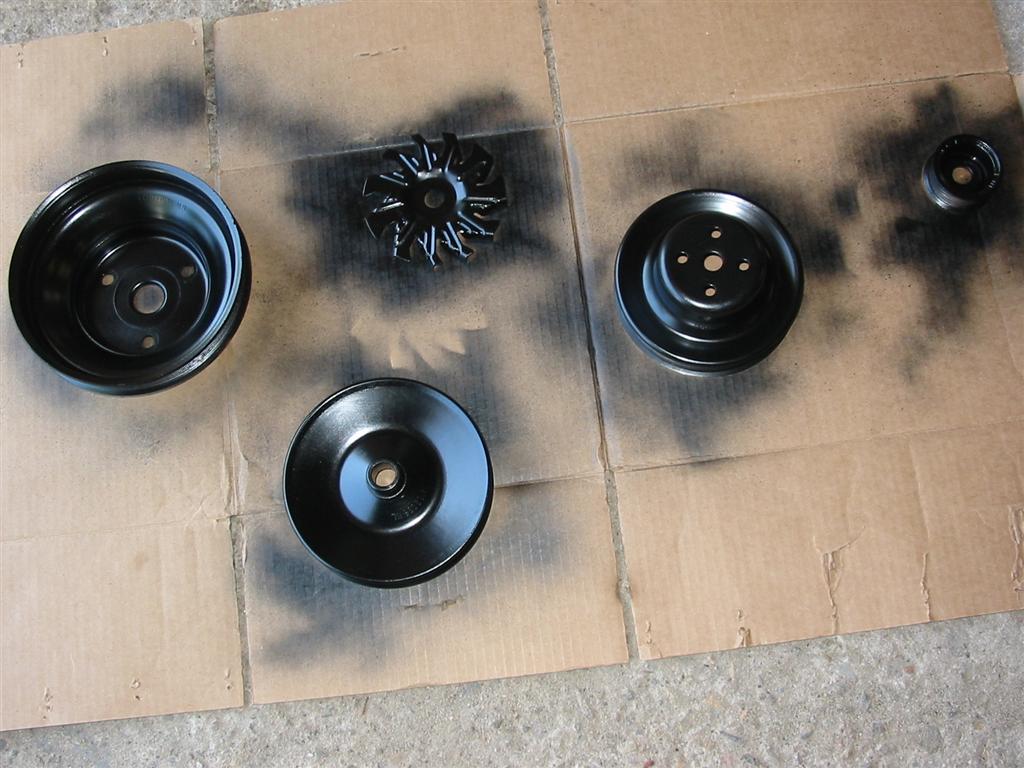
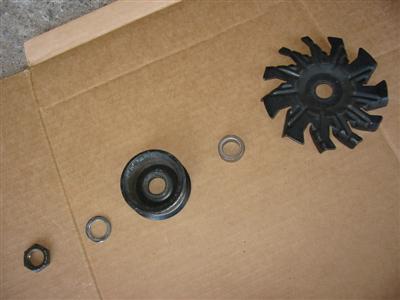
| I cleaned up and painted all the pulleys that came with the initial setup. |

|

|
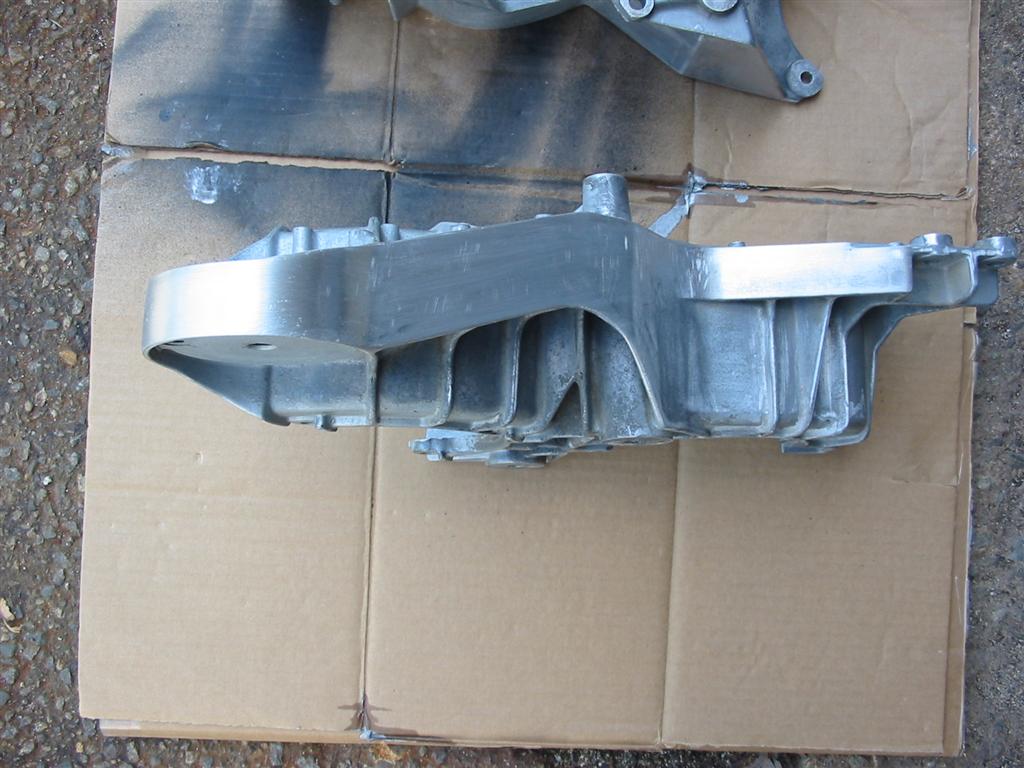
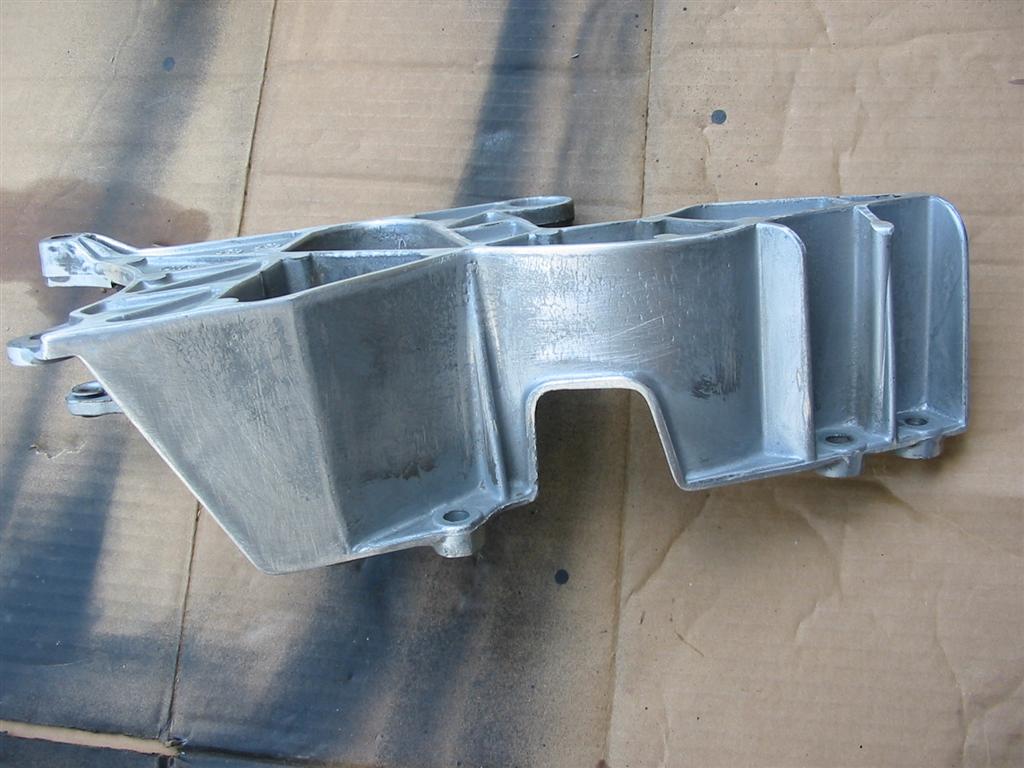
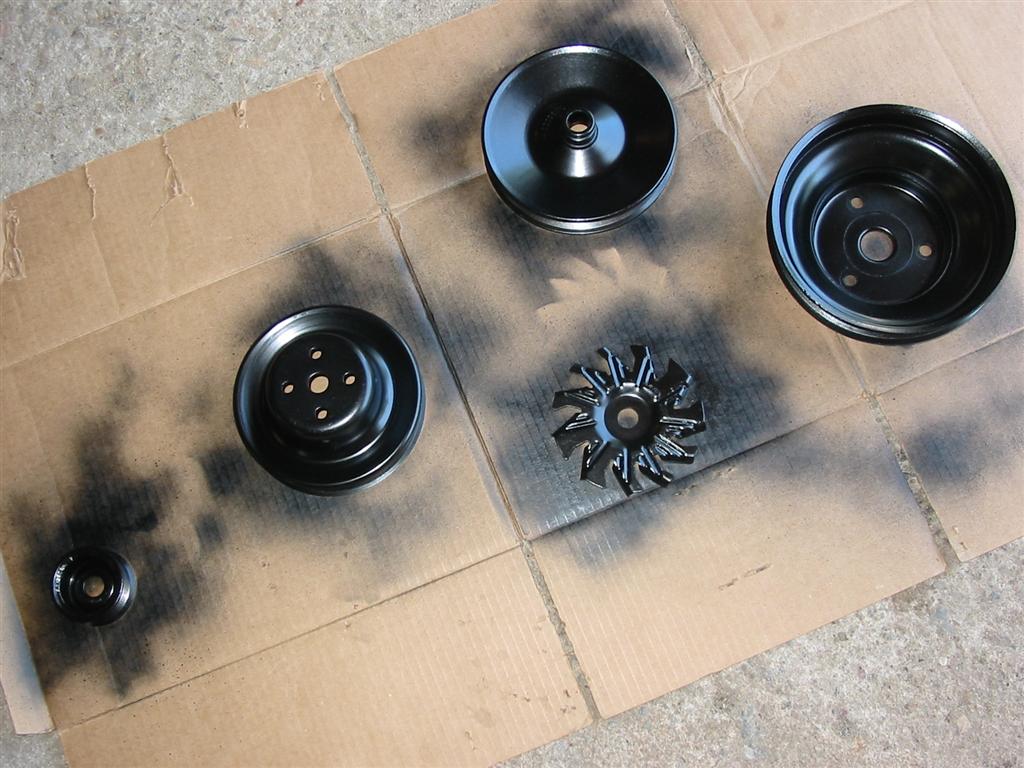
| Here are the brackets and everything else either painted or cleaned up. I used Eastwood's
Alumablast paint and semi gloss black engine enamel. |

|
|
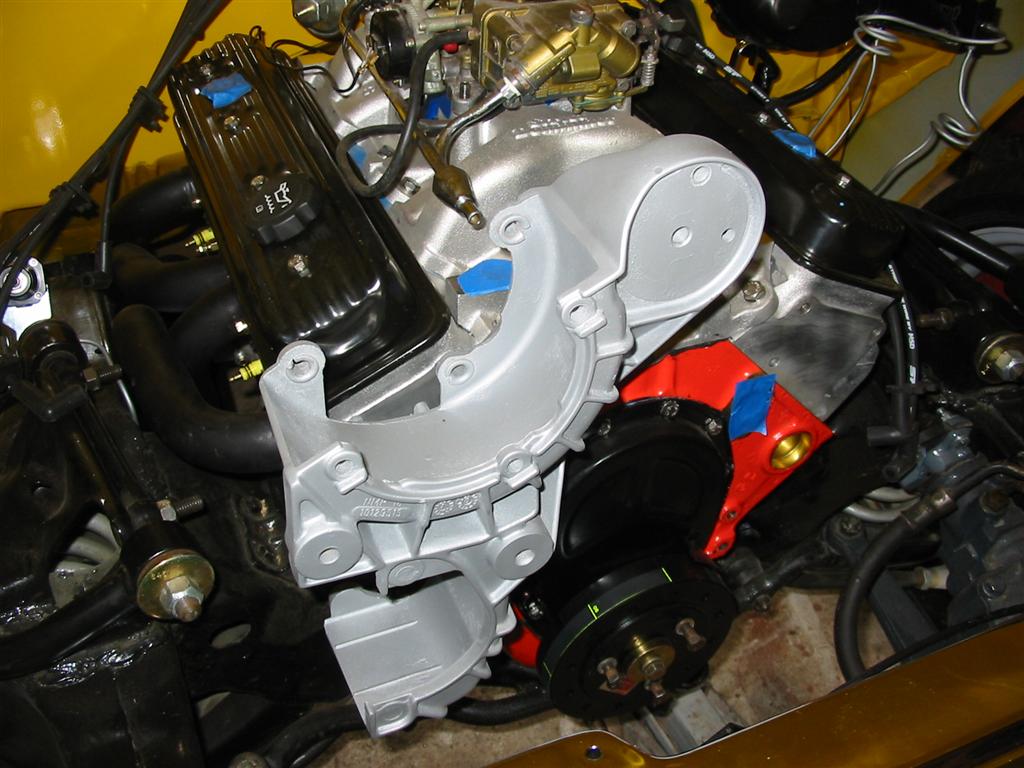
| I then mounted the A/C and tensioner bracket to the bare engine. |
|

|

|
|
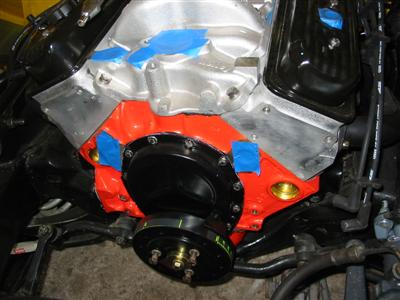
| Next I mounted the crank pulley using the stainless bolts that came in my eBay engine kit.
I also used the header bolts that came in the kit to mount the brackets. I couldn't use
the header bolts on the headers due to clearance issues. |

|
|

|
|
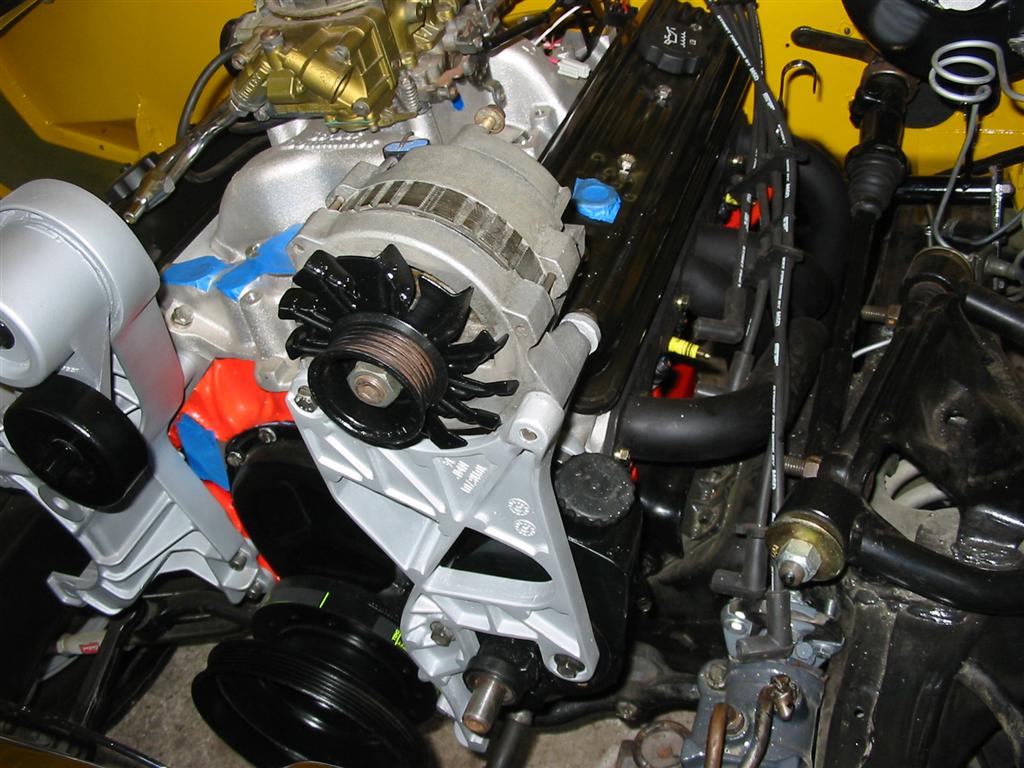
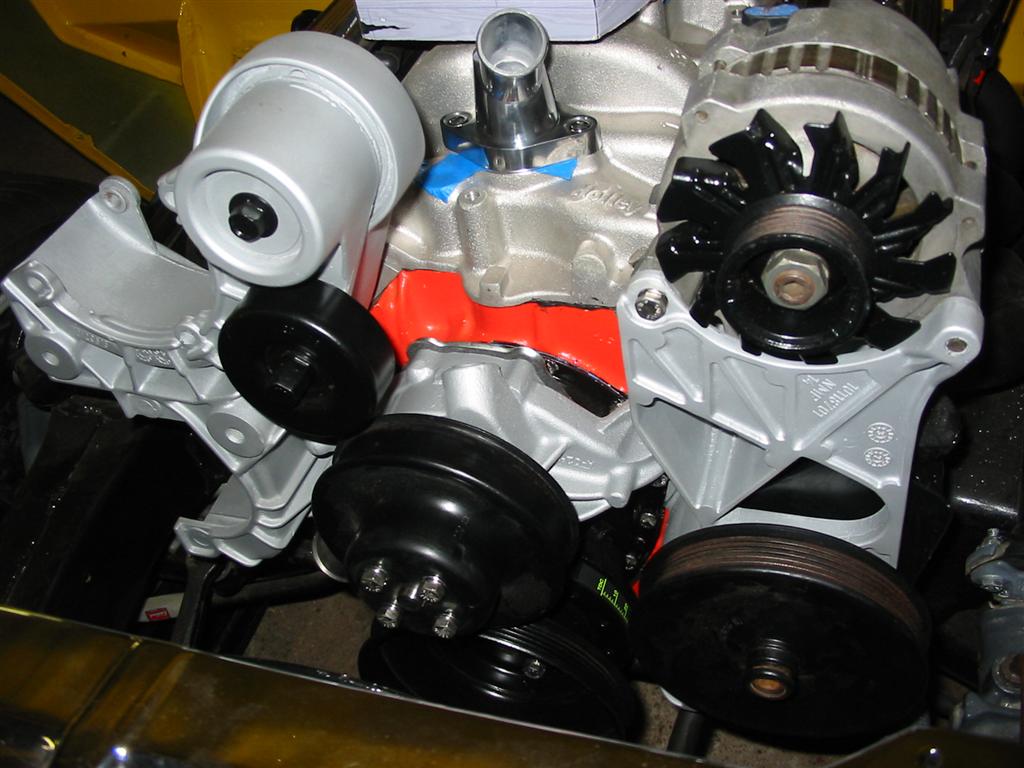
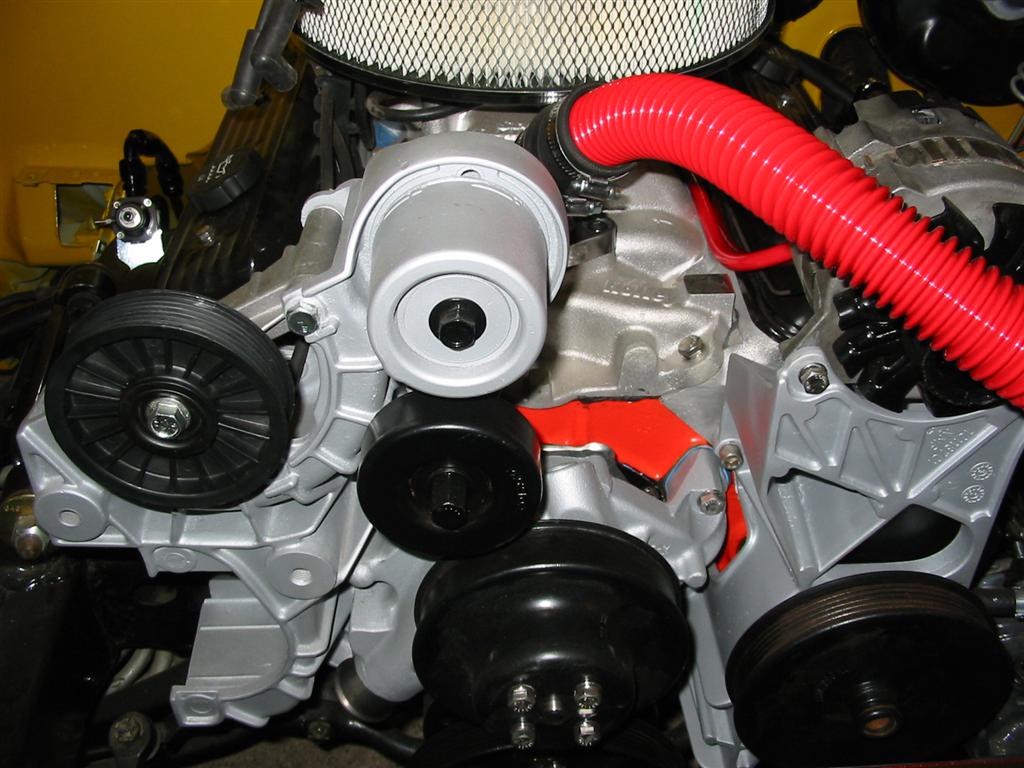
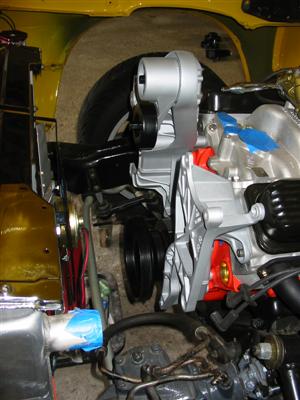
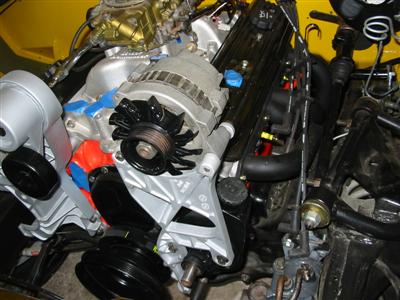
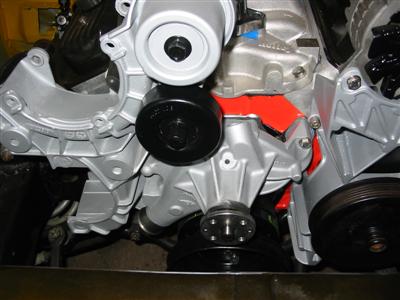
| Next step was to install the alternator bracket and tensioner pulley. |

|
|
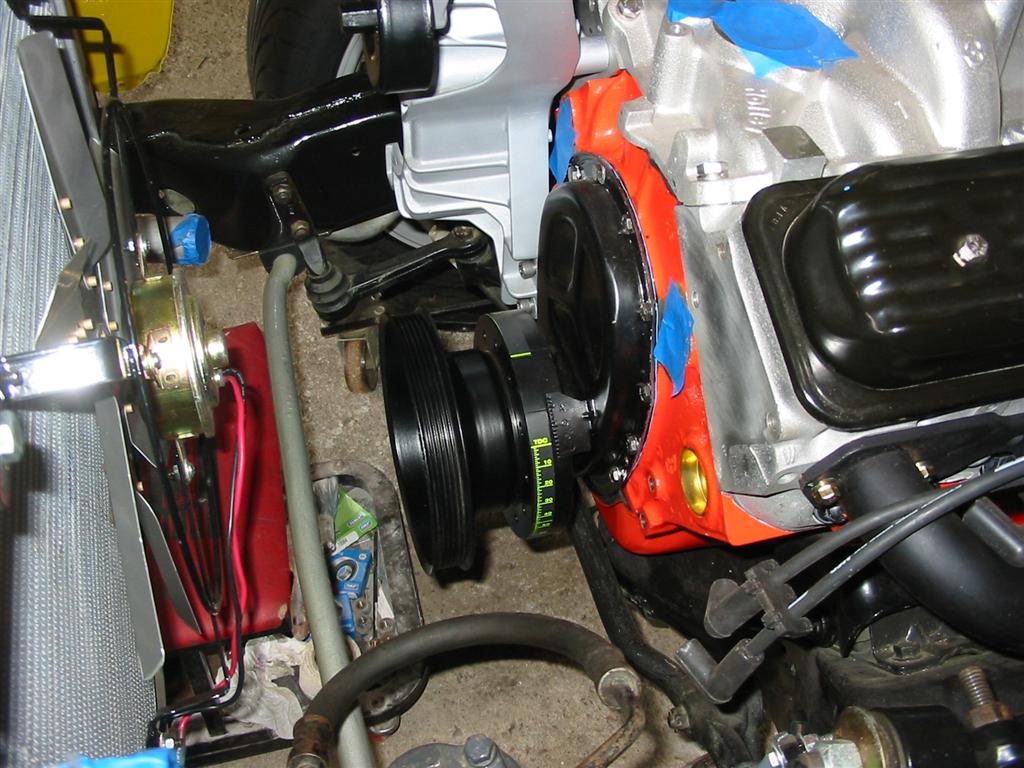
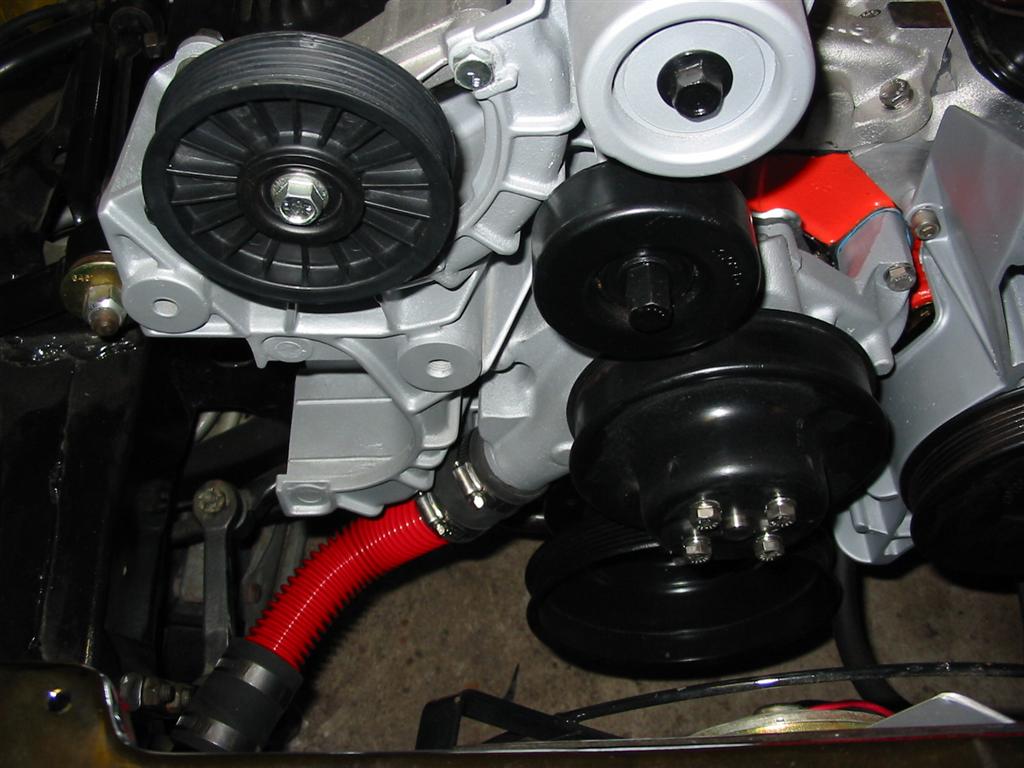
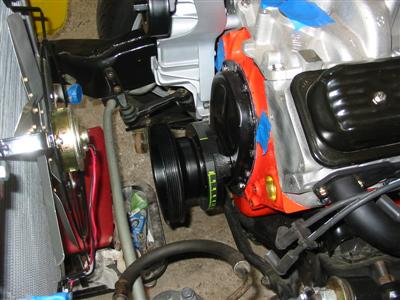
| Here are the brackets with the alternator and power steering pump partially installed.
I later purchased a tool to install the power steering pump pulley. The alternator and
power steering pump bracket is tricky to install because you need to install everything in
the proper order. The bracket needs to be installed first because a bolt is covered
up by the power steering pump. Once the bracket is install, the pump can be installed
without the pulley attached. Lastly, the pulley gets installed using the special tool. |
|

|
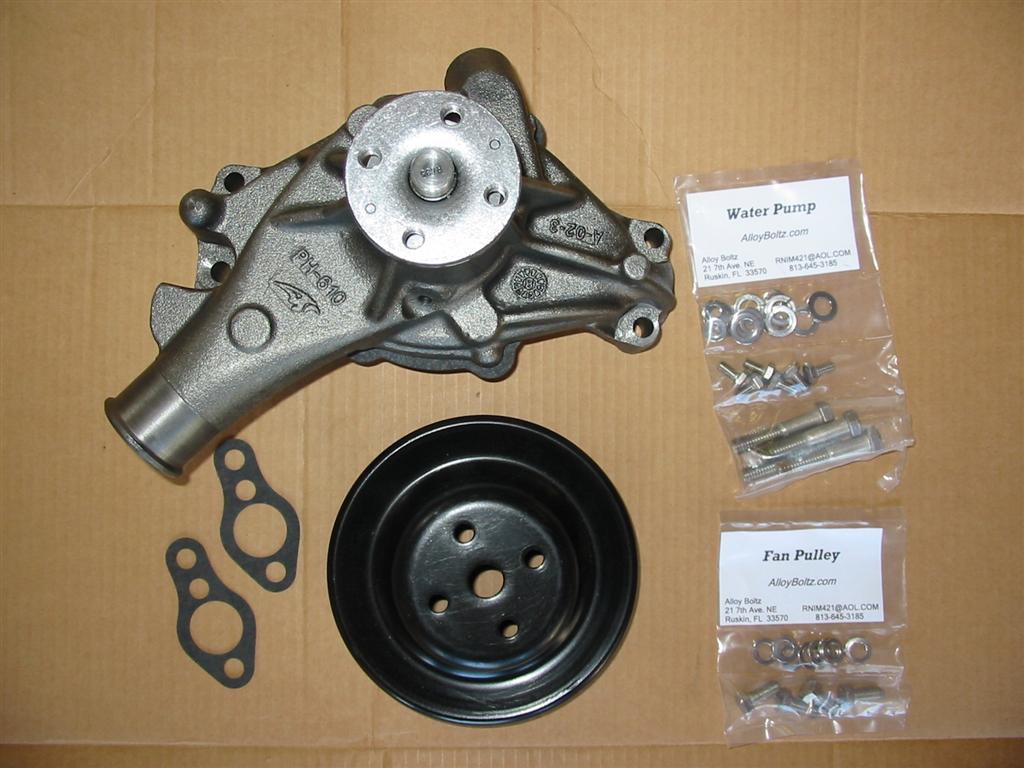
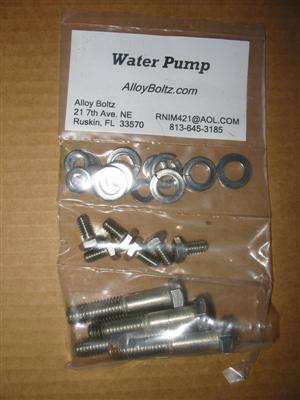
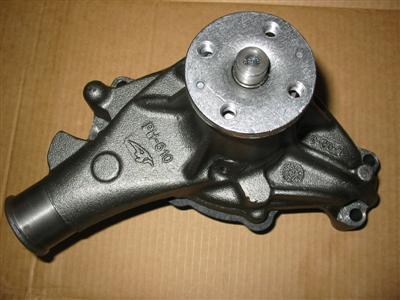
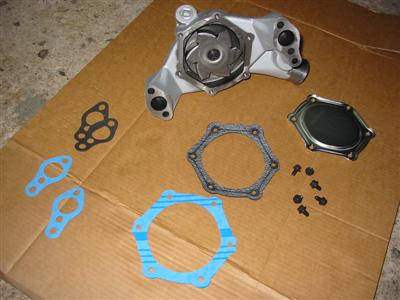
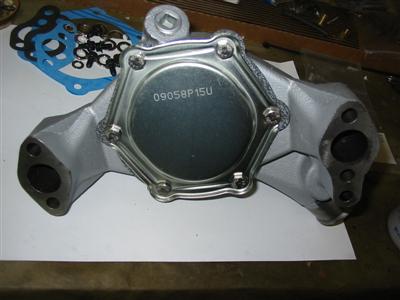
| Here is the reverse rotation water pump that I purchased. I disassembled and cleaned the
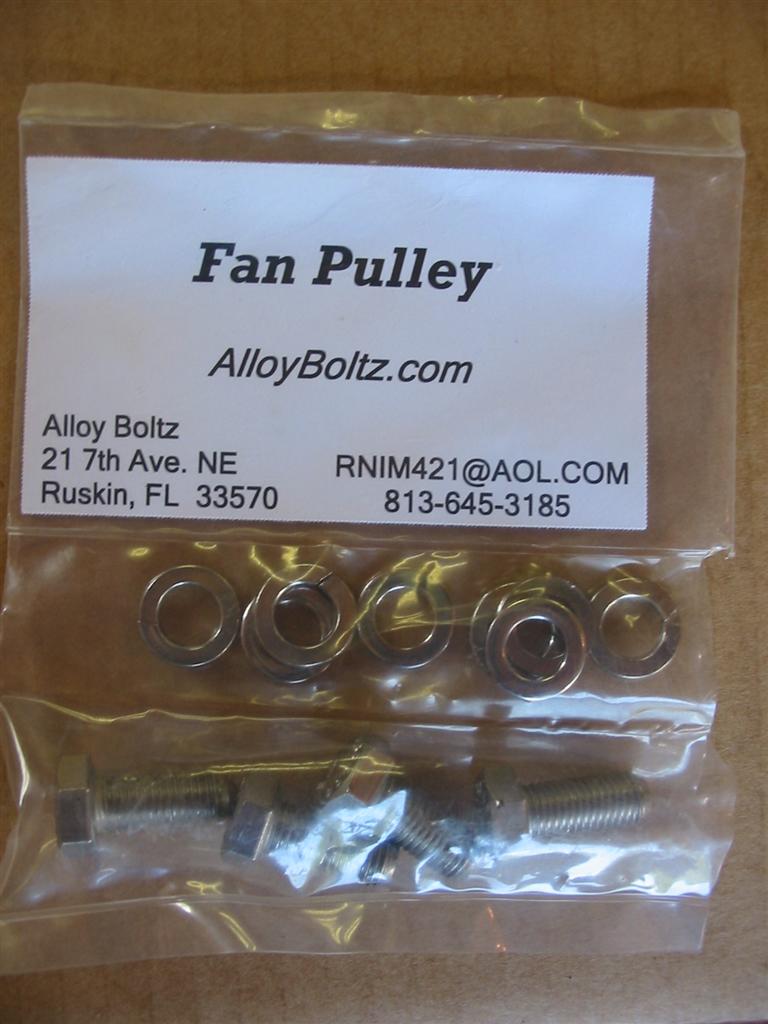
pump then painted it before reassembly. I also used the stainless bolts from my engine kit
to mount everything. Originally, the water pump pulley holes were metric. I was able to
use a tap to convert the holes to standard size and use my bolts. I also had my choice
to use the gaskets that came with my engine kit or the gaskets that came with the water
pump. I used the Felpro gaskets to mount the waterpump and the original gasket to seal
the back of the waterpump. |

|

|
|
|
|
|
| Here is the water pump pre and post assembly. |
|
|
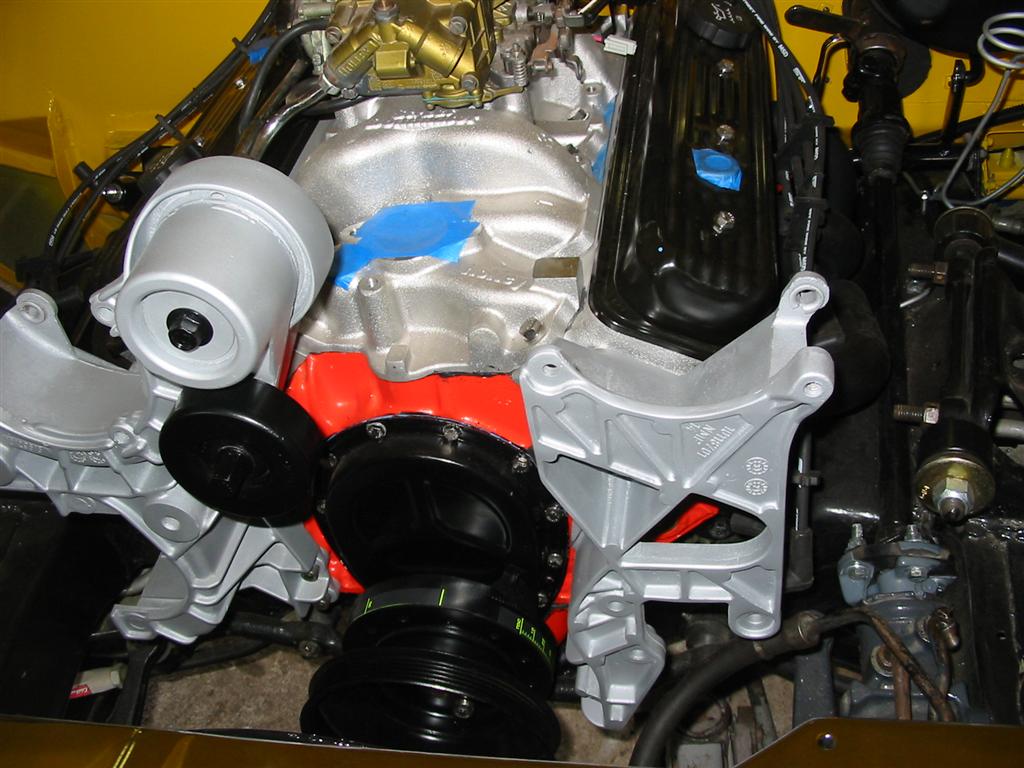
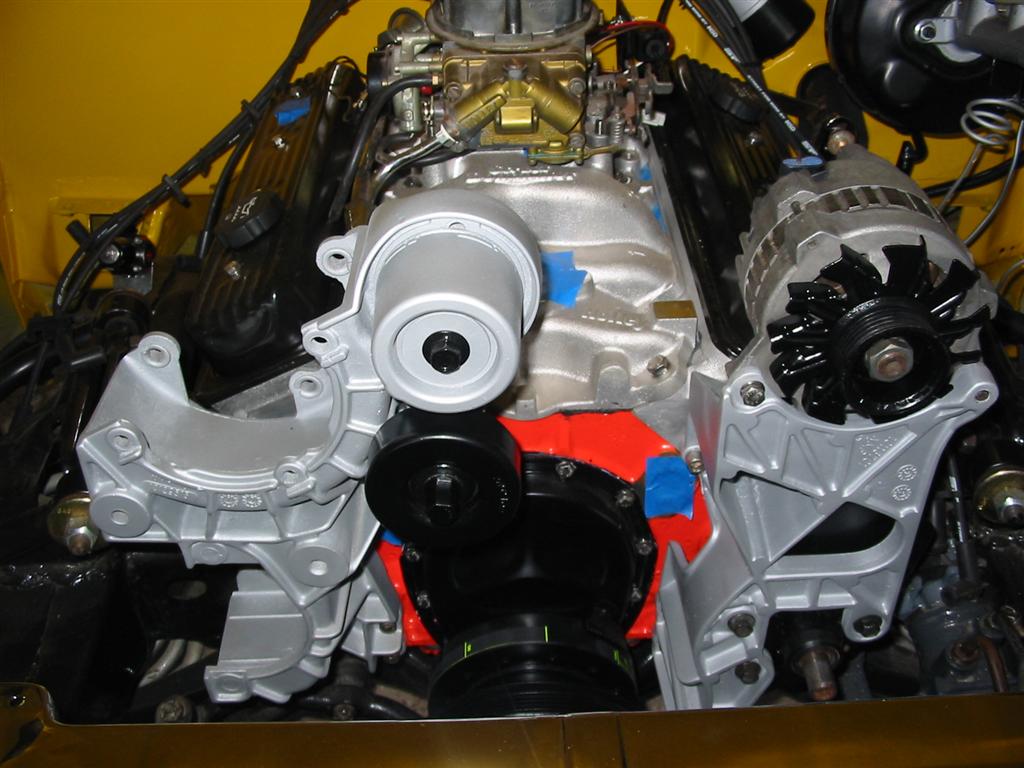
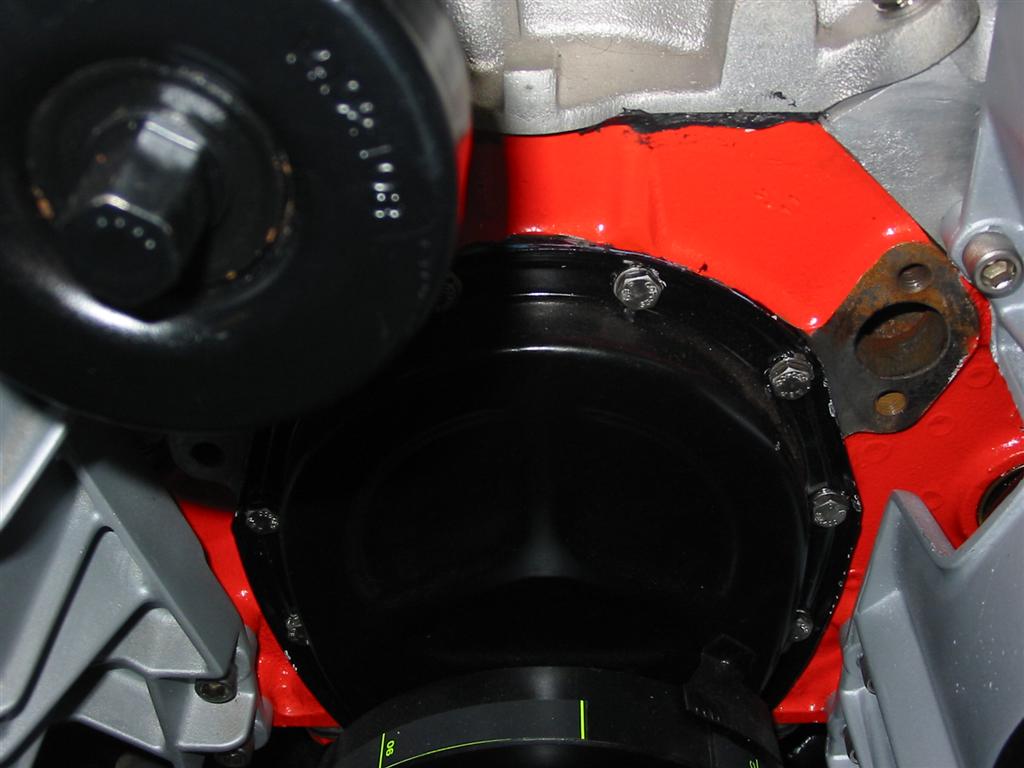
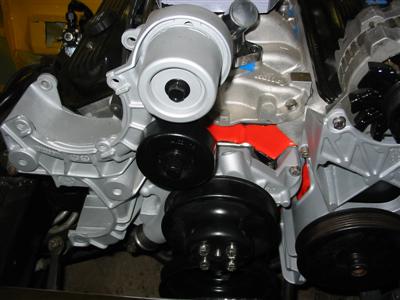
| I then installed the water pump to the block and then the water pump pulley. You notice
that none of the brackets attach to the water pump. Water pump replacement is very easy
with these brackets. |

|
|

|

|
|
|
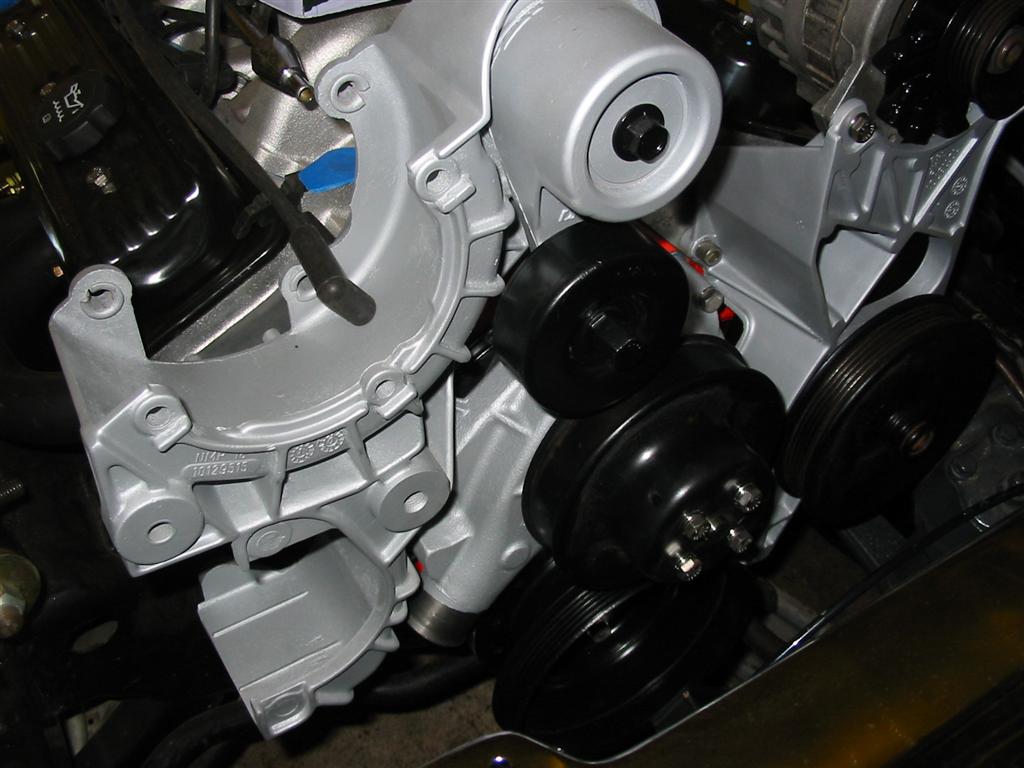
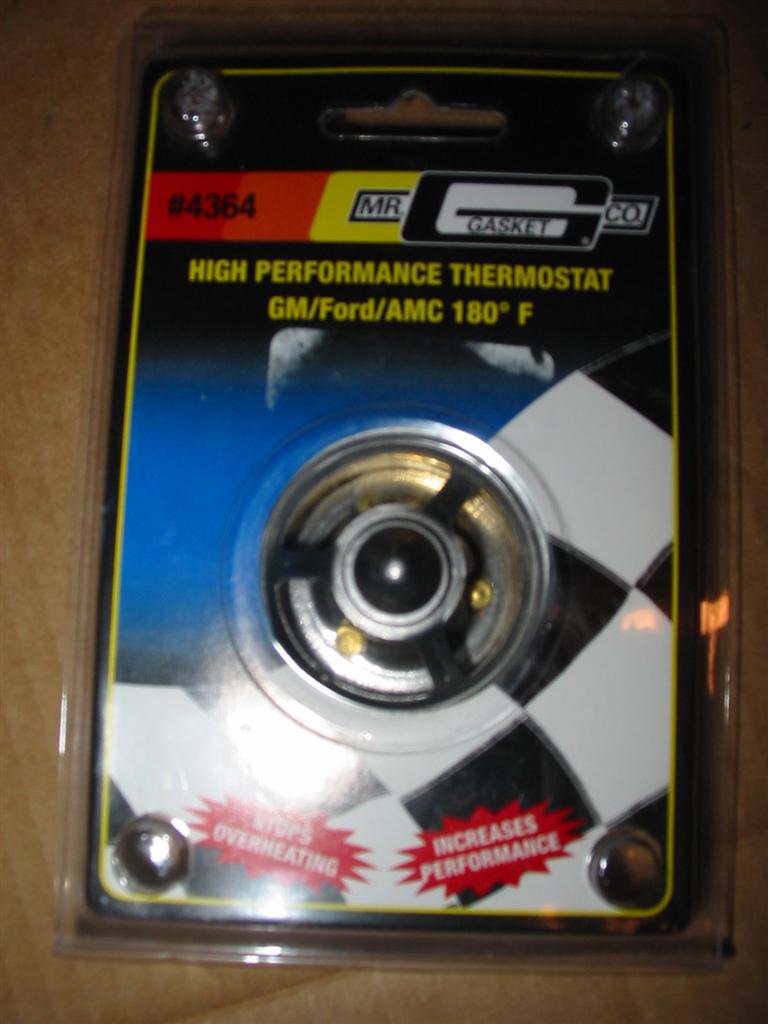
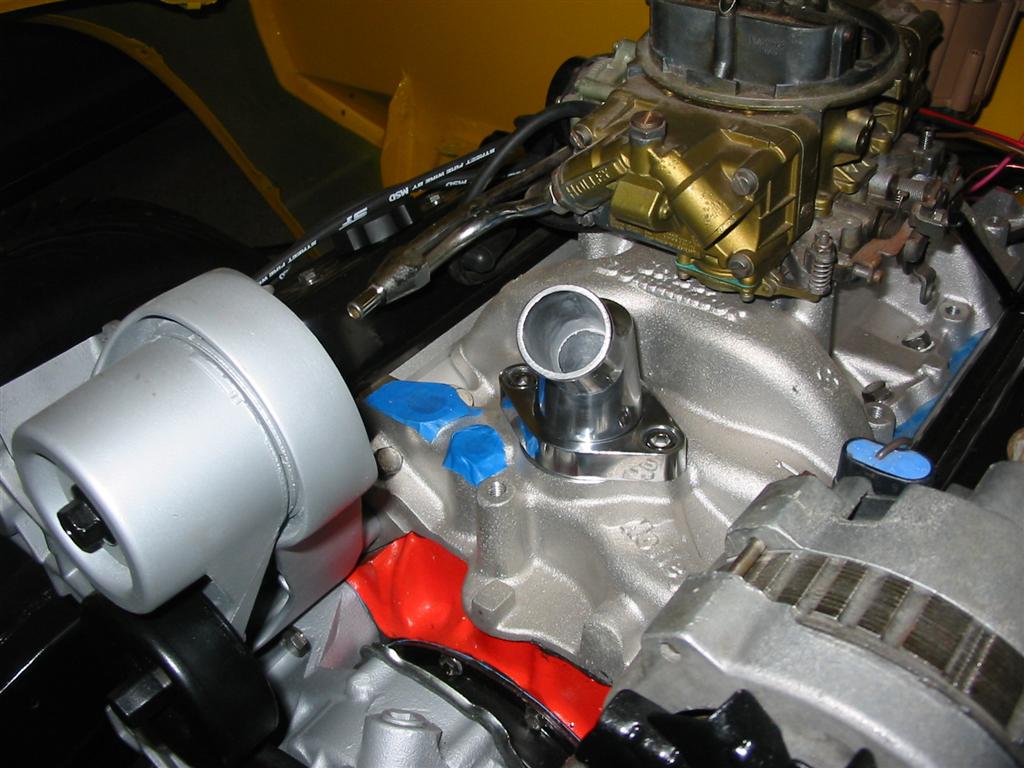
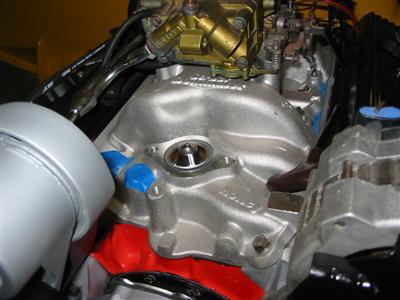
| I took this opportunity to install the thermostat, thermostat housing and upper radiator
hose. I went with Mr Gasket Gflex steel flexible hose for the upper radiator hose because
I needed a custom hose to fit. I also went with a Mr. Gasket high performance thermostat.
The thermostat housing is an adjustable aluminum Summit piece. |

|

|

|
|

|

|

|

|
| For the brackets to work either an A/C compressor or an A/C compressor bypass pulley needs
to be installed. Right now the car will not have A/C. Eventually, I will add a Vintage
Air system and the compressor will be installed in this location. |

|
|

|
|
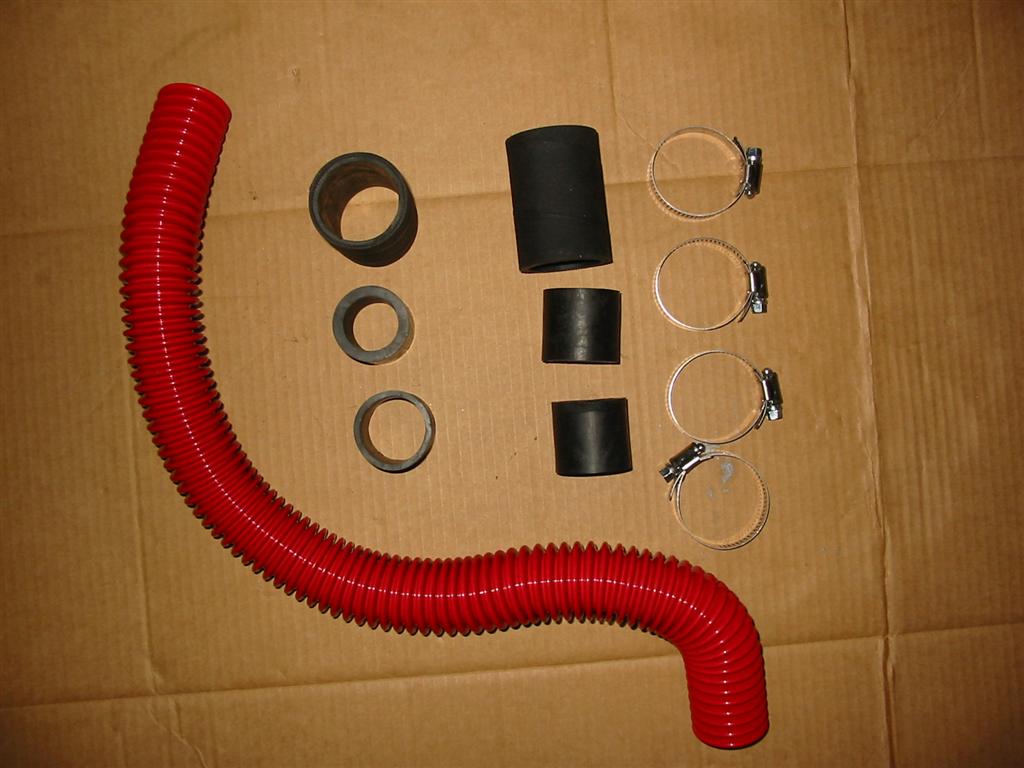
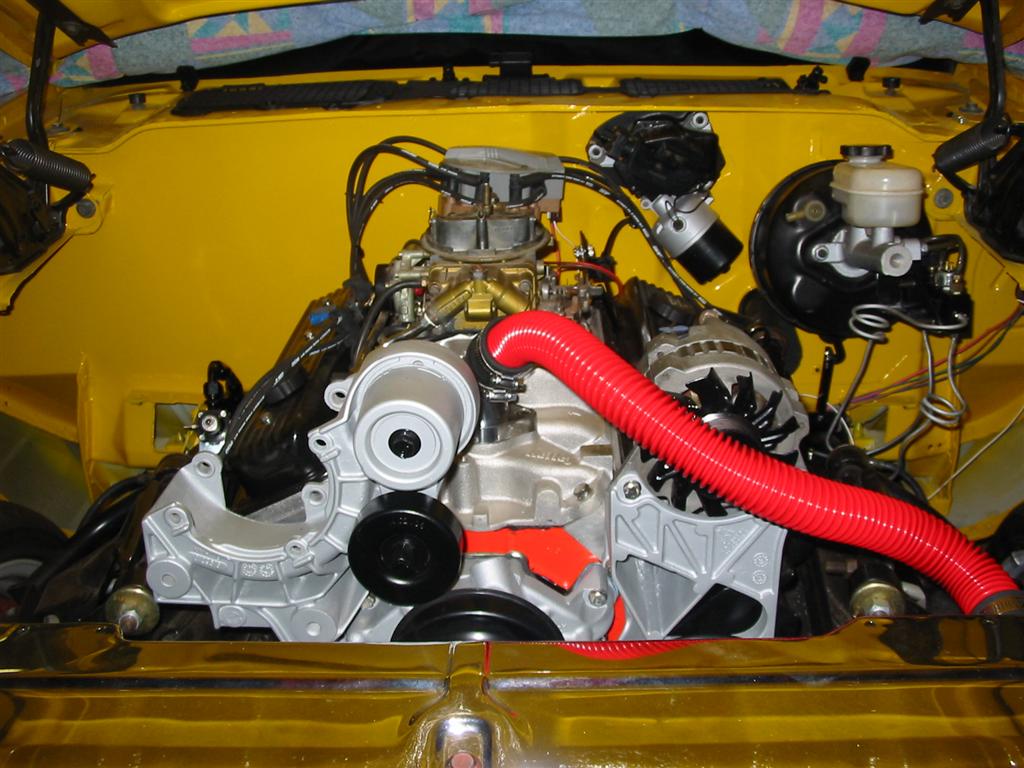
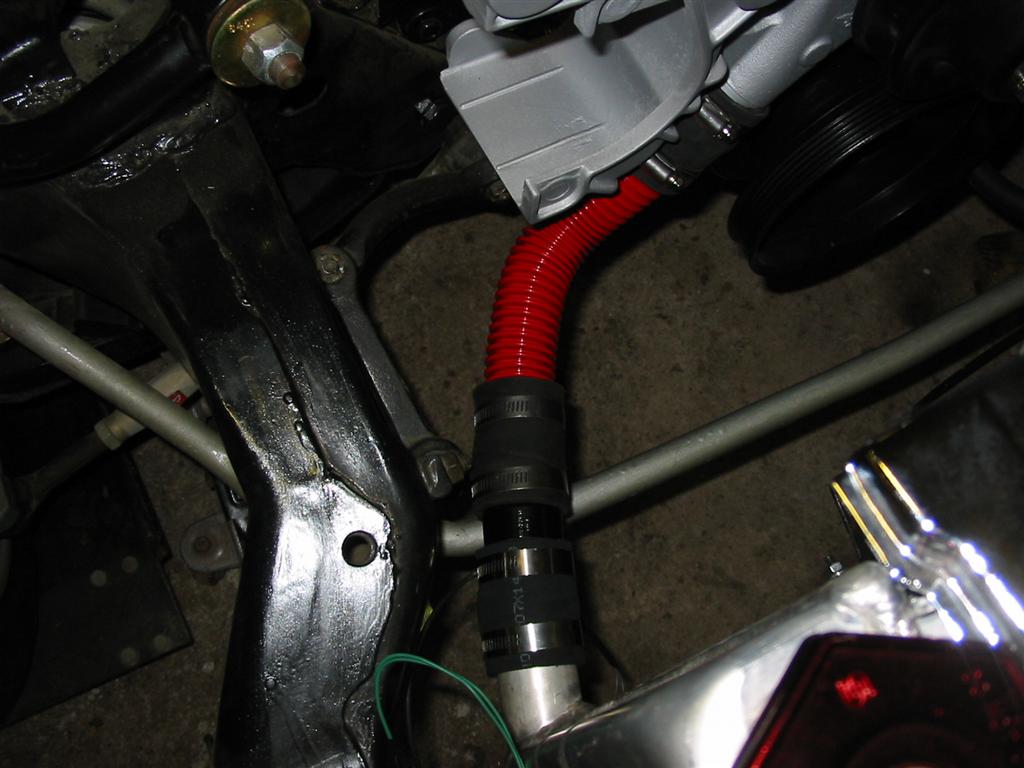
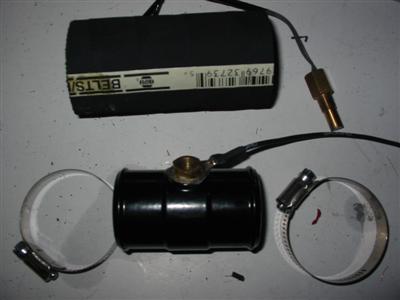
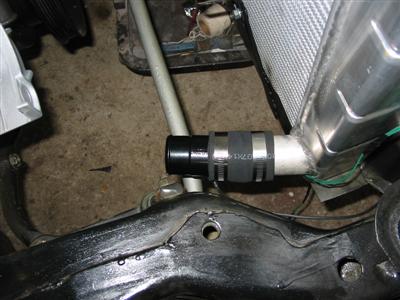
| The lower radiator hose was the next part to be installed. I added a tube inline with
a plug in it. This plug serves two purposes. First, I am able to mount the sensor for
my electric fan in the hole. Second, this will serve as my petcock since my radiator
did not come with one. I also used the Mr Gasket Gflex hose on the lower hose too. |

|
|

|
|

|

|
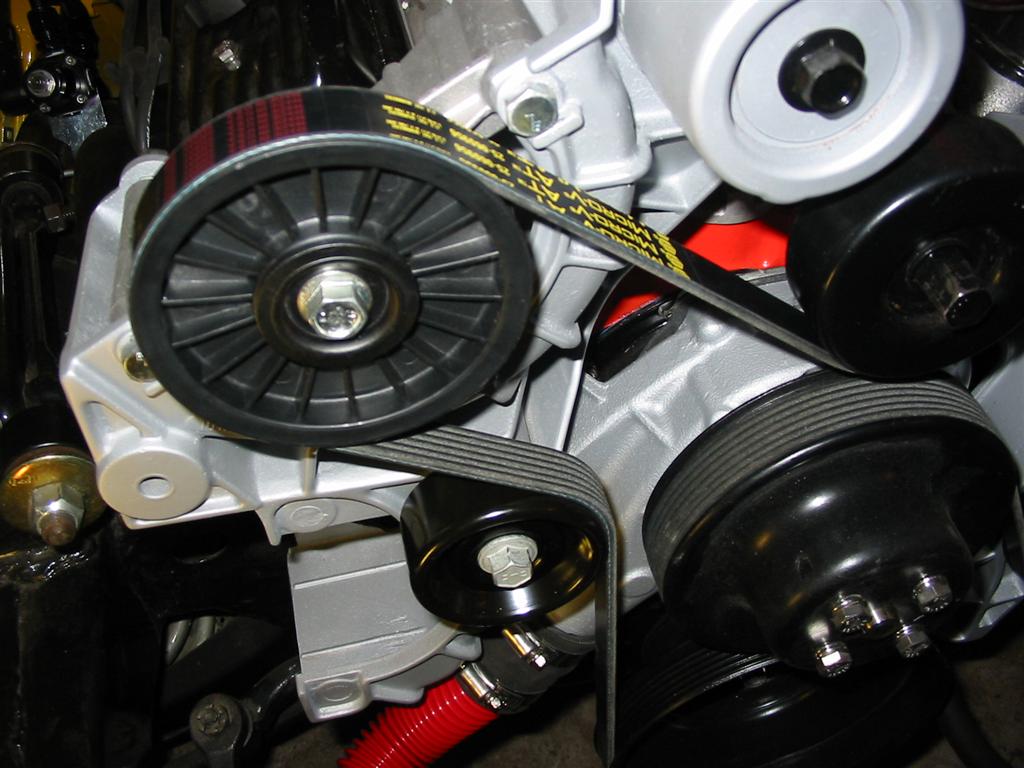
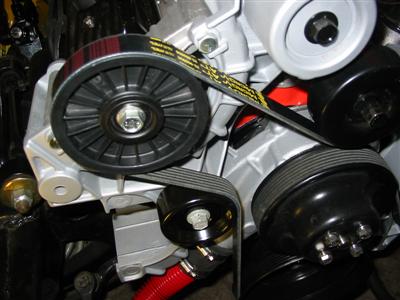
| Here is an idler pulley that I needed to purchase. This is an AC Delco unit and contains
all the parts needed to install it. If you are missing this piece than the AC Delco
unit is the only one you can use. The aftermarket ones do not include the special washers
on the front and back of the pulley. The pulley can not be mounted without these items.
|
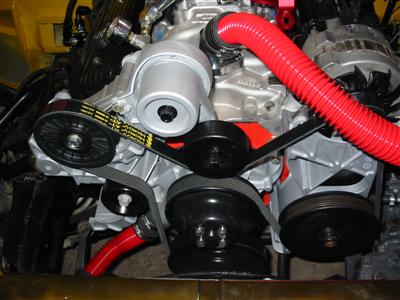
Here is the belt for this system. I used a belt for a 93 full size Chevy truck with the 5.7 engine
with A/C, 100 amp alternator and no air pump. Everything fits and looks good. |

|

|
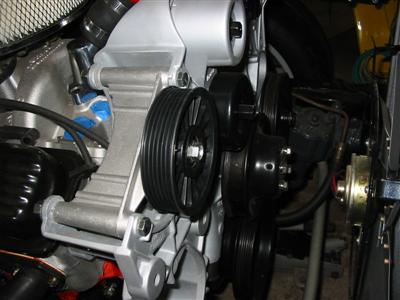
| Here is the tensioner and everything installed. |
|
|