|

Fuel Tank (August 29, 2009)
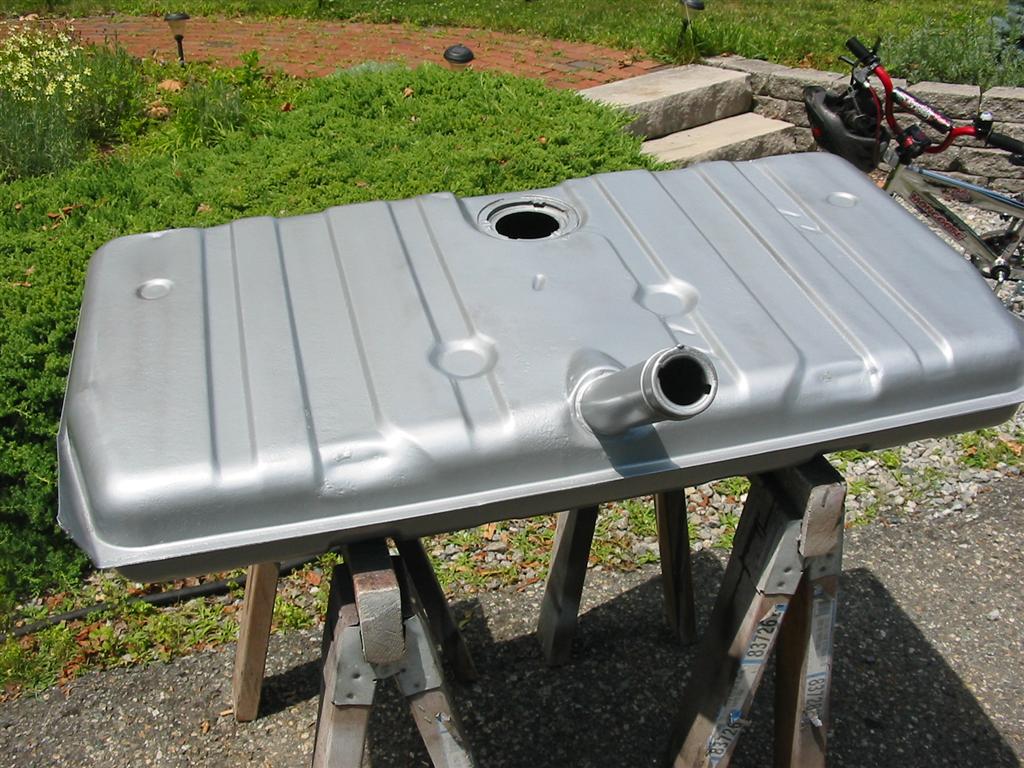
This page is the summary page for the fuel tank. I decided to modify my tank to use an in tank electric fuel pump. I pulled a fuel pump assembly from a 3rd generation TPI Camaro and modified it to fit my tank. I also made a sump for the fuel pump to sit in to keep the pump submerged in fuel when the tank is low. If the tank was deeper, I would have built a baffle within the tank.Warning to anyone reading this. Be extremely careful when modifying a fuel tank. My tank did not have fresh gas in it for nearly 20 years. Gas sat in it for 13 years until I cleaned and emptied the tank. After that, the tank sat in an attic above my garage open to vent for another 6 years. If you were to do these modifications to your tank make sure to properly excavate the tank of any gas or fumes.
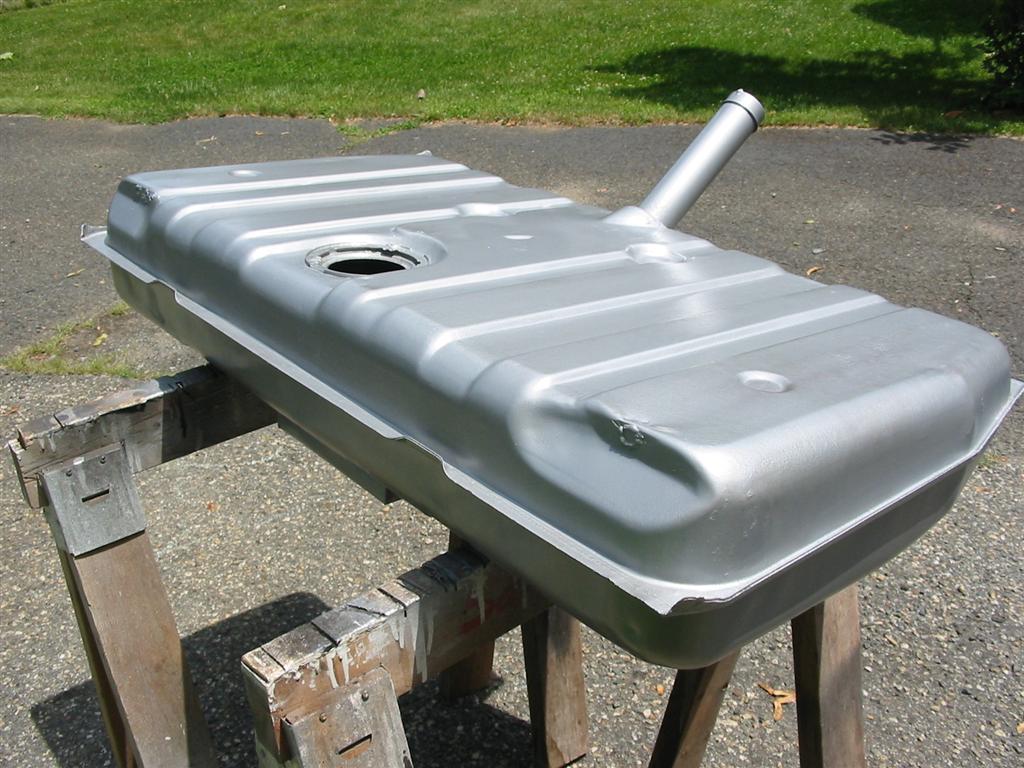
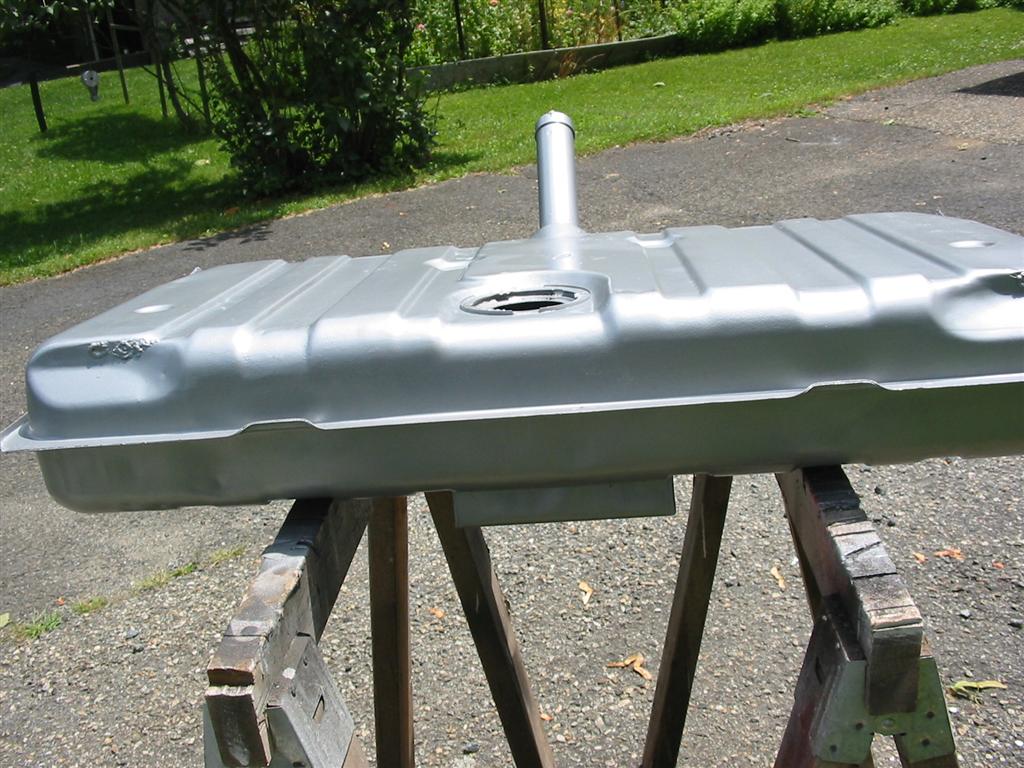
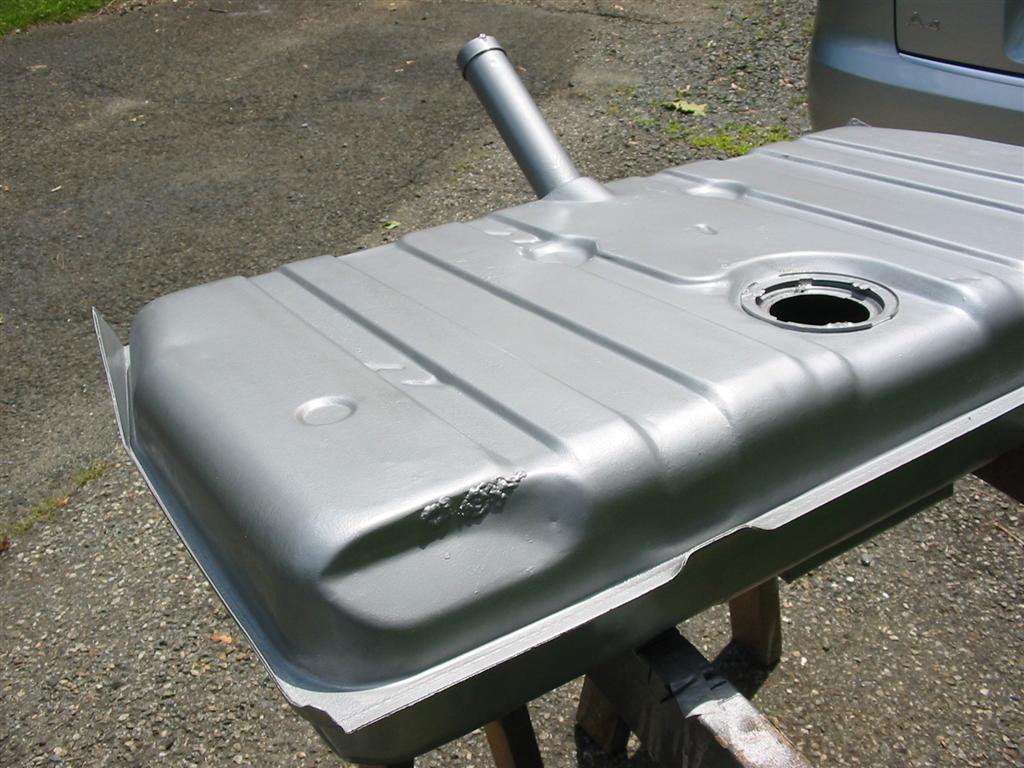
Status photos as of 8/29/2009:
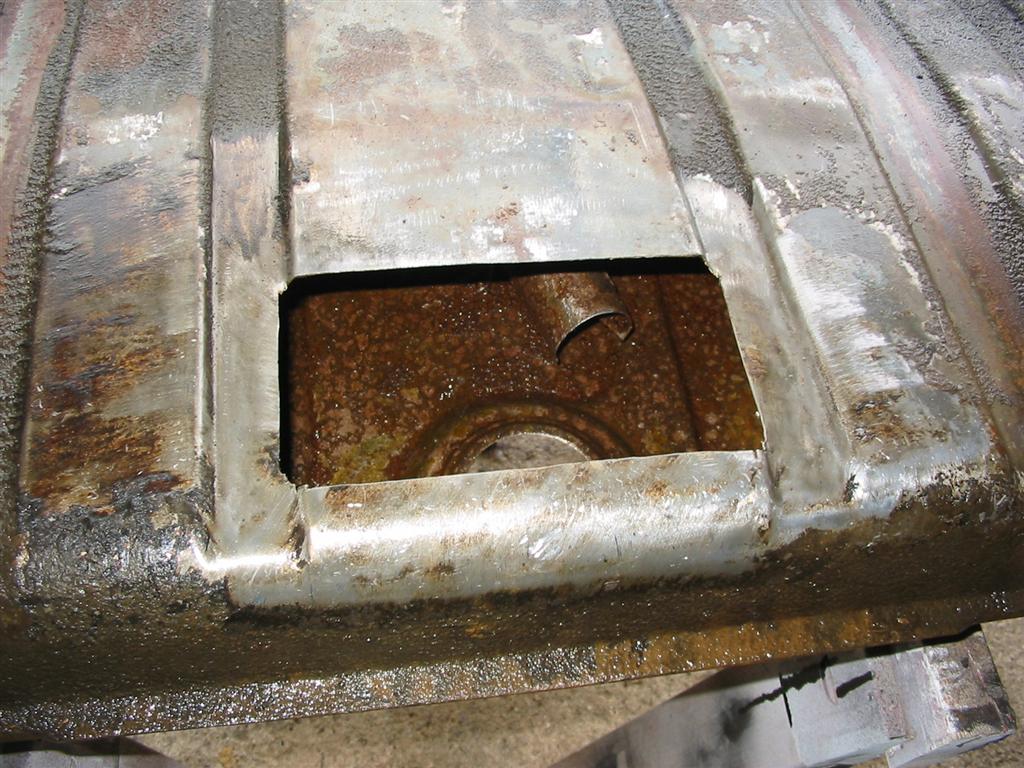
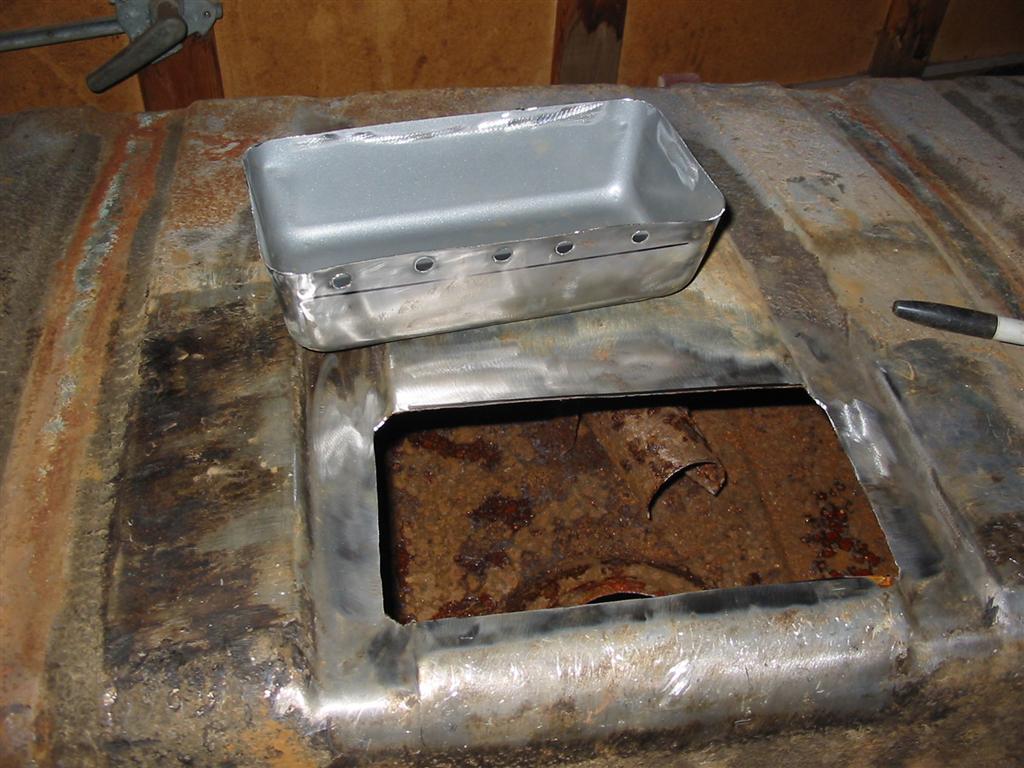
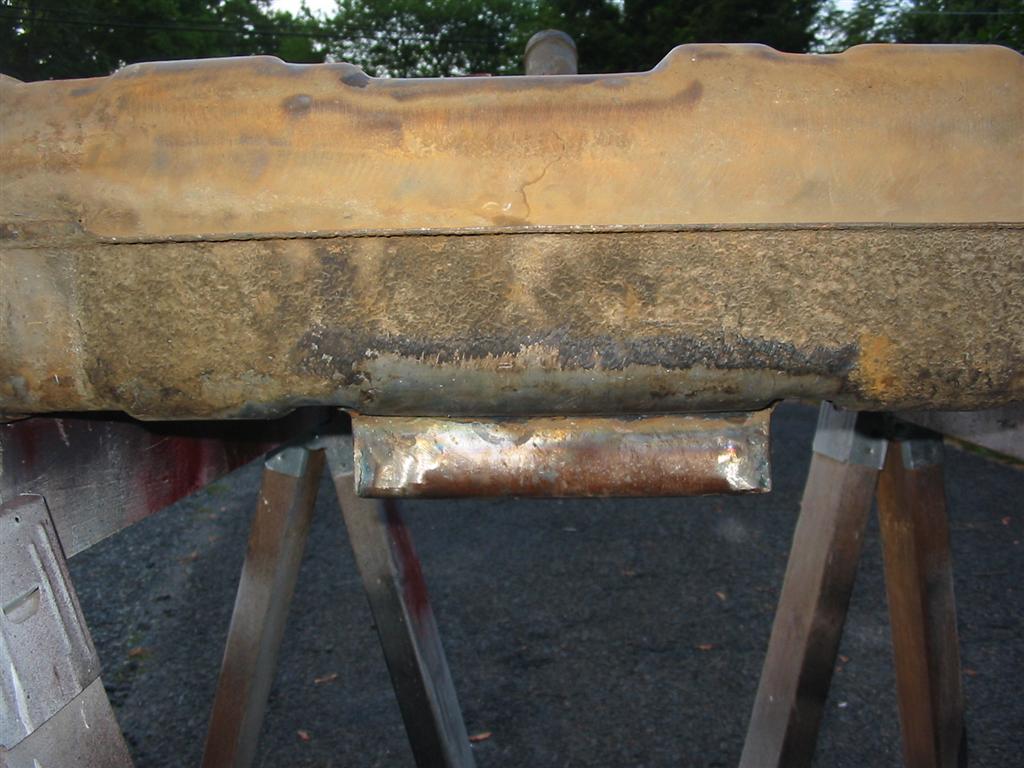
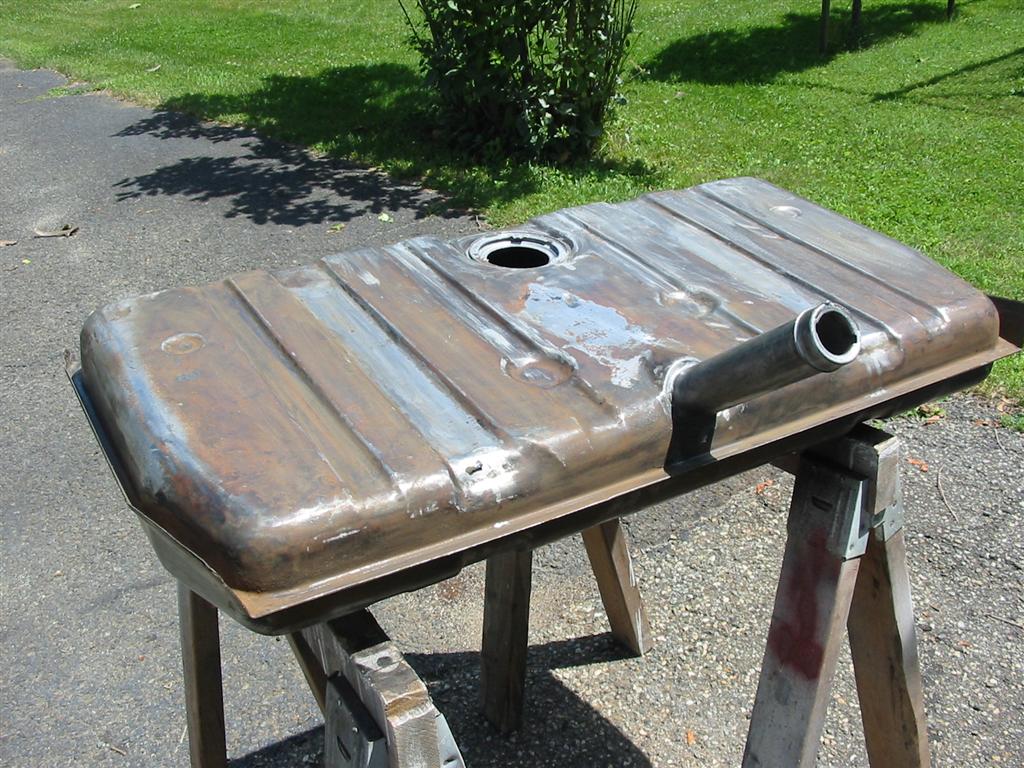
| Here is my first attempt at sumping the tank. I cut a hole in the front bottom of the tank. My original ideal was to use a baking loaf pan. After trying to weld the pan, I realized that the gauge of the steel was too thin and would not work. | |
|
|
|
|
|
|
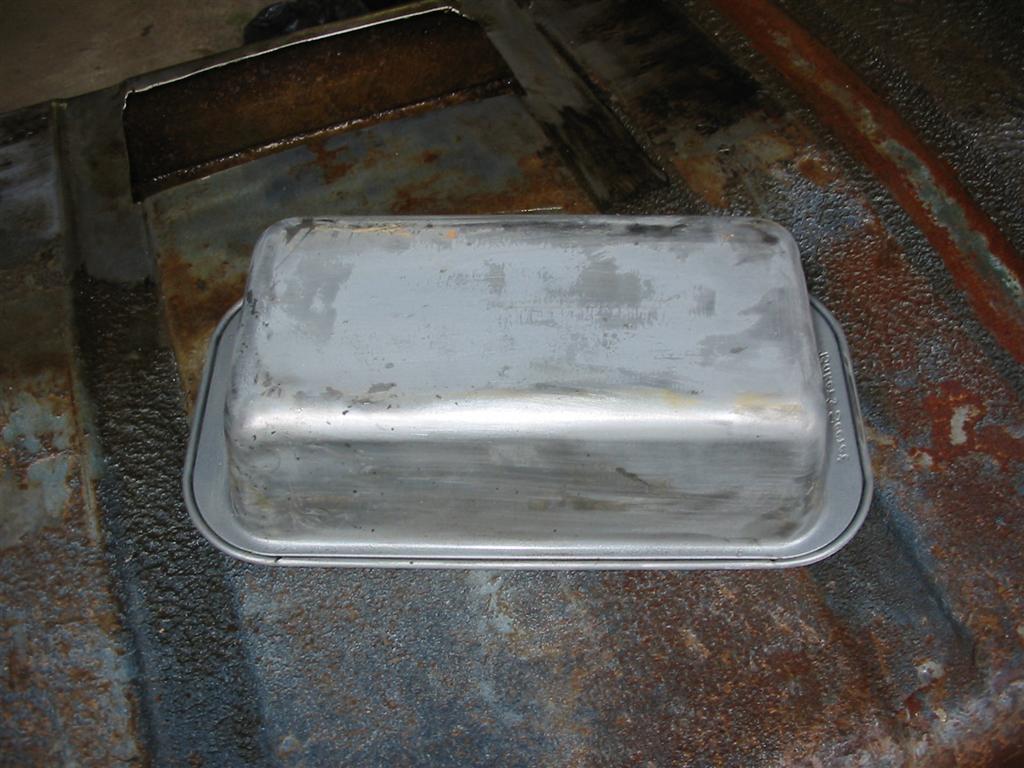
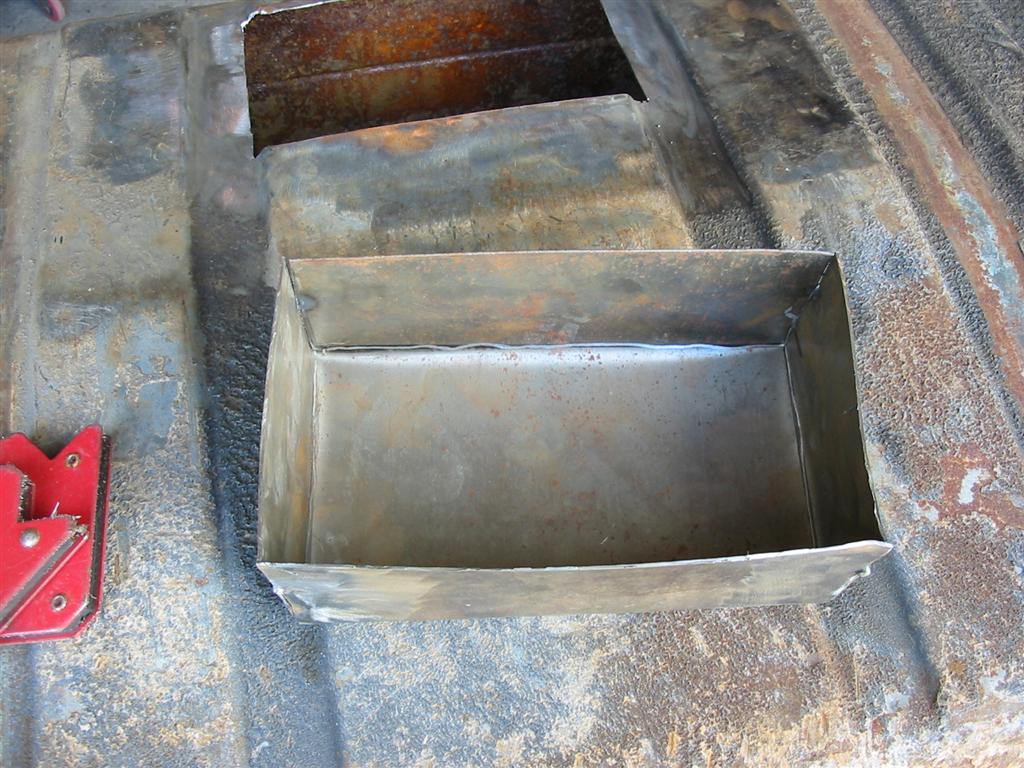
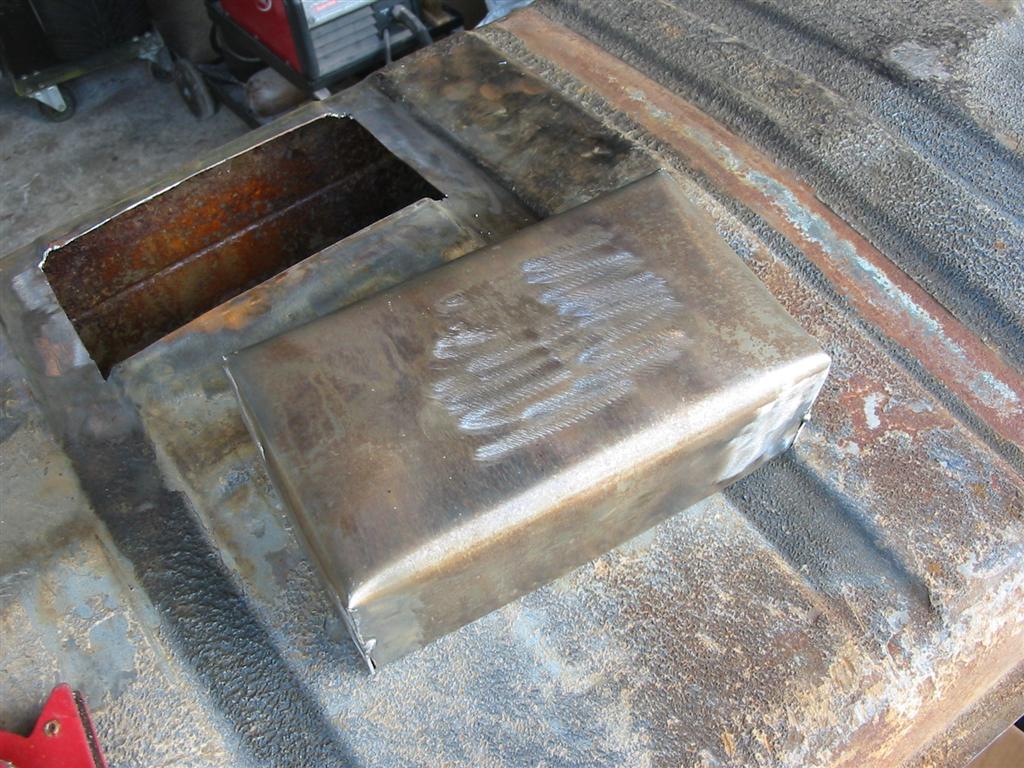
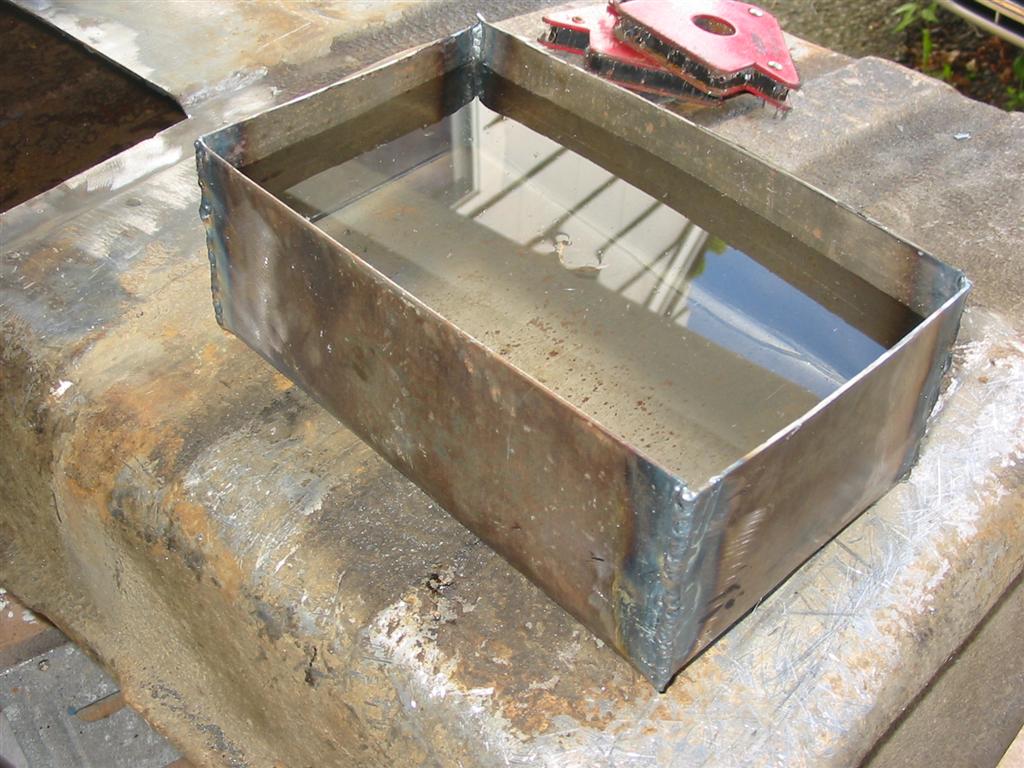
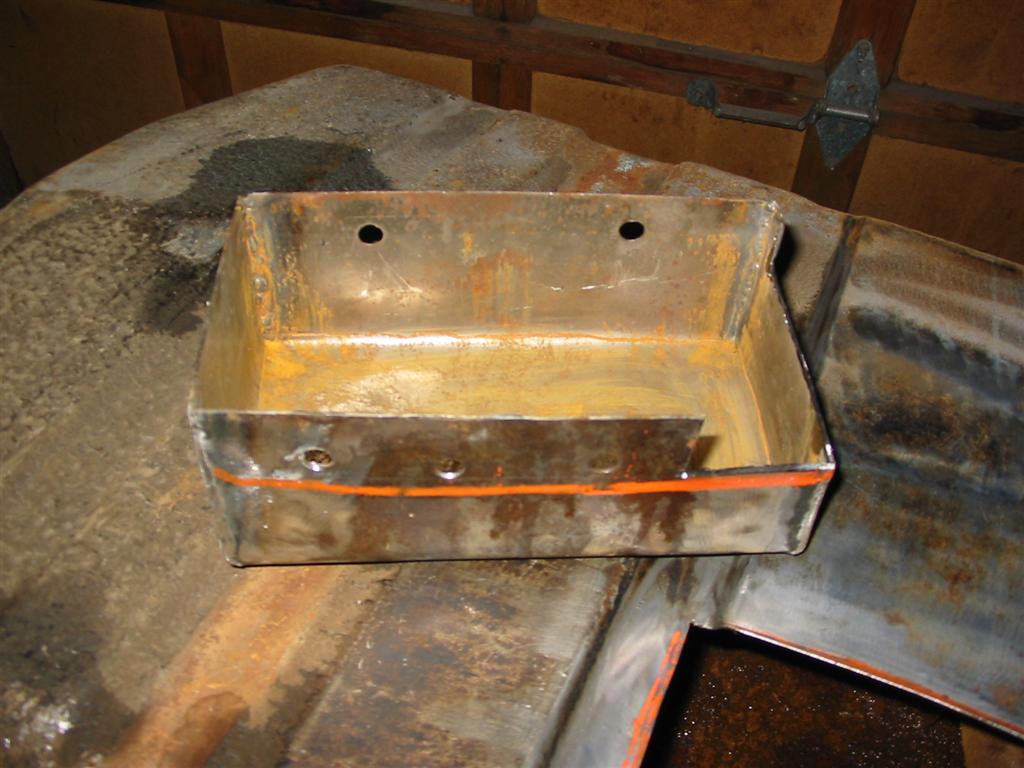
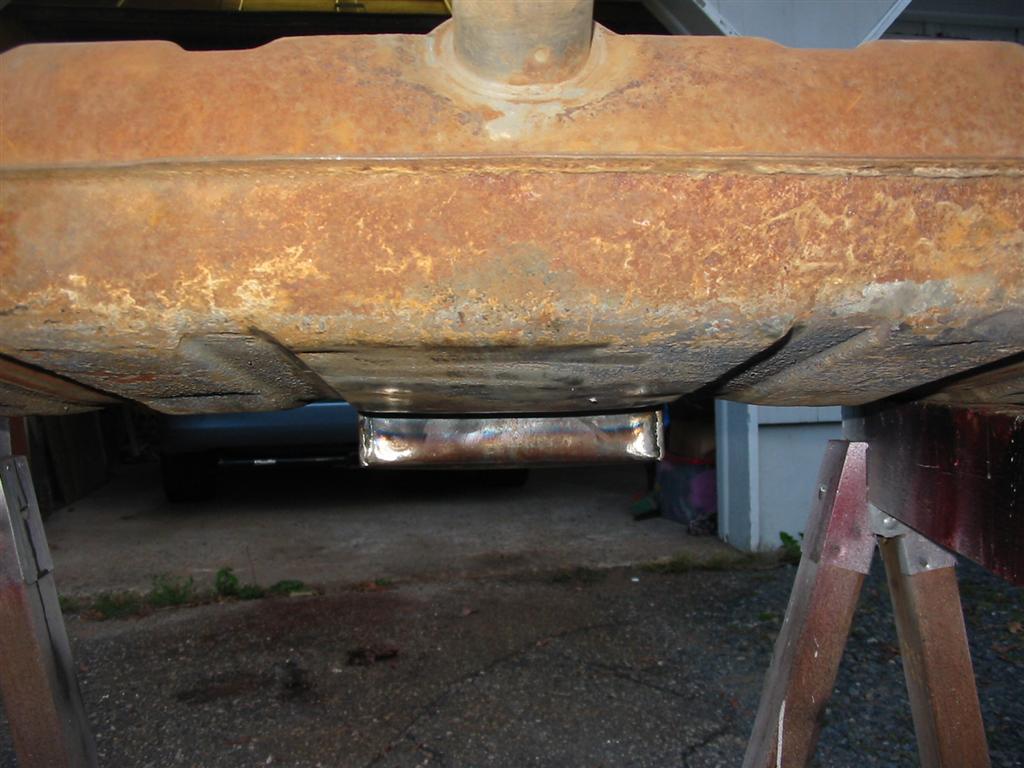
| After the loaf pan failure, I decided to make my own sump out of 18 gauge steel. I made the sump out of a single piece of steel and bent up the sides and just had to weld up the corners. After I welded up the box, I put water in the box to test whether it was watertight and would not leak. | |
|
|
|
|
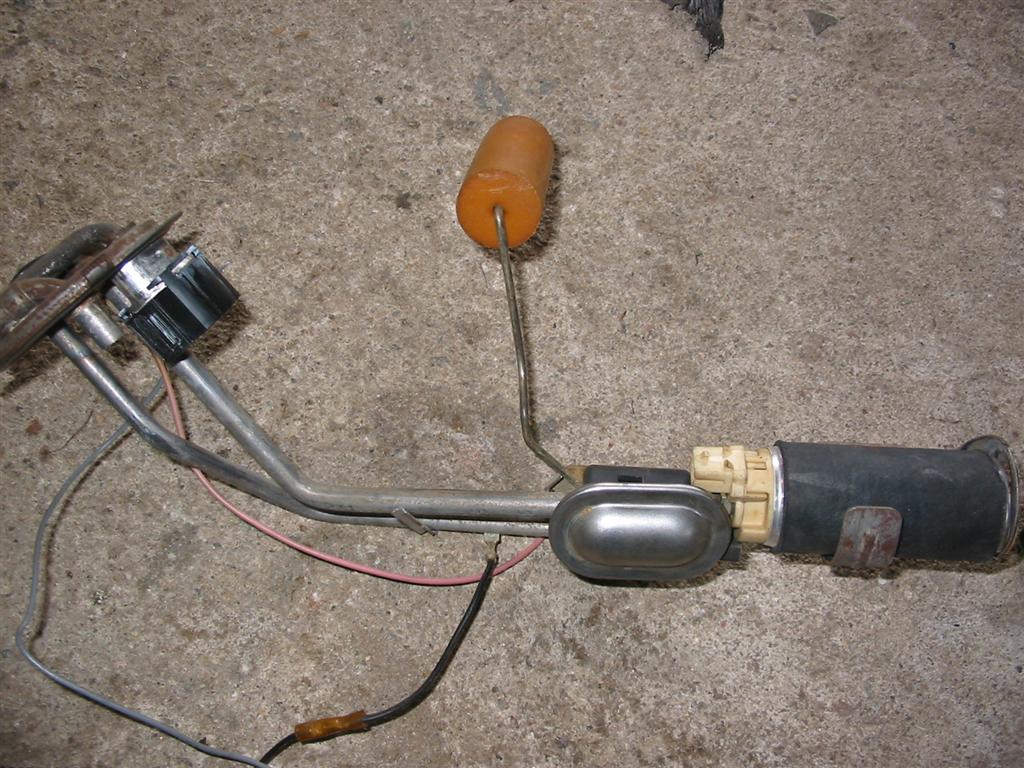
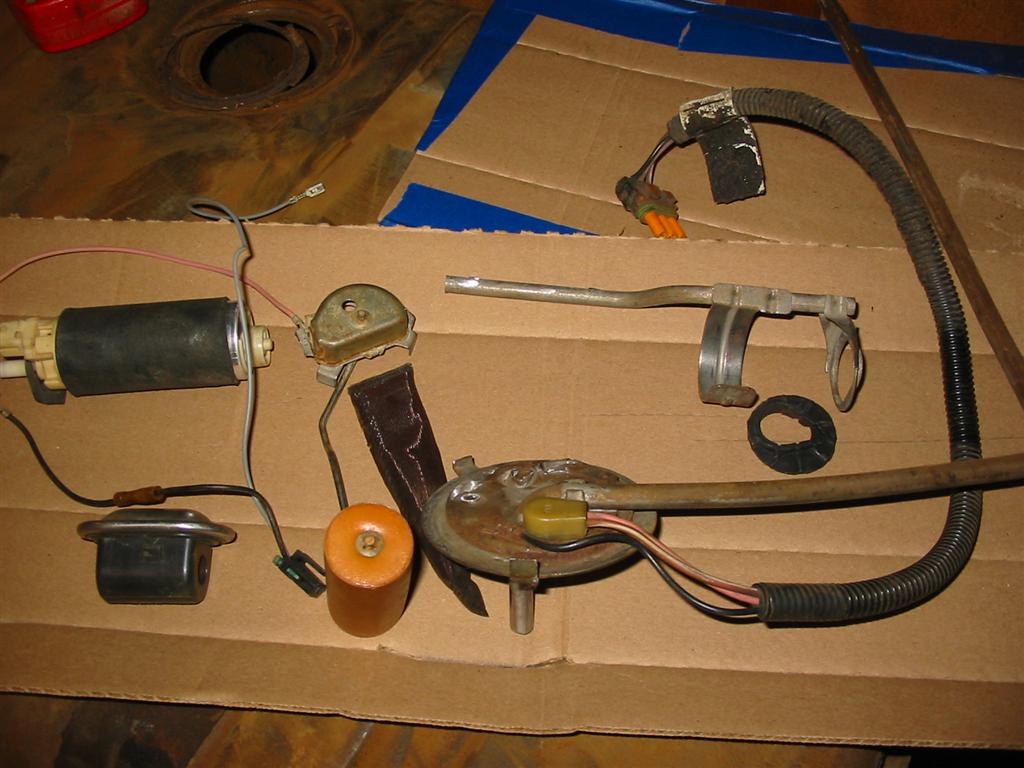
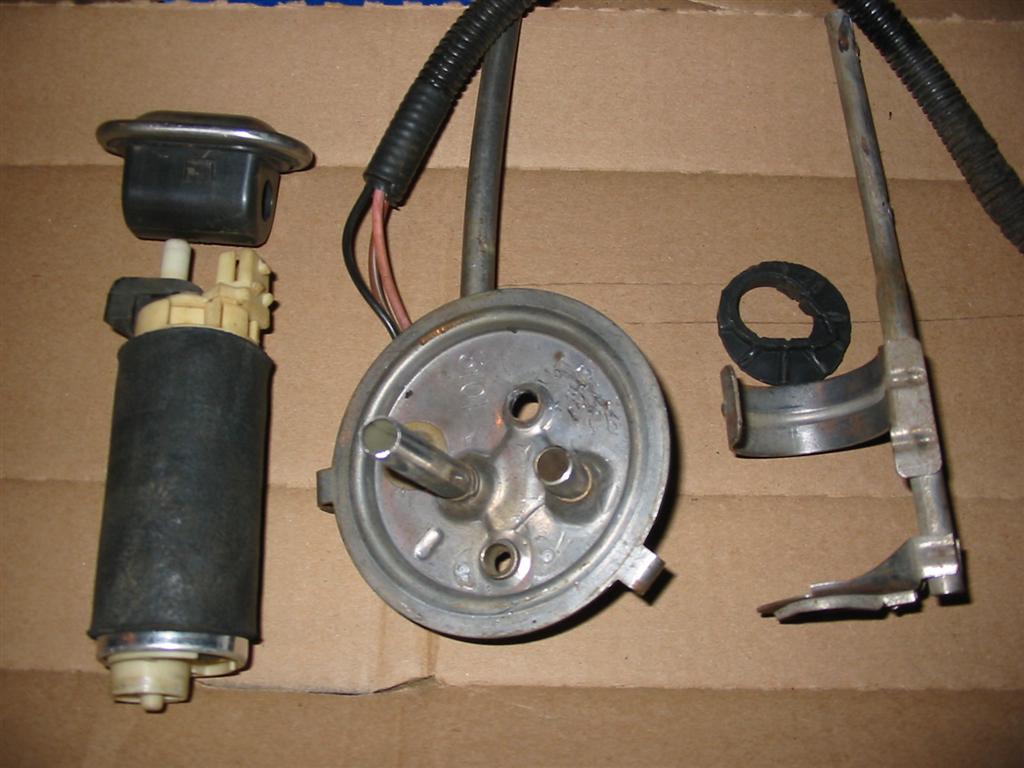
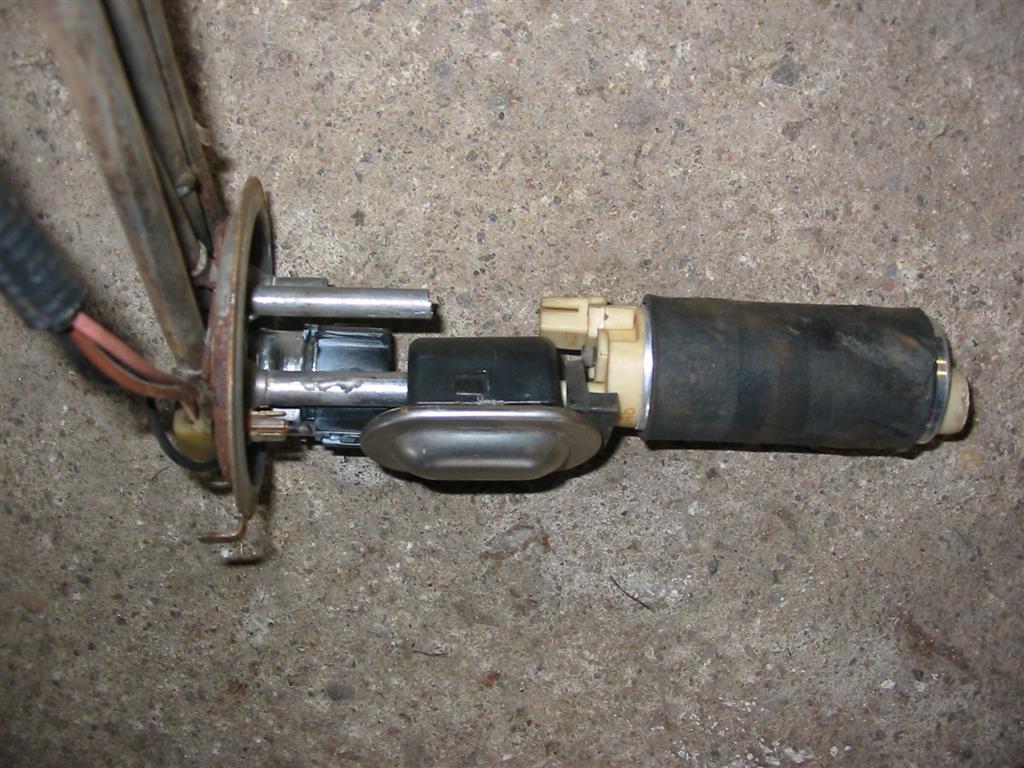
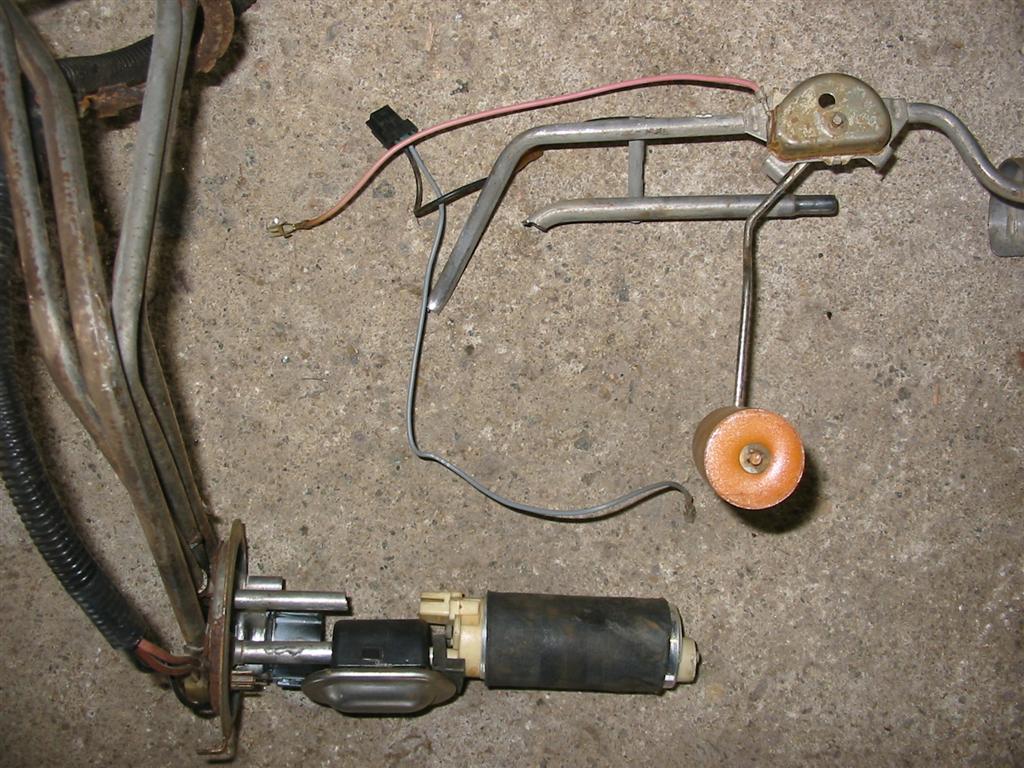
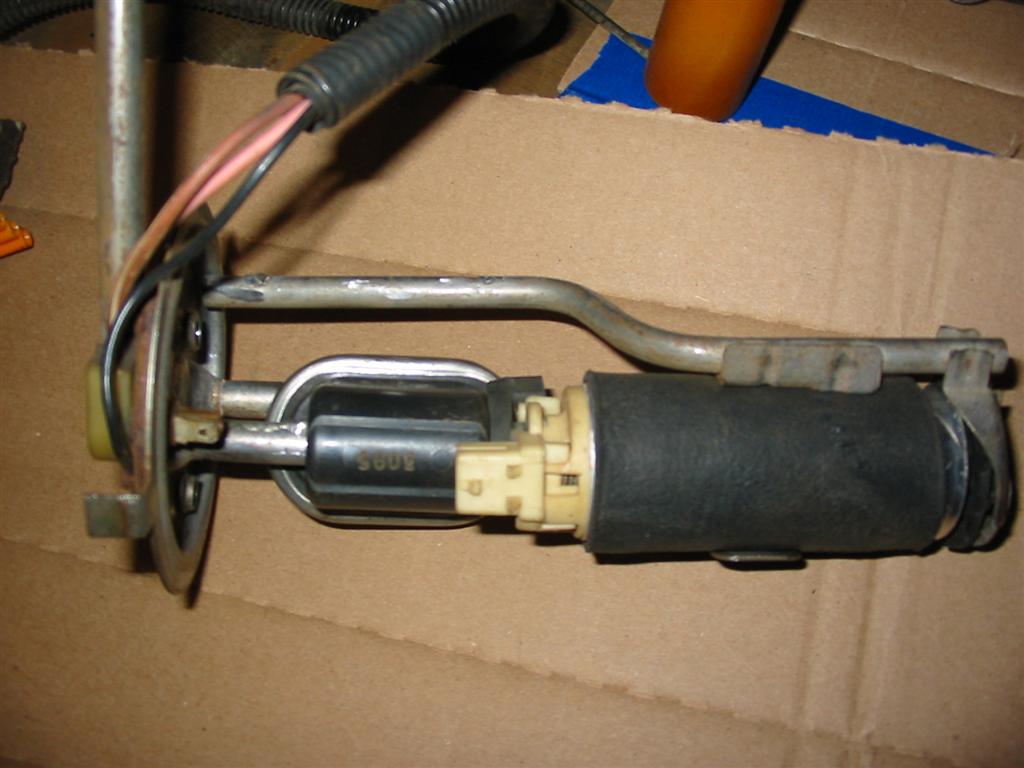
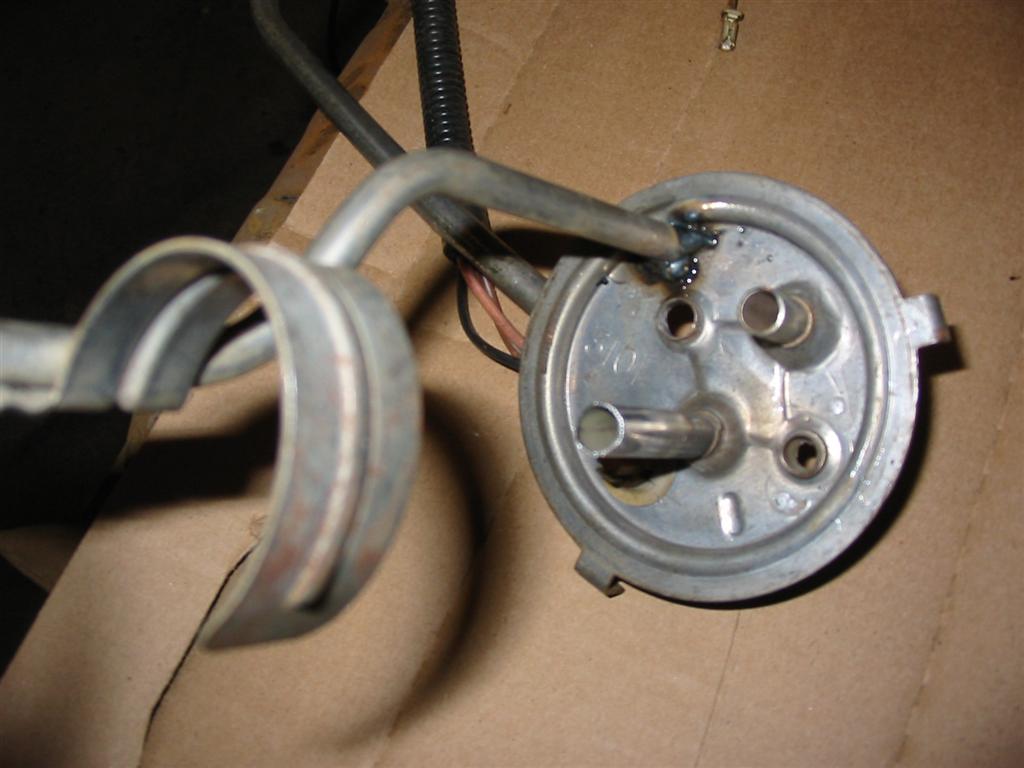
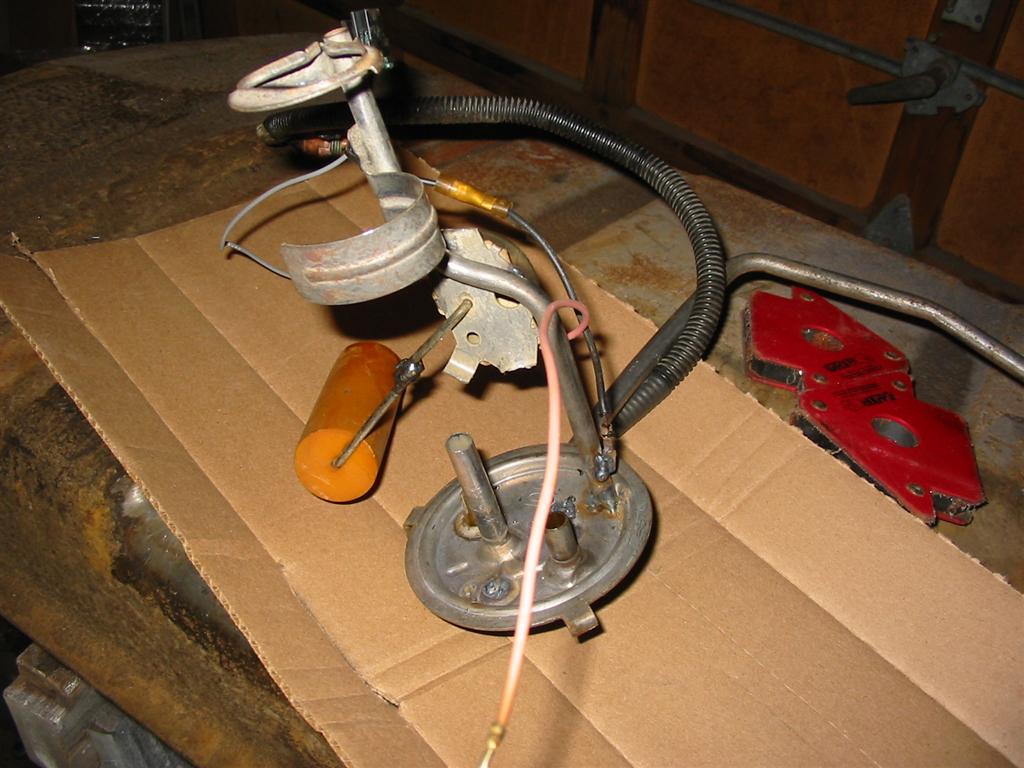
| I then cut up the donor pump assembly to remove the tubes I do not need and to set the pump to the proper depth. Originally, I modified and welded the 3rd gen sending unit to work with my setup. Unfortunately, the welding seemed to mess up the sending unit and it no longer functioned properly. | |
|
|
|
|
|
|
|
|
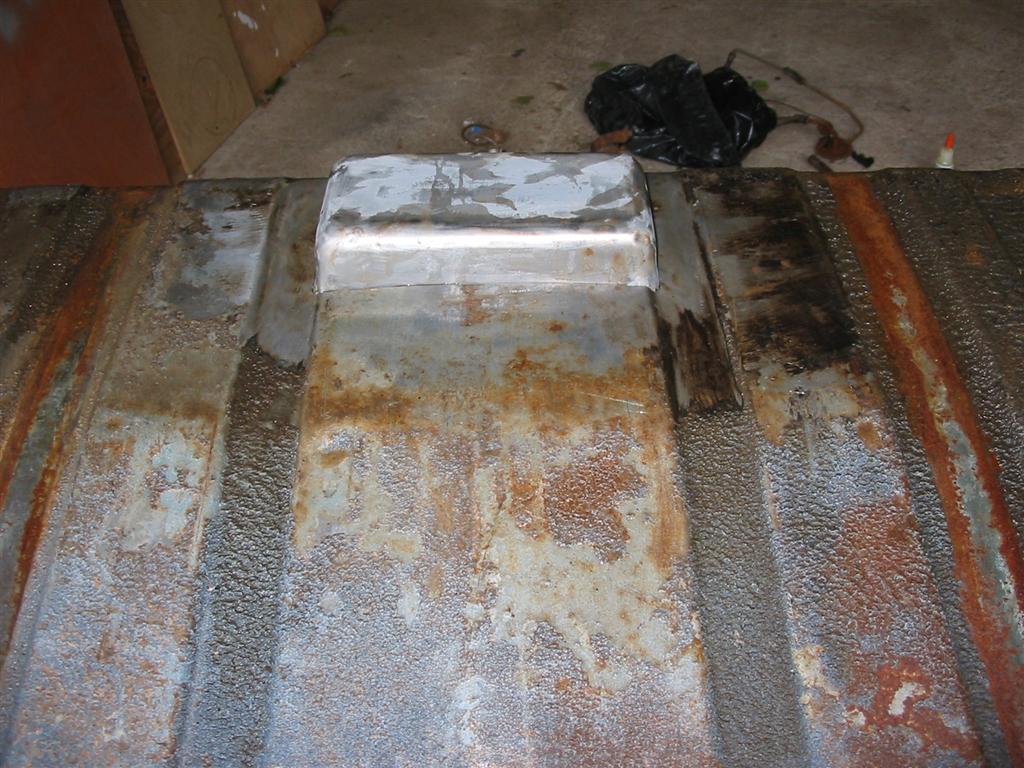
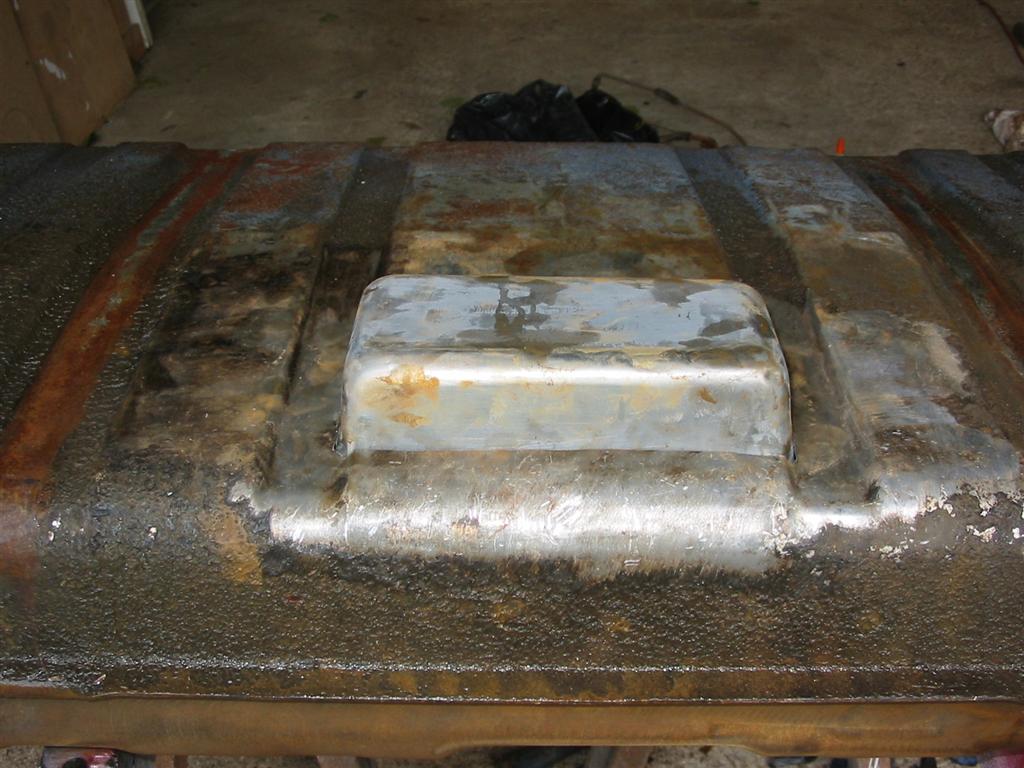
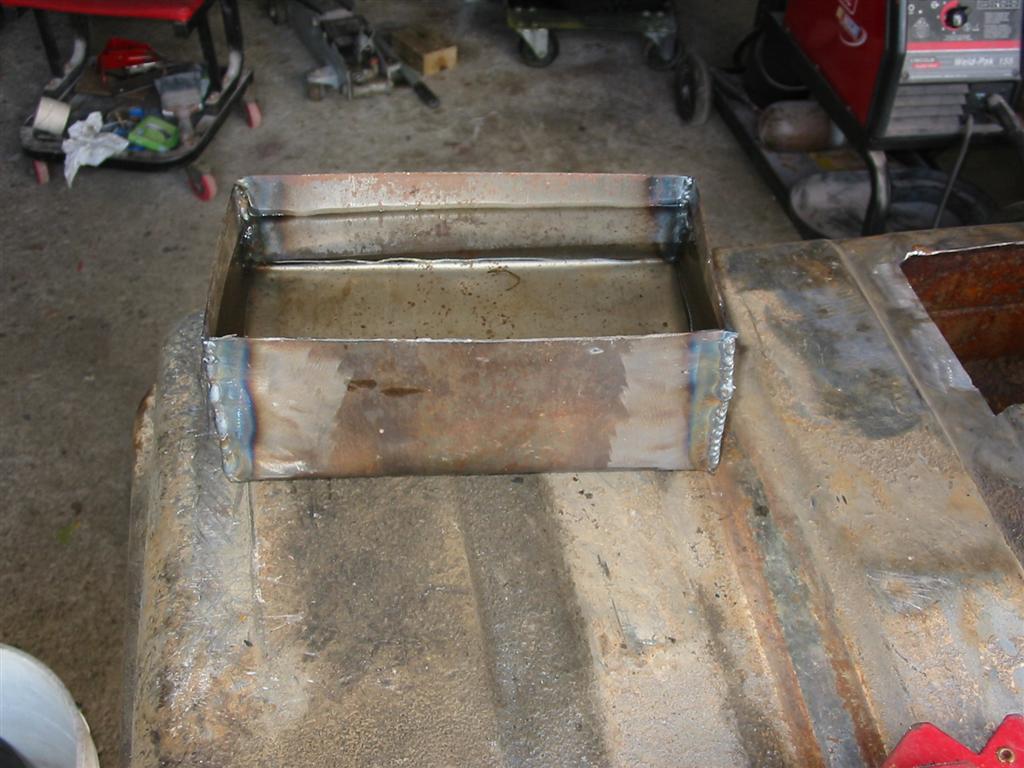
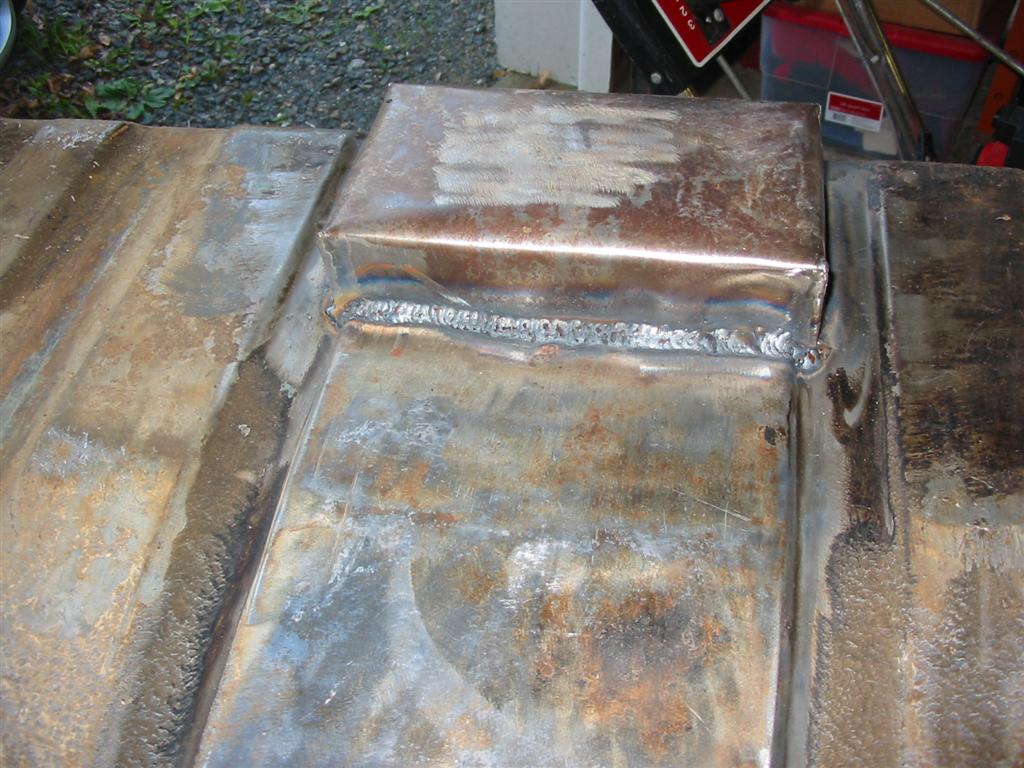
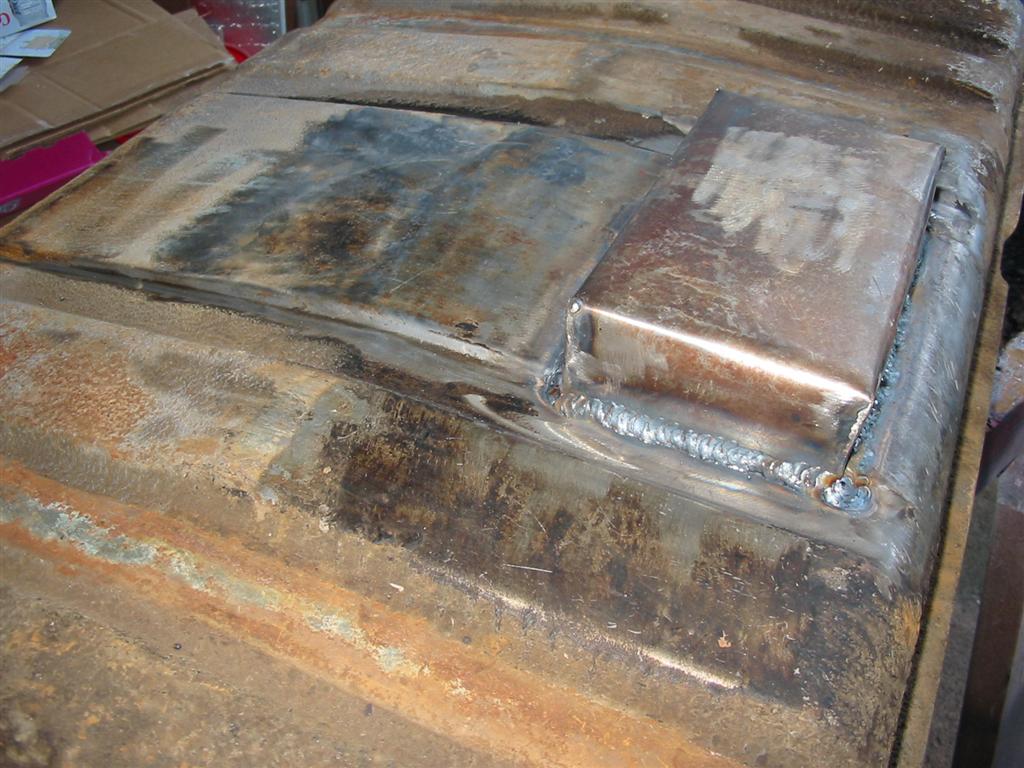
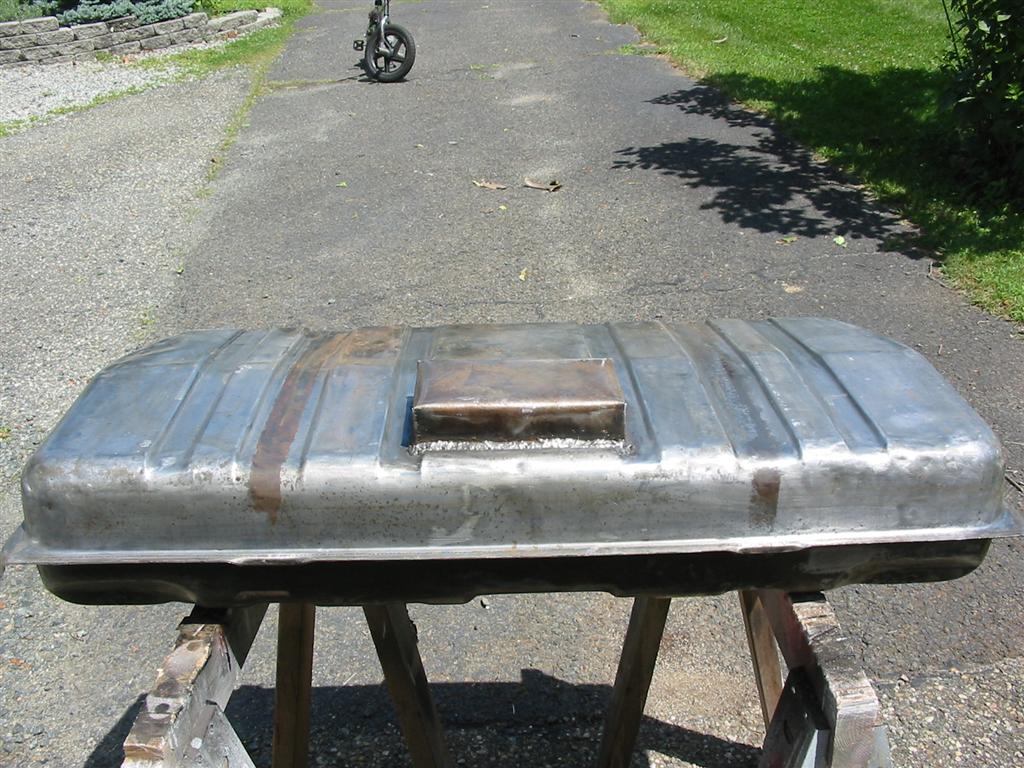
| The next step was to weld in the sump. I added holes to the top of the sump to allow fuel to enter the sump. | |
|
|
|
|
|
|
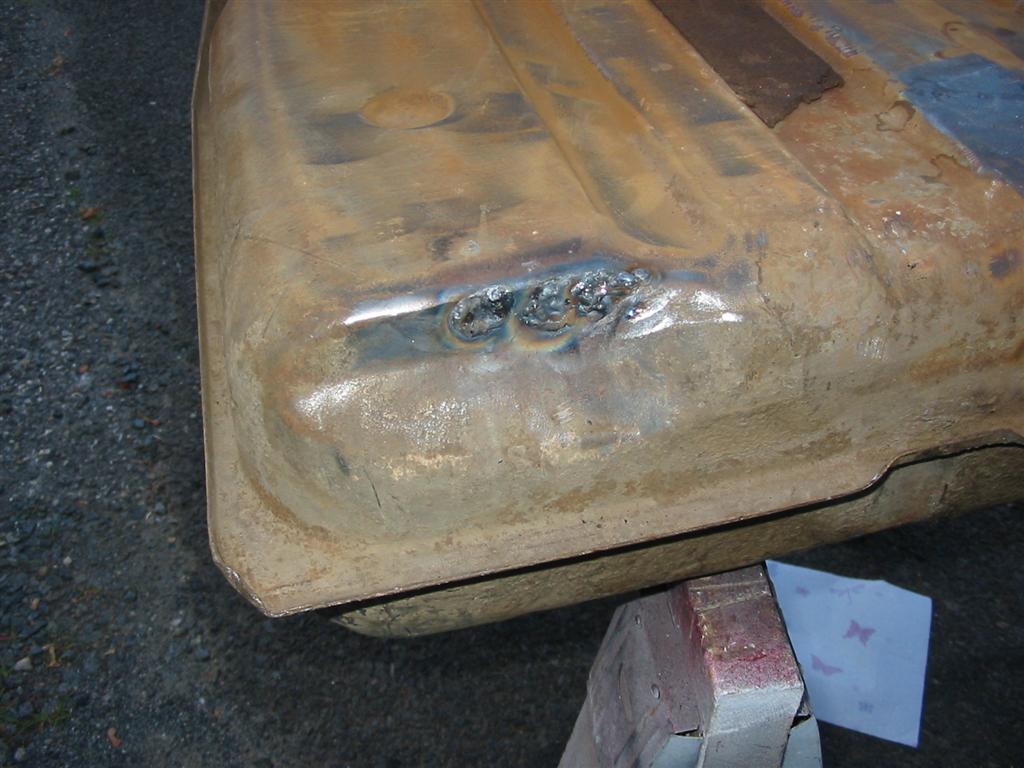
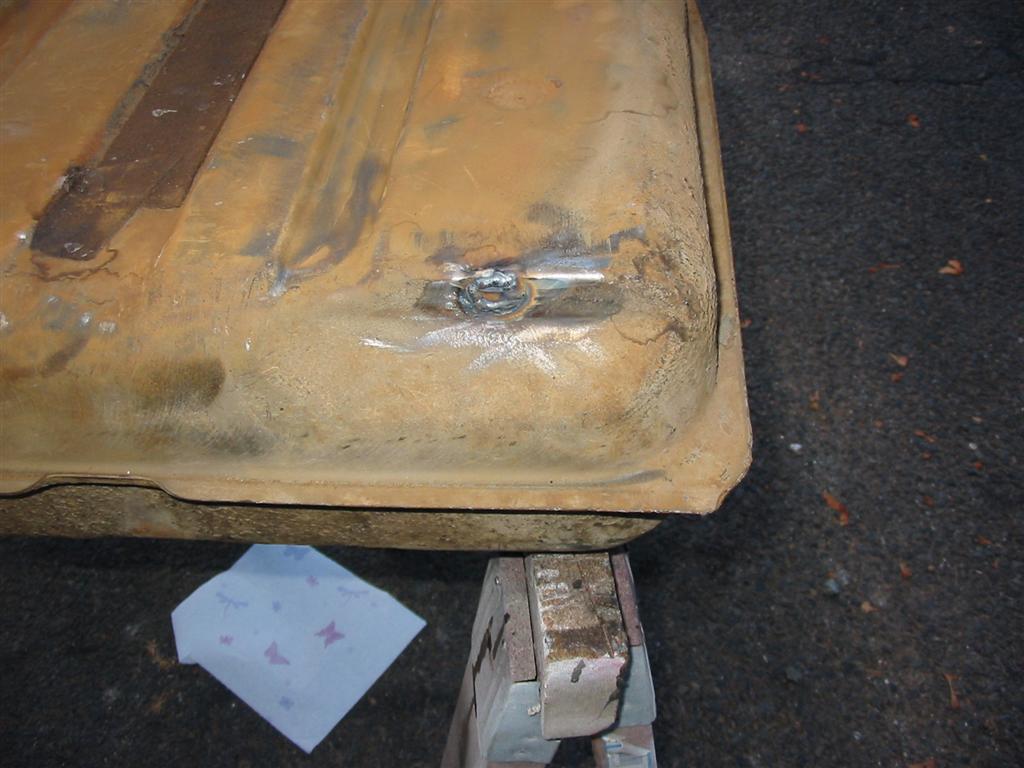
| I also removed the existing tank vents for emissions and welded up the holes shut. I will be running a vented gas cap to allow the tank to vent. | |
|
|
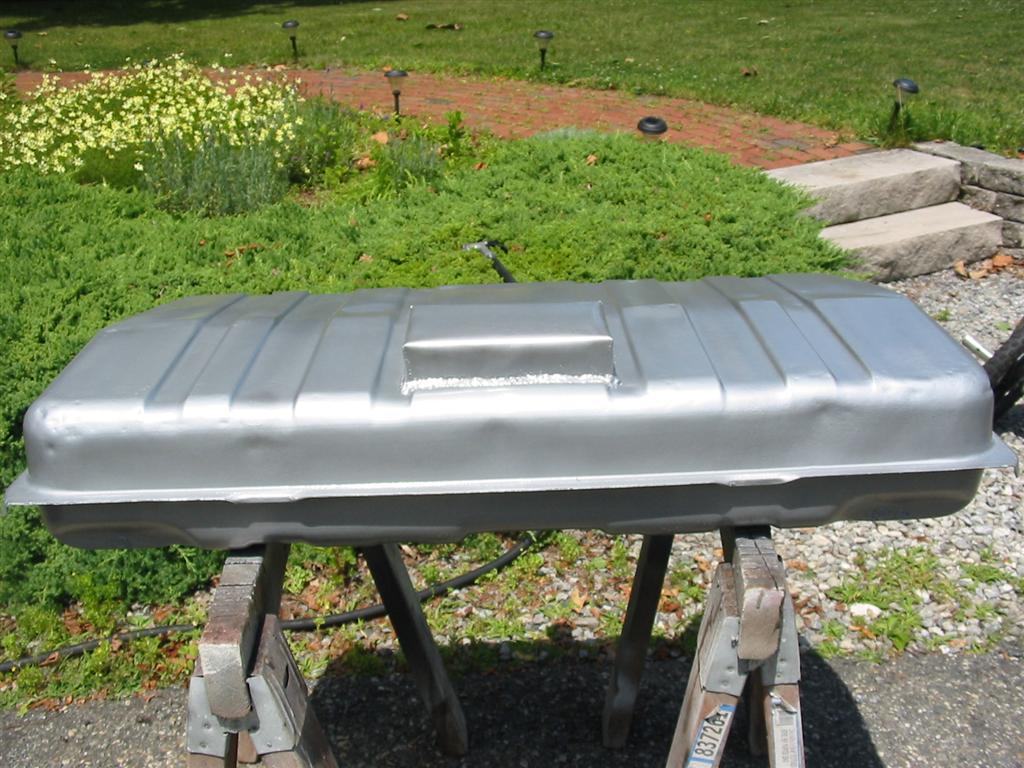
| The next step was to strip the exterior of the tank. Prior to this I cleaned up the interior of the tank. I was able to wire wheel the interior of the tank using the hole for the sump before it was welded in. I then treated and sealed the interior using the POR-15 fuel tank products. | |
|
|
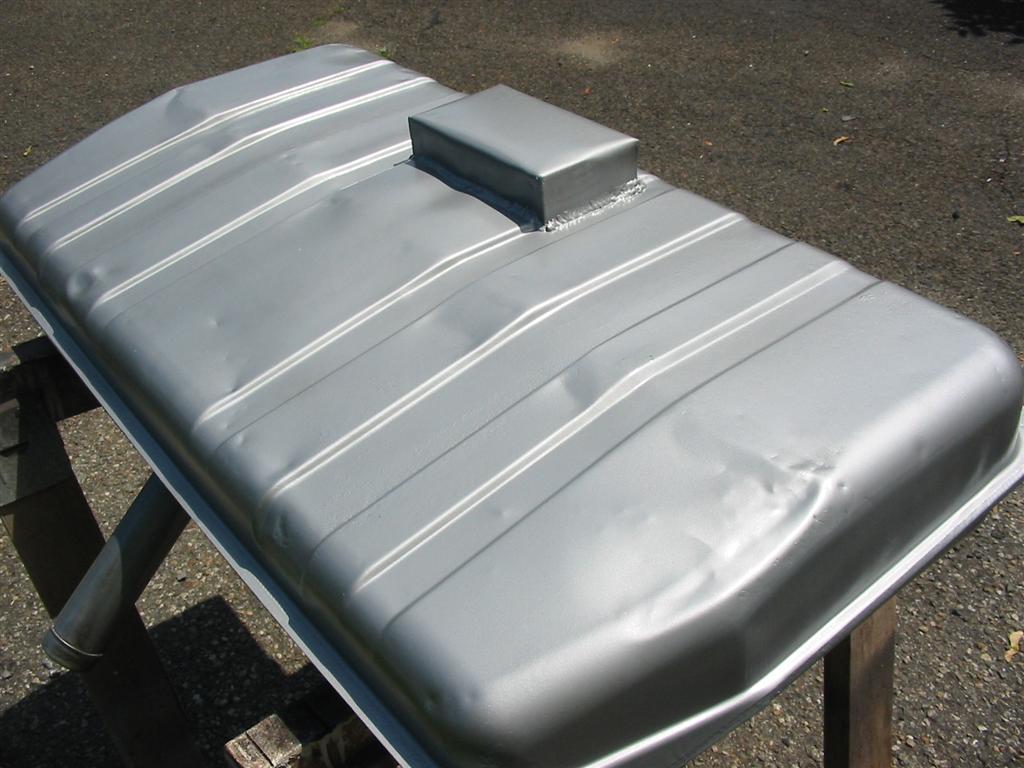
| I then used Rustoleum Hammered Silver paint to coat the exterior of the tank. | |
|
|
|
|
|
|
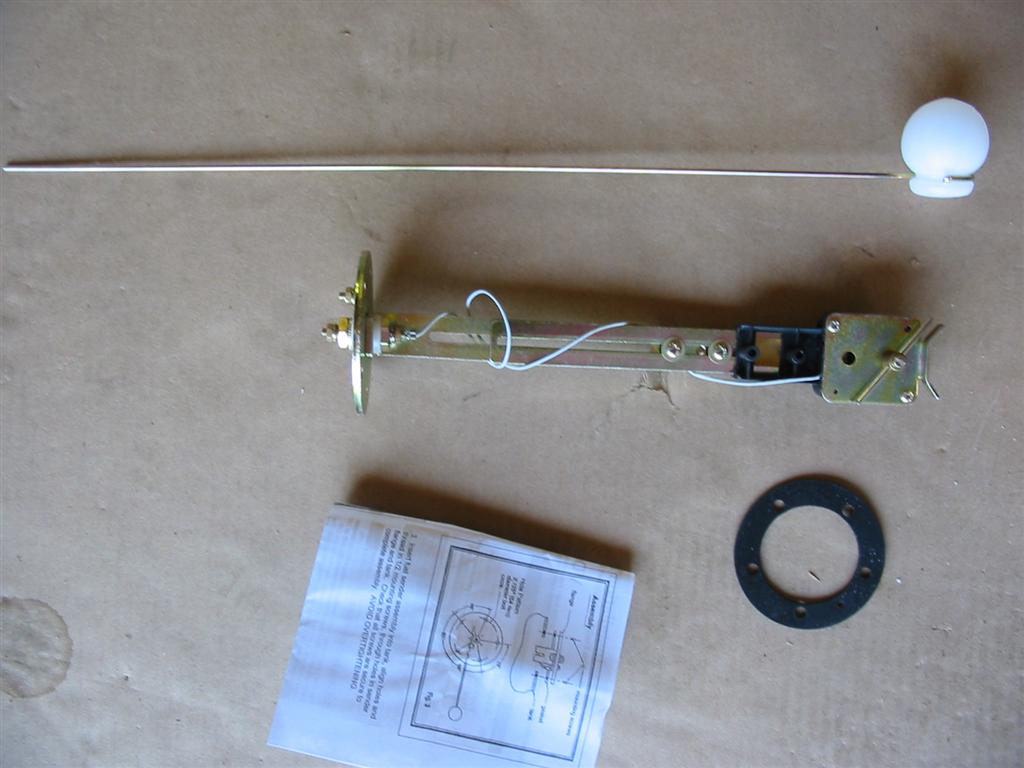
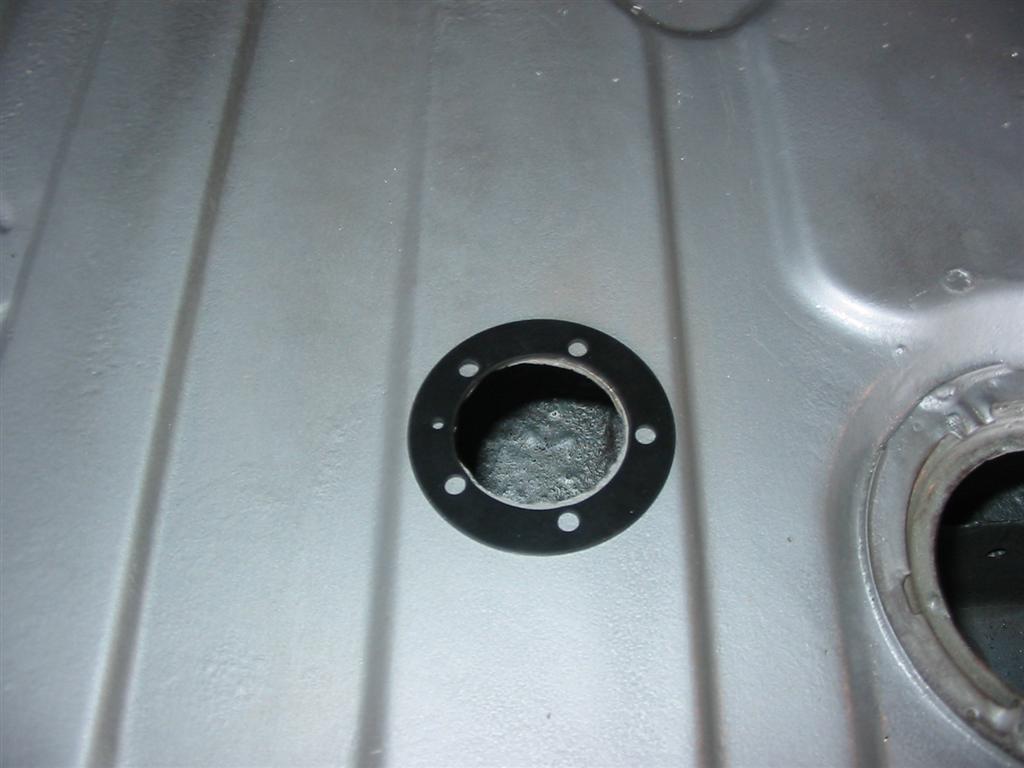
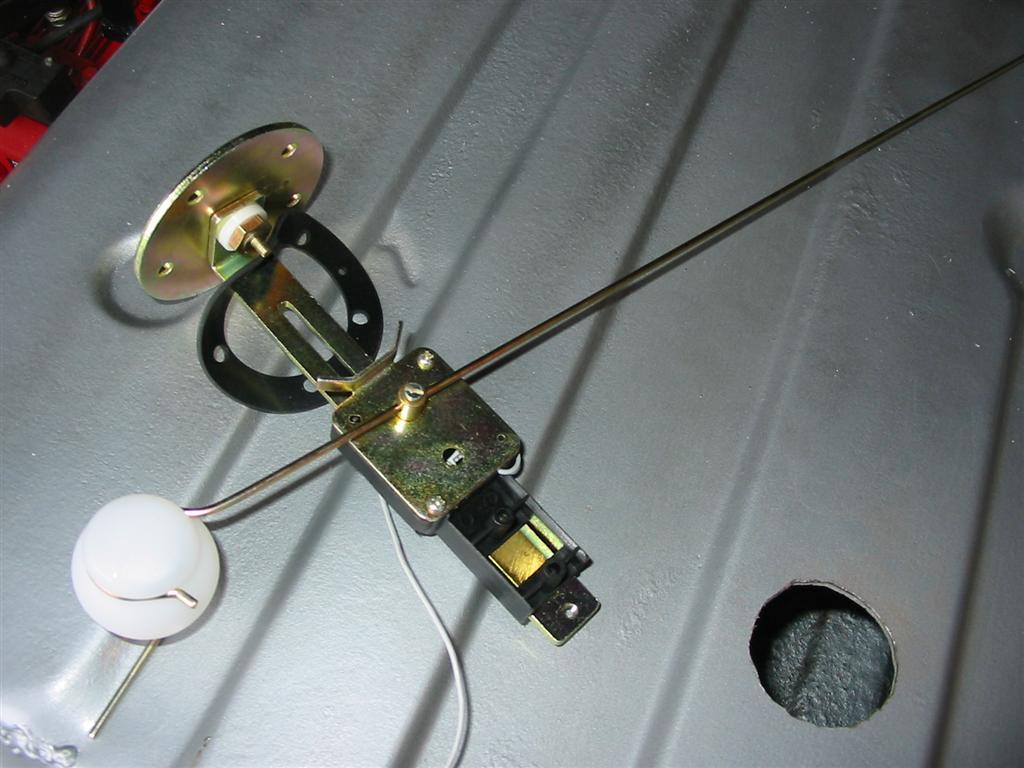
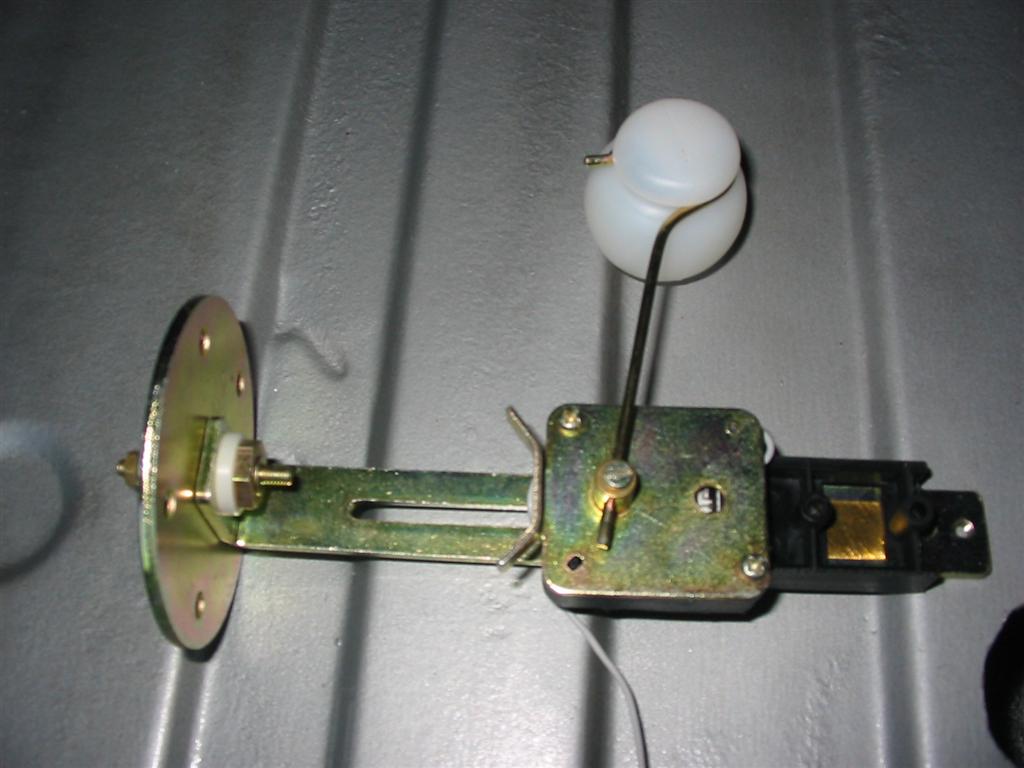
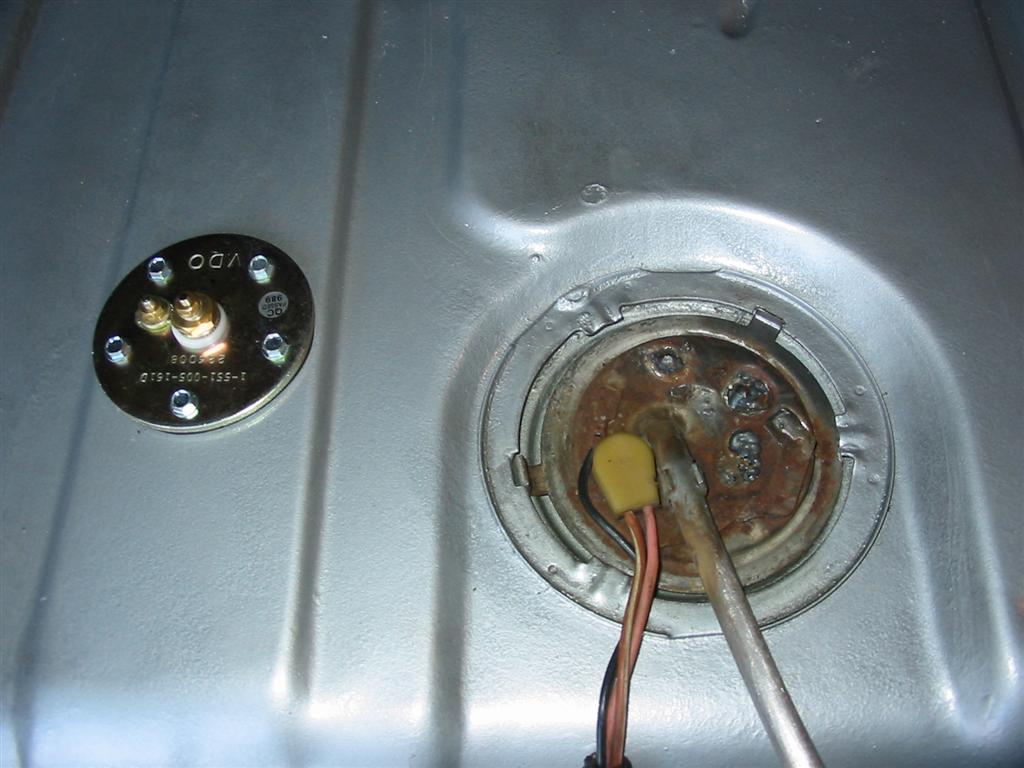
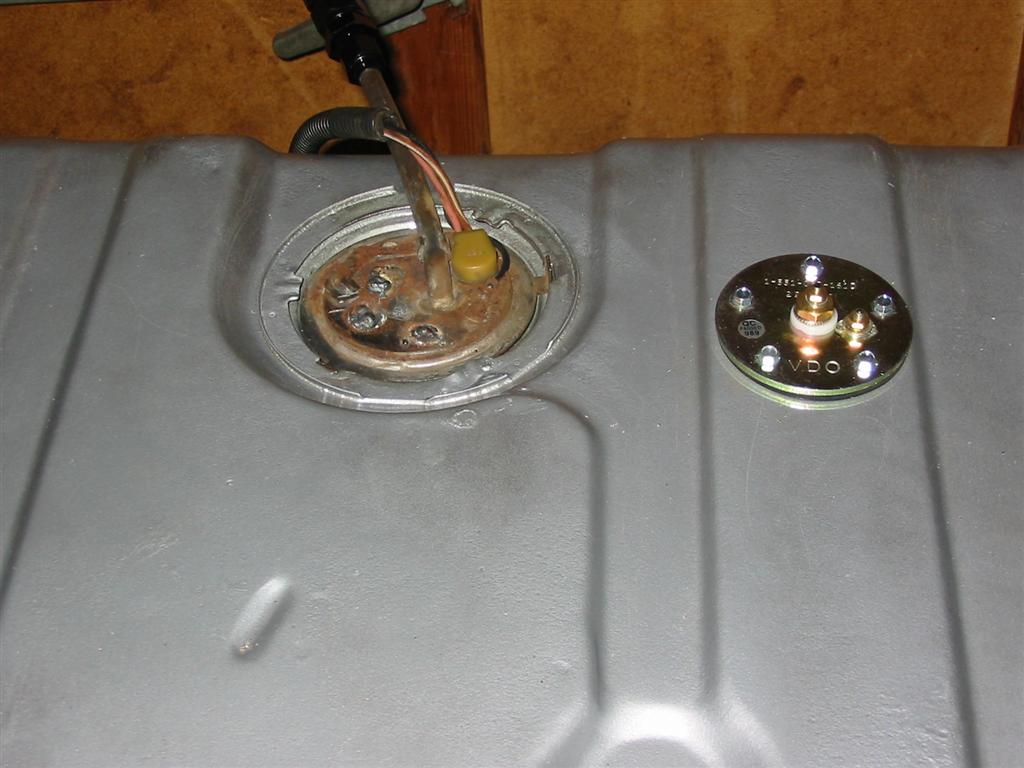
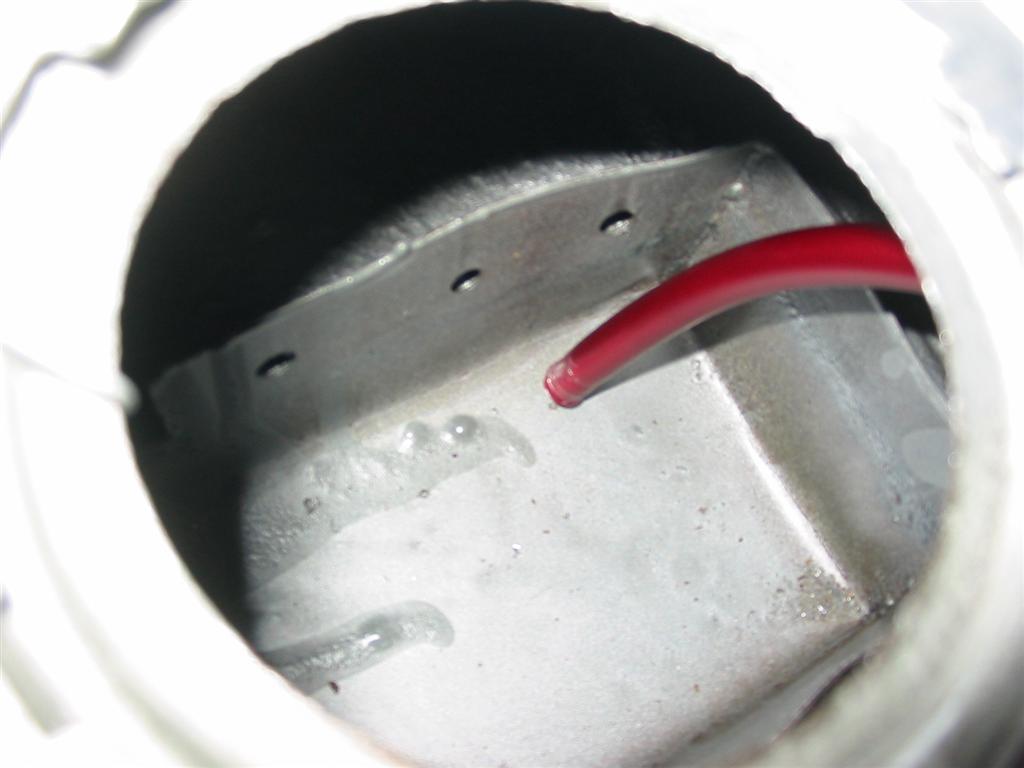
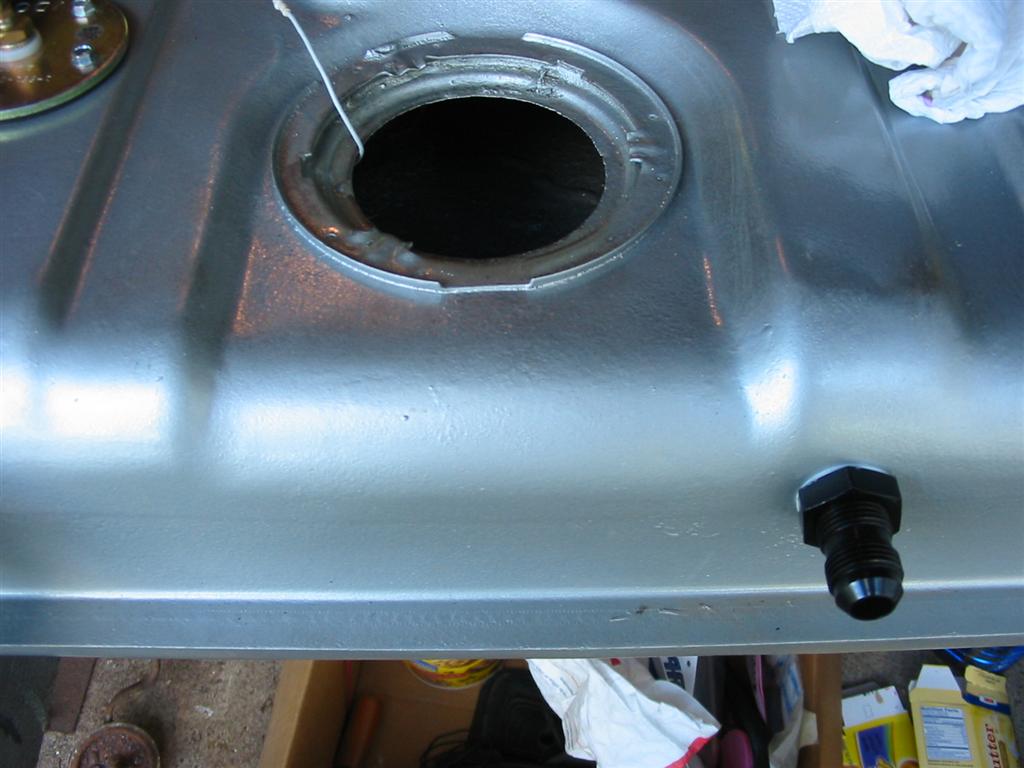
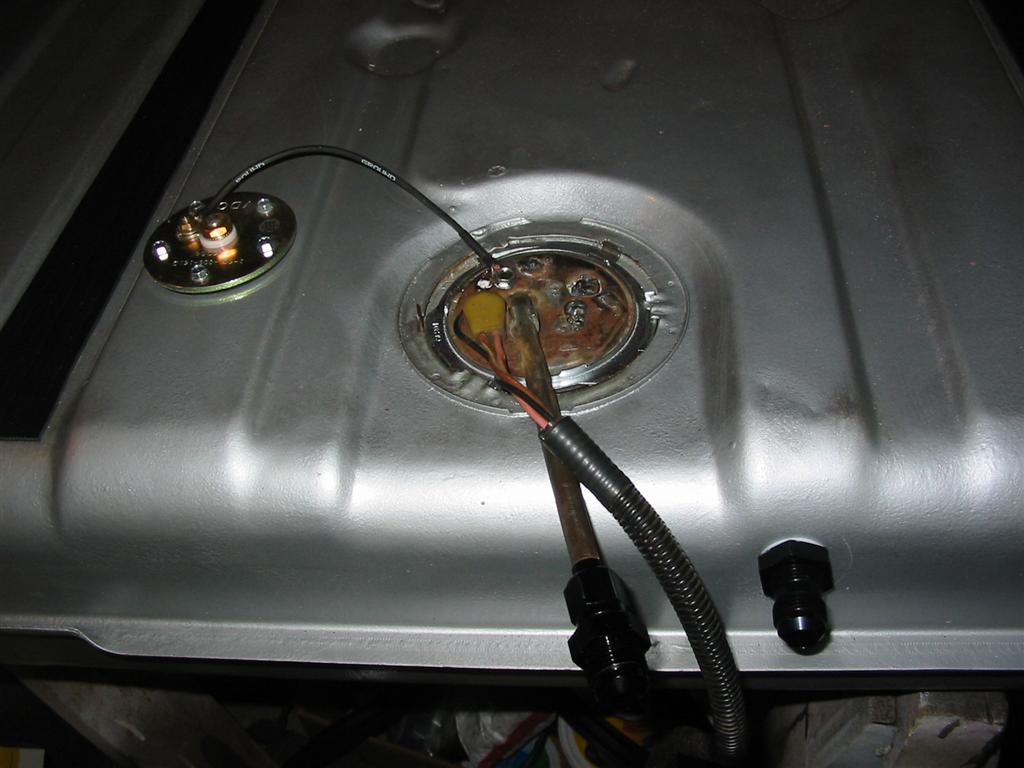
| After some research, I decided to use a VDO universal sending unit. This required me to cut another hole in the top of the tank. I then fed the ground and sender lines to the original fuel pump assembly. | |
|

|
|
|
|
|
|
|
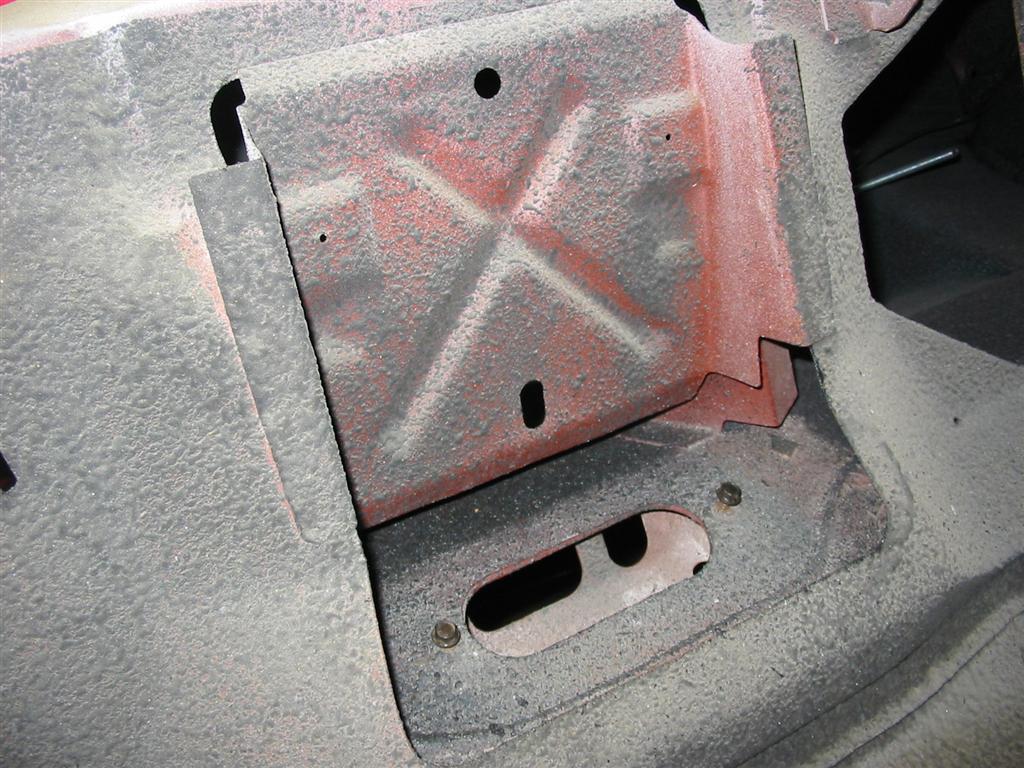
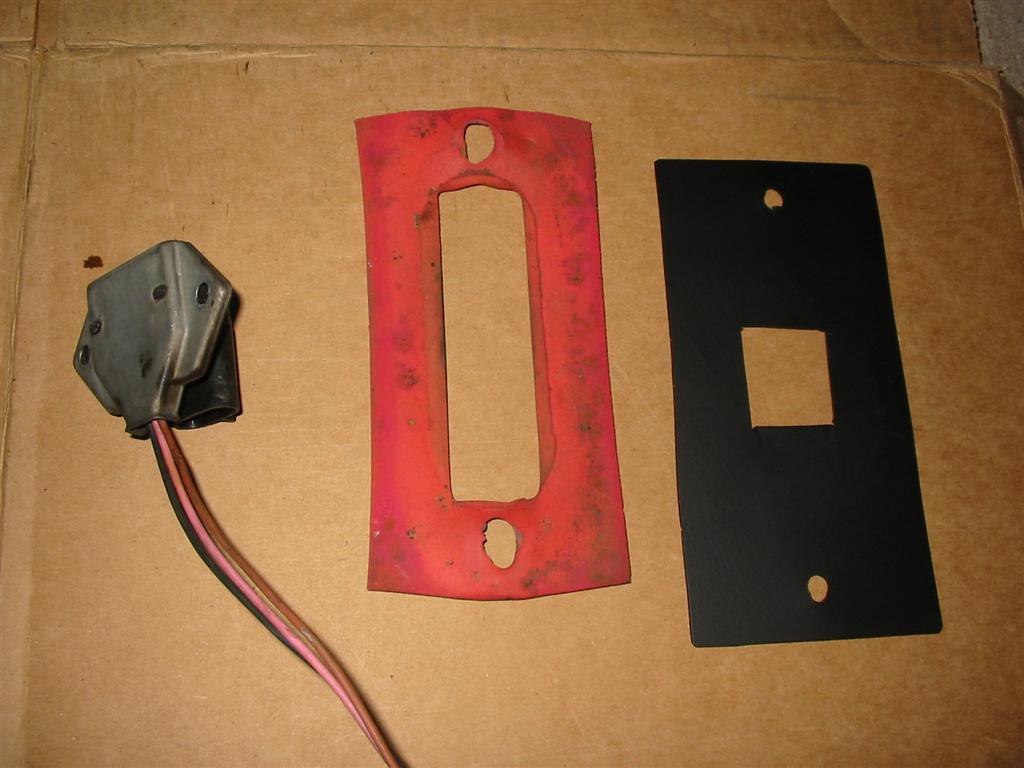
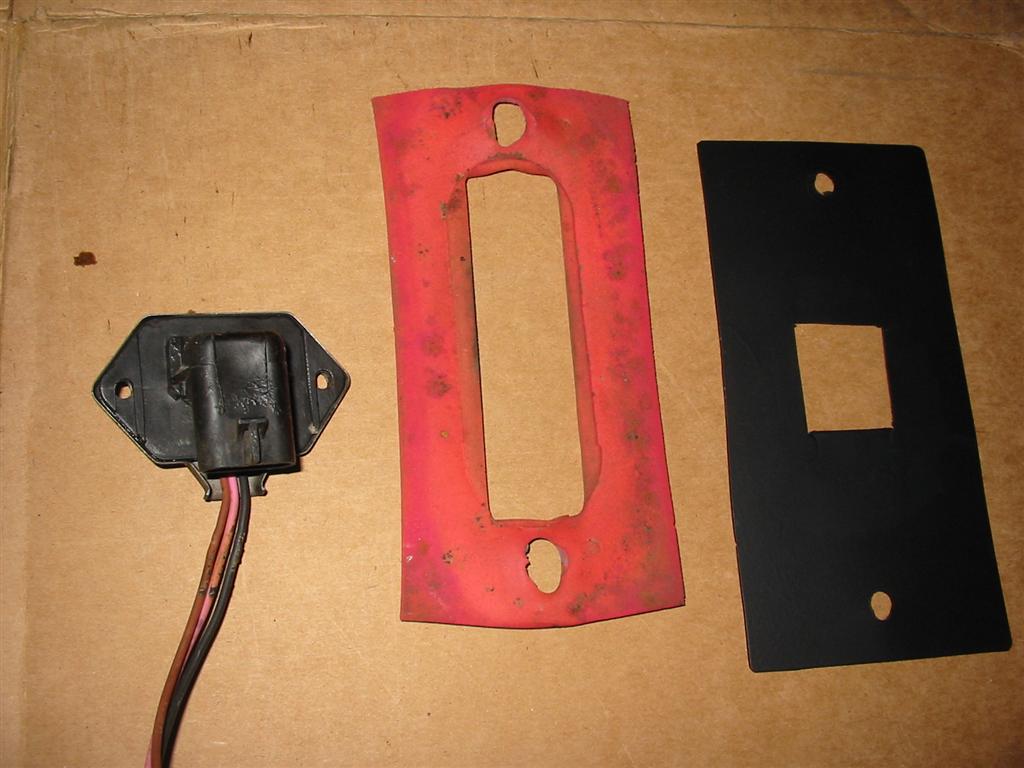
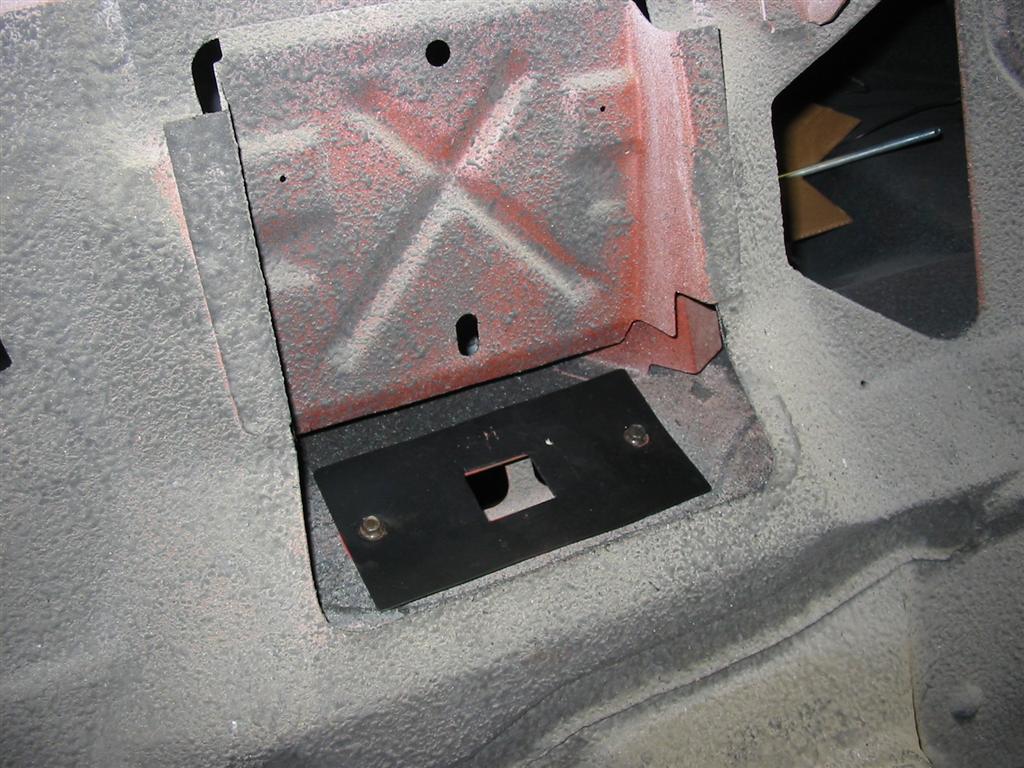
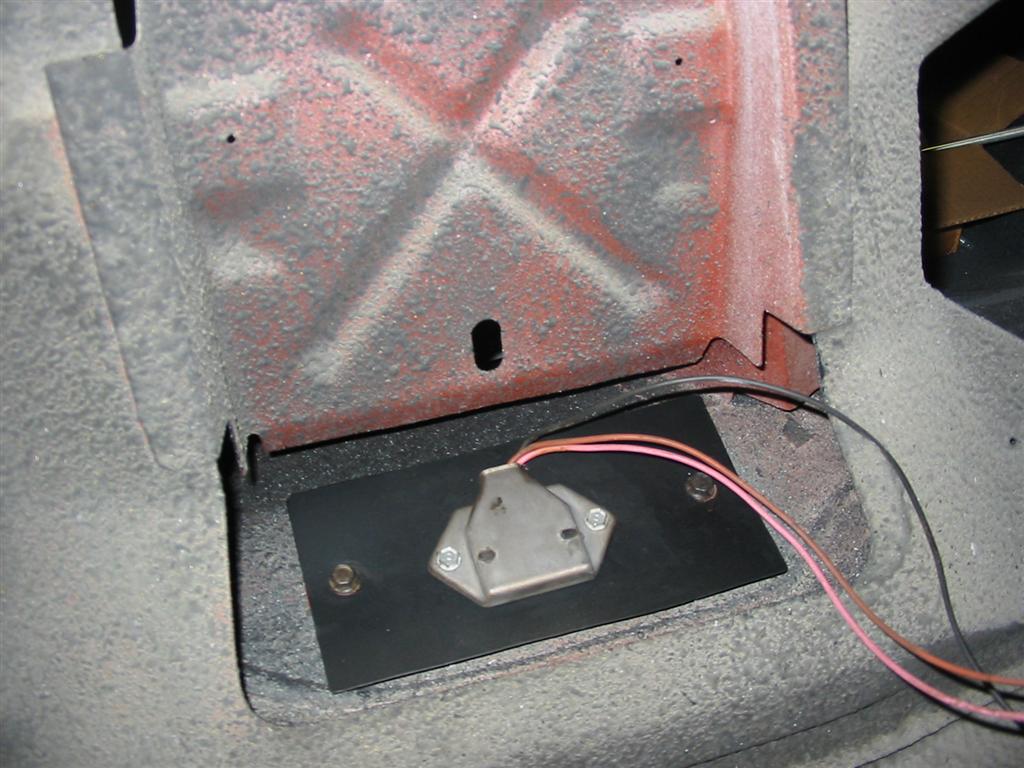
| When I took the pump assembly from the 3rd gen Camaro, I also took all the wiring with it. This included the plug that was mounted to the floor. I decided to mount the plug in the area where the emmisions vent was mounted behind the back seat. I had to mount it to a plate that covered the larger original hole. | |
|
|
|
|
|
|
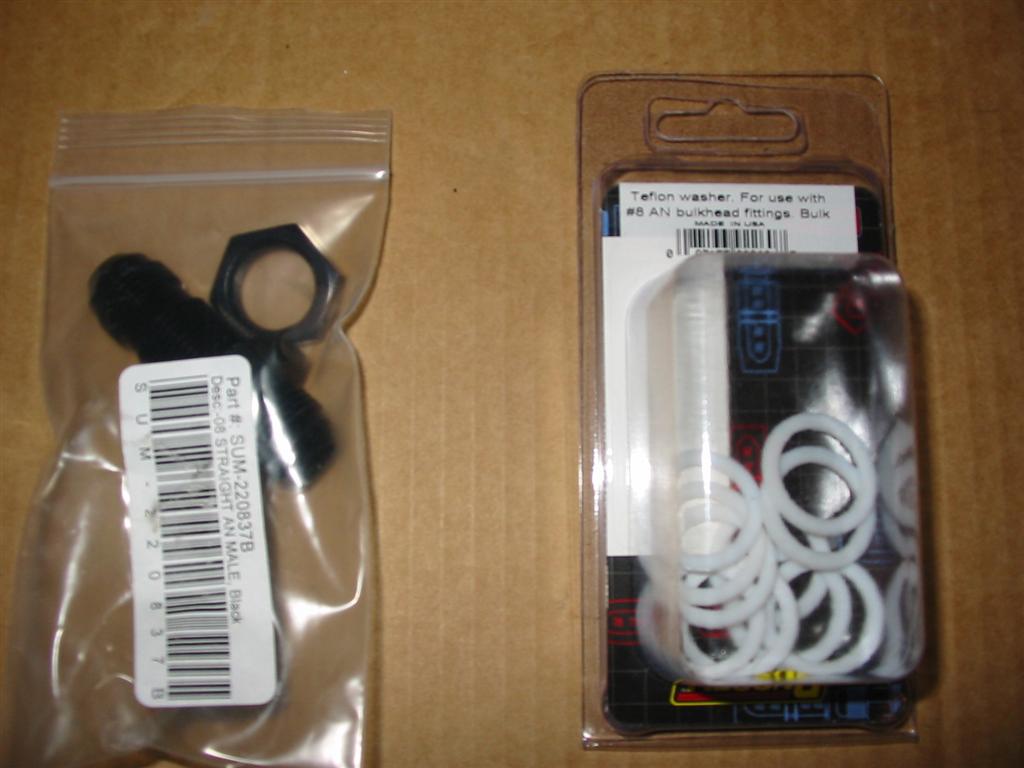
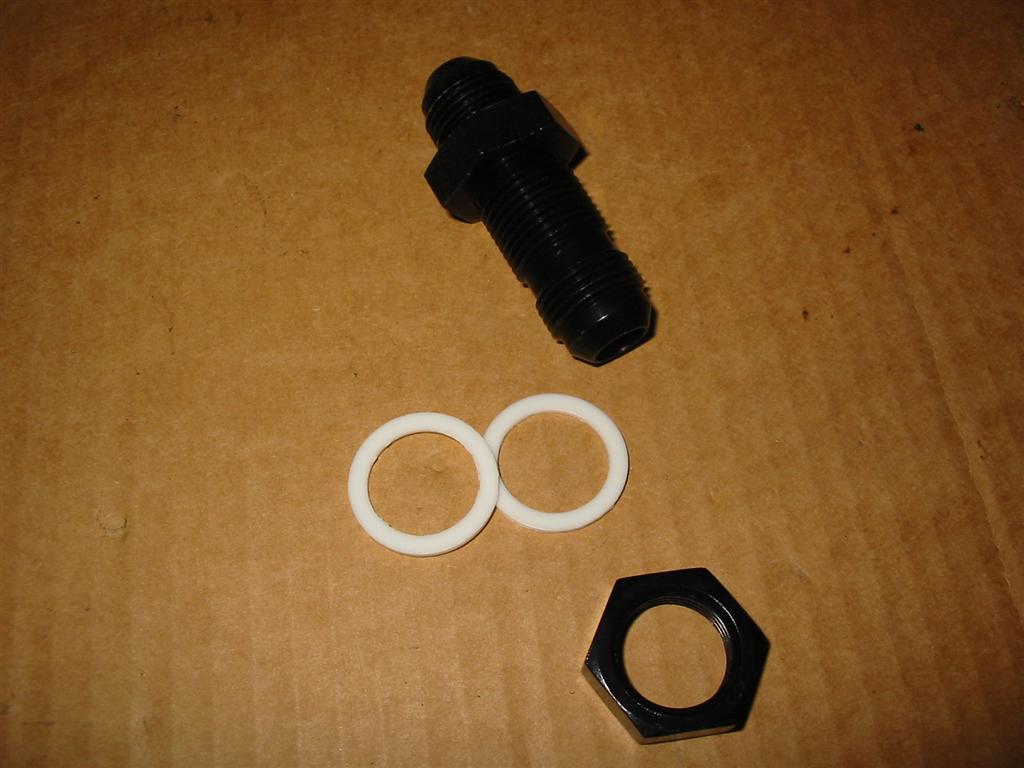
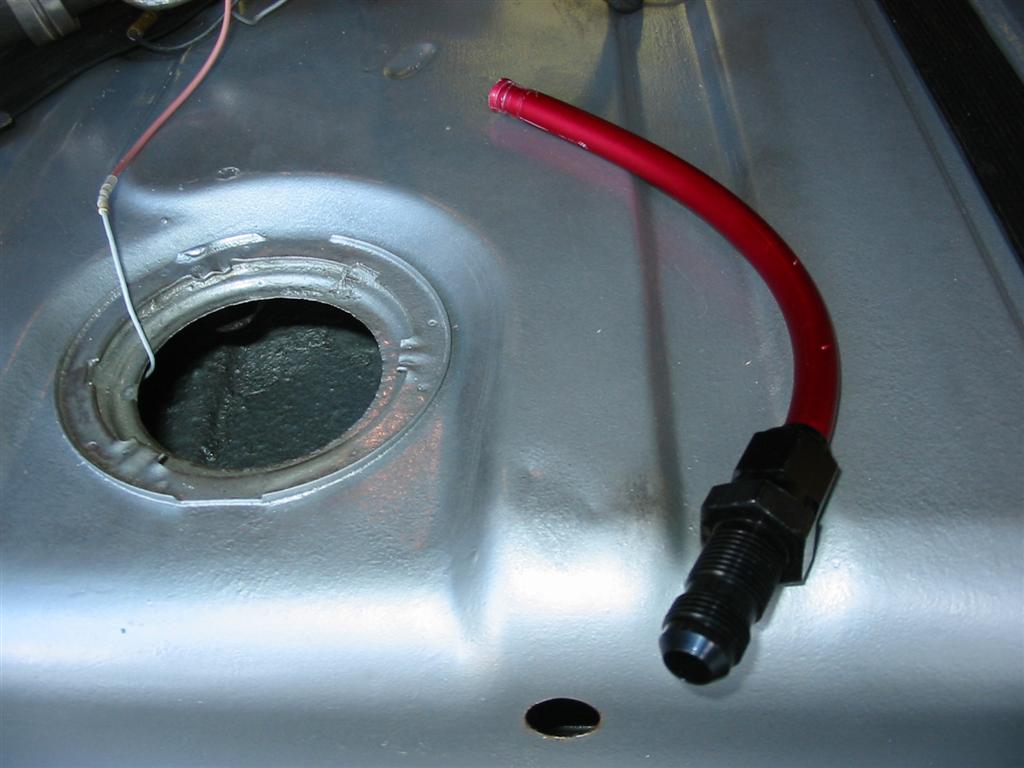
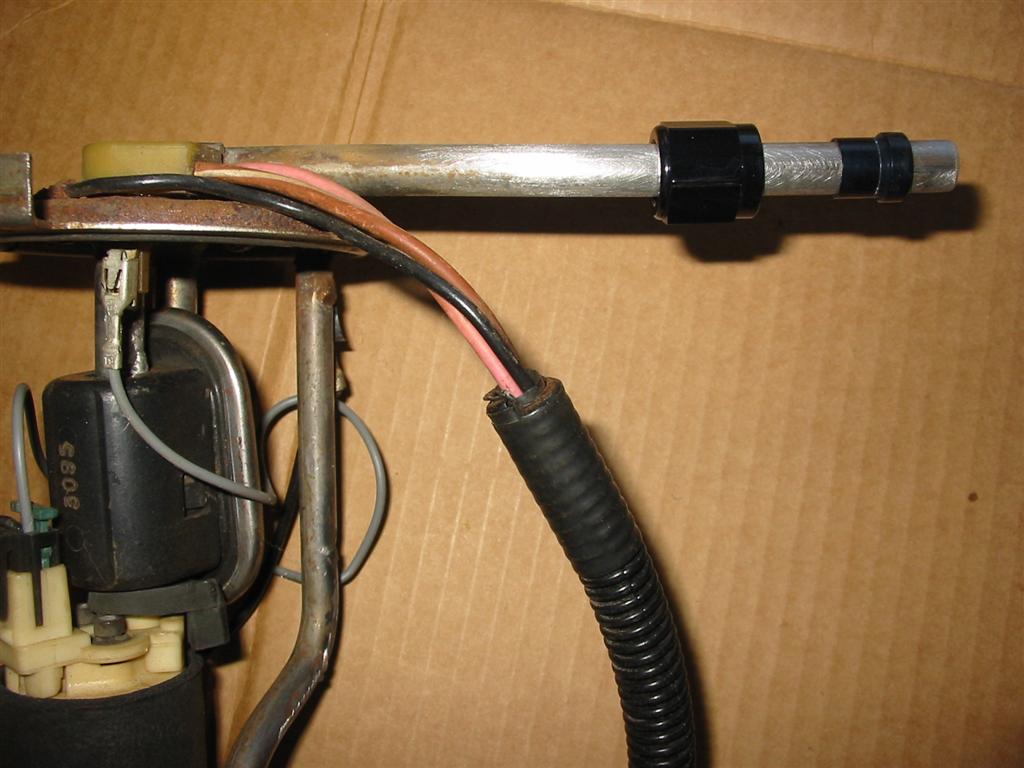
| Next I installed a return feed using a bulkhead connector and a piece of 1/2 inch aluminum line. | |
|
|
|
|
|
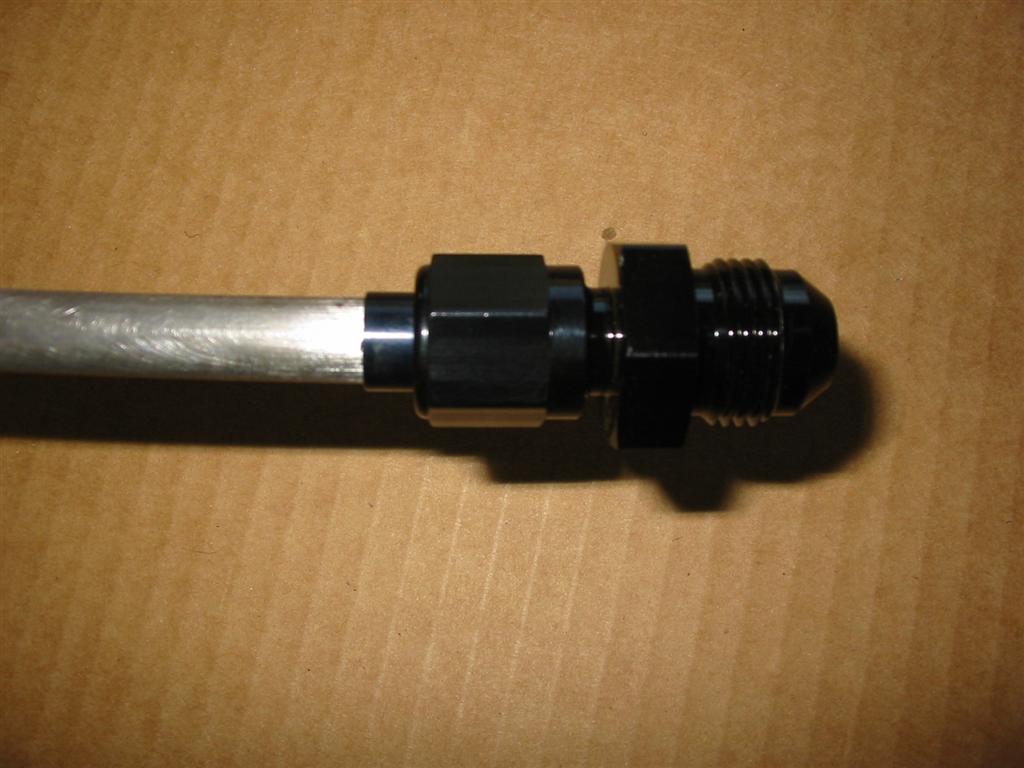
| I then flared the 3/8 inch line with a 37 degree flare tool and installed an AN-6 tube nut coupler and sleeve fitting. | |
|

|
|
|
| Here is everything installed in the tank. | |
|
|
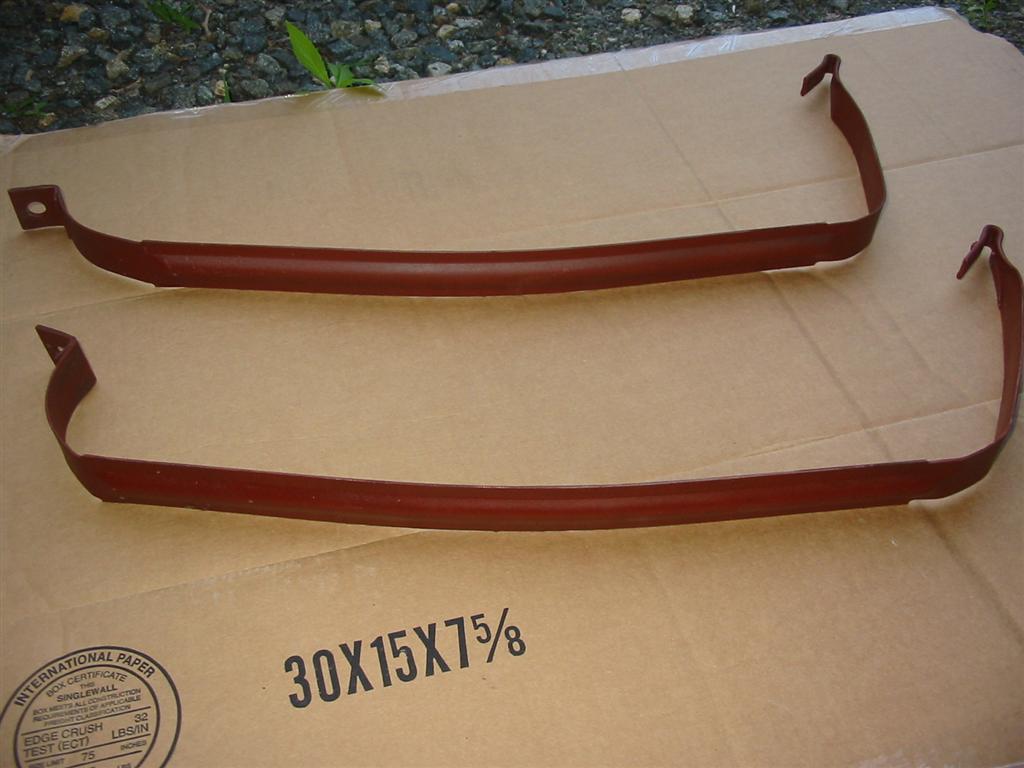
| I stripped and then coated the Fuel Tank straps with POR-15. I later coated the straps with gloss black paint. | |
|
|
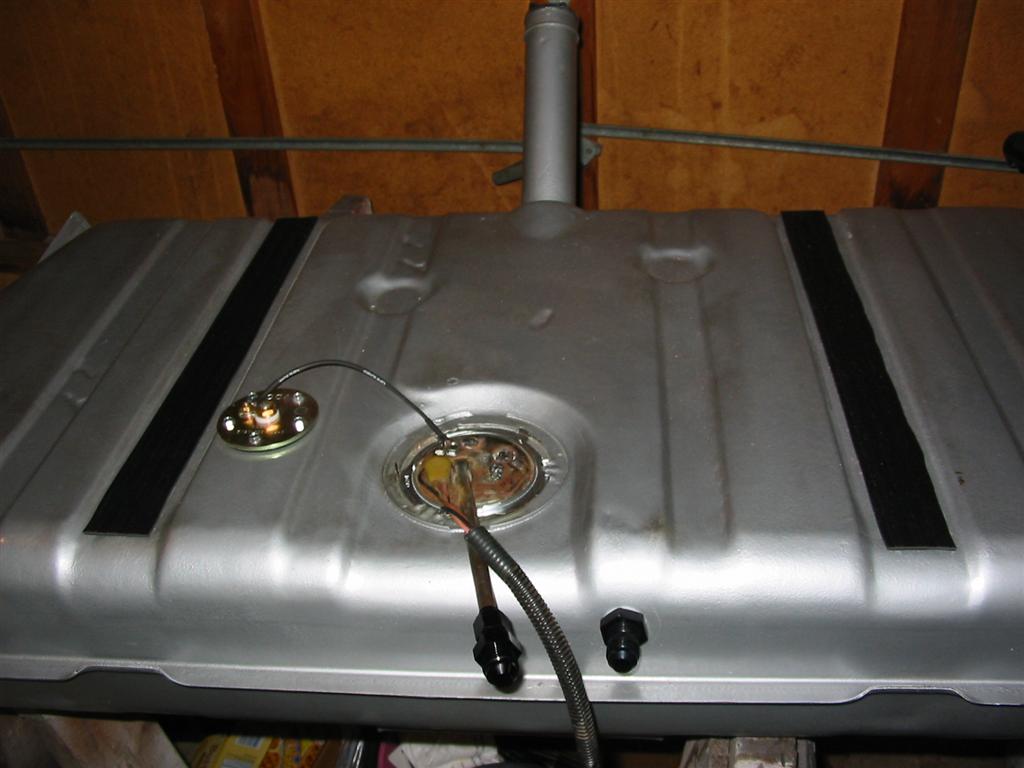
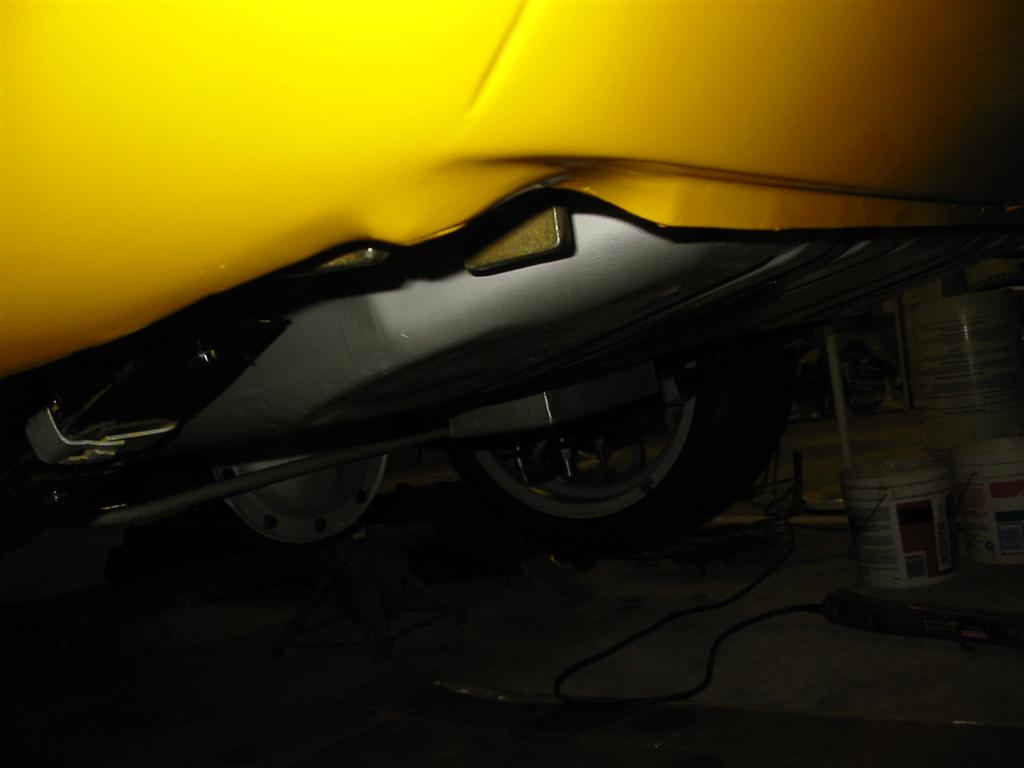
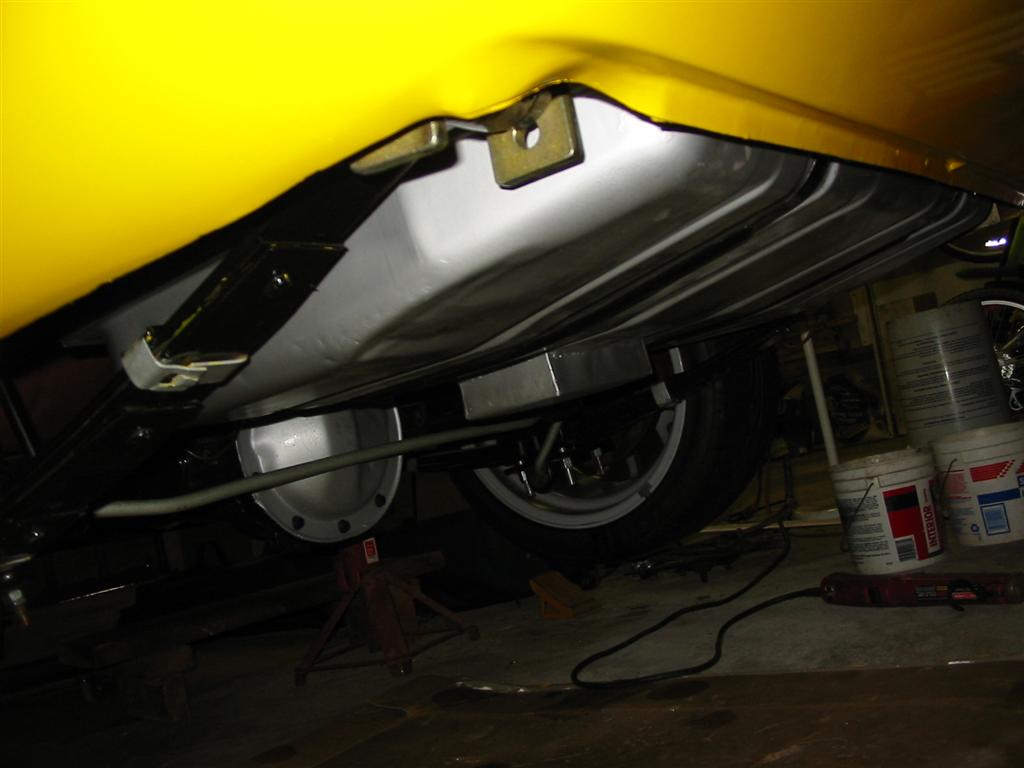
| Here is the tank installed. | |
|
|