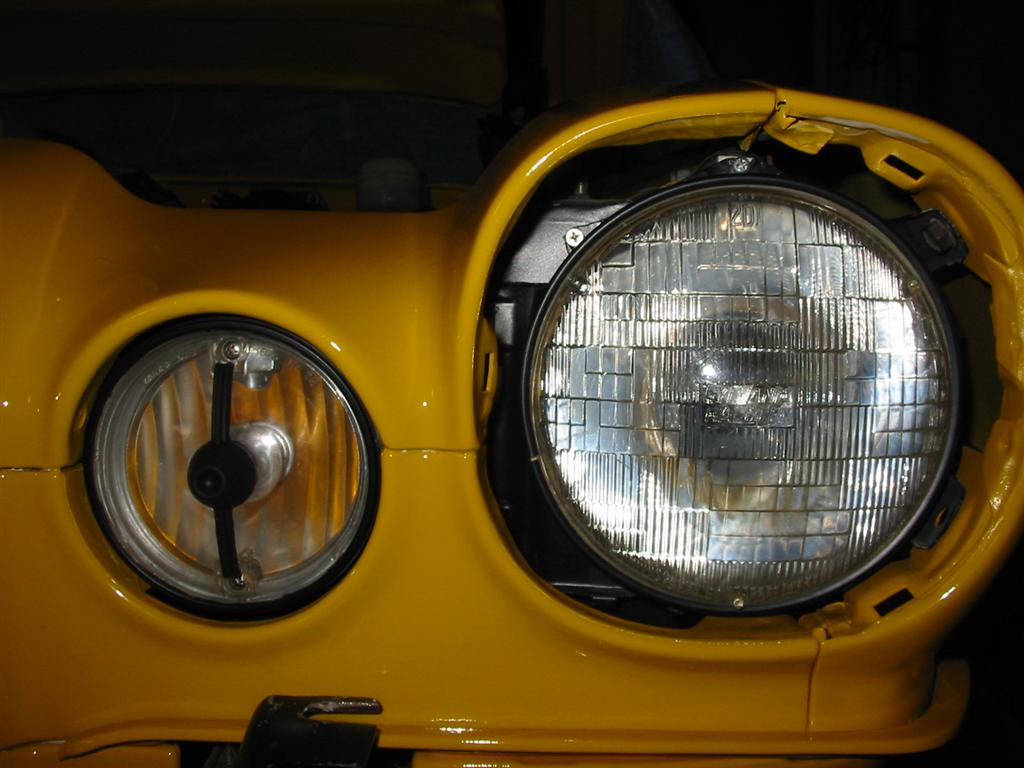
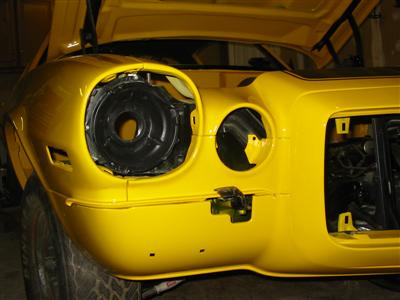
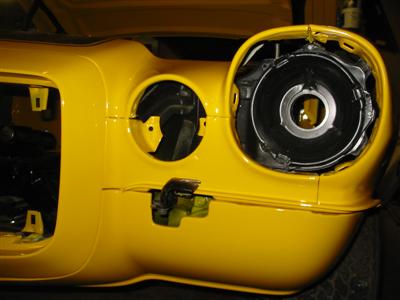
| Here are the headlight buckets installed. |
|
|
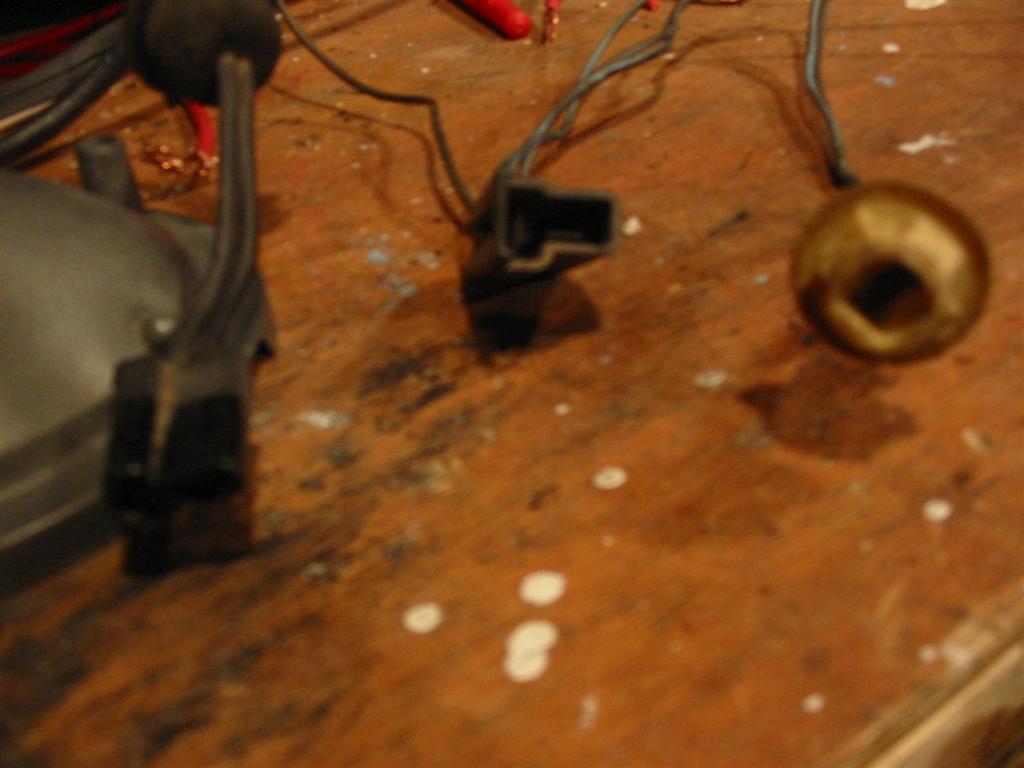
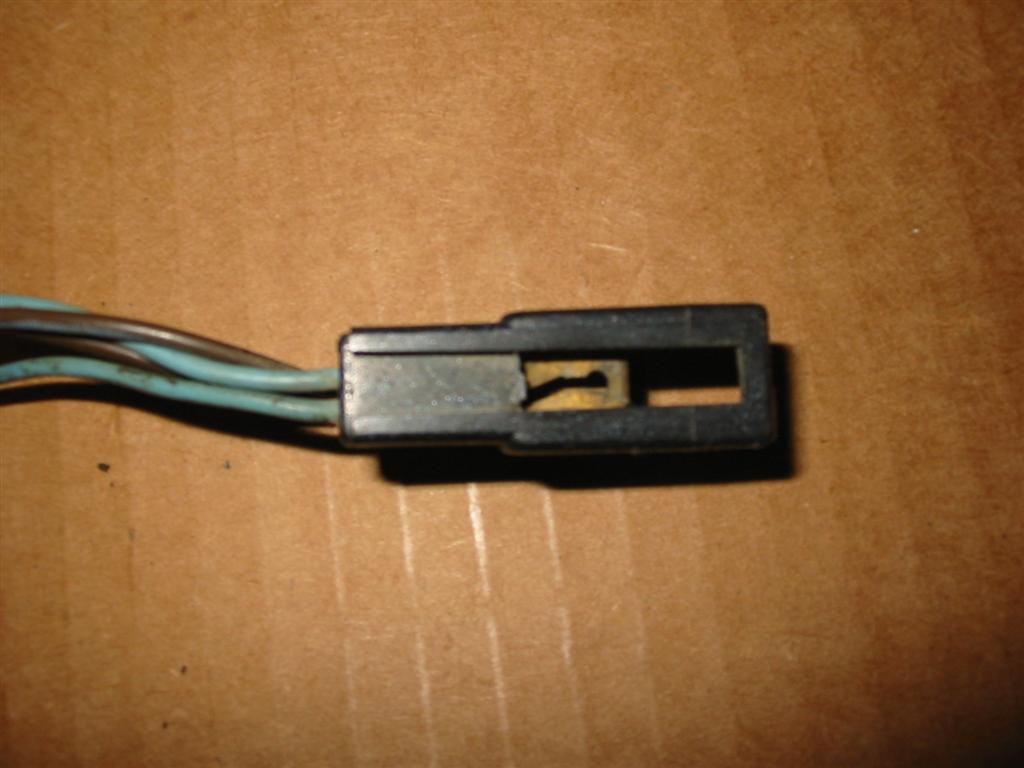
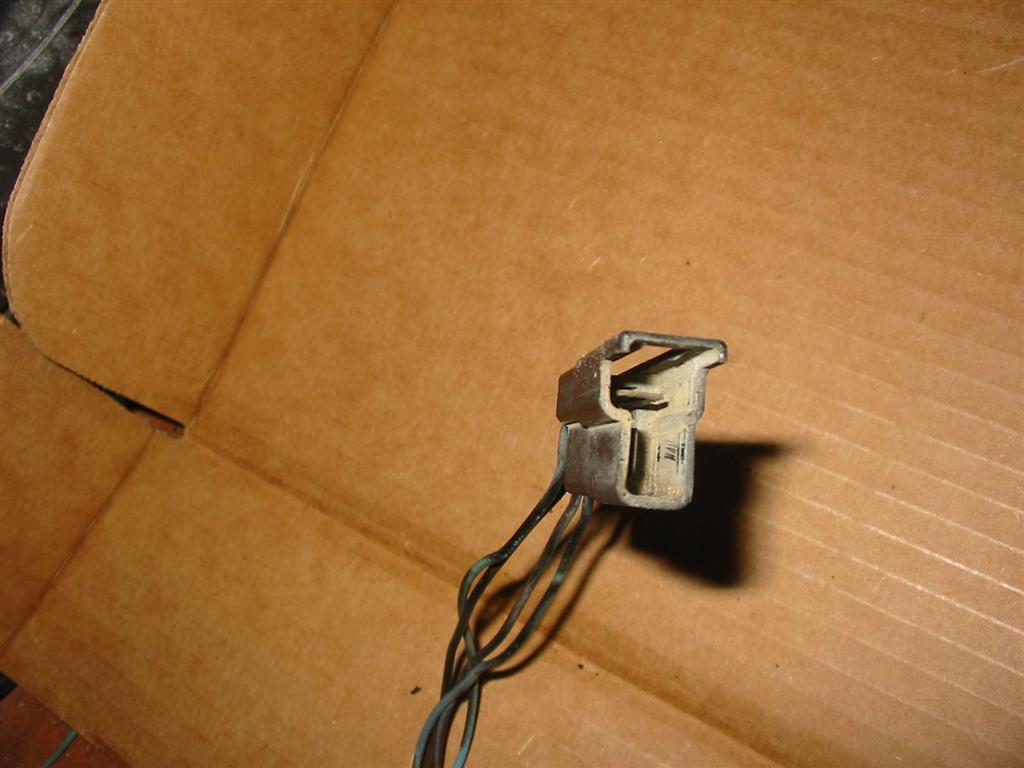
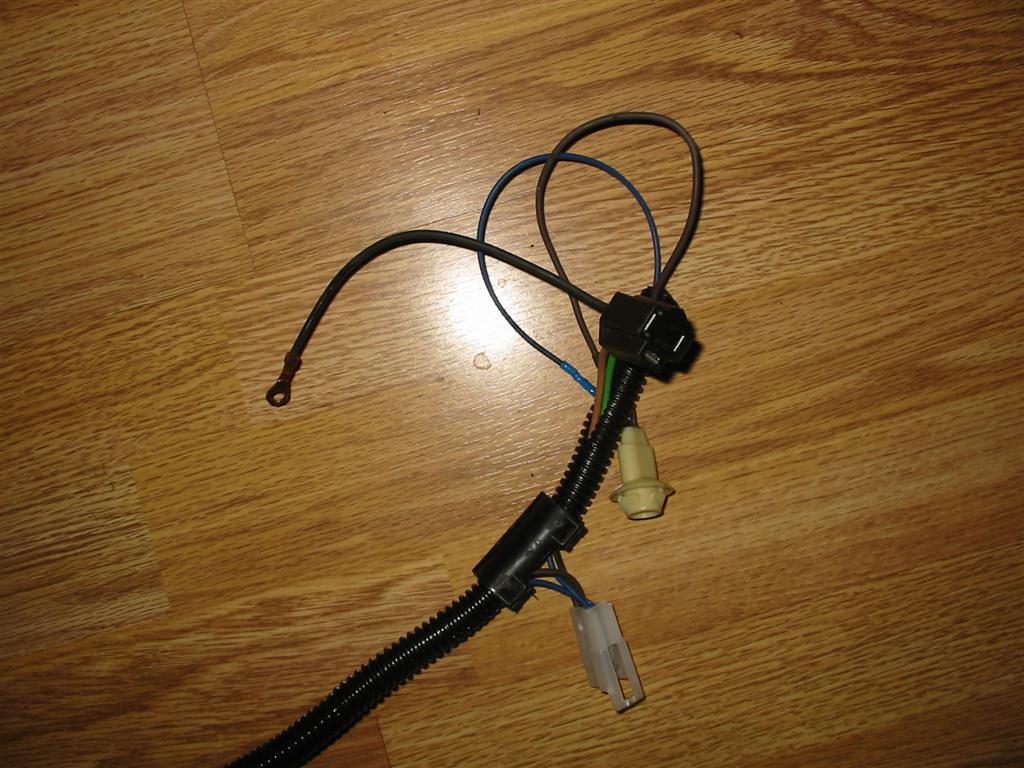
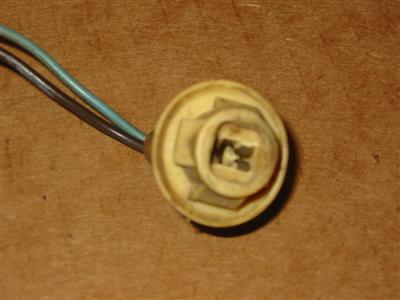
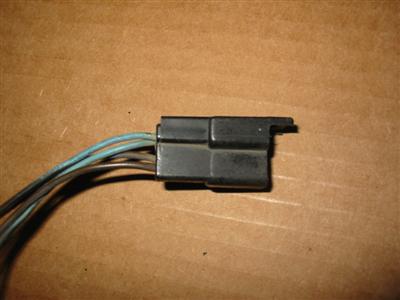
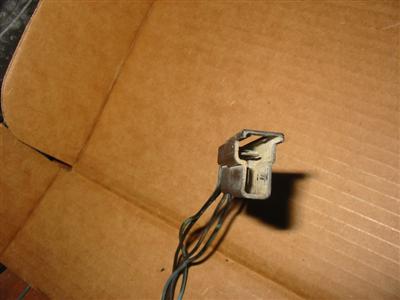
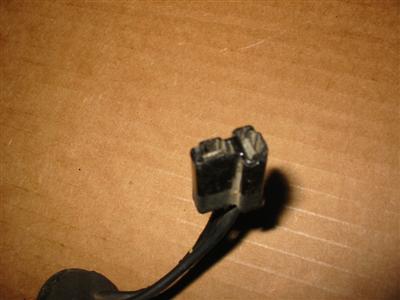
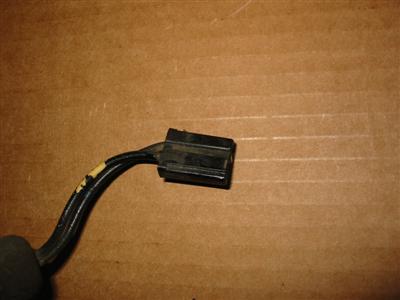
| Here are a few shots of the parking light and turn signal light harness. |

|
|
|

|
|
|
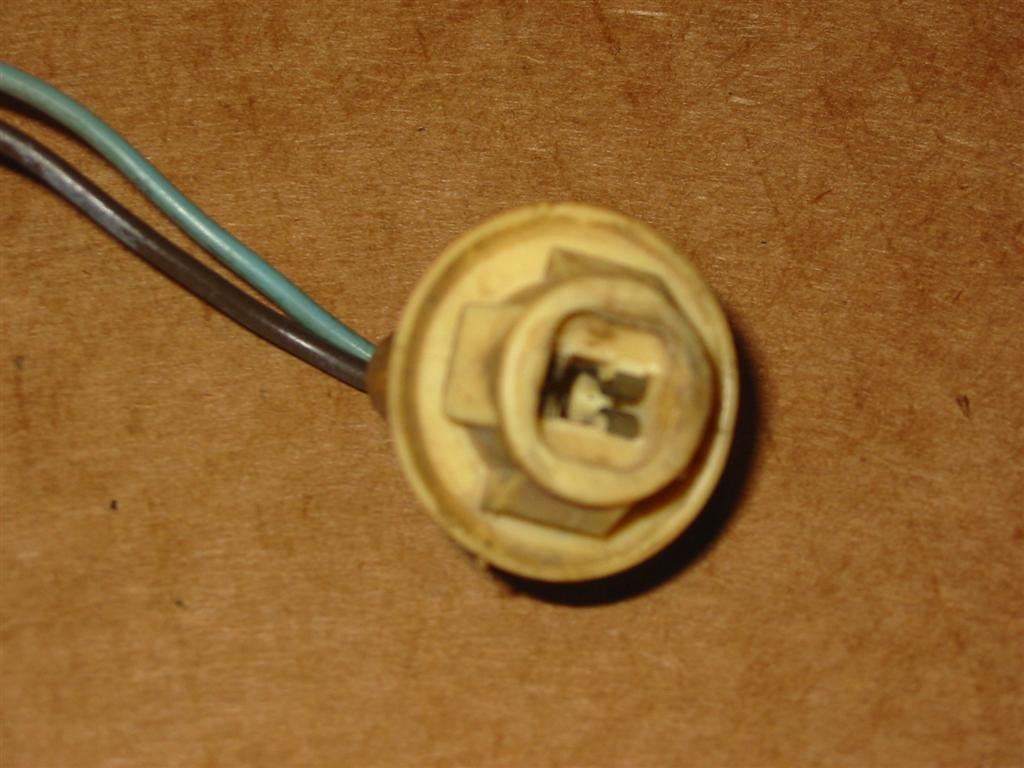
| This is the plug from the Parking Lamp |
|
|
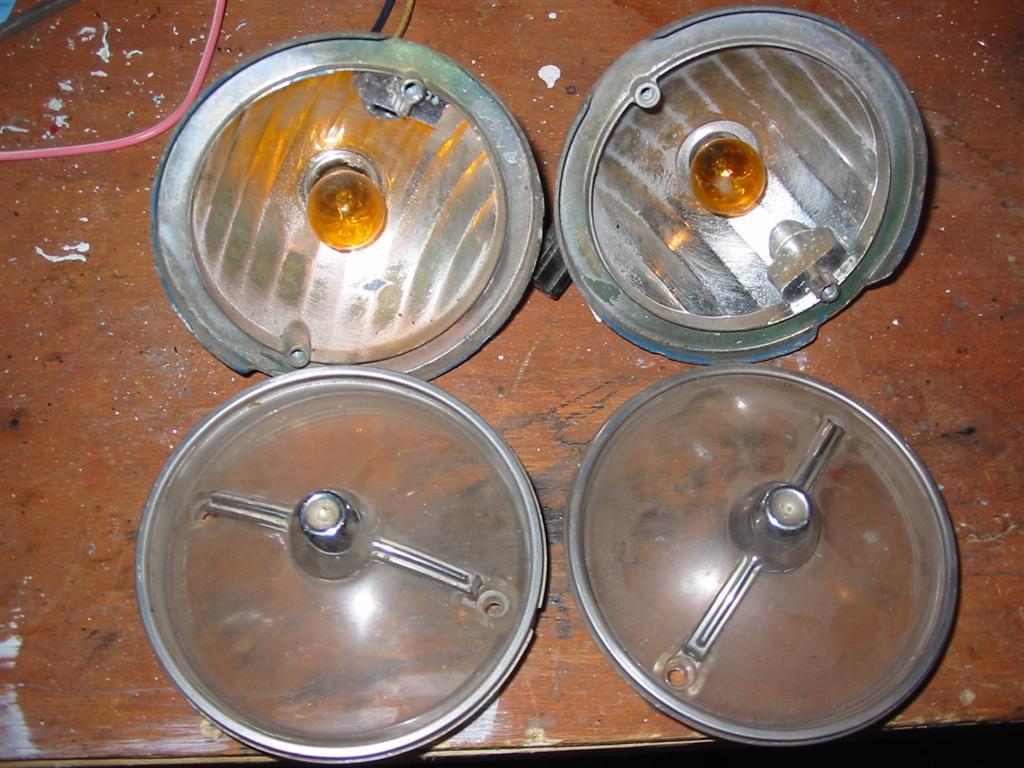
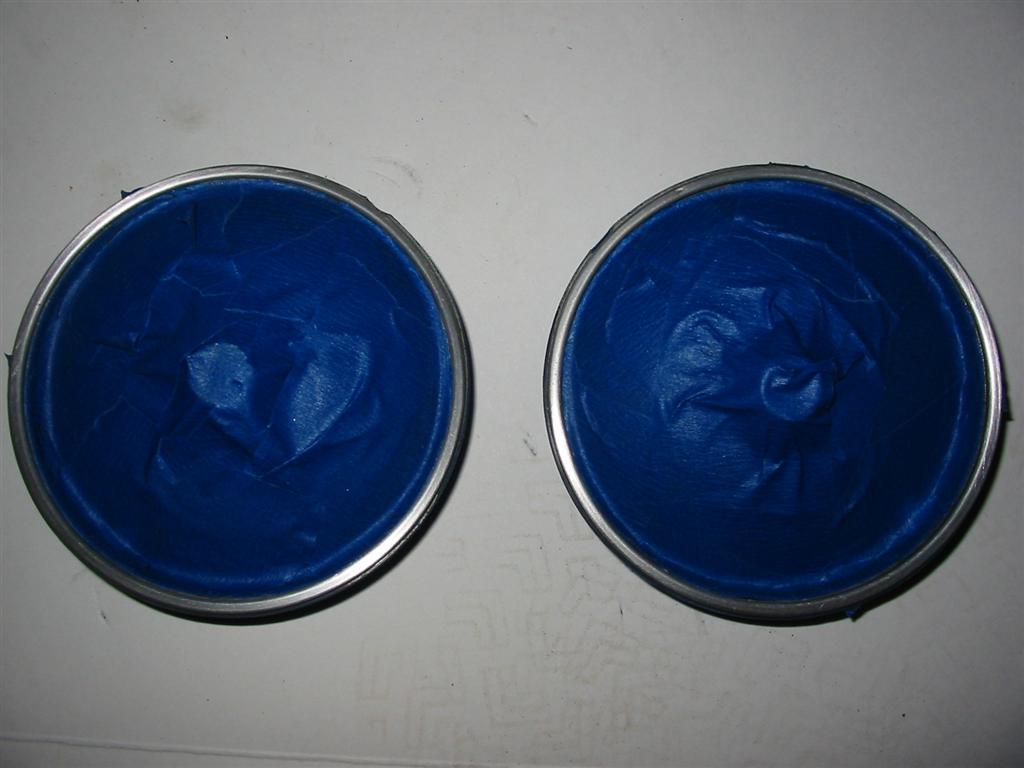
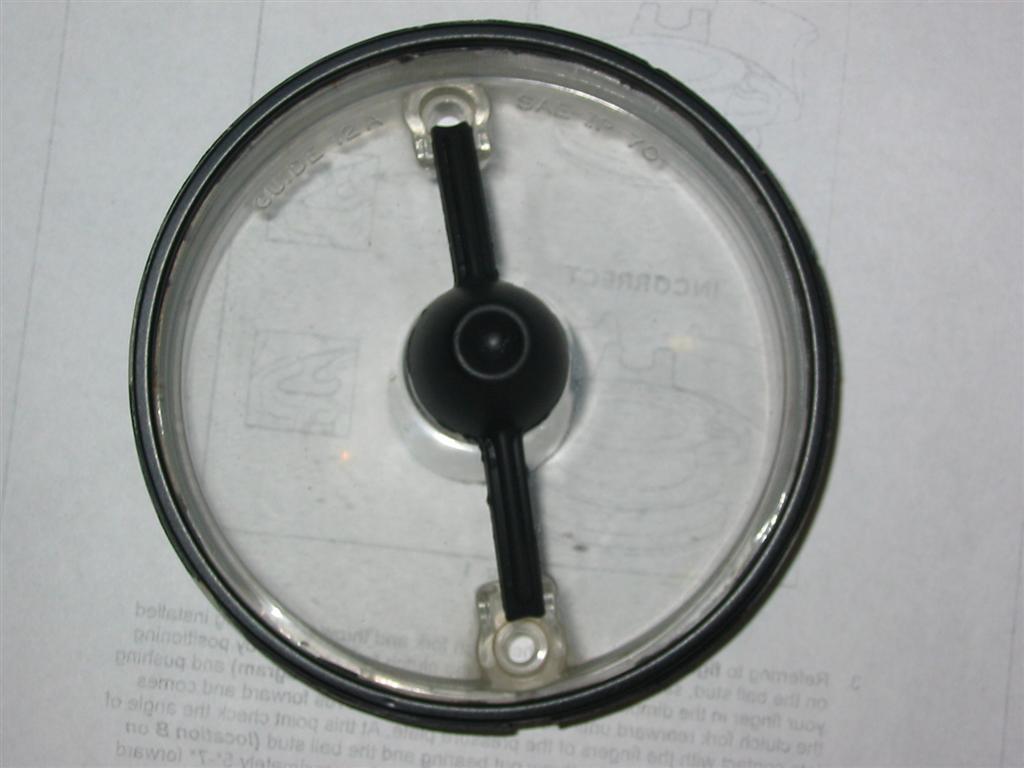
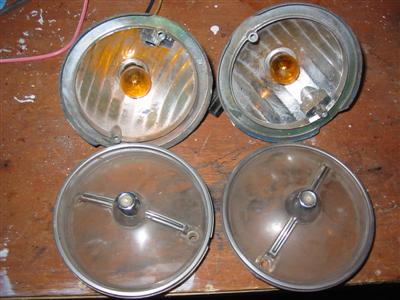
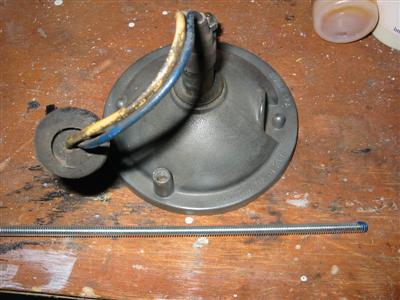
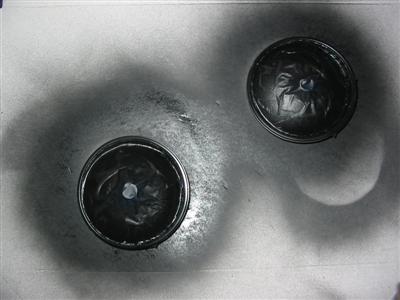
| Here are some before shots of the parking lights. |
|

|
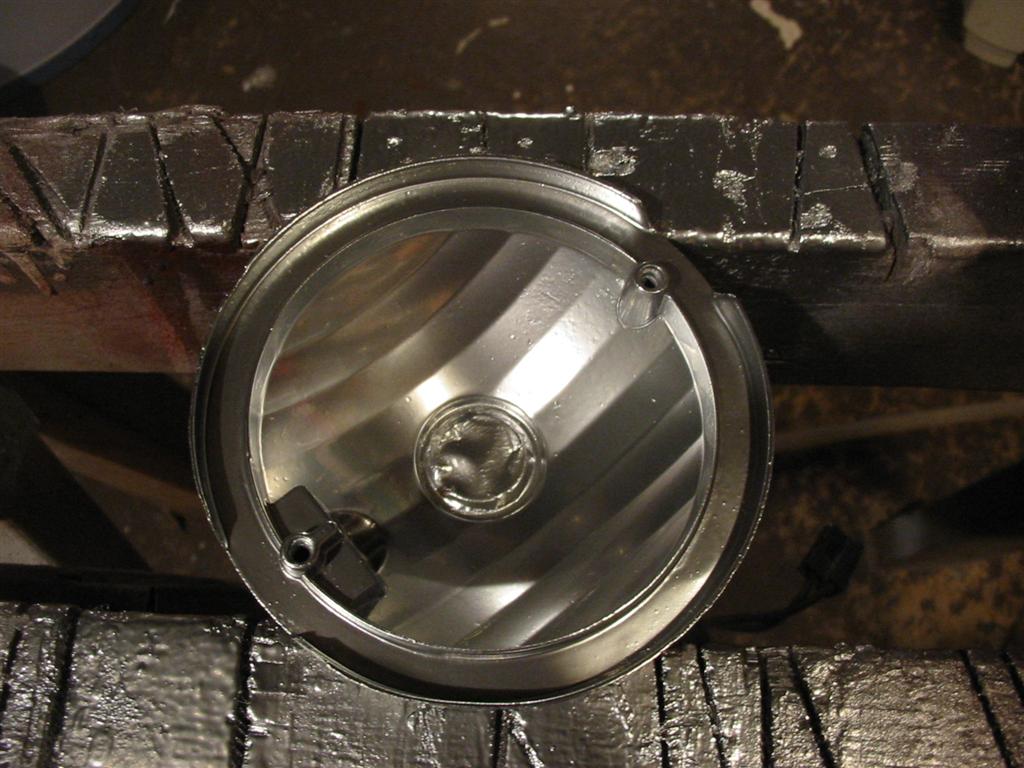
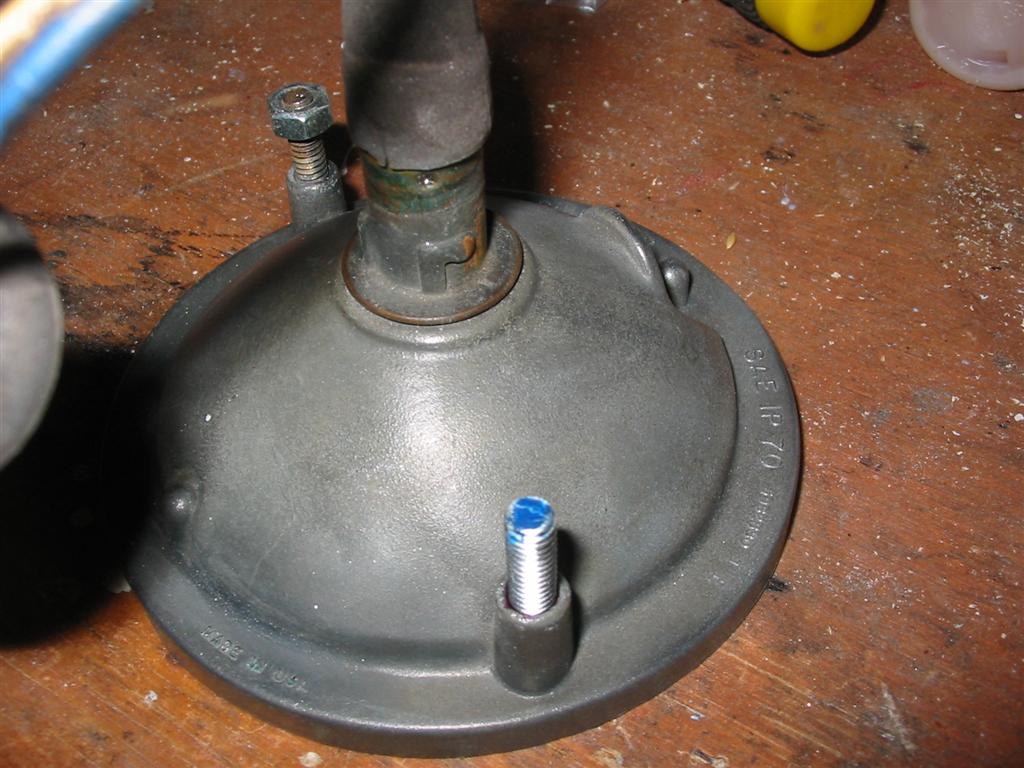
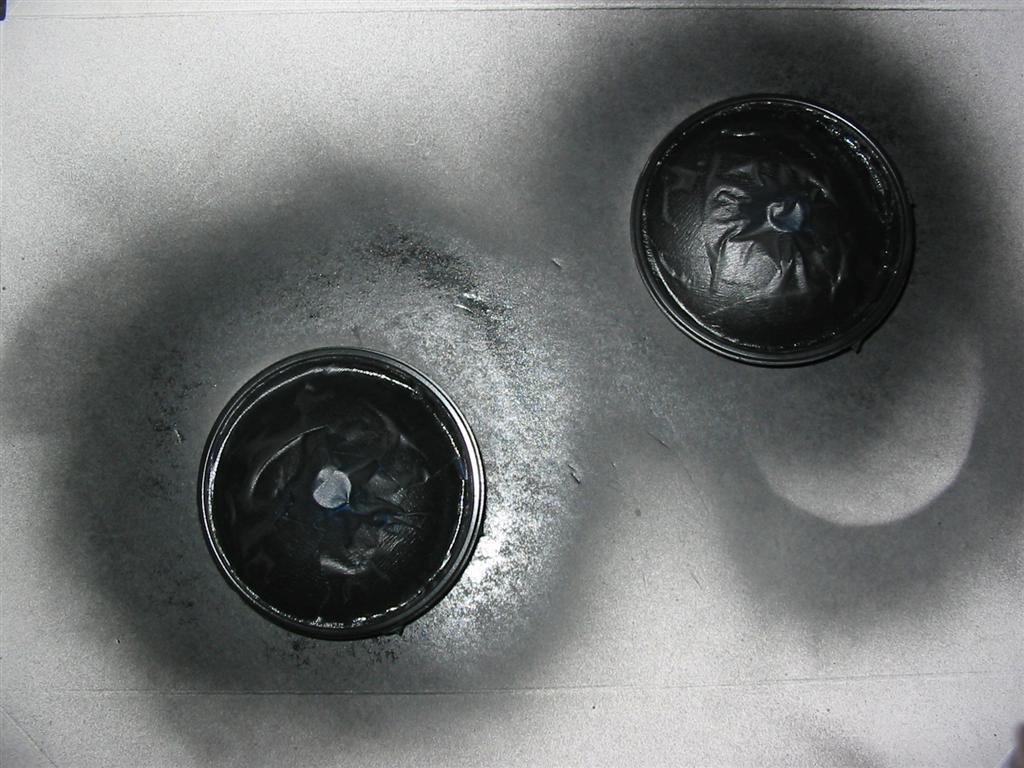
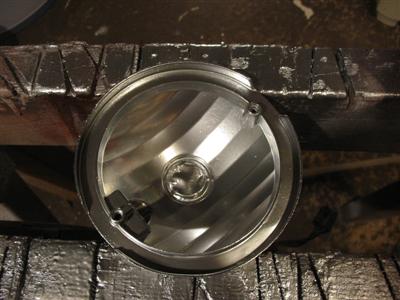
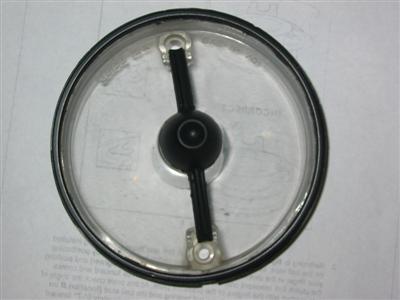
| Here is the inside of the parking light with a coat of chrome paint. |
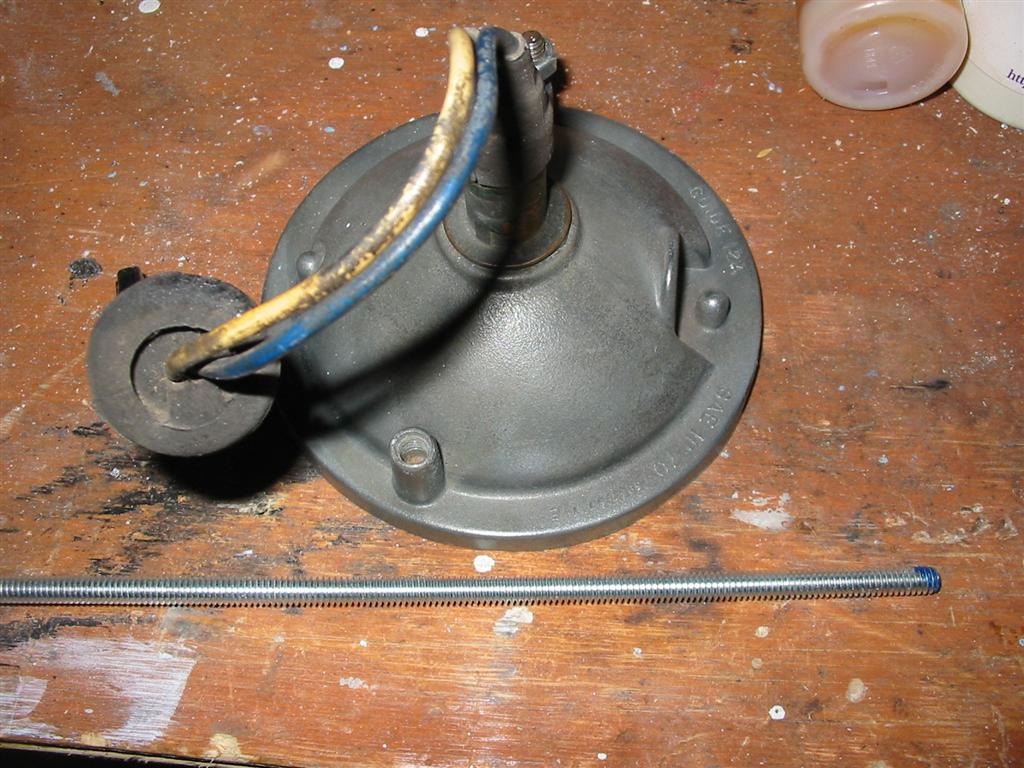
I also needed to install new studs into the rear of the light. I did this by buying a threaded rod
and cutting it down in length to match the other side. |
|
|
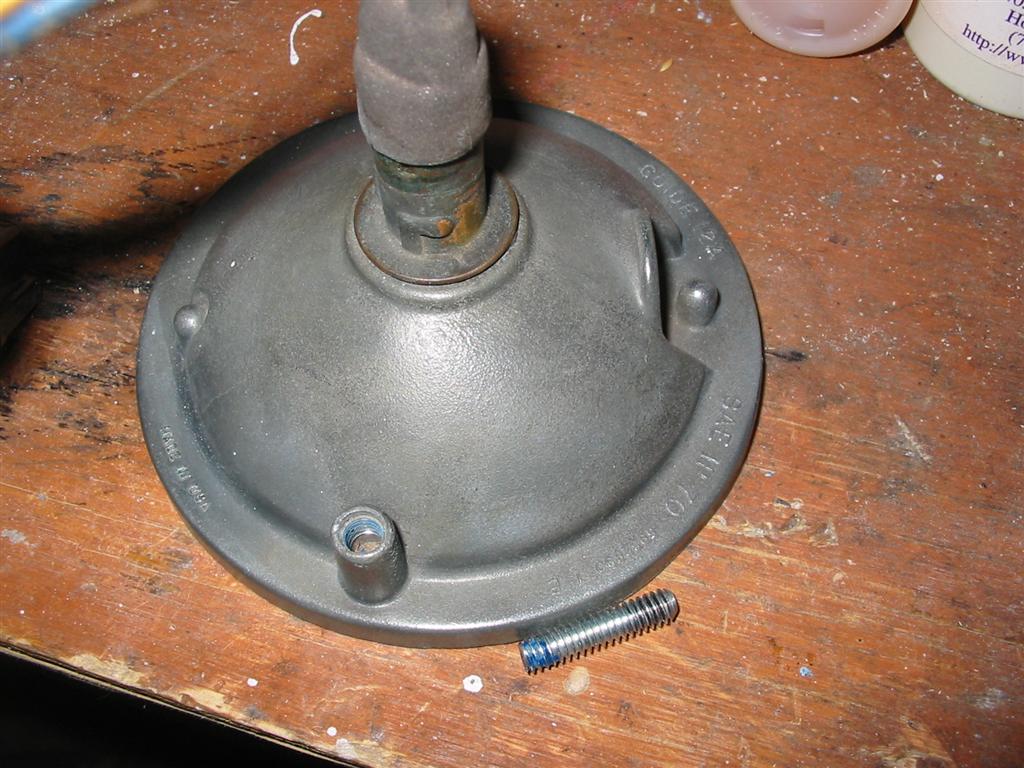
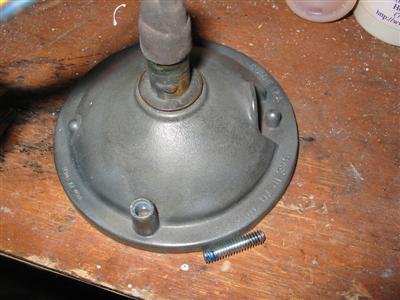
| More pictures of the parking light stud install. |
|

|
| I then masked off the all but the trim and painted the trim with trim black paint. |
|
|
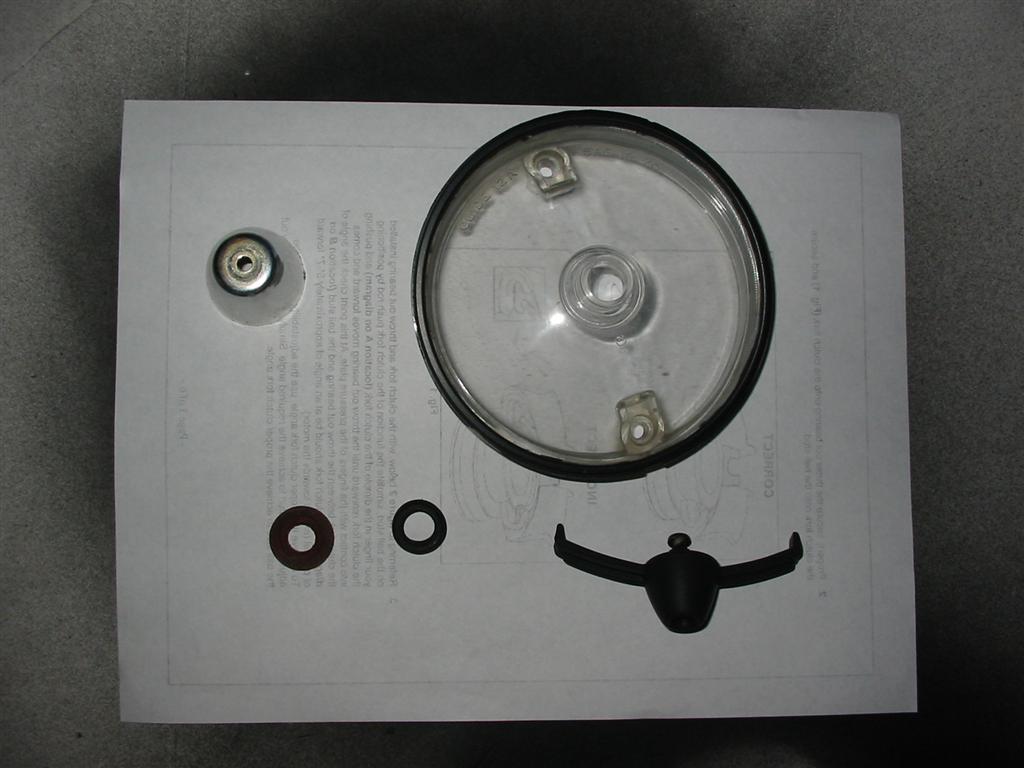
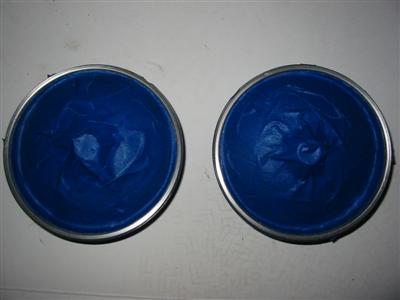
| I then polished the lenses and assembled the parking lights. |

|
|
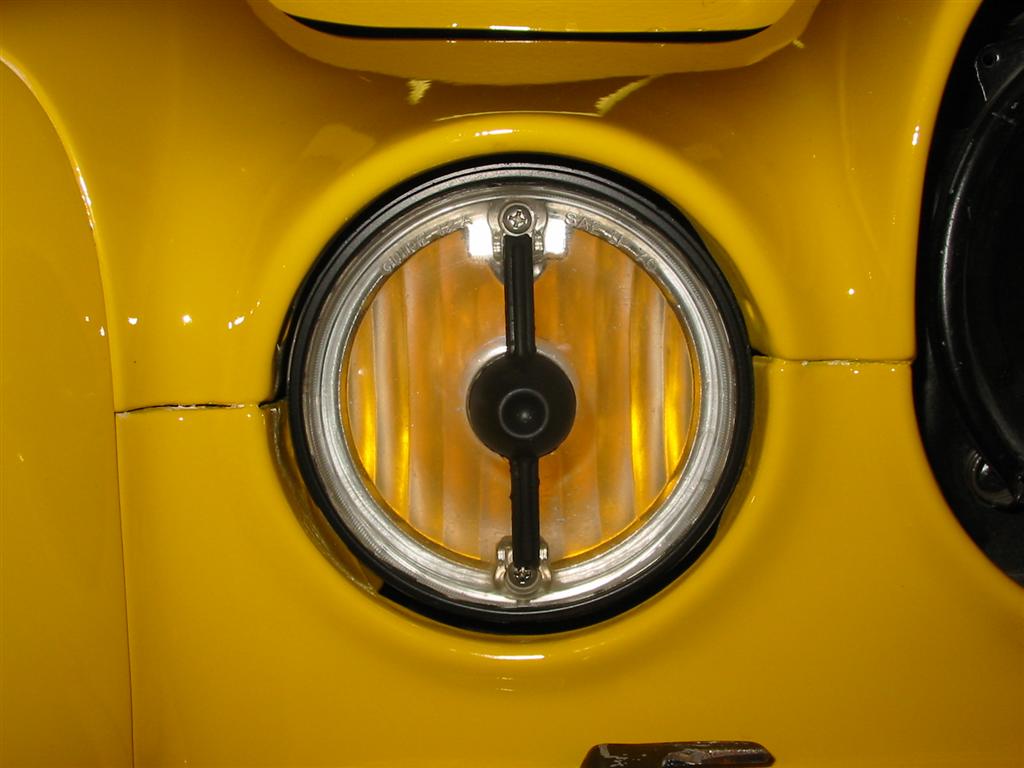
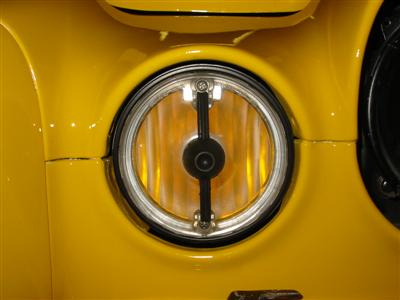
| Here is a parking light installed. |
|
|
|
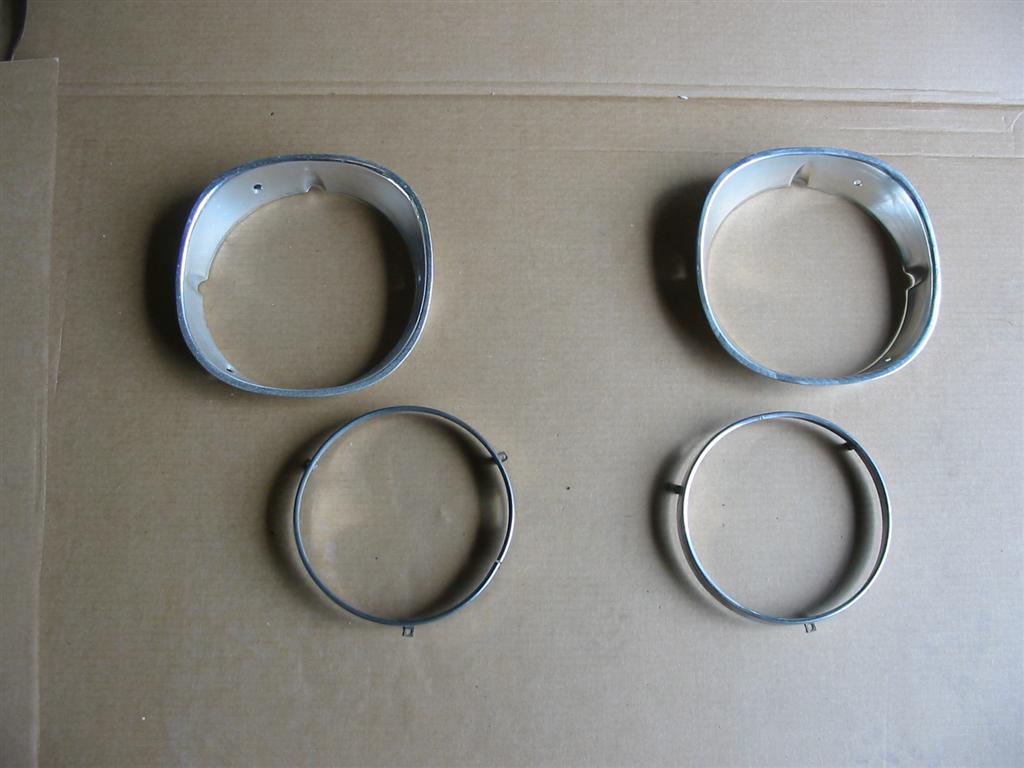
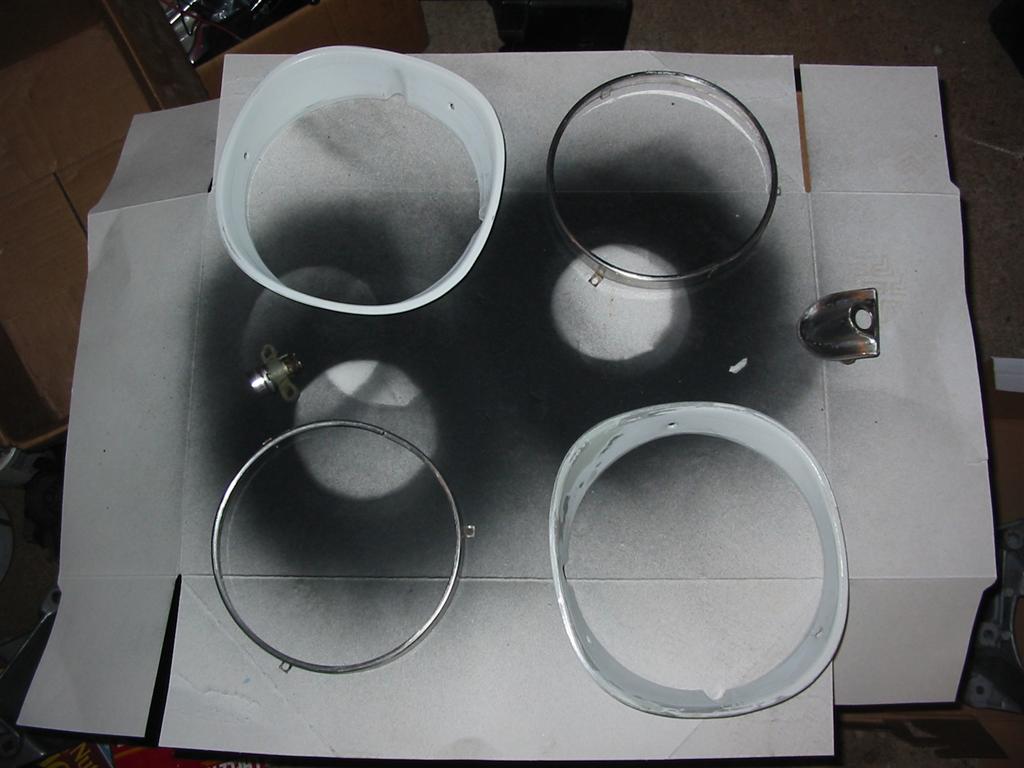
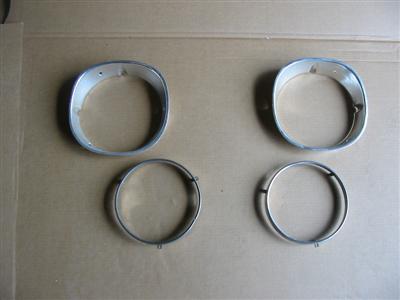
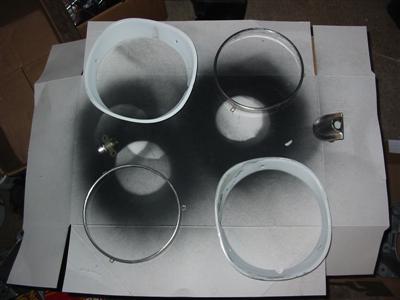
| Here are a before shot of the headlight retaining rings and trim rings and a picture of them in primer |
|
|
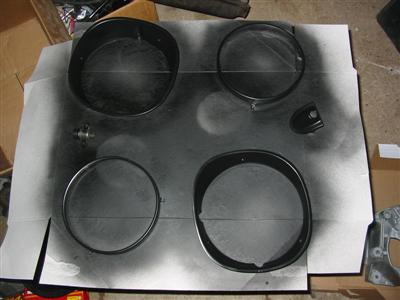
| Here are the headlight retaining rings and trim rings painted trim black |
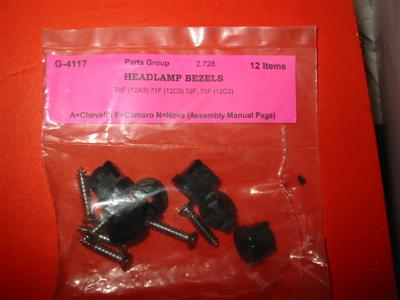
Here is the bag with headlight trim ring mounting screws |
|
|
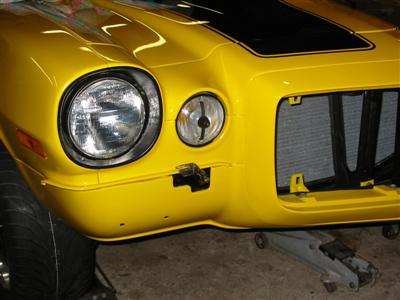
| Here is a headlight retaining ring installed |
Here is a headlight trim ring installed |

|

|
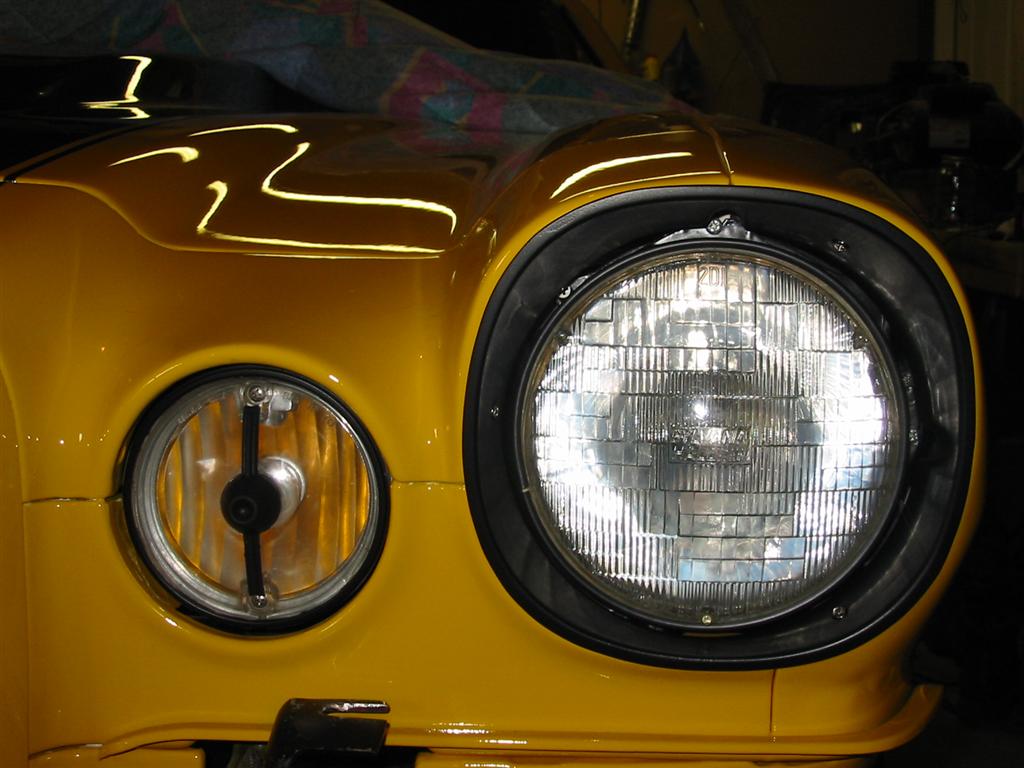
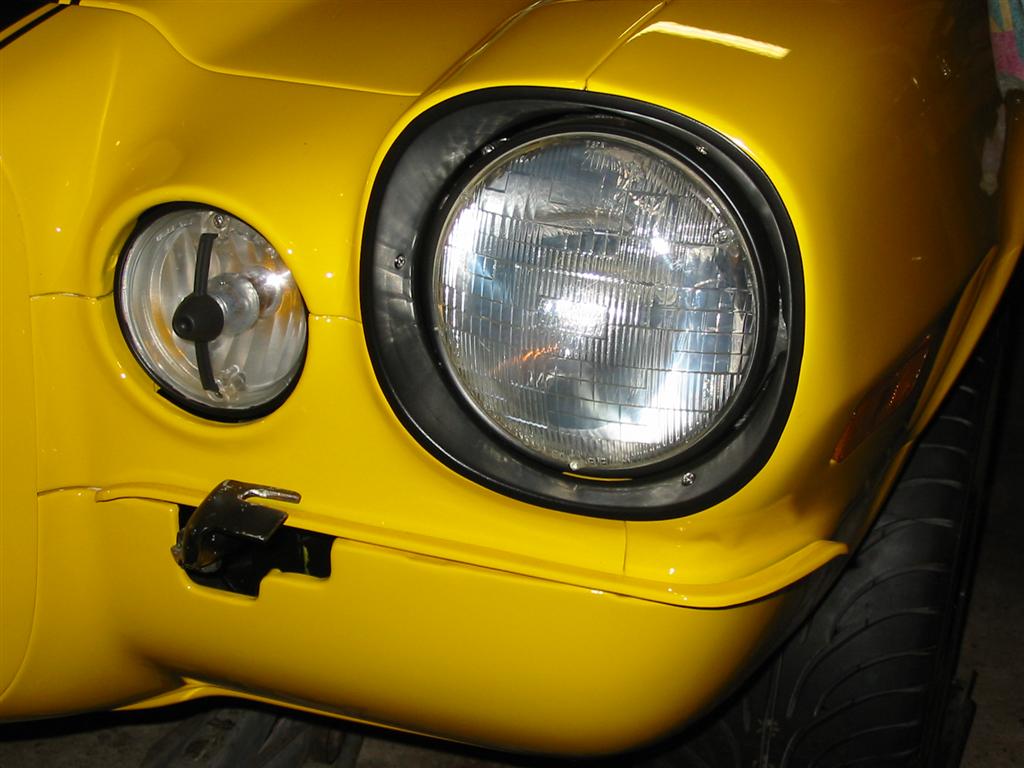
| Here are the headlights and parking lights installed. |

|
|
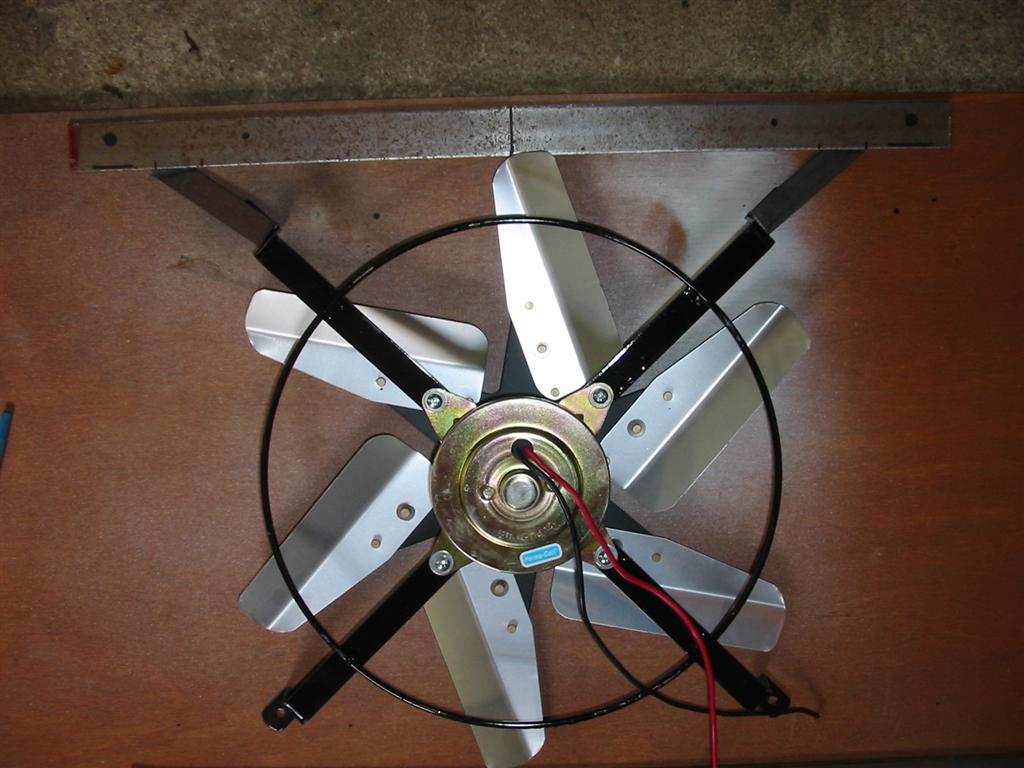
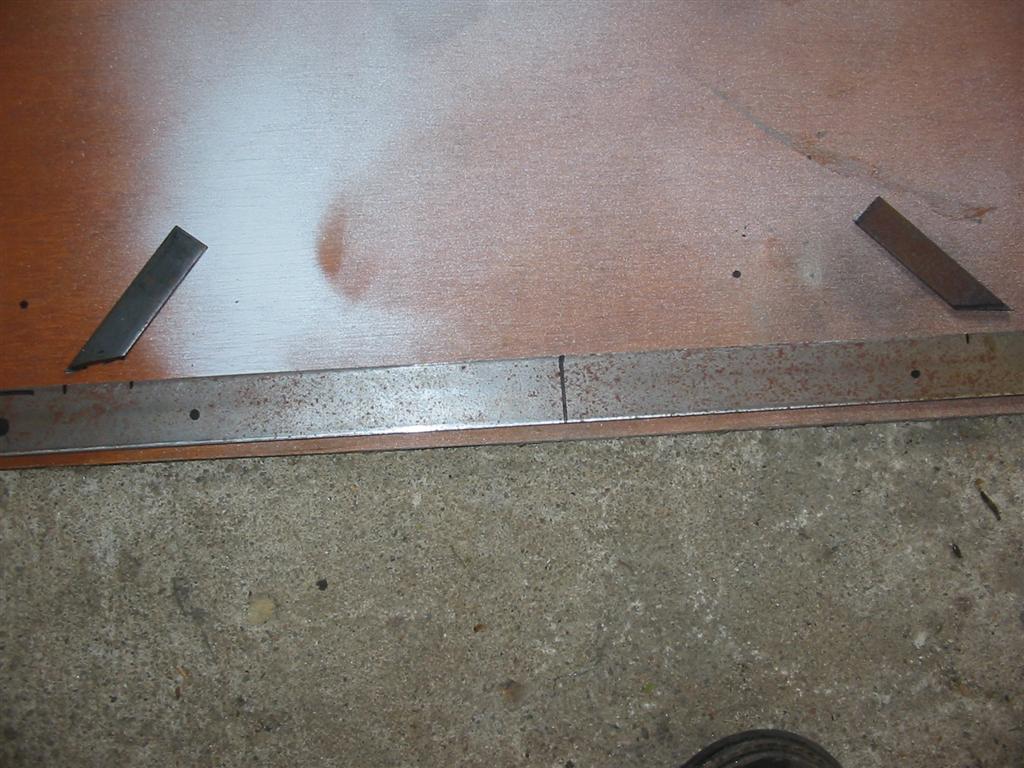
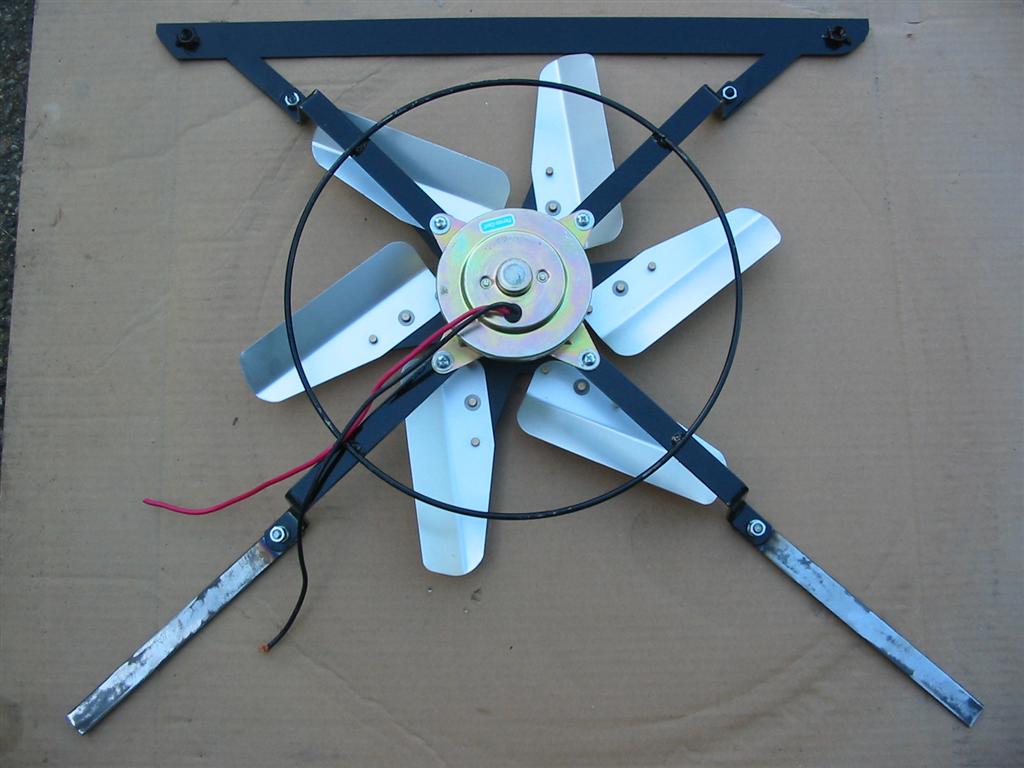
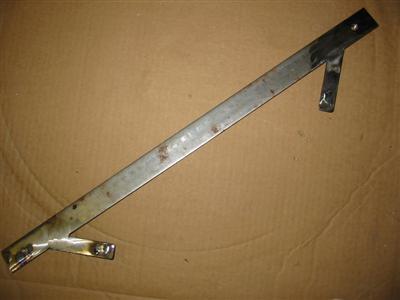
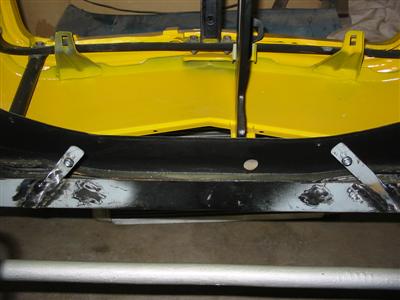
| Along the way I purchased a Perma-Cool 19115 16" High Performance Electric Fan. According to their
specs it will move 2950 CFM and draw 9.8 amps. I needed to make some brackets to mount it to the
radiator support. First up is the top bracket. |

|

|
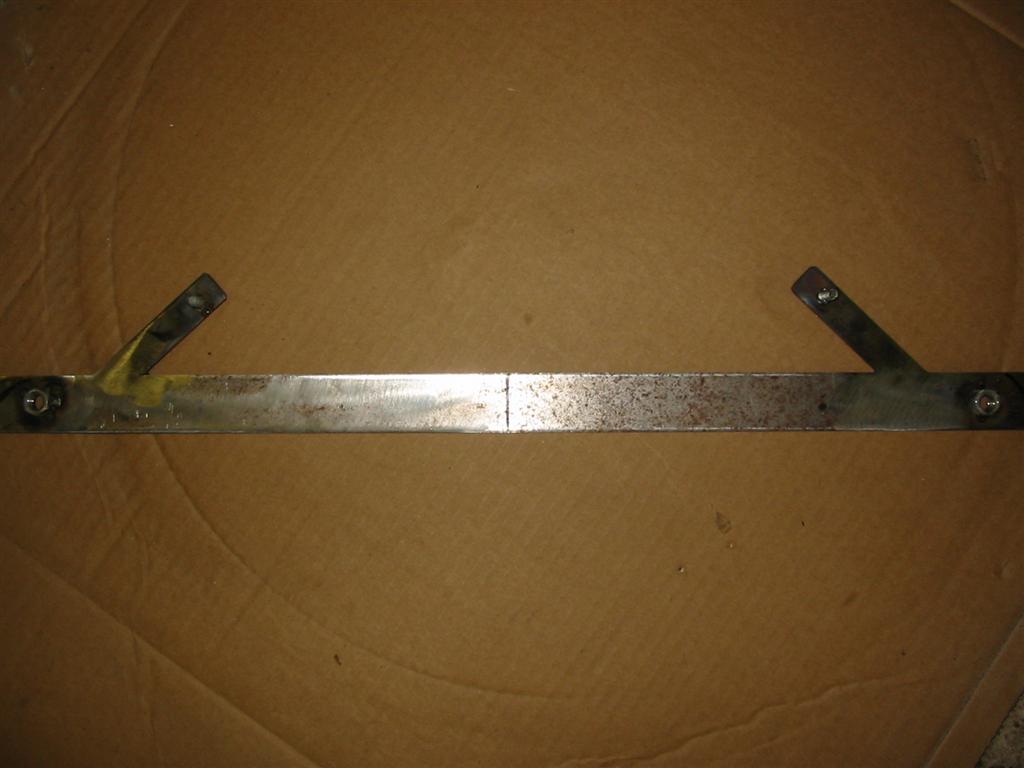
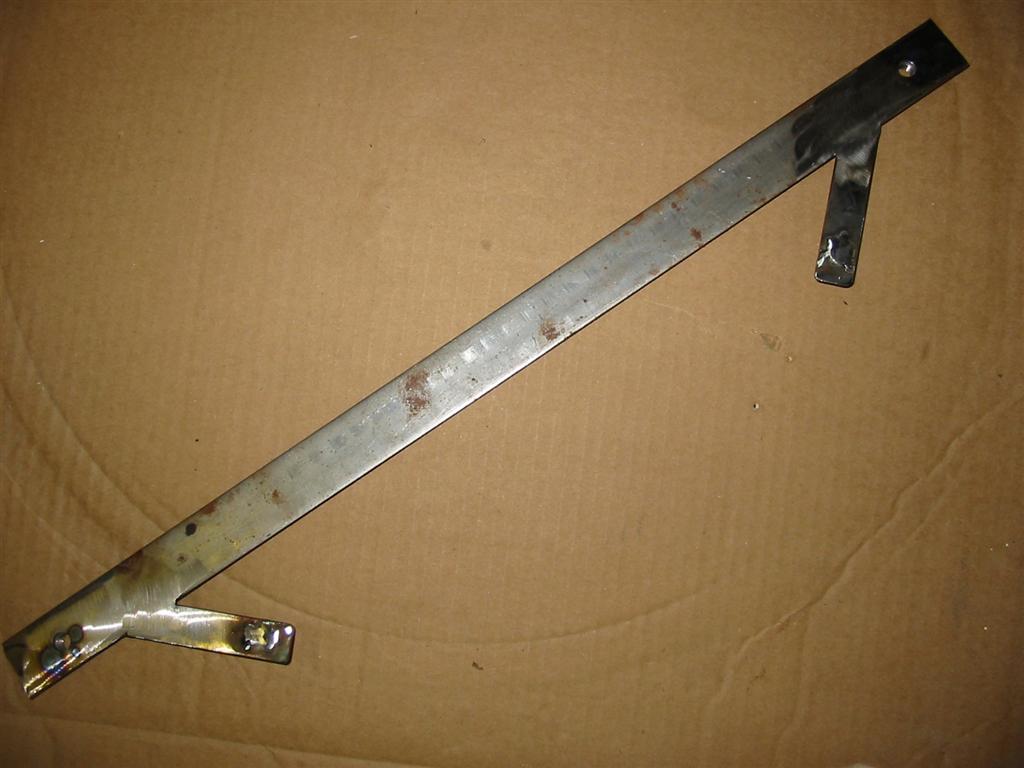
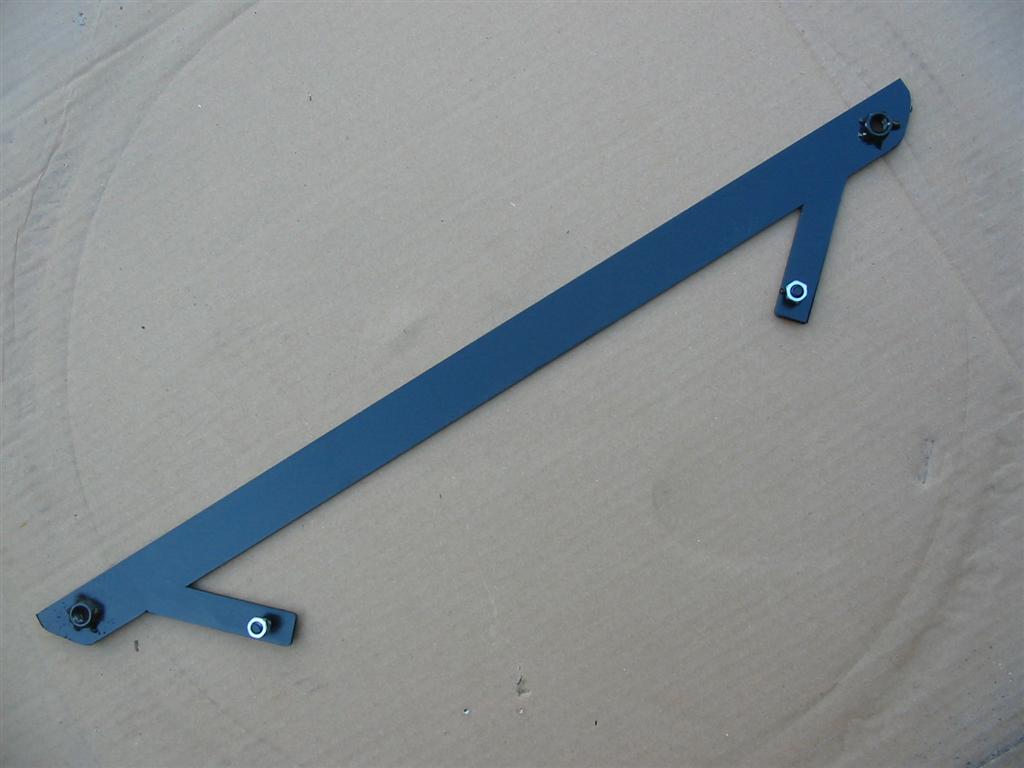
| I welded up the supports, studs and nuts and ground the welds smooth and painted everything. |

|
|

|
|
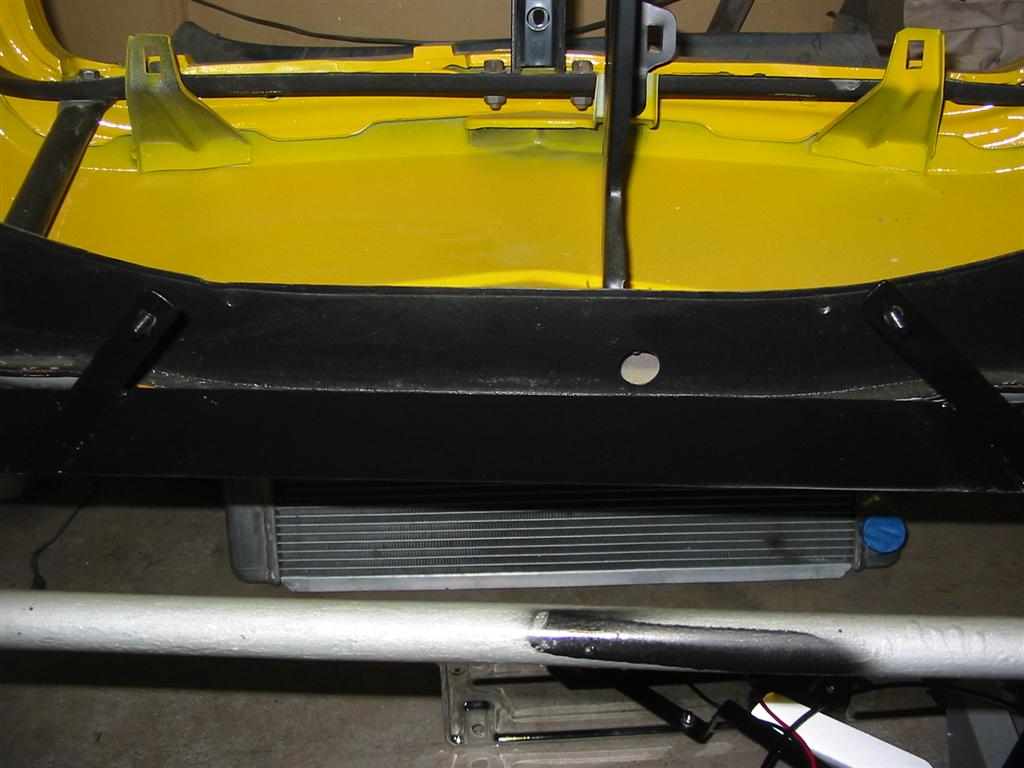
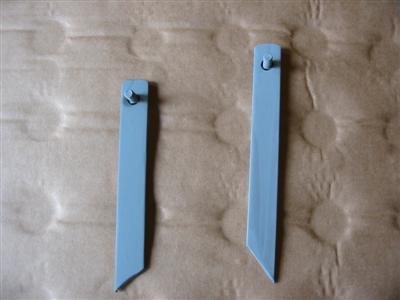
| Next up was the bottom half of the fan bracket. These will be welded to the bottom of
radiator support. |
|
|
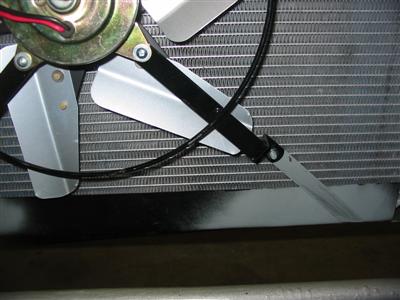
| I bolted the fan in place using the top bracket and started welding in the bottom. |

|
|
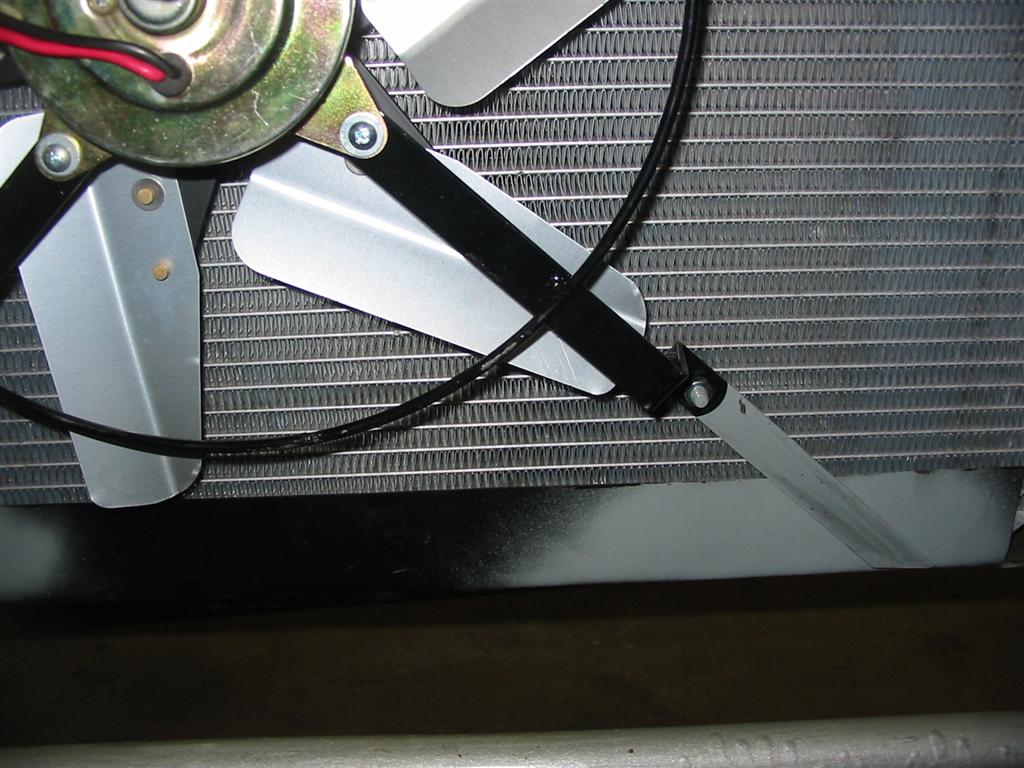
| Here is the bottom bracket welded in place then painted. |
|

|
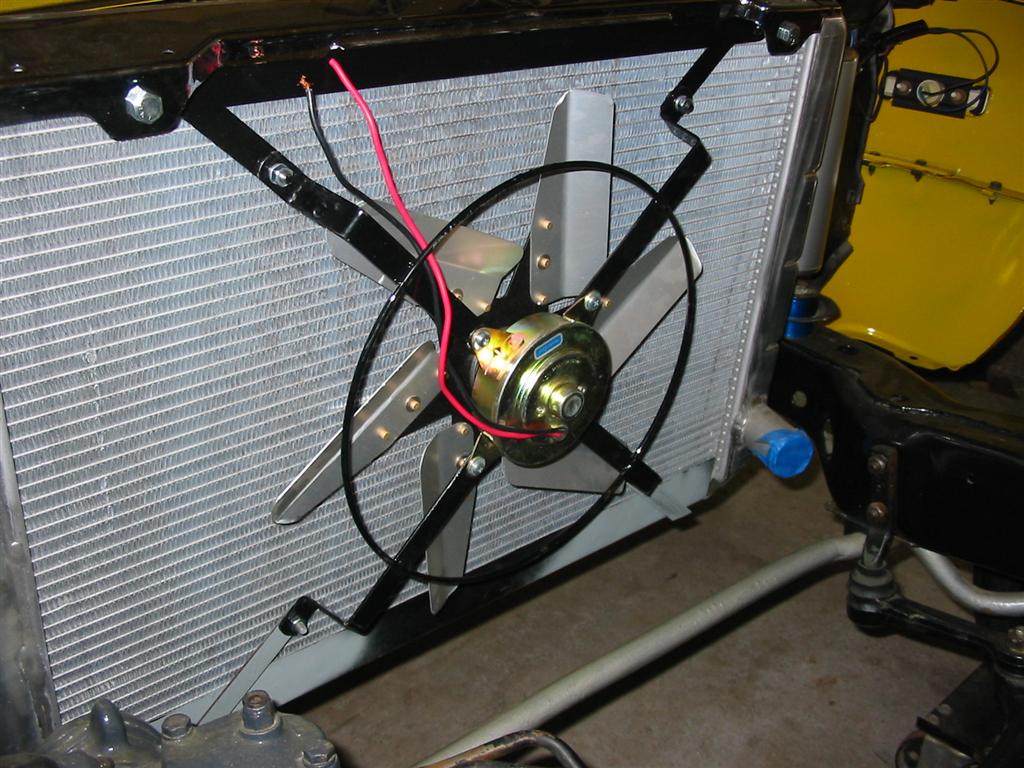
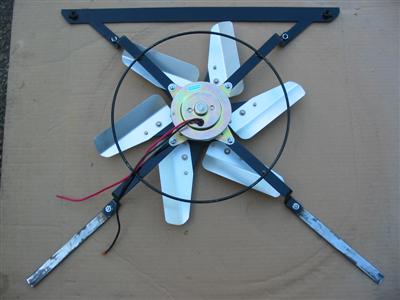
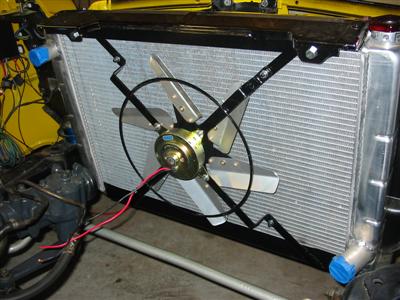
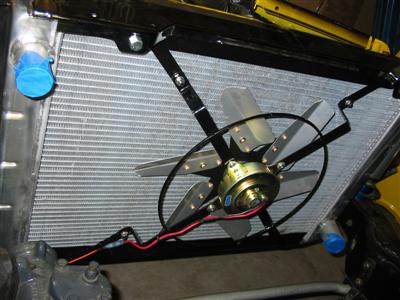
| Here is the cooling fan installed. |
|
|
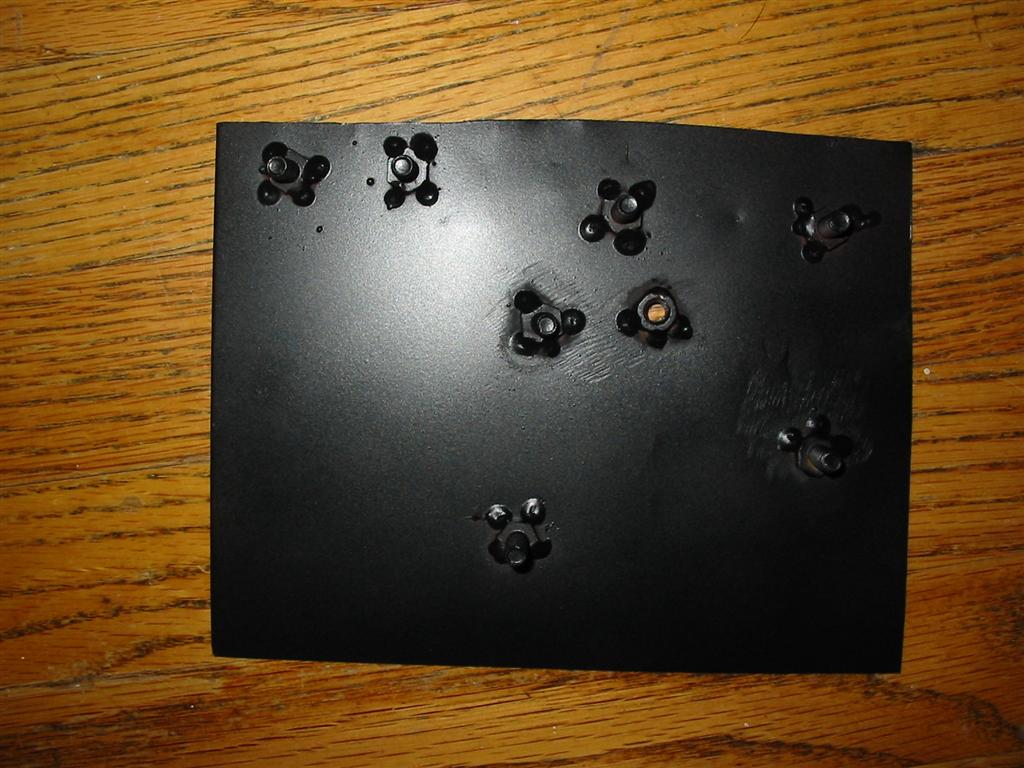
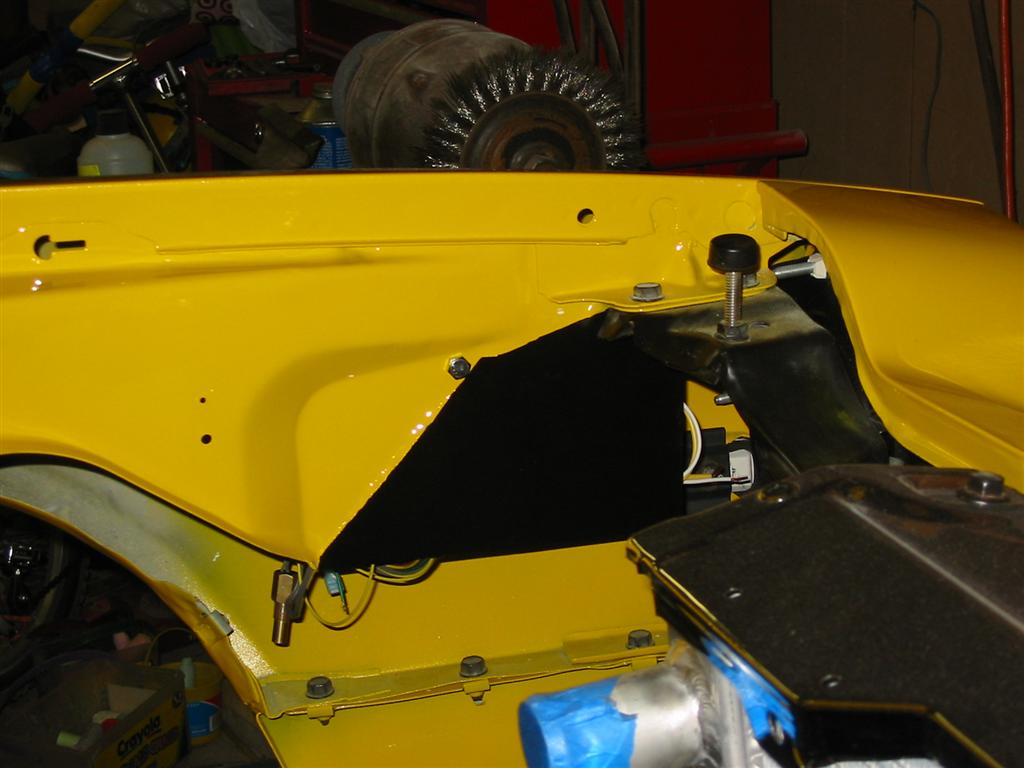
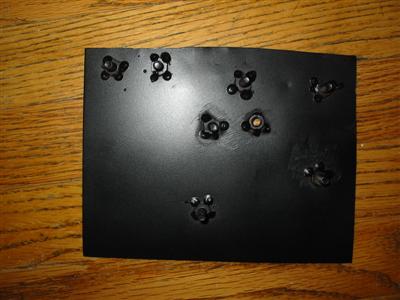
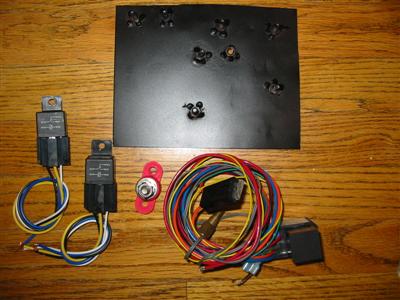
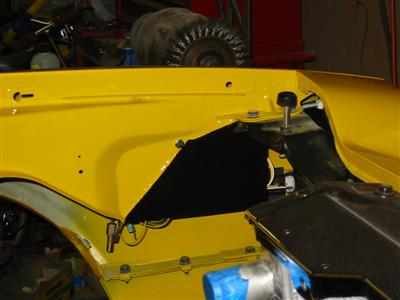
| The next step was to install the wiring. I decided to modernize the headlights by using
relays to activate them. I also am using an adjustable relay for controlling the cooling
fan. To mount these items, I made a plate to mount to the front fender. The relays will
mount to the plate and be hidden inside the fender. |
|
|

|

|
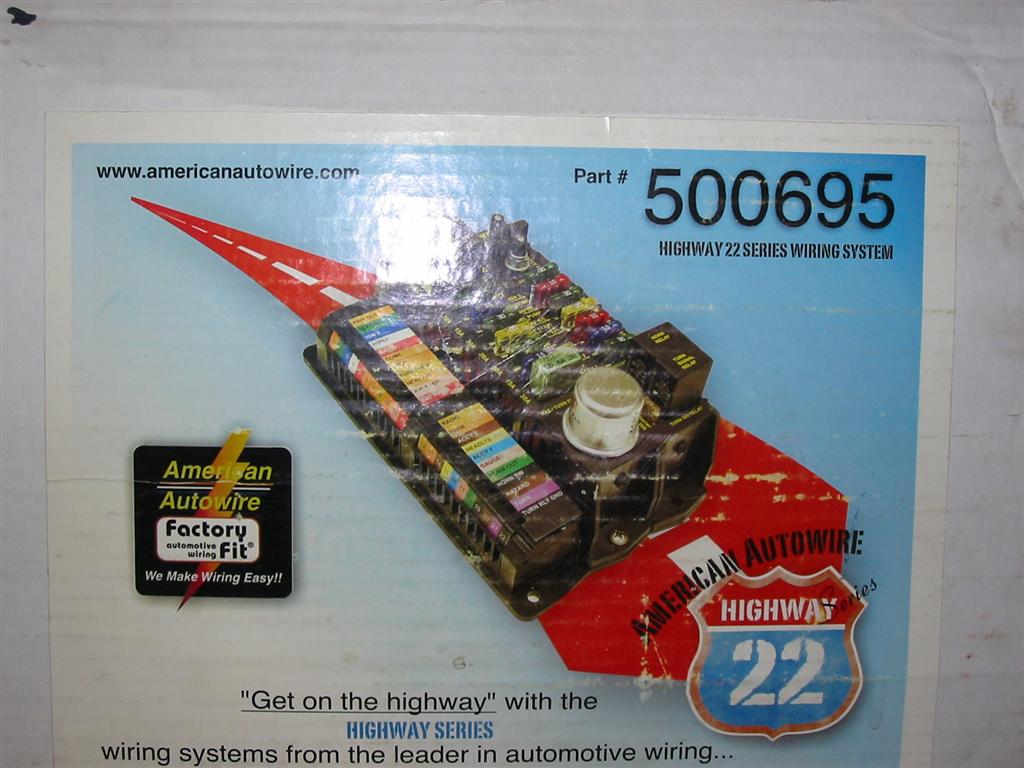
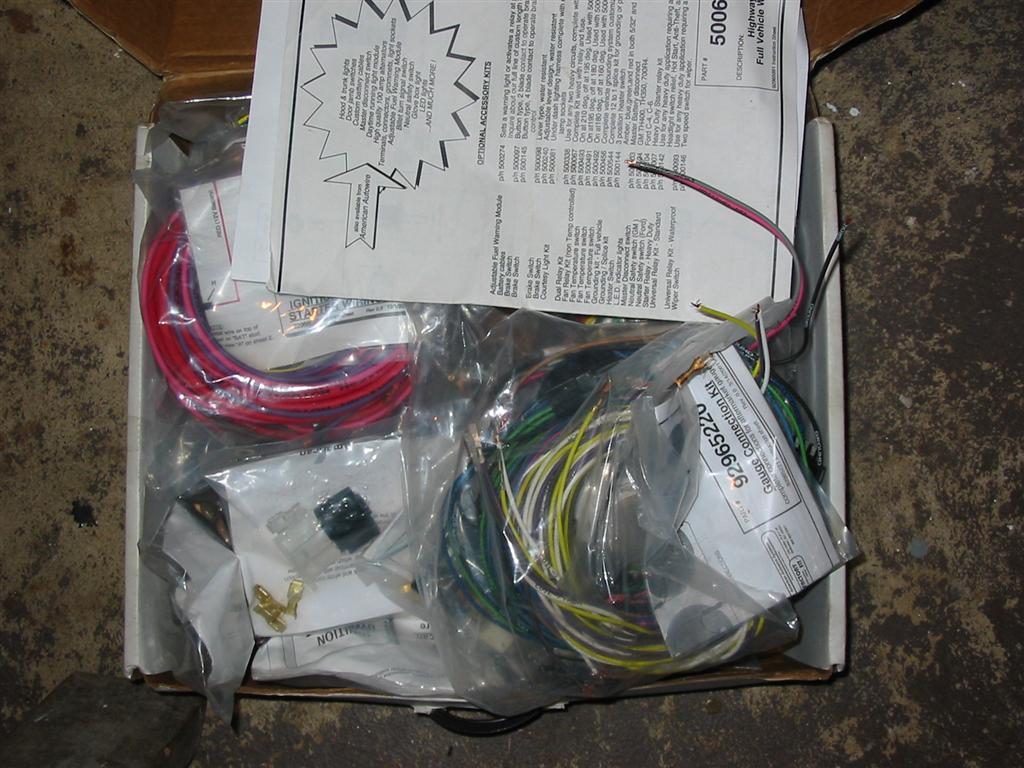
| Here is the box that my American Autowire Highway 22 harness came in. The harness is easy
to install because all the wires are marked with what they are for and follow standard
GM color standards. |

|

|
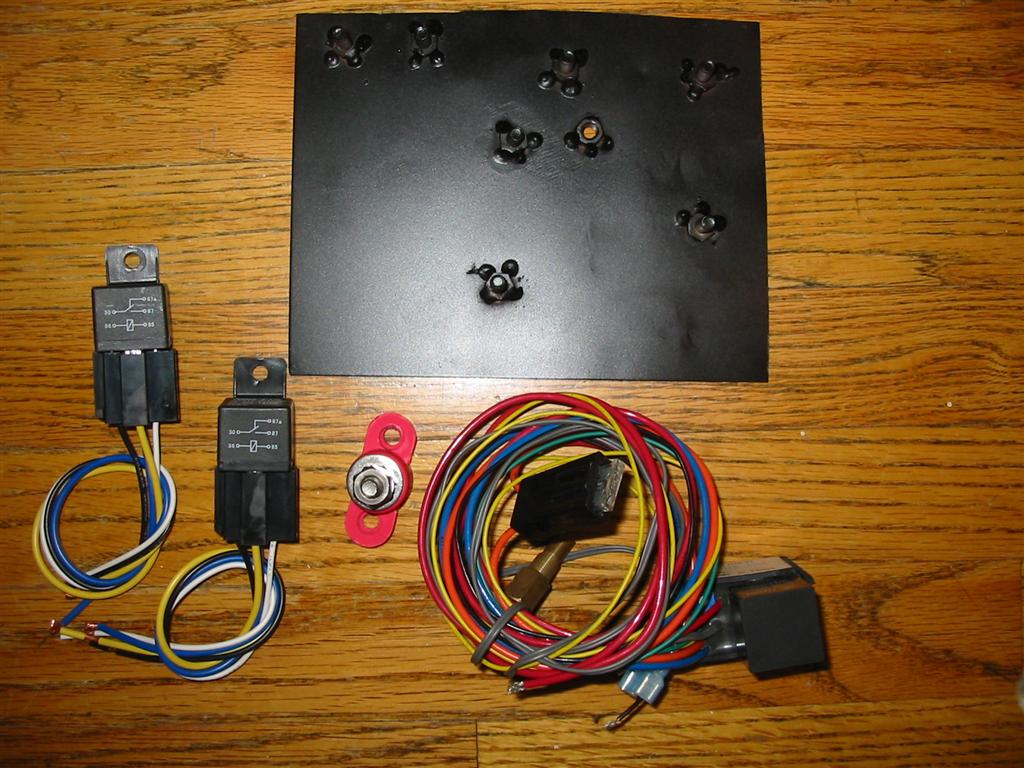
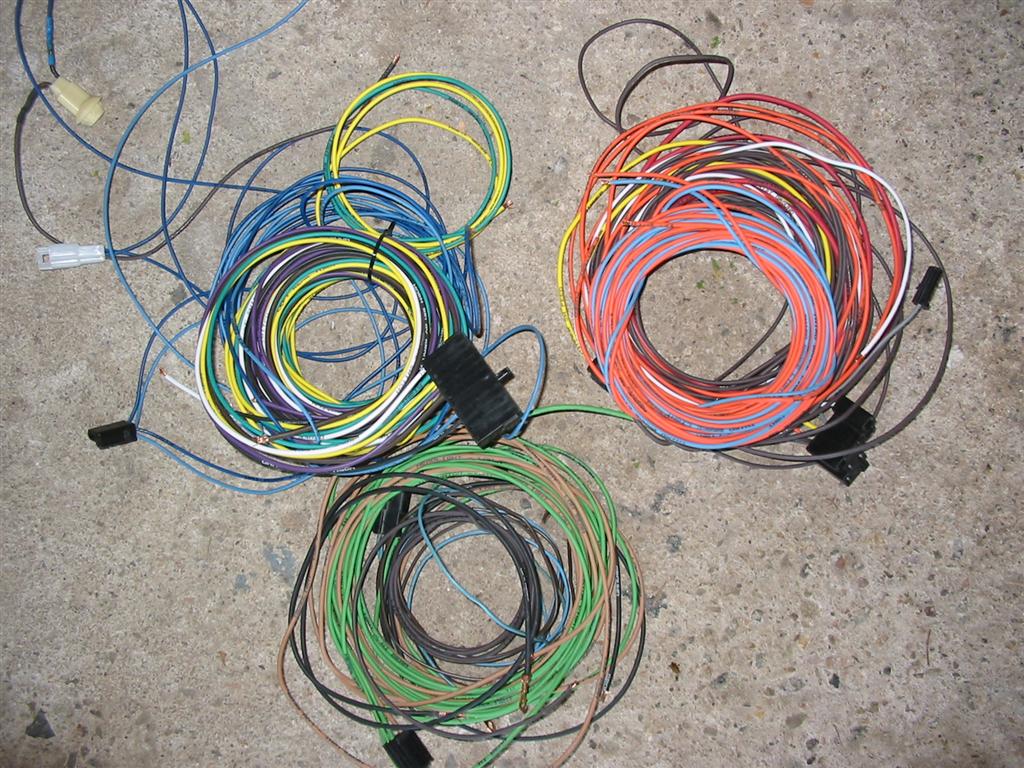
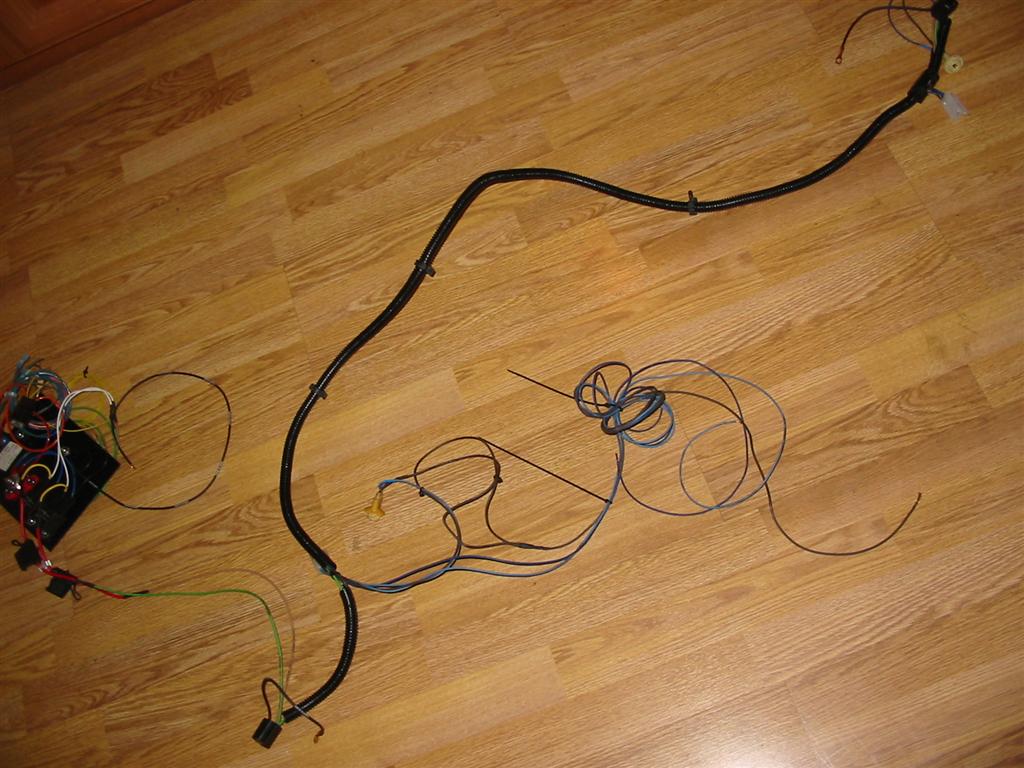
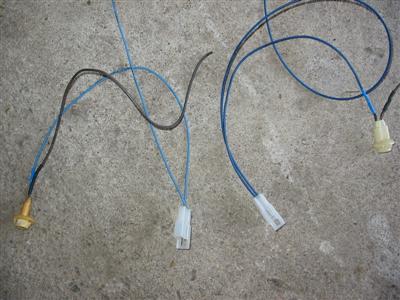
| Here are the parts of the wiring harness that contain the wires for the following components:
headlight low beams, headlight high beams, parking lights, right front turn signal,
left front turn signal, and electric fan.
|

|

|
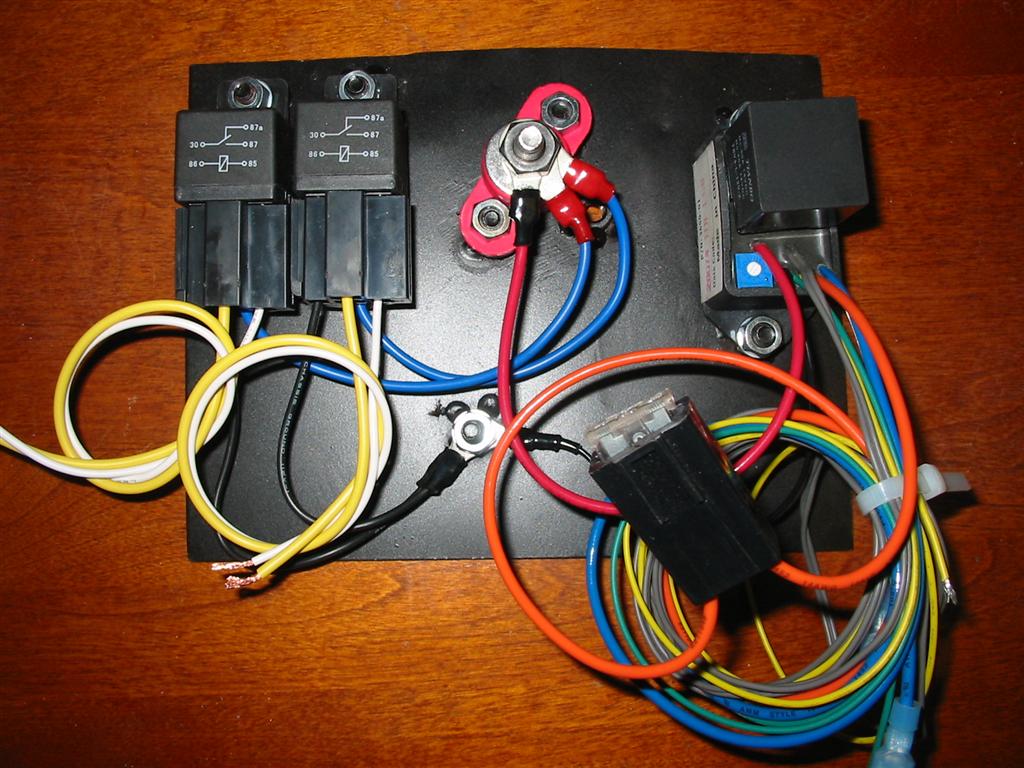
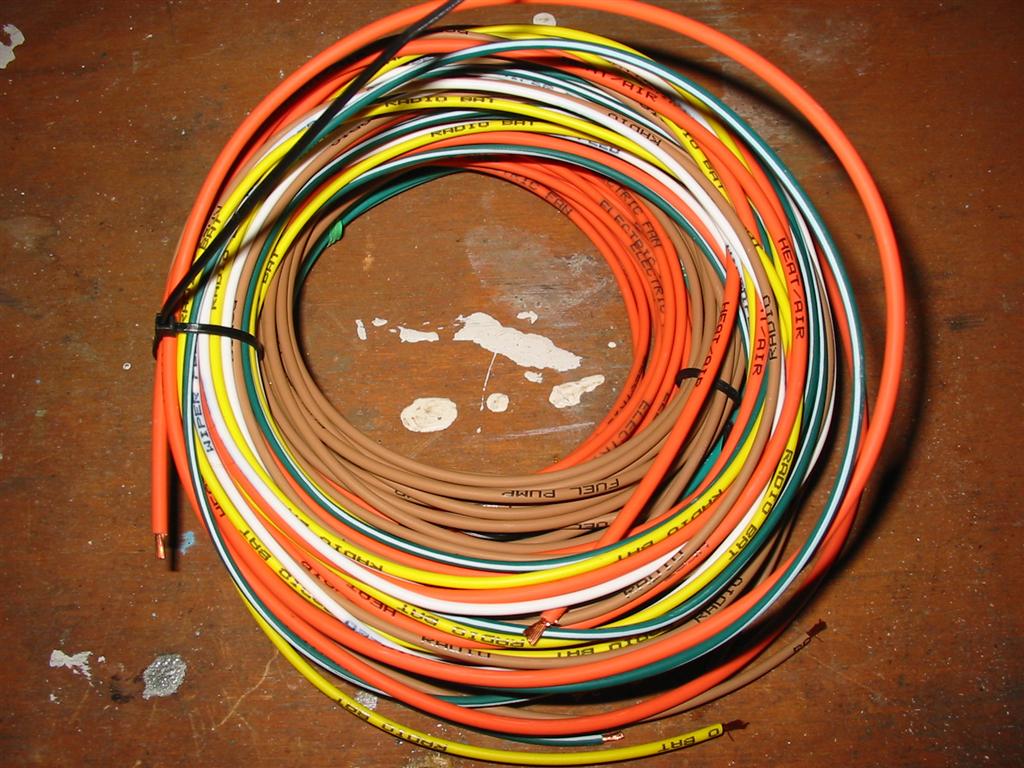
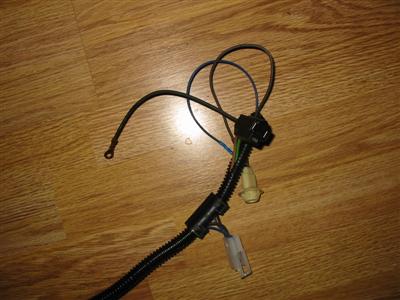
| Here is the wiring harness put together for all the front lights. |
|

|
|
|
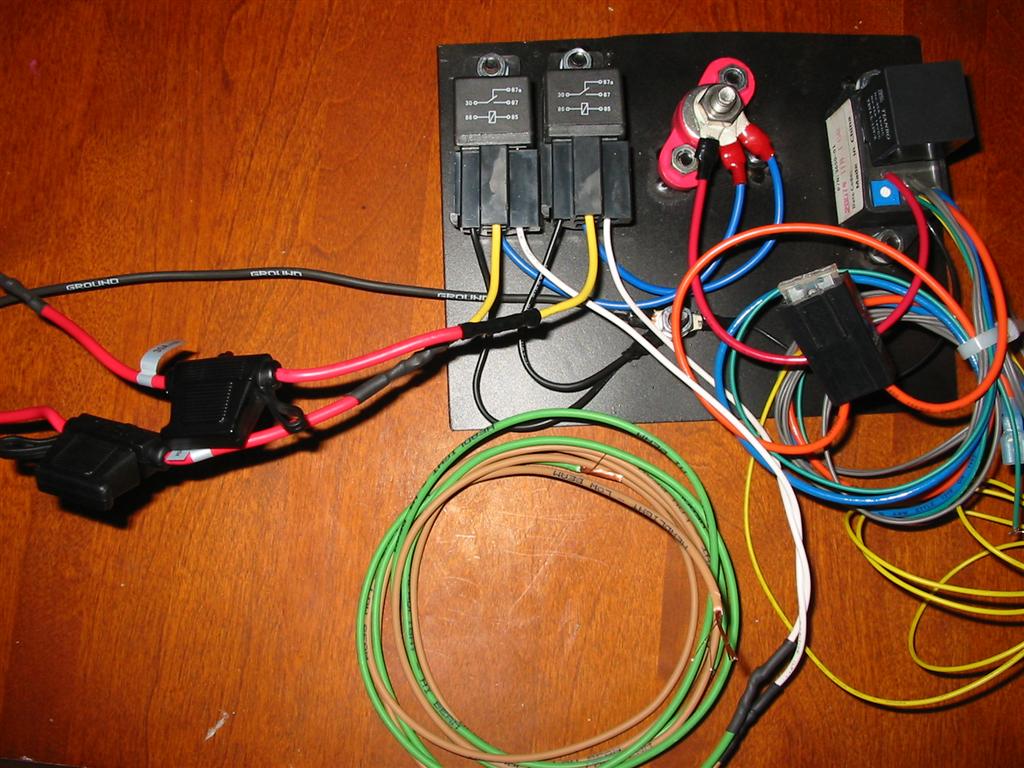
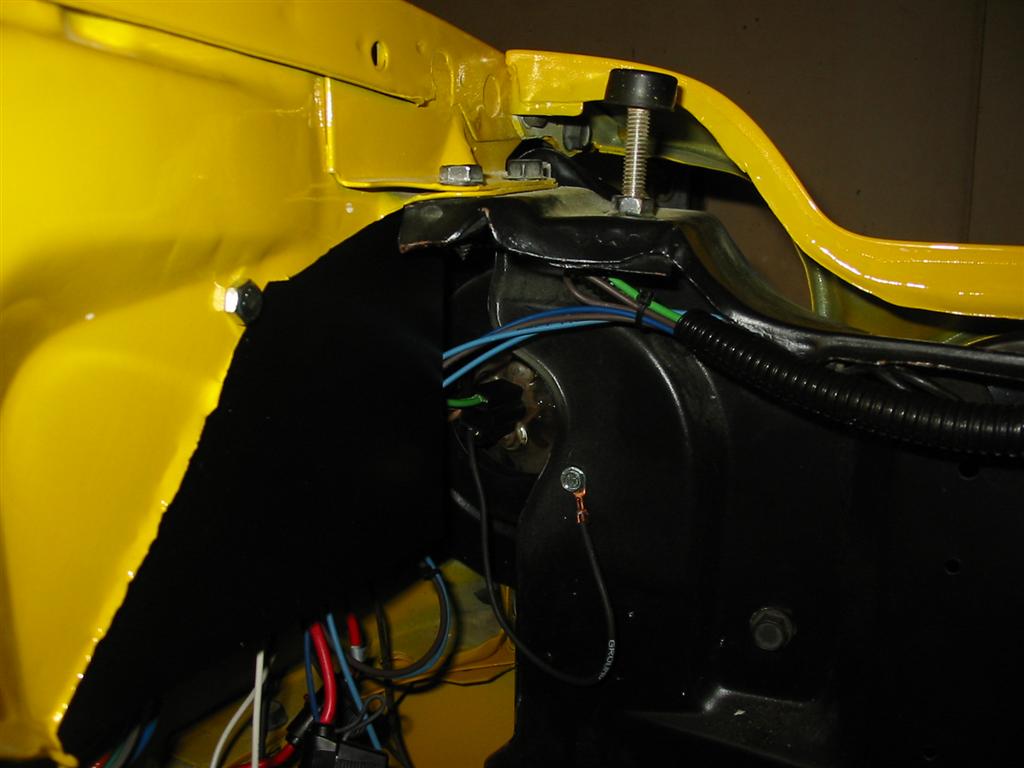
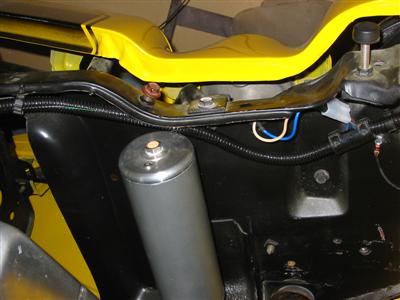
| Here the lighting harness and relay panel installed. |
|

|
|

|