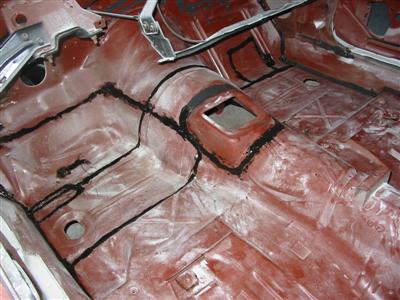
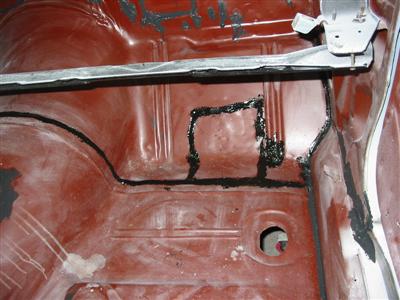
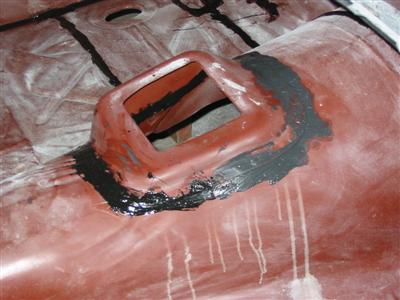
| Here are pictures of the interior with the seams and welds sealed. The welds were only
visible within the car. Underneath, the welds were ground smooth and you can not tell where the patches
are. |
|

|
|
|
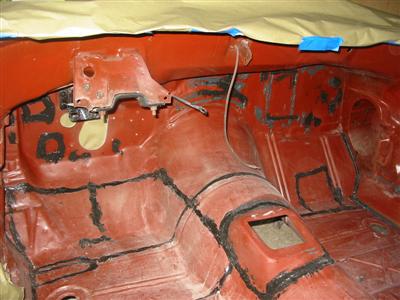
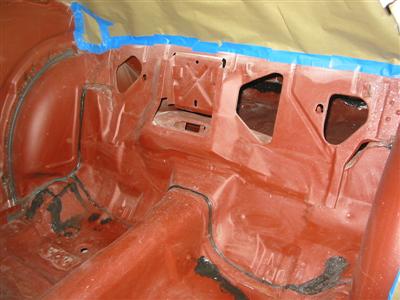
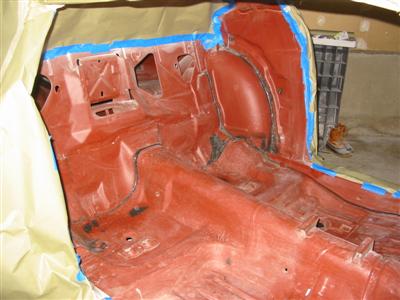
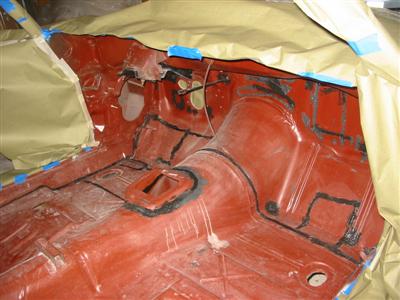
| Here is the interior prepped for the LizardSkin. I cleaned all the surfaces with a
wax and grease remover and vacuumed off all the dust. |
|
|

|
|
|
|
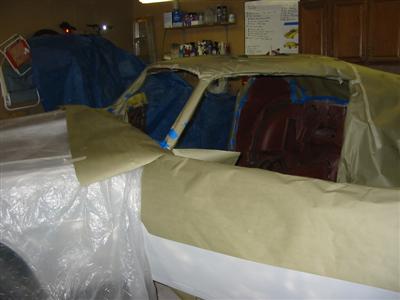
| Before I sprayed the interior, I masked off the outside of the car to minimize overspray. |
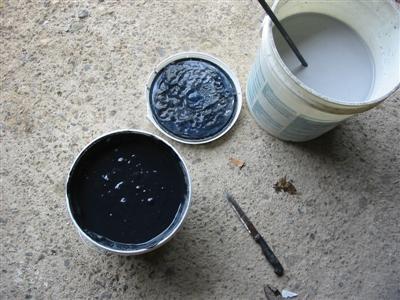
Here is the 2 gallon container of LizardSkin after I mixed it with a stir paddle attached
to my 1/2 inch drill. The LizardSkin has a pudding like texture, but is very light. The 2
gallon container including the container weighs less than 12 pounds. |
|
|
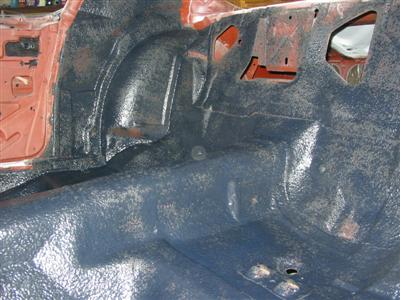
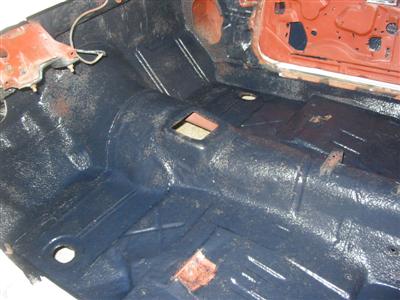
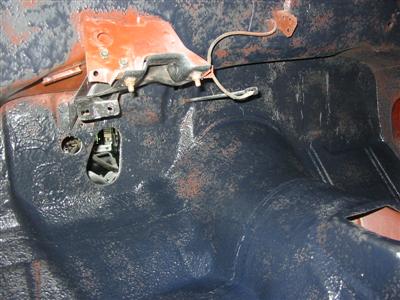
| Here are a few shots of LizardSkin applied still wet. It sprayed much like a typical
undercoating product. |

|
|
|
|
|
|
|
|
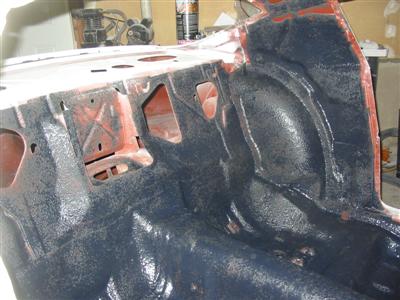
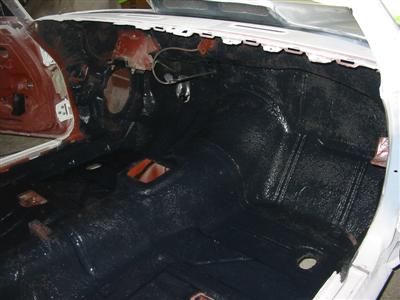
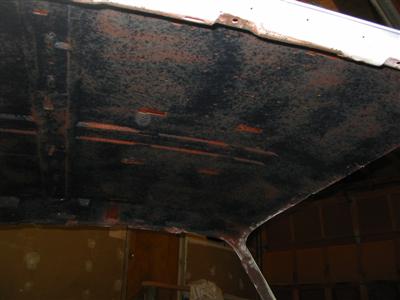
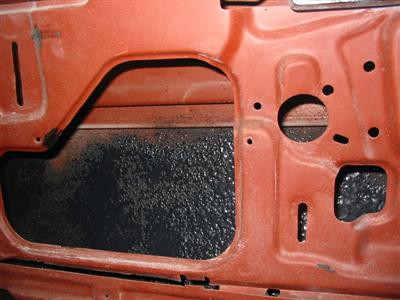
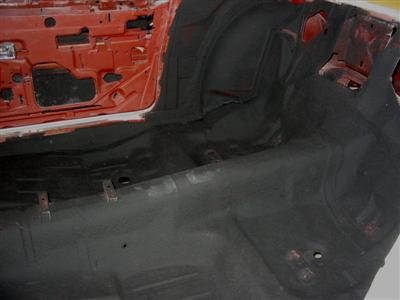
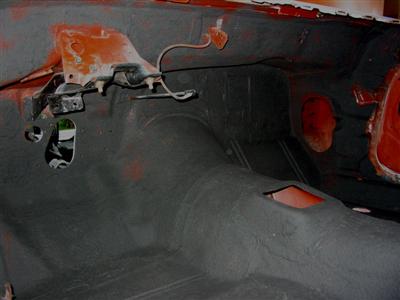
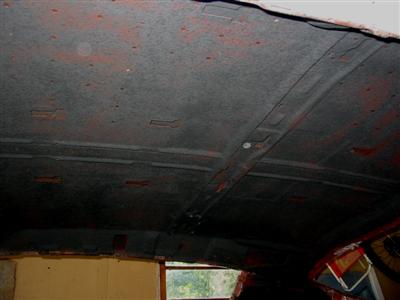
| Here are a few shots of LizardSkin next day after it dried. With the camera flash, I am
able to see a few places where I will need to go and touch it up. I used about 80% of what was in the
container to coat the inside of the car. Once dry, It really has a chalky
lizard skin like feel to it. I am not sure that I like the product for doing exterior panels because
I think it would be hard to keep clean. It does appear that it will be a great product for the
inside of the car. Hopefully, this application will keep my car cooler and quieter. |
|
|
|

|