|

Paint Part 1(September 24, 2008)
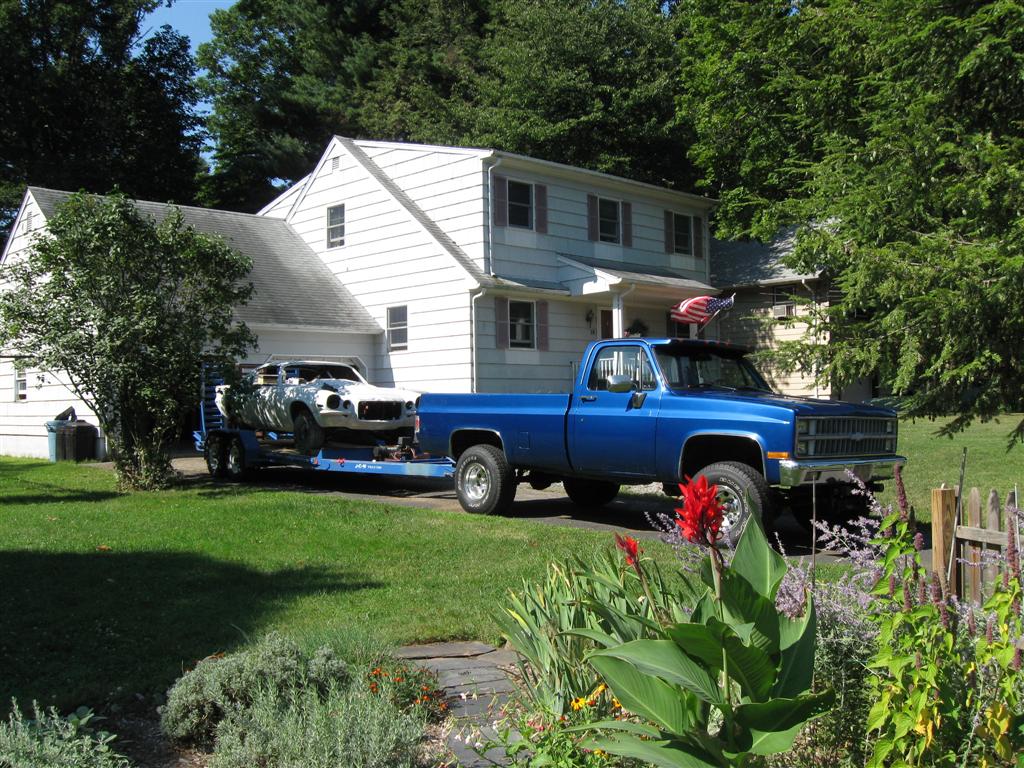
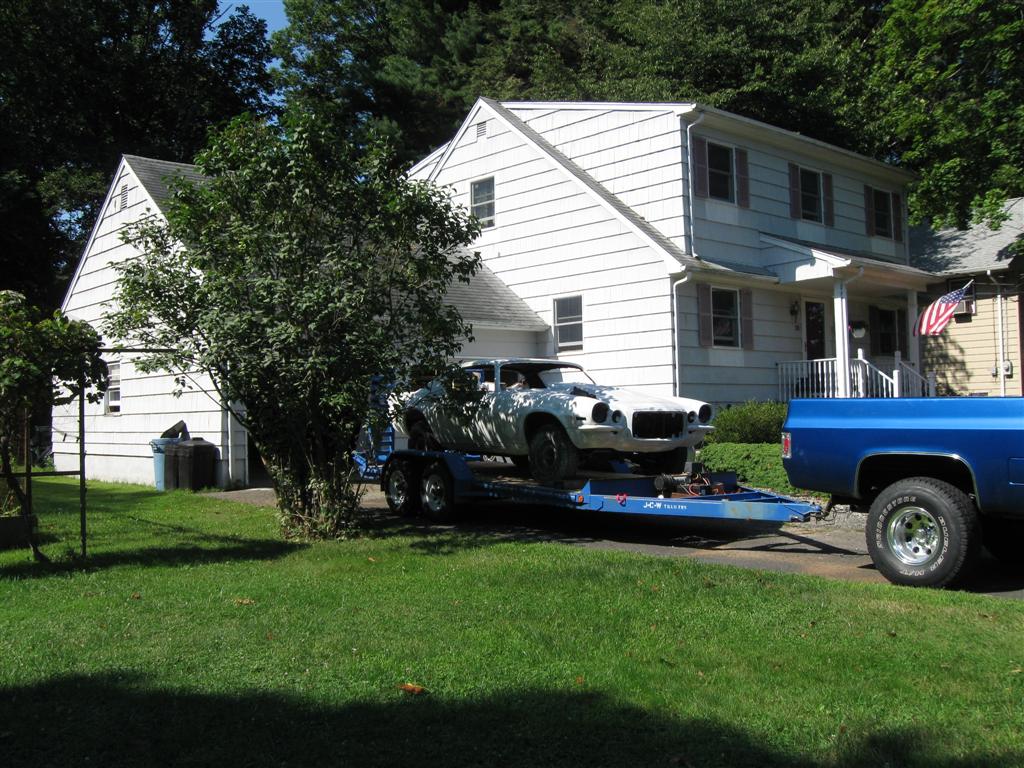
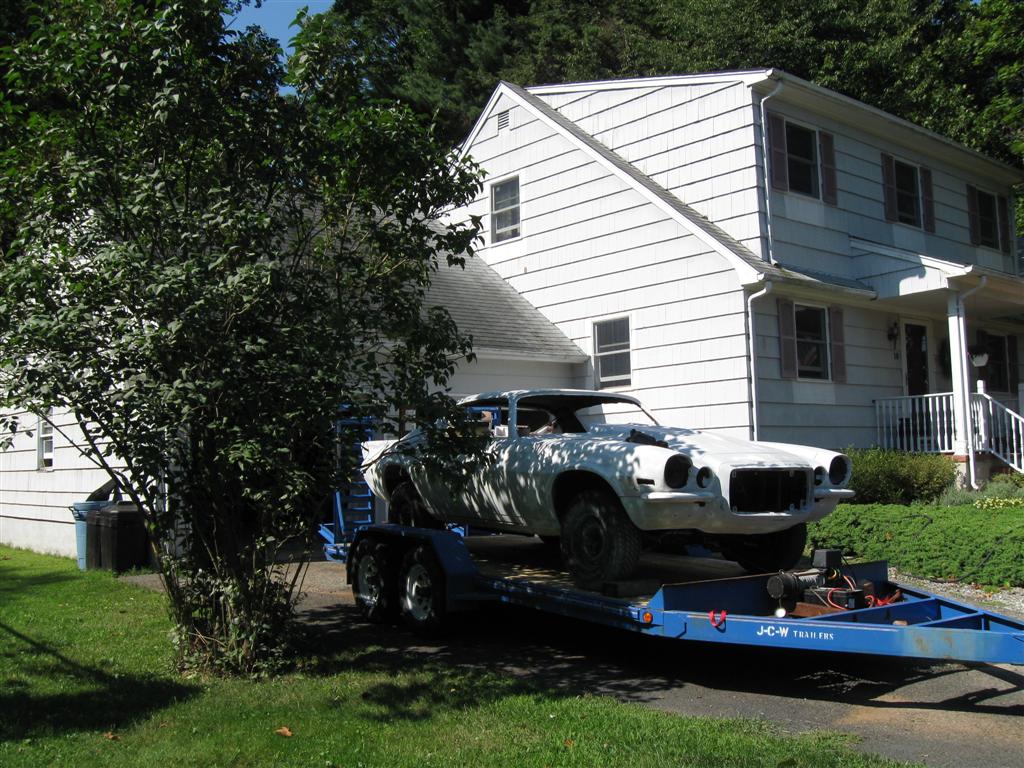
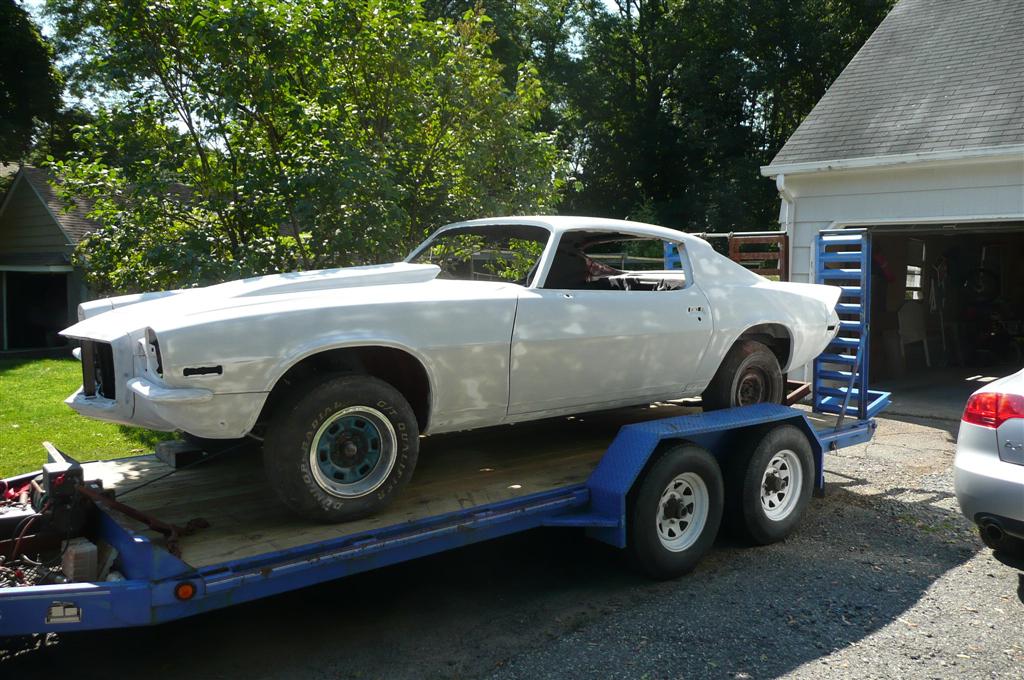
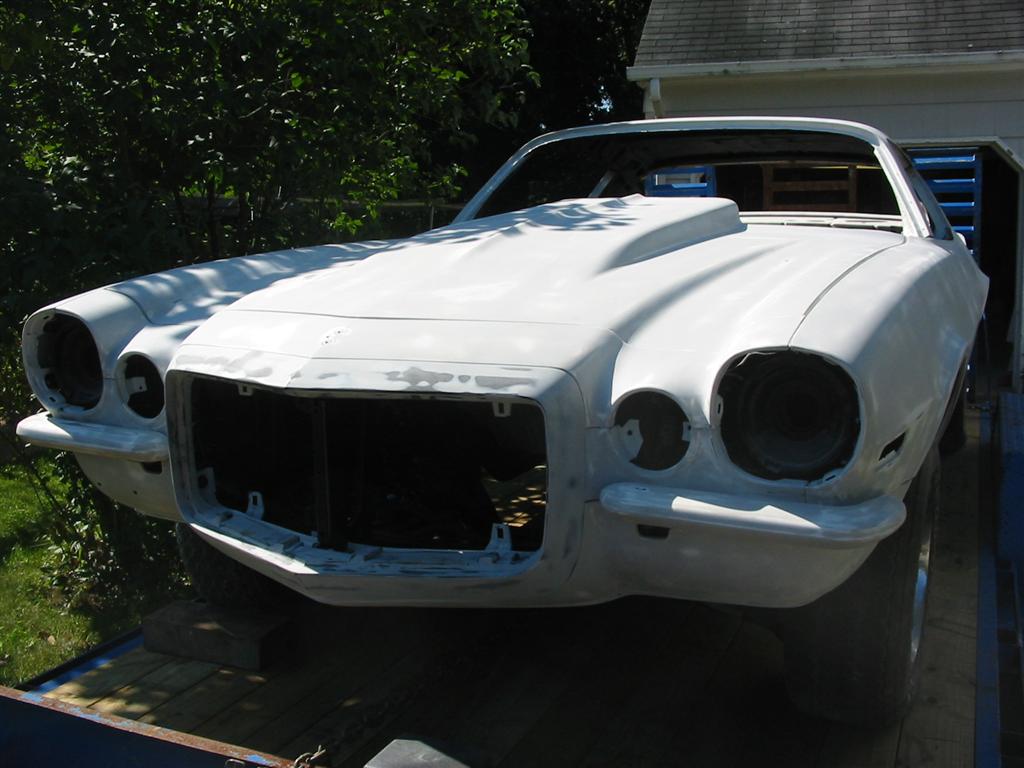
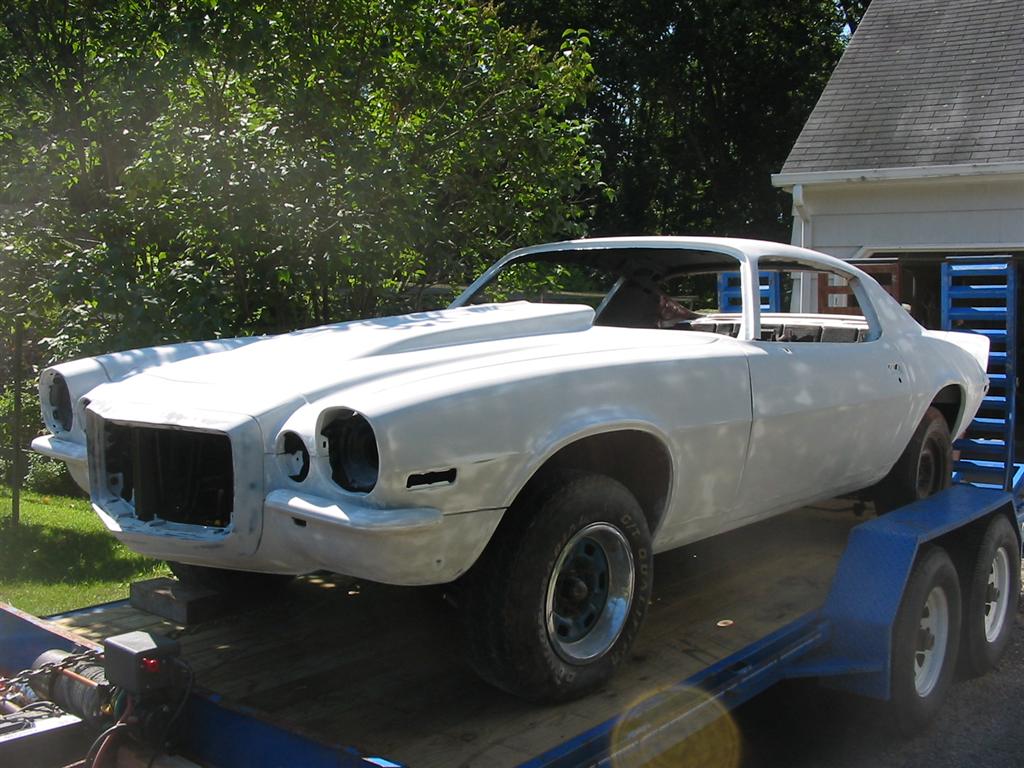
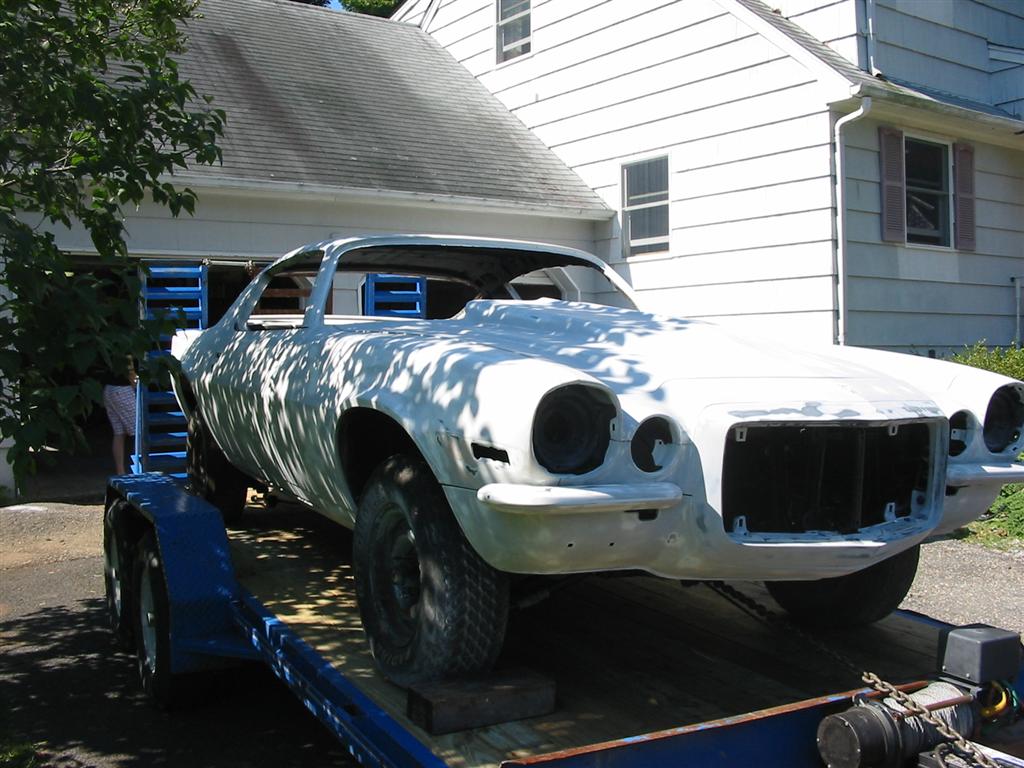
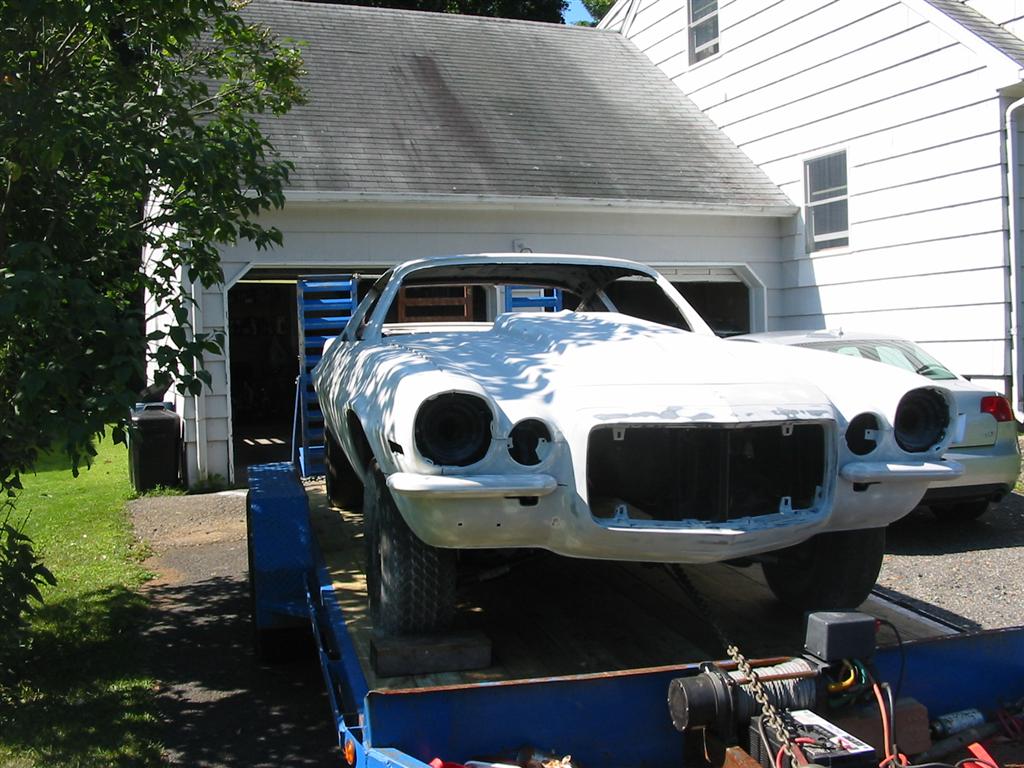
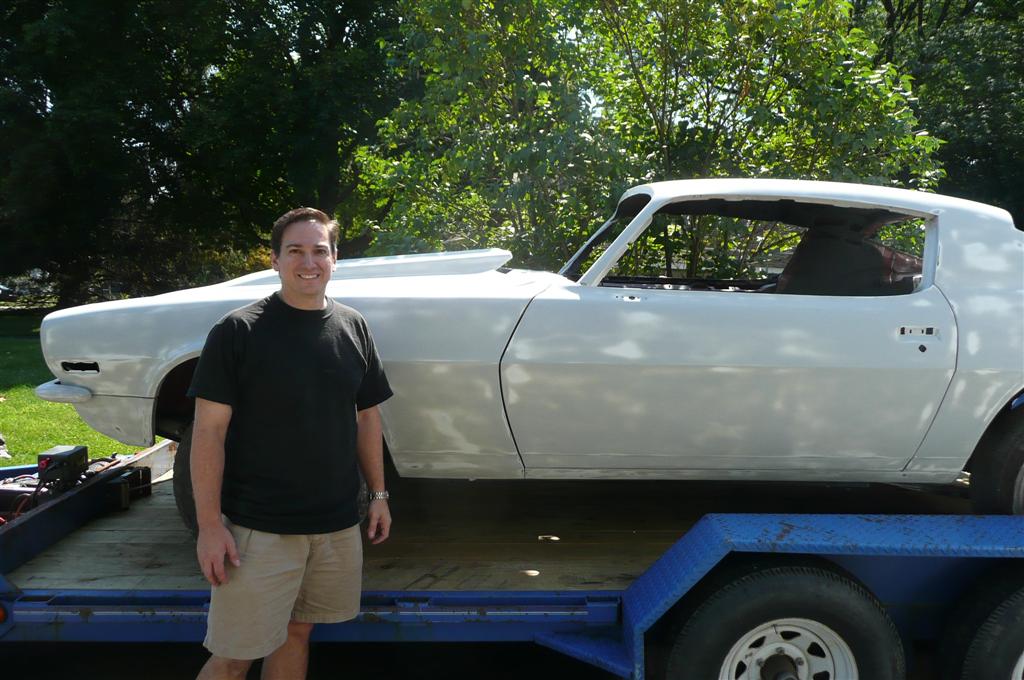
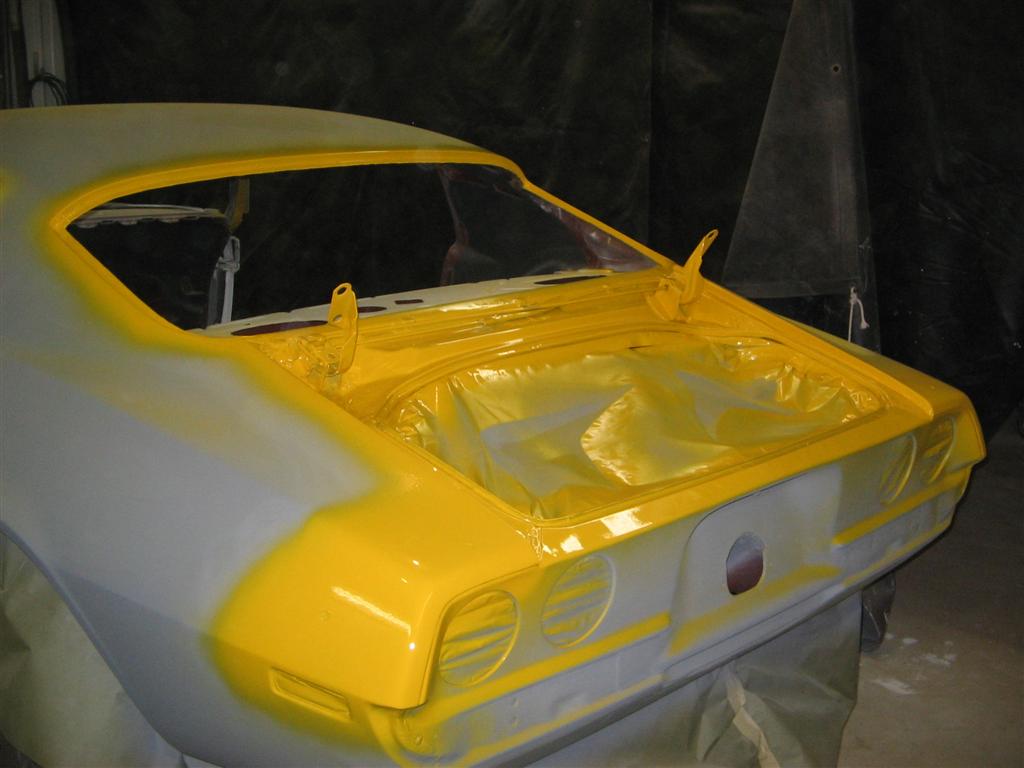
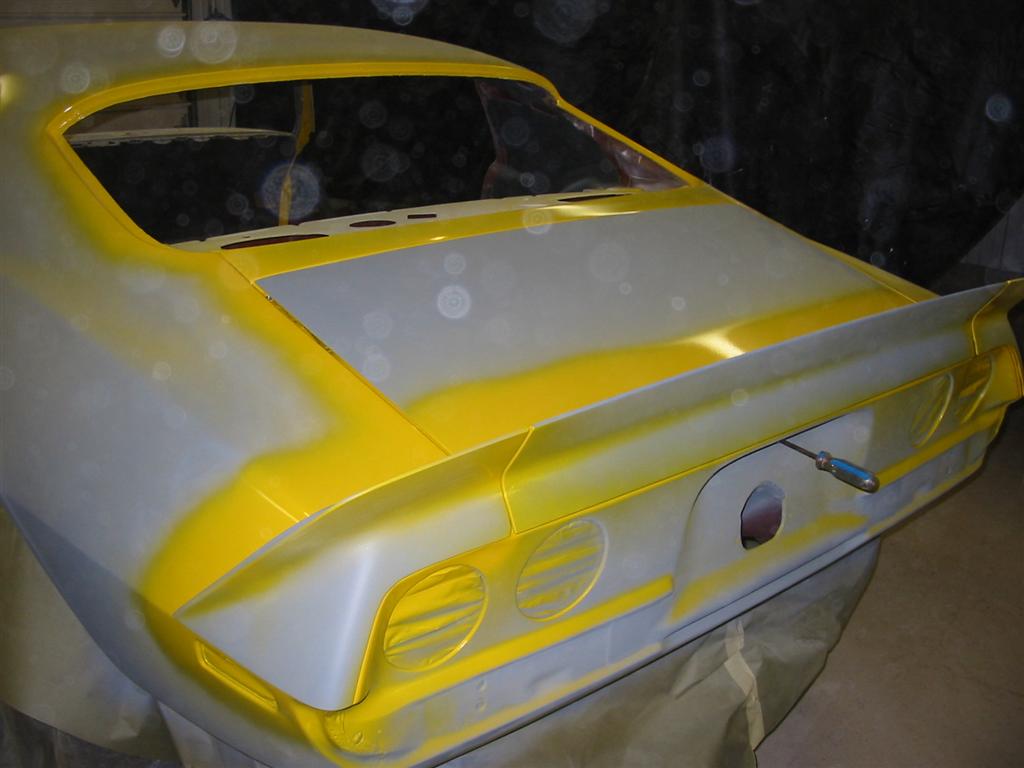
This update is of the car going to the paint shop. At this time I have done all I can and I am sending the car to a professional for final body work and paint. I was relieved when the paint man showed up, inspected the car and told me I did a great job of doing body work and block sanding. There were just a few small areas that needed minor work. Below are pictures of the car getting loaded on the trailer and some of the jams painted.Audemars Piguet Replica Watches www.aptime.me
Status photos as of 09/24/2008:
| The following pictures are of the car loaded onto the trailer. The final picture is of me posing with the car. | |
|
|
|
|
|
|
|
|
|
|
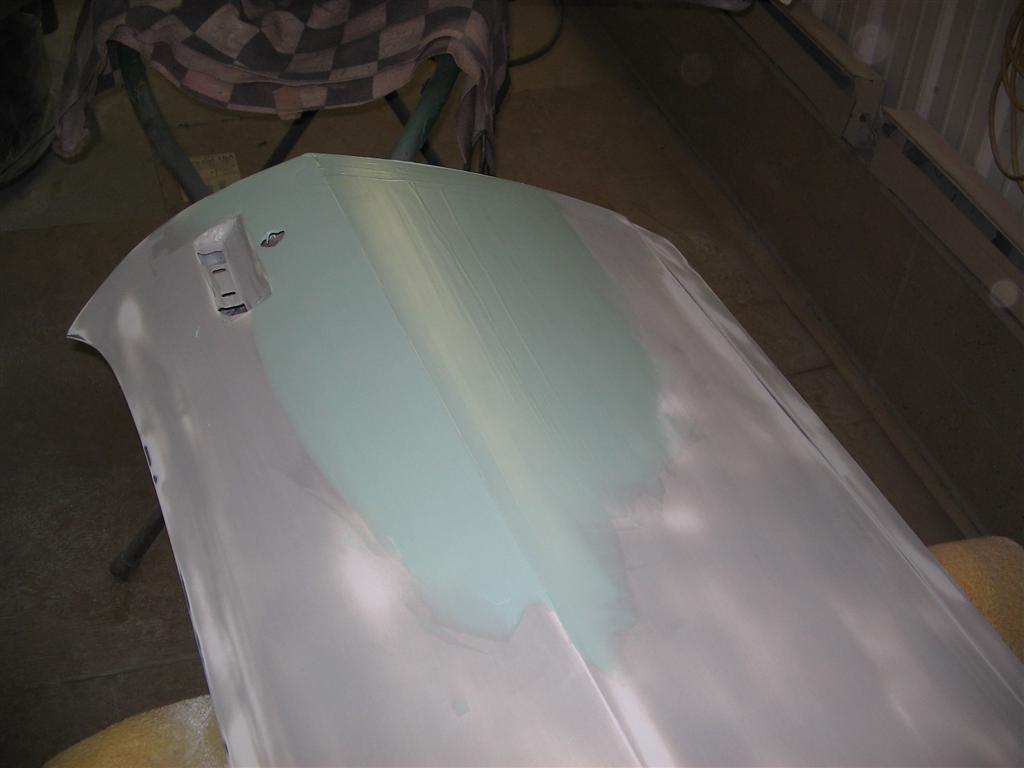
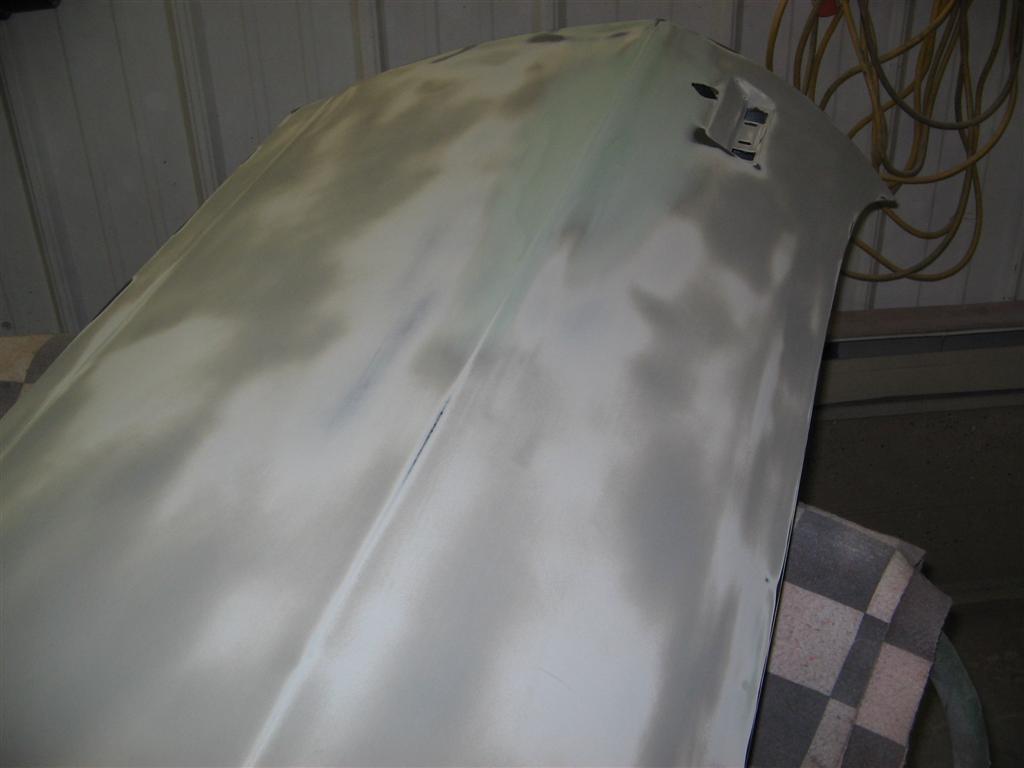
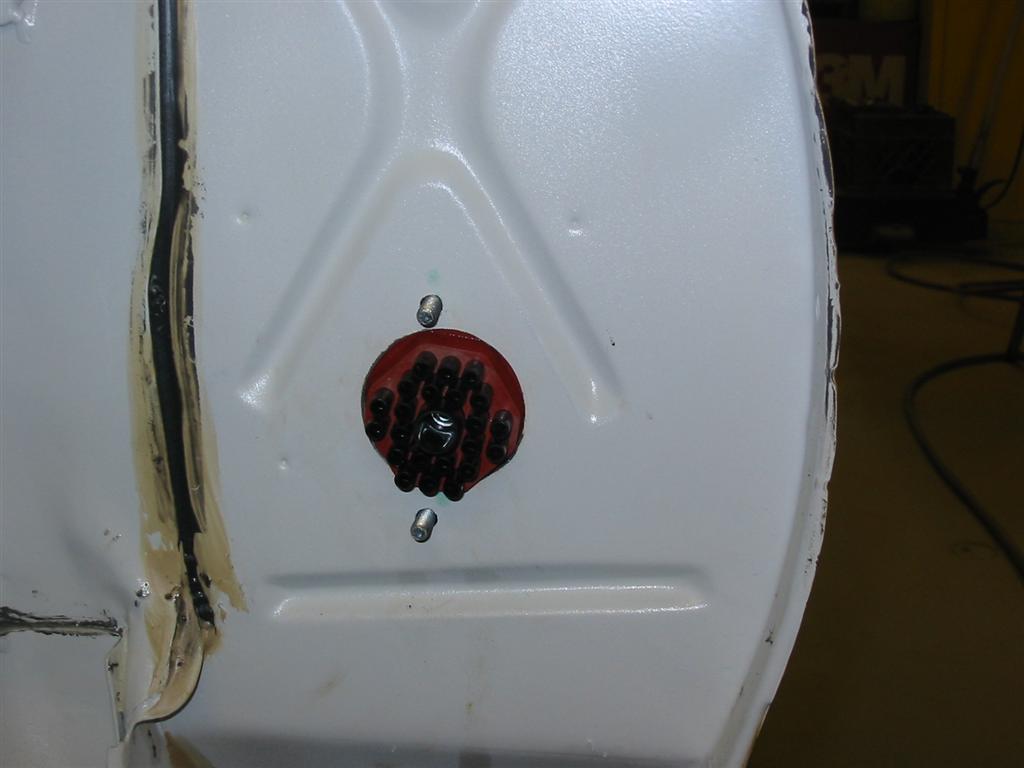
| This is some bodywork that my bodyman had to do. Not pictured, he also cleaned up the tailpanel to 1/4 panel seams in the rear and some other minor areas at the edges of most of my panels. | |
|
|
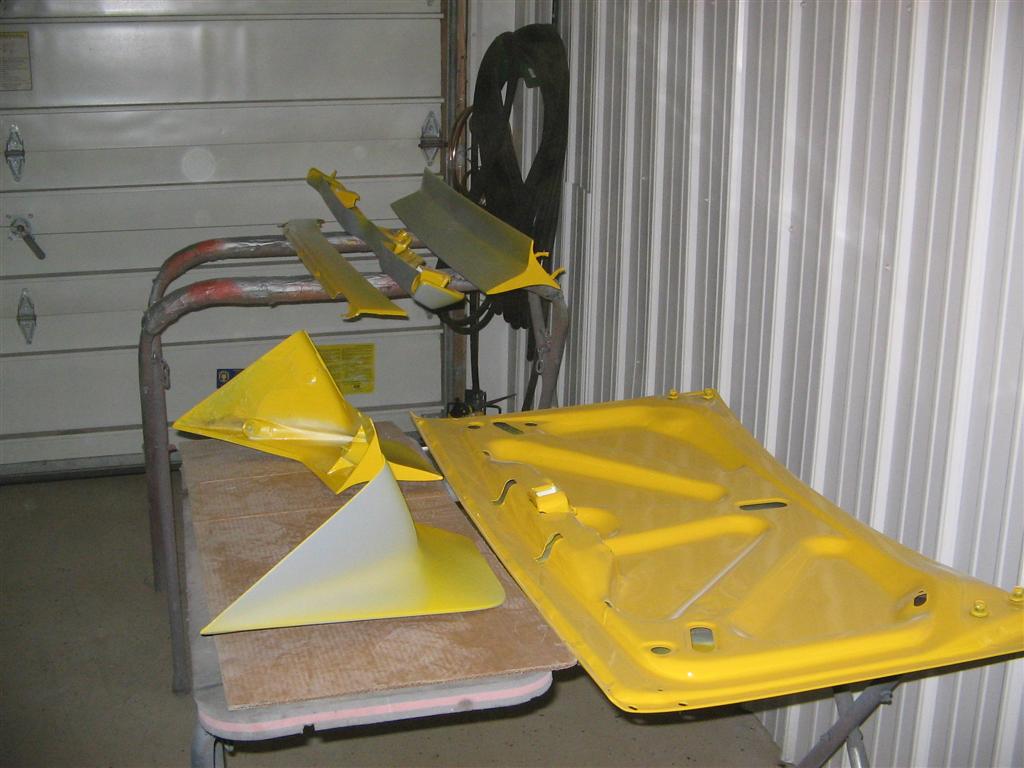
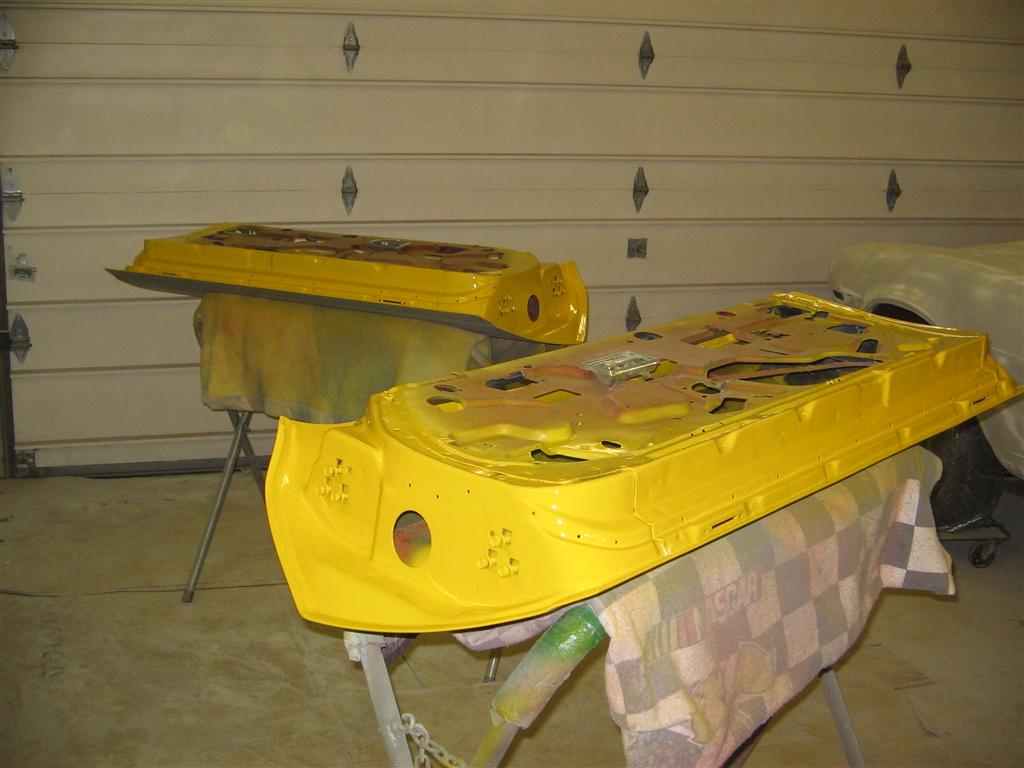
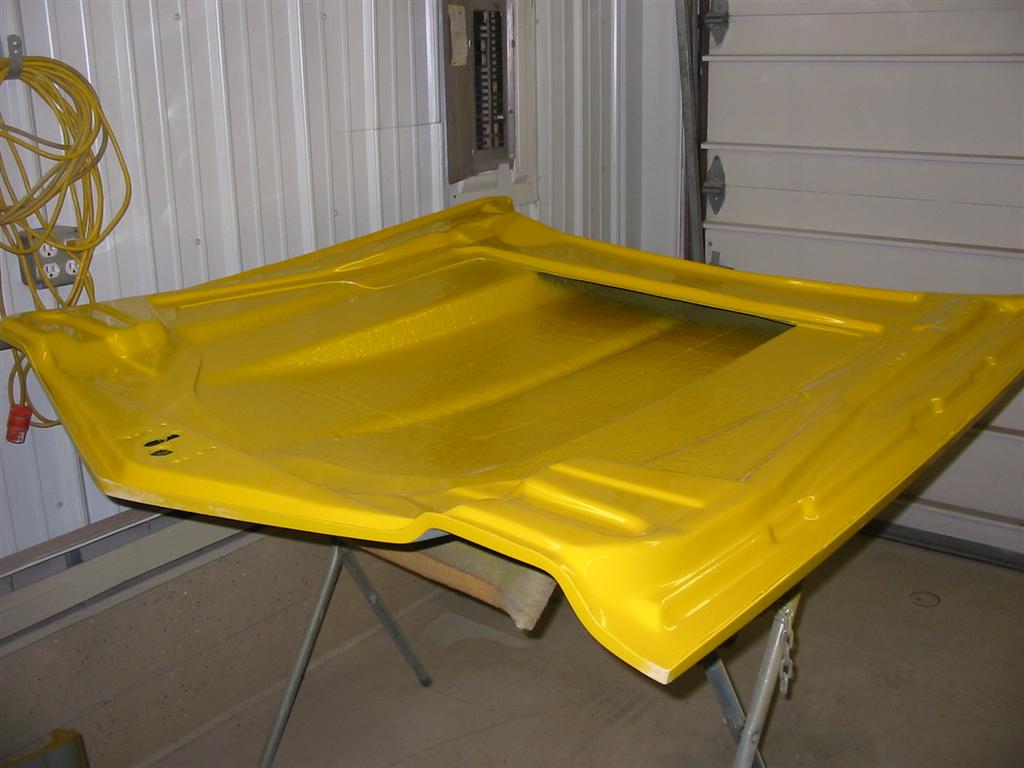
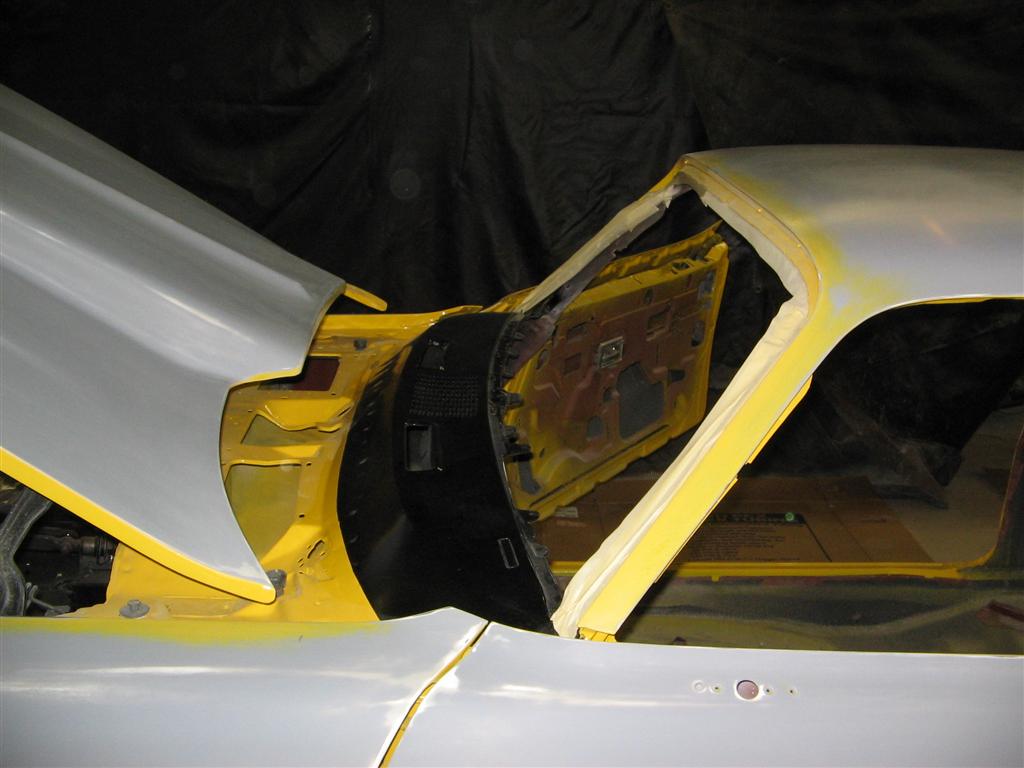
| Here are some of the panels off the car and jammed. | |
|
|
|
|
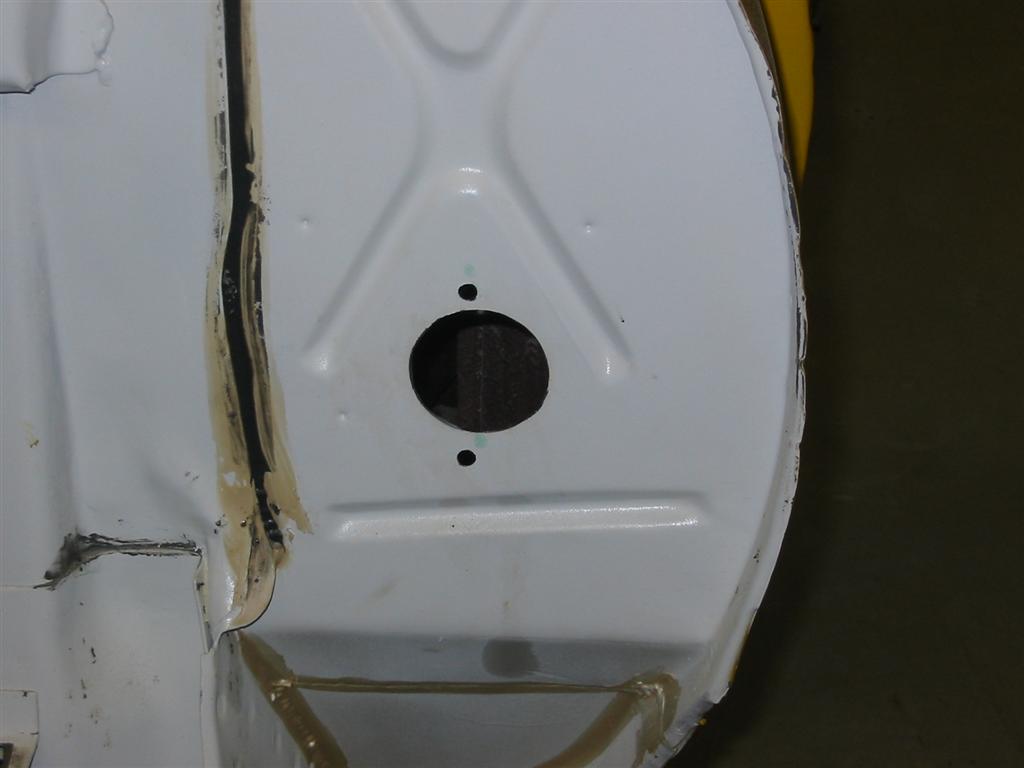
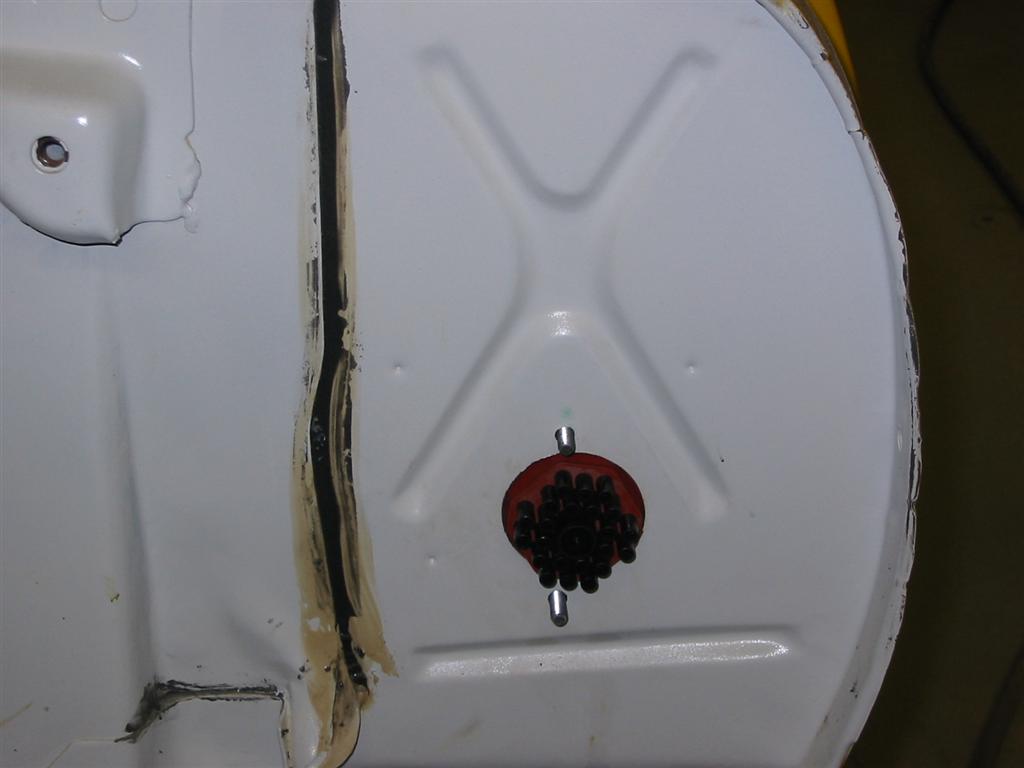
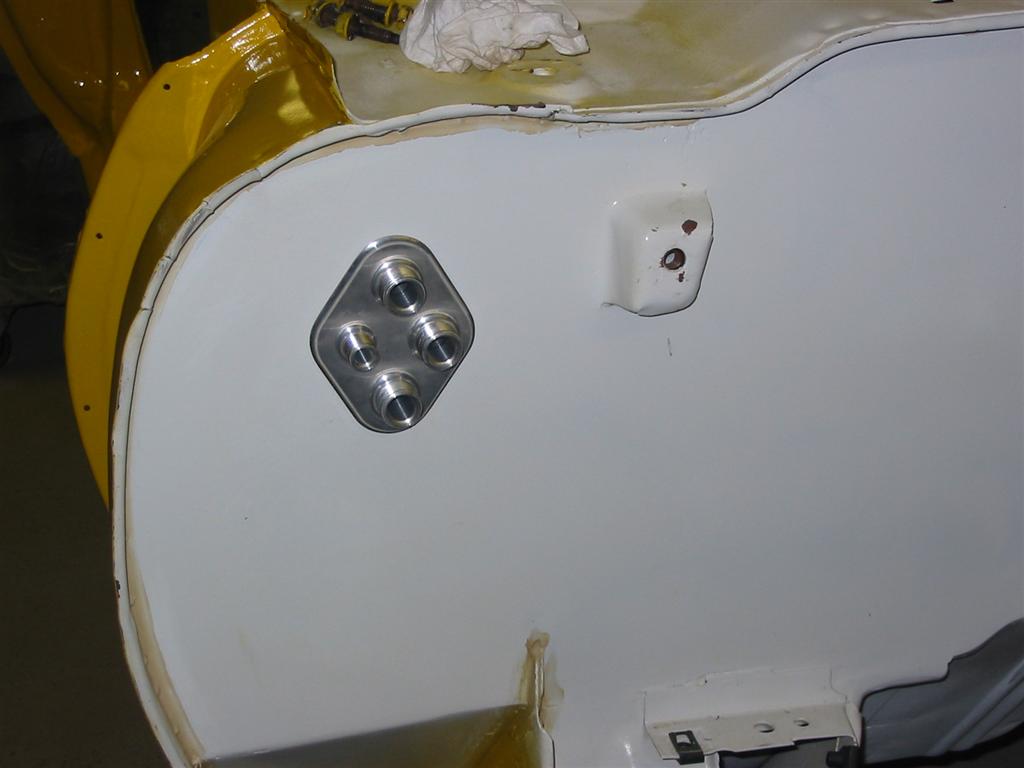
| Here are a few shots of the hole for the electrical bulkhead and the bulkhead test fitted. This bulkhead is from American Auto Wire and will be used with my Highway 22 kit. This is in the fender now instead of on the firewall near the column. The last picture is of the HVAC bulkhead for the heater and A/C lines. These will be for either a Vintage Air or Classic Auto Air system. These are in the passenger side fenderwell. | |
|
|
|
|
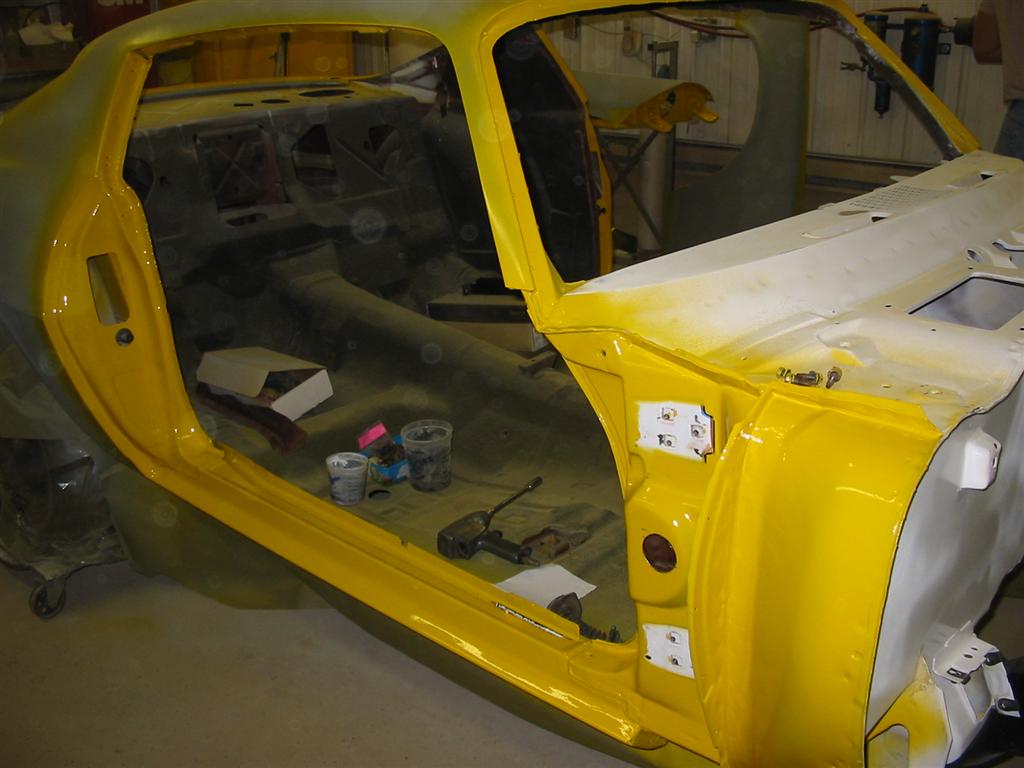
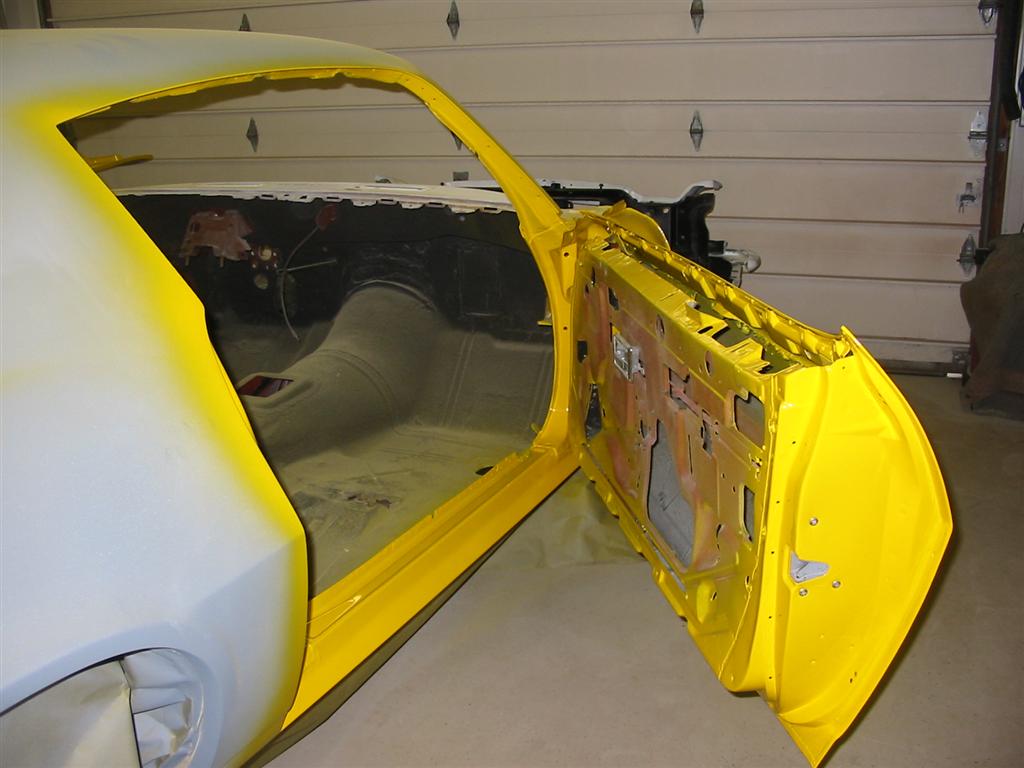
| This is a shot of the right door jam. The doors are off so I could drill the holes for the door wire looms. You can see the hole in the pillar. | Here is the left door jammed. |
|
|
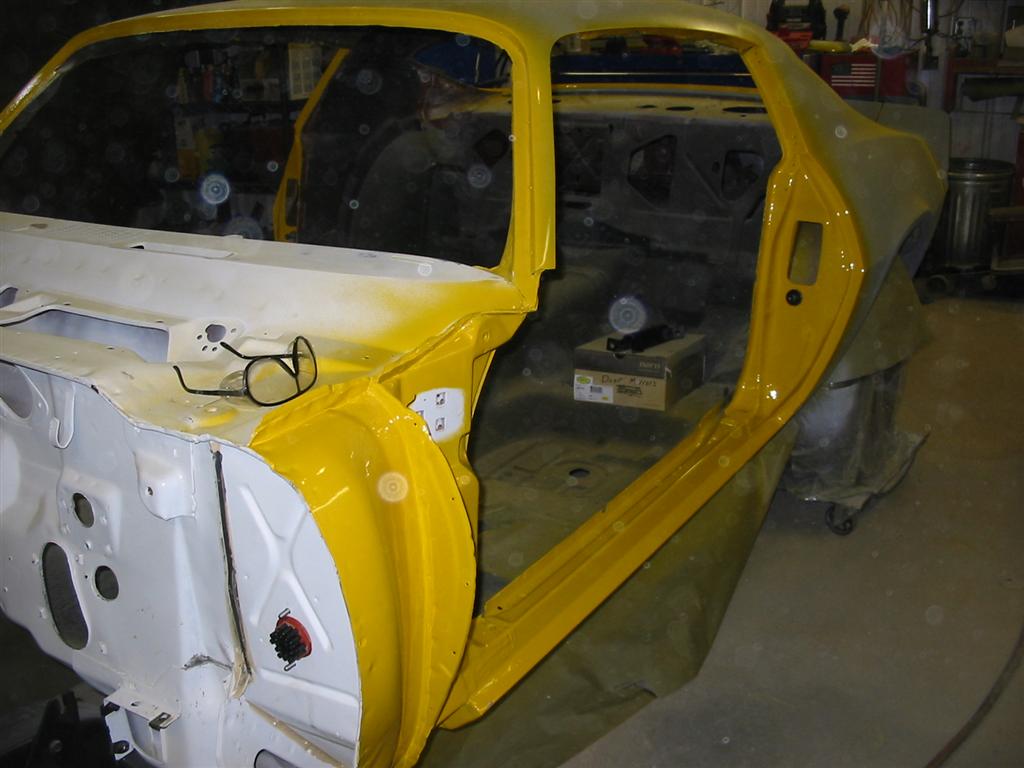
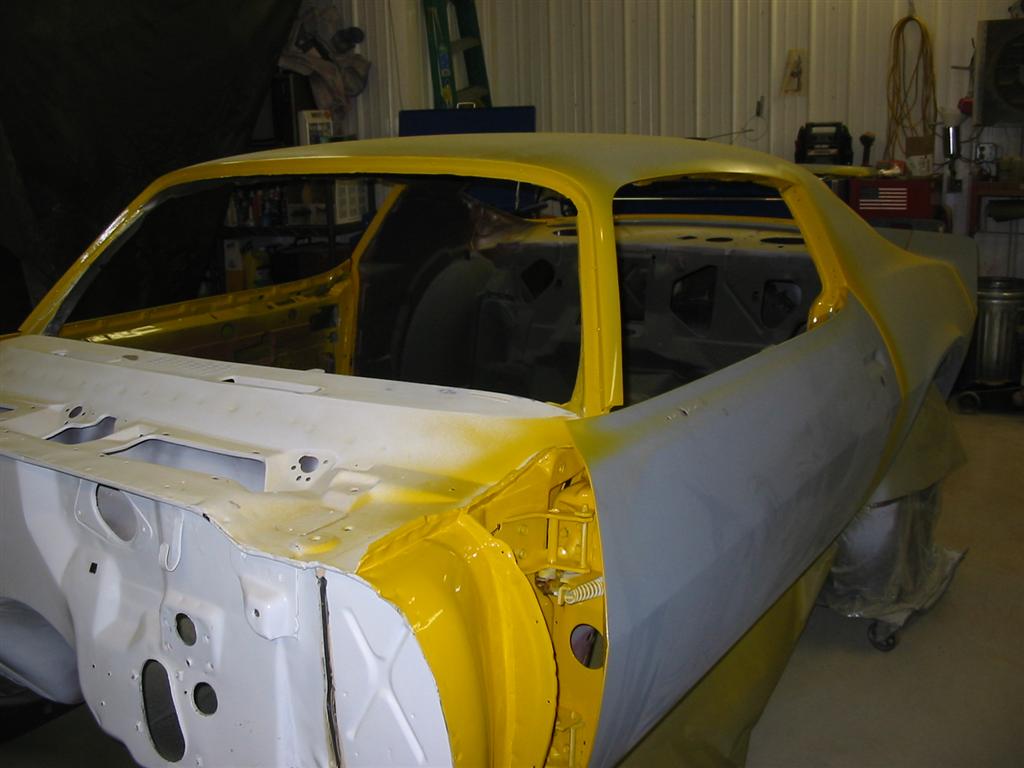
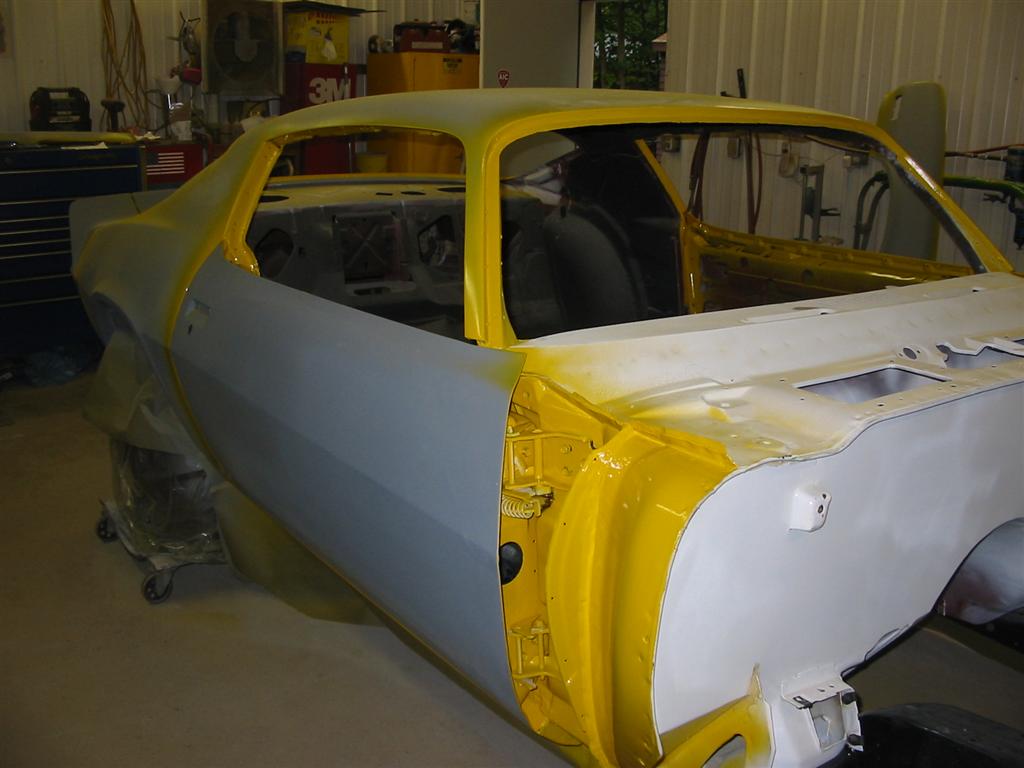
| Here is the car together with some of the jam work done. | |
|
|
|
|
|
|
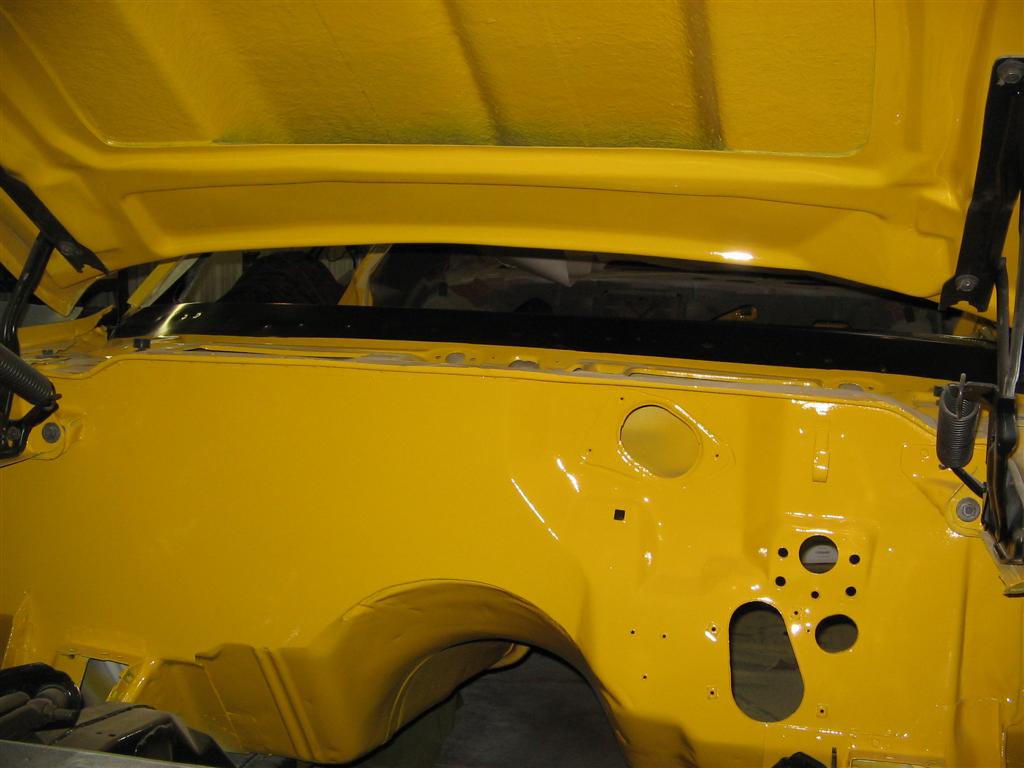
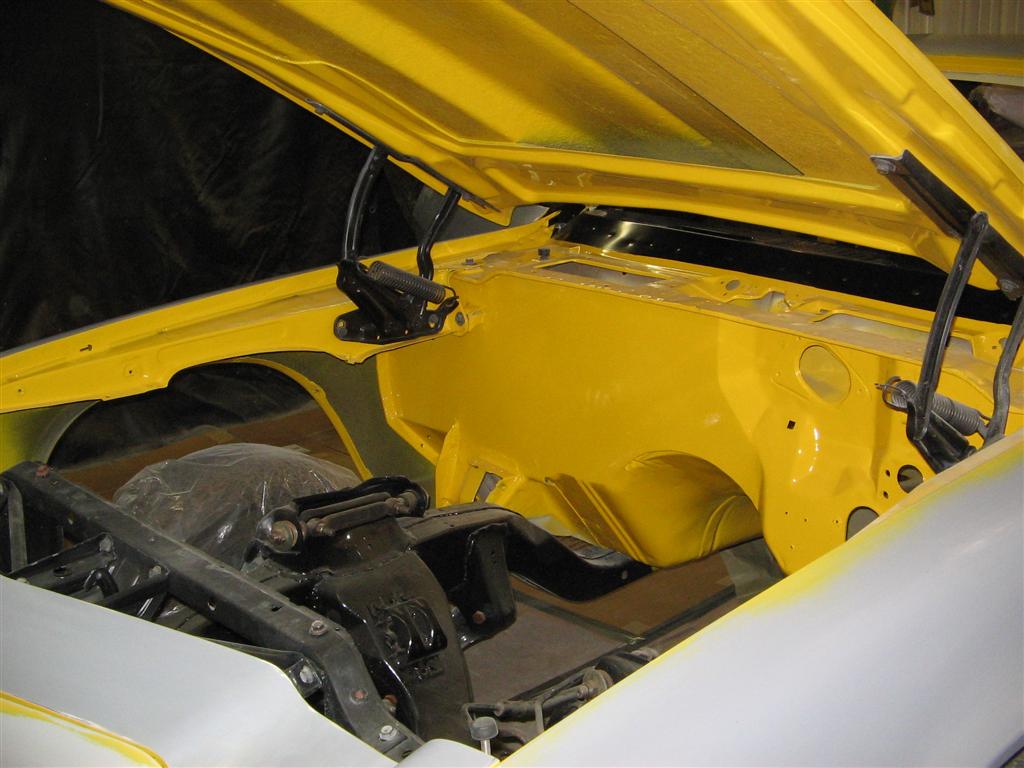
| The fenders on and firewall painted | |
|
|
|
|