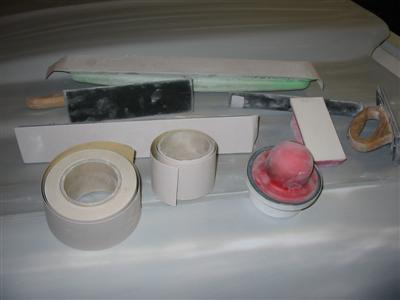
| Here is a pictures of what I used to block sand the car. I have several sanding blocks, 150 and 220
grit sanding paper and Dry Guide Coat. |
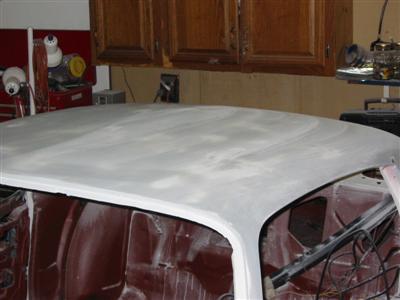
Here is a picture of the roof in progress. I started on the roof and went forward around the car
until I finished at the back of the car. |
|
|
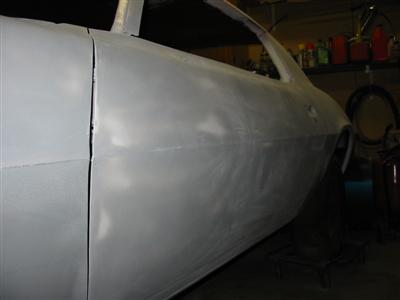
| Here is a picture of the left door in progress. |
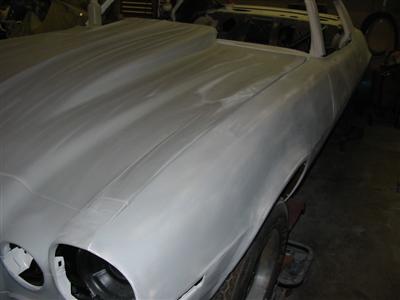
Here is a picture of the left upper fender in progress. |
|
|
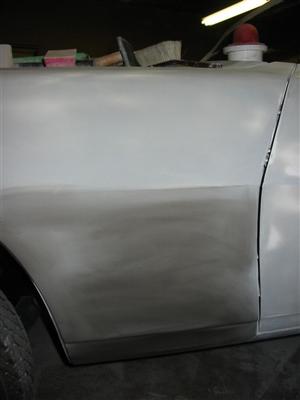
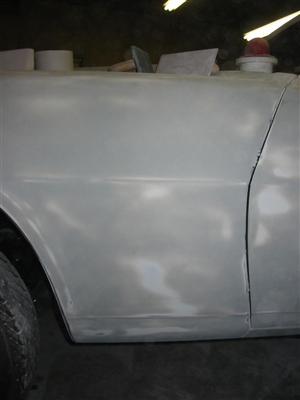
| Here is a picture of the lower rear fender in progress. The picture on the left
shows the fender before sanding with the drycoat applied to the bottom. The picture on the right
shows the fender with the drycoat sanded off and the fender flat and smooth. |
|
|
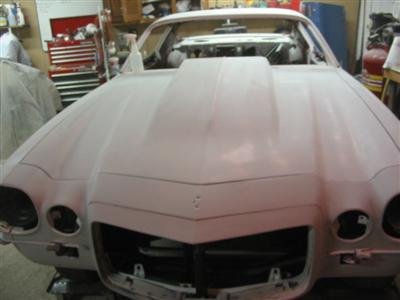
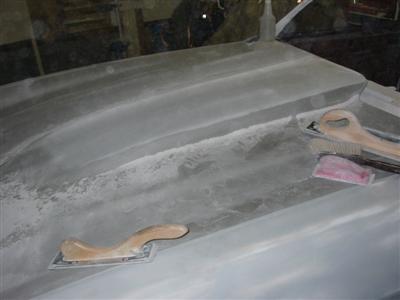
| Here are some in progress shots of the hood. |
|
|
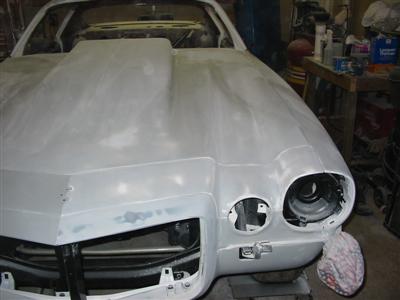
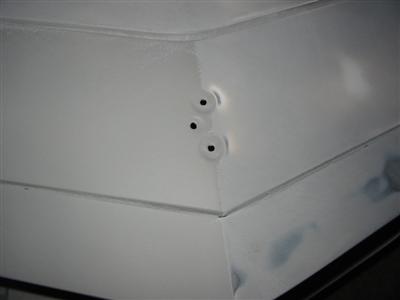
| Here are some in progress shots of the hood and header panel. The left half is done the right
side is not. |
|
|
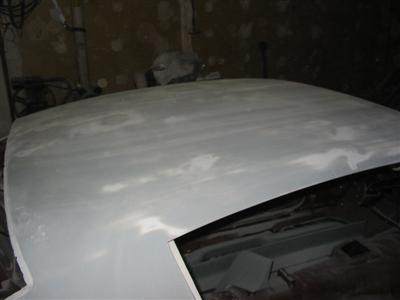
| Here is the completed roof. You may notice some light red spots. This is where I had some
low spots that required some lightweight filler. |
|
|
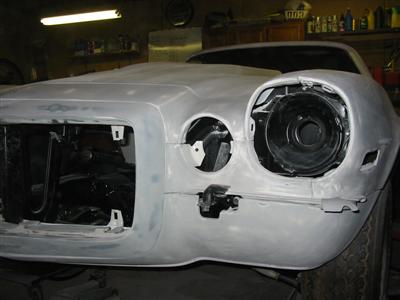
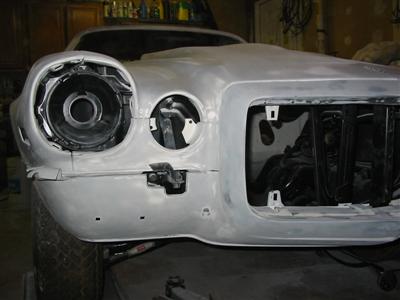
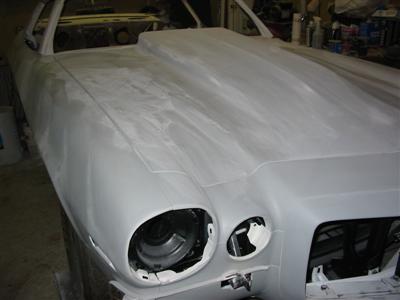
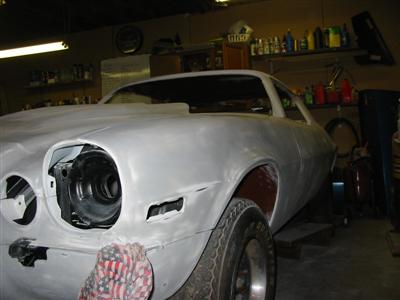
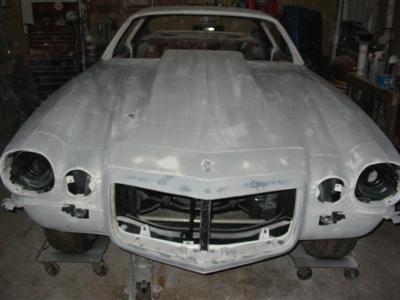
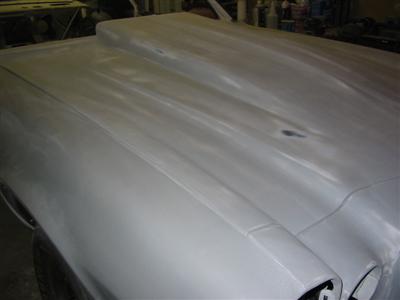
| Here are some in progress shots of the front of the car. |
|
|
|
|
|
|
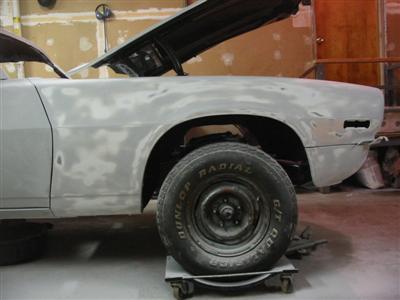
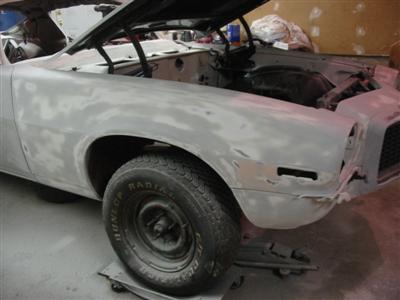
| Here are some in progress shots of the right fender. The fender also required a small
amount of filler. |
|
|
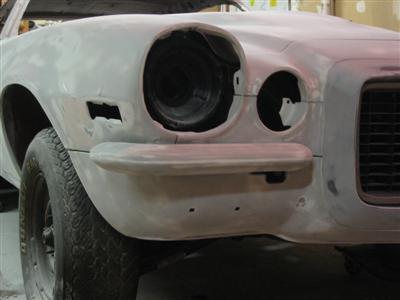
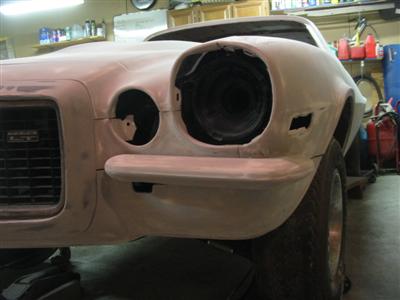
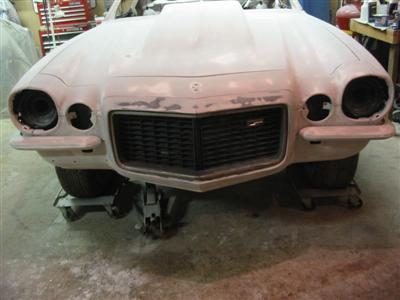
| Here are the front bumpers completed and installed. |
|
|
|
|
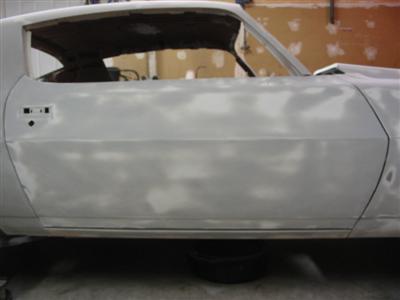
| Here is the completed right door. |
|
|
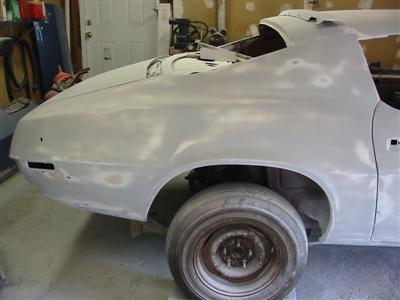
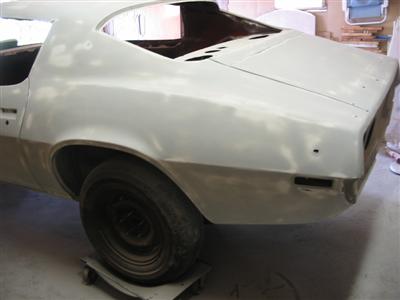
| Here are the completed rear quarter panels. |
|
|
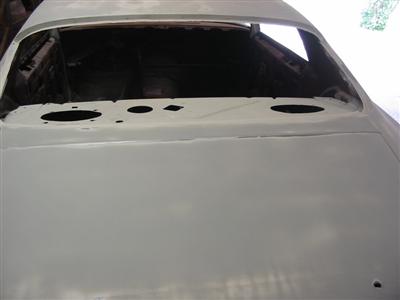
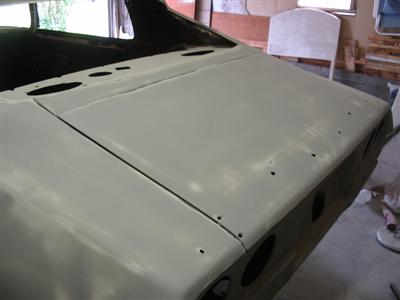
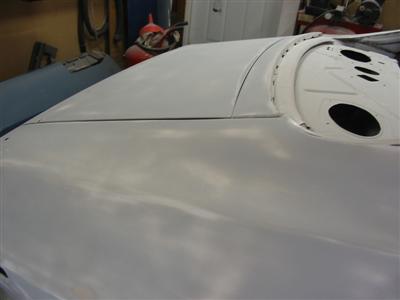
| Here is the completed trunk lid and filler panel. |
|
|
|
|
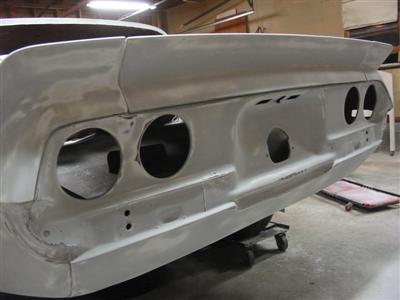
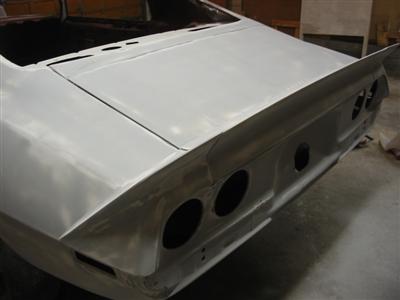
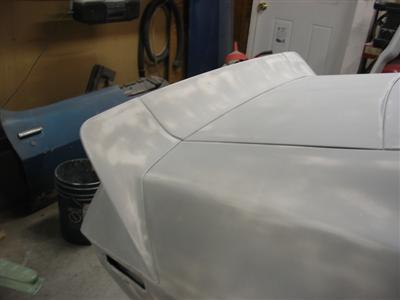
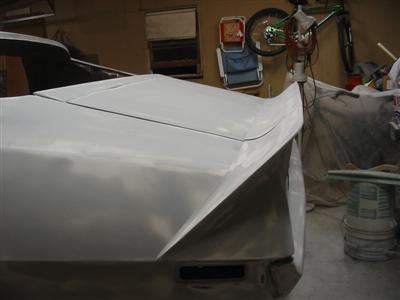
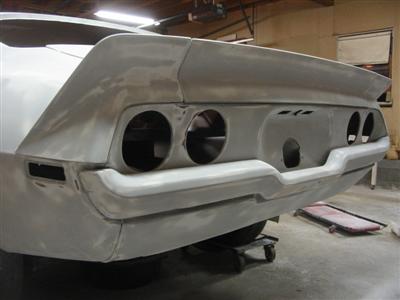
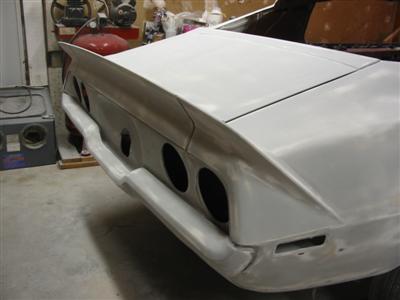
| Here is the completed rear spoiler and tail panel. |
|
|
|
|
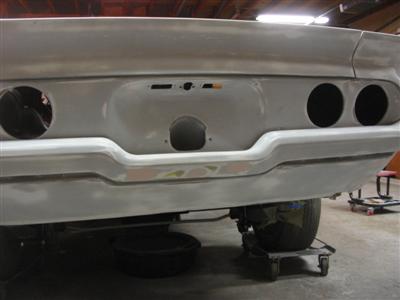
| Here is the completed rear bumper and tail panel. |
|
|
|
|
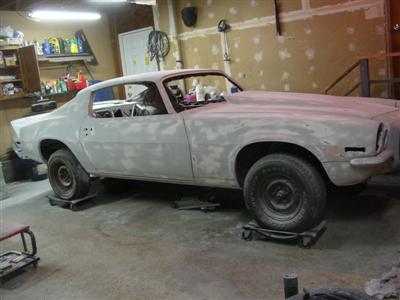
| Here is the completed car as it sits today. The exterior is ready for my paint guy. |
|
|