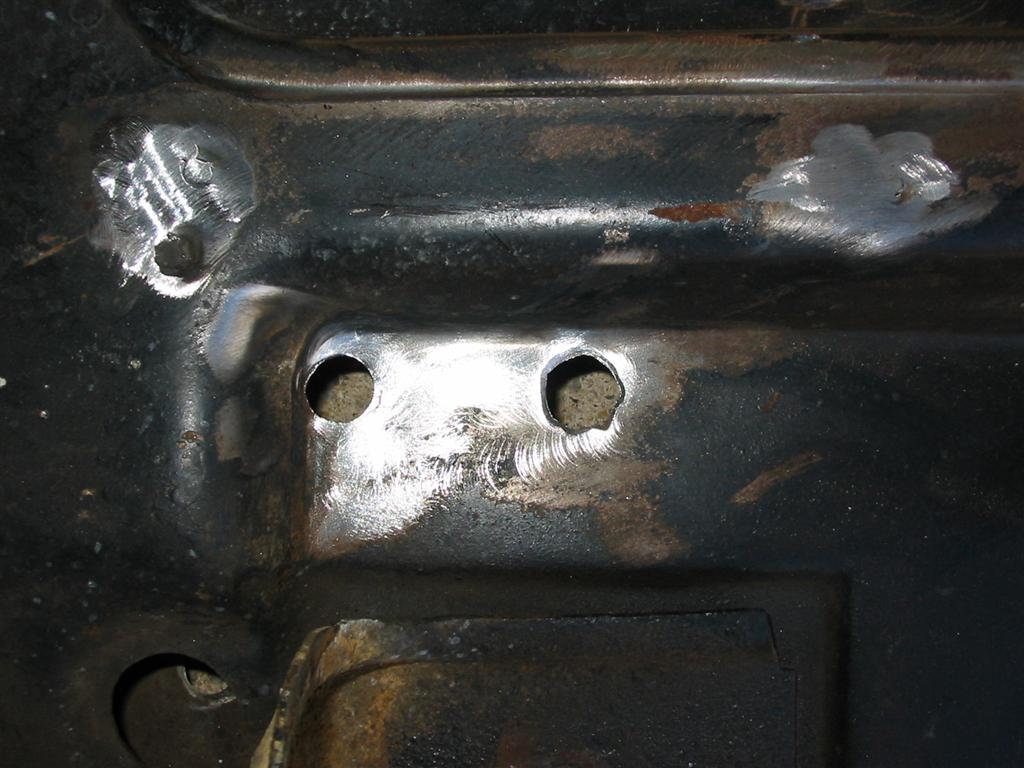
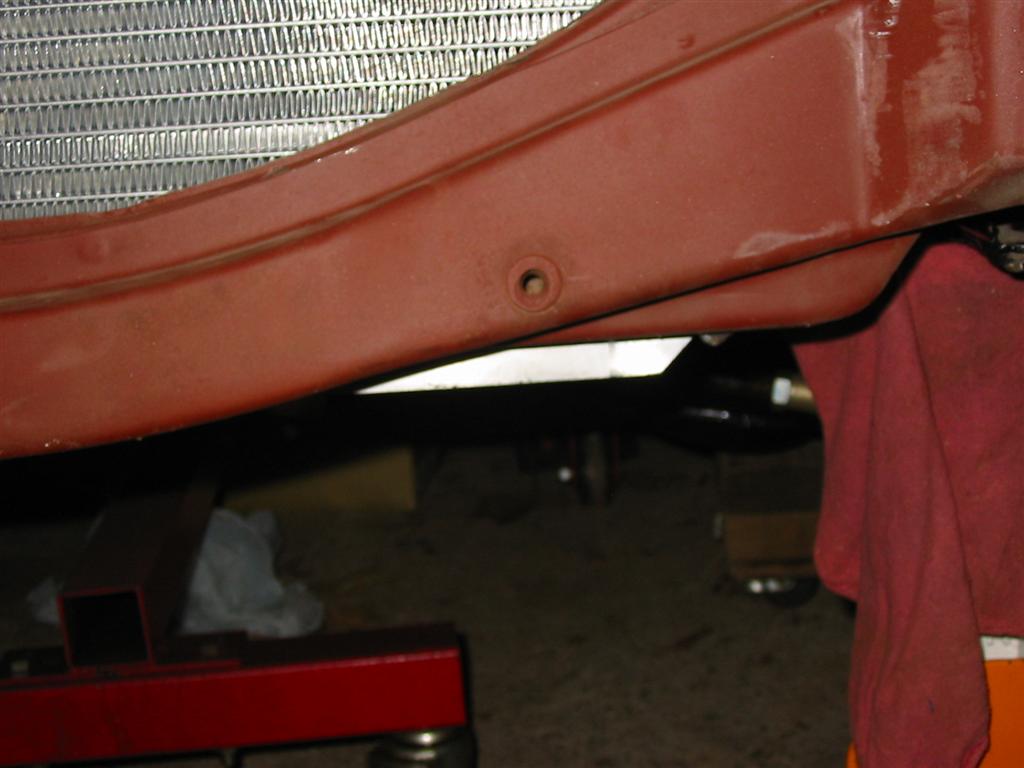
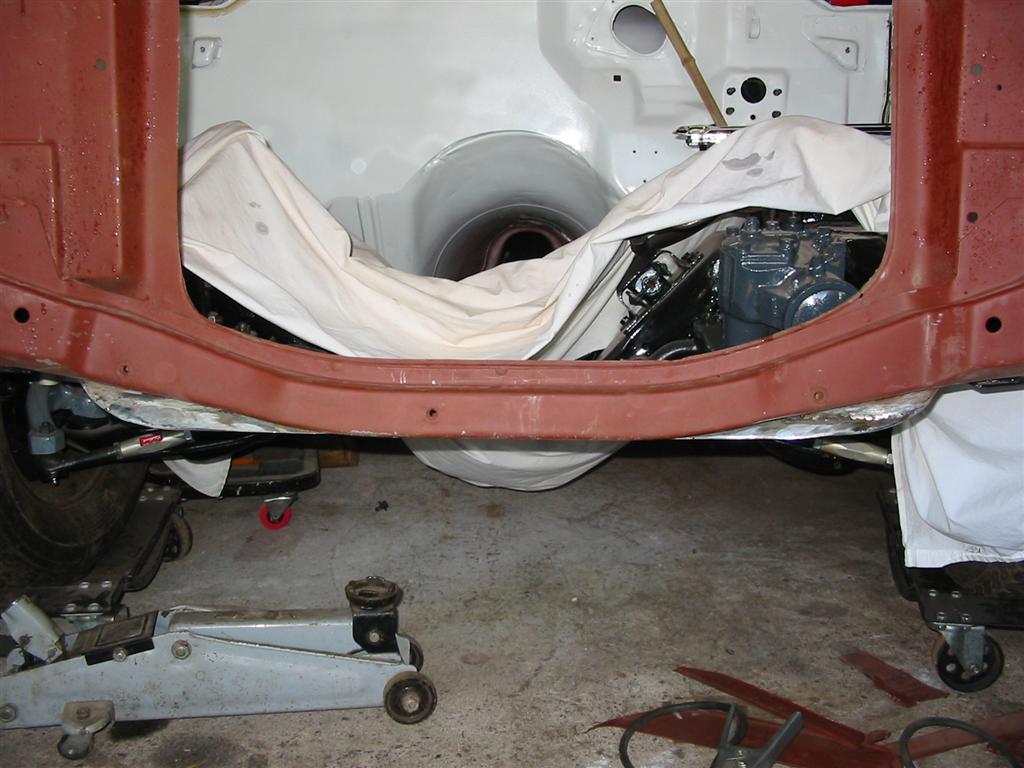
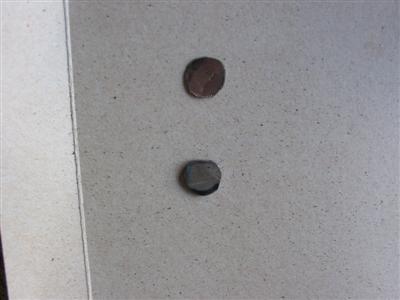
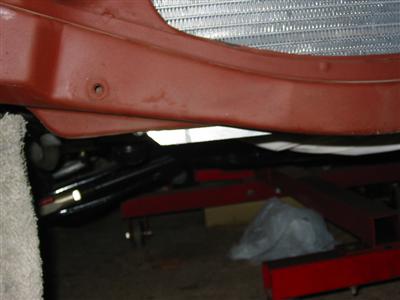
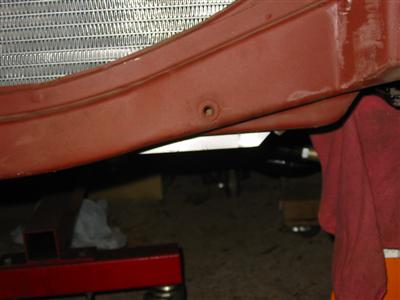
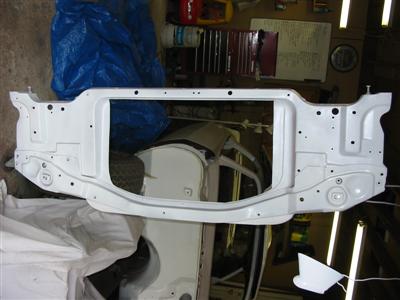
| Here are a couple of holes in the radiator support. These were used for passing hoses to an external
trans cooler. I will make some patches and weld them up. |
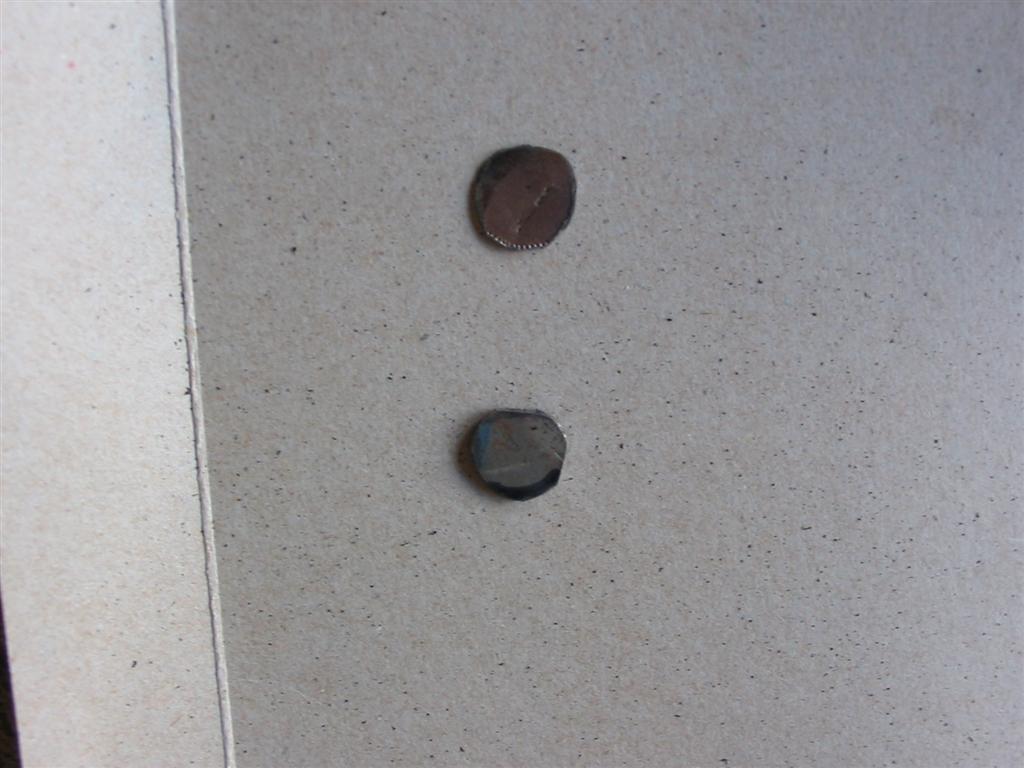
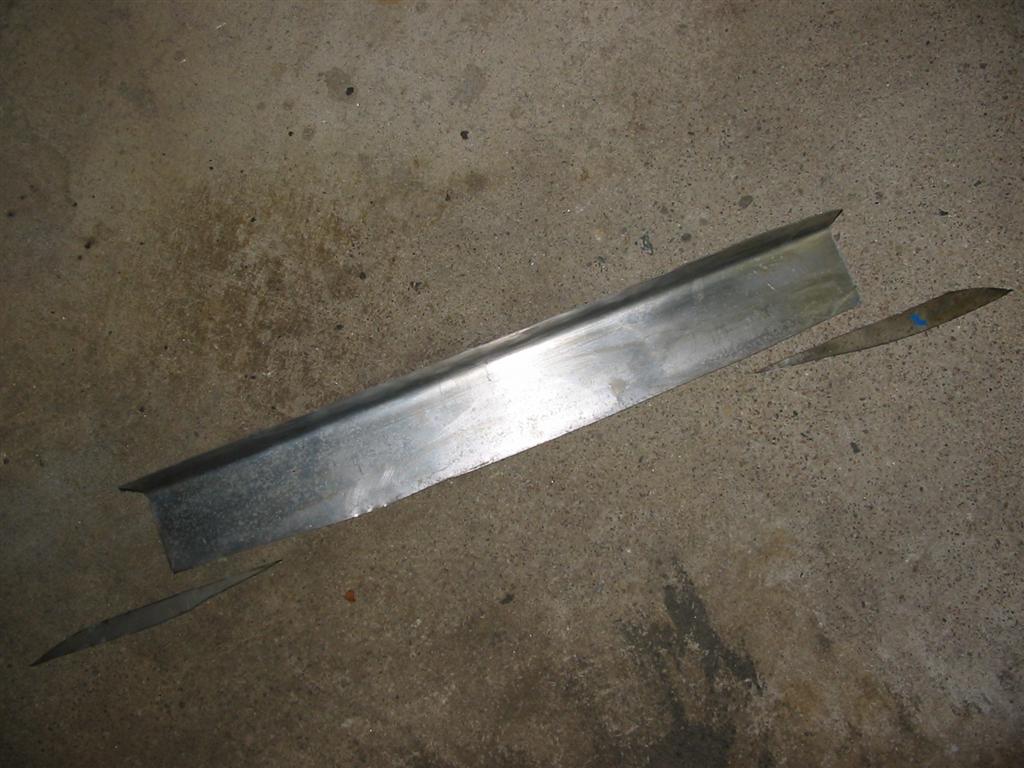
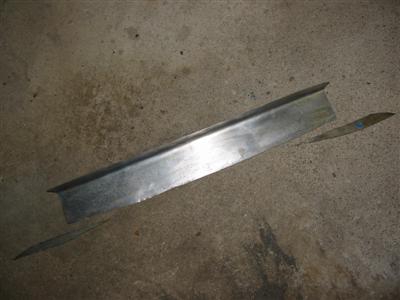
Here are the two small patches I made out of 18 gauge steel. |

|
|
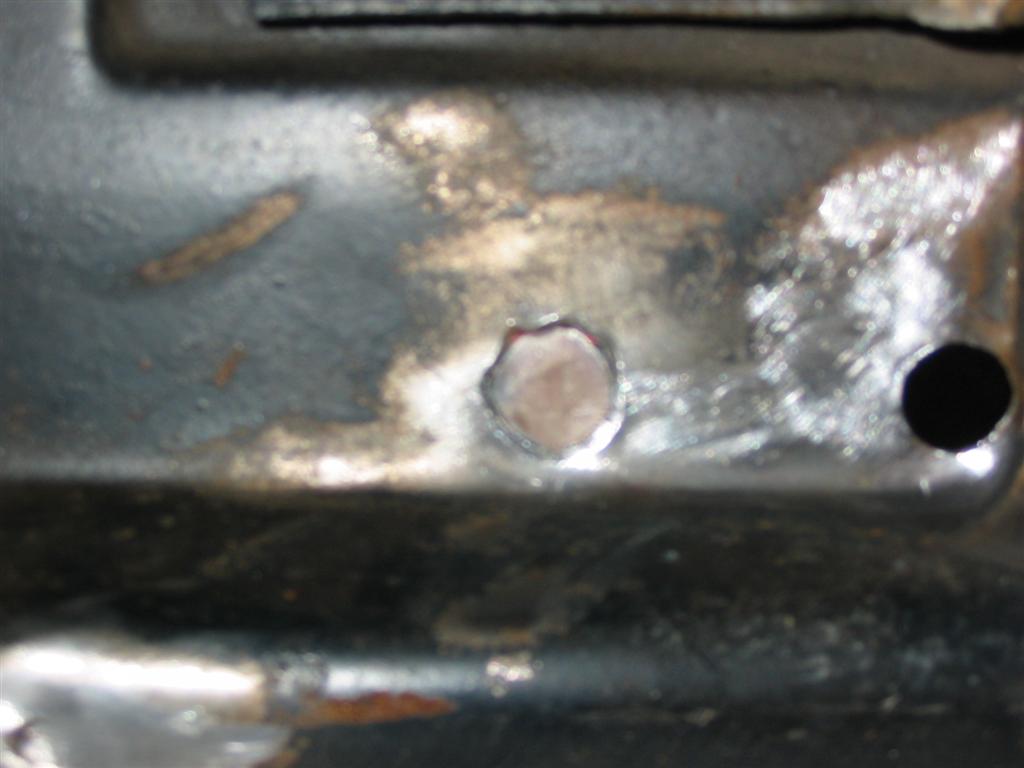
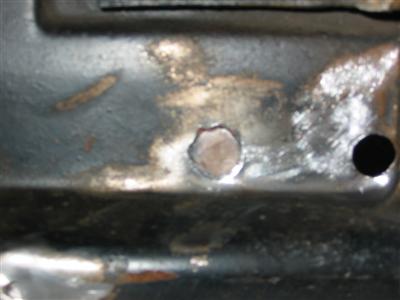
| Here is one of the patches fit into place before welding. |
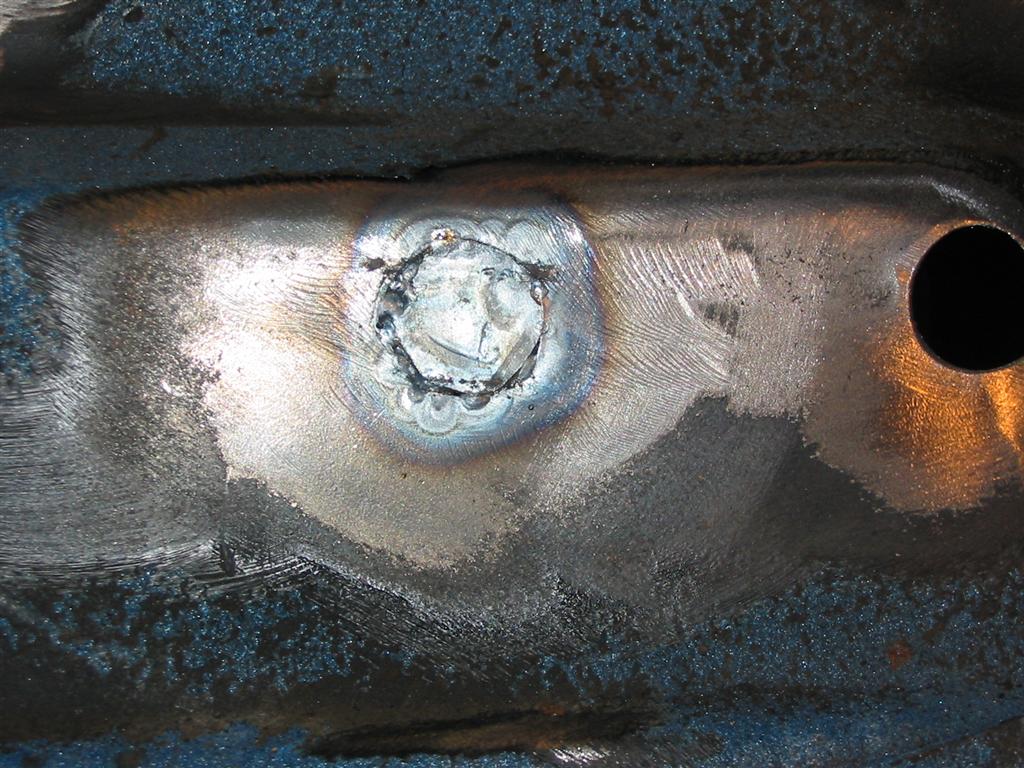
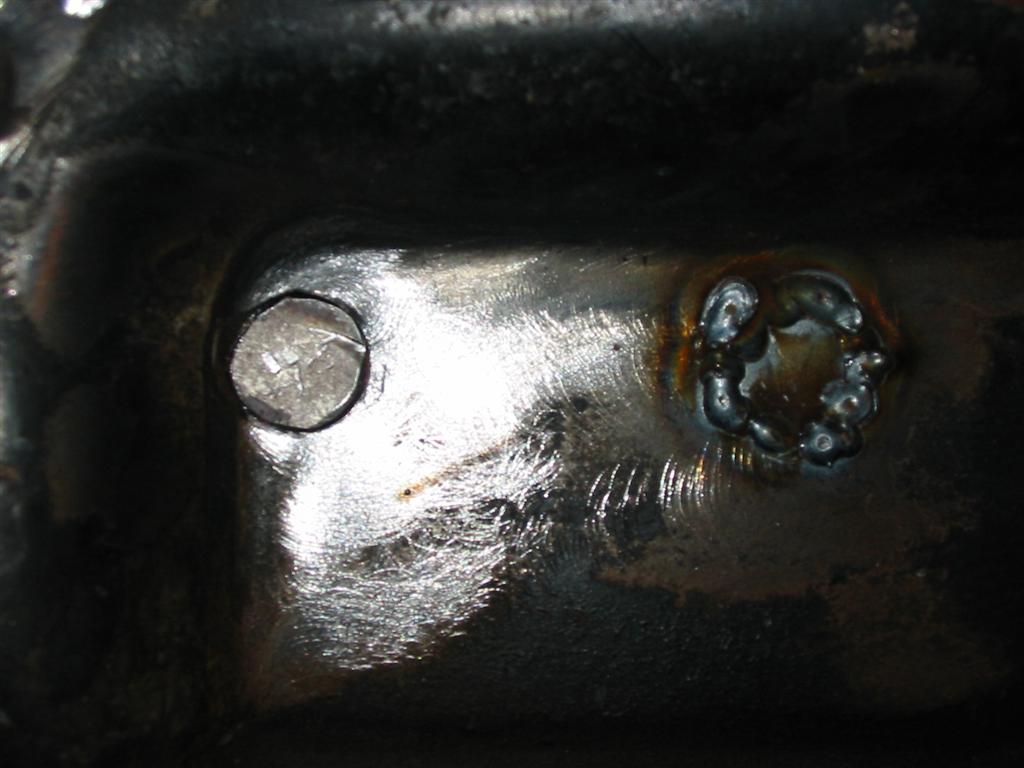
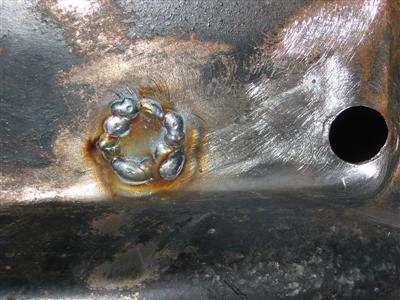
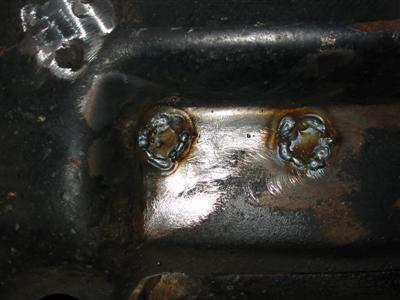
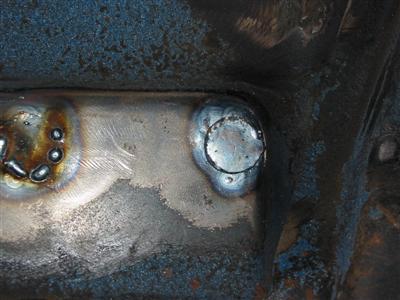
The next five pictures are of the patches in different stages of welding. |
|
|

|

|
|
|
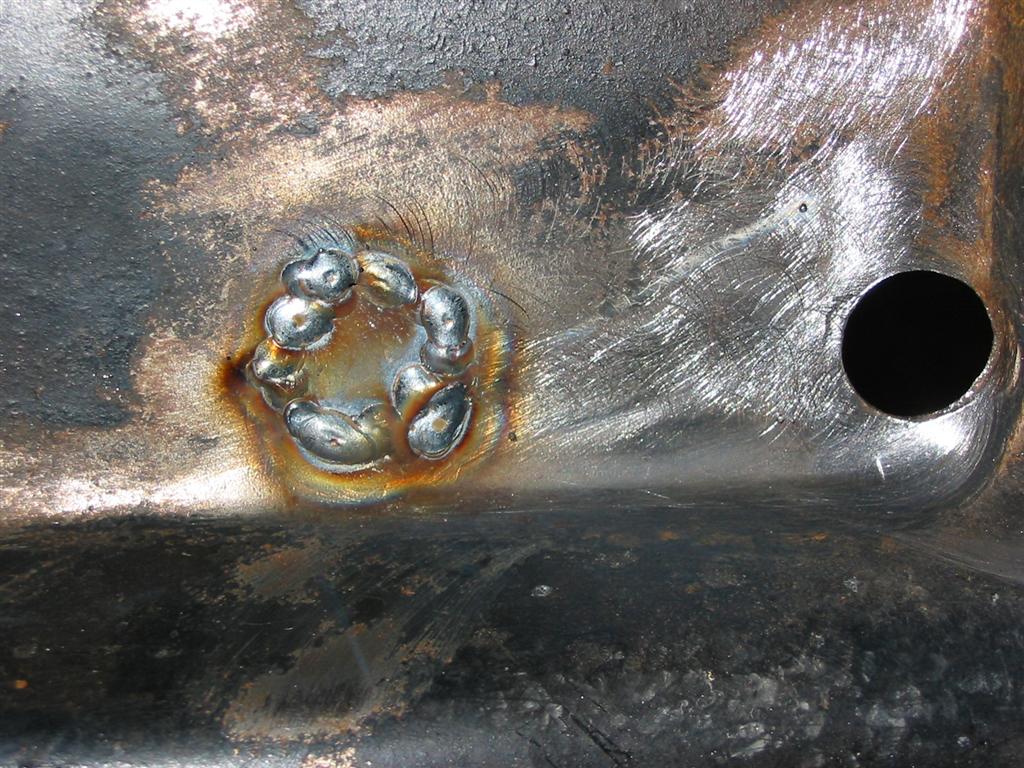
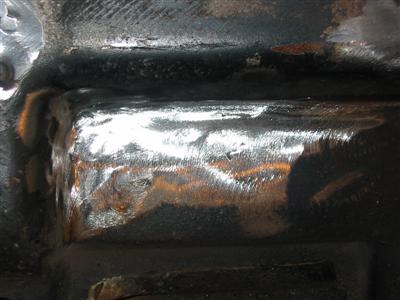
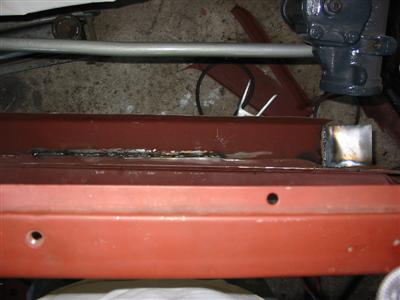
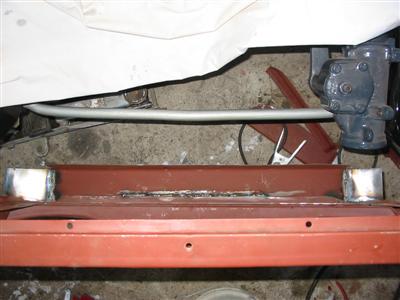
| Here are pictures of the patches after welding and grinding. |

|
|
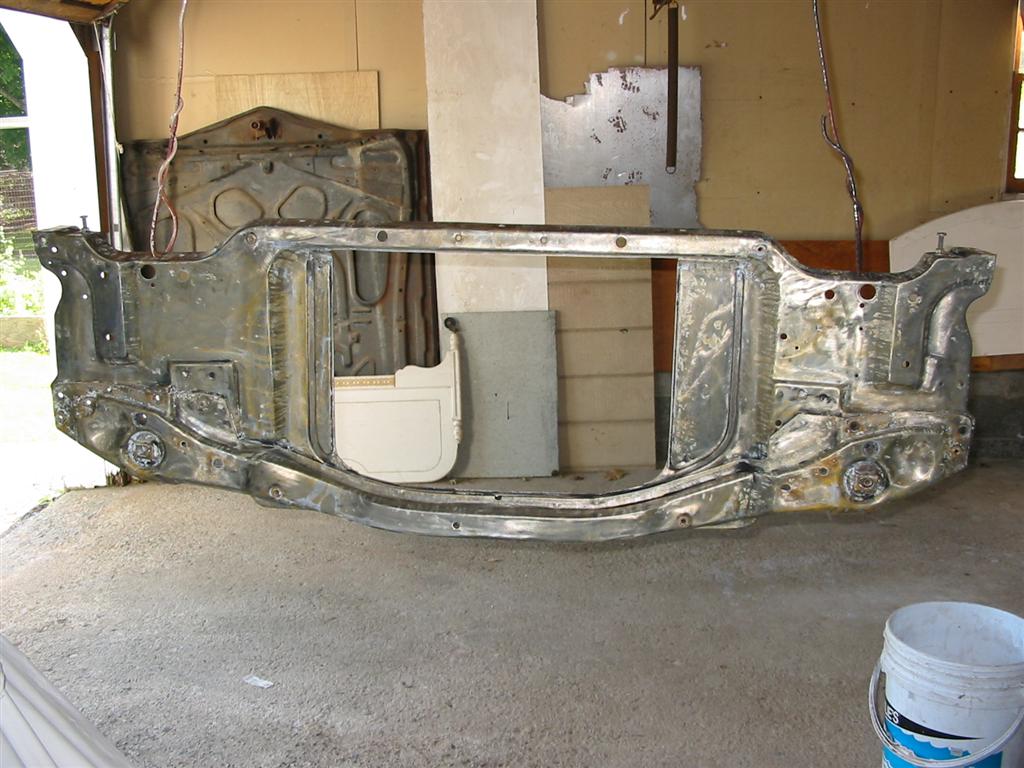
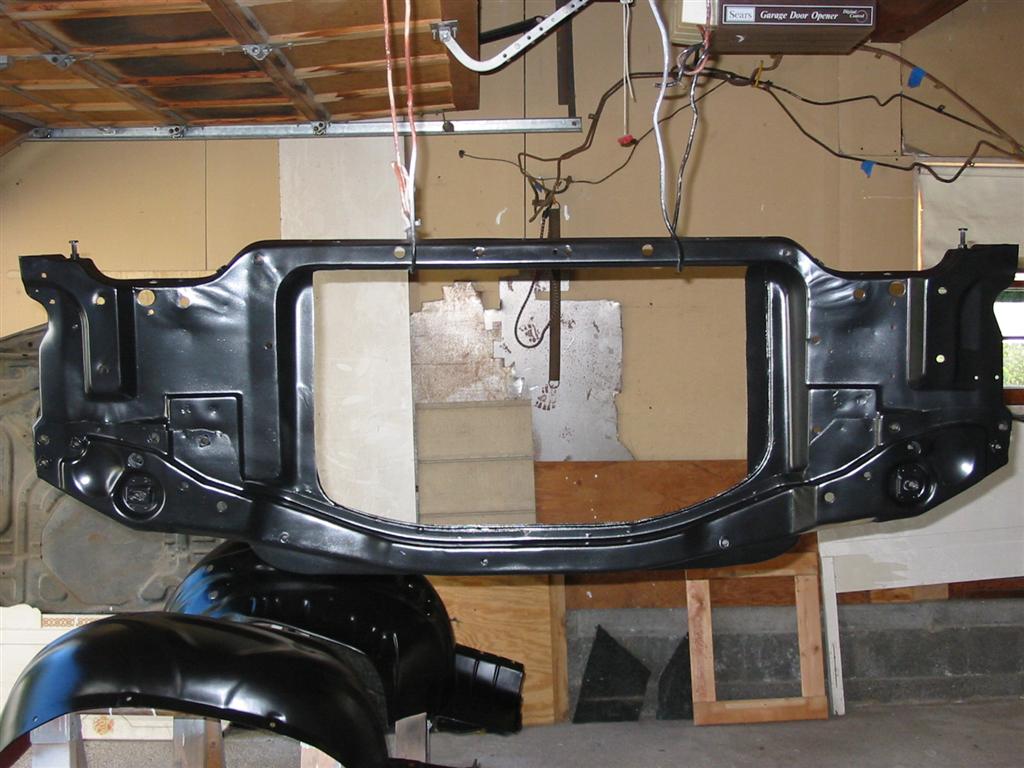
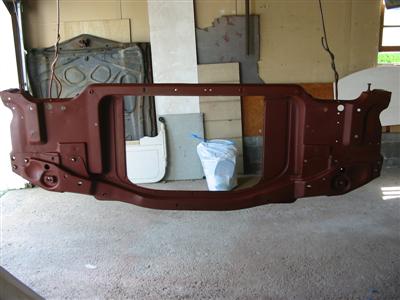
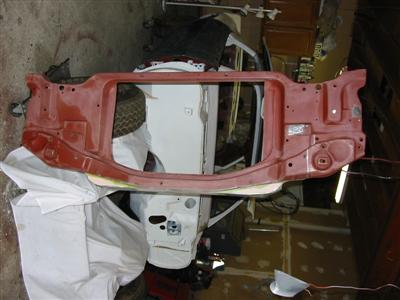
| Here is the radiator support stripped and repaired and ready for a coat of ZeroRust. |

|

|
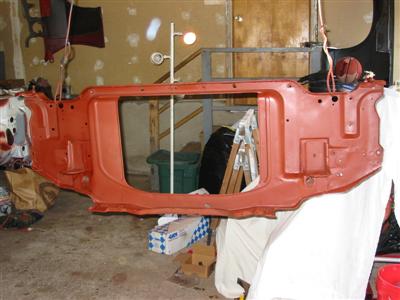
| Here are pictures of the radiator support coated with ZeroRust. |
|
|
|
|
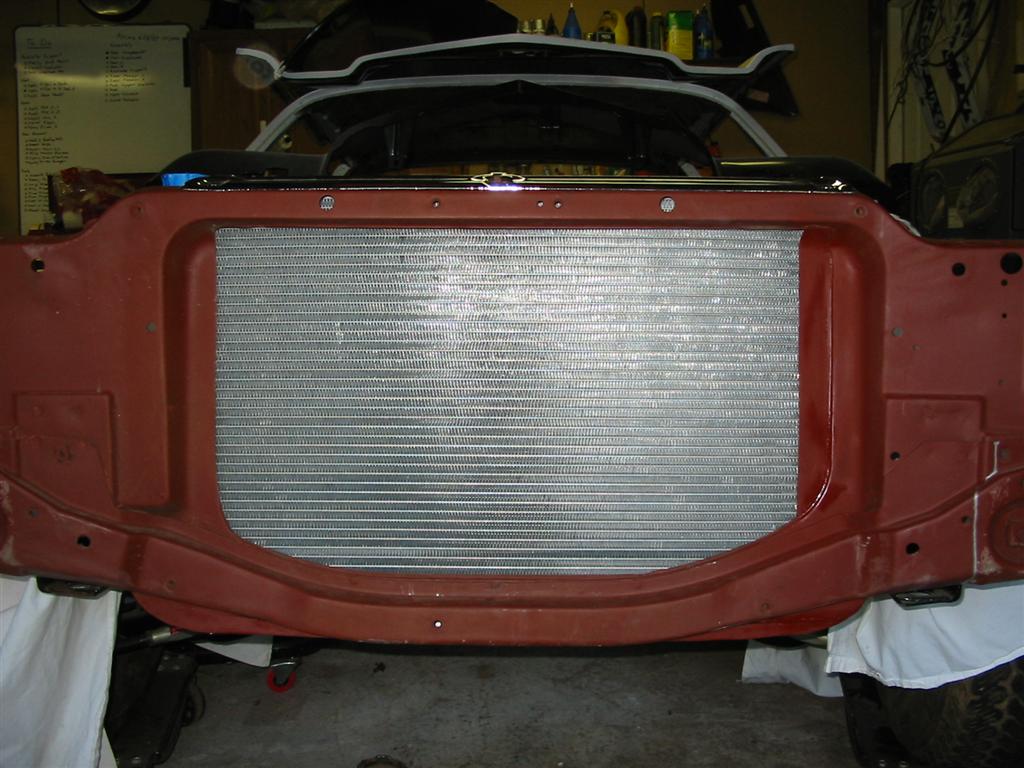
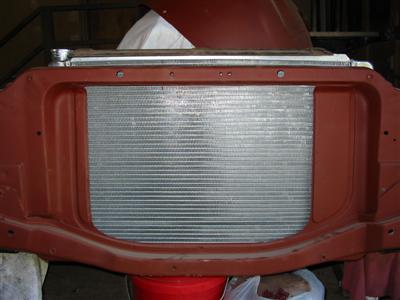
| Here is the radiator sitting on the factory mounts. As you can see it sits about an inch and a half too
high and the front opening is a little small. I will took care of these issues by cutting up the support
a bit and doing some fabrication. |
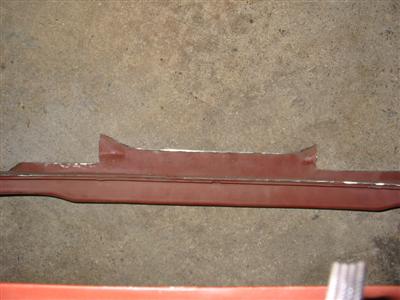
Here is a picture of the mount after I cut most of the original out. |
|
|
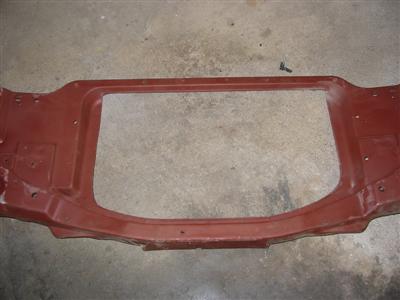
| Here are pictures of the front of the radiator opened up to the size of the indentation
of the support. Unfortunately, the cut is a little too big because you can see the radiator end
tank on the driver's side. I later took care of this. |
|
|
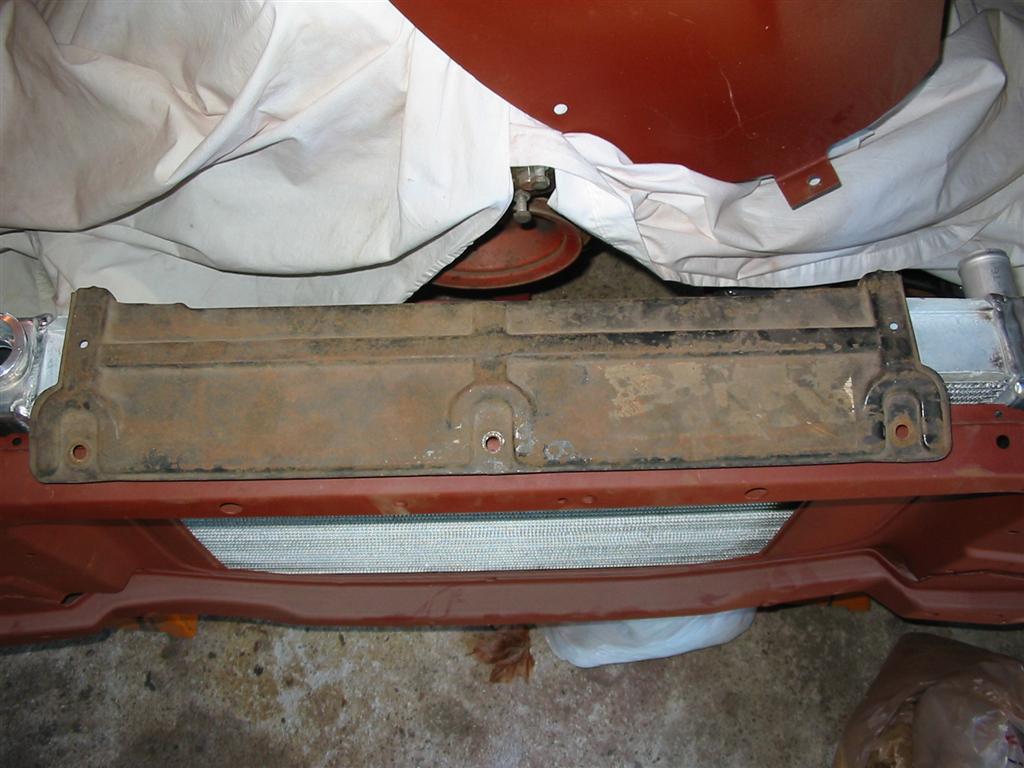
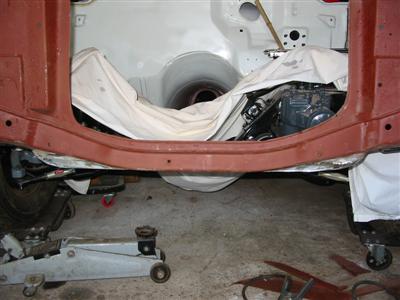
| Here is the bottom of the support with the radiator sticking out. I will fabricate
the lower mount so these are not seen and the support with look factory. |
|
|
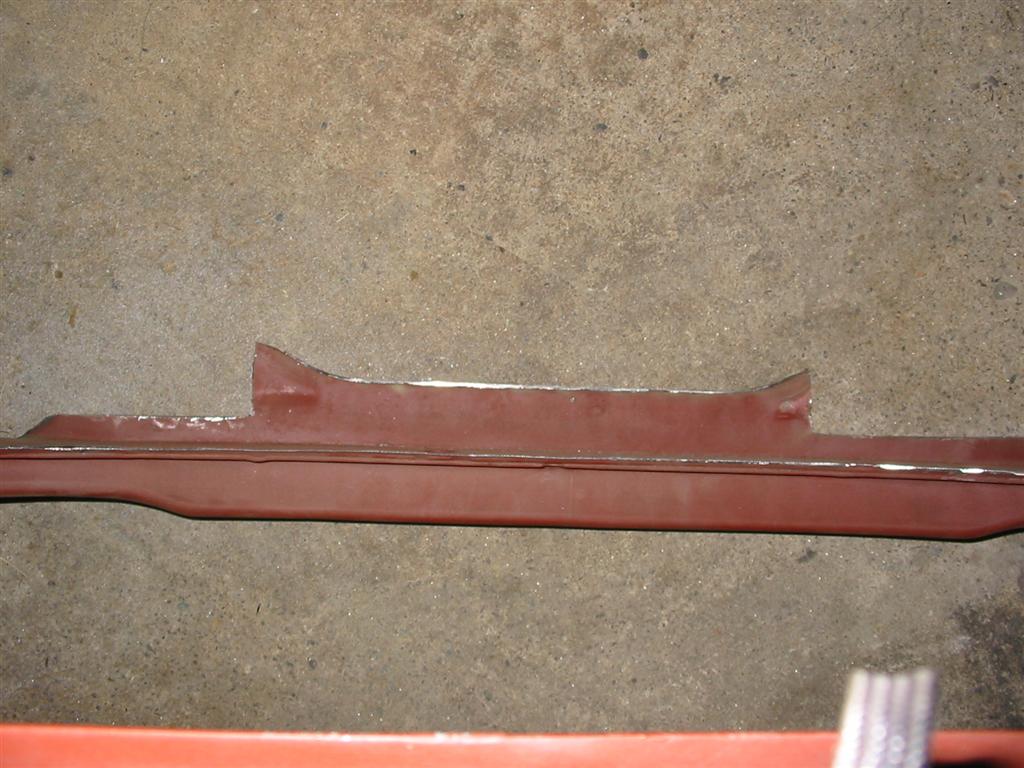
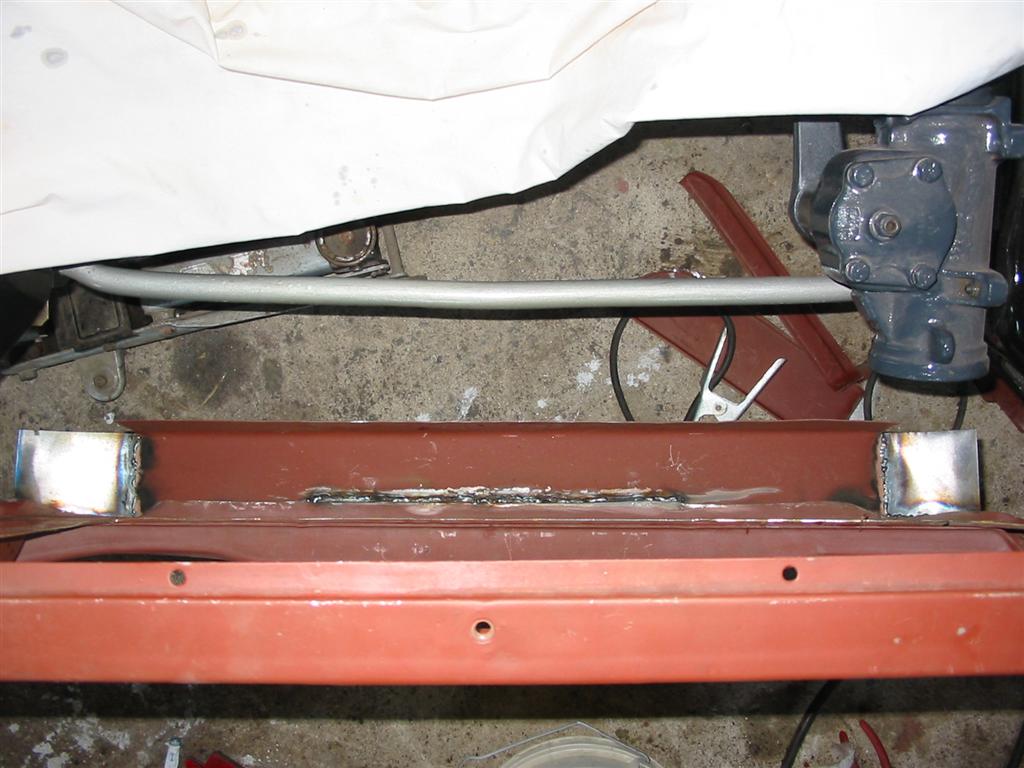
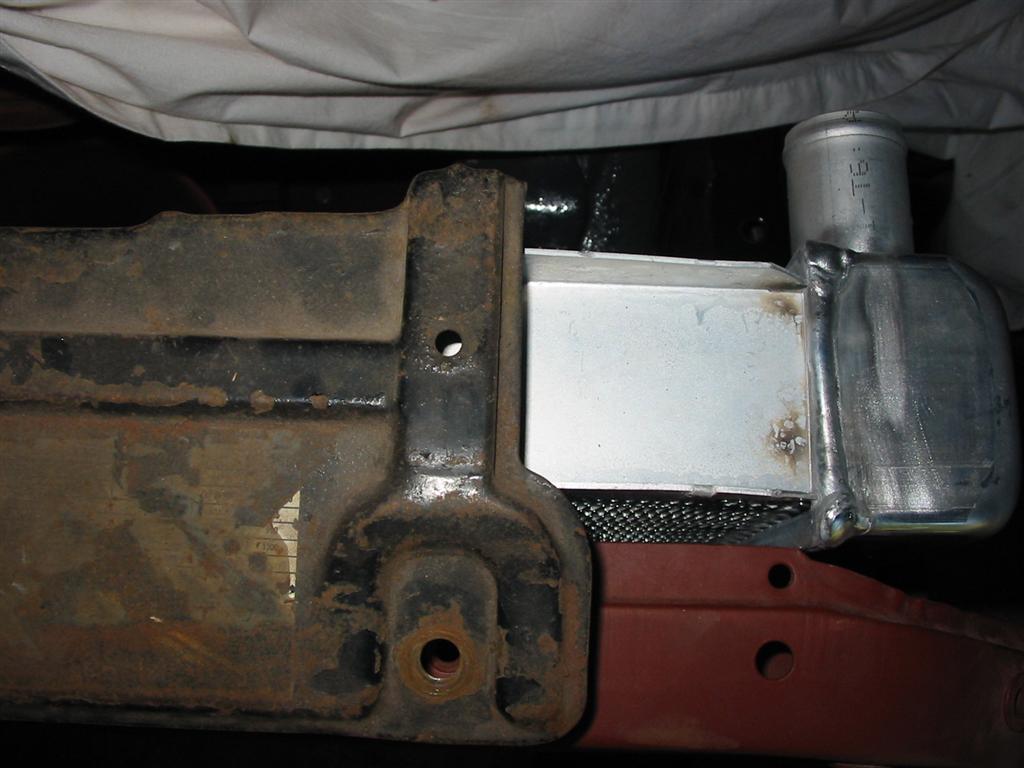
| I used several pieces of metal to make the lower support. Here is the main L shaped bracket and
the front side pieces that blend the bracket into the support. |
The next two pictures show the bottom support bracket welded in. |
|
|
|
|
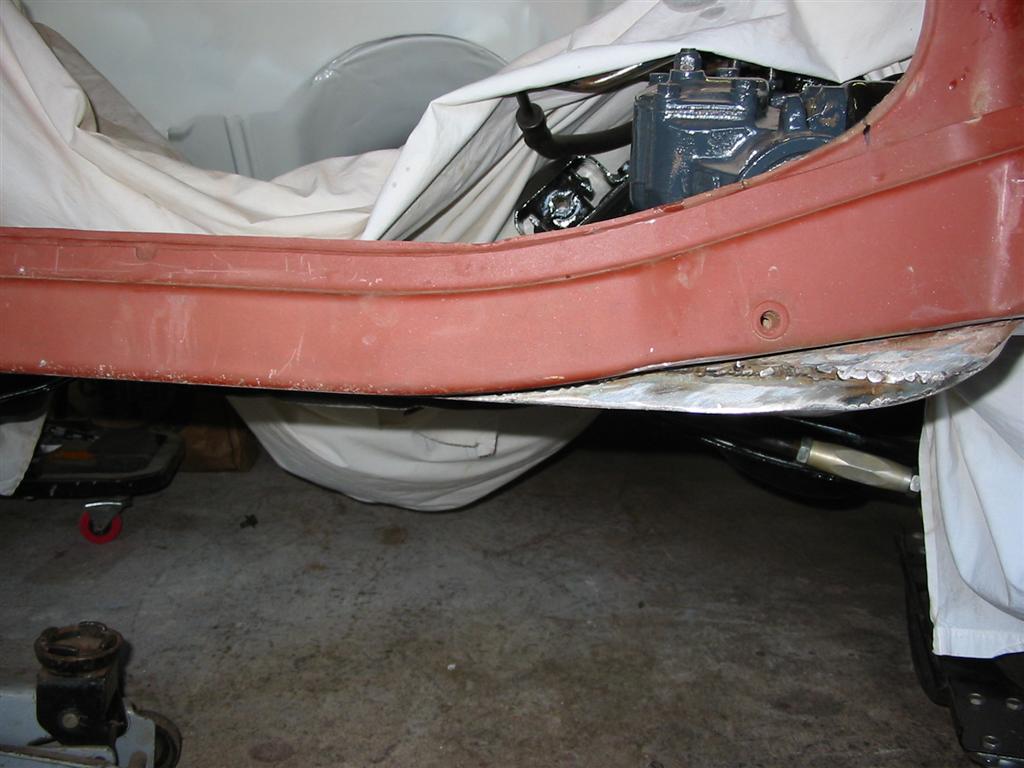
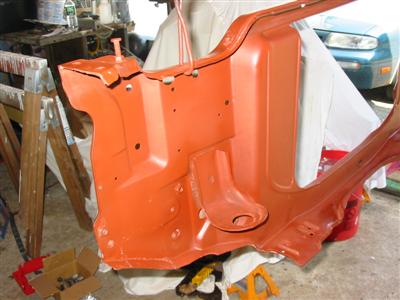
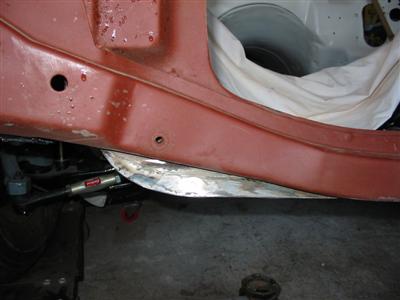
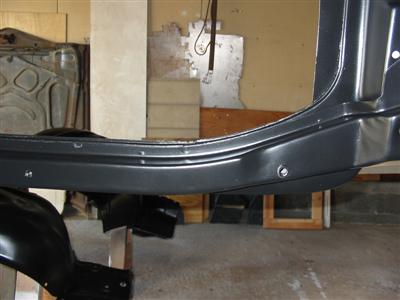
| Here is the lower front of the support. As you can see, the bracket blends into the factory
support like it was built that way. I will later grind down the welds and smooth out with some body
filler. |
|

|
|

|
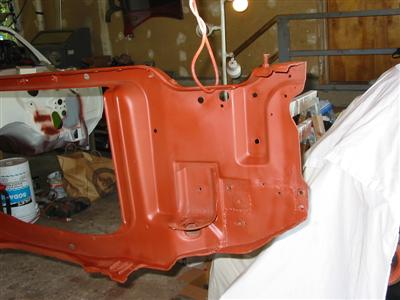
| Here is the factory top radiator mount. This is the smaller of the two factory
mounts. I have purchased a mount the was wider and covers the radiator perfectly. |

|

|
| Here is the radiator support prepped and ready for epoxy primer. I have smoothed out the bottom with
filler. You can also see that I welded back in some of the material that I cut out on the drivers side
radiator opening. |
Here is the radiator support coated with epoxy primer. |
|
|
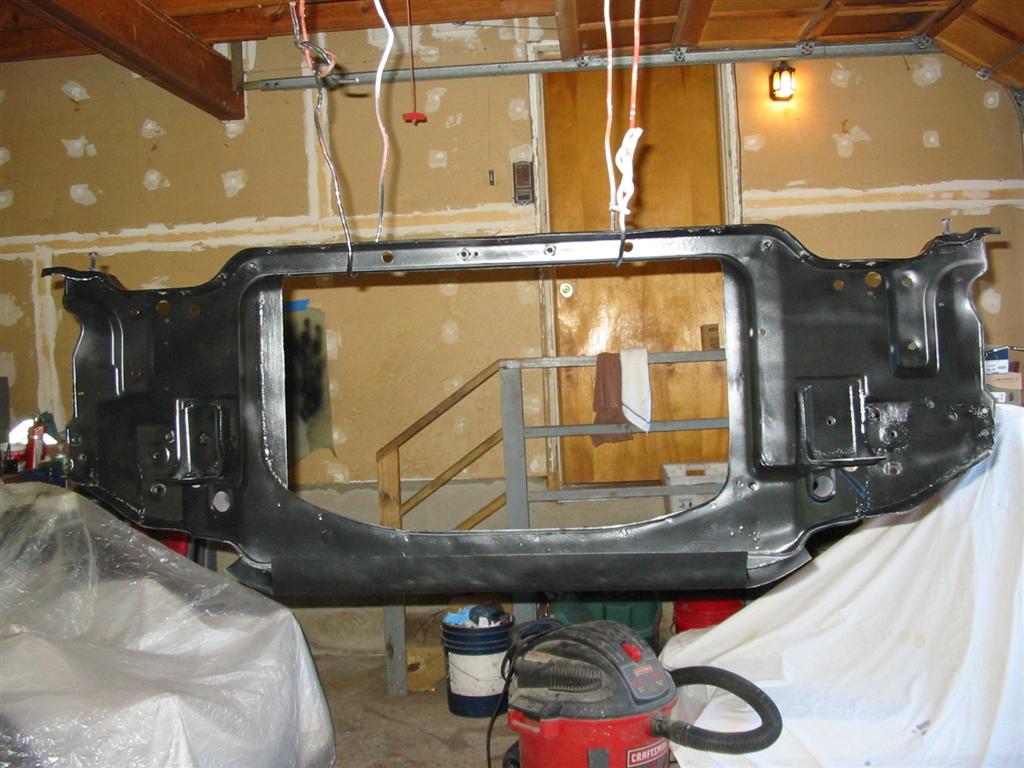
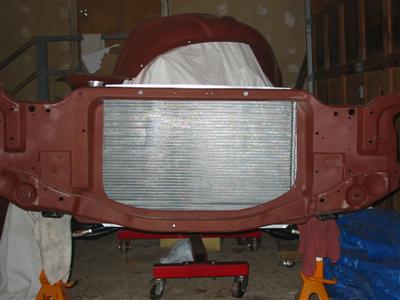
| Here is the radiator support done and coated with Eastwood Underhood Black. |

|

|
|
|