|

Initial Pre-Assembly and Doors (September 9, 2007)
This page documents the process of installing the rear suspension, front subframe and initial door fitment. The rear suspension and front frame is now installed and will not be removed again unless I upgrade parts. The doors and front sheetmetal will come off again for final paint. The right door will come off to have a door skin installed. The left door is salvageable and does not need a skin. I installed and aligned the right door to the body so I have something to line the new skin to when I install the new skin.The rear suspension was installed using a Pro-touring F-body Leaf Spring Super Duty Installation Kit. This kit includes everything you need to install the rear suspension. The kit uses rubber bushings except for the rear leaf spring bushing which is polyurethane.
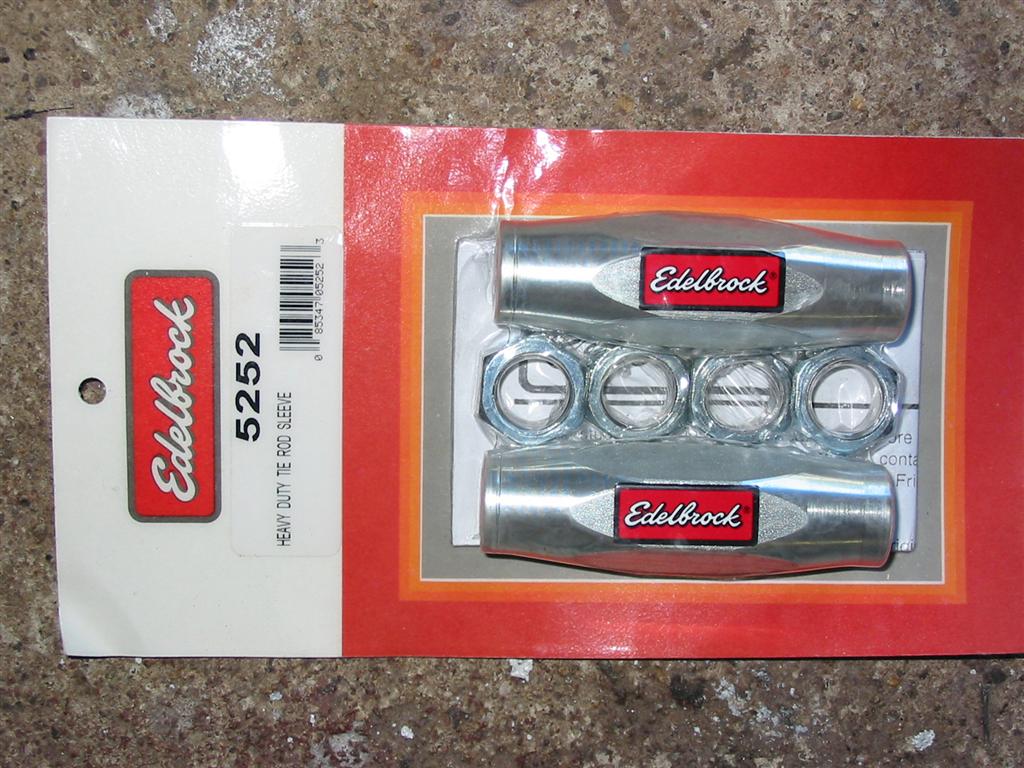
The front subframe is mounted to the car using the Global West Interloc Bushings. These solid body mounts are made of solid aluminum and are the same height as the stock rubber bushings. Also shown is the installation of of a set of Edelbrock Heavy-Duty Tie Rod Sleeves for the front suspension. These pieces are stronger than the stock sleeves and look cool too. Status photos as of 9/9/2007:
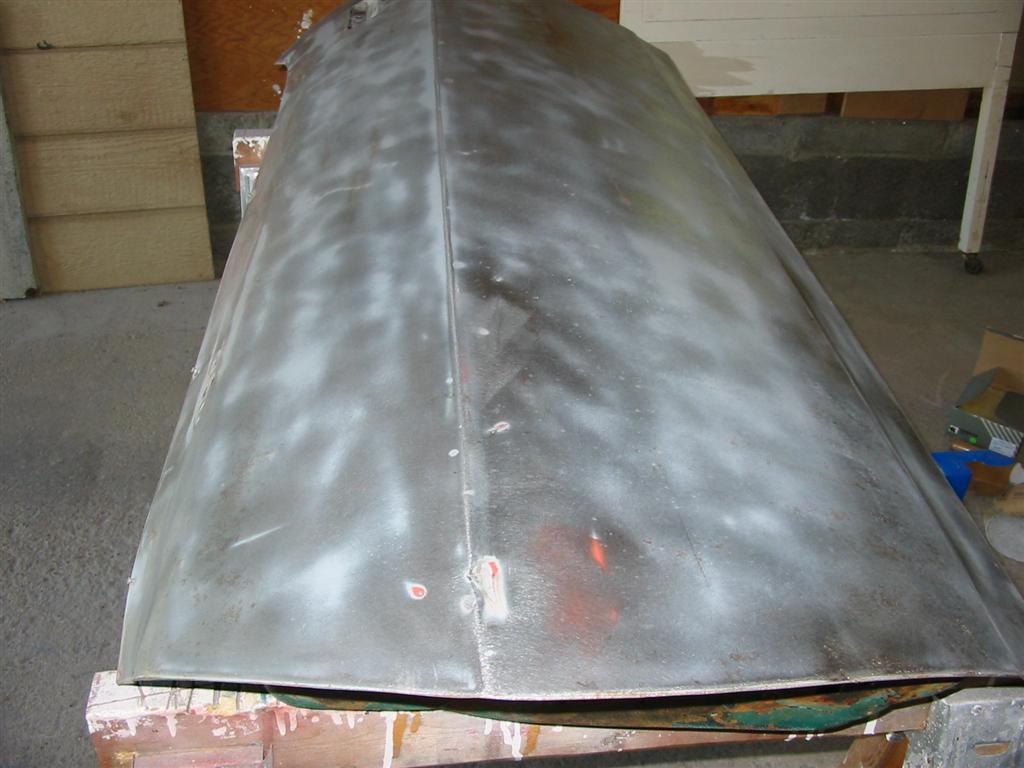
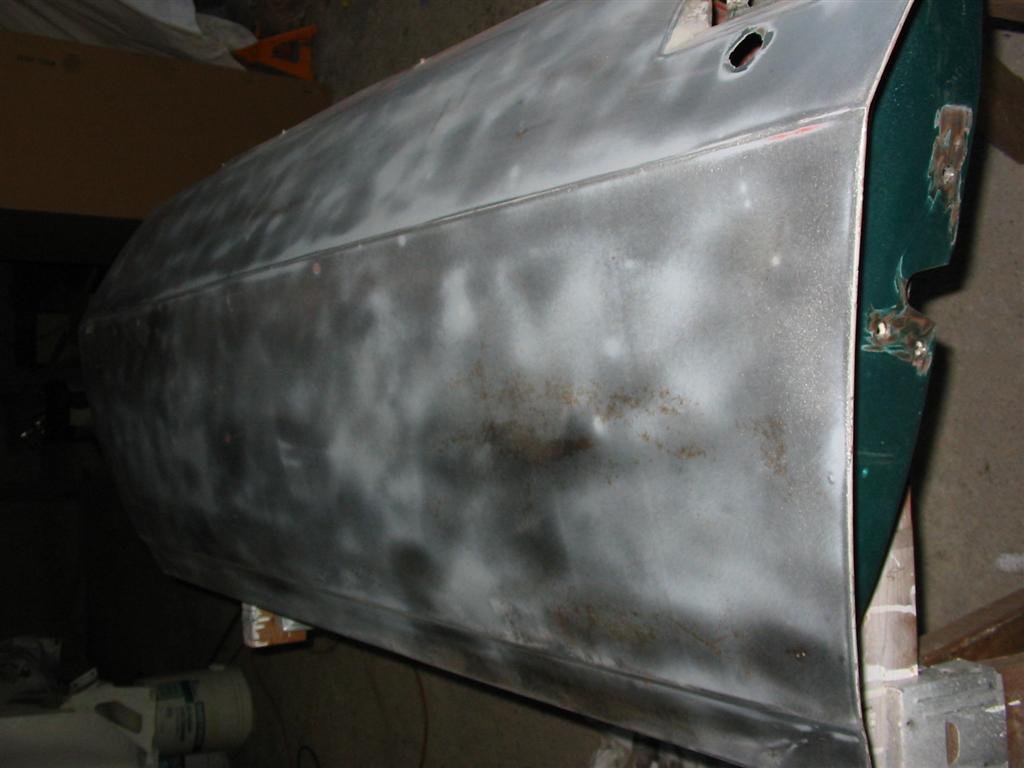
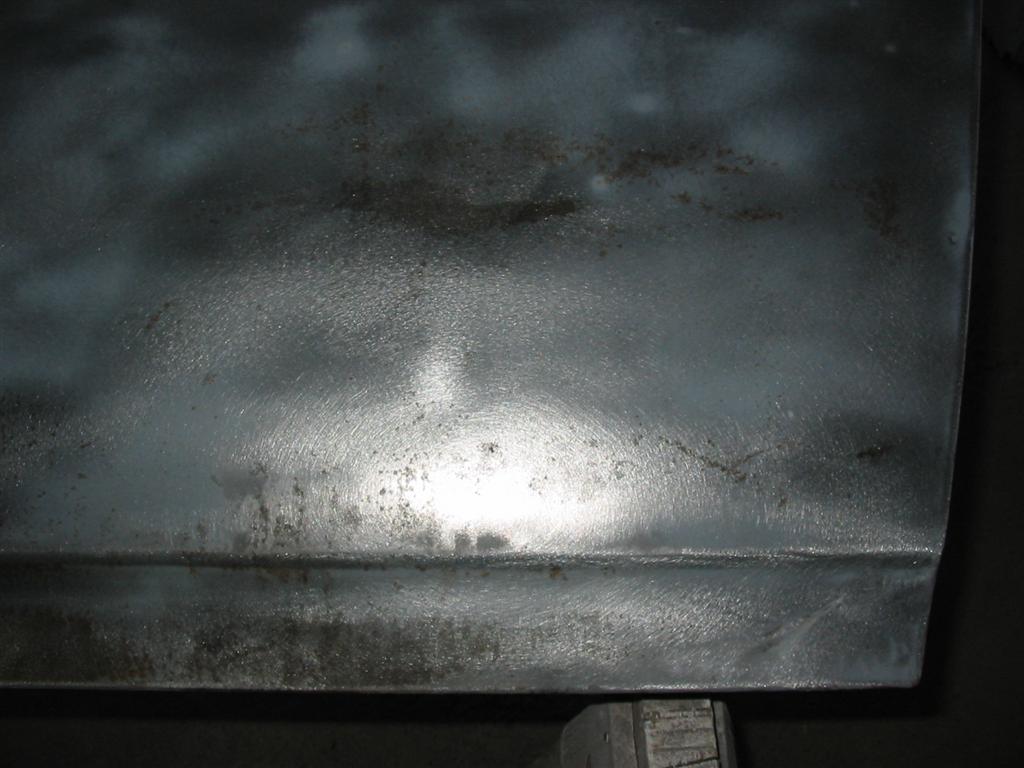
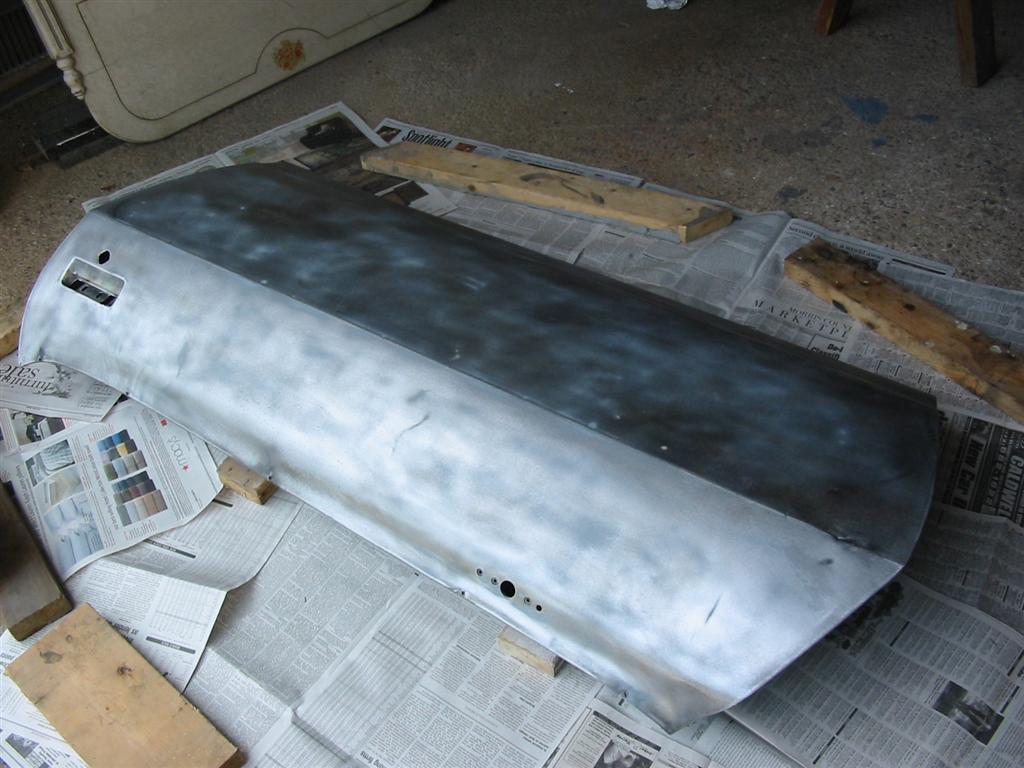
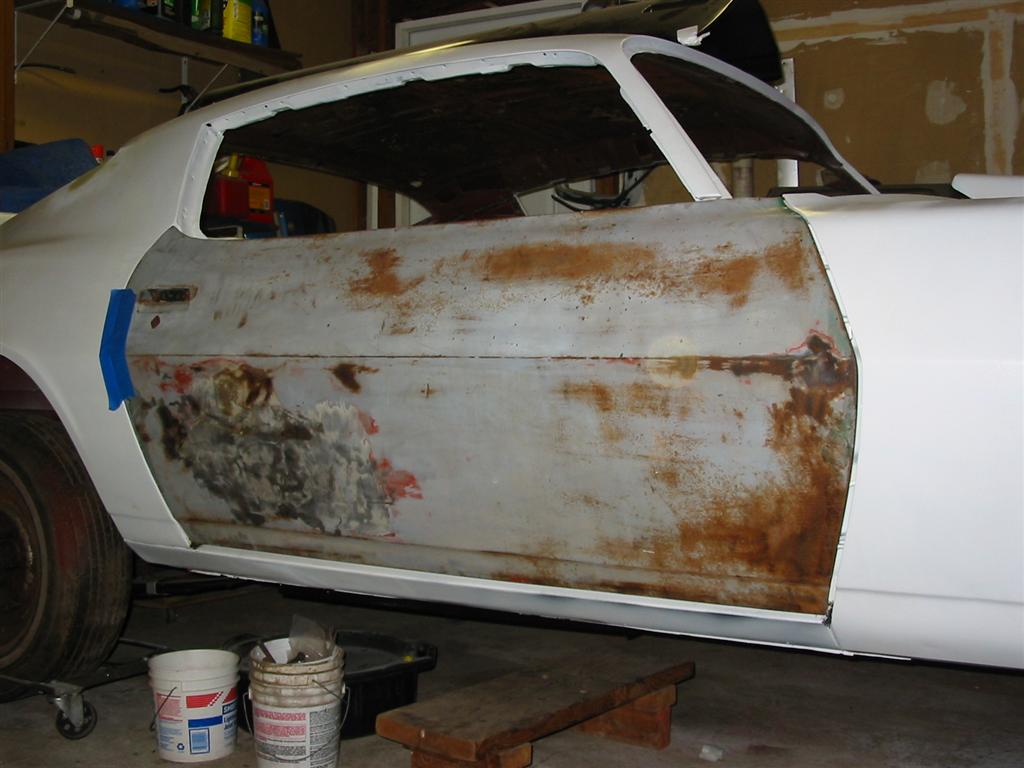
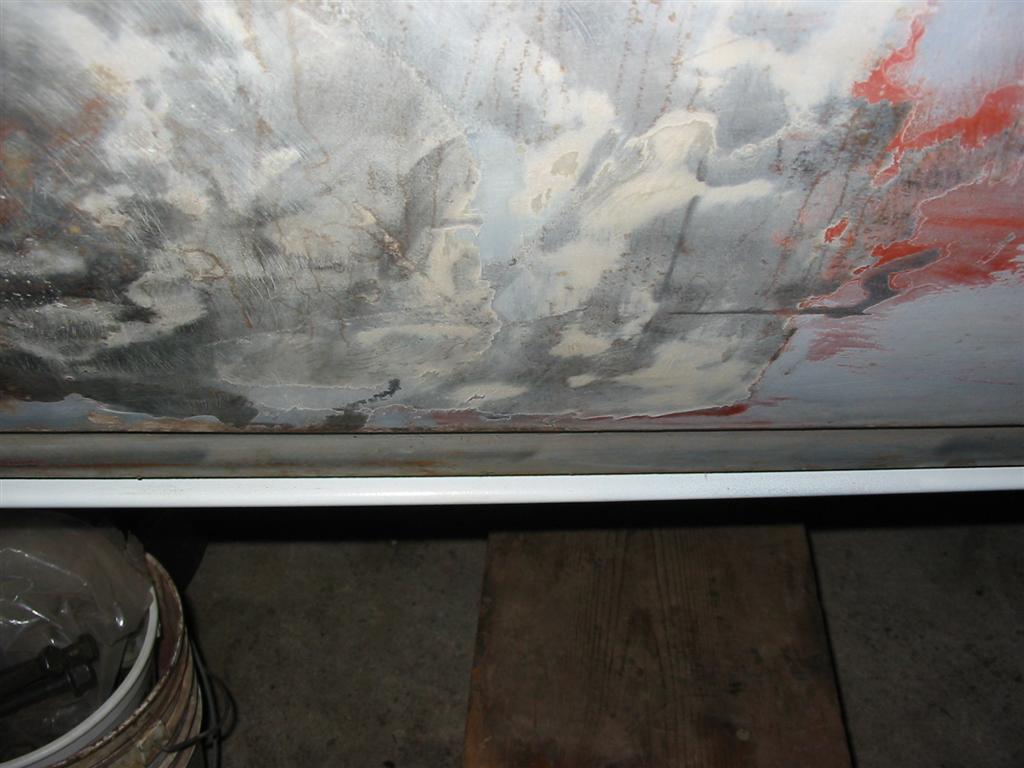
| Here are pictures of the left door after initial stripping. | |
|
|

|
|
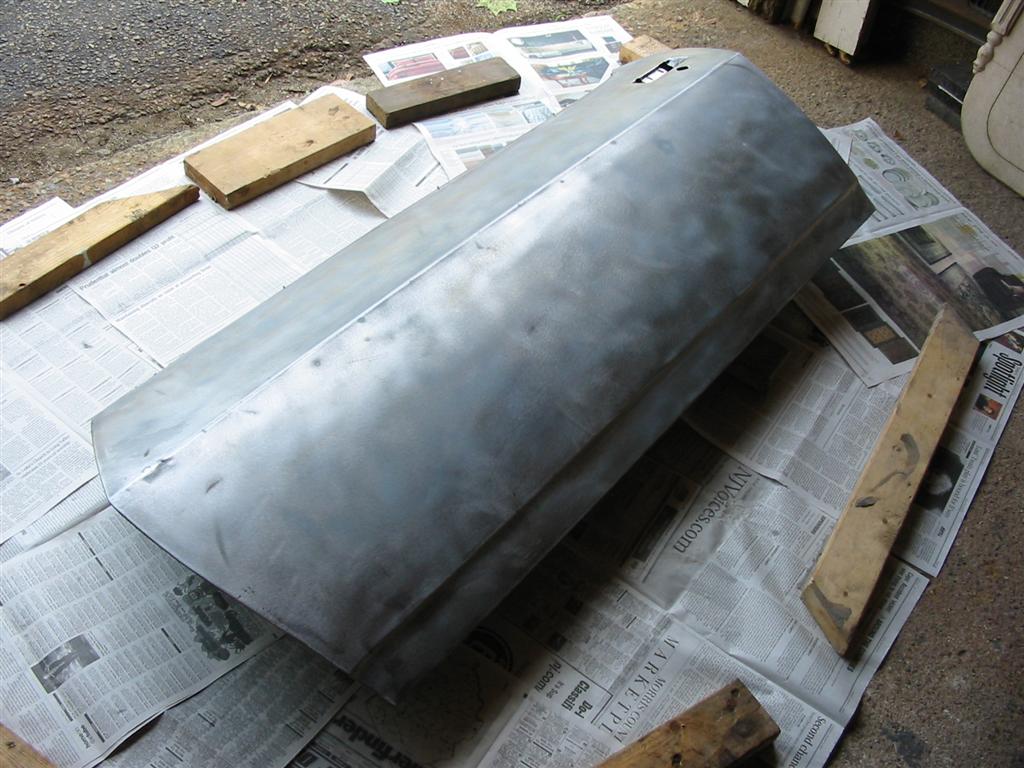
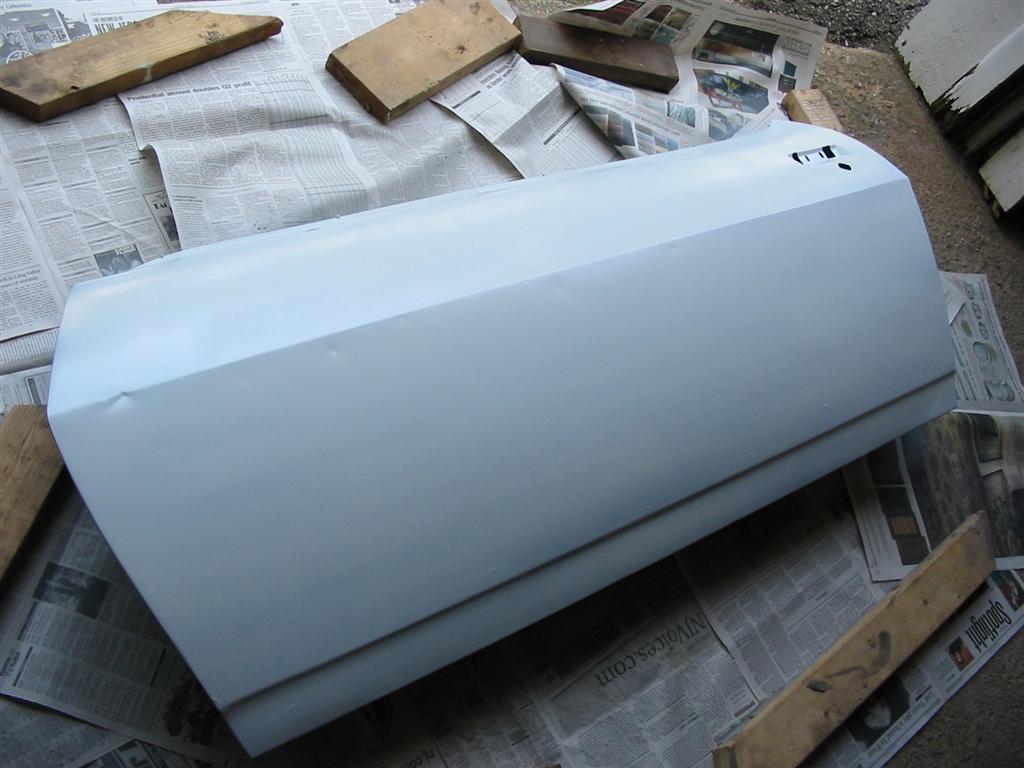
| Here are pictures of the left door stripped down to bare steel. All rust has been treated and removed. This door is in decent shape and only requires minor body work. | |
|
|
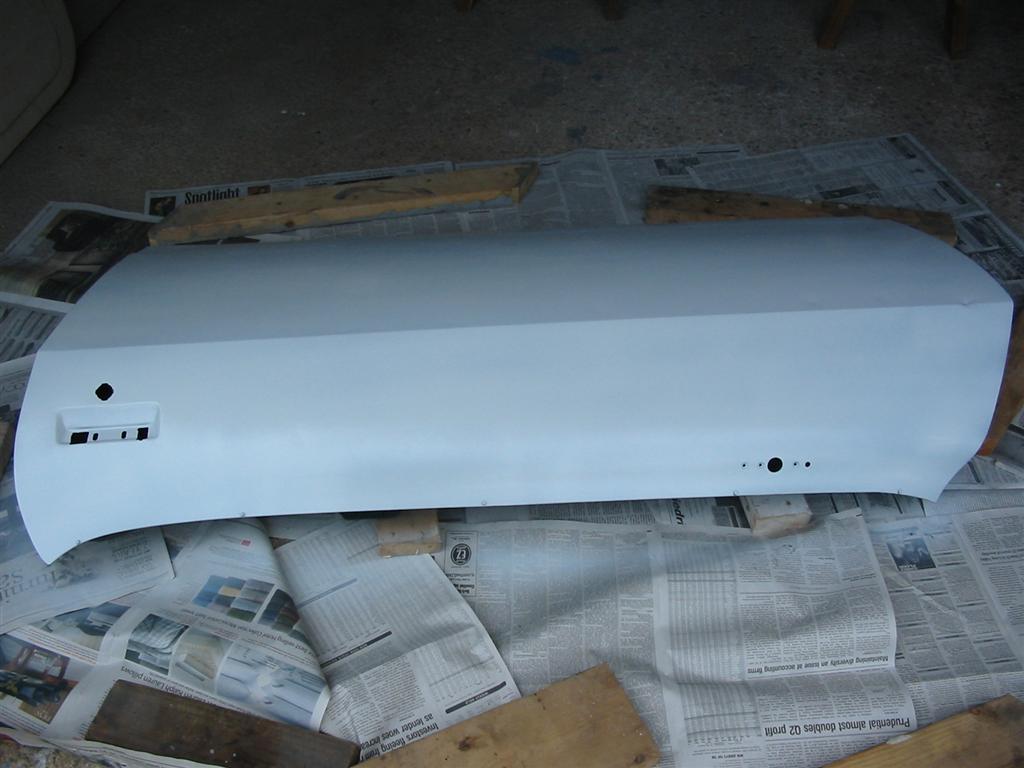
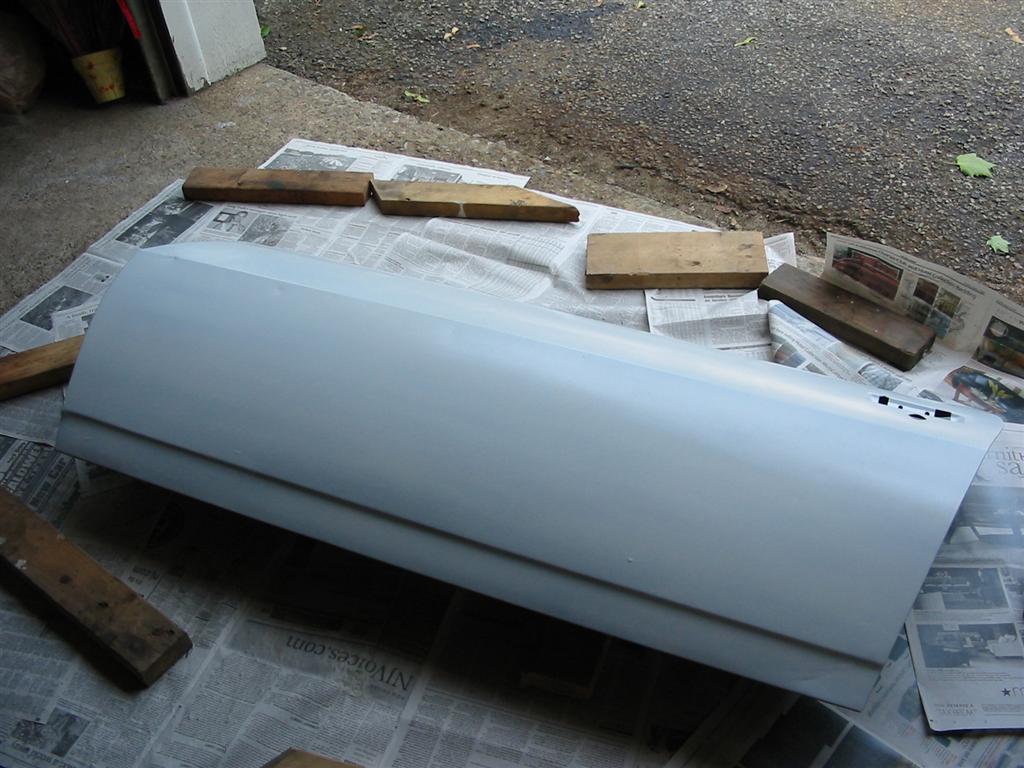
| Here are pictures of the left door coated with epoxy primer. | |
|
|
|
|
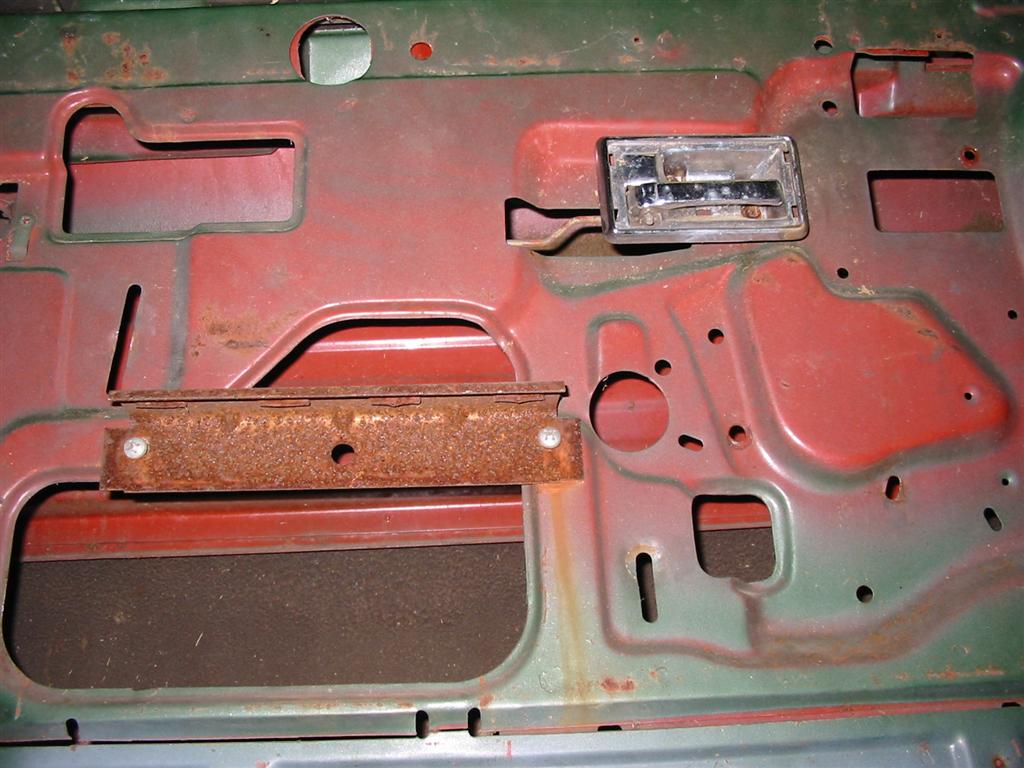
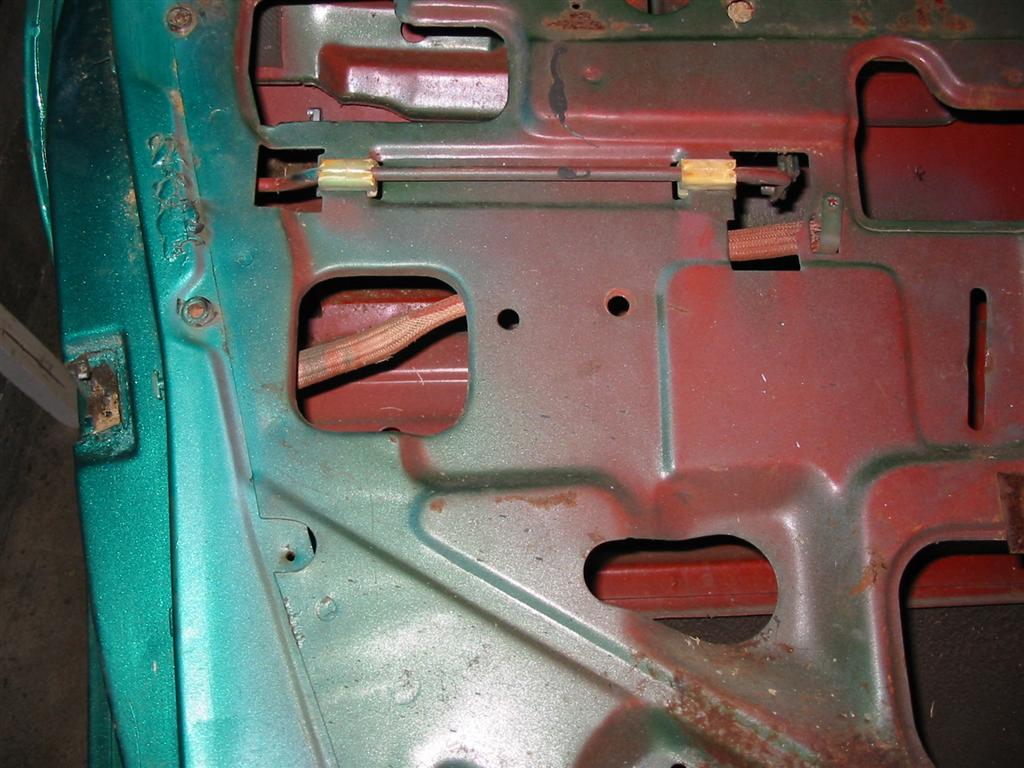
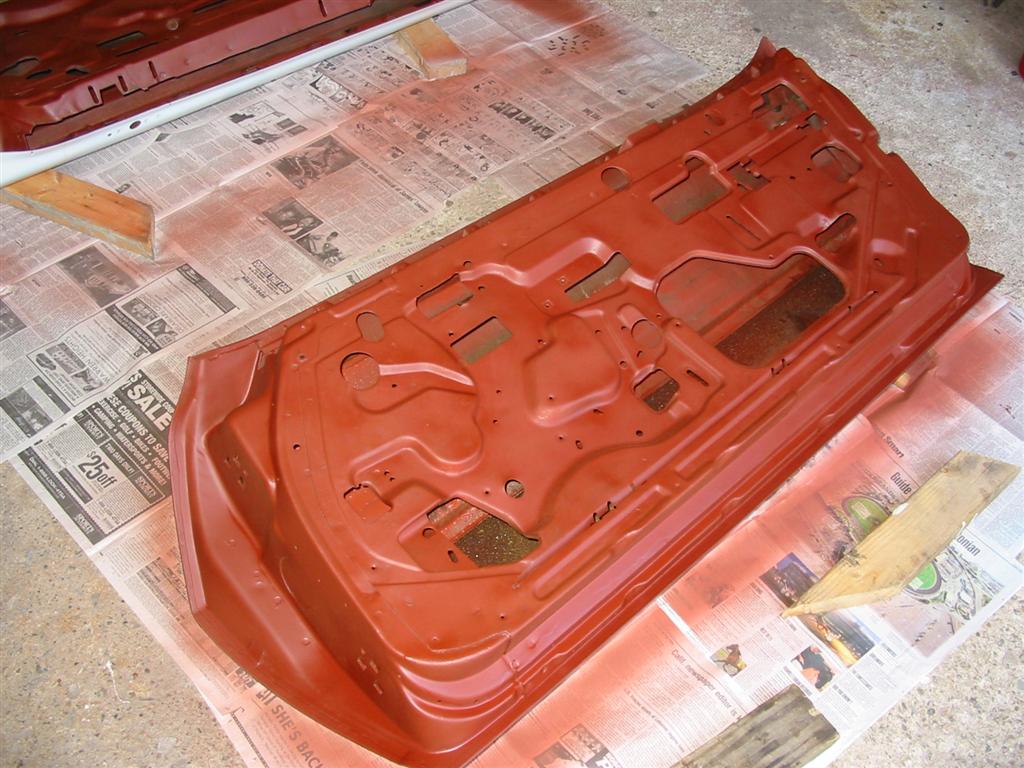
| Here are pictures of the inner frame of the left door. | |
|
|
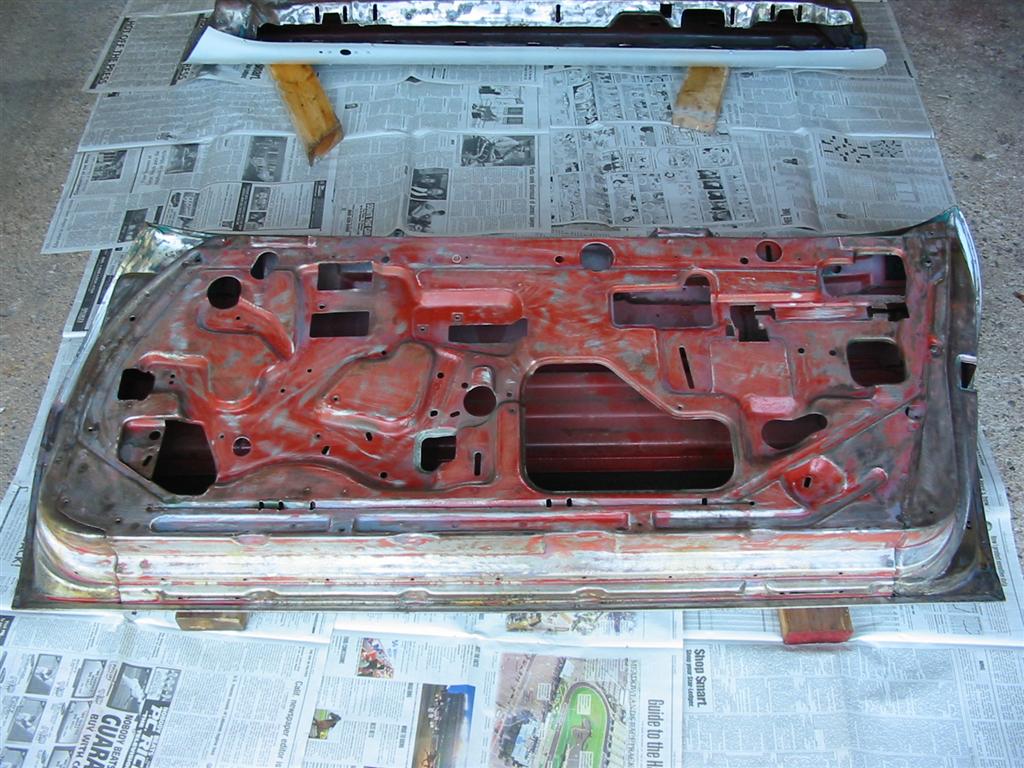
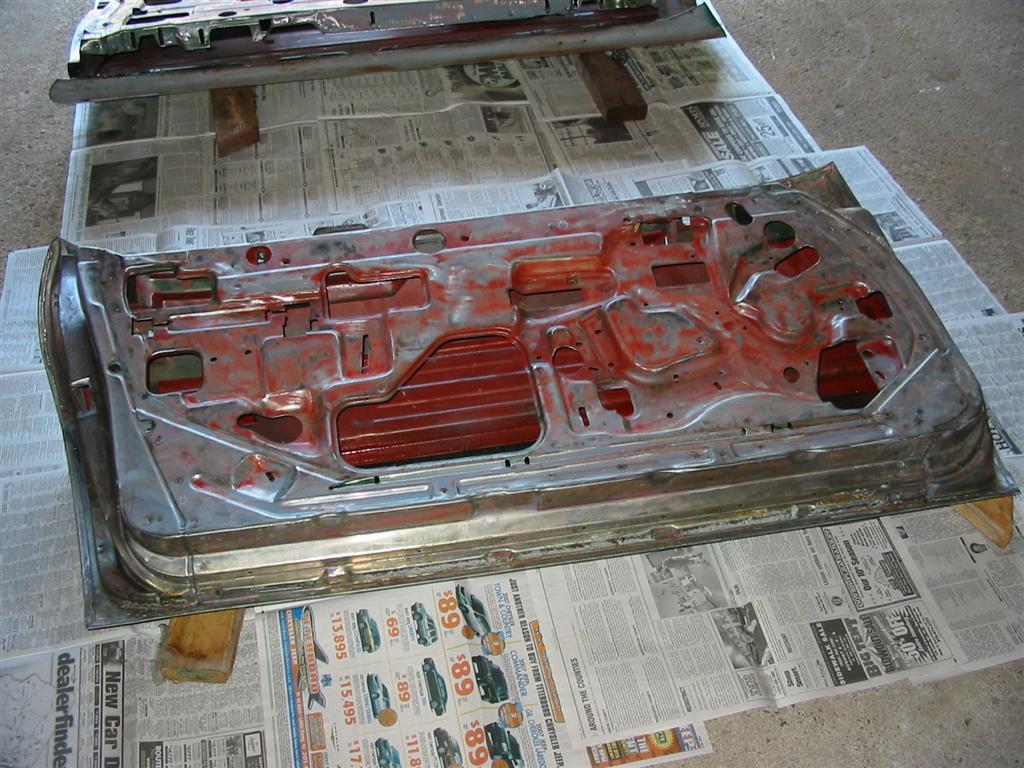
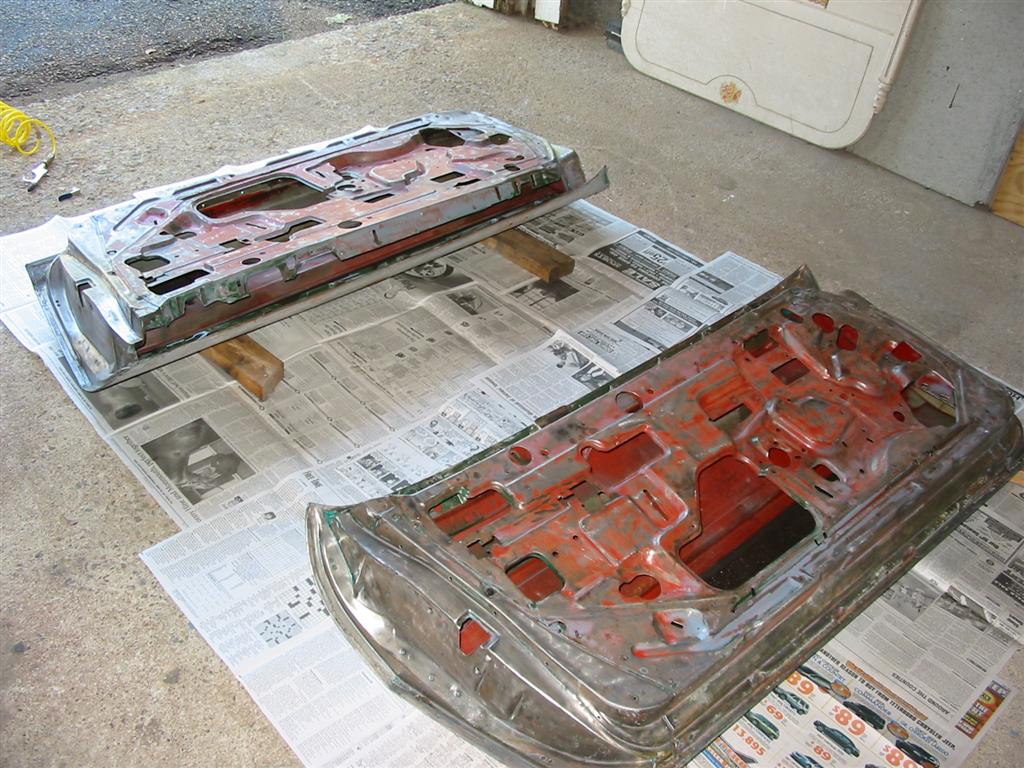
| Here are pictures of the doors with the inner frames stripped of paint and surface rust. Eventually, I will coat the insides of the doors with POR-15. | |
|
|
|
|
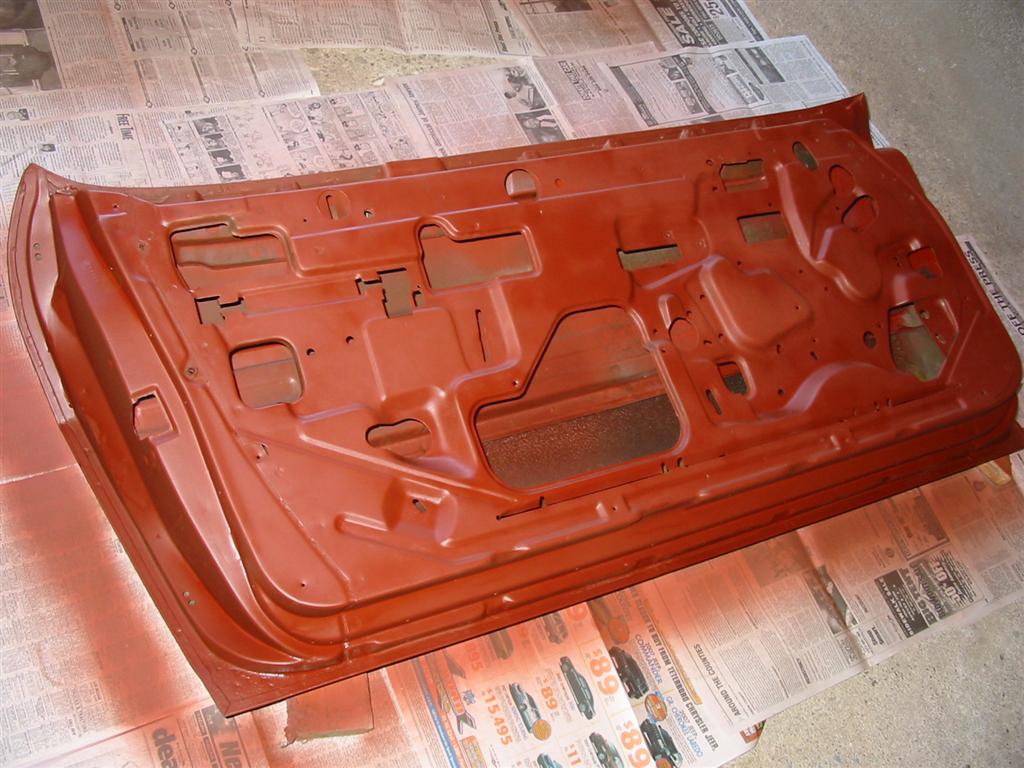
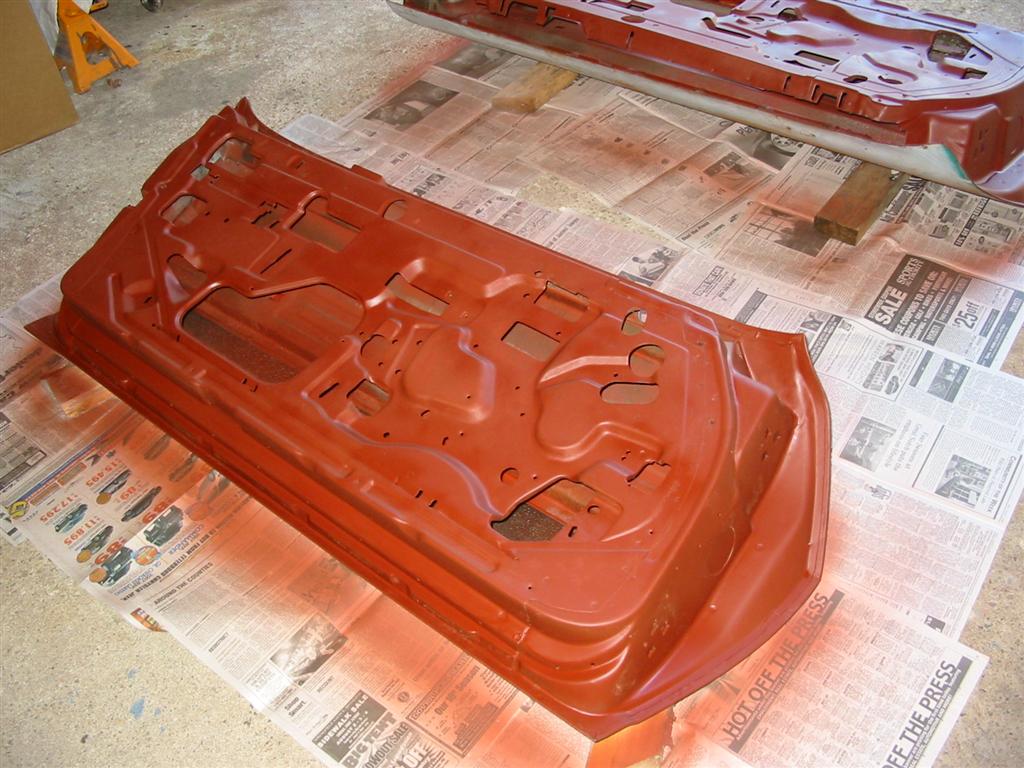
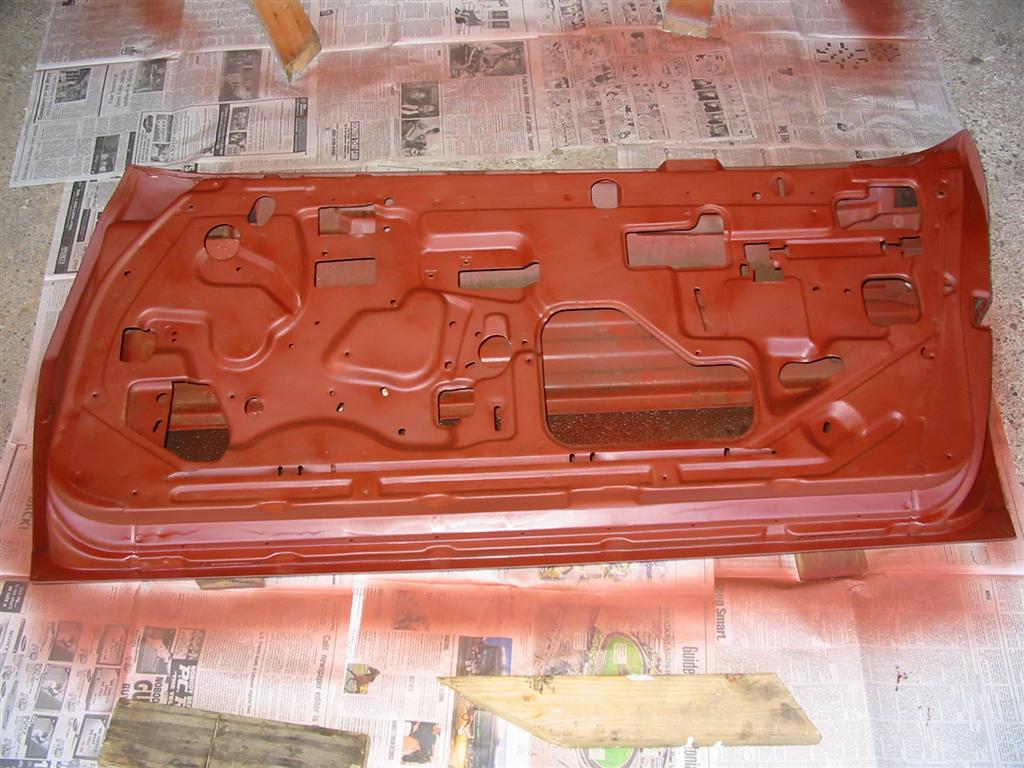
| Here are pictures of the interior frames of the doors coated with ZeroRust. | |
|
|
|
|
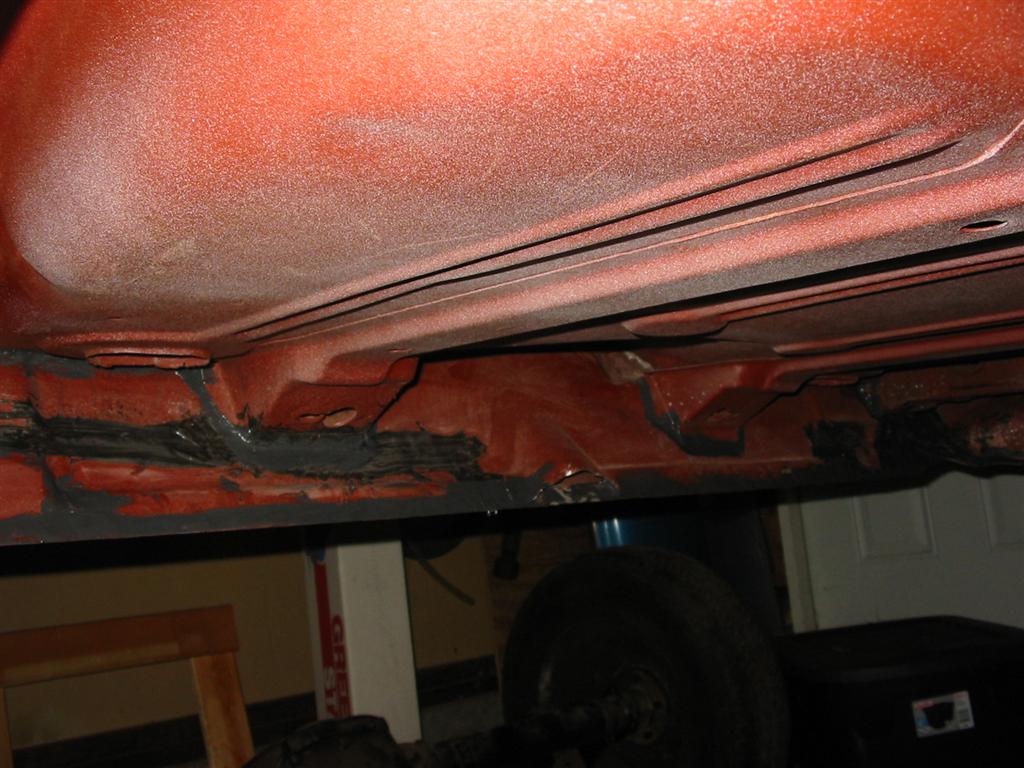
| Before installing the rear suspension, I coated all the body seams with seam sealer on the rear bottom of the car. It doesn't look pretty, but it will keep moisture and debris out of the seams which could cause rust. The first two pictures are the rear inner valance. | |
|
|
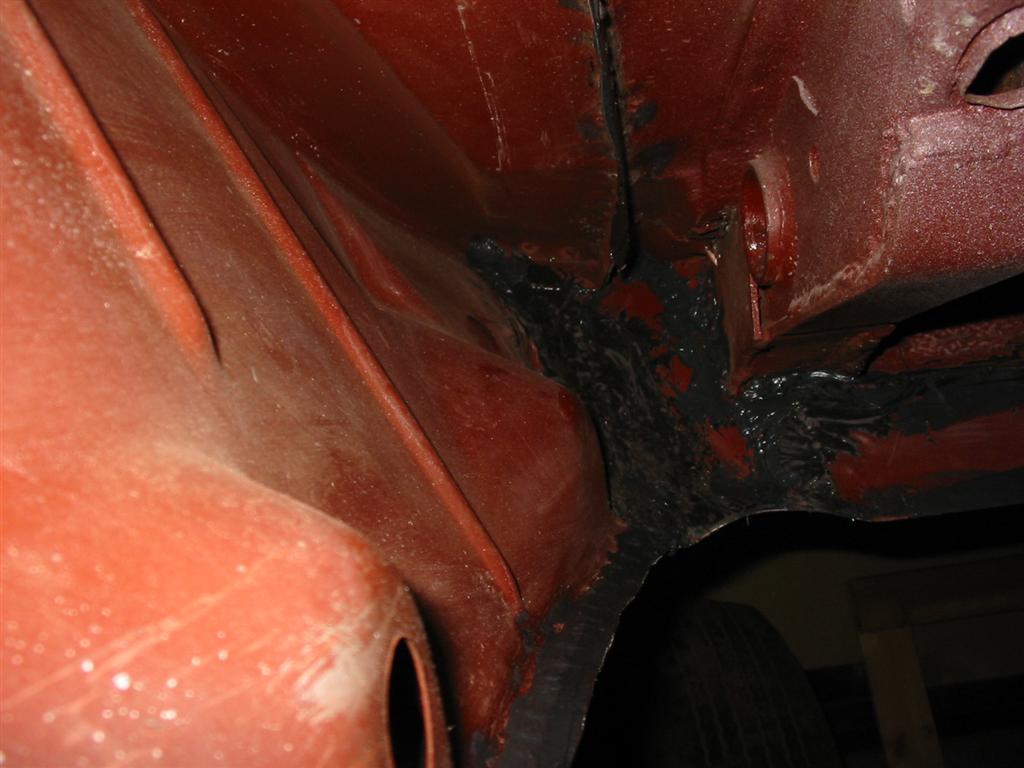
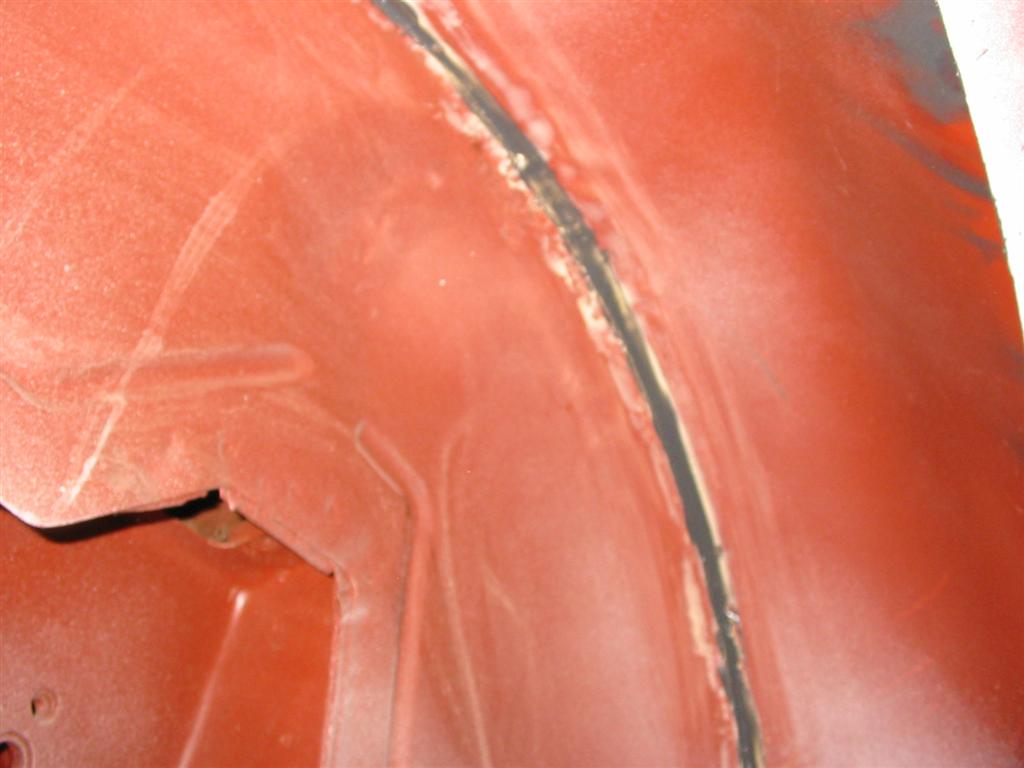
| Seam sealer in the rear inner fender. | Here is a picture of seam sealer applied to the rocker panel area. |
|
|
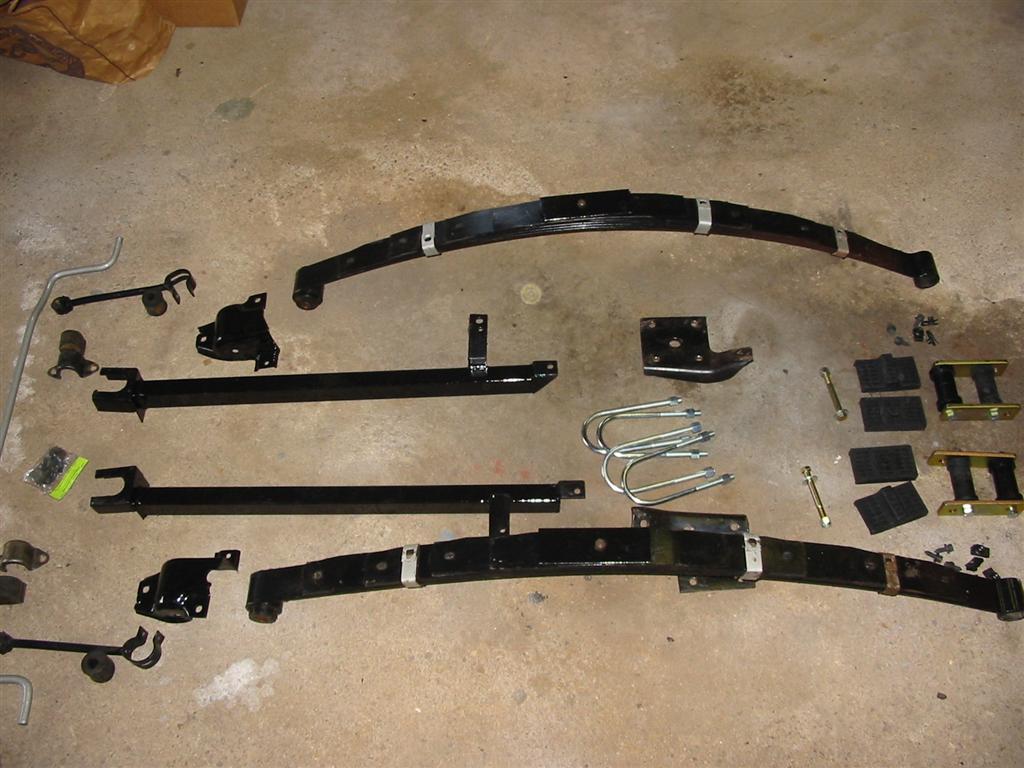
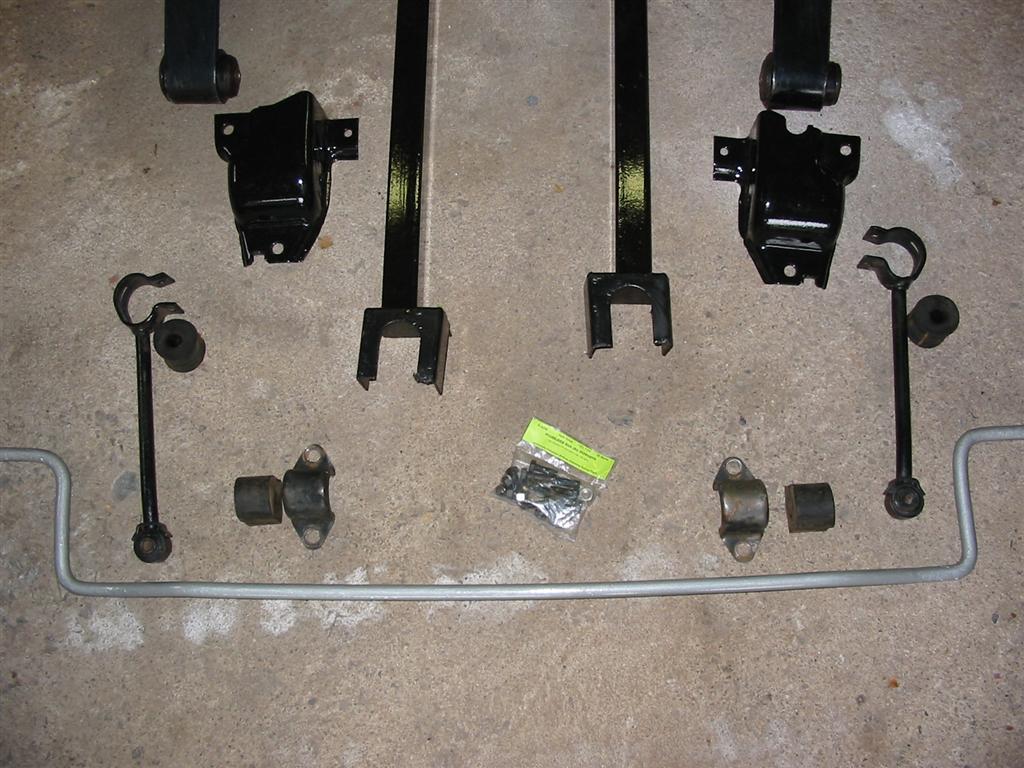
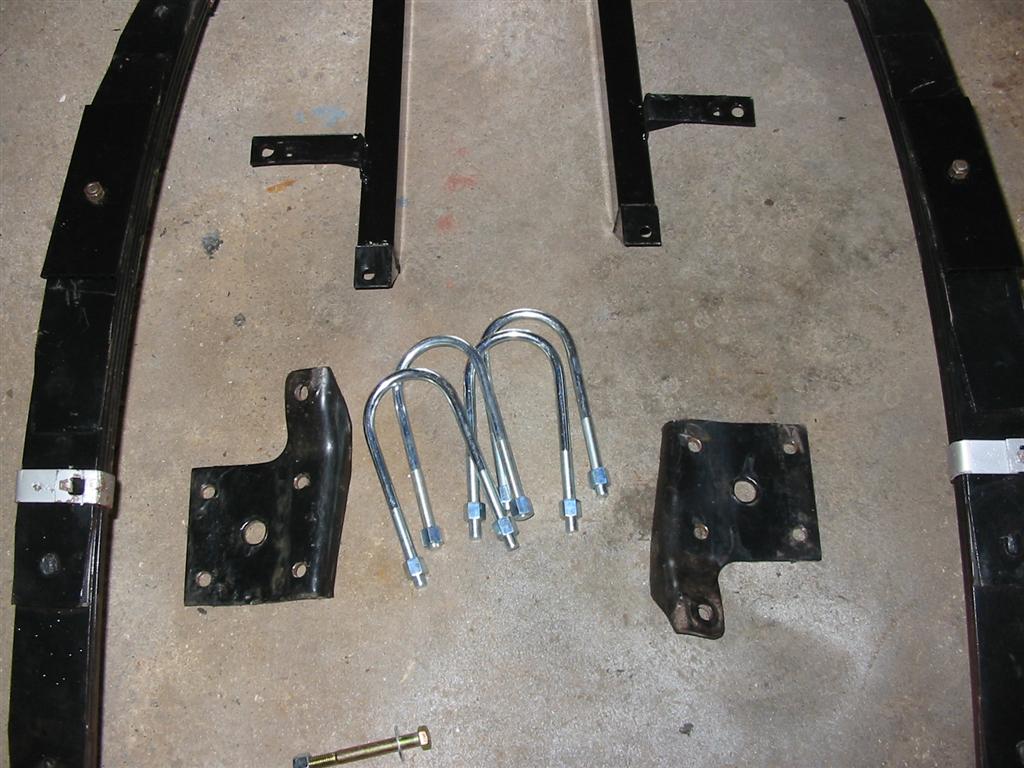
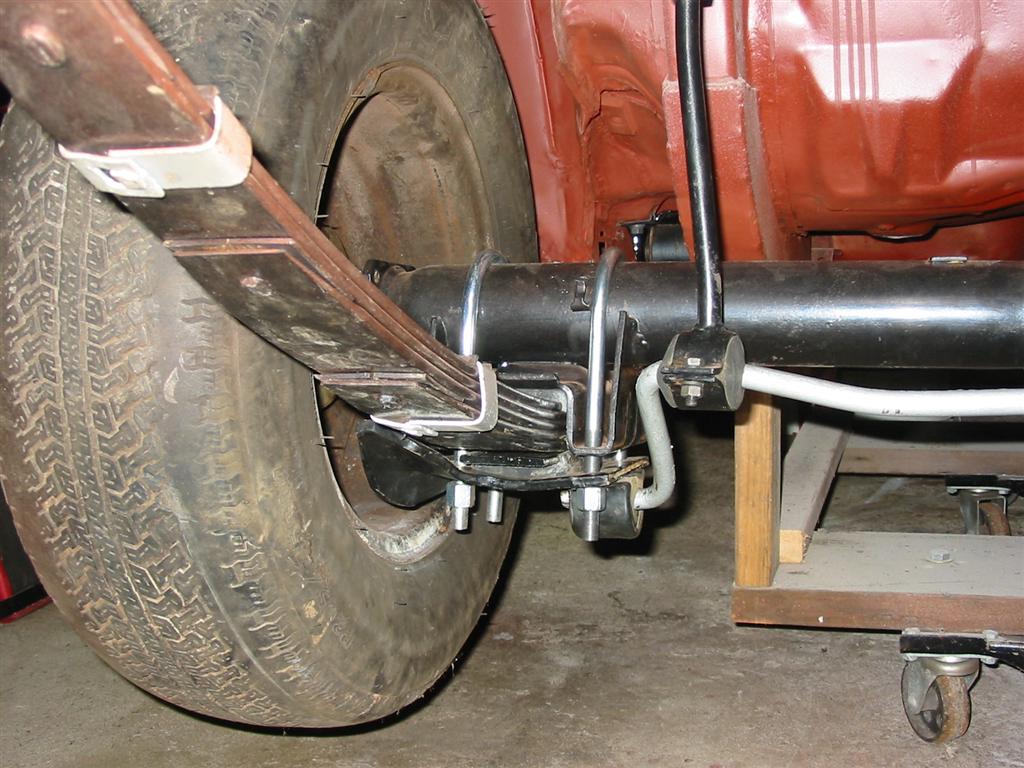
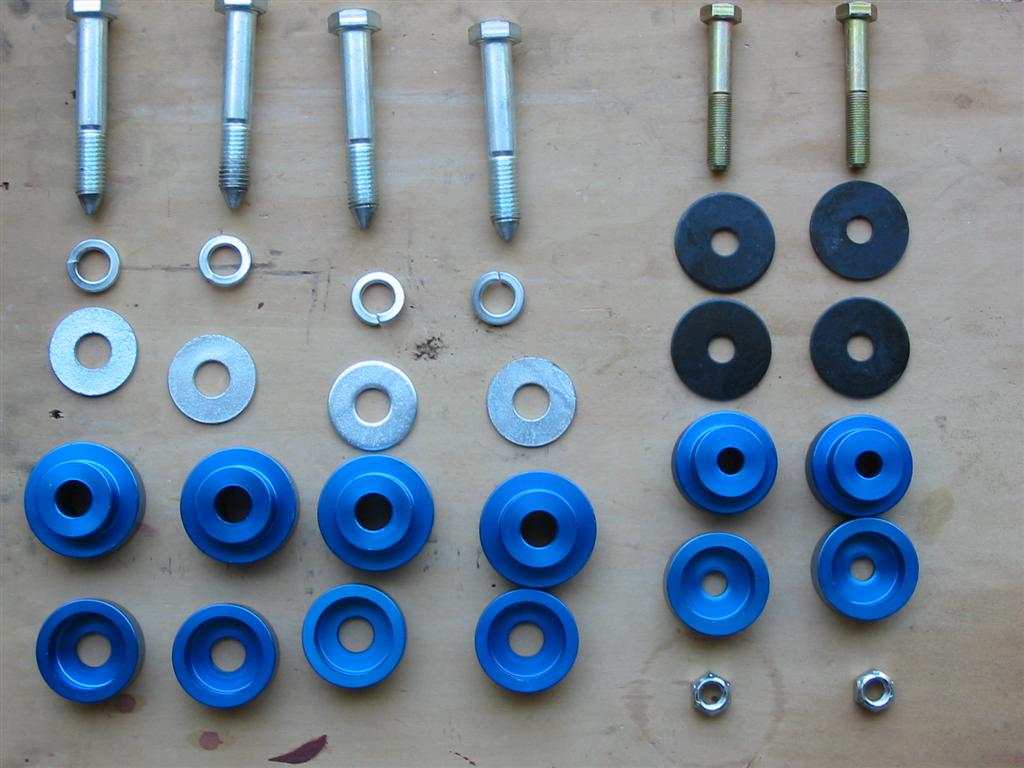
| The following photos display all the rear suspension components prior to installation. Shown in this photo are the following items: Recondition factory springs, CE Bolt in subframe connectors, Stock front leaf spring mounts, Stock lower shock mounts, Stock rear swaybar from a later 2nd gen Z28, mod, Upgraded 1/2 inch U bolts, Pro-touring F-body Leaf Spring Super Duty Installation Kit, and AMK rear swaybar bolt kit. | |
|
|

|
|
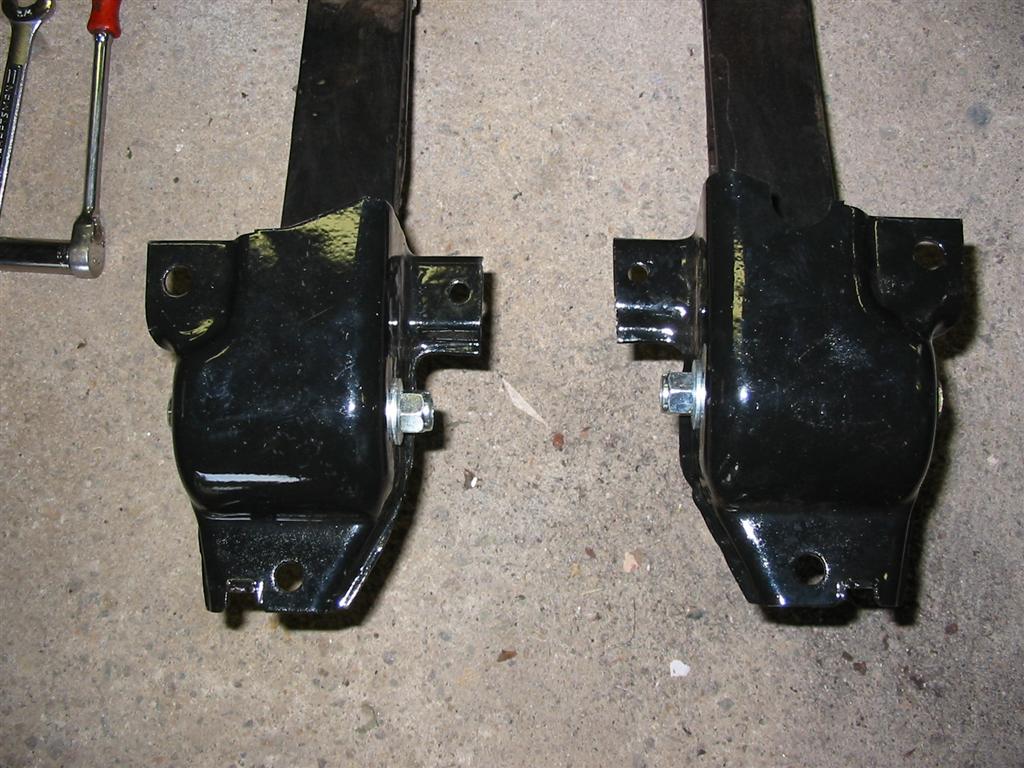
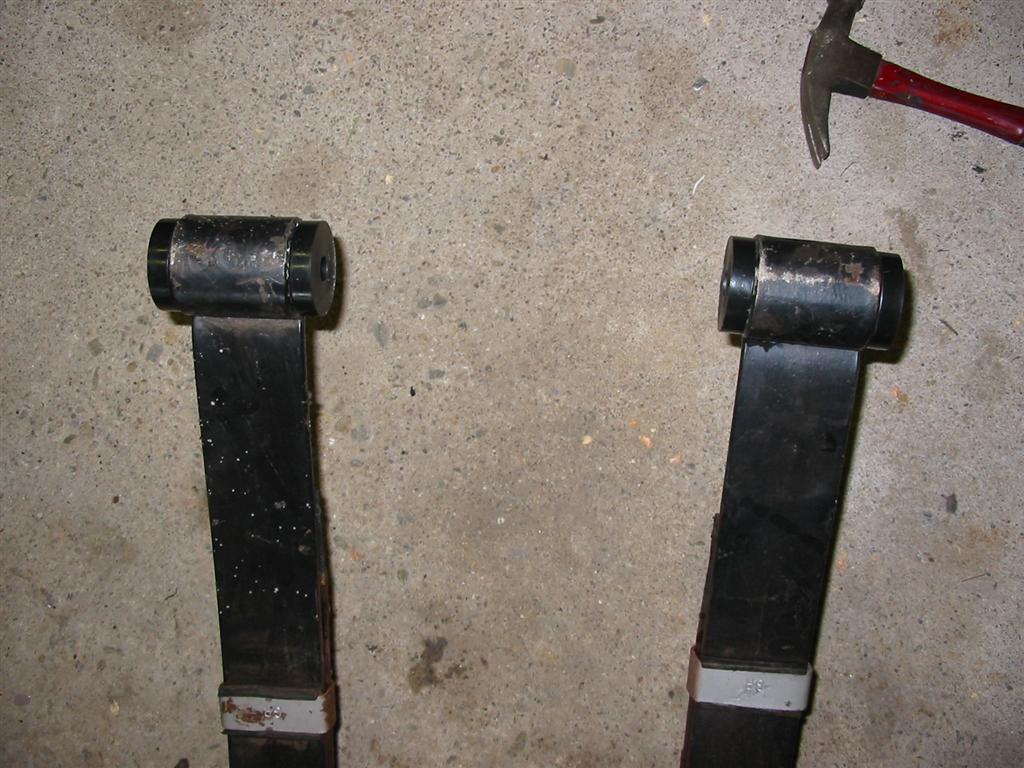
| Here is the front leaf spring mount installed to the leaf spring. | Here is the rear of the leaf spring with the poly bushing installed. |
|
|
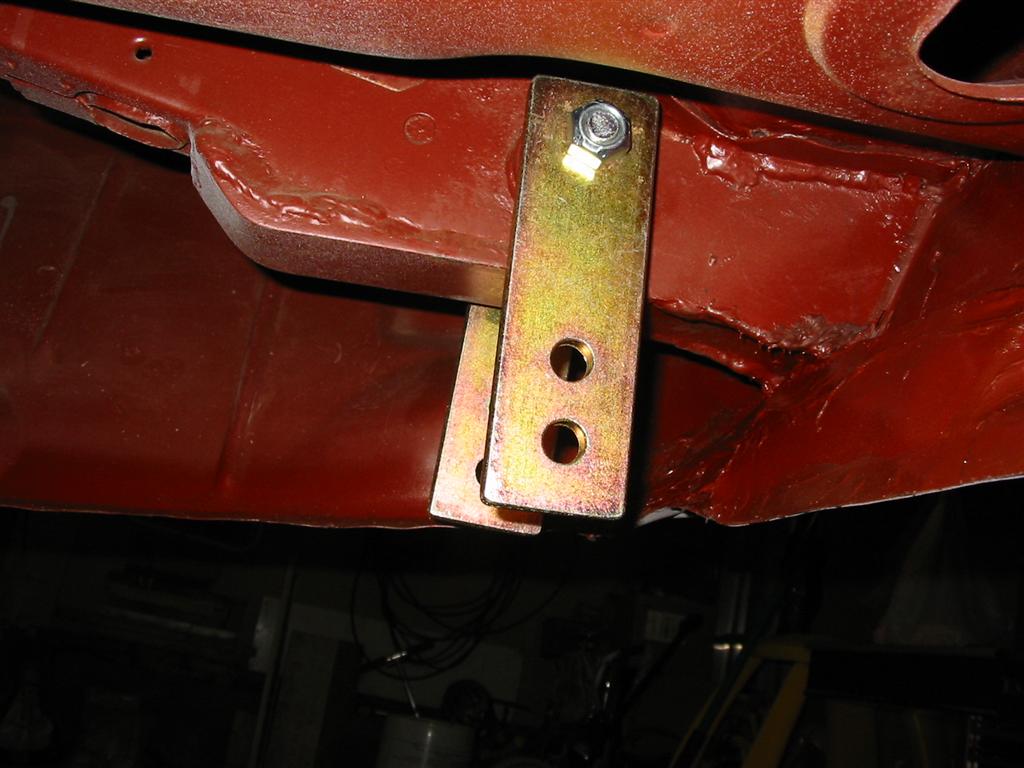
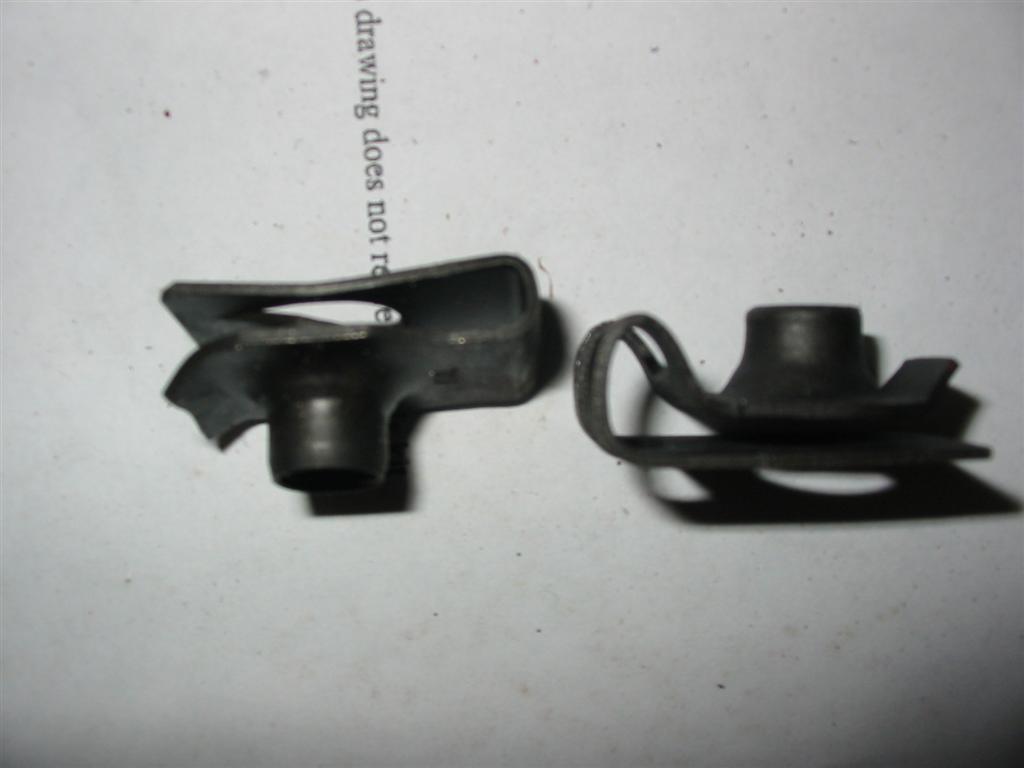
| Here is the rear shackle installed to the frame. I decided to use the upper mounting hole. This hole is the same as the stock shackle. | Here is a comparison of the jnuts included with the pro-touring kit and the jnuts that came from AMK Products Inc. The pro-touring ones did not work as well as the AMK units. The AMK one is on the right. Notice how it has a bump at the bend area to allow it to sit flush in the body. The pro-touring ones did not. |
|
|
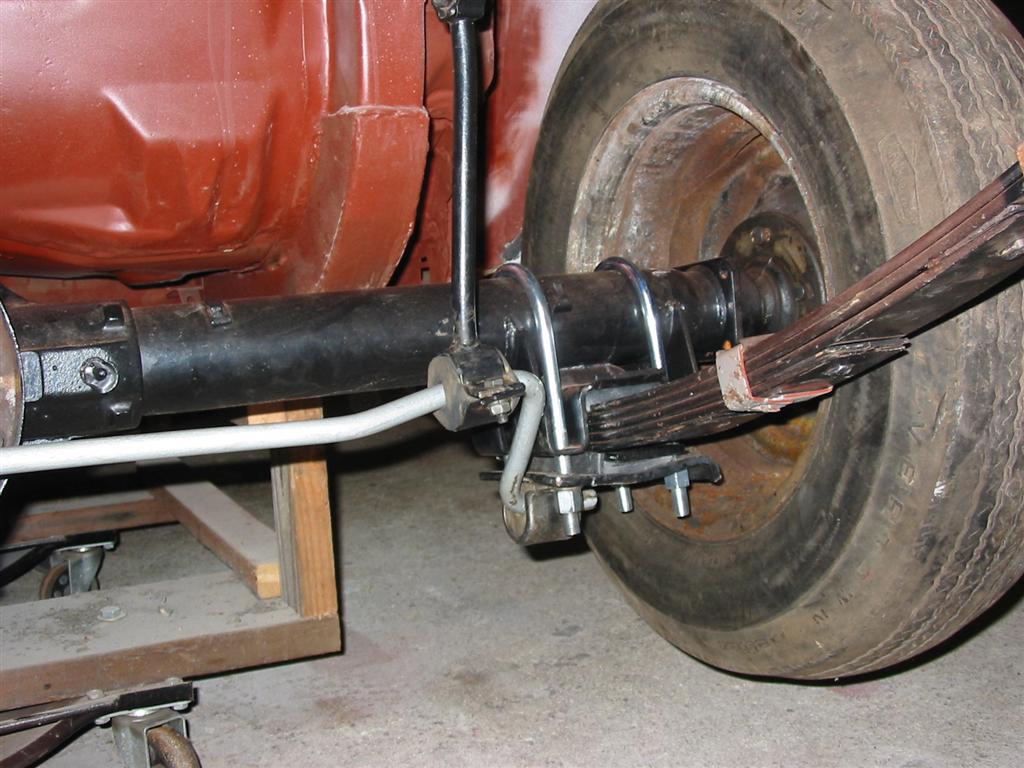
| Here is the rear end installed into the car. Unfortunately, I can not get the sway bar mounted correctly. I think the back of the car is sitting too high with no weight in the car. I also believe that I can tighted down the leaf spring mounts a little more. | |
|
|
|
|
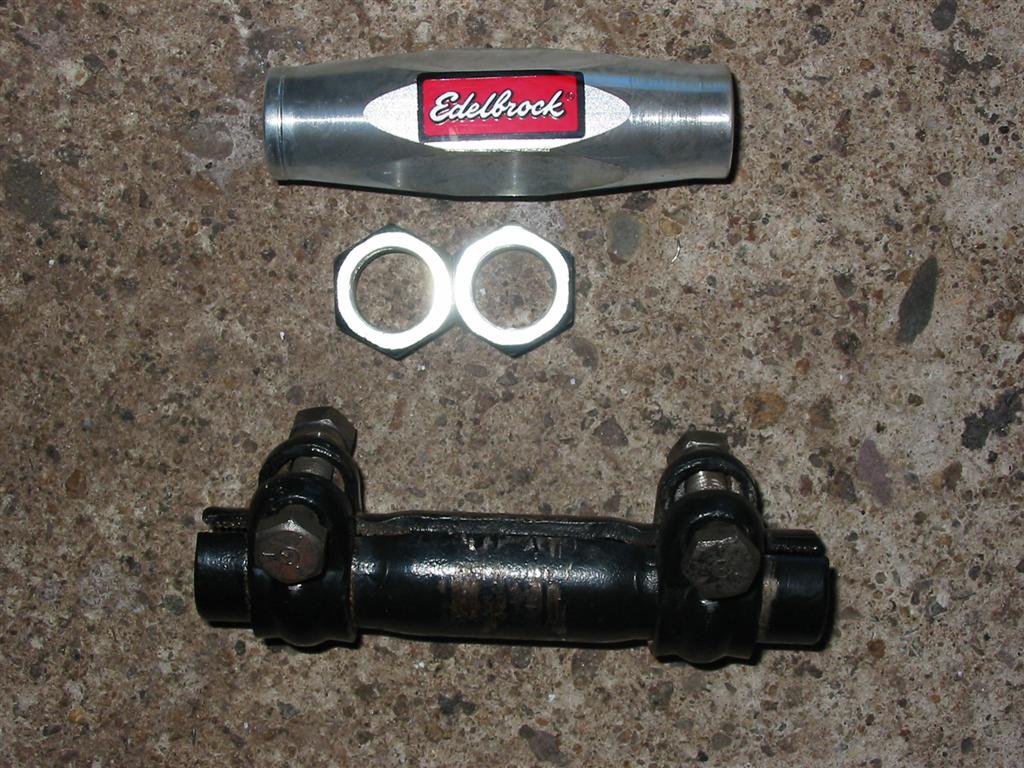
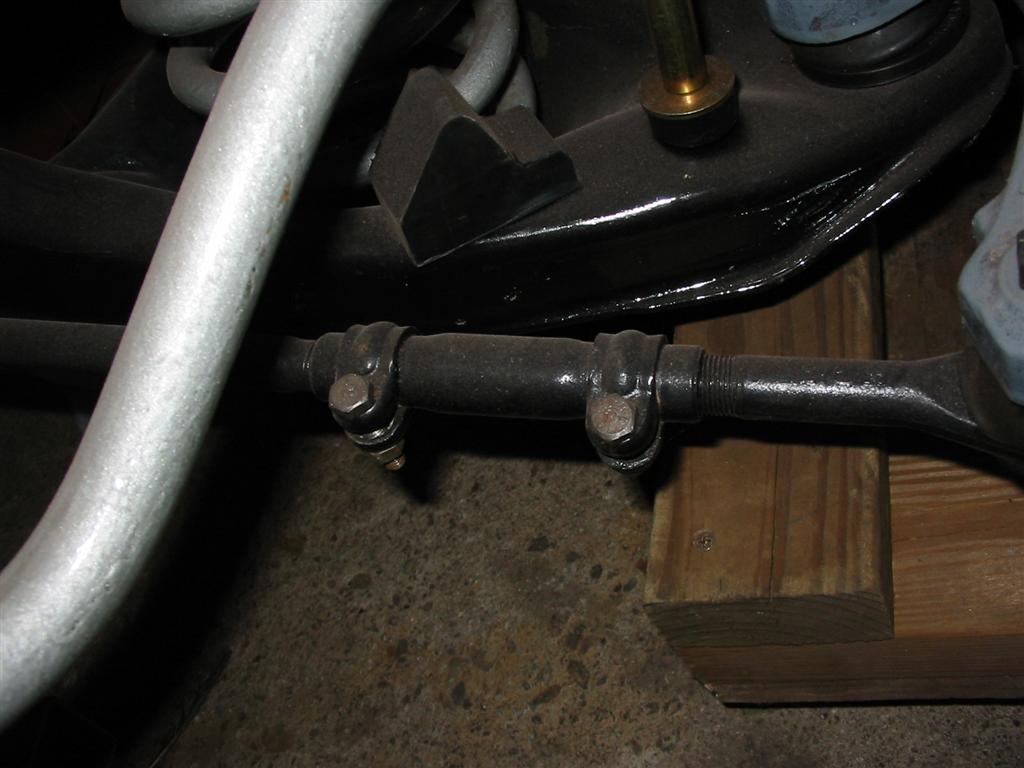
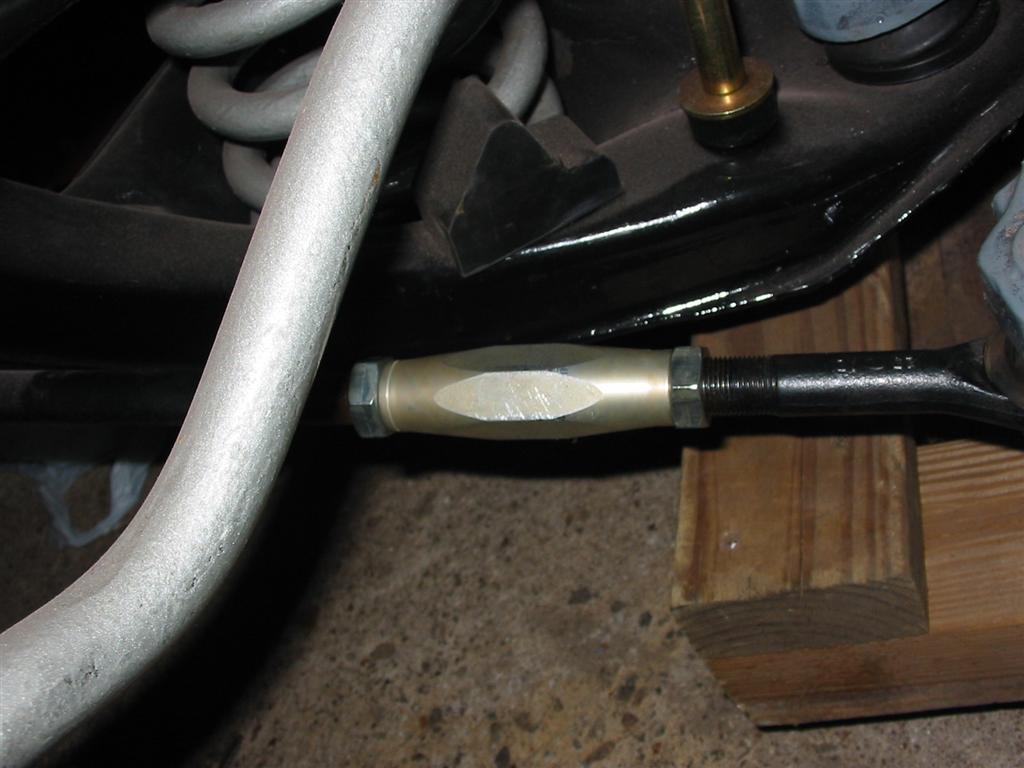
| Here are pictures of the Edelbrock Heavy-Duty Tie Rod Sleeves for the front suspension being installed. | |
|
|
|
|
| Here are the Global West body mounts. | |
|
|
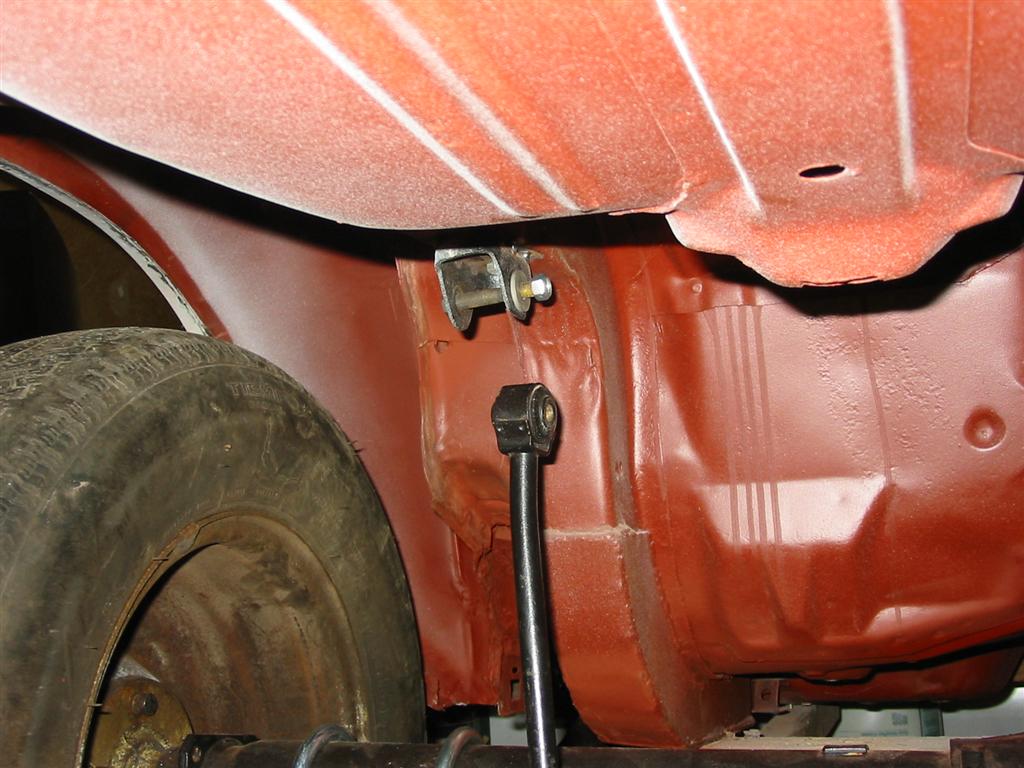
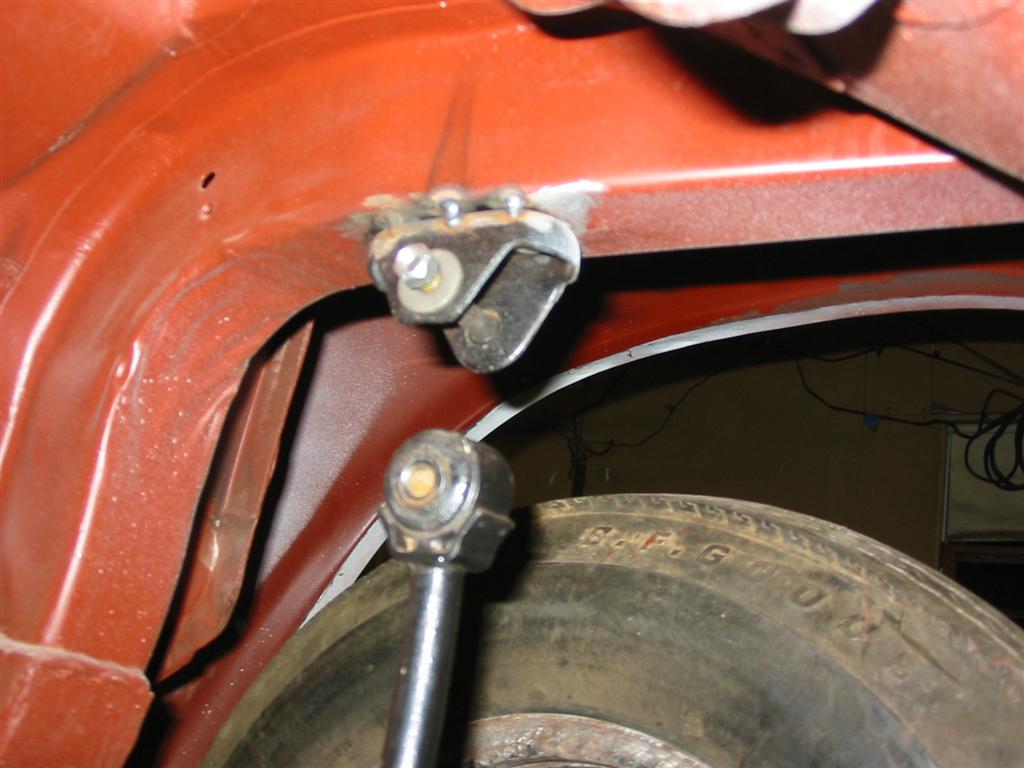
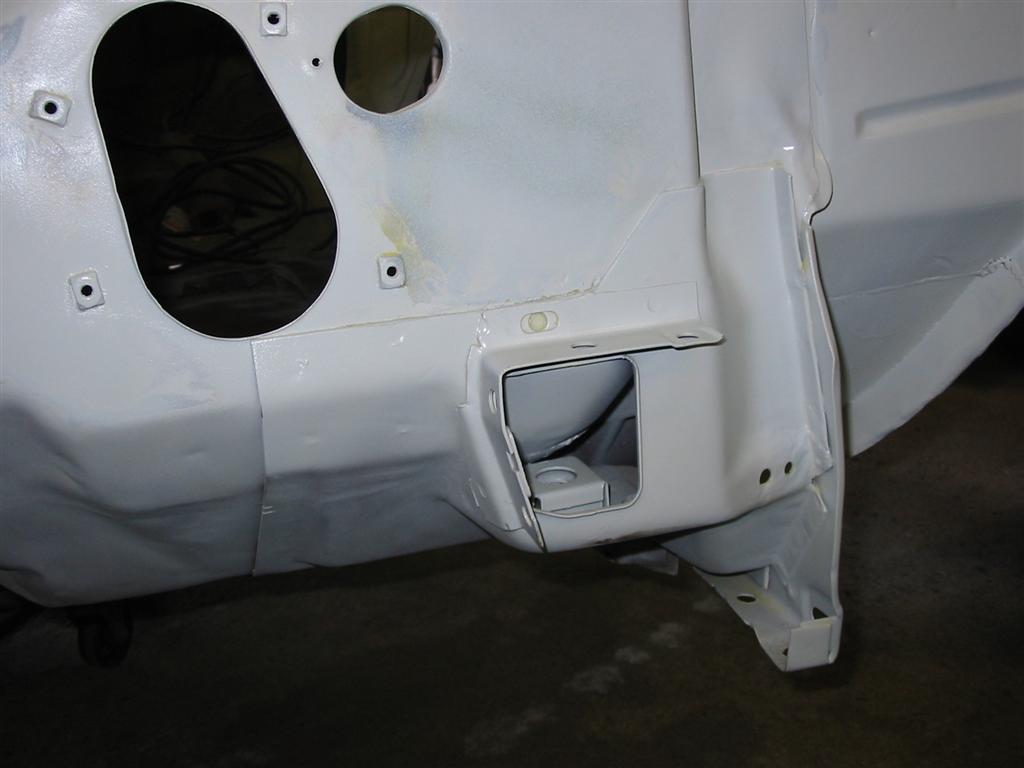
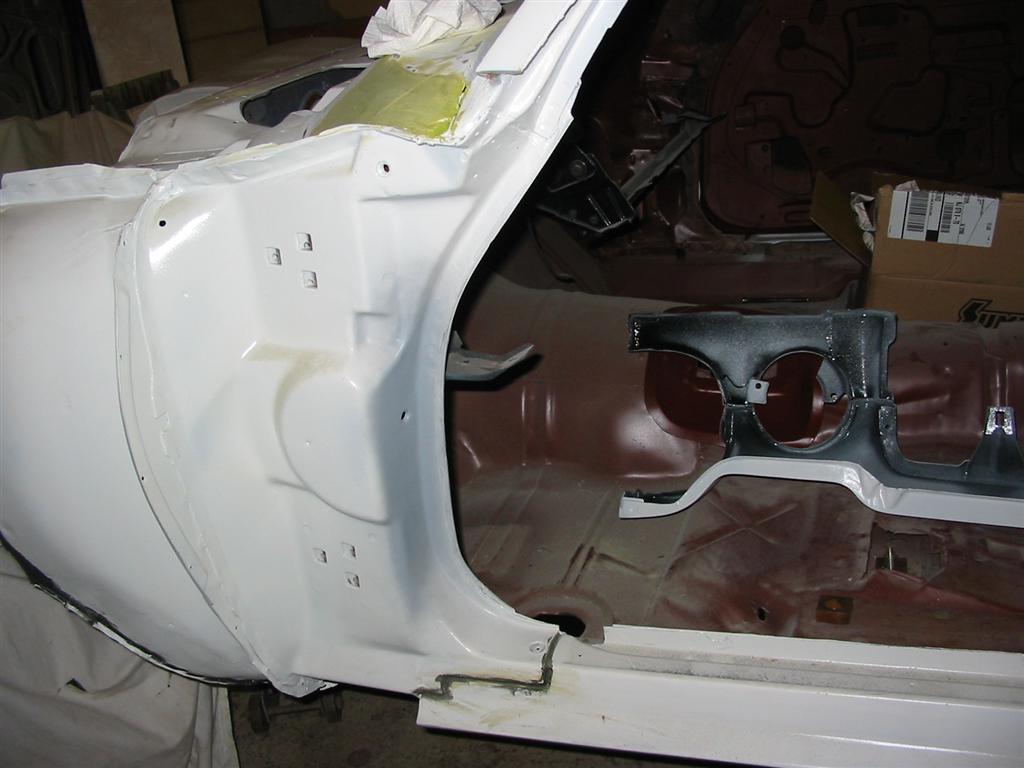
| Here is the front left body mount location on the body. | Here is the rear left body mount location on the body. My caged nuts broke a long time ago and the floor was cut open to acces them. I will eventually install a replacement set of caged nuts. |
|

|
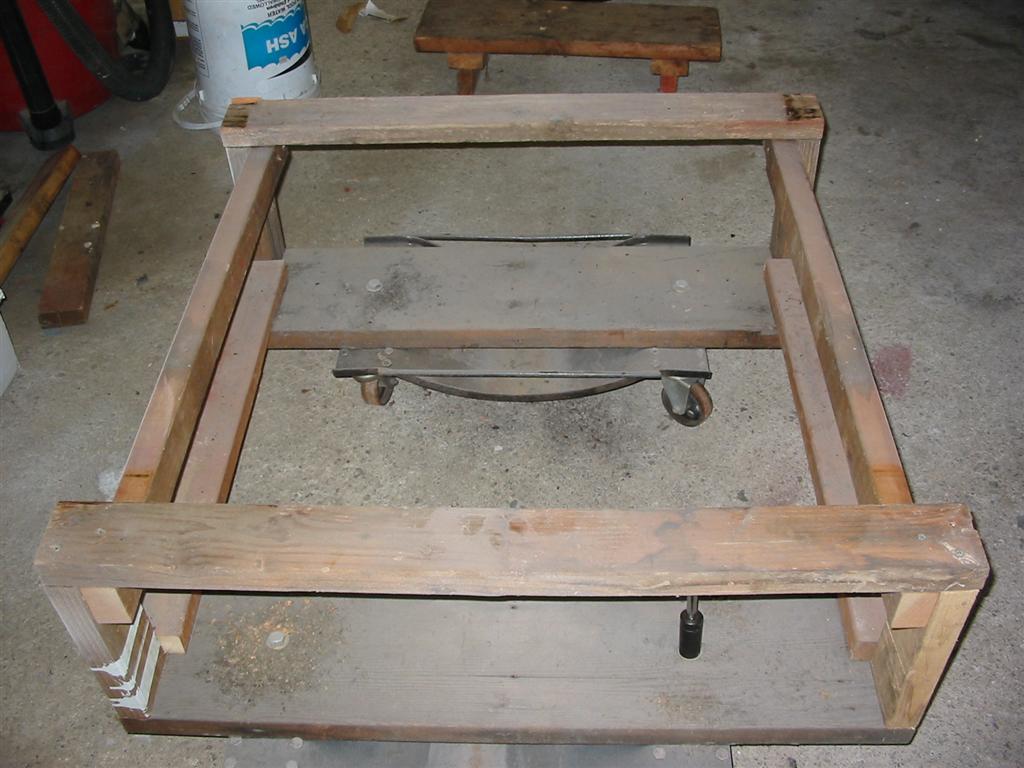
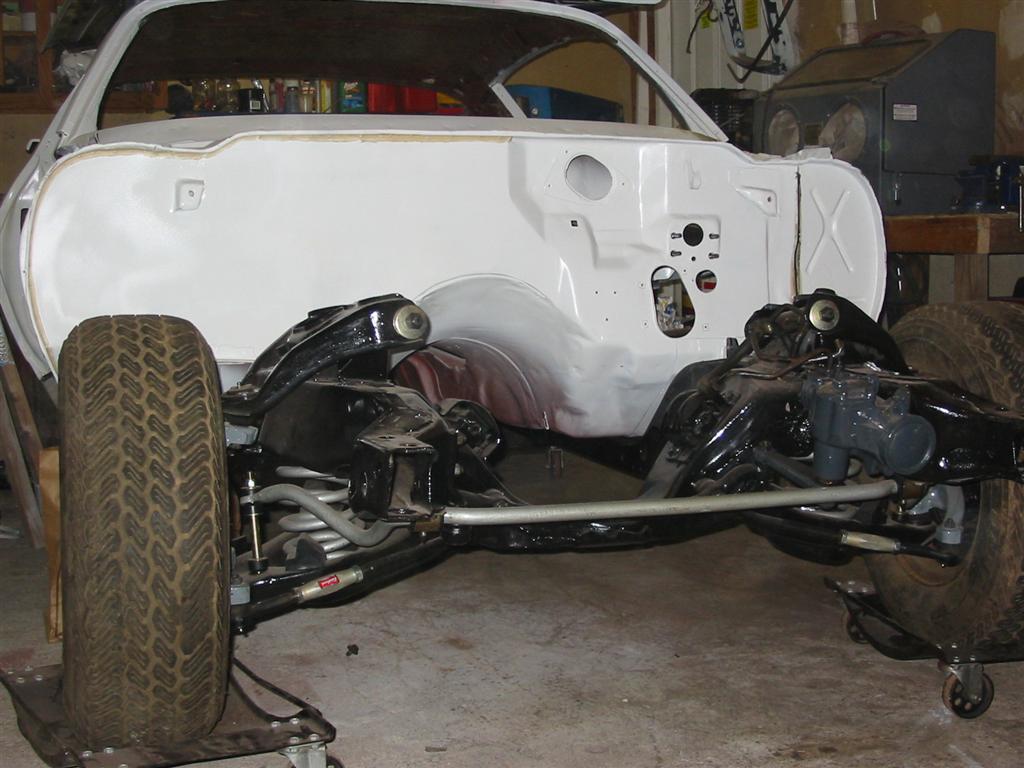
| Here is a box that I built to support the body while I worked on it. It is made of 2x4s and 2x6s. I then mounted the box to a pair of car dollies so I could roll the car around. | Here is the shell with the rear suspension installed and off of the body support box I built. At this point the car is ready to have the front frame installed. |
|

|
| Here is the front frame installed. | |
|

|
| Here is a picture of the driver side CE Bolt in subframe connector installed. Eventually I will weld these in for greater support. | |
|
|
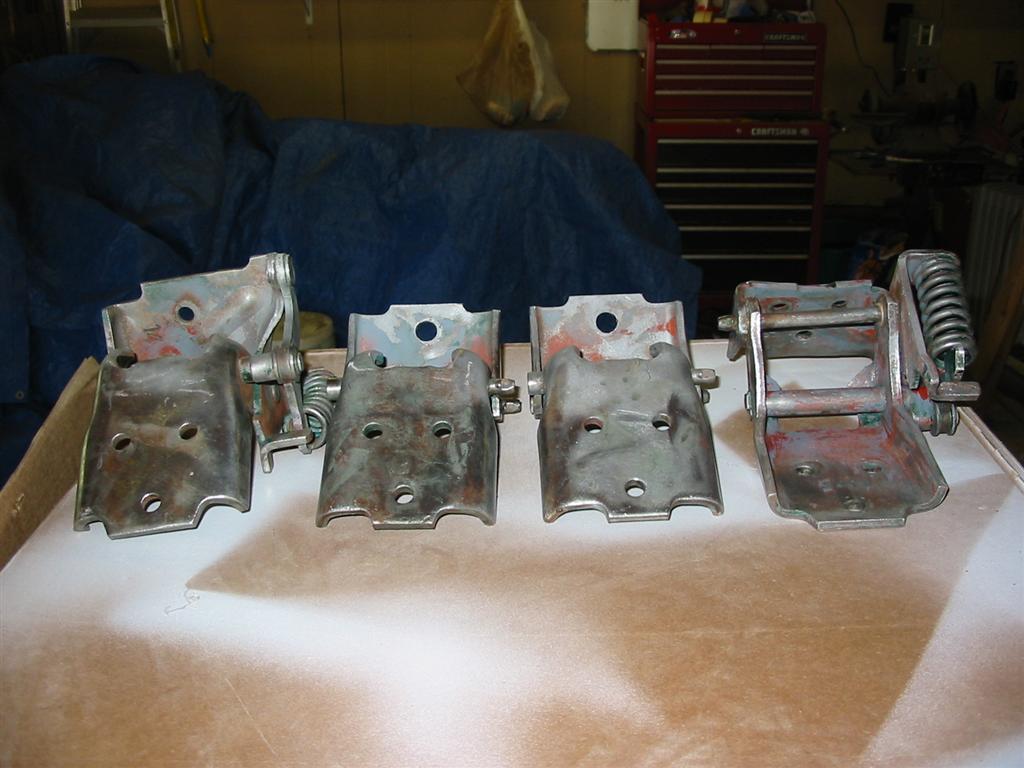
| Here are the door hinges stripped and ready for primer. | |
|
|
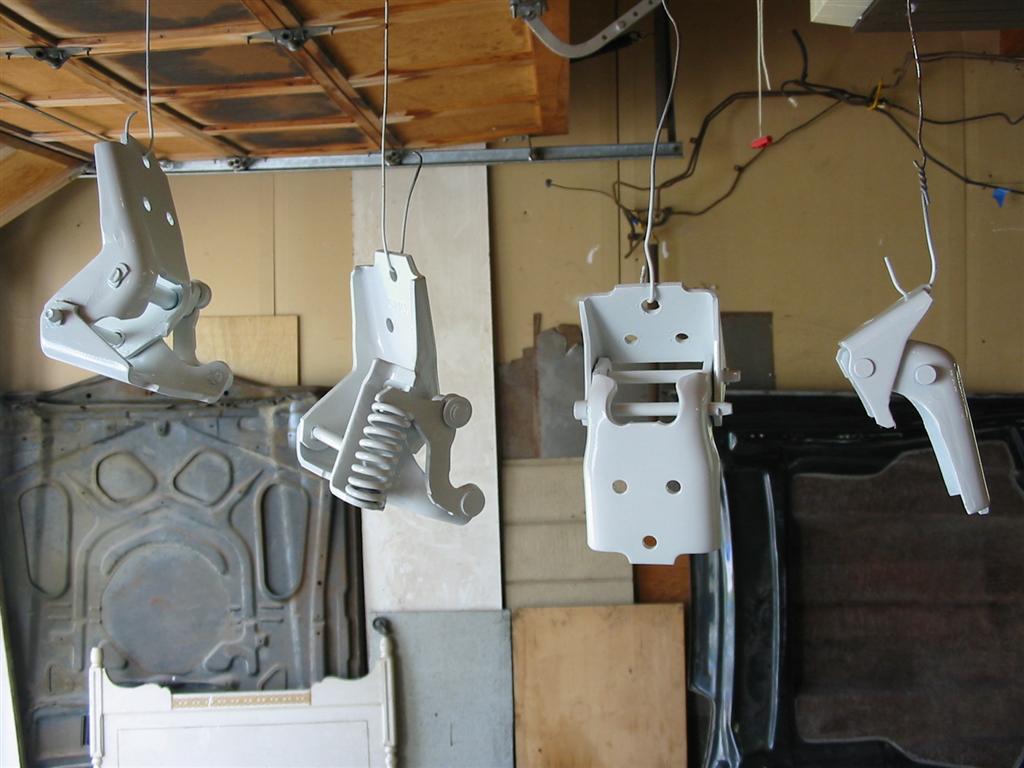
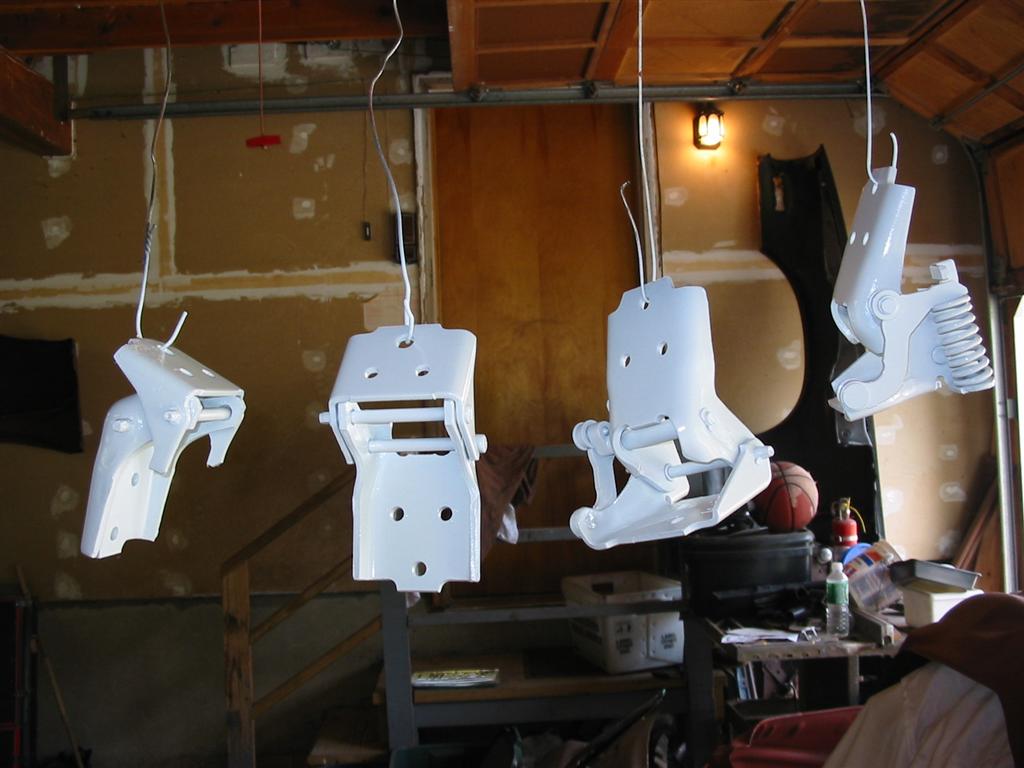
| Here are the door hinges with a coating of epoxy primer. | |
|
|
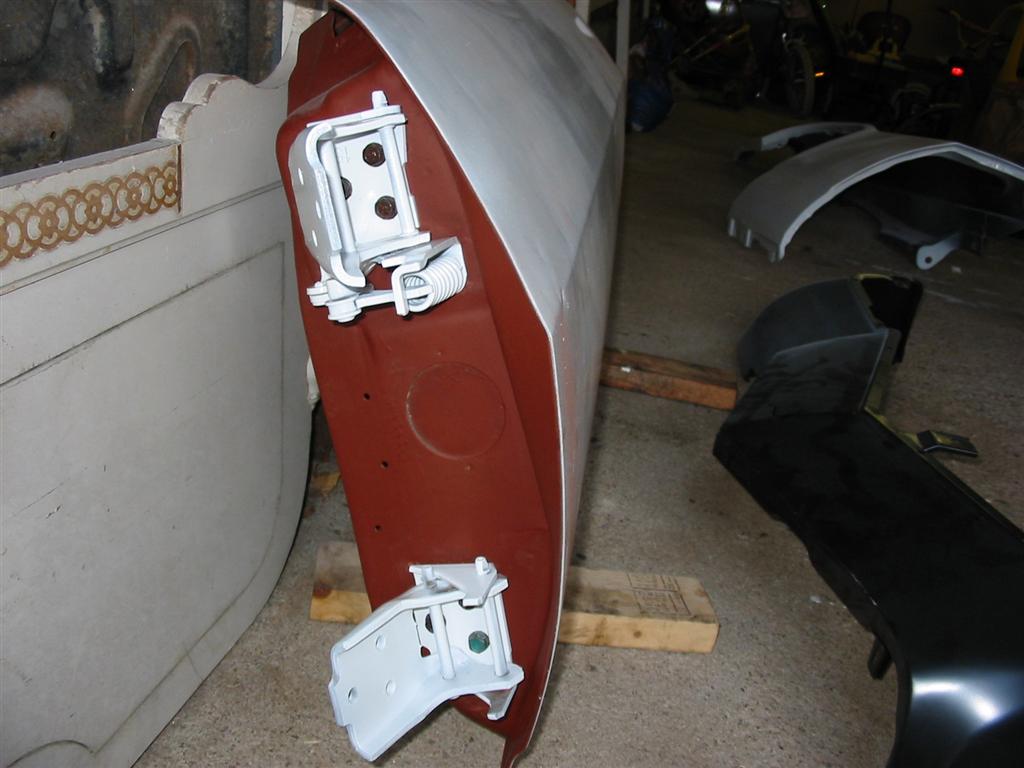
| Here is the left side door area. The grey primer is coating the area where I filled two holes that had been drilled for speaker wires. I also had to fill one hole on the passenger side. | Here are the hinges primed and installed on the left door. |
|
|
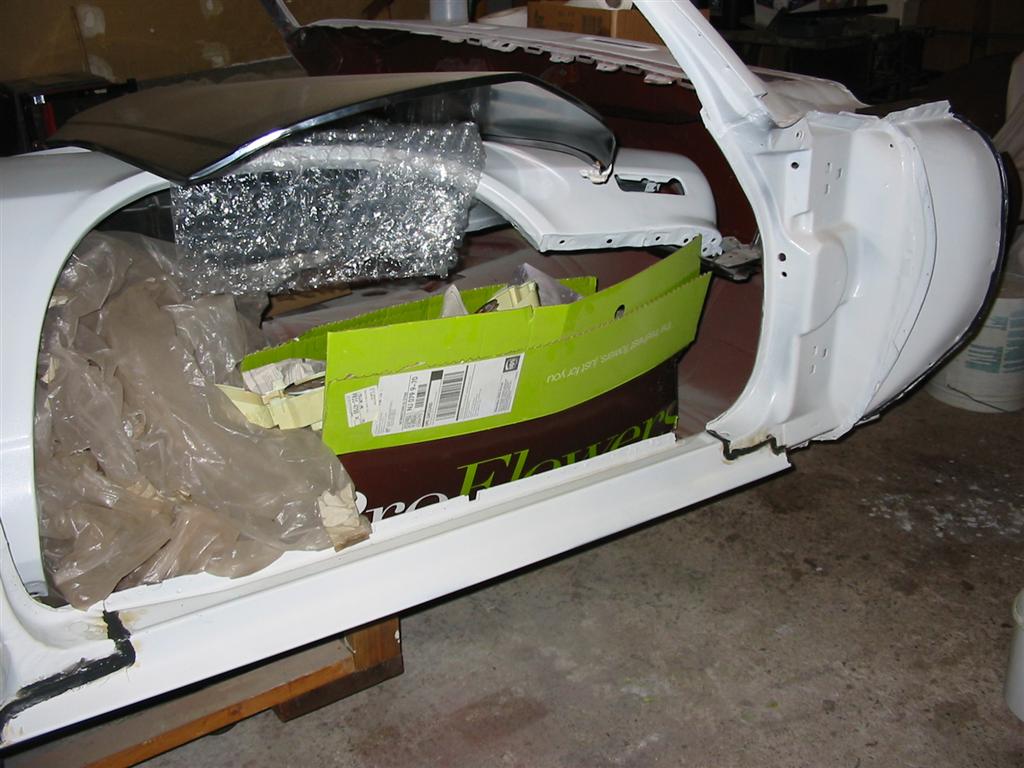
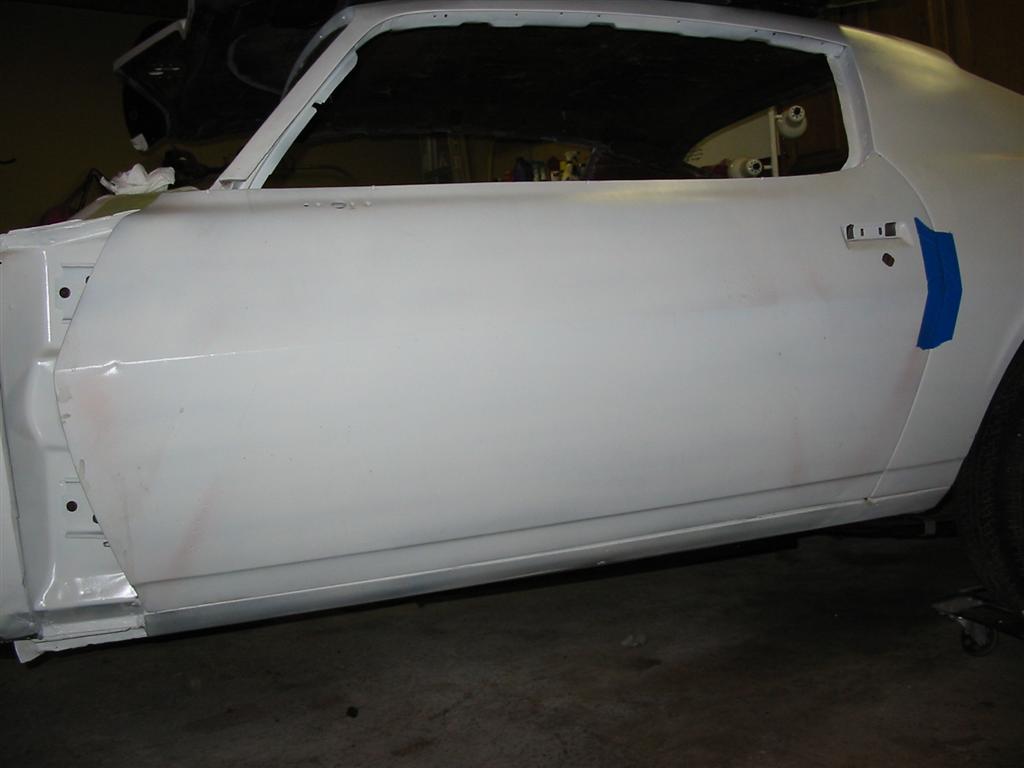
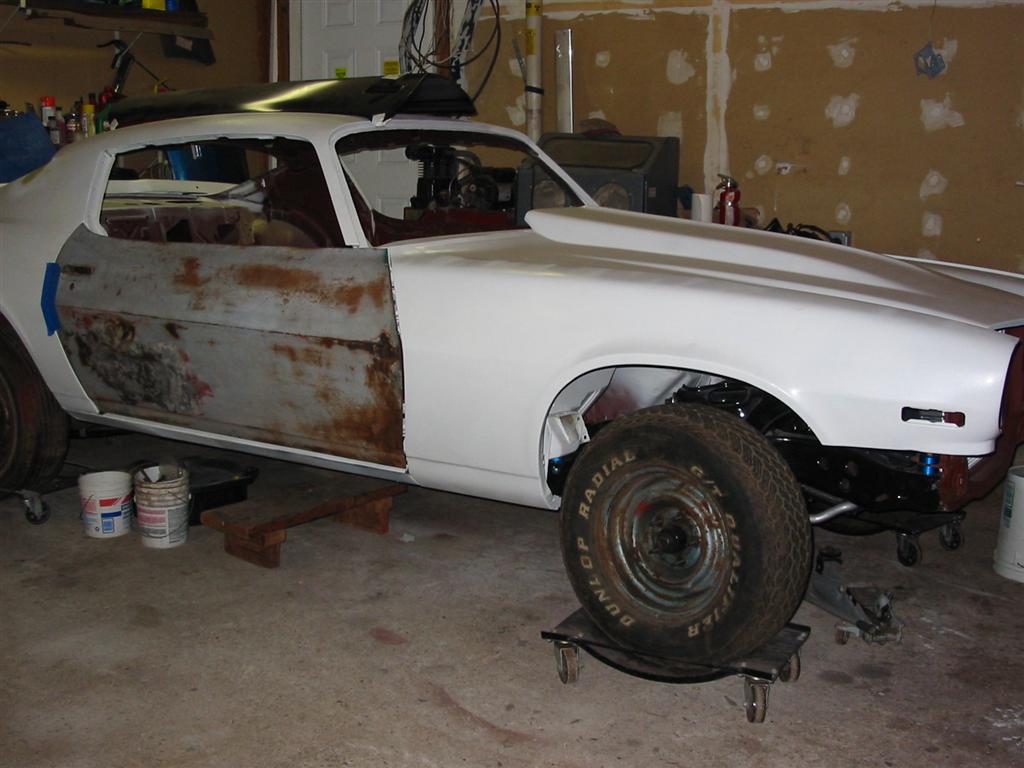
| Here is the left side door installed and roughly aligned. The fenders and hood have not been installed or aligned. They are on the car so they would be out of the way in my garage. There are only 2 bolts holding them on and the inner fenders are not installed. | |
|
|
|
|
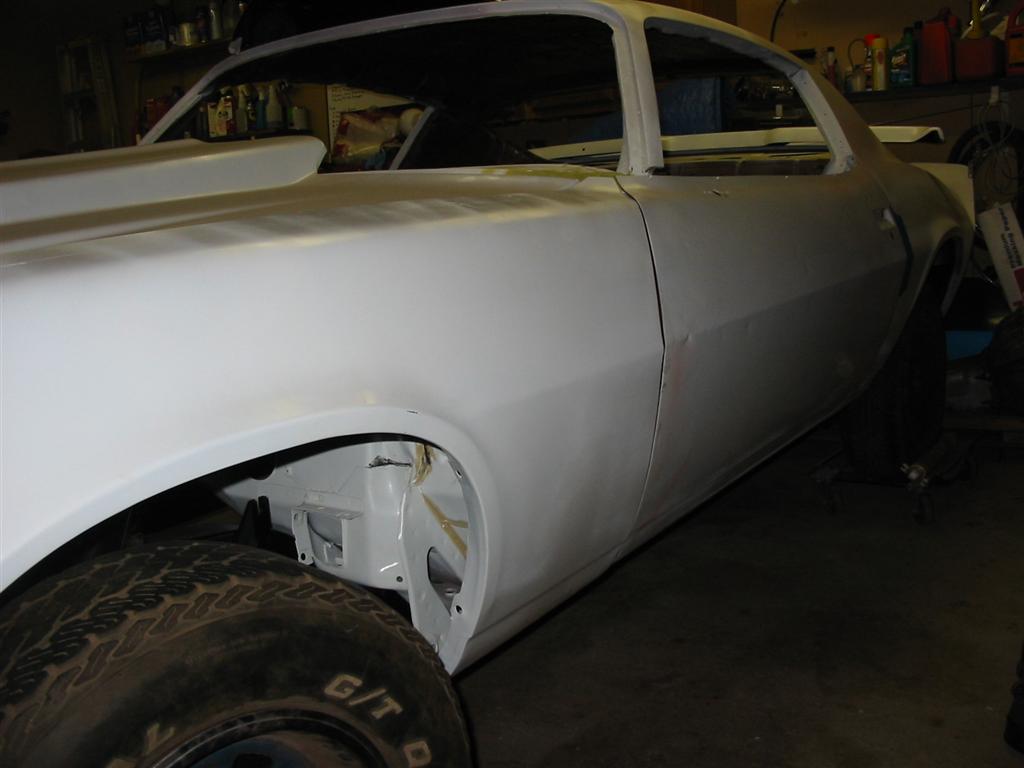
| Here is the right side door installed and roughly aligned. This door will have the skin replaced. I wanted to align the door with the old skin installed. I will later mark the hinges and remove the door and skin then replace it. | |
|
|
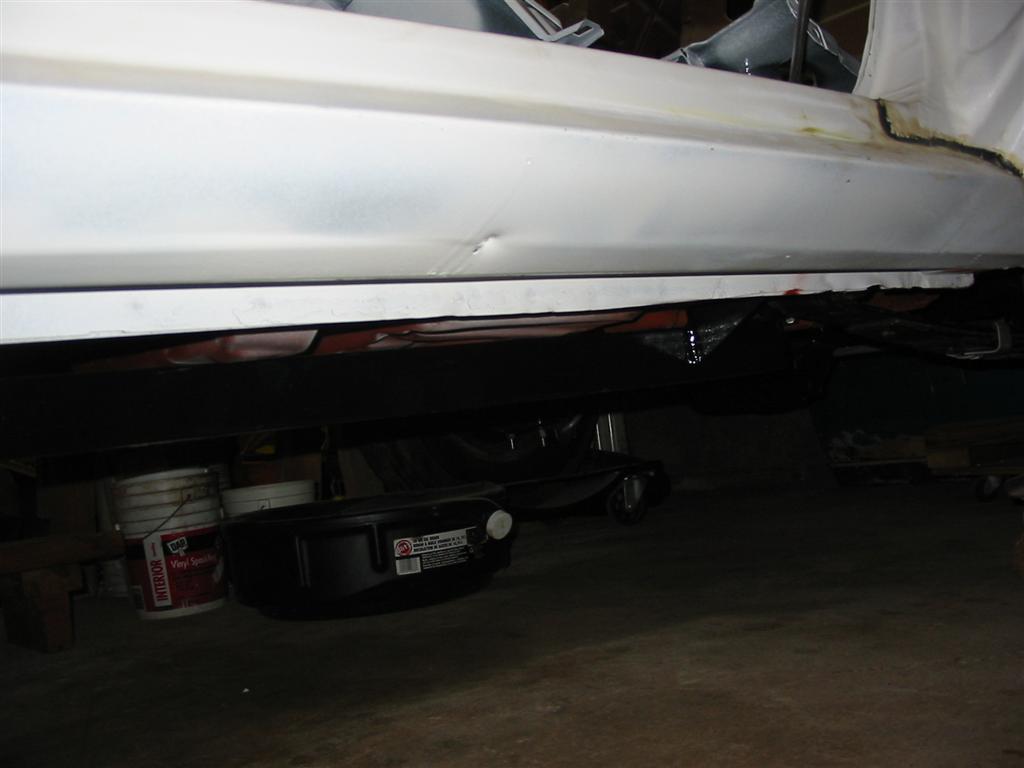
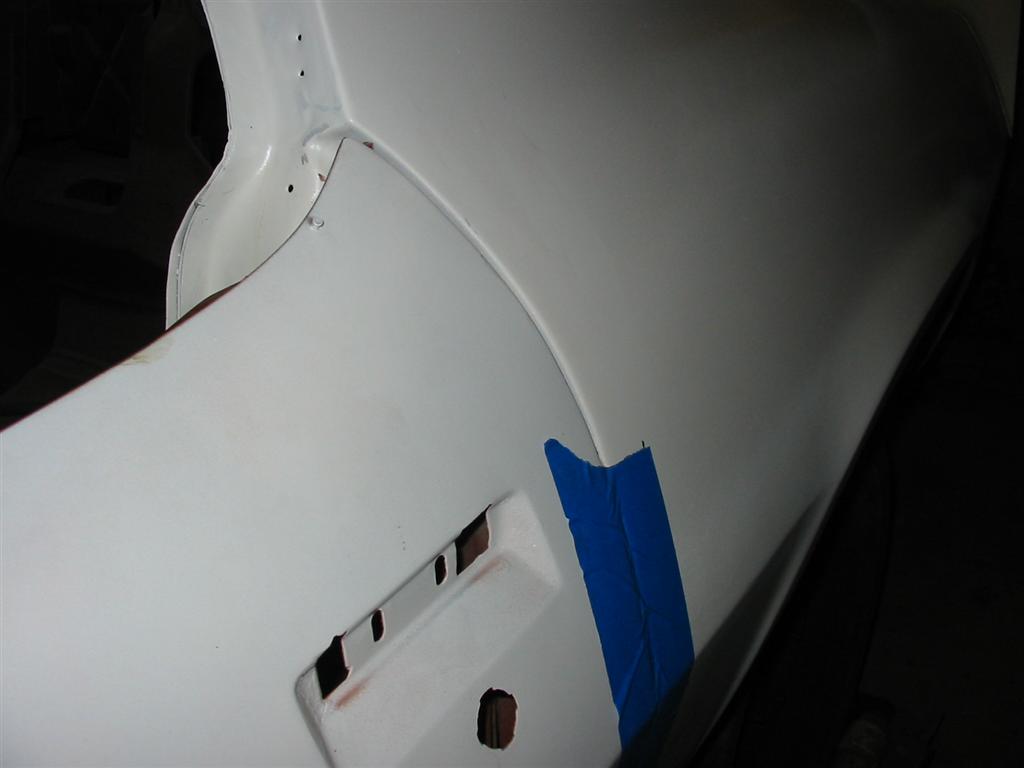
| After installing the right side door, I noticed that it is not alligning properly with the aftermarket rocker panel that I installed. I will have to look into my options for fixing this. | |
|
|