|

Door Skin, Rear Bumper and Front Valances (September 26, 2007)
This page documents the installation of the right door skin. This was the first time that I ever installed a skin and it was pretty easy to do. The hardest part was installing the bracket for the mirror. My parts car door and my original door did not have this bracket installed. I wound up using a bracket from my parts car driver's door.I have also included pictures of the process of smoothing the rear bumper. I have decided to weld in the bumper bolts and grind the heads off. This gives the bumper a nice neat smooth appearance.
Lastly, there are pictures of other front end sheetmetal in various stages of repair.
Status photos as of 9/26/2007:
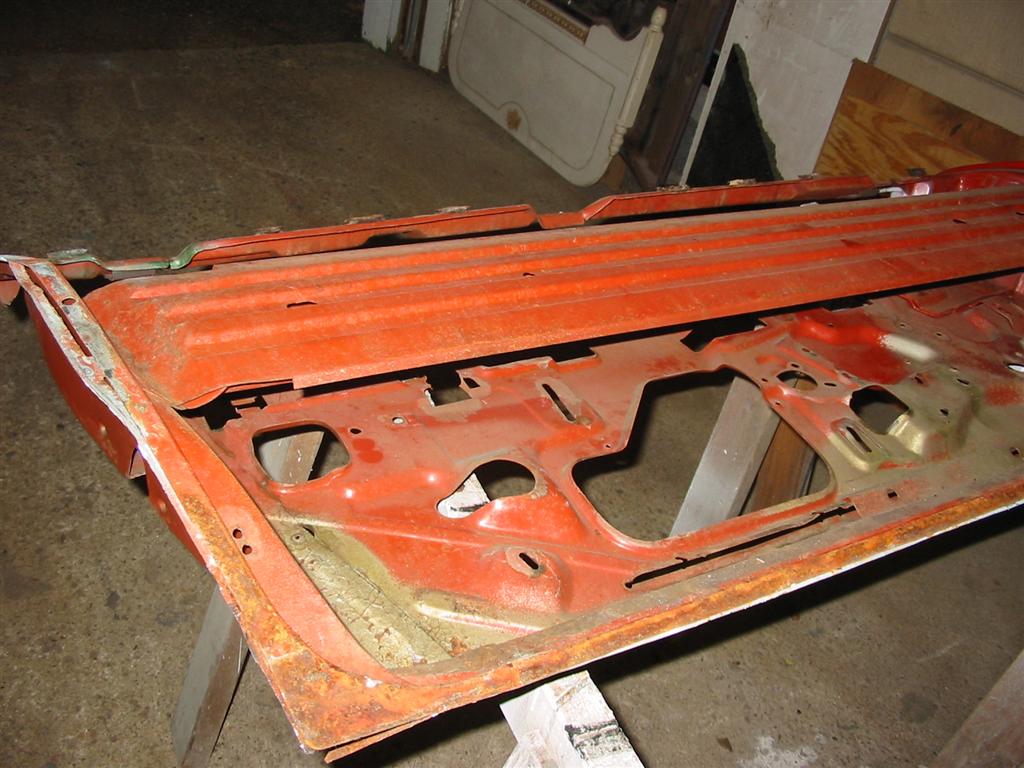
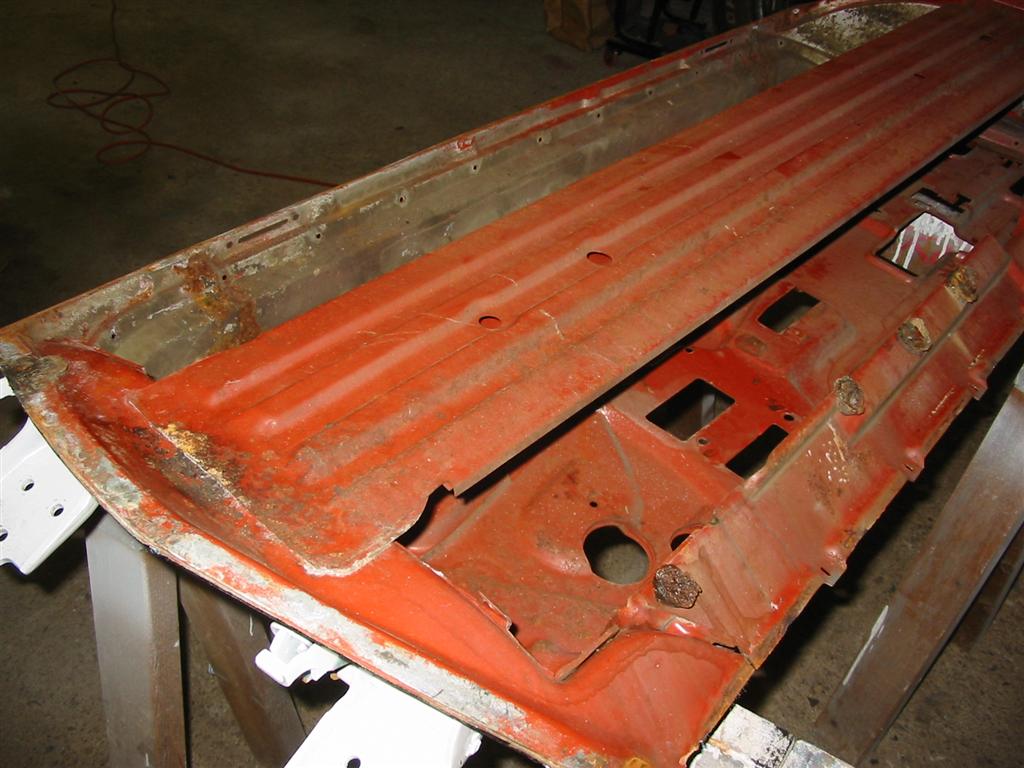
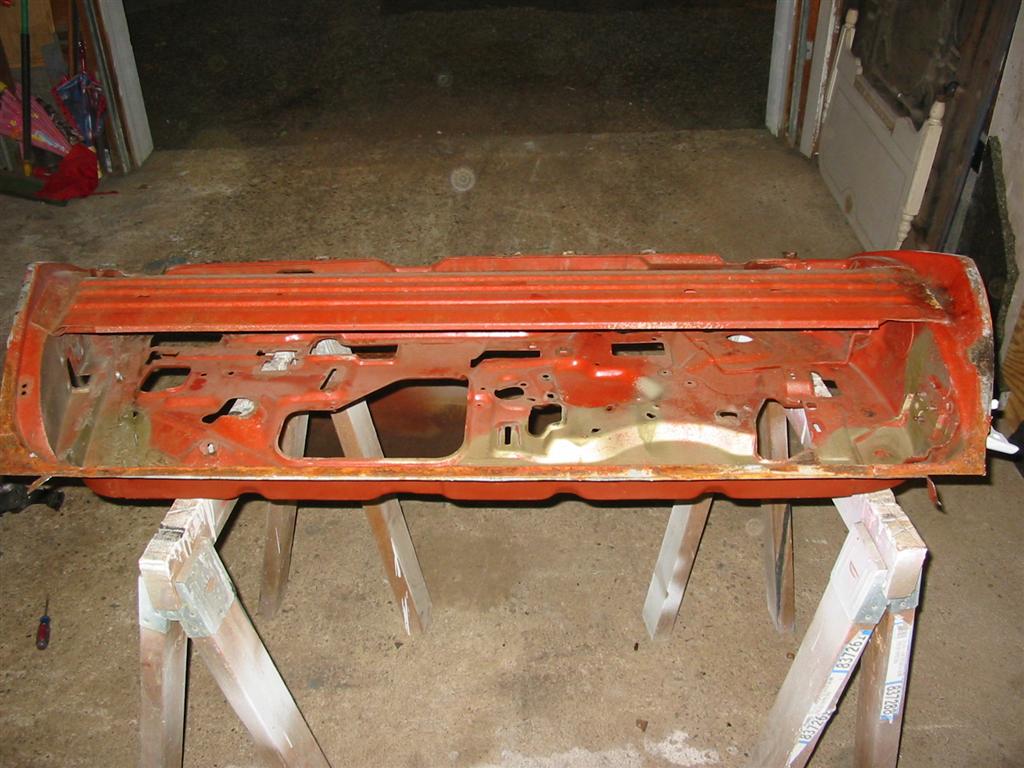
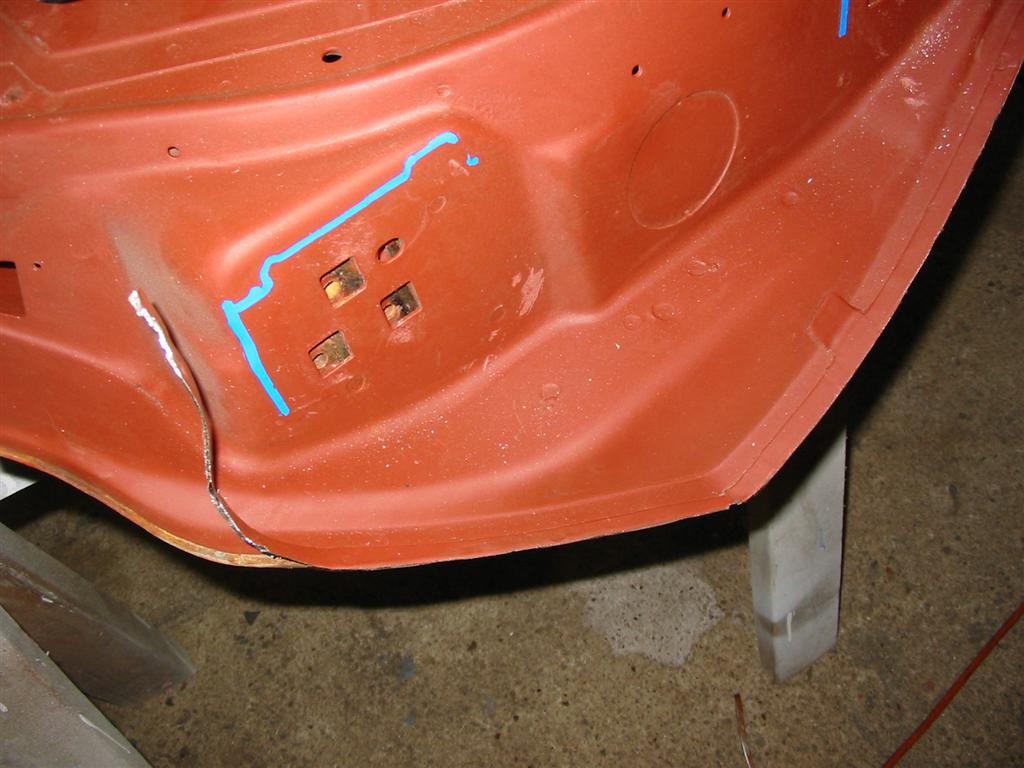
| Here are pictures of the right door with the skin removed. | |
|
|
|
|
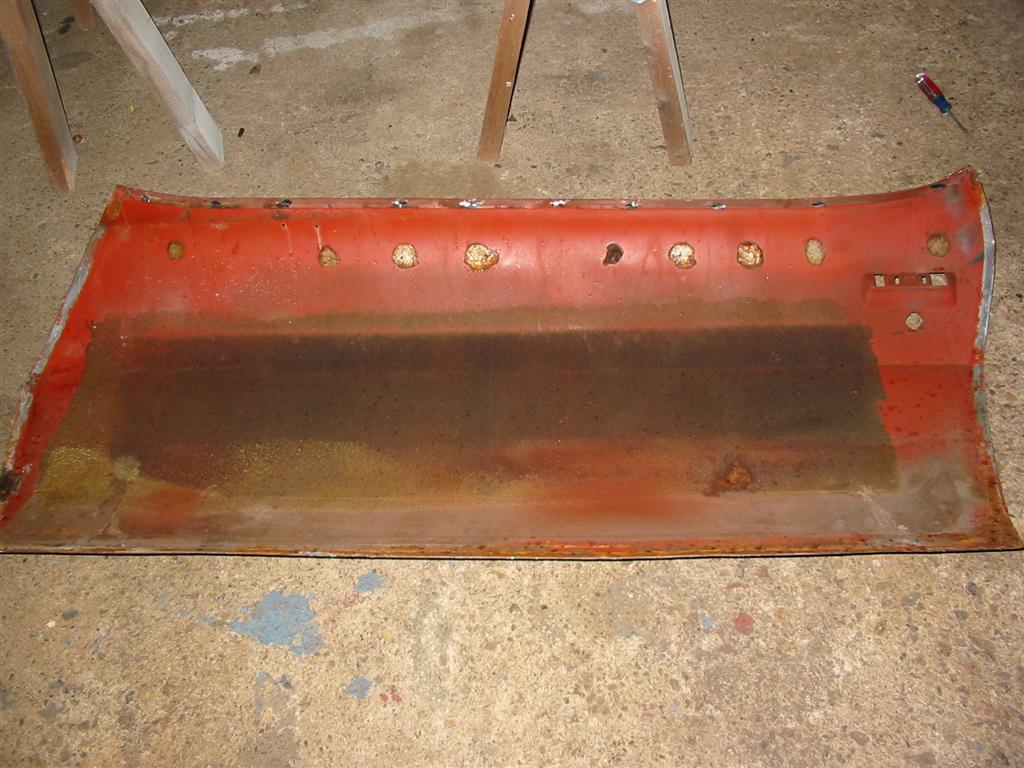
| Here is old skin removed from the door. | This is what is left of the skin on the back edge of the door. You have to remove this lip. |
|
|
| I cut up my original door to use as a template. As you can see, my original door did not have the bracket for the passenger side mirror. | |
|
|
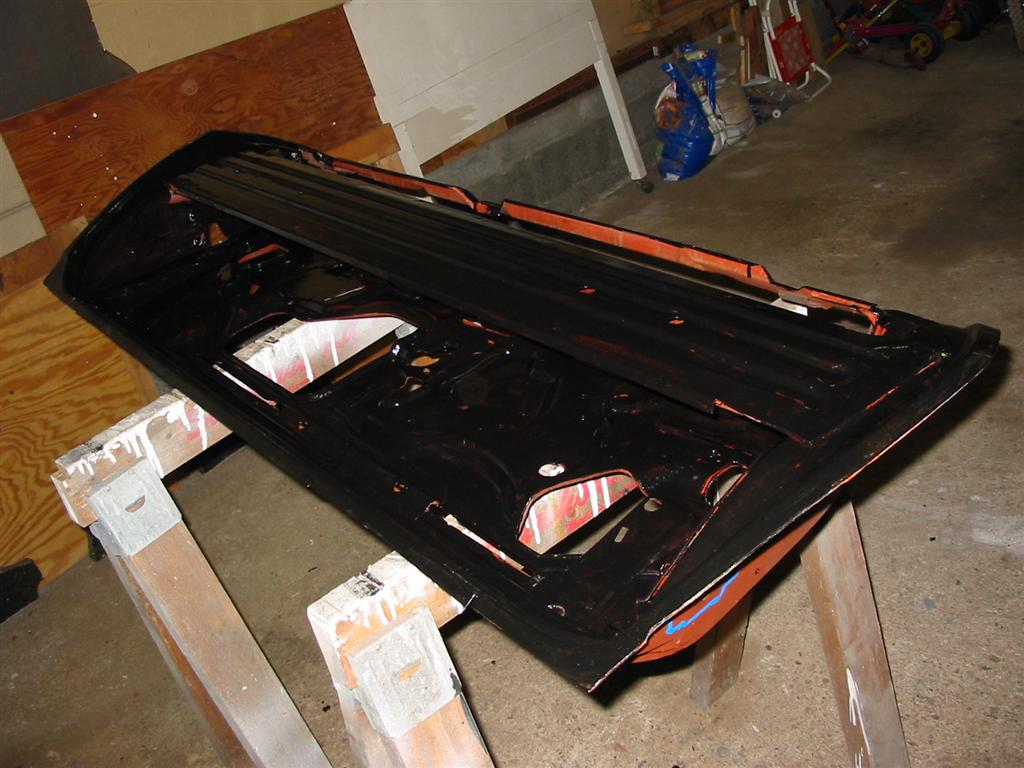
| Here is the inside of the door after cleaning then coated with POR-15. | |
|
|
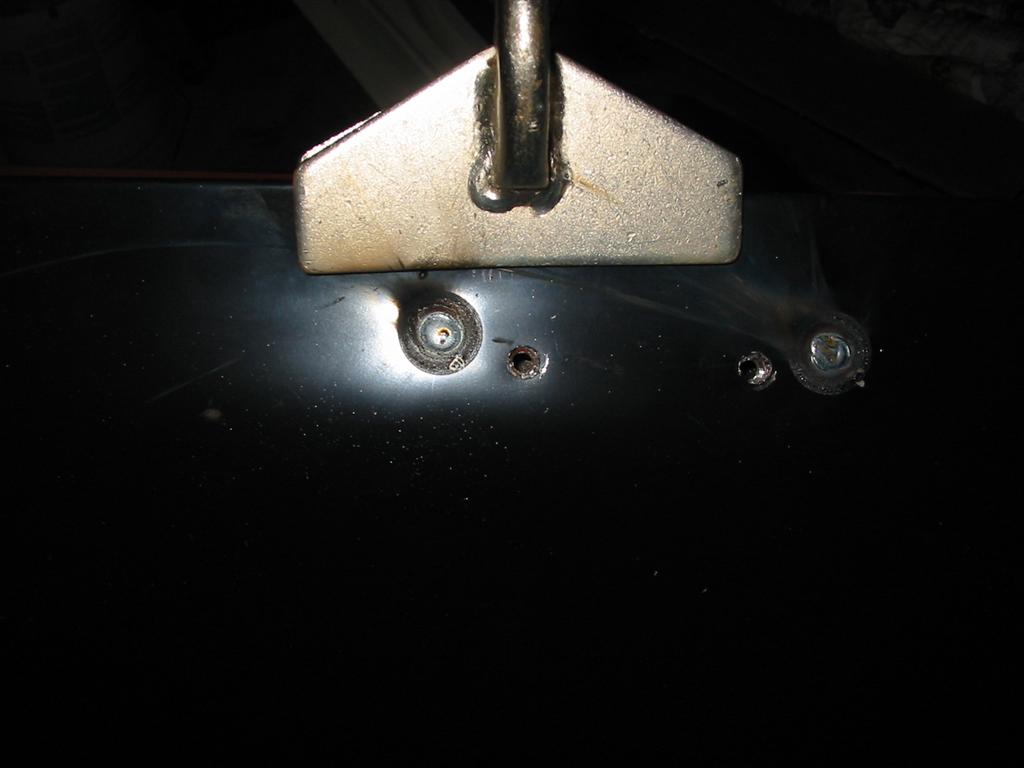
| Here is the mirror support getting welded to the door. This is really a driver's side mount, but it will work fine. | |
|
|
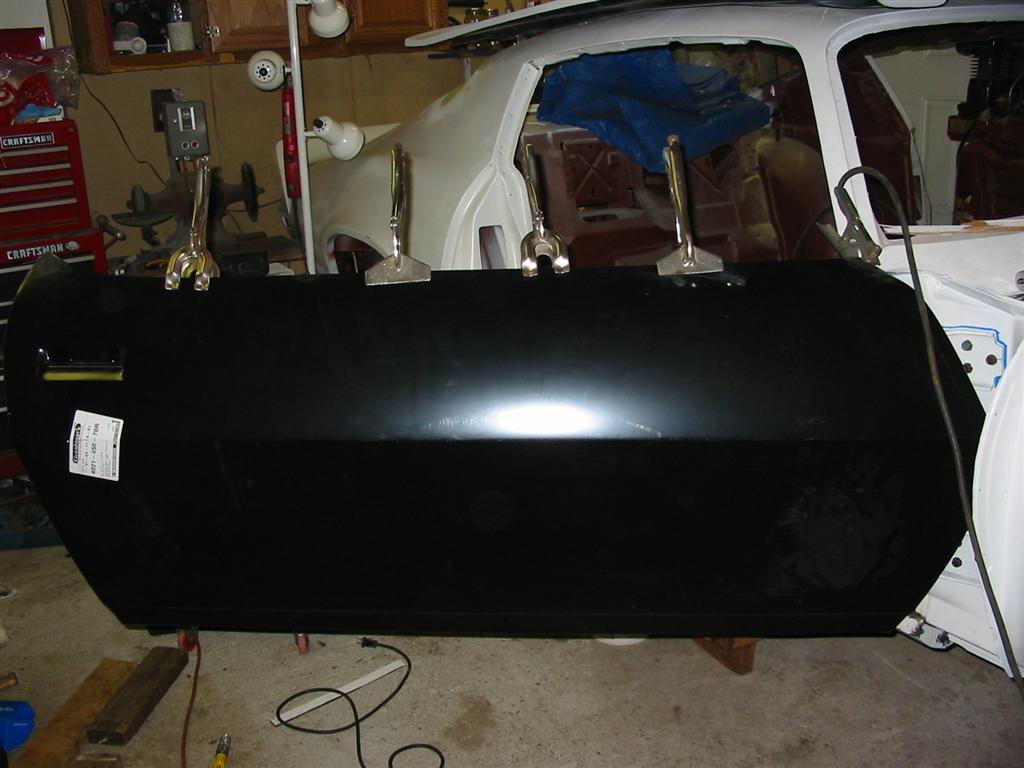
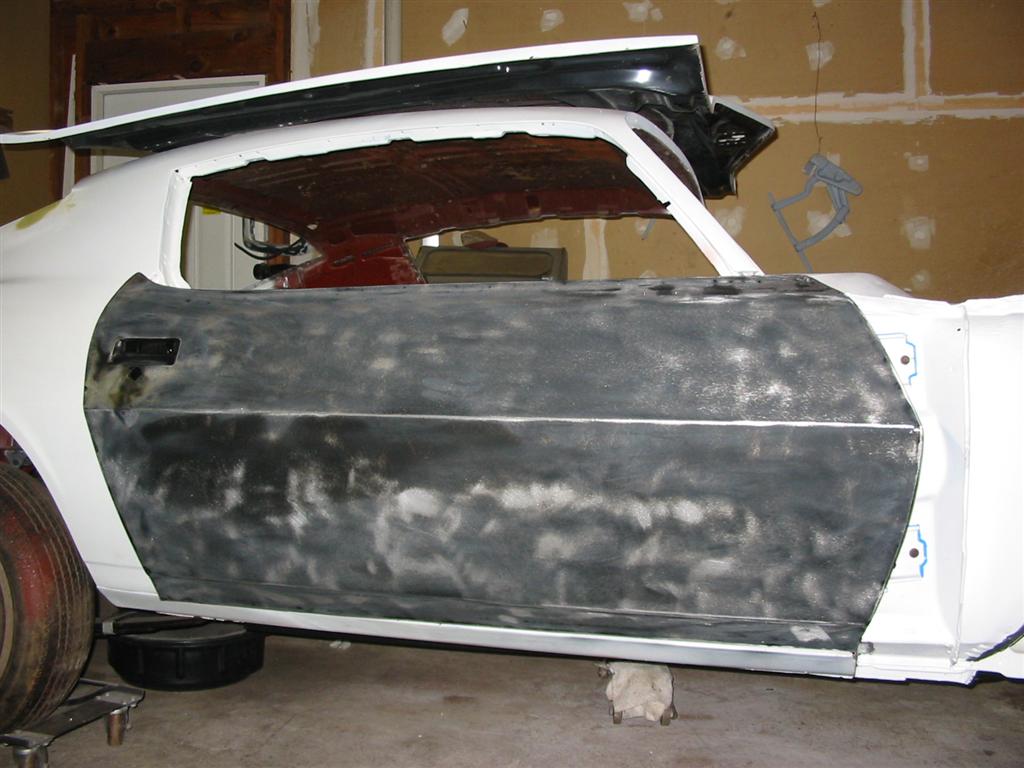
| Here are backside of the door with the skin installed. I have not welded it yet. I waited until it was mounted to the car. | |
|
|
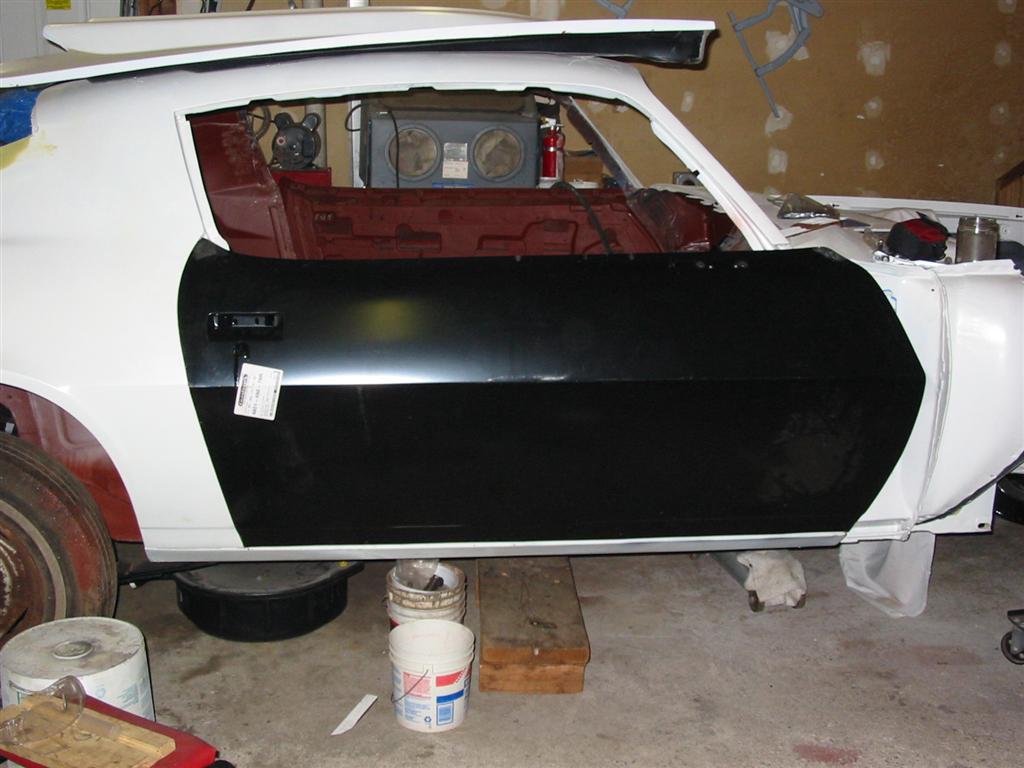
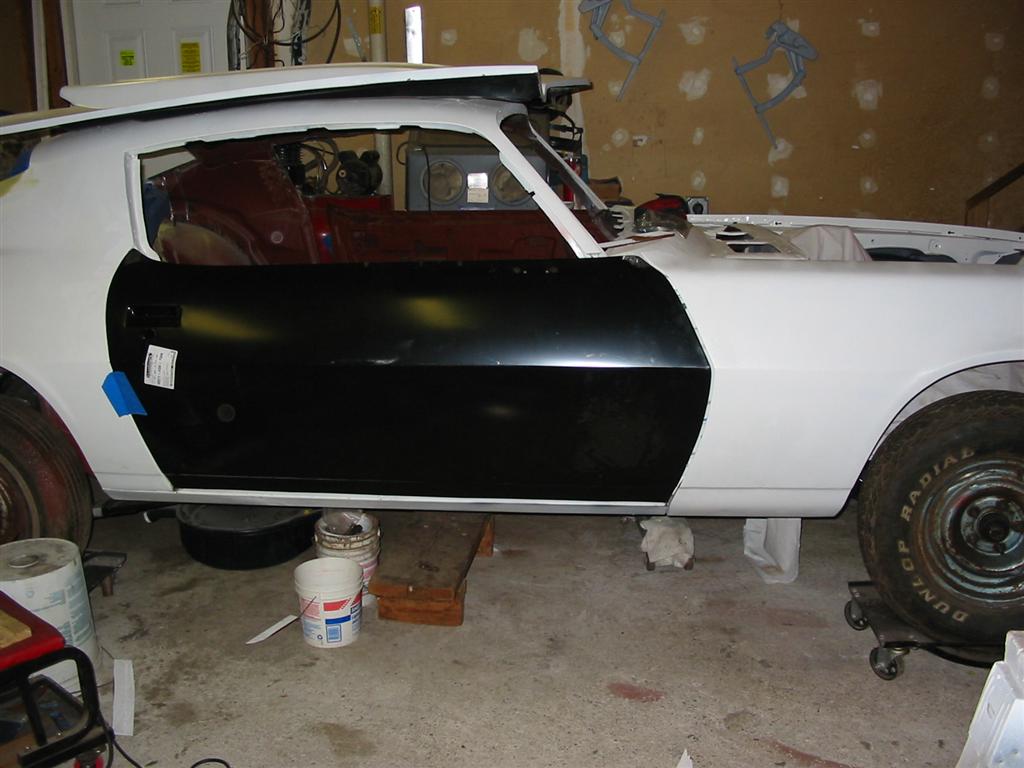
| Here is the skin welded to the mirror bracket. | The following three pictures are of the door being installed to the car and the skin being welded. |
|
|
|
|
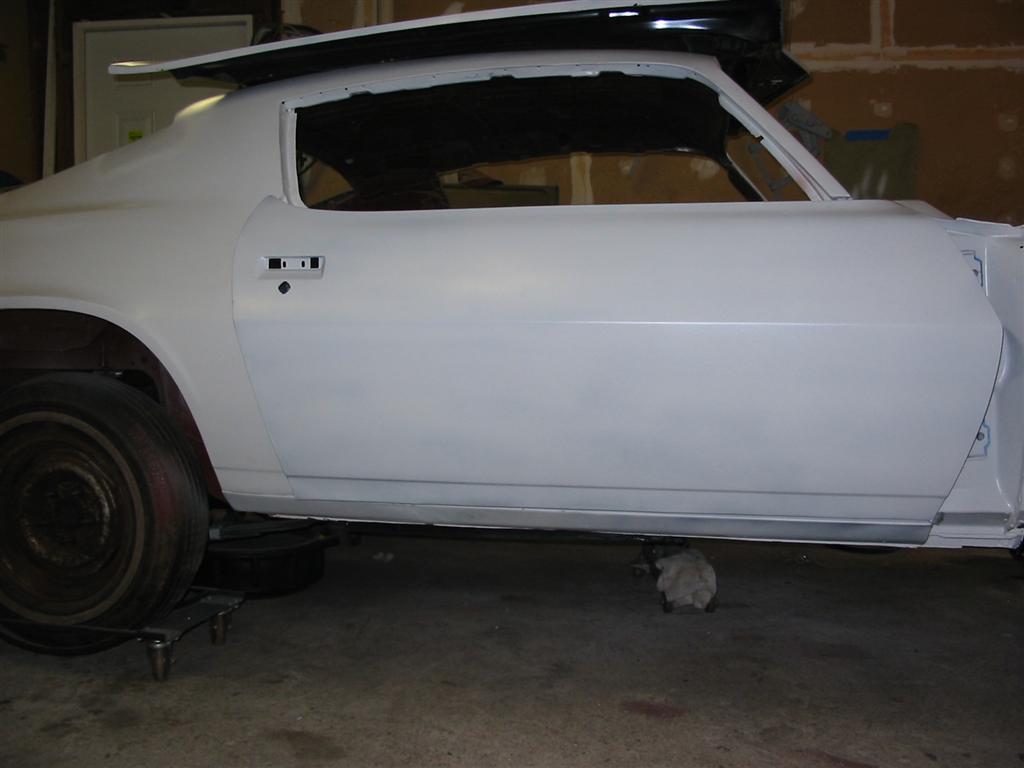
| Here is the skin scuffed and ready for primer. | Here is the skin with a coat of epoxy primer. |
|
|
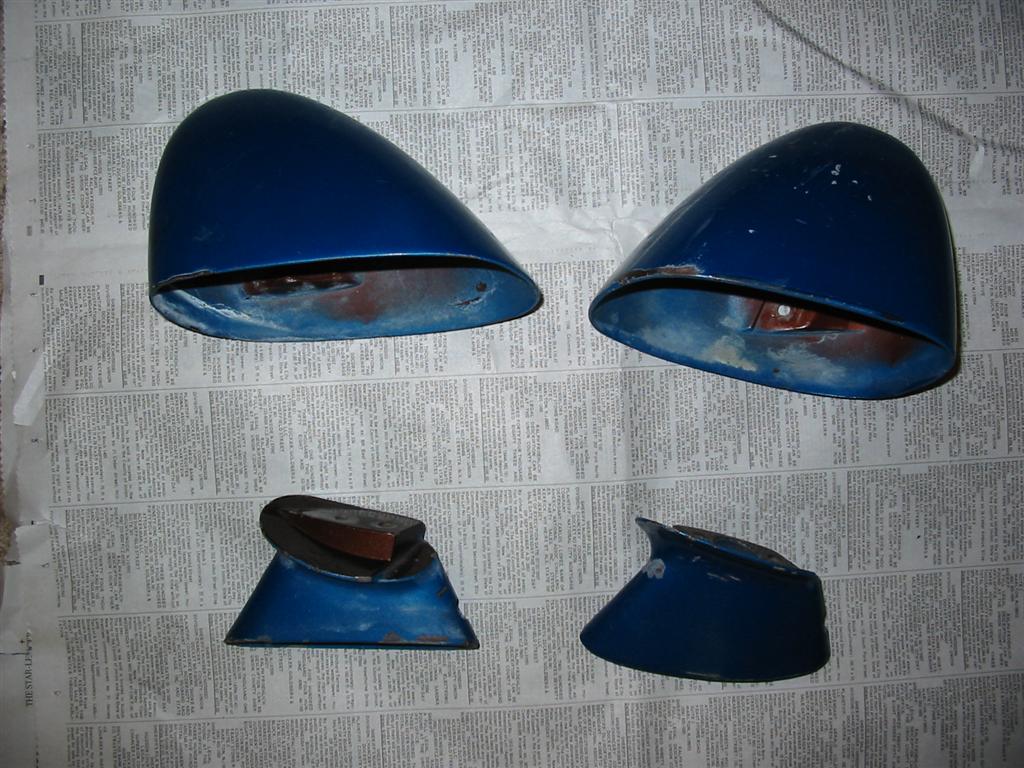
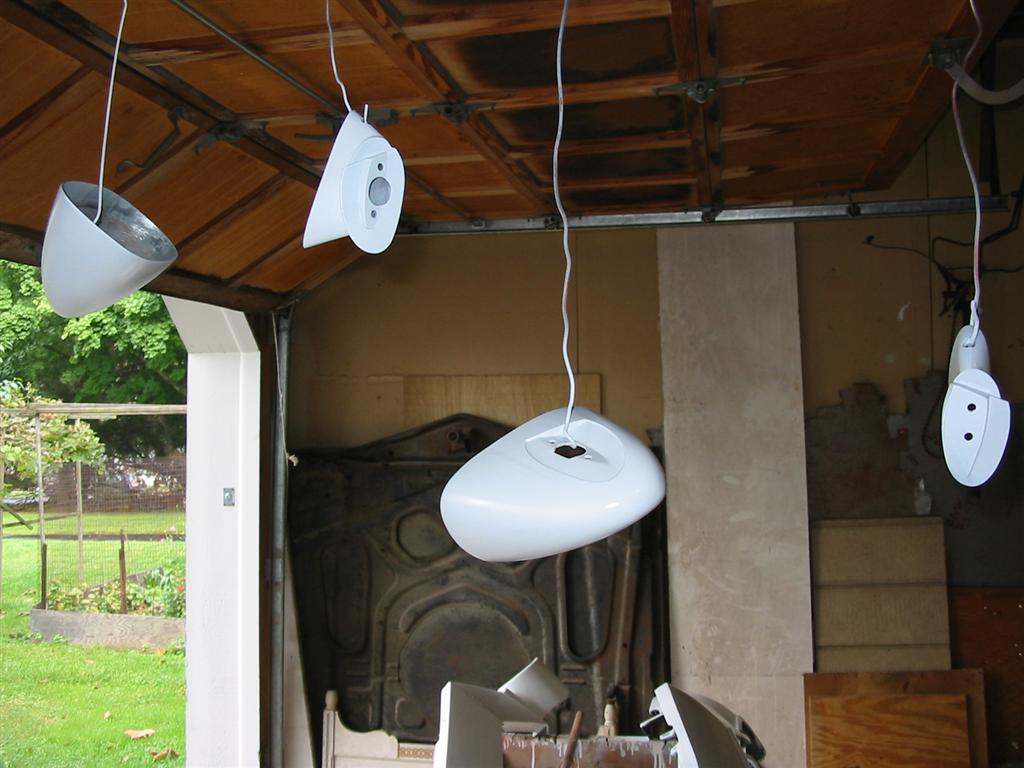
| Here are the side view mirrors. I later stripped these to bare steel. | Here are the side view mirrors with a coat of Epoxy Primer. |
|
|
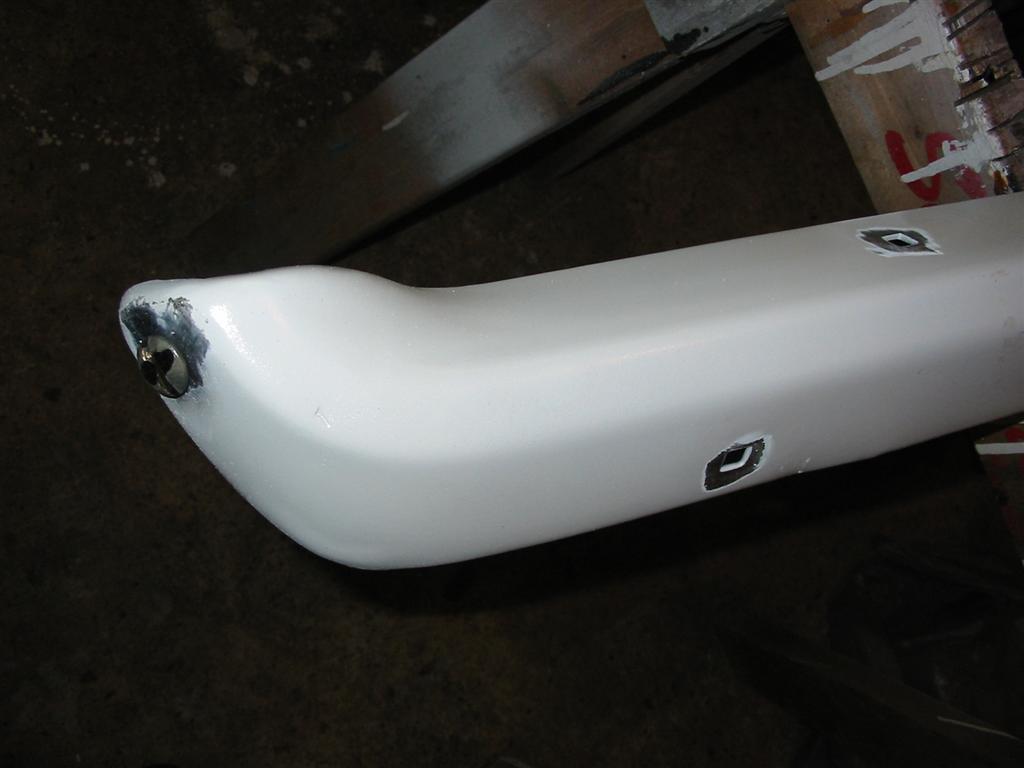
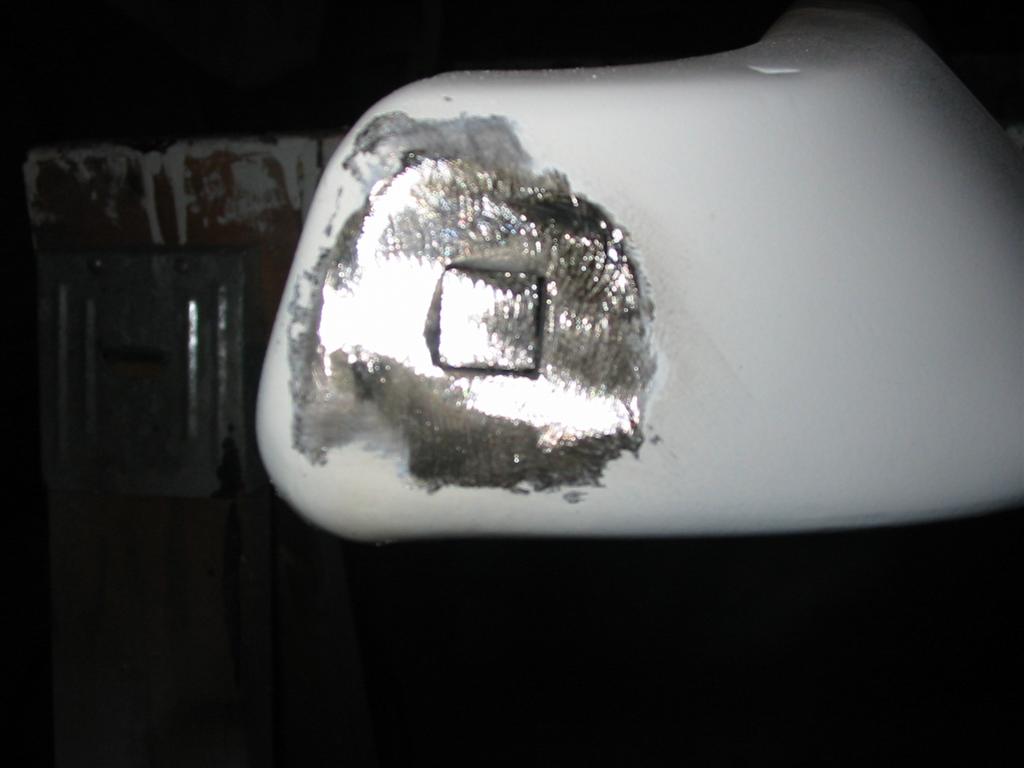
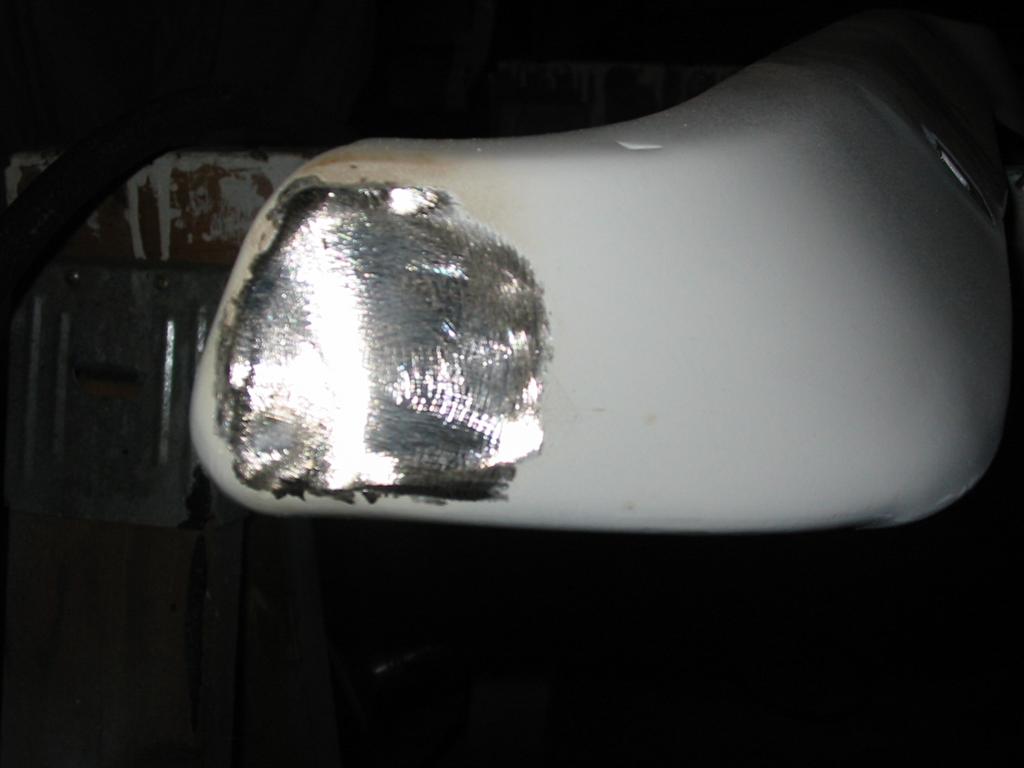
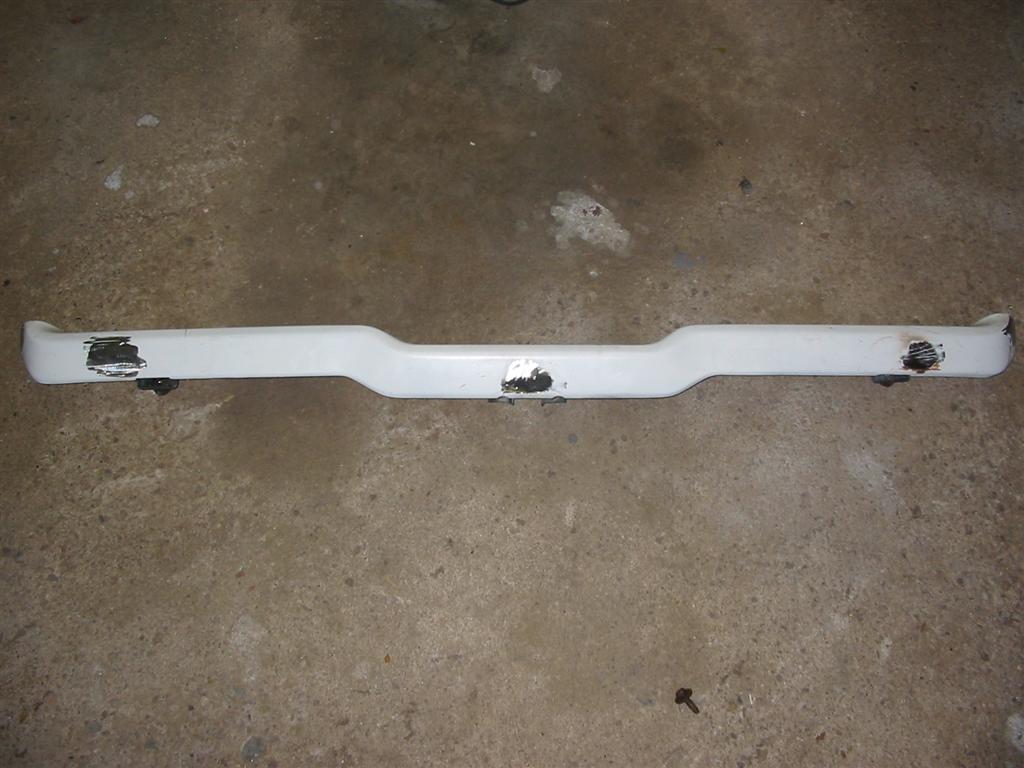
| The following five pictures show the process of welding the bolts to the bumper. I first tacked the bolt to the bumper from the backside of the bumper. I then ground the head off of the bolt. Next I welded the bolt from the front and filled in any gaps. Lastly, I ground the welds on the front of the bumper smooth. I had to do this for all seven bolts. | |
|
|
|
|
|
|
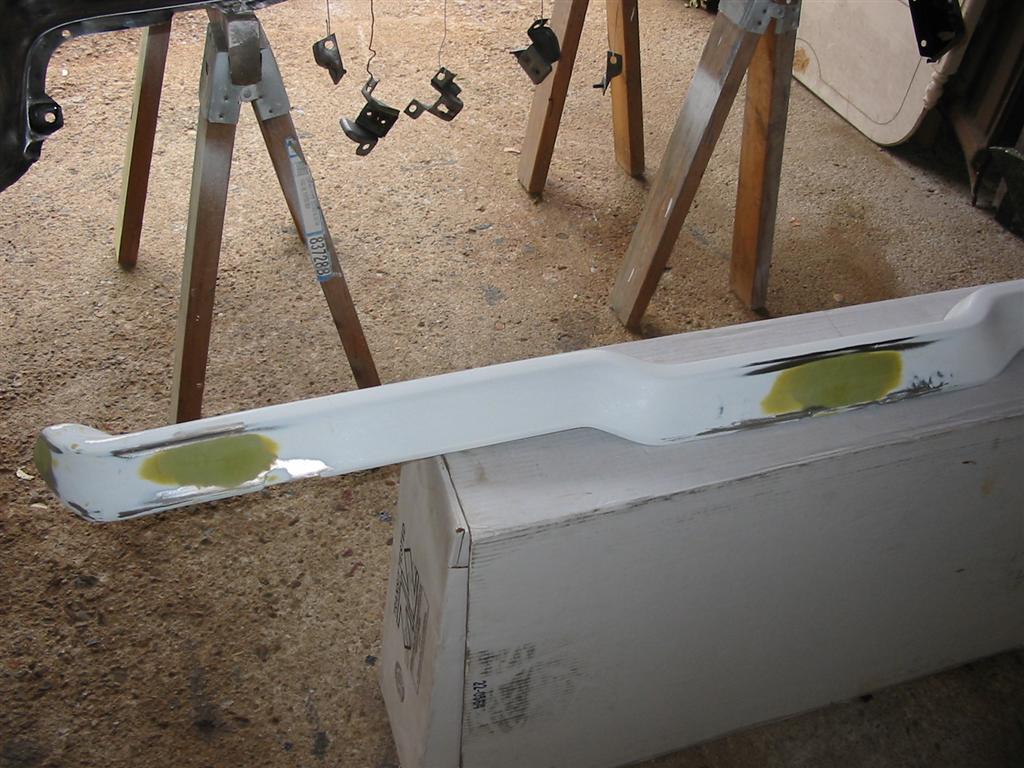
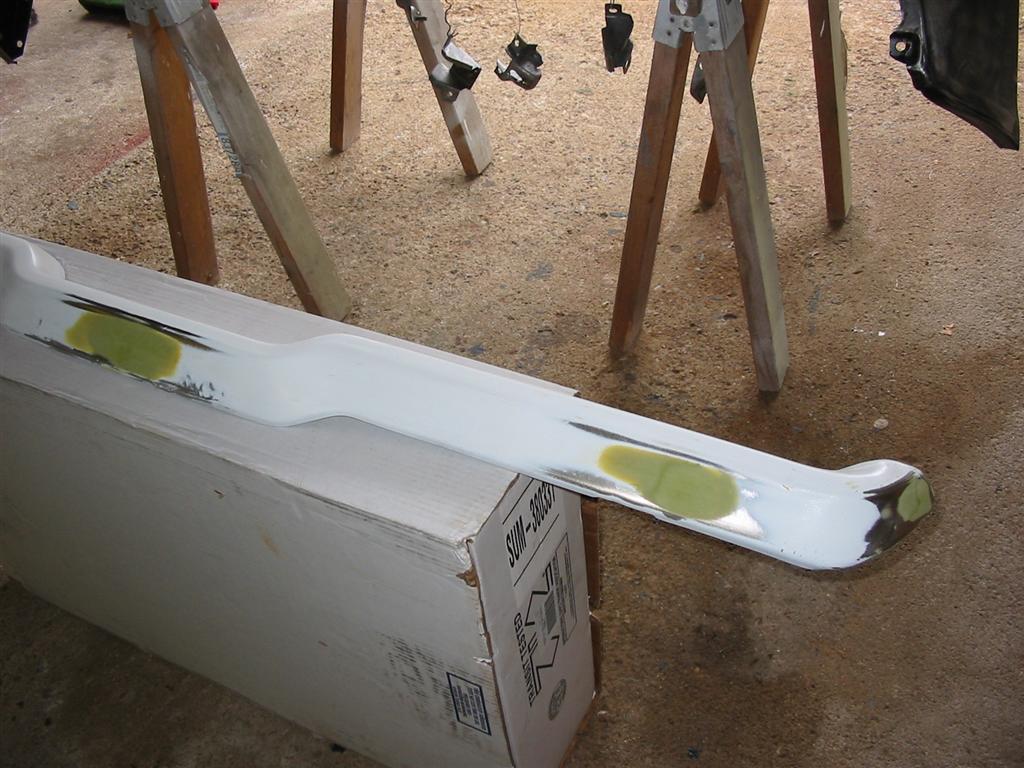
| Here is the bumper after working the welded areas with some body filler. | |
|
|
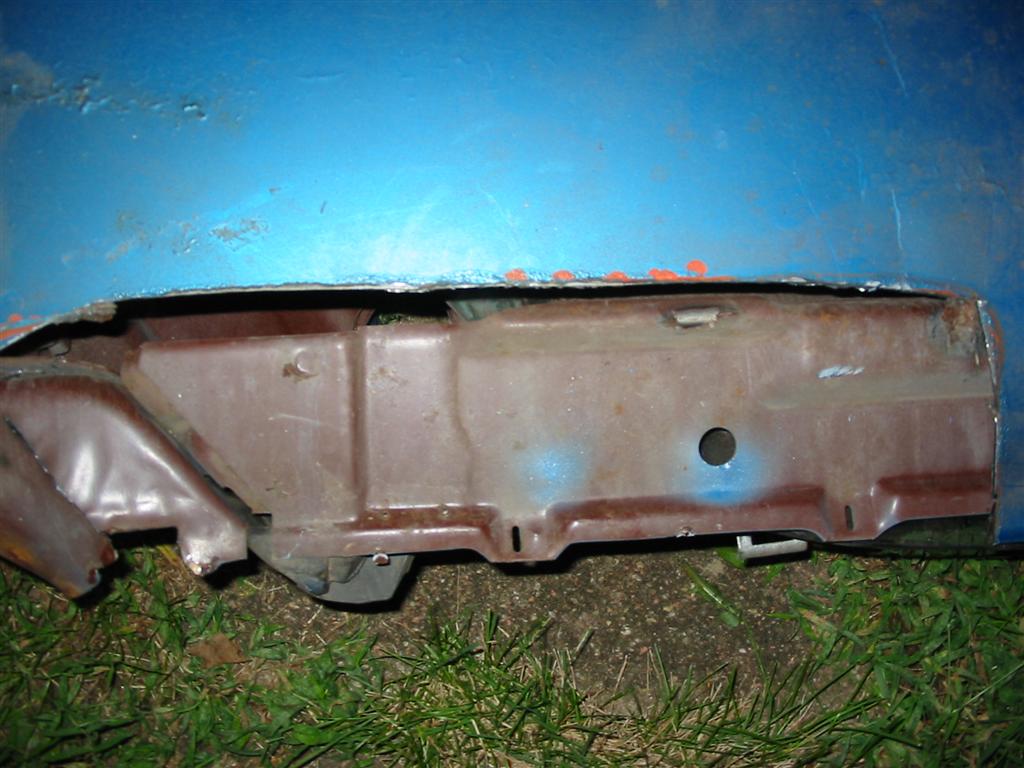
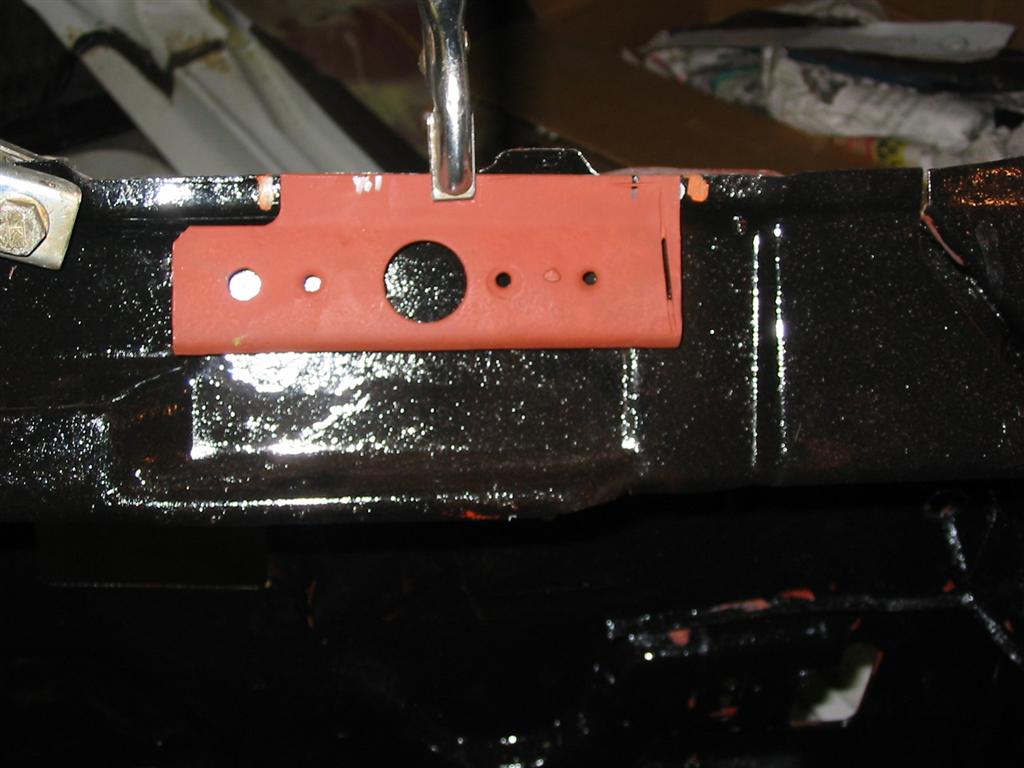
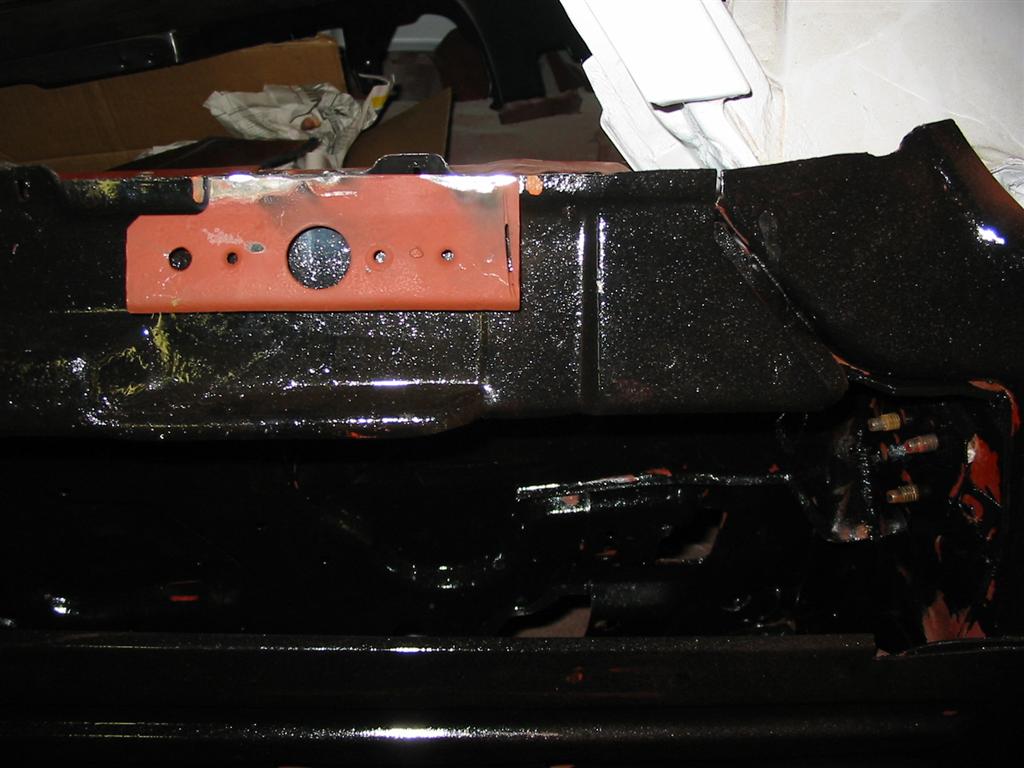
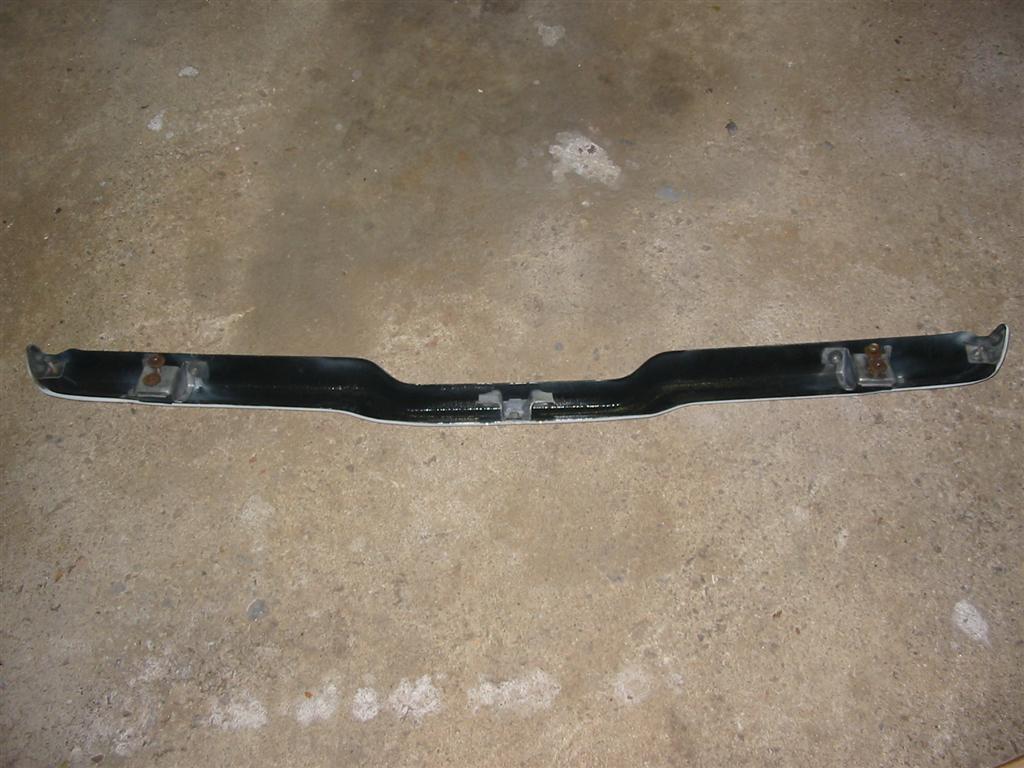
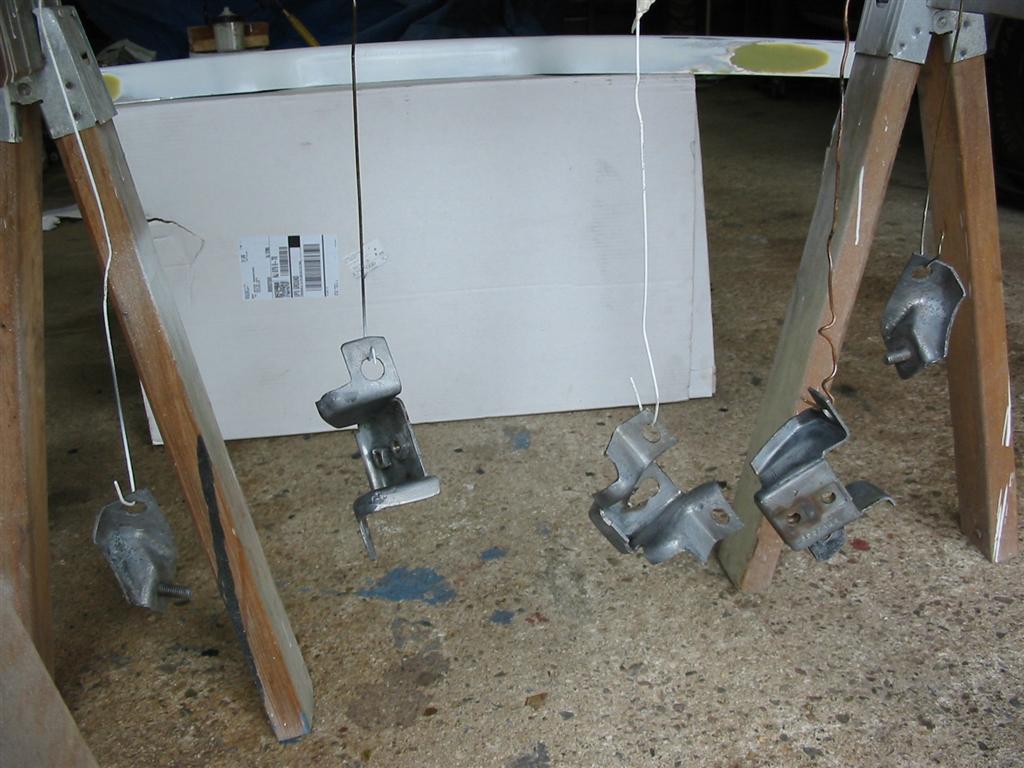
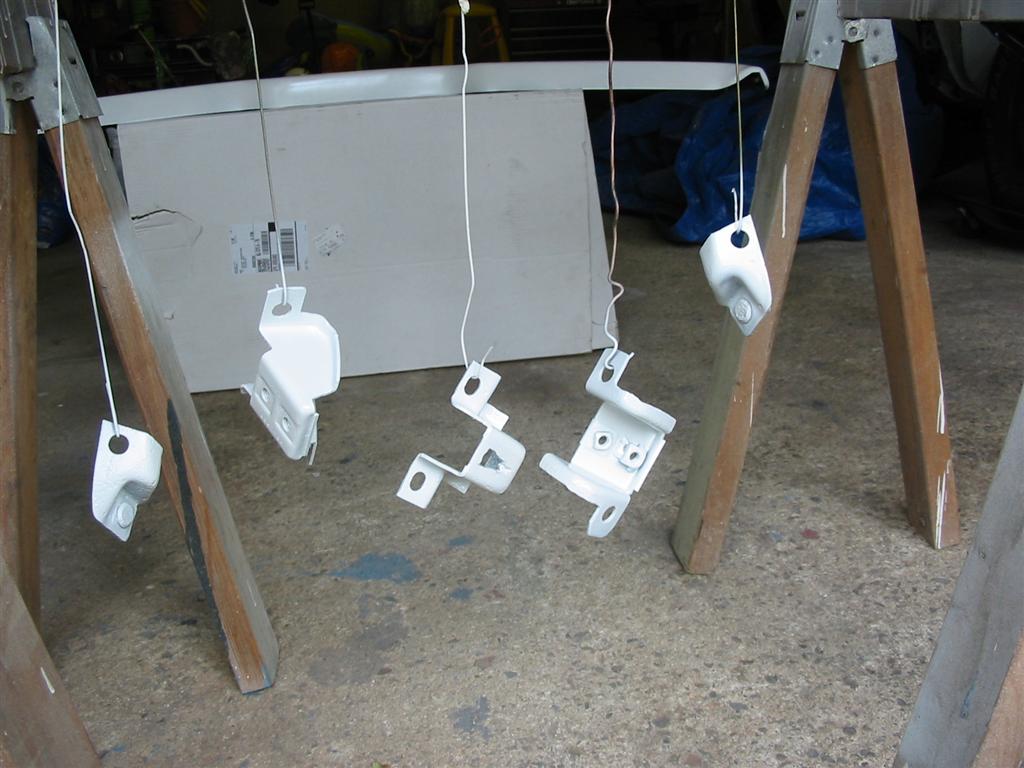
| Here are the bumper mounts prepped and ready for primer. | Here are the bumper mounts coated with epoxy primer. |
|
|
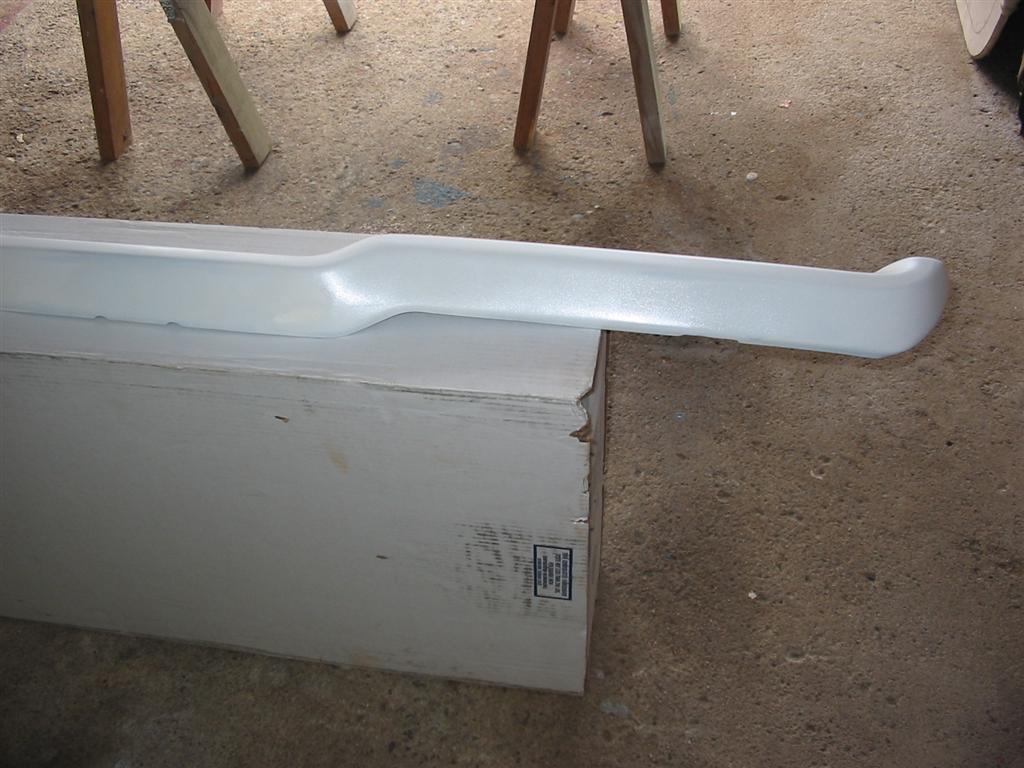
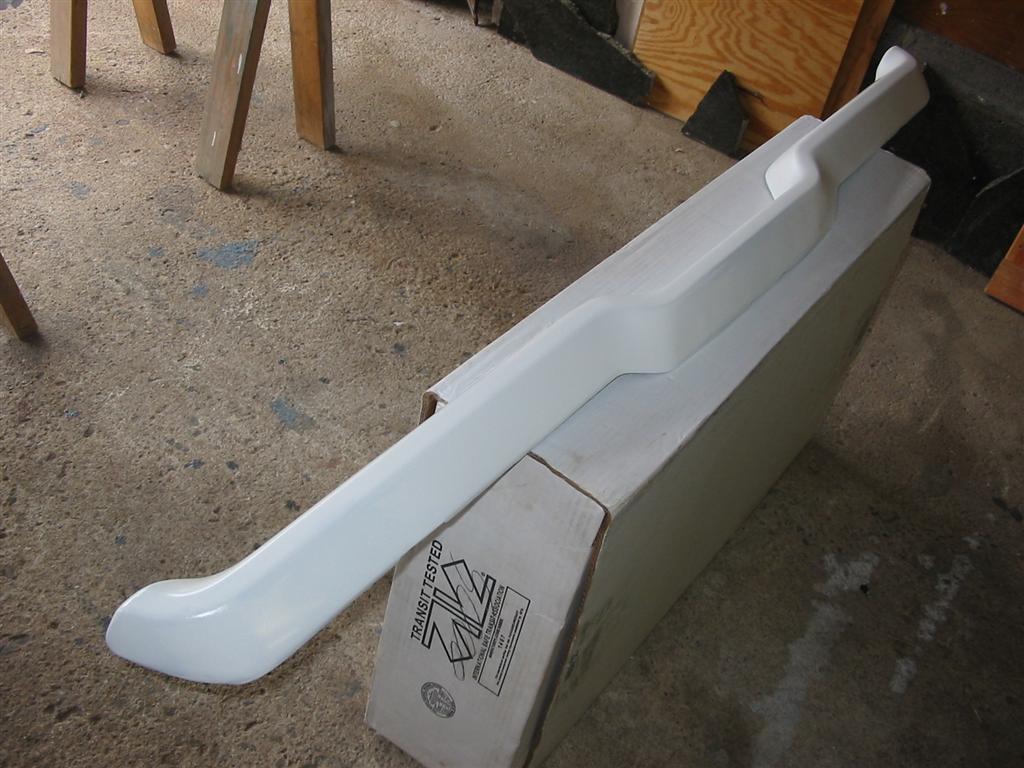
| Here is the bumper coated with epoxy primer. | |
|
|
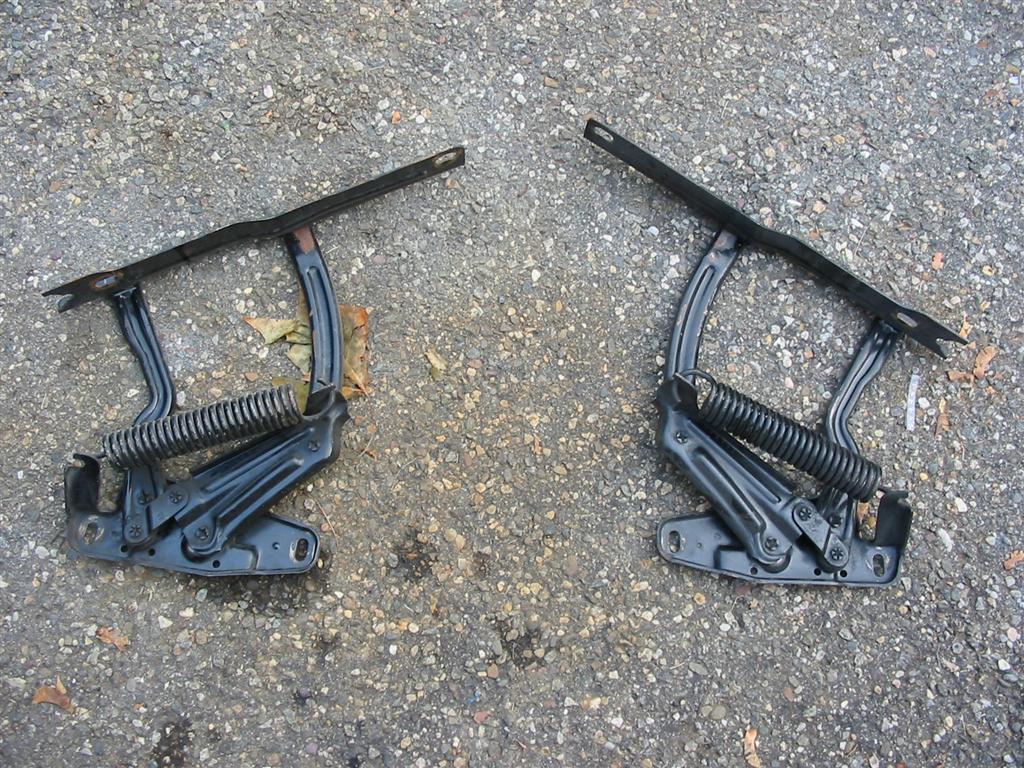
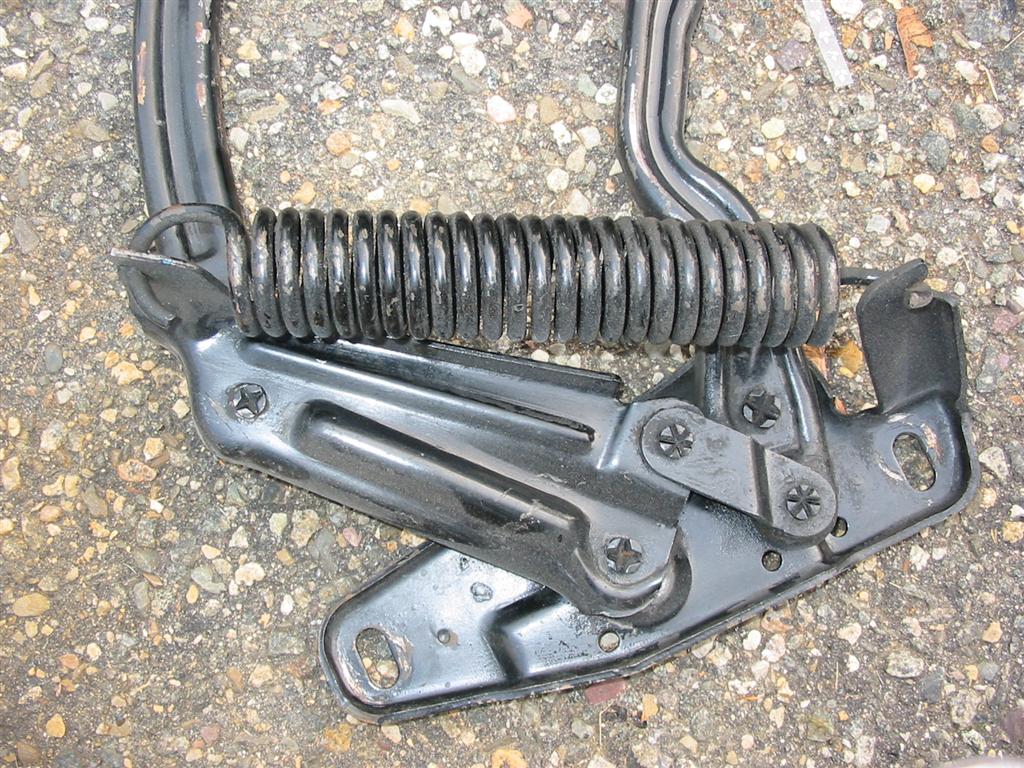
| Here are the hood hinges with the factory springs and the factory paint. The springs will be removed and replace with Harwood low tension springs. The hinges will also be stripped, primed and coated with Eastwood Underhood Black. | |
|
|
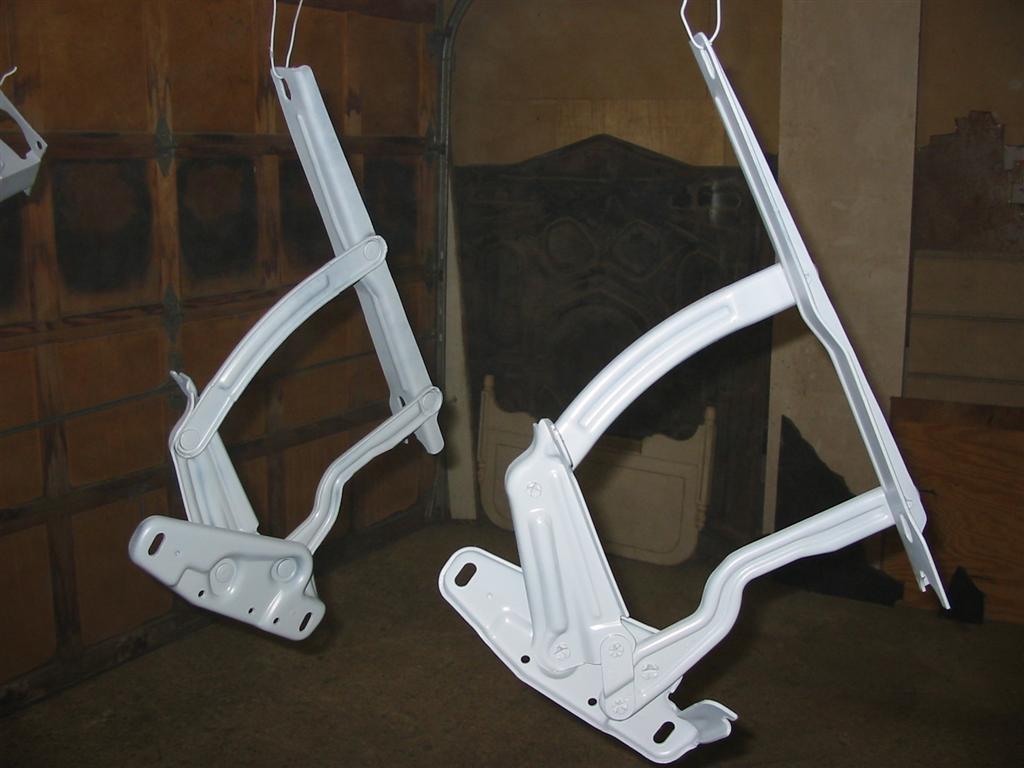
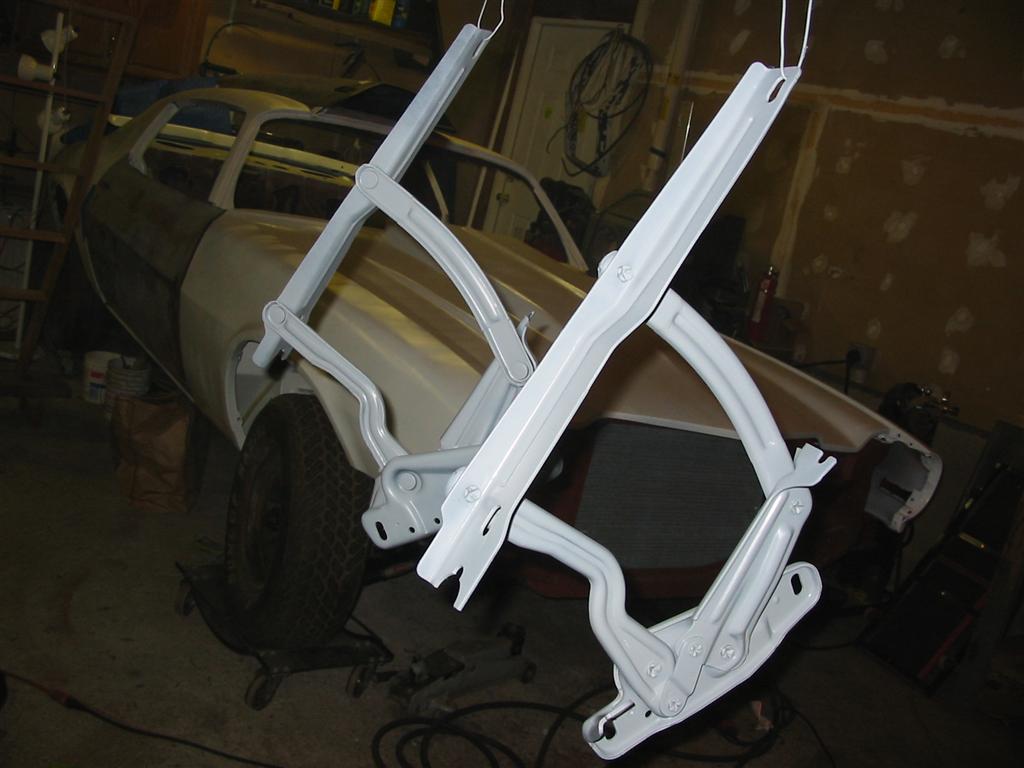
| Here are the hood hinges with the factory springs removed and coated with primer. | |
|
|
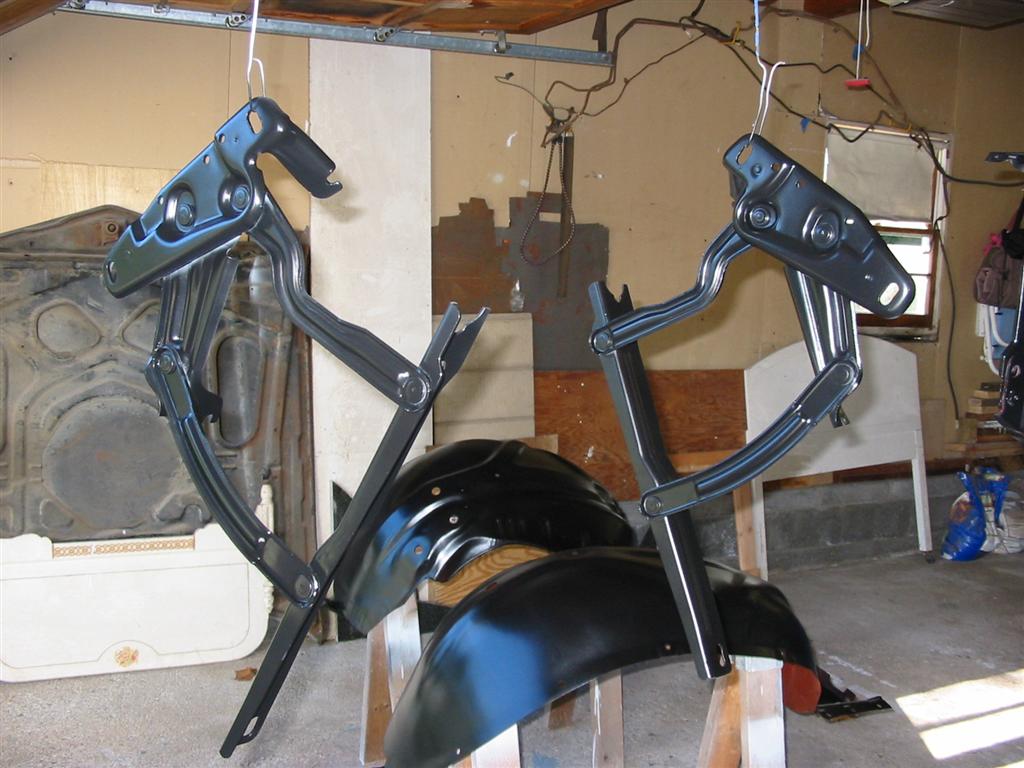
| Here are the hood hinges coated with Eastwood Underhood Black. | |
|
|
| Here is a section of the dash that I welded a patch into. This is the area after I smoothed it out with filler. | Here is a section of the dash with a coat of Epoxy Primer. |
|
|
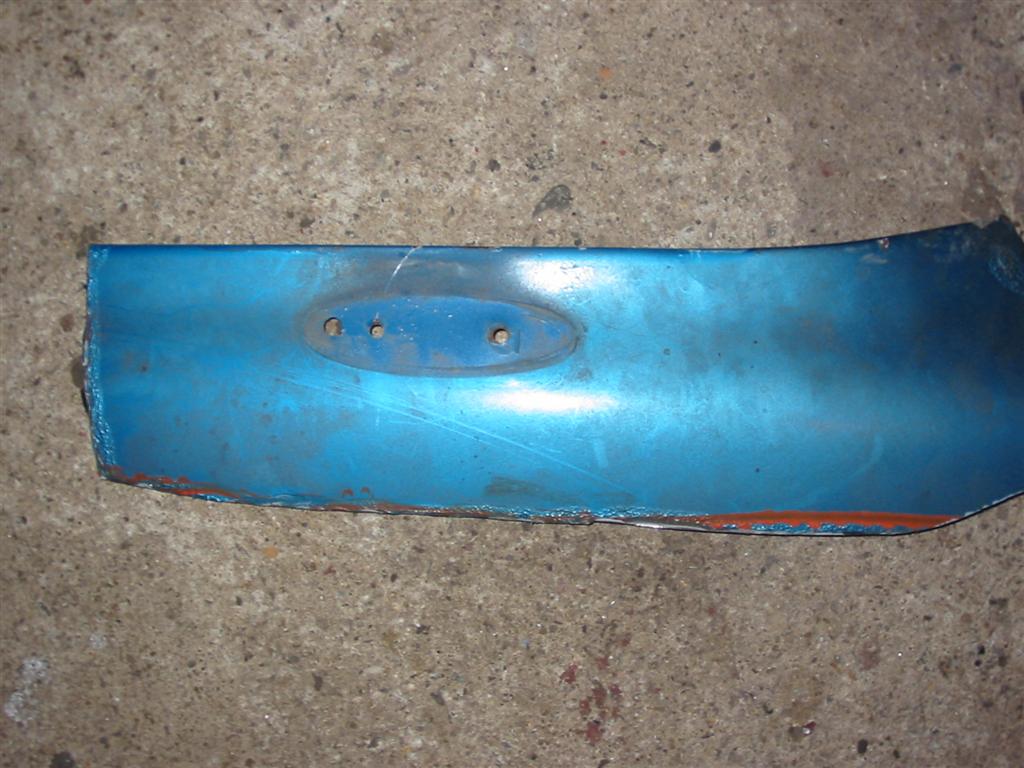
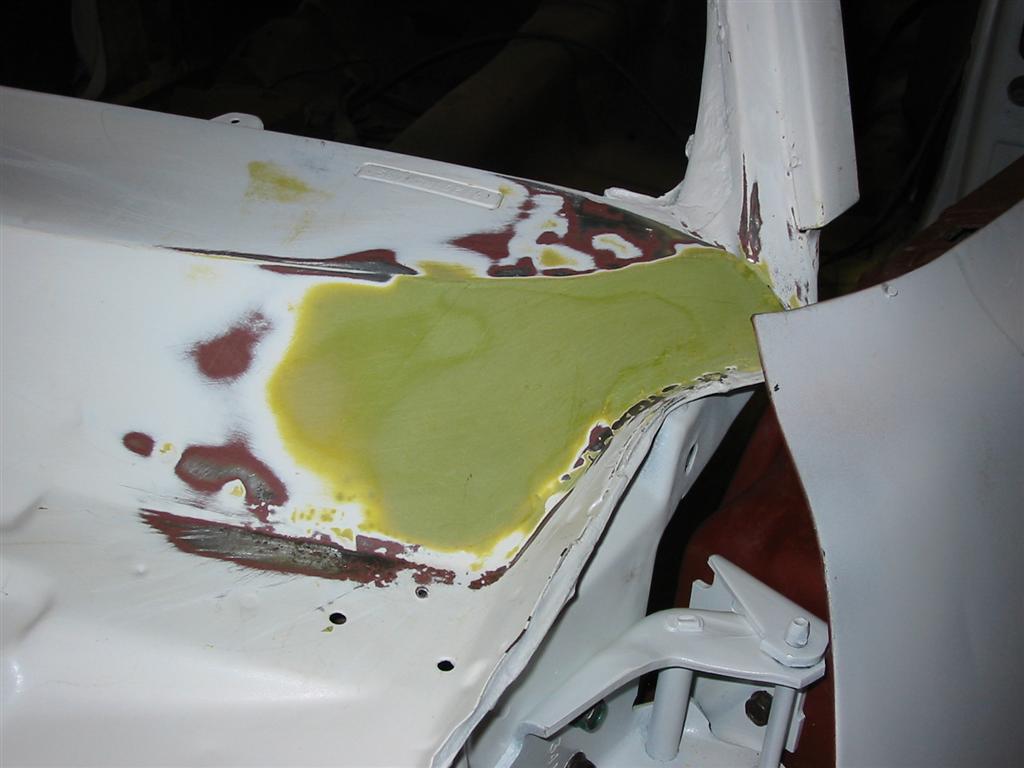
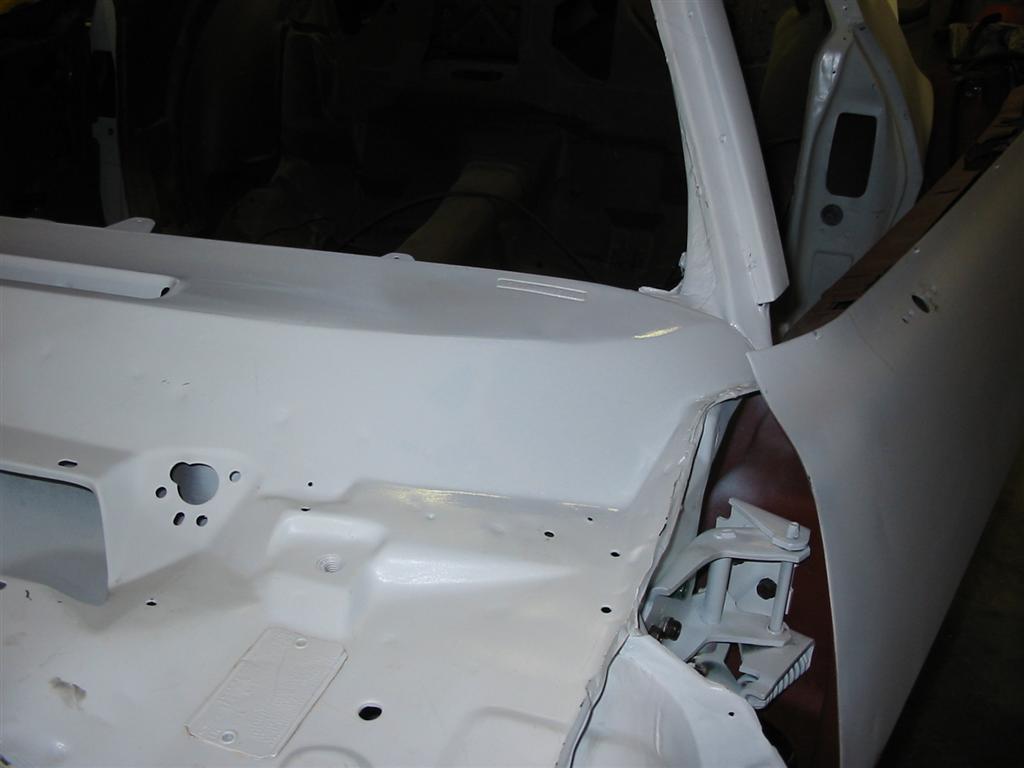
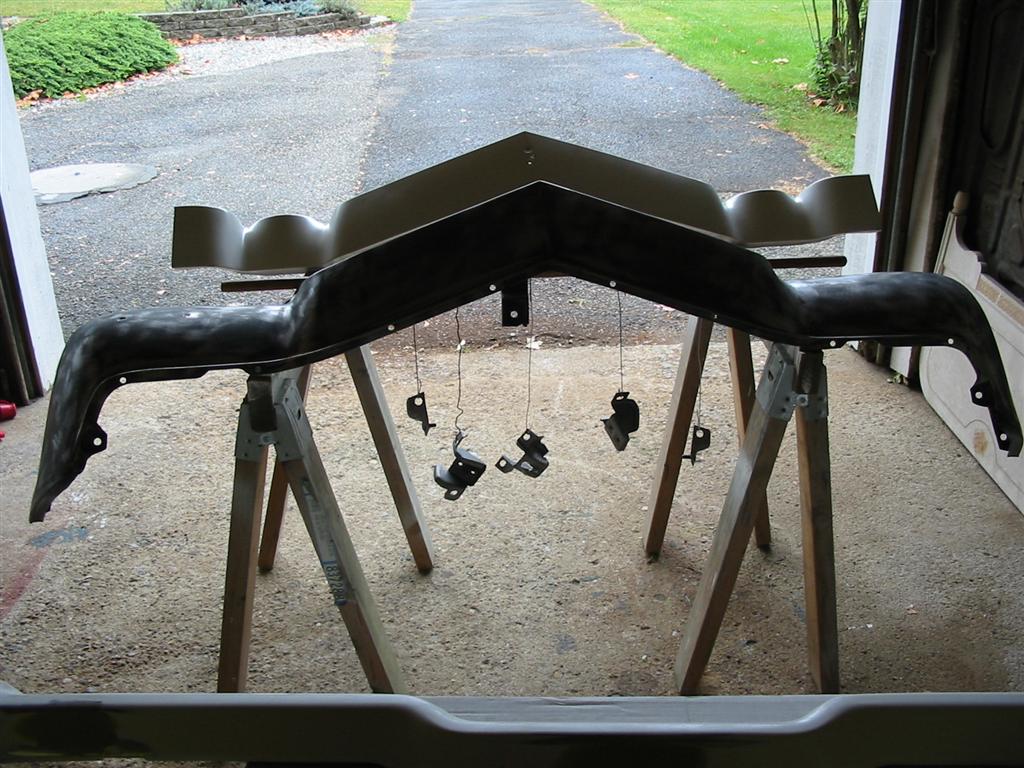
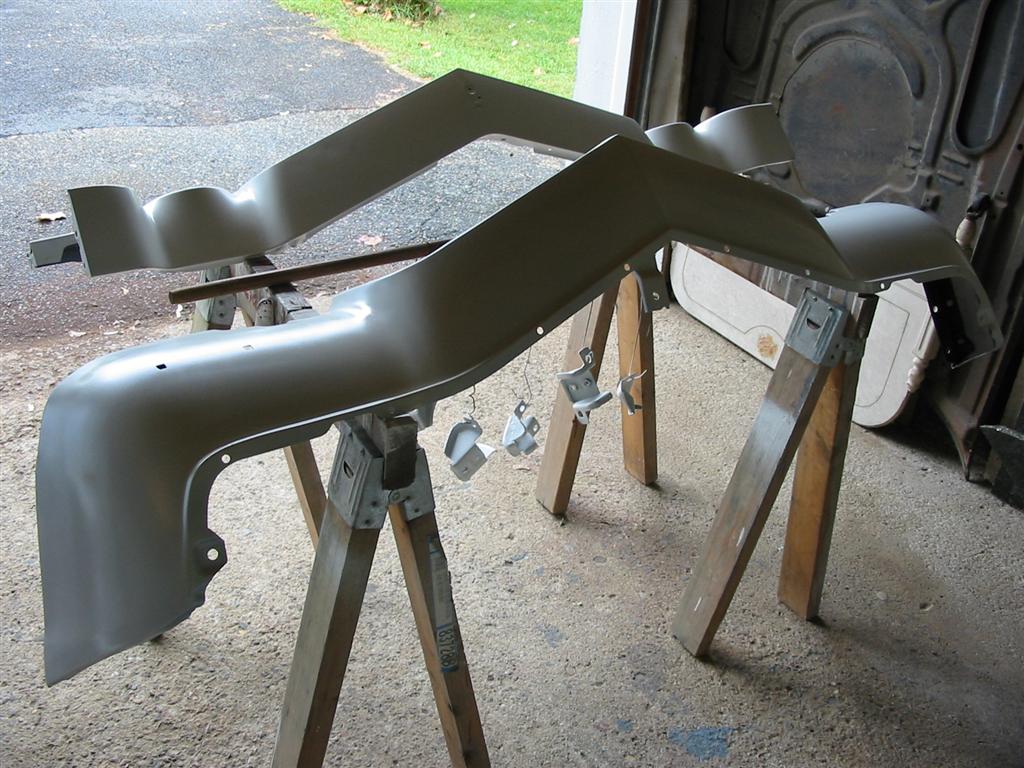
| Here is a section of the front upper valance that needed a little body work. It is done and ready for primer. | Here is the front upper valance with a coat of Epoxy Primer. |
|
|
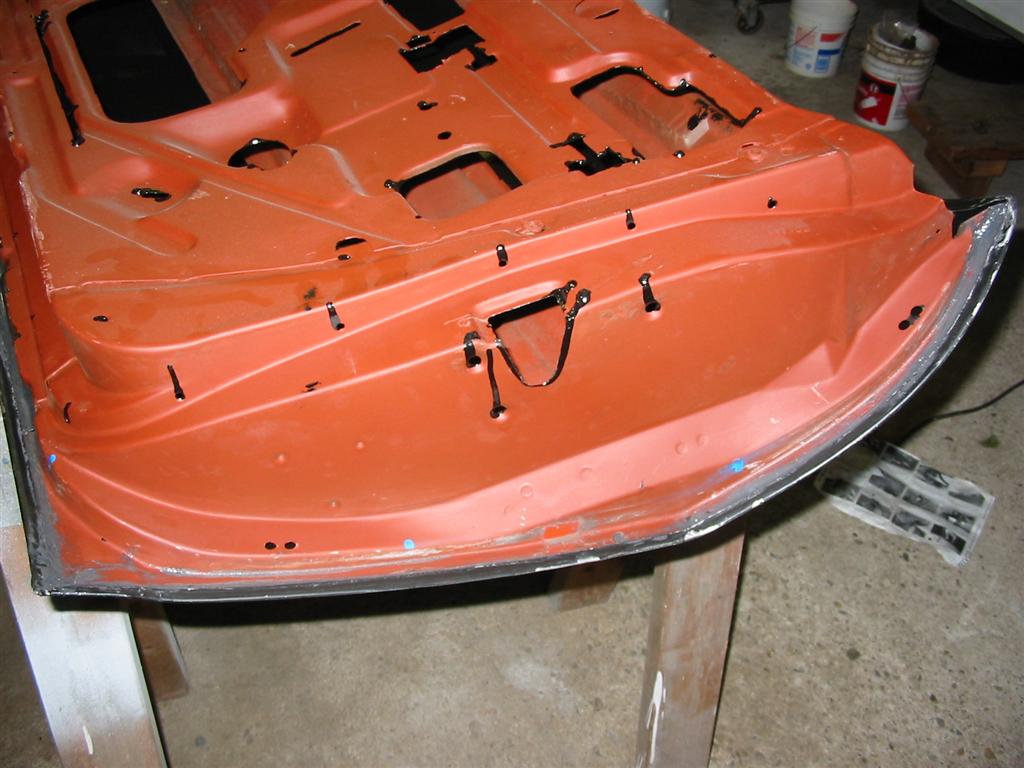
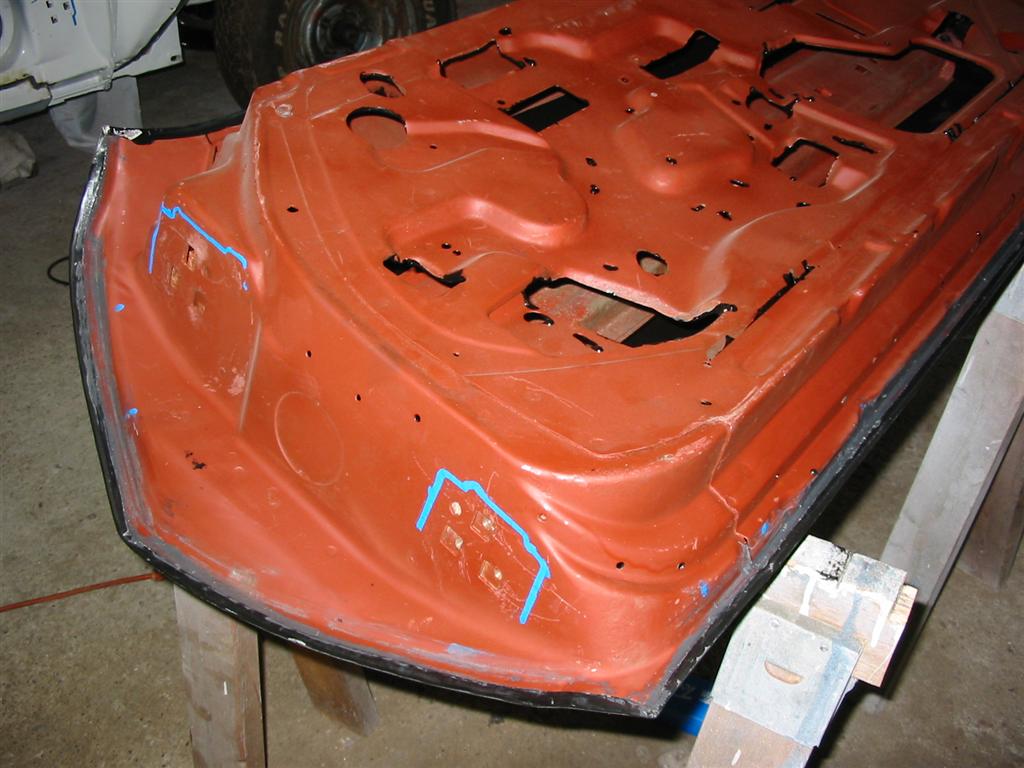
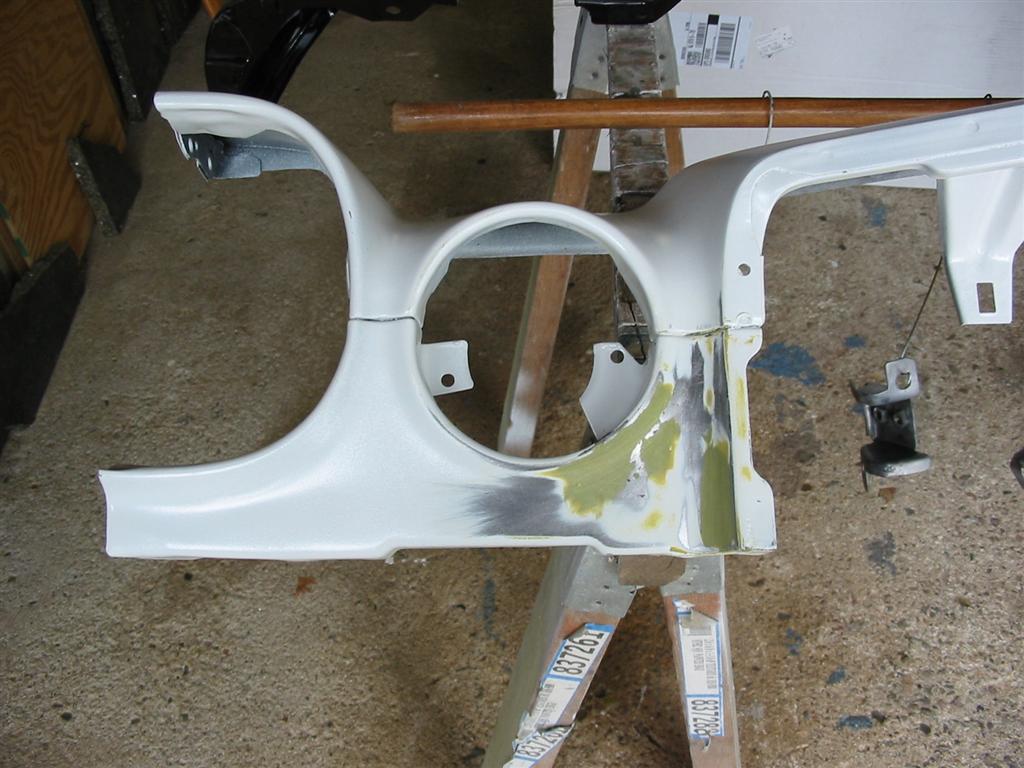
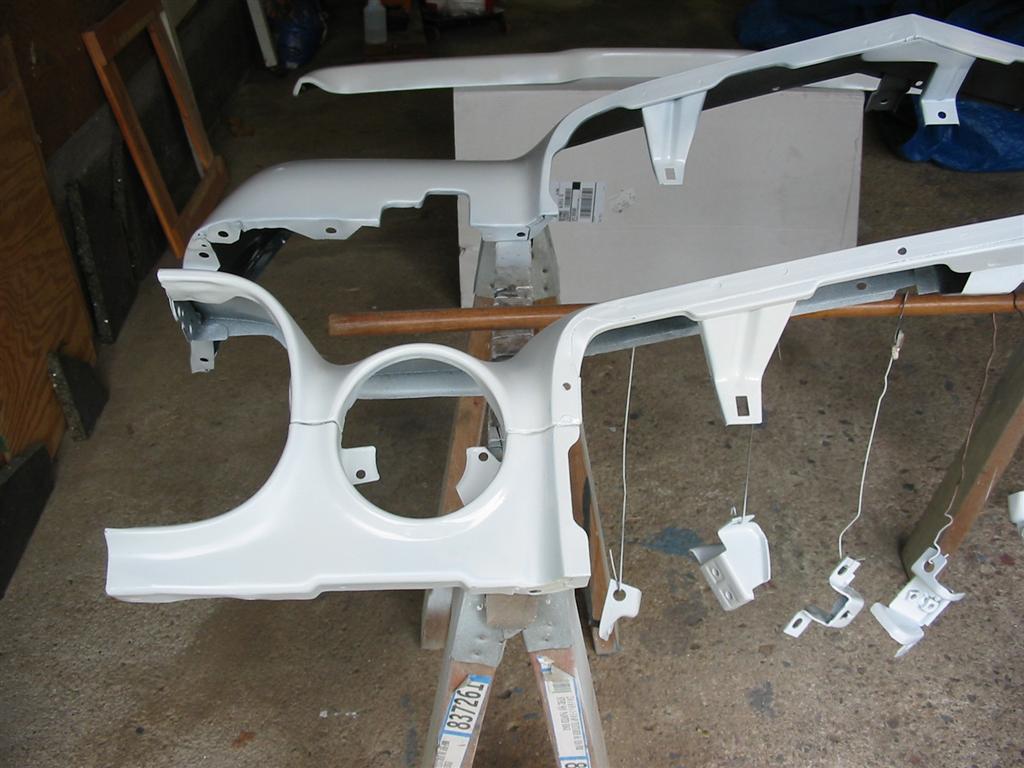
| Here are pictures of the reproduction lower front valance after being scuffed for a coat of Epoxy Primer and then with a coat of Epoxy Primer. | |
|
|
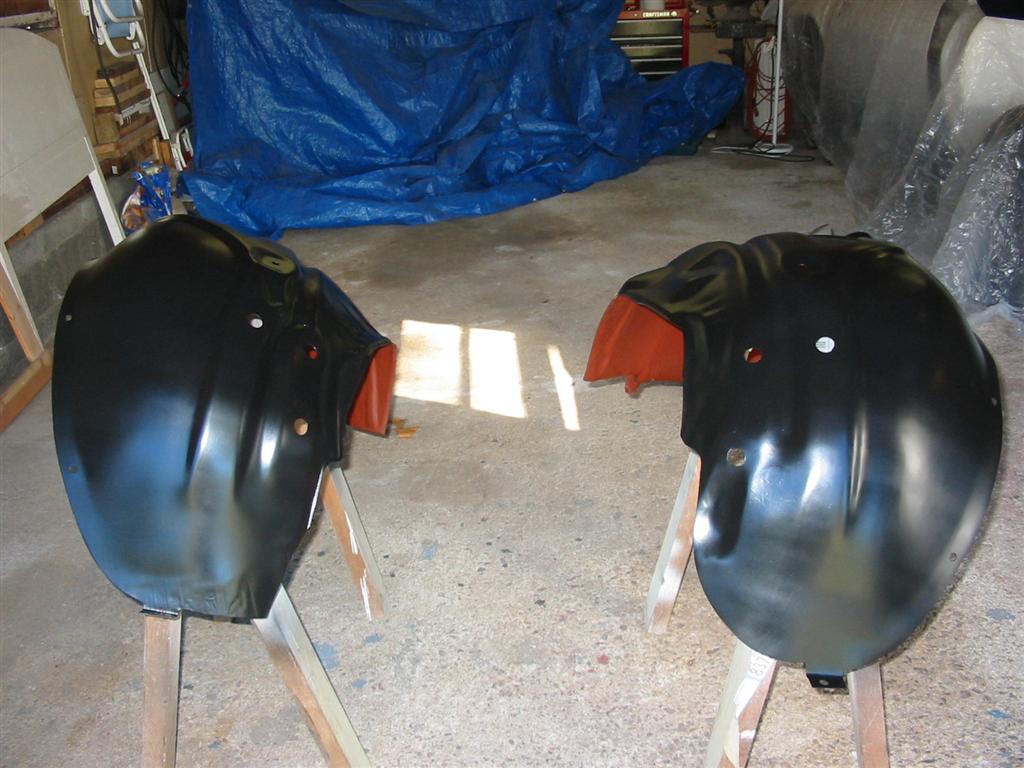
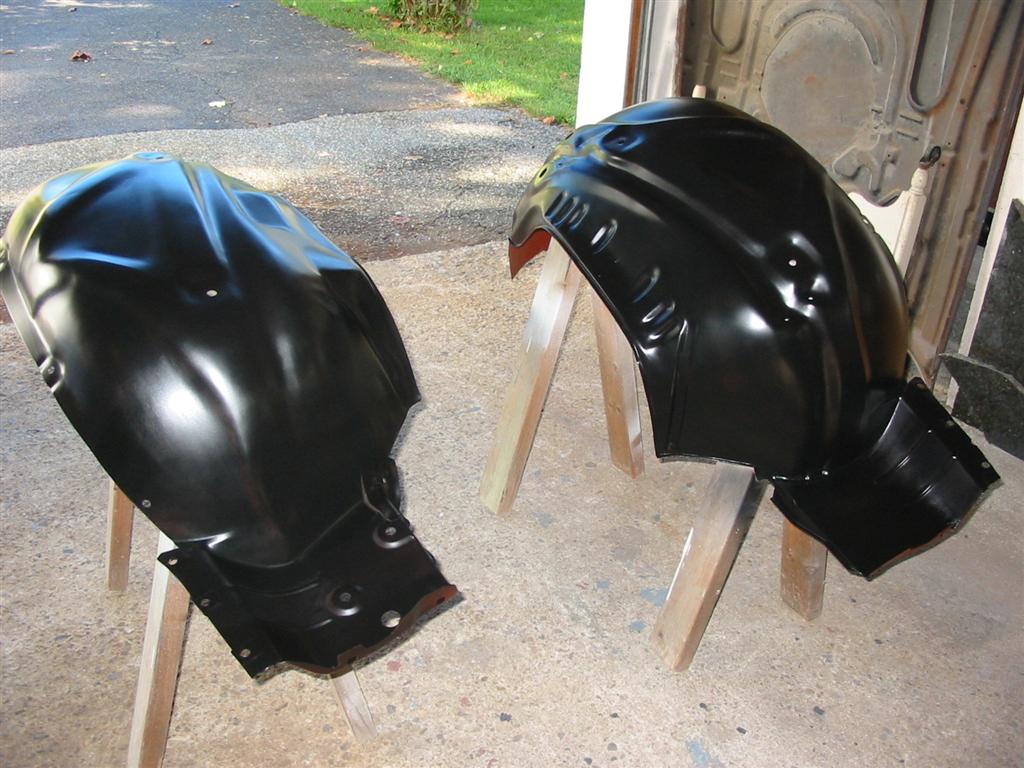
| Here are the front inner fenderwells with the top coated with Eastwood Underhood Black. | |
|
|