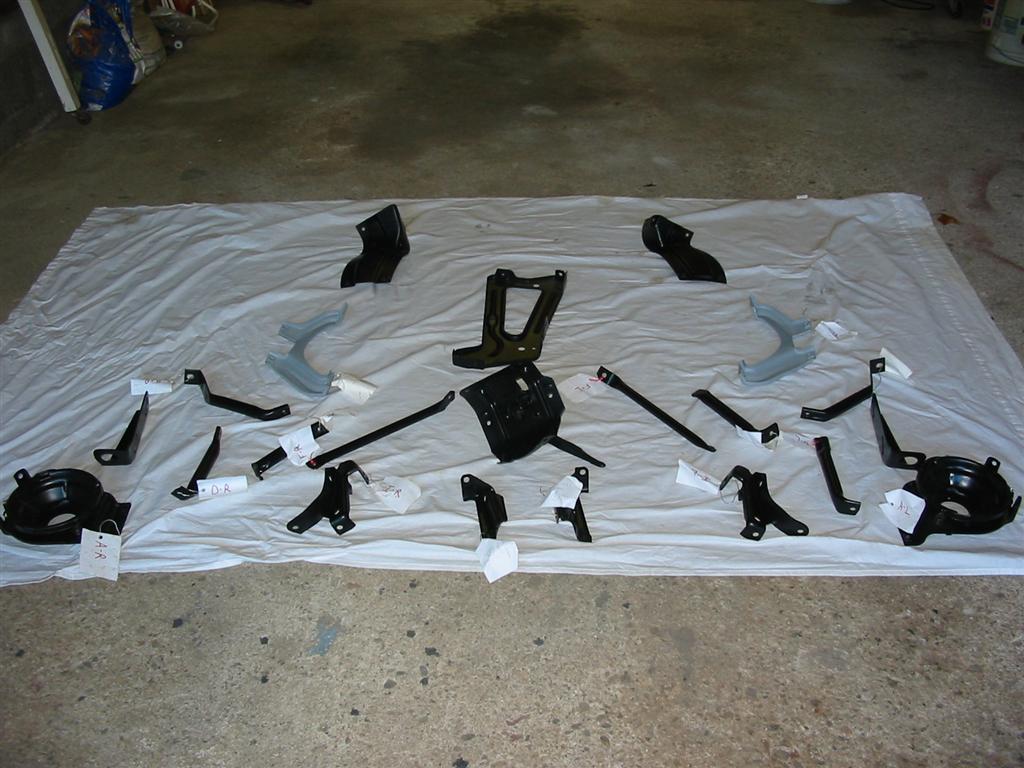
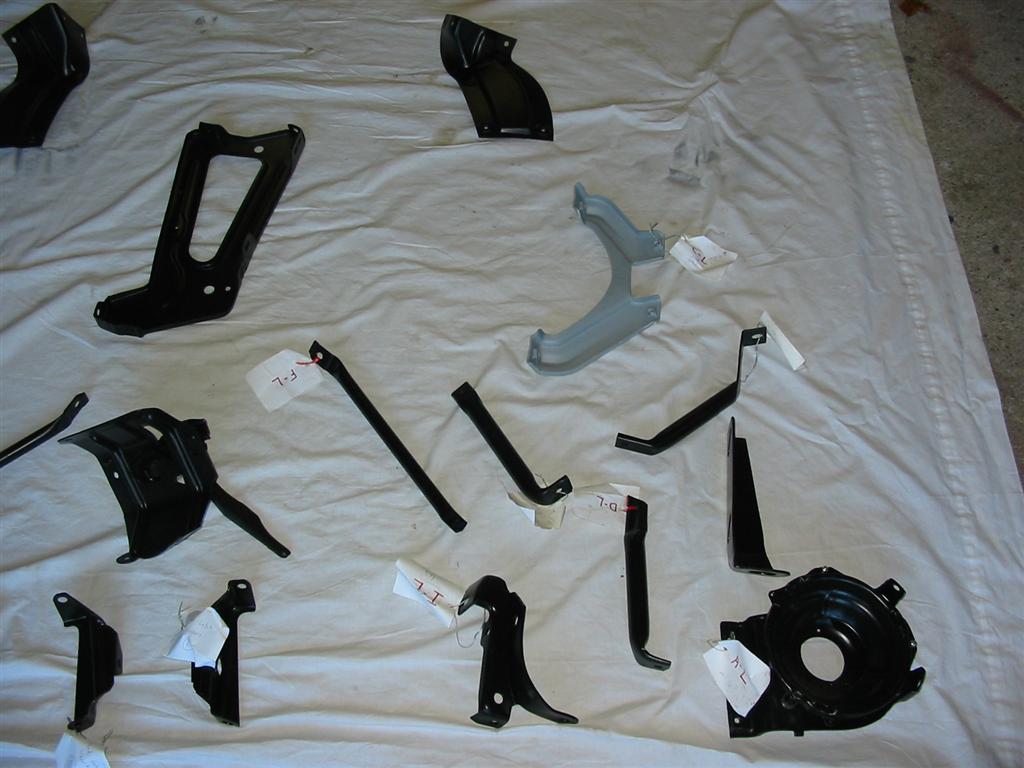
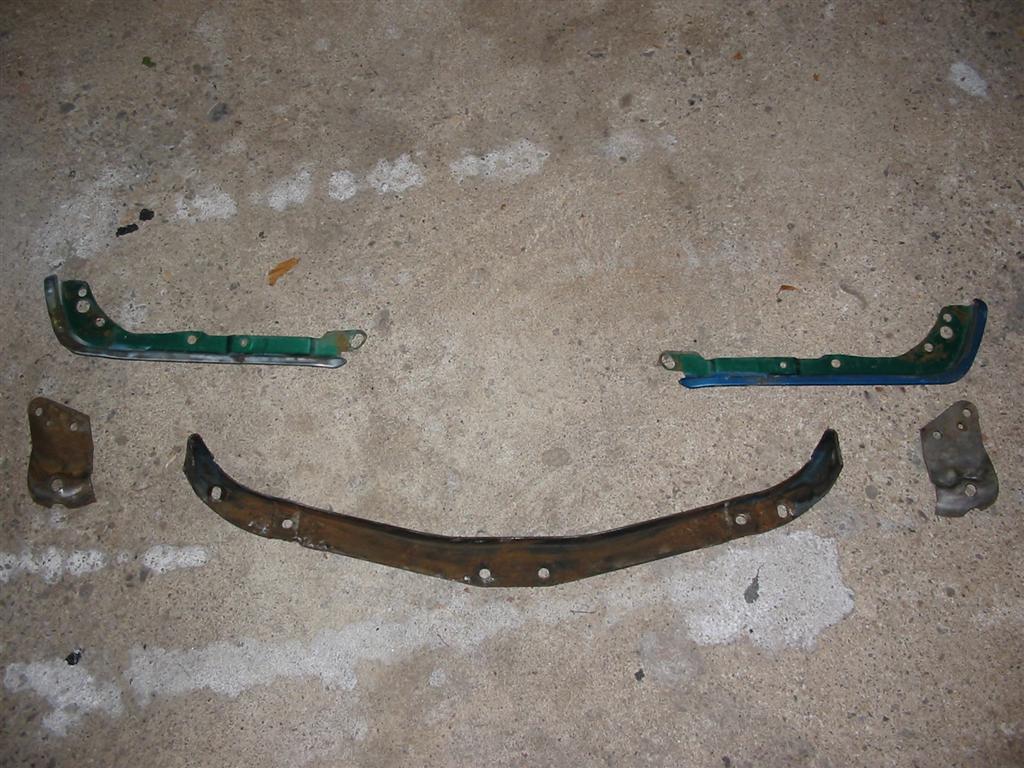
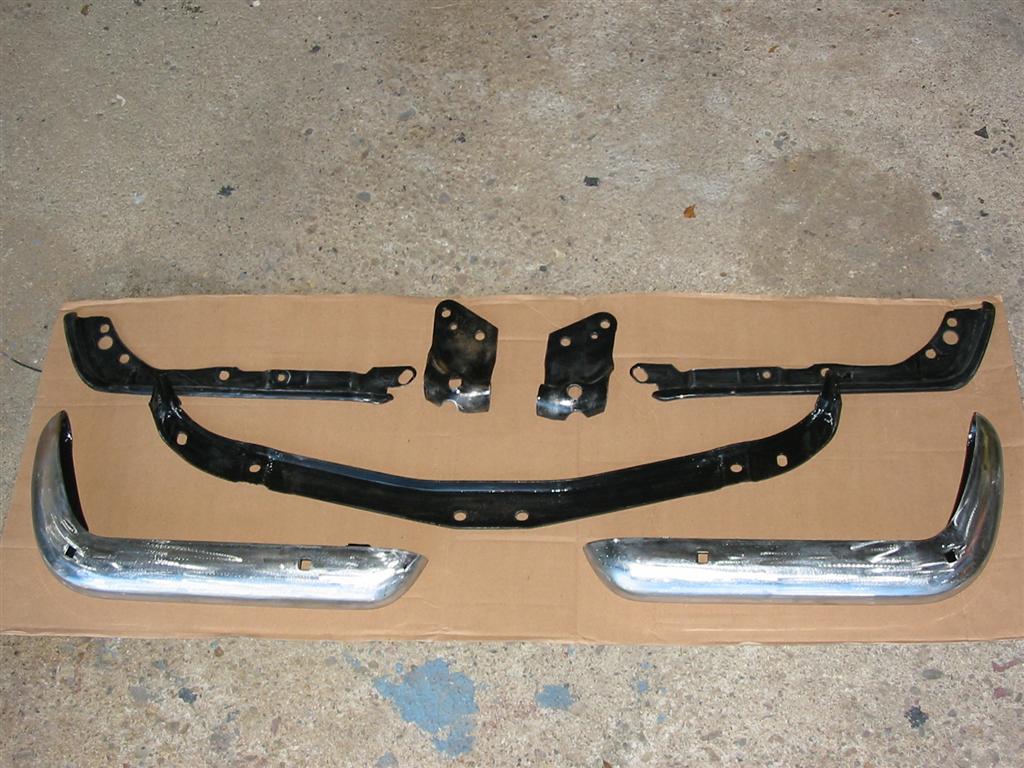
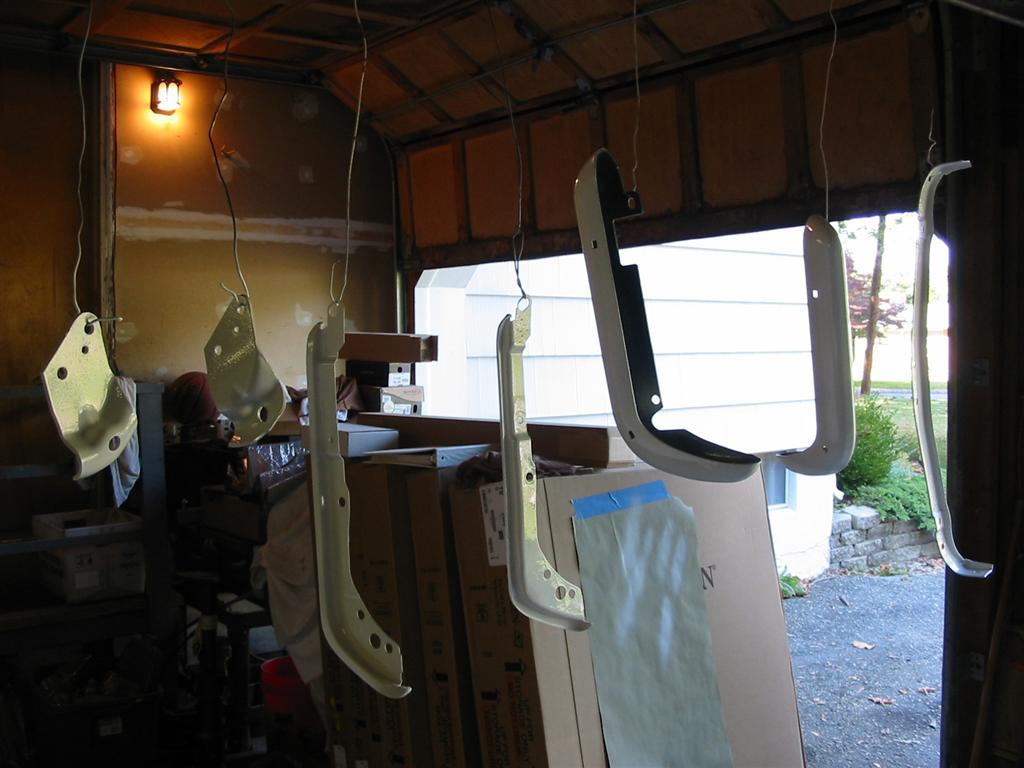
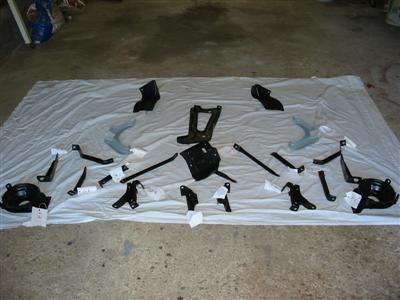
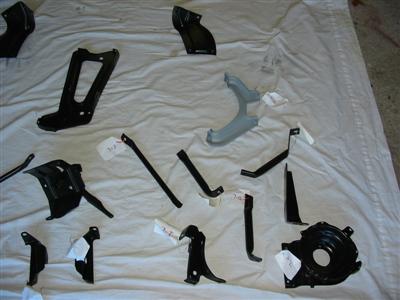
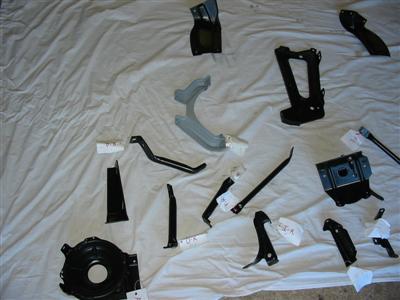
| Here are all the brackets that mount to the radiator support after blasting,
primer and a coat of Eastwood Underhood Black. I went with a single stage paint
so it can easily be touched up in the future. |
|
|
|
|
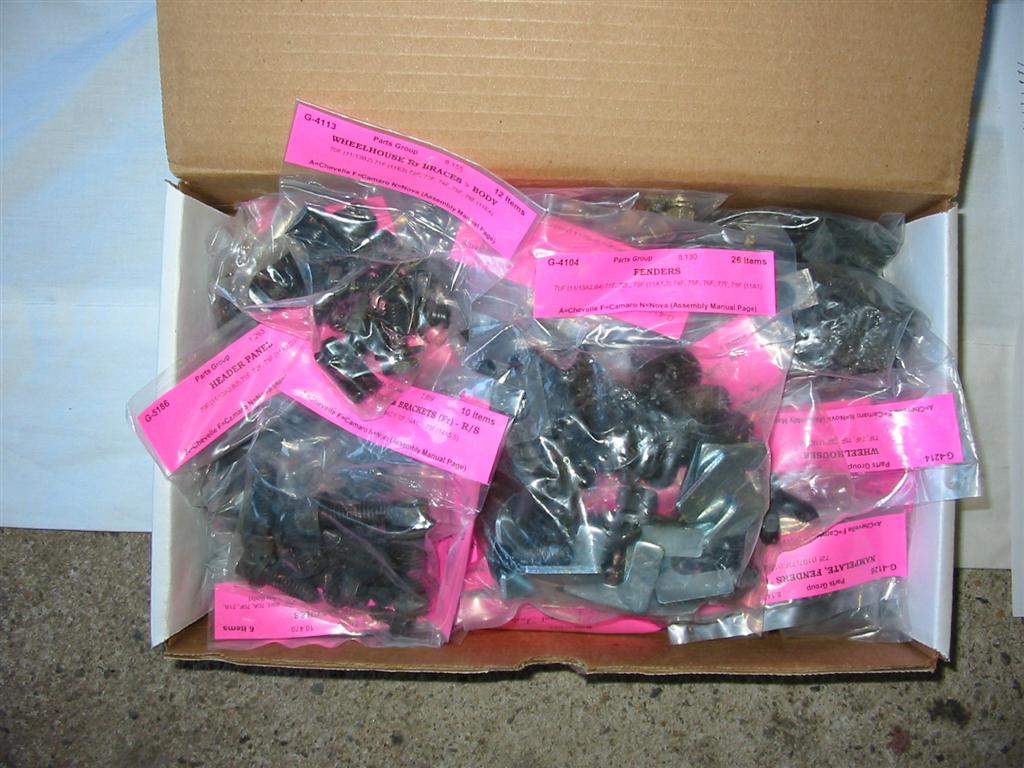
| Here is a picture of the Body Assembly Kit I purchased. This kit contains every bolt needed mount
the body panels. All the hardware is bagged and tagged for easy identification. |
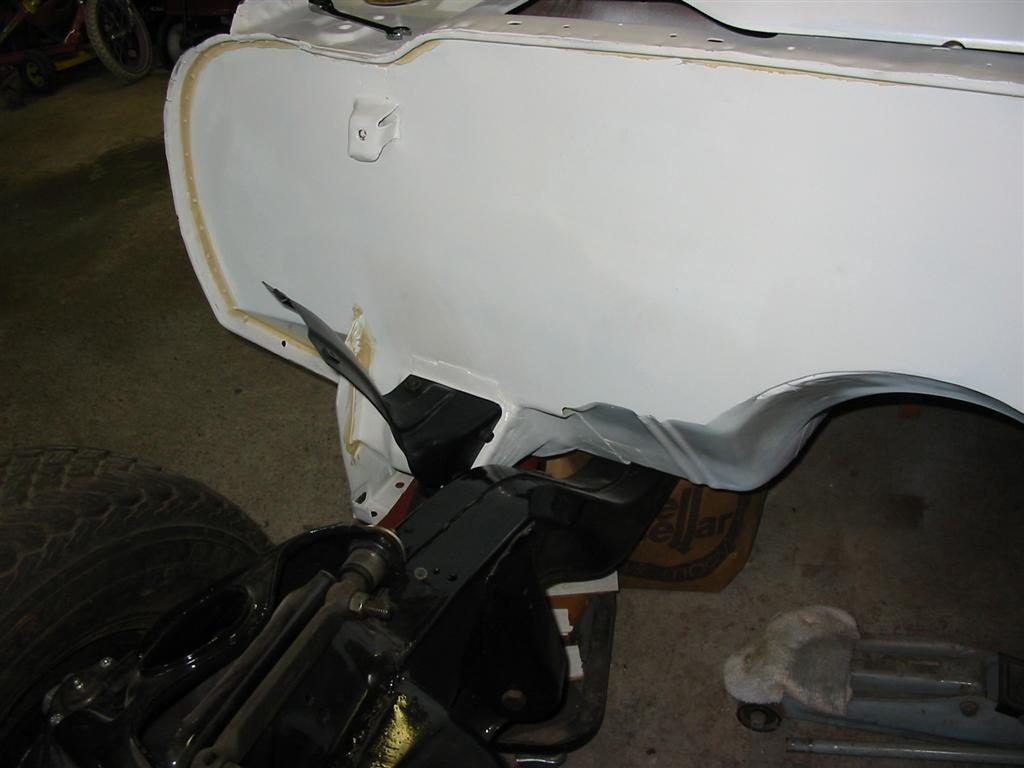
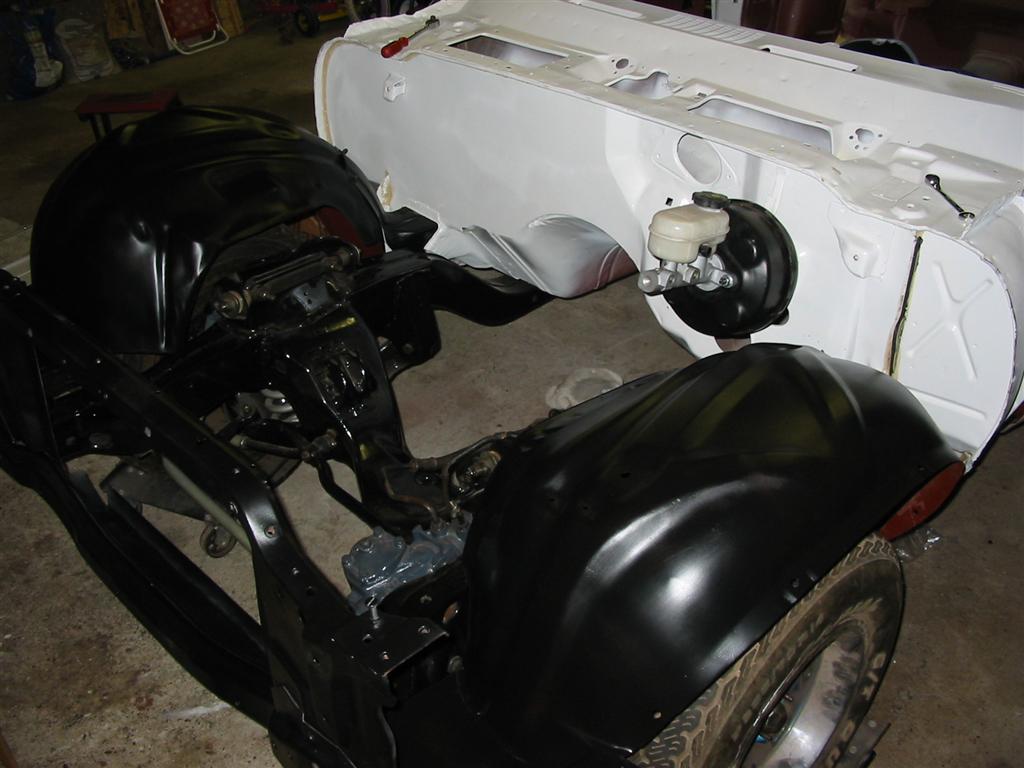
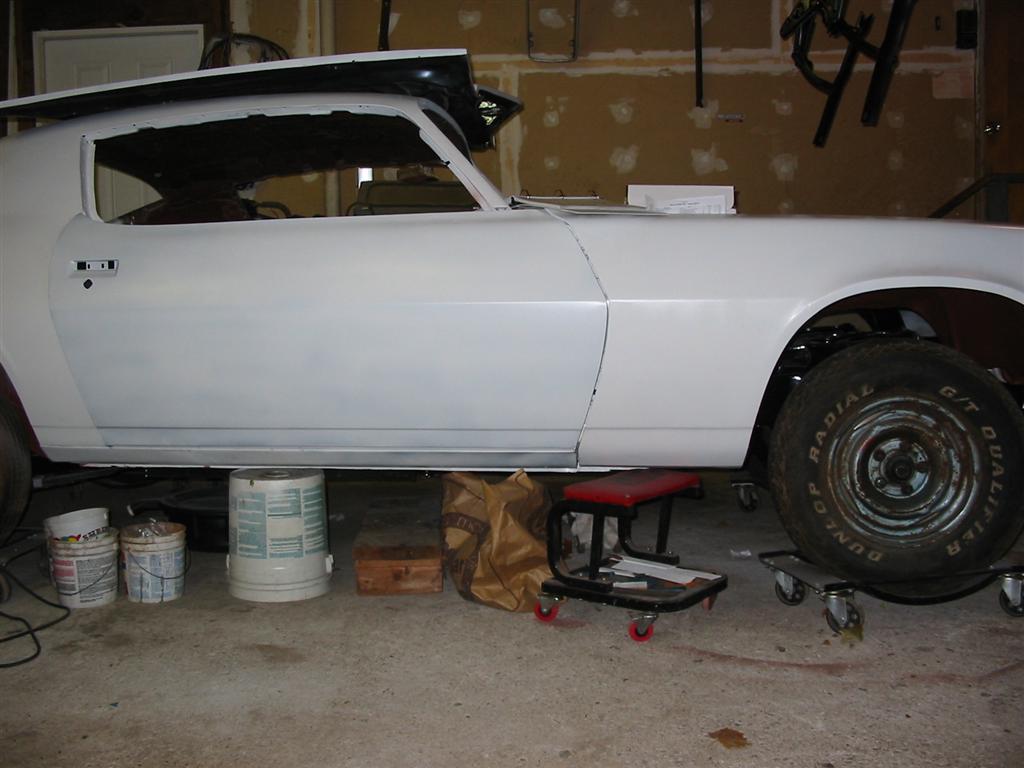
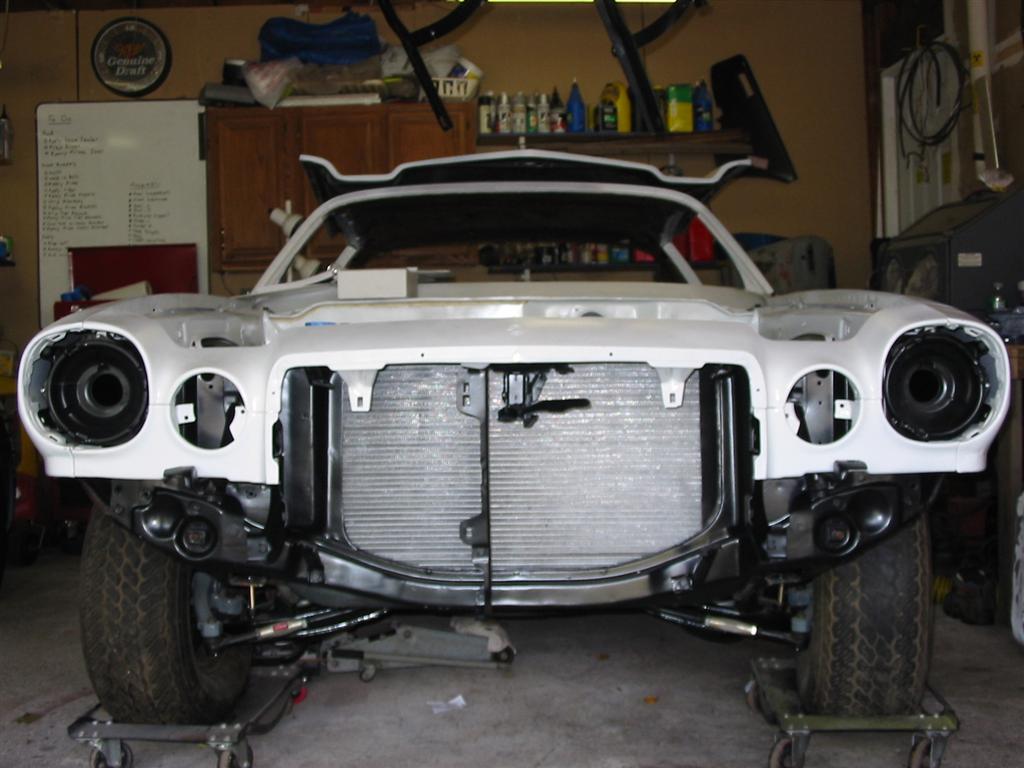
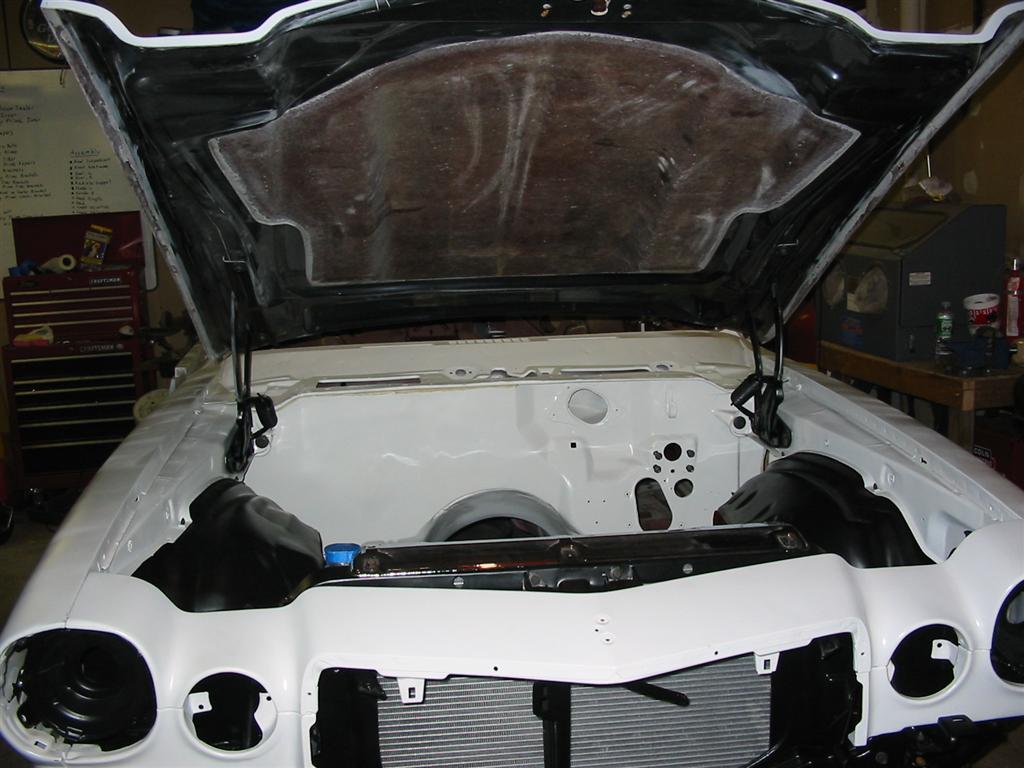
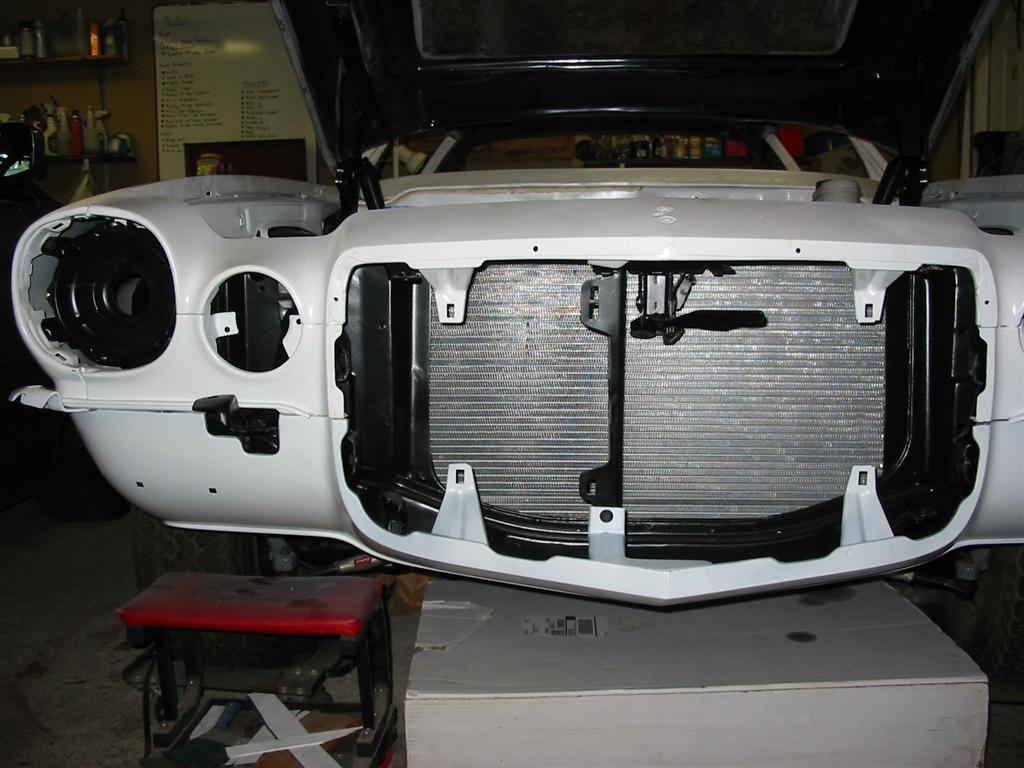
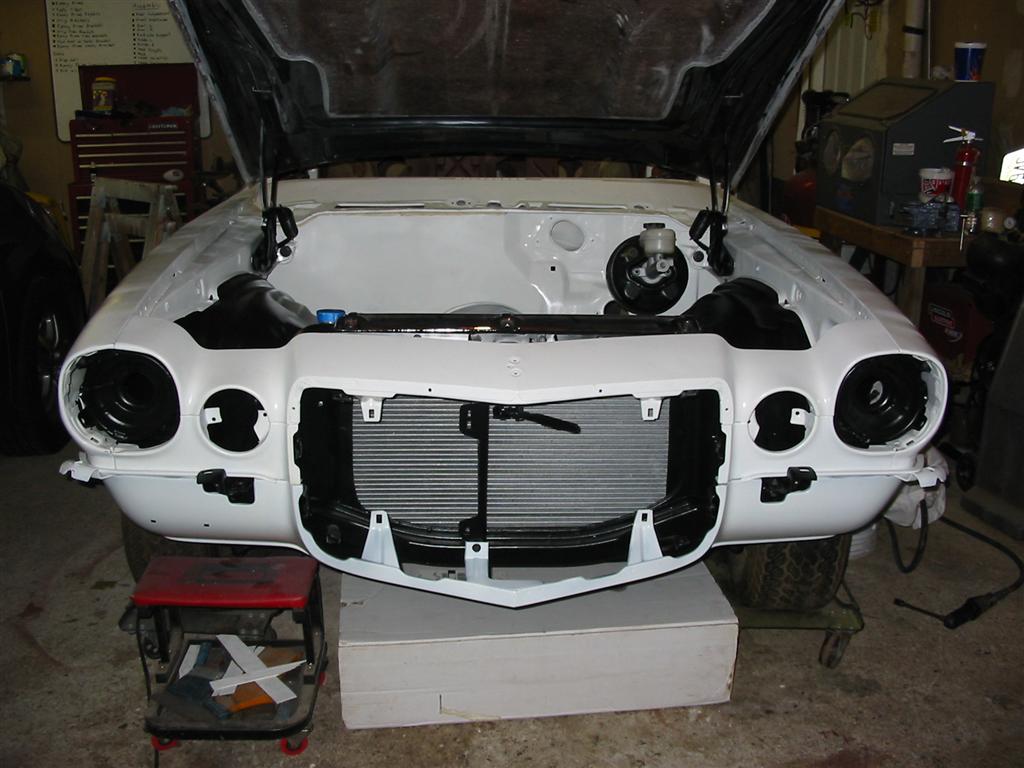
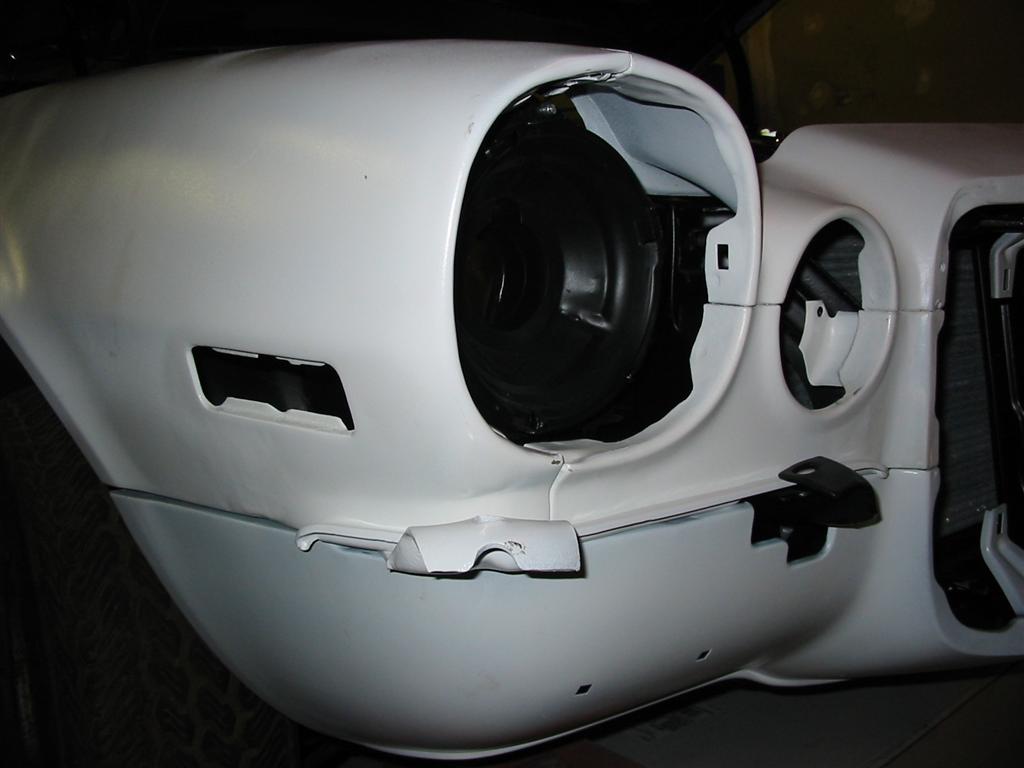
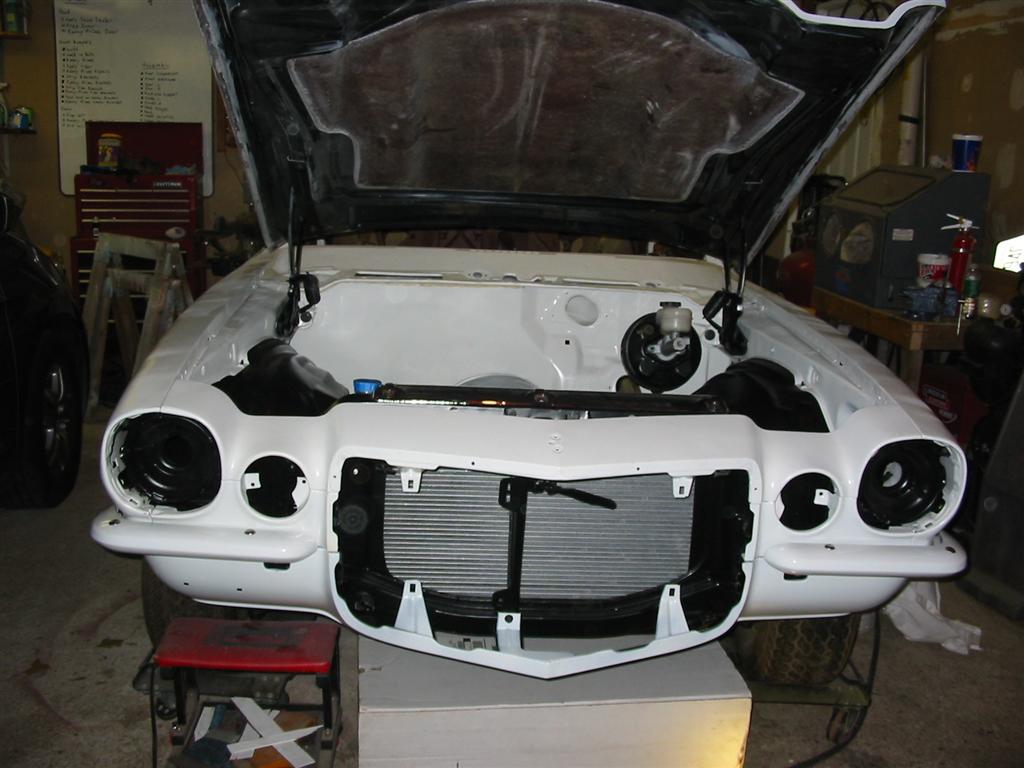
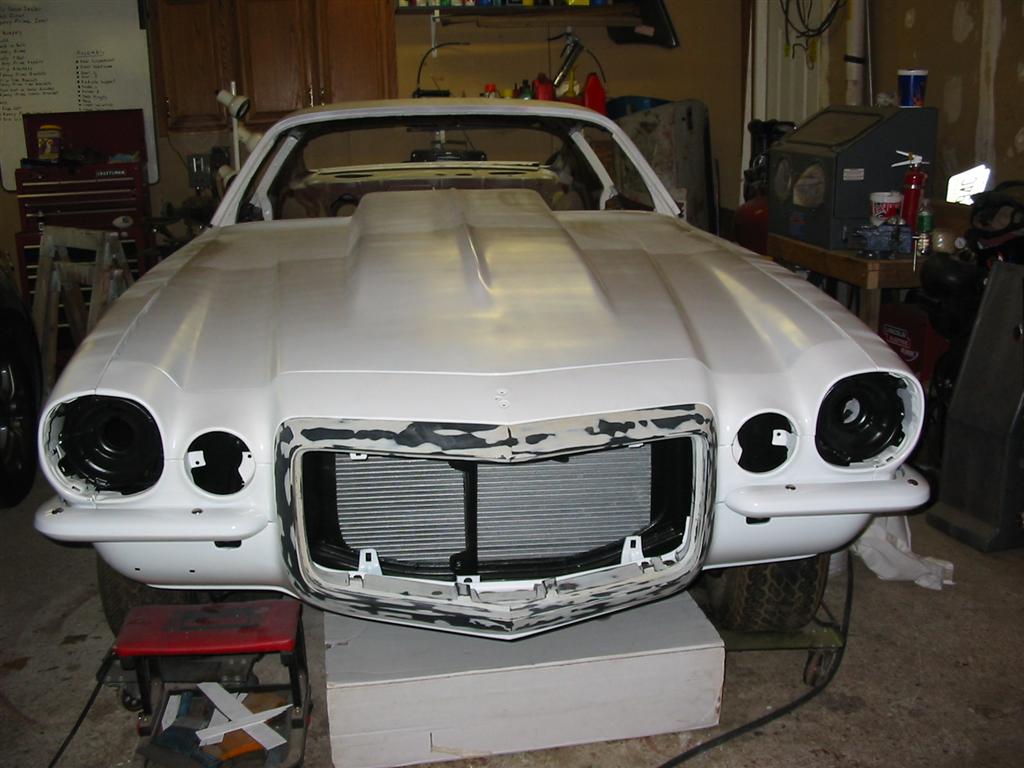
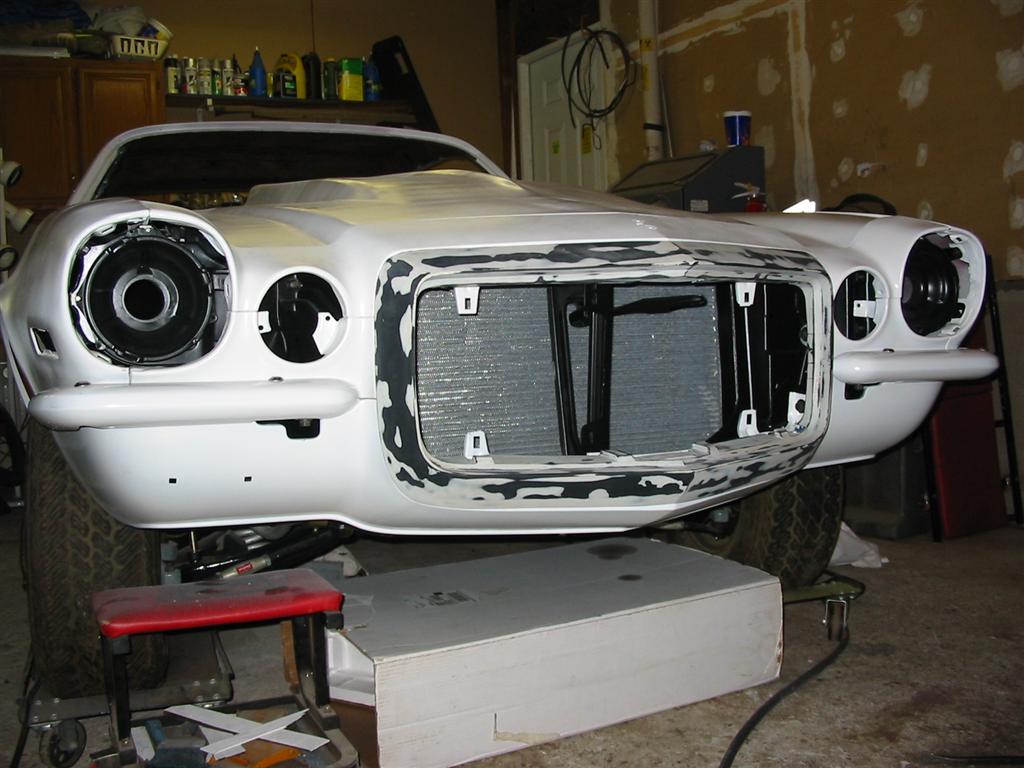
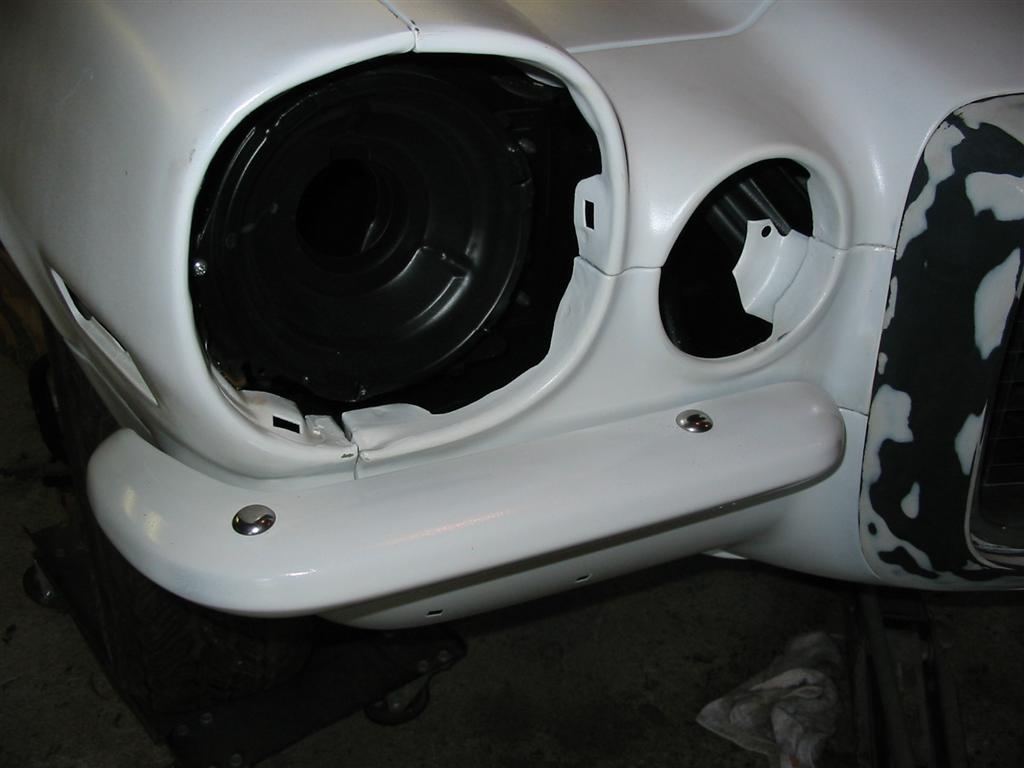
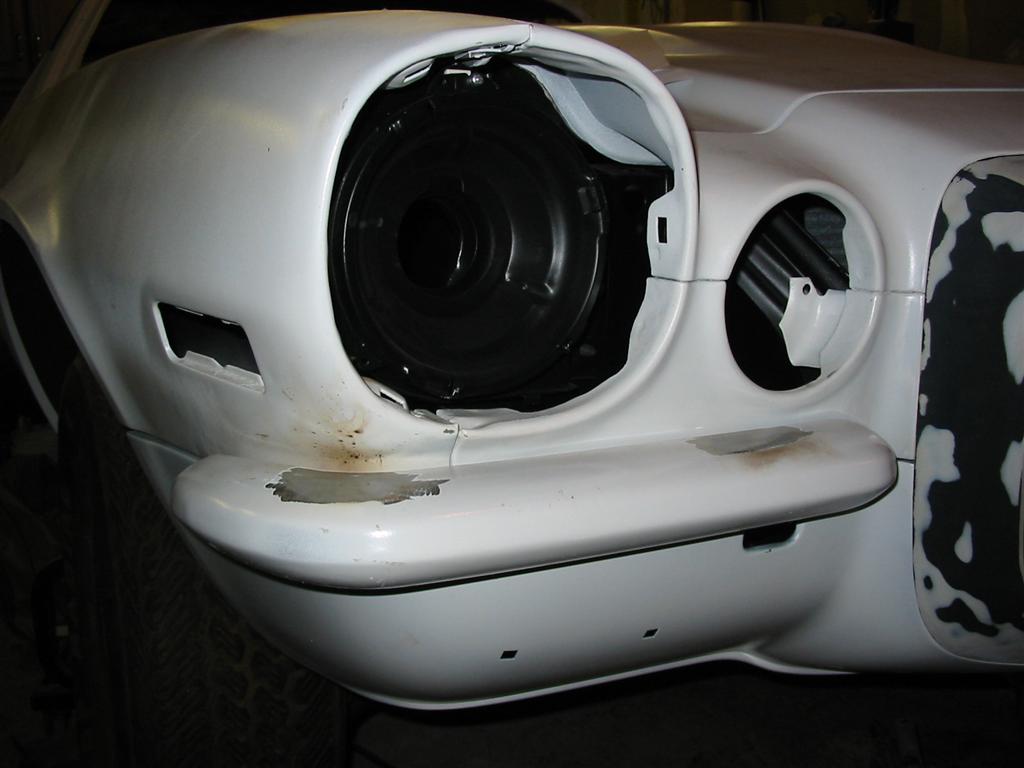
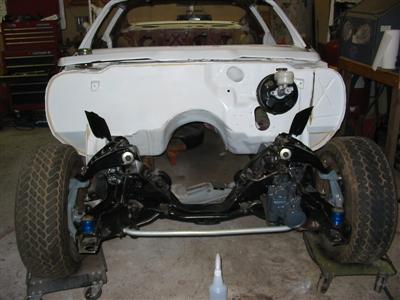
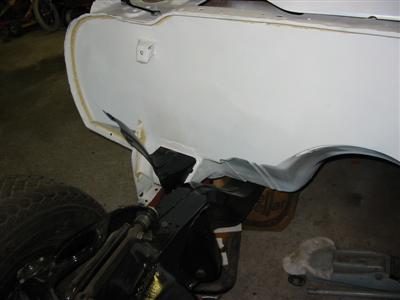
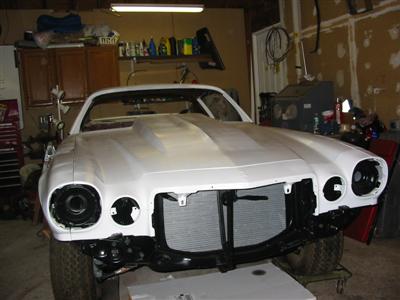
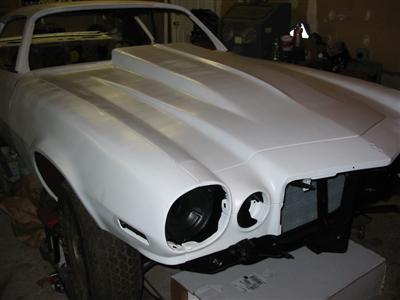
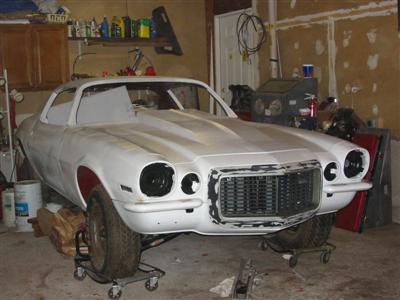
Here is the front of the car before the installation of the front end sheetmetal. |

|
|
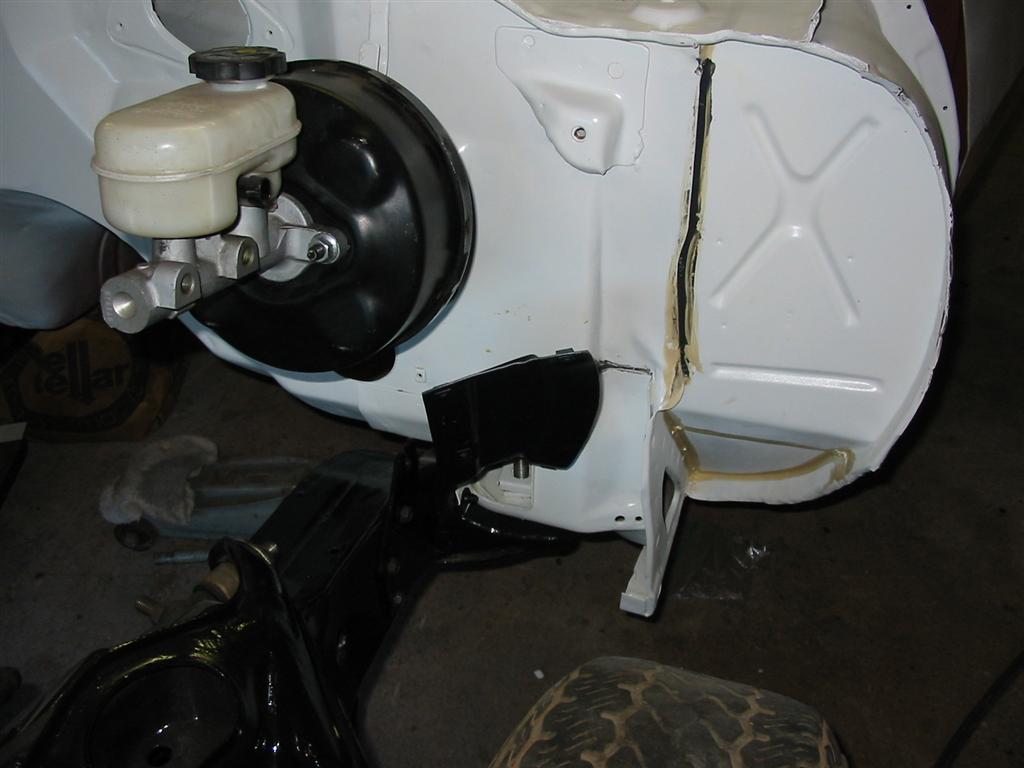
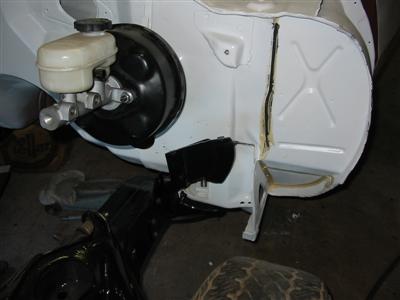
| Here are the rear inner fender brackets installed. |
|
|
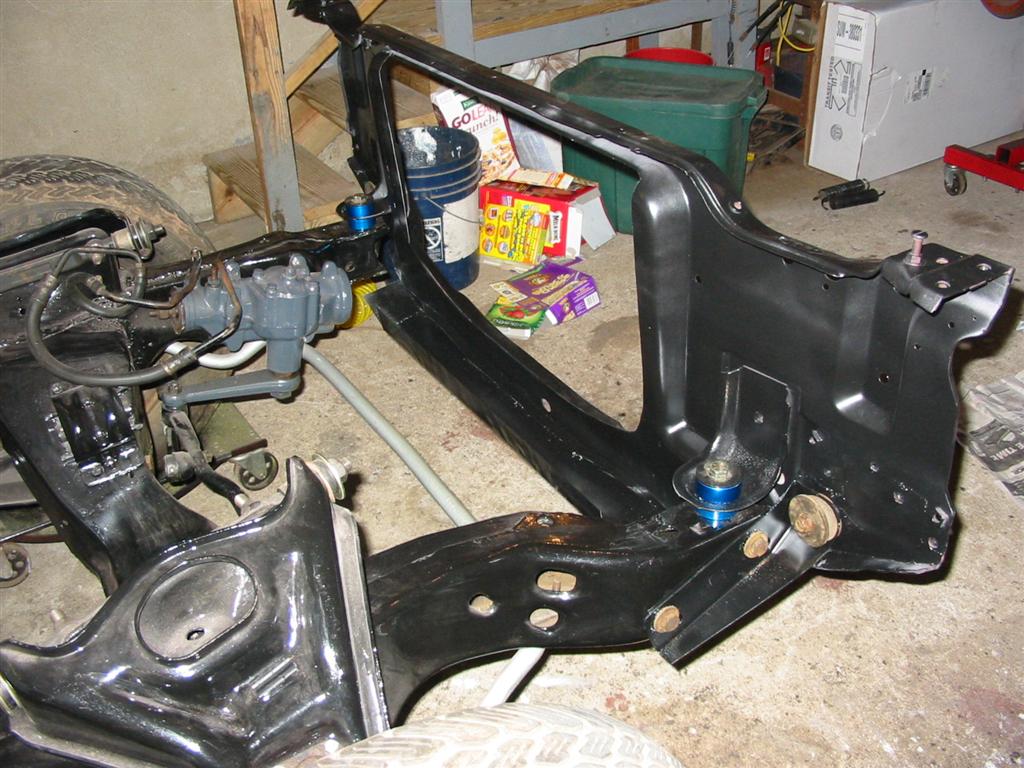
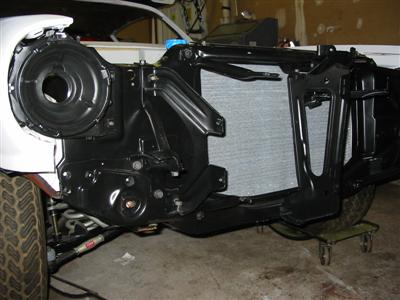
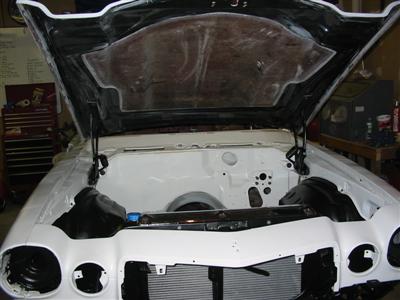
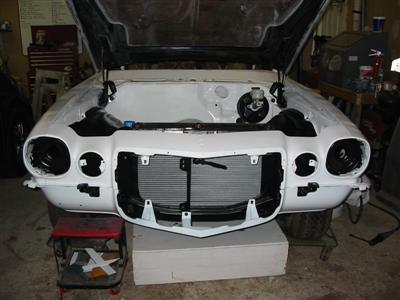
| Here is the radiator support installed. I used the Global West solid mounts to mount it.
I still need to go to GM for the bushings that mount between the frame bracket and the front of the
radiator support. These new bushings will get installed during final assembly. |

|

|
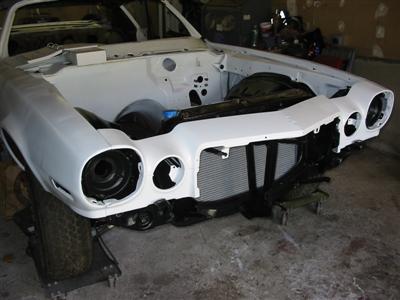
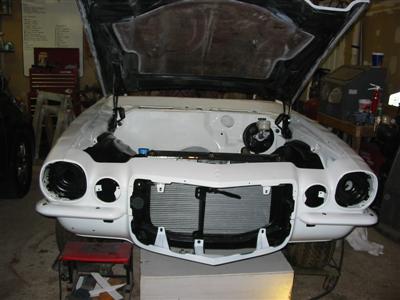
| Here are the inner fenders loosely installed. These will not get fully installed after the fenders are
installed and aligned. |
|

|
|
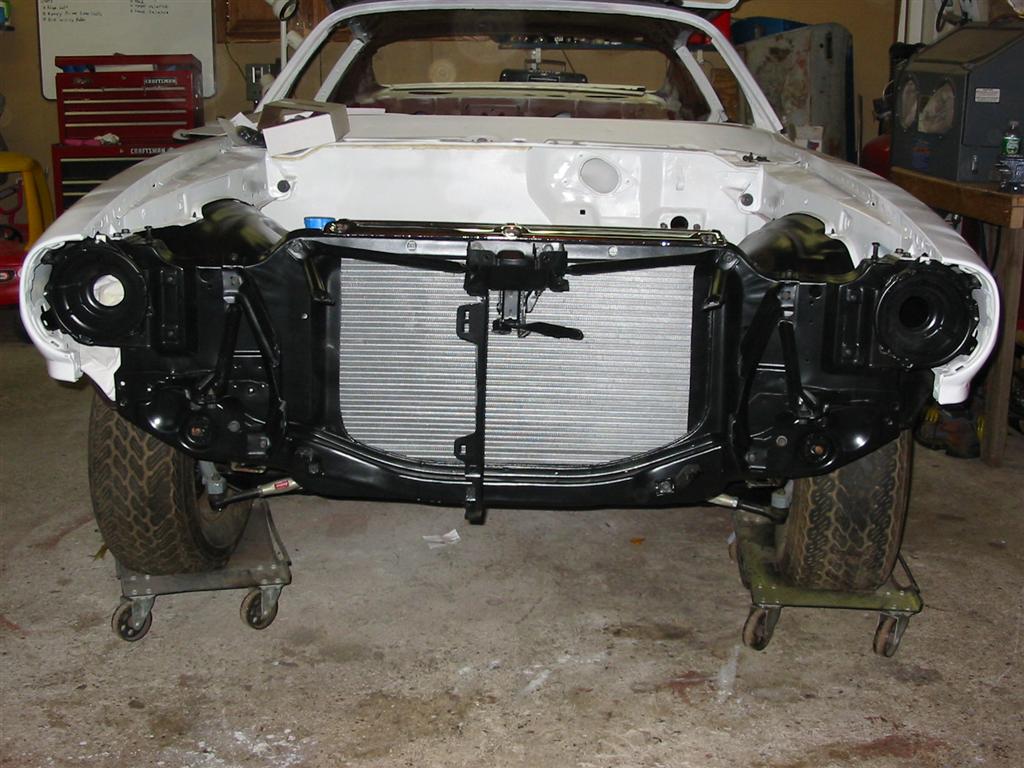
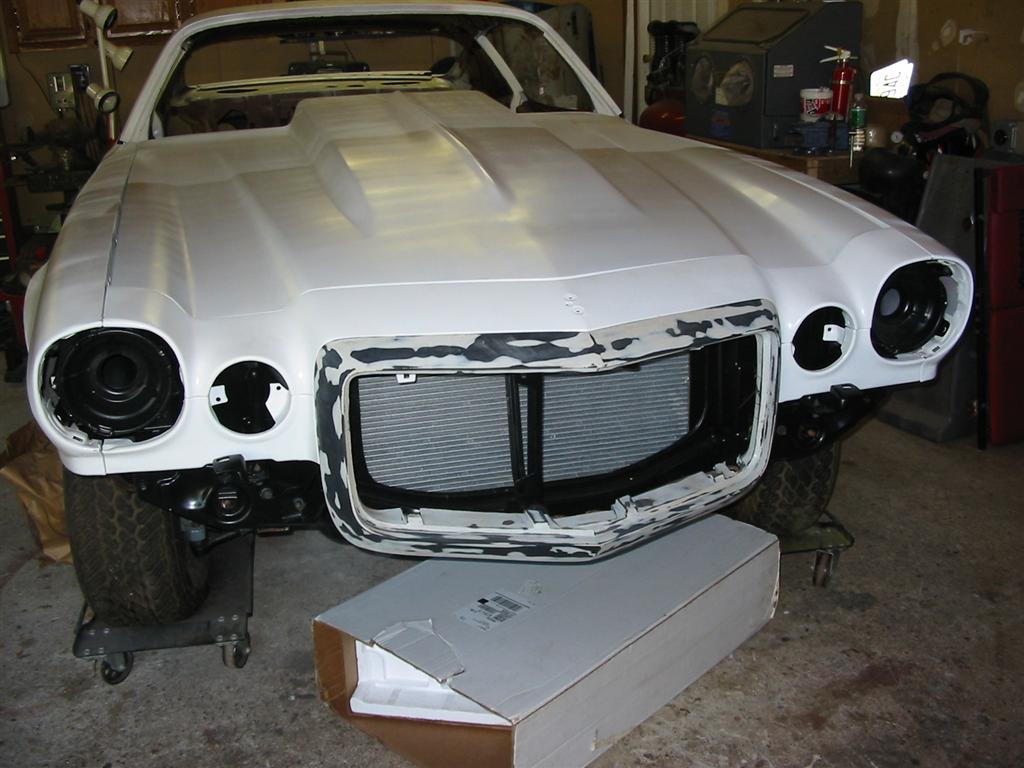
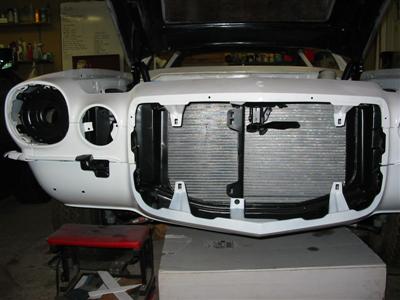
| Here are the fenders and radiator brackets installed. |

|
|
| Here is a side view of the fender installed. |
|

|
|
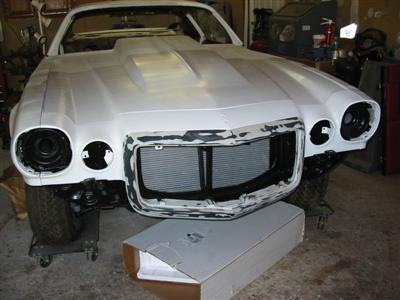
| Here is the upper valance installed. |

|
|
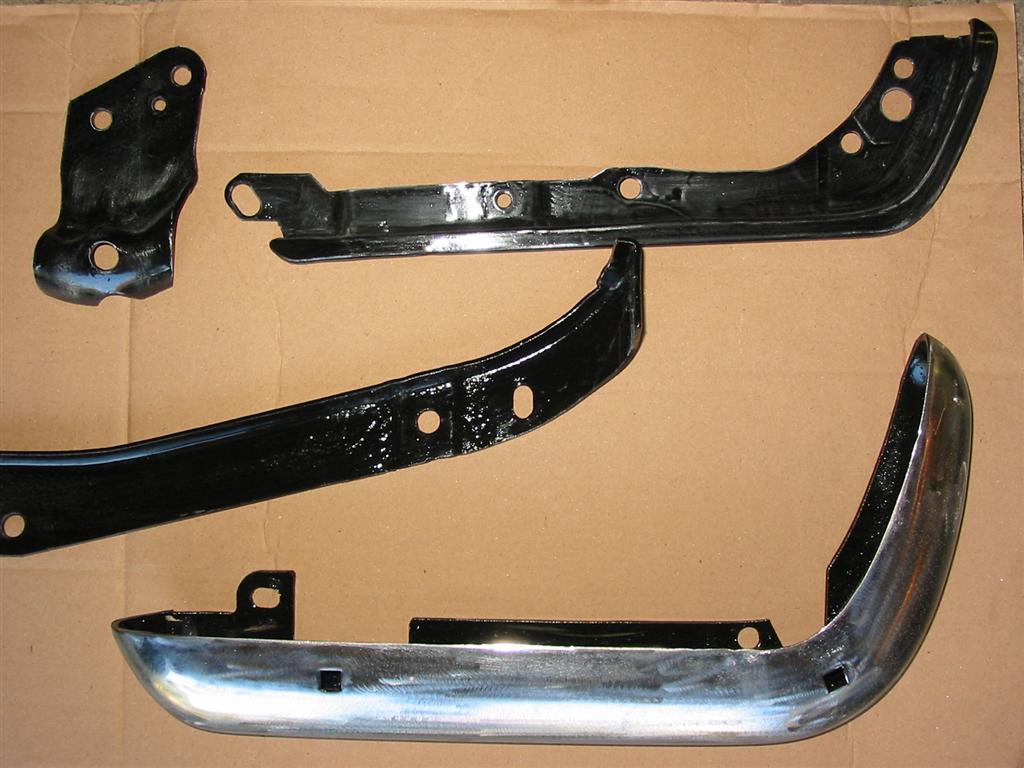
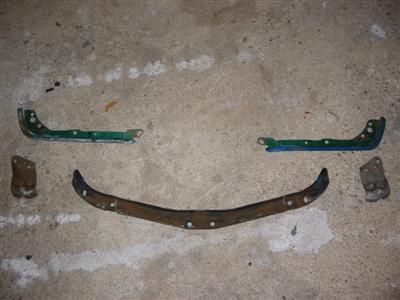
| Here are the front bumper brackets before stripping and painting. |
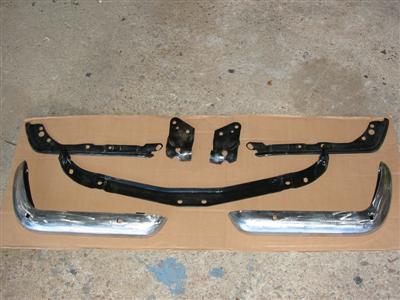
The following pictures are of the front bumpers and bumper brackets after stripping and a coat of POR-15. |
|
|
|

|
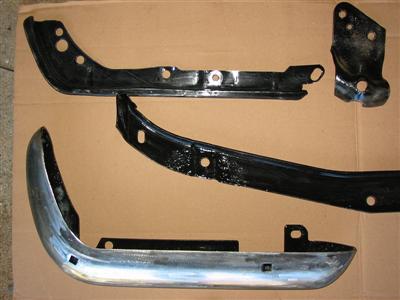
| Here are of the front bumpers and bumper brackets after a coat of epoxy primer. |

|
|
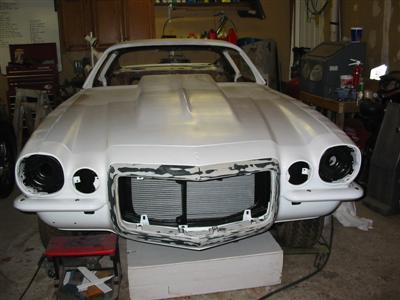
| Here is the bolt on Harwood 3 inch fiberglass hood installed. |
|
|
|
|
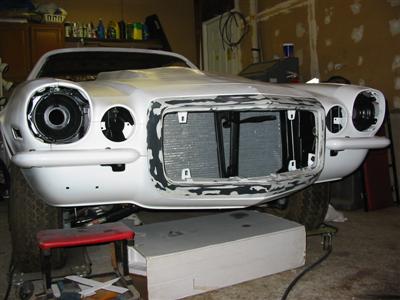
| Here is the front nose panel being test fit. I did this with the lower valance off so I could adjust
the brackets that hold the nose on while they were still accessible. |
The following pictures are of the lower valance and front bumper brackets installed. |
|
|
|

|
| Here are the bumpers installed. |
|
|
|
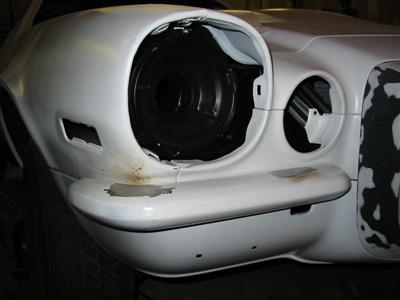
| Here is the front nose installed. This is the original nose and fits pretty well. It
still needs a coat of epoxy primer. |
|
|
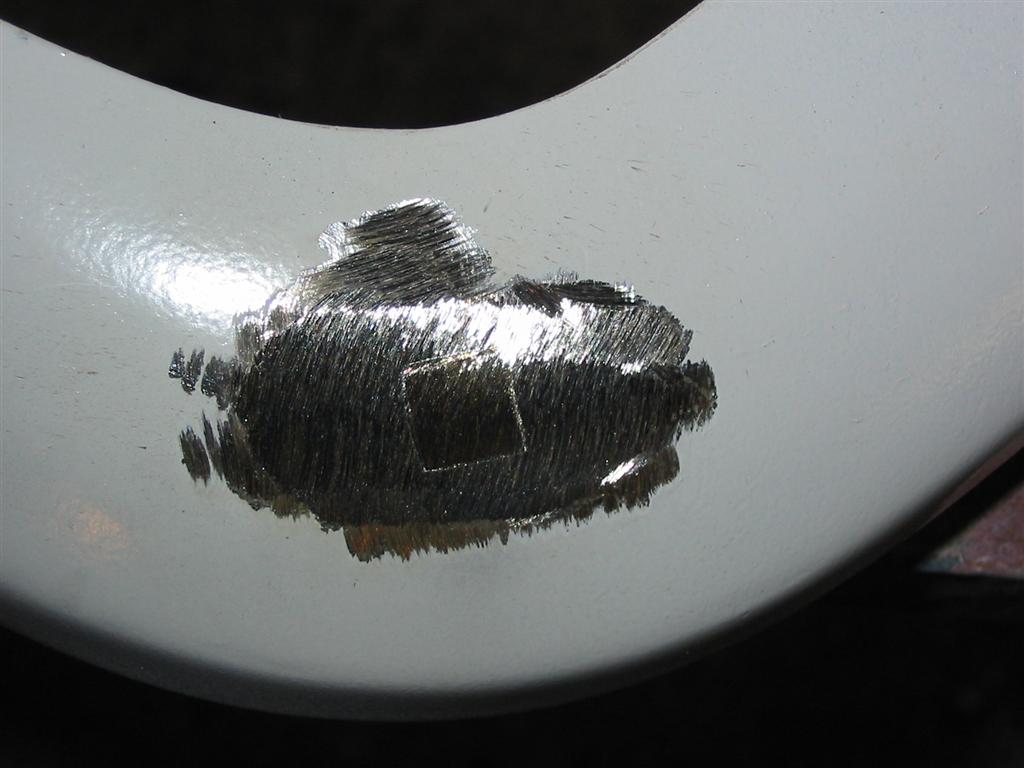
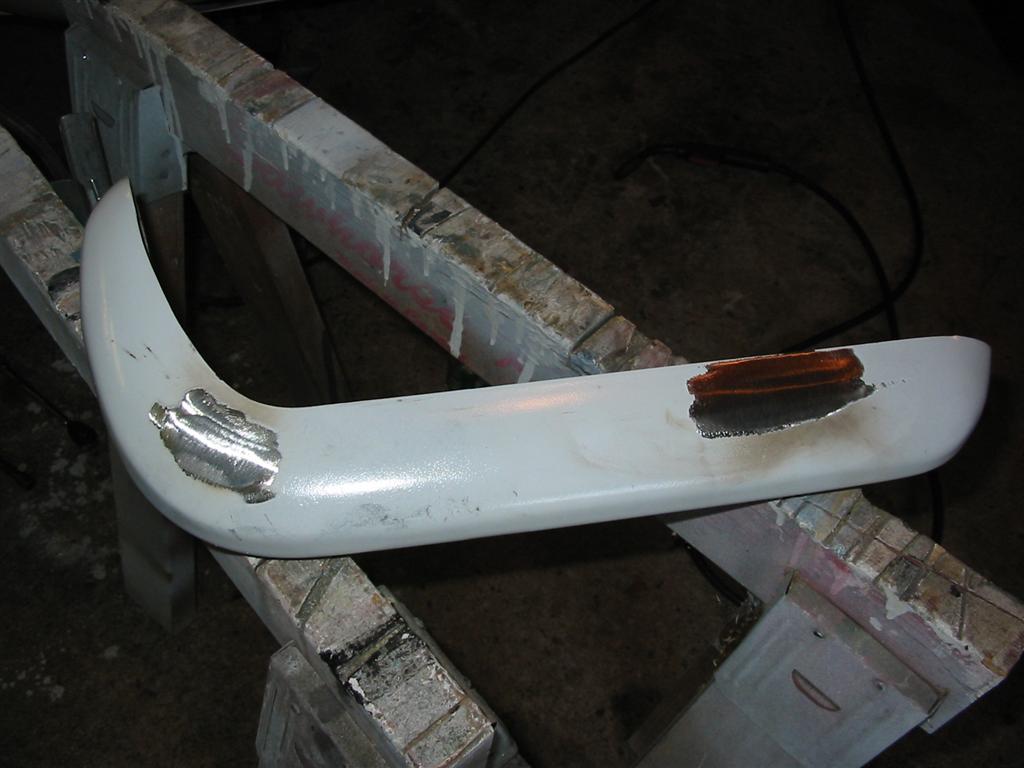
| Here is the front bumper installed. Notice the bumper bolts. The following picture will show
the steps involved in smoothing the front bumper bolts. |
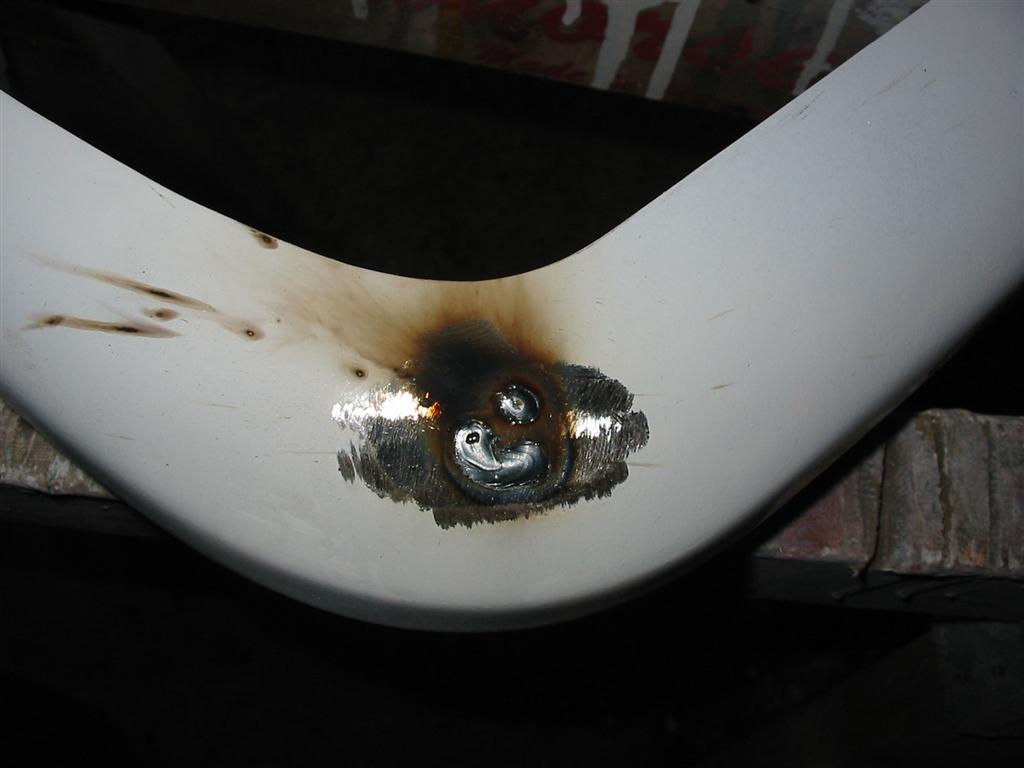
Step 1 is to remove the paint around the bolt hole. |
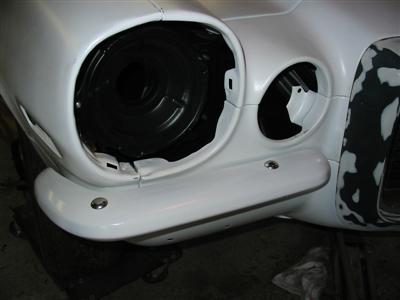
|
|
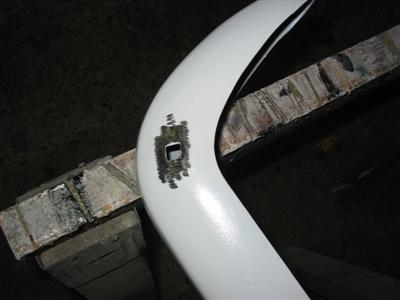
| Step 2 is to tack the bolt to the bumper from the bottom and grind the head off of the bolt. |
Step 3 is to weld the top of what's left of the bolt to the bumper. |
|

|
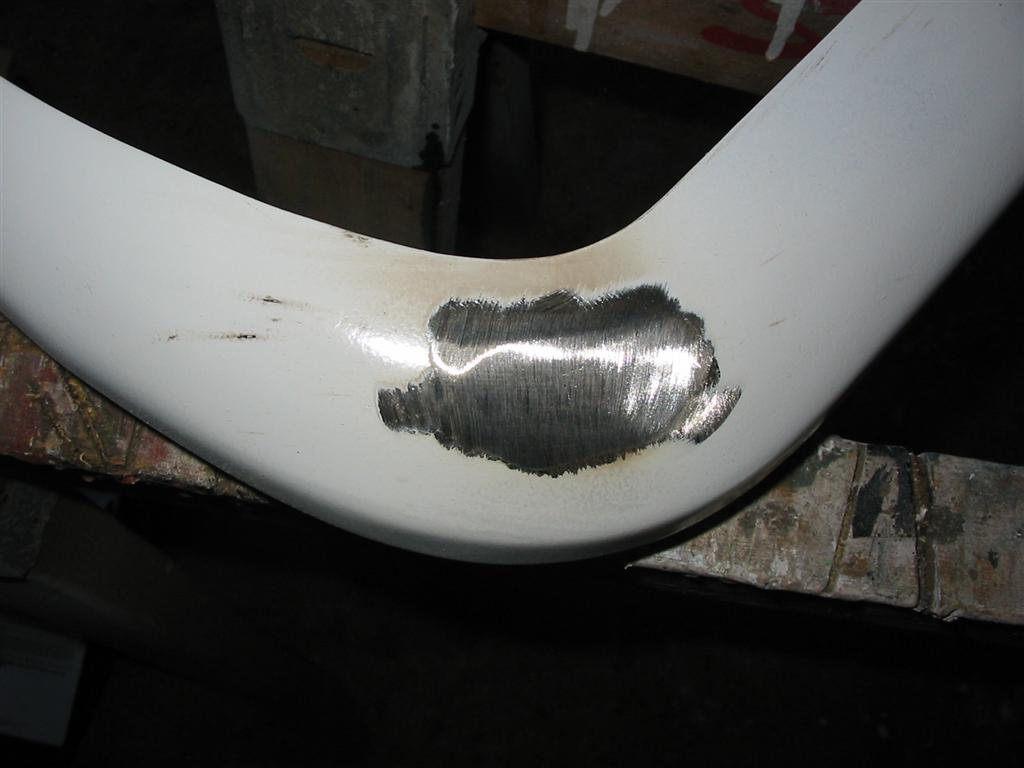
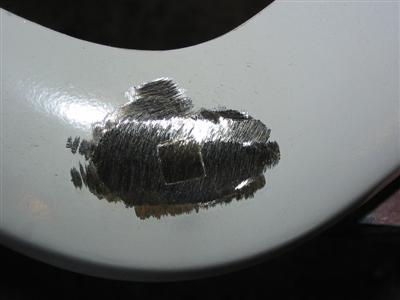
| The final step is to grind the weld smooth. |
Here is the finished bumper after smoothing both bolts. |

|

|
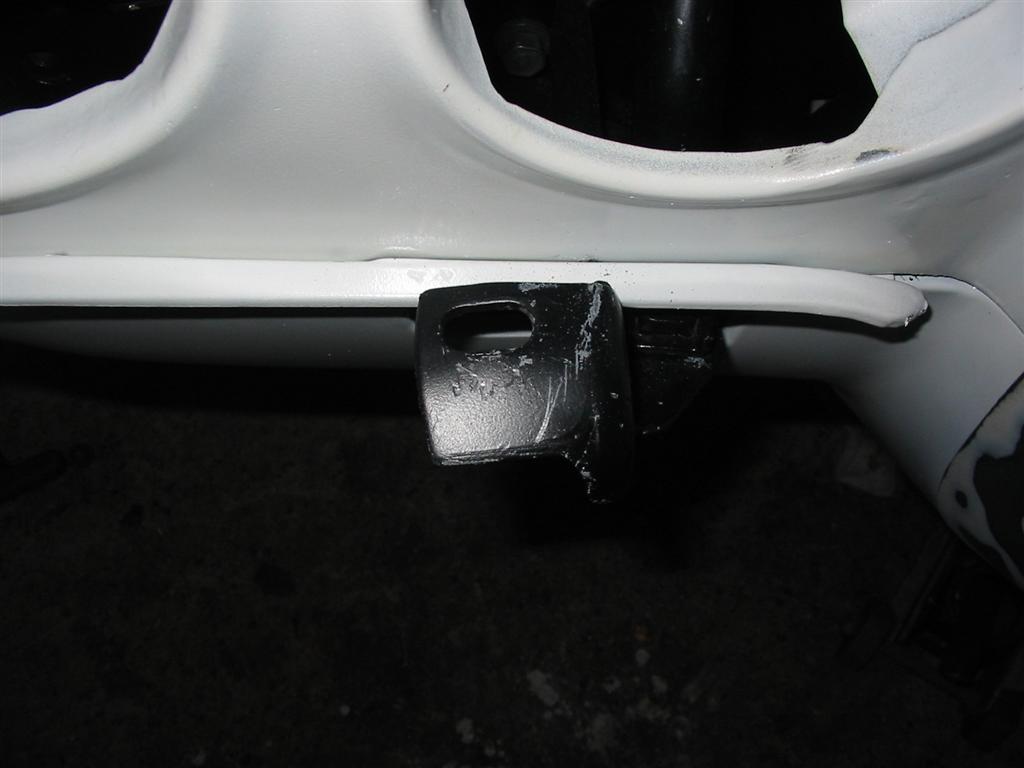
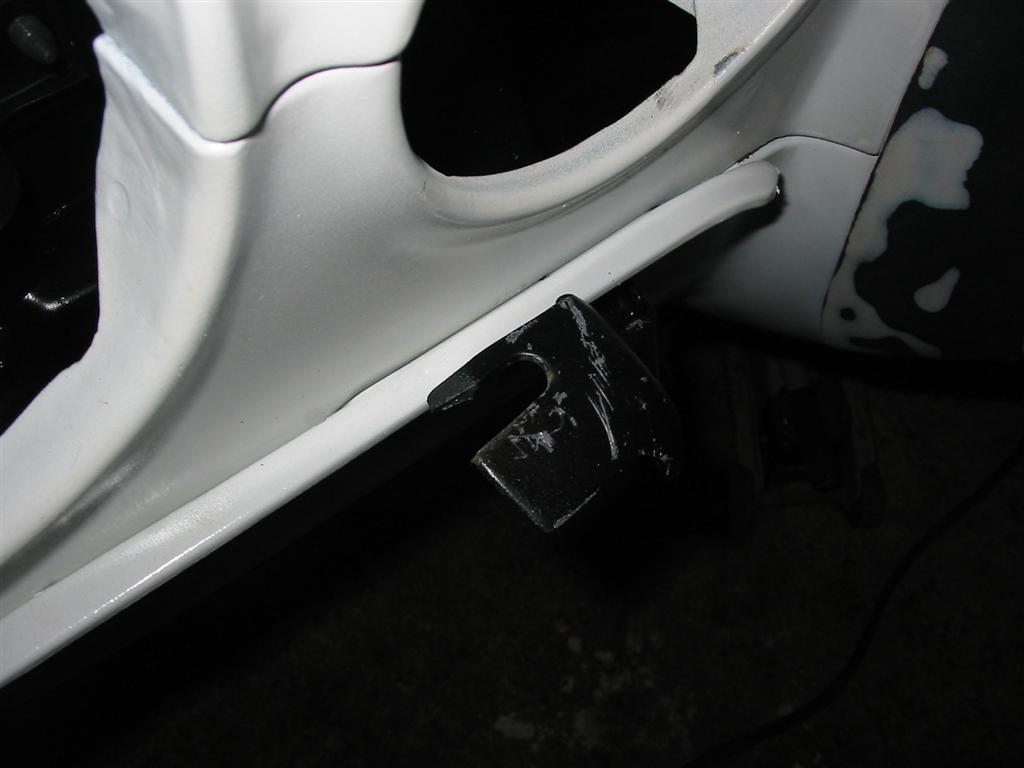
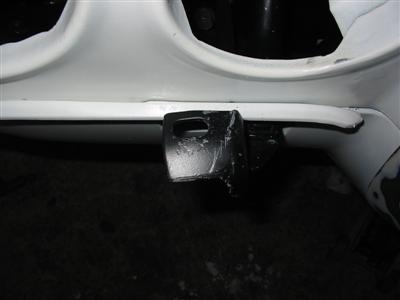
| Here is the inner front bumper mount. This mount needs to be modified so the bumper can be mounted
with the bumper mounting bolt installed. |
I had to slot the mount to get the bumper to fit. Without this slot the bumper bolt could not clear the
mount and fit into the hole. |
|

|
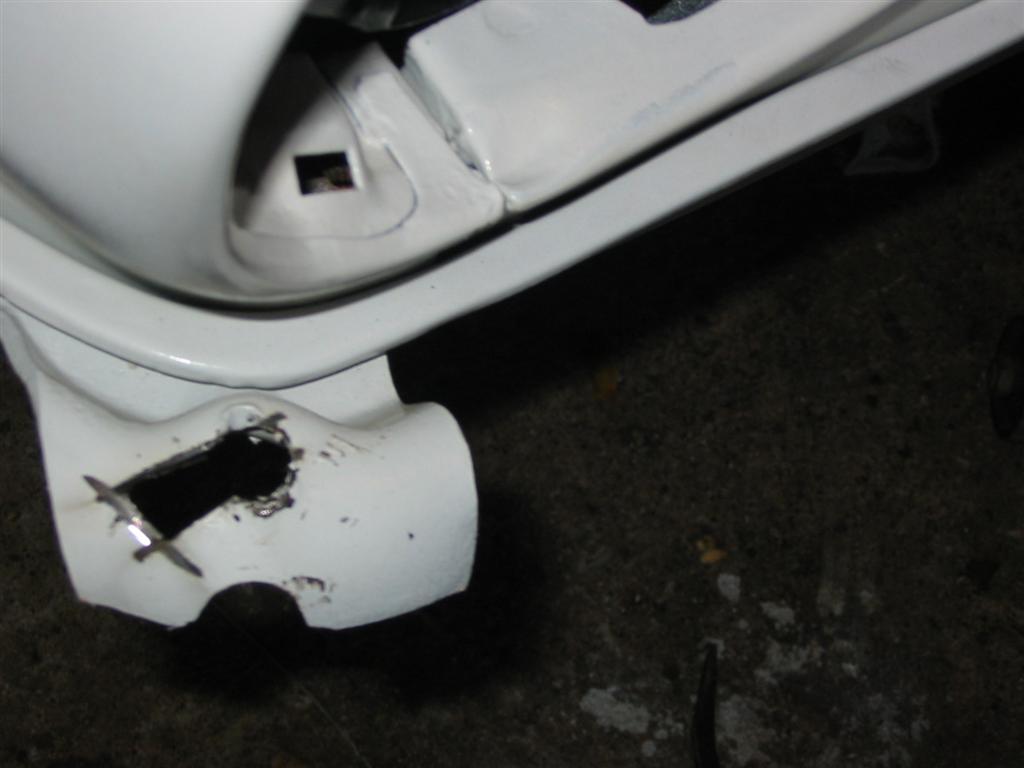
| I also had to slot the outer mount to get the bumper to fit. Without this slot the bumper bolt could not clear the
mount and fit into the hole. |
Here is the finished product. A little filler and some primer and the bumper will look like it came
from the factory this way. |

|
|
| Here is everything installed including the grille and the grille surround. I still need to
purchase and install the center strip in the grille. |

|
|