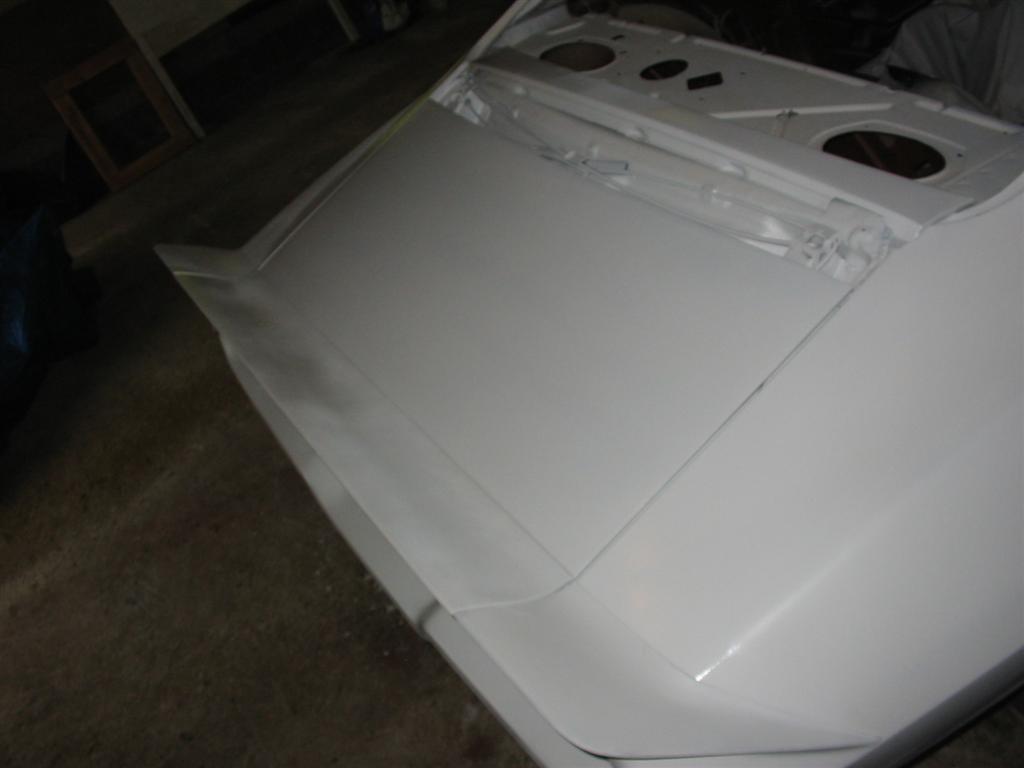
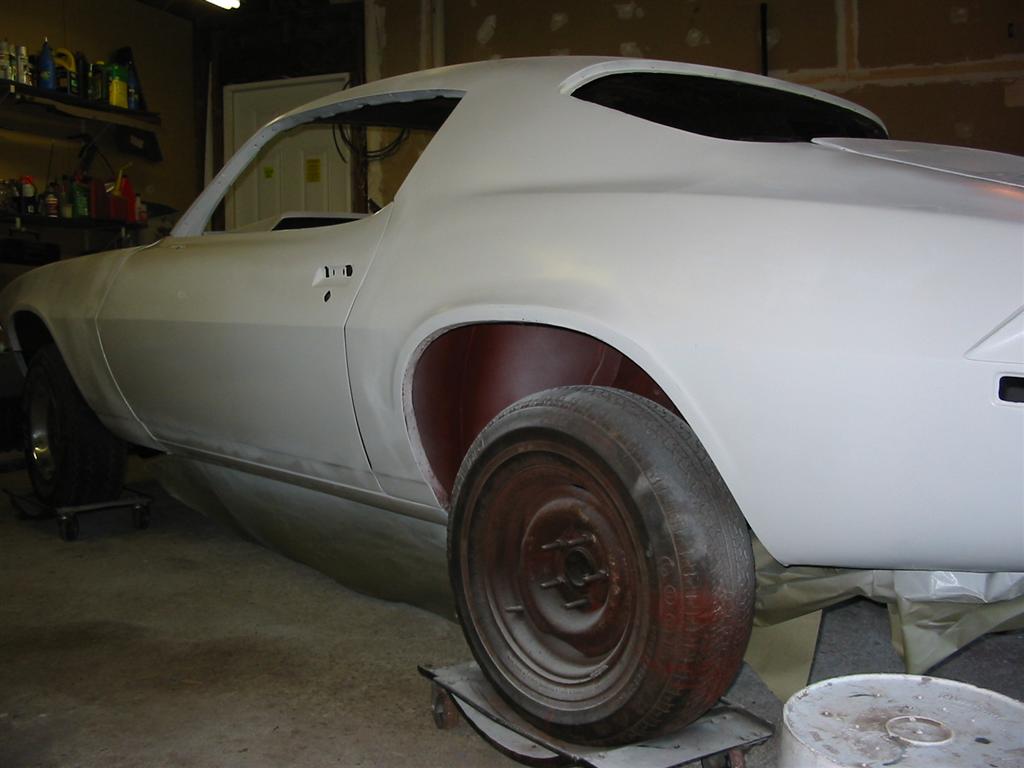
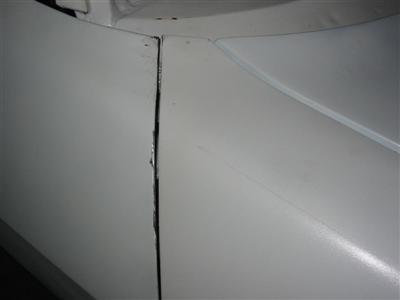
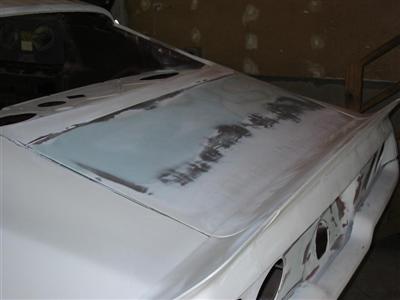
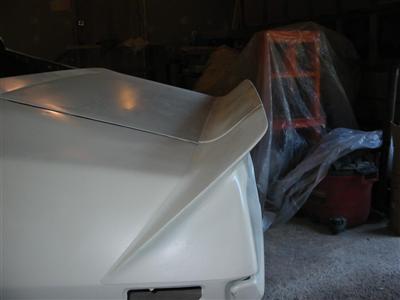
| Here is the trunklid after proper alignment. |
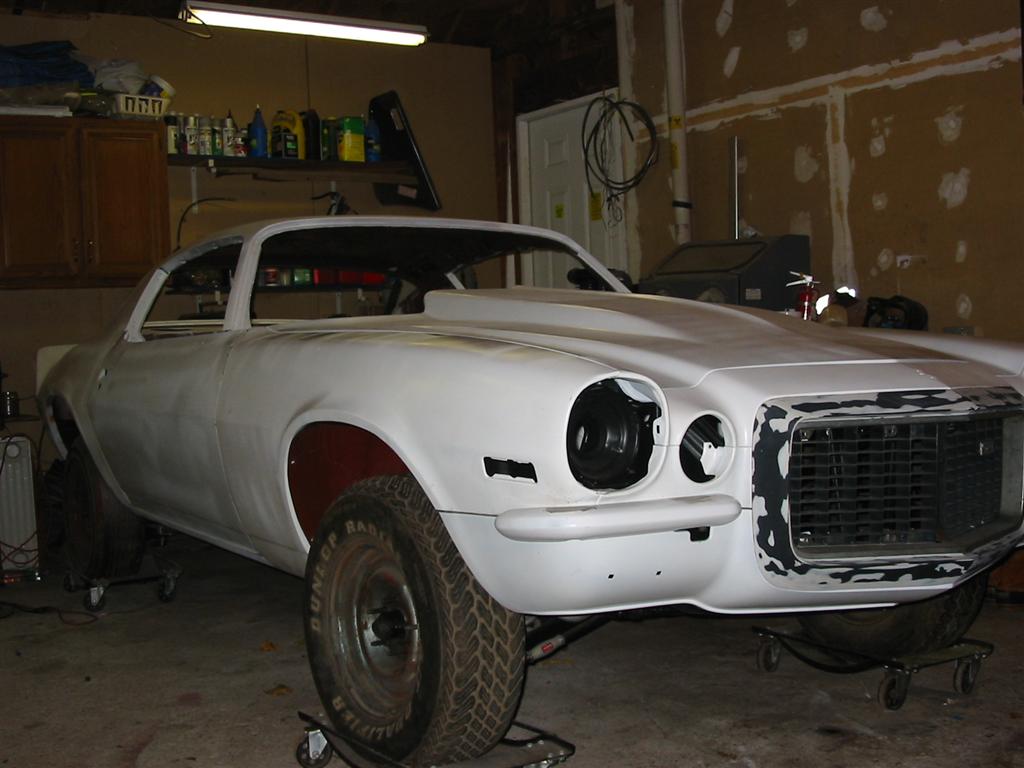
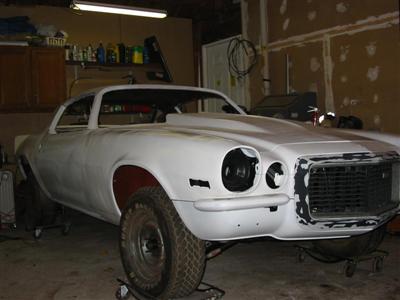
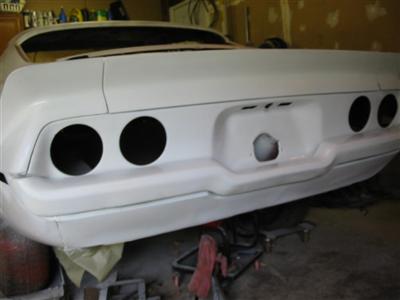
Here is a front shot of the car. |
|
|
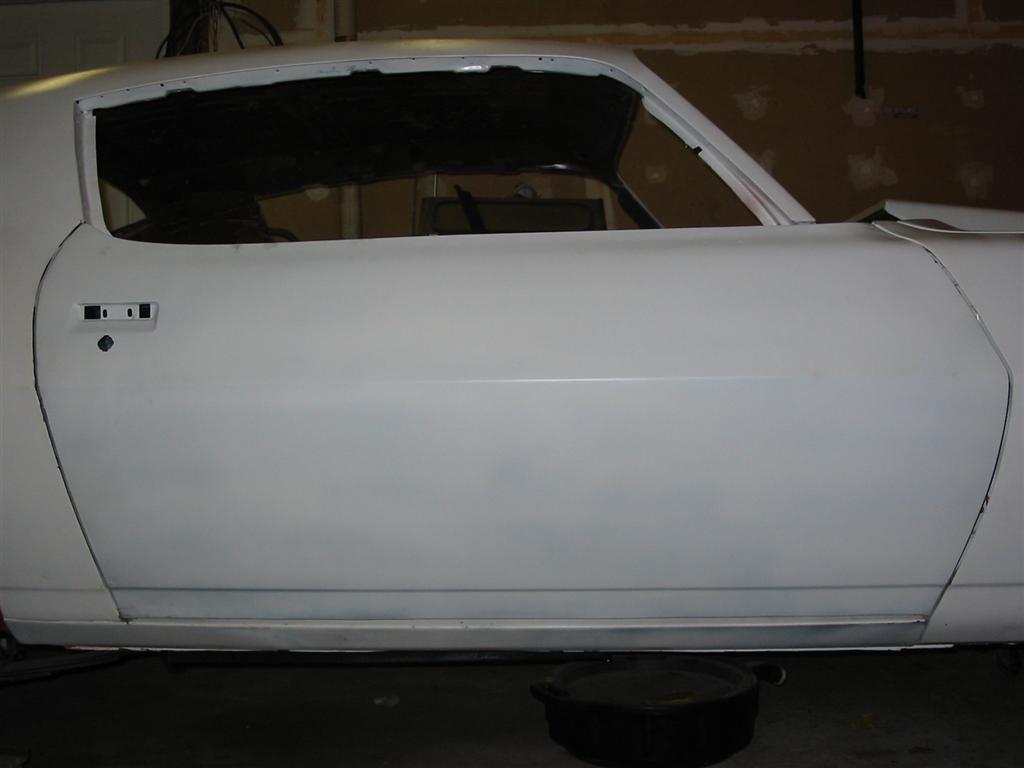
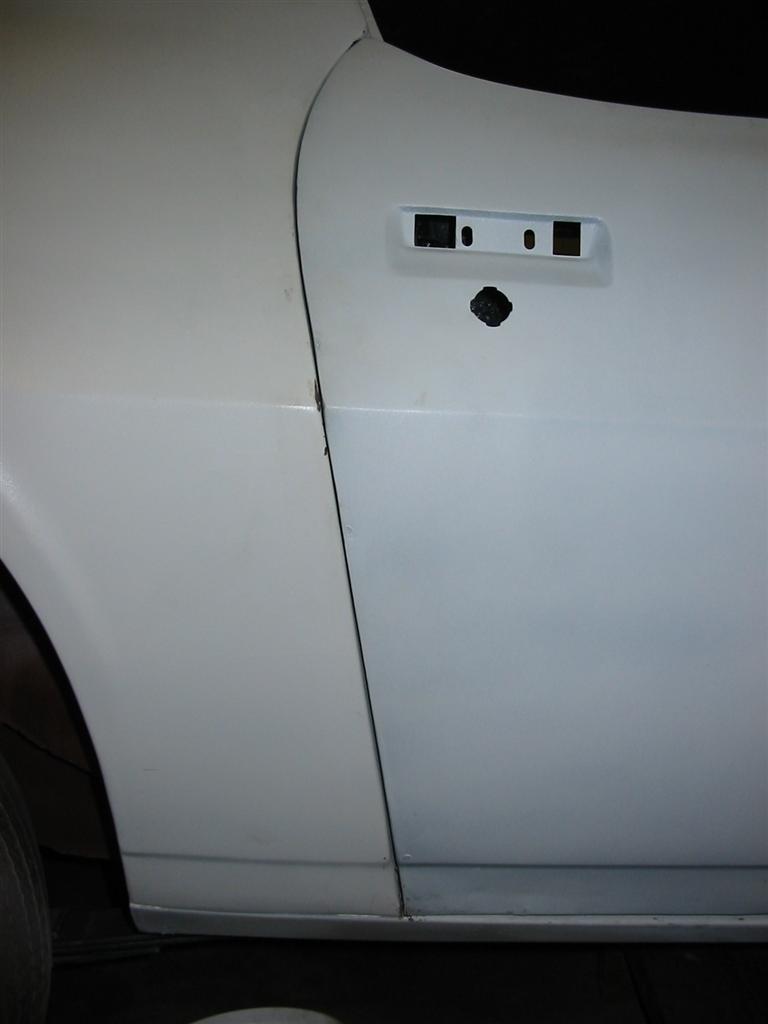
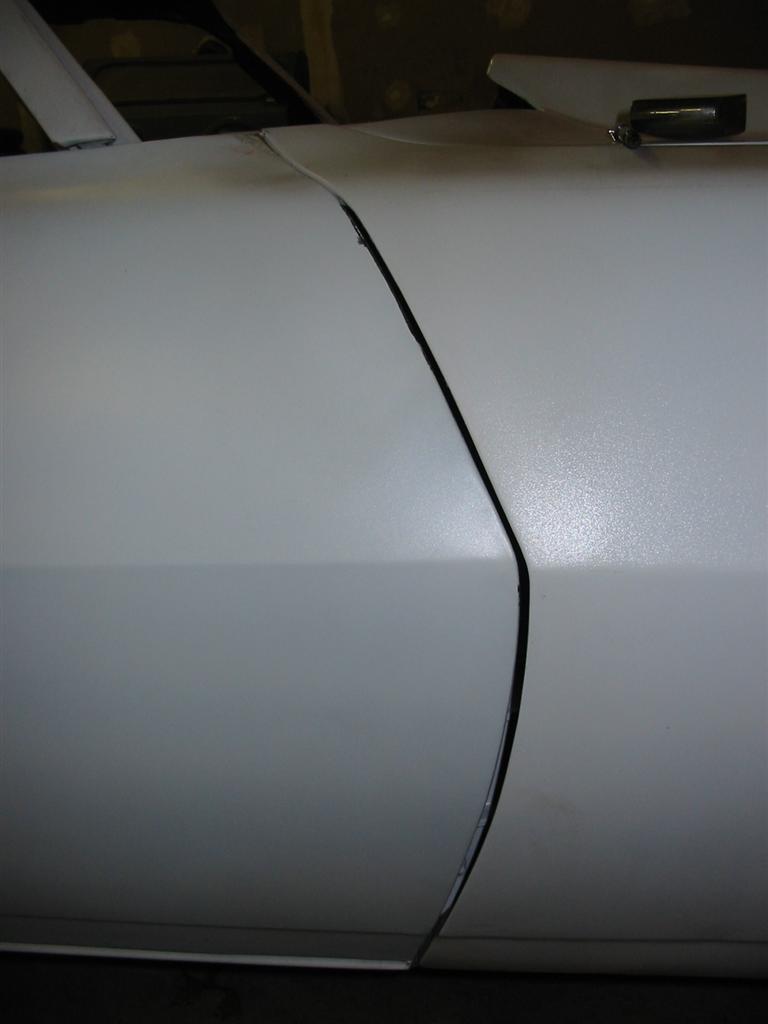
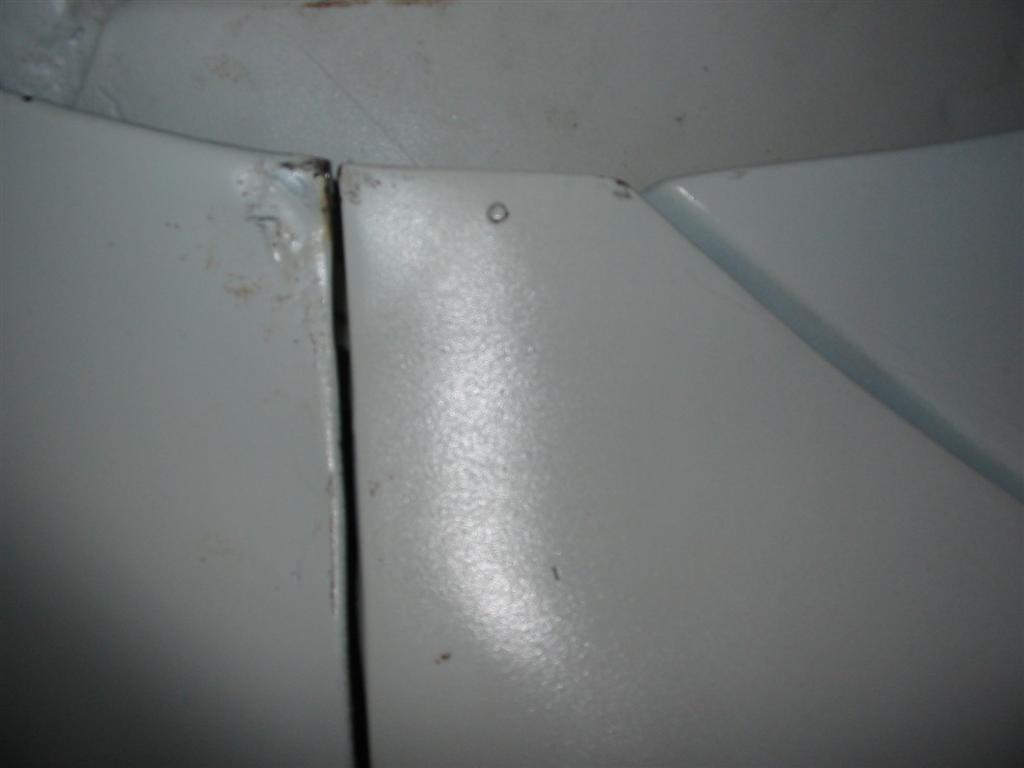
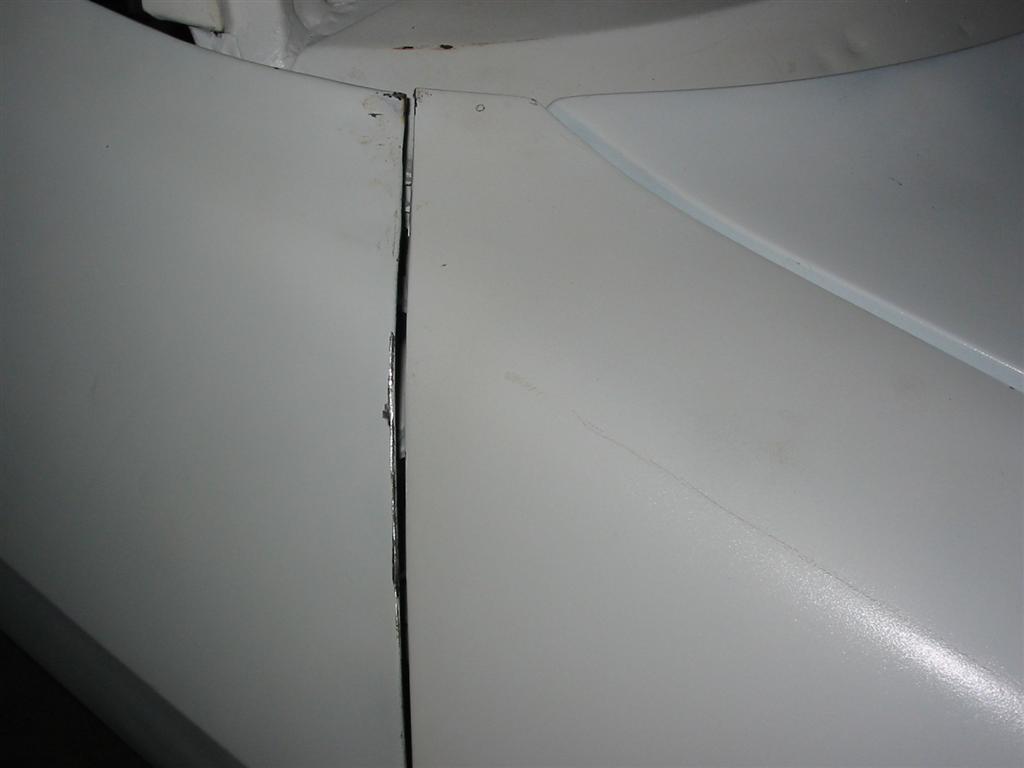
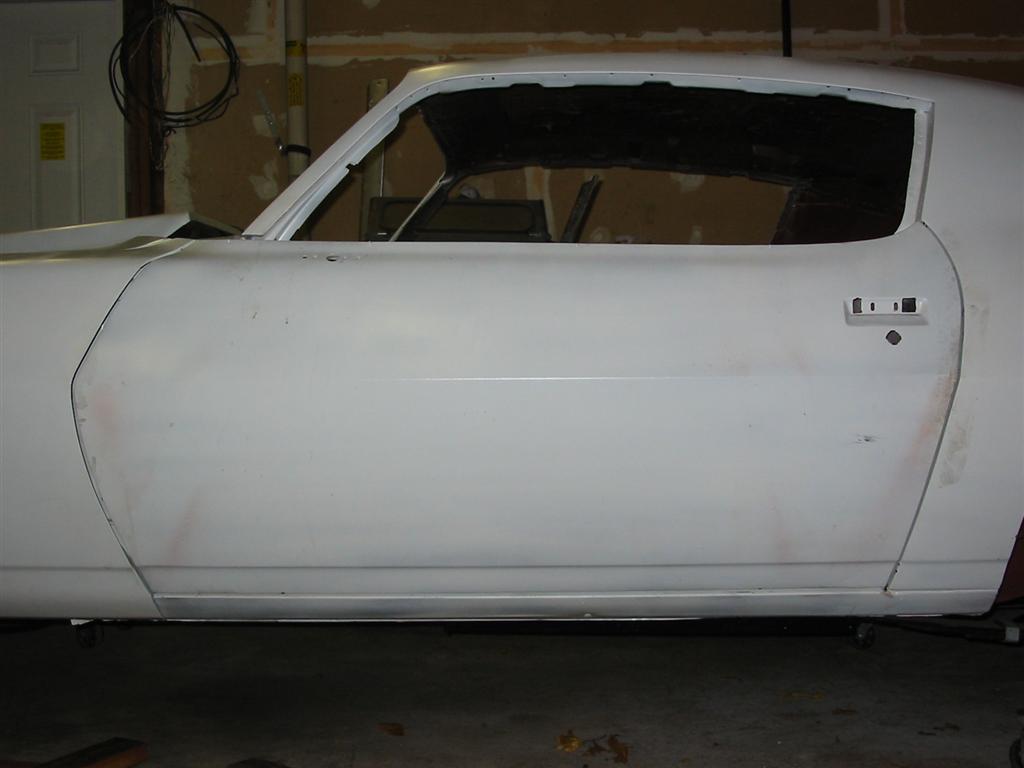
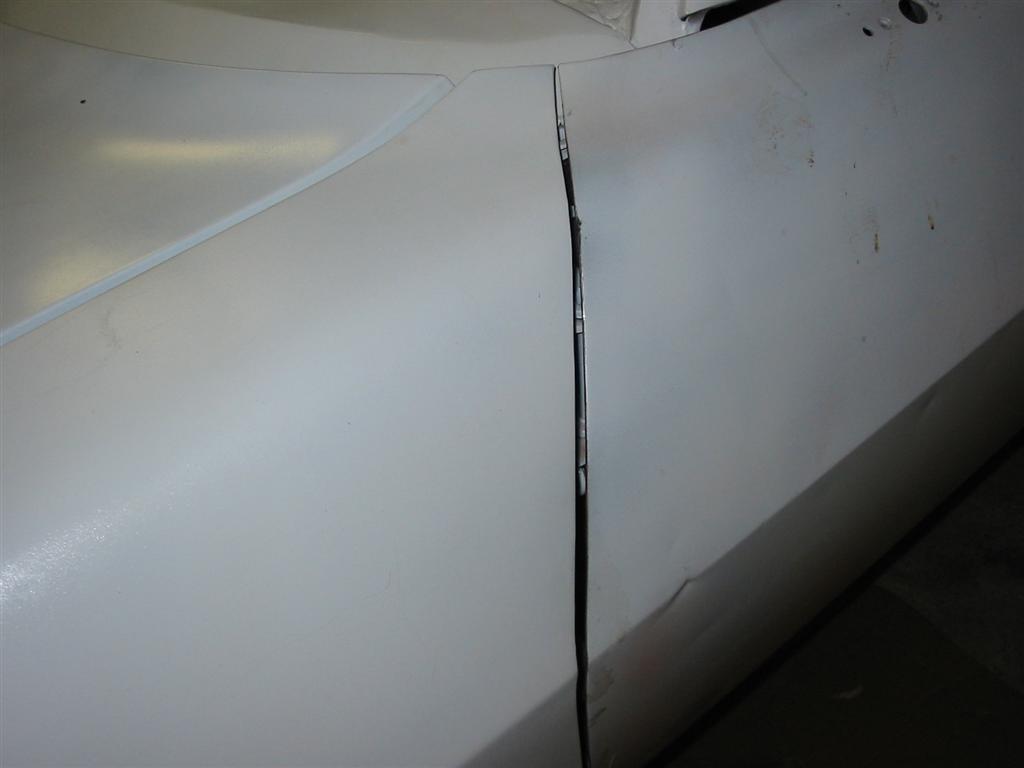
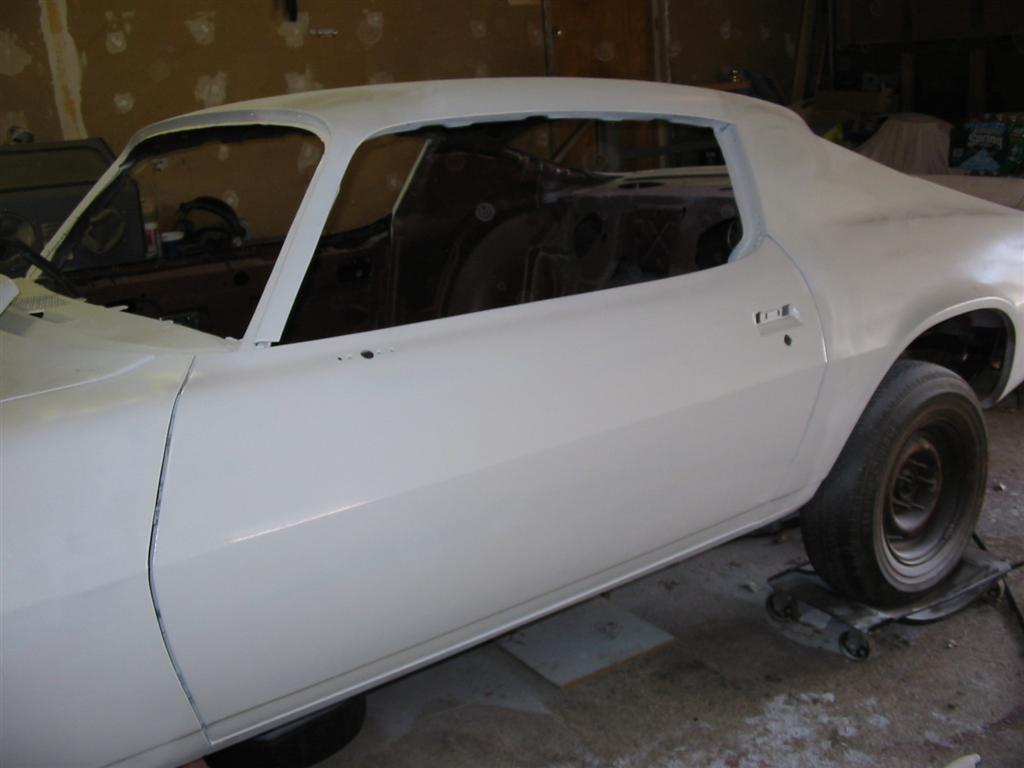
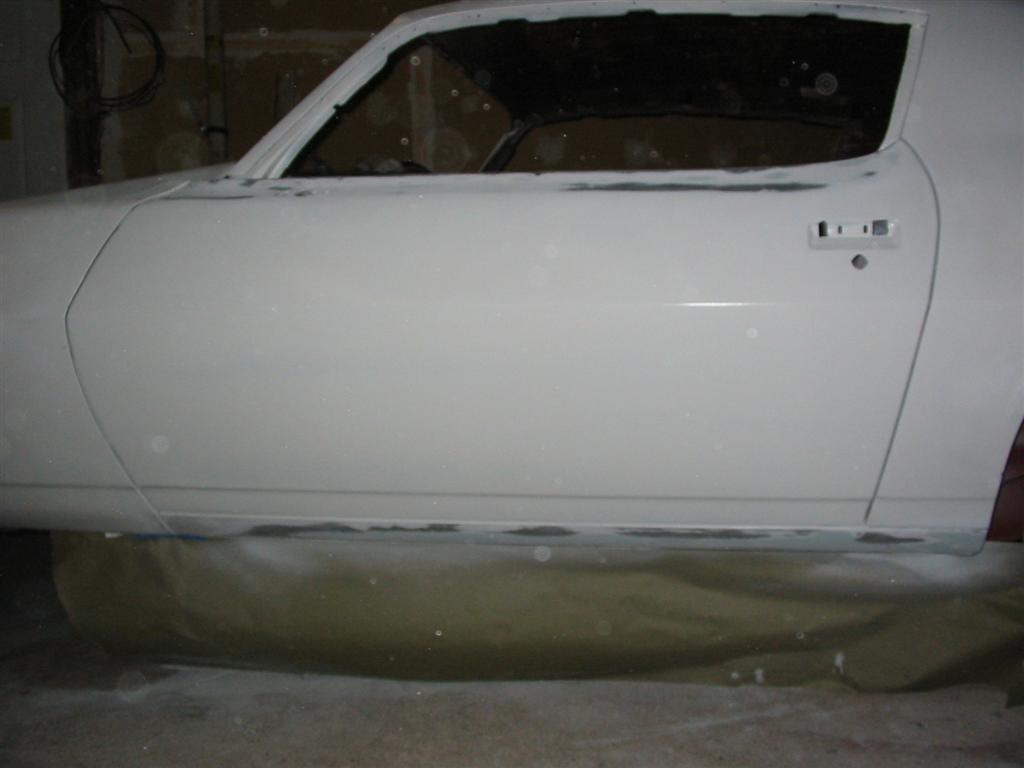
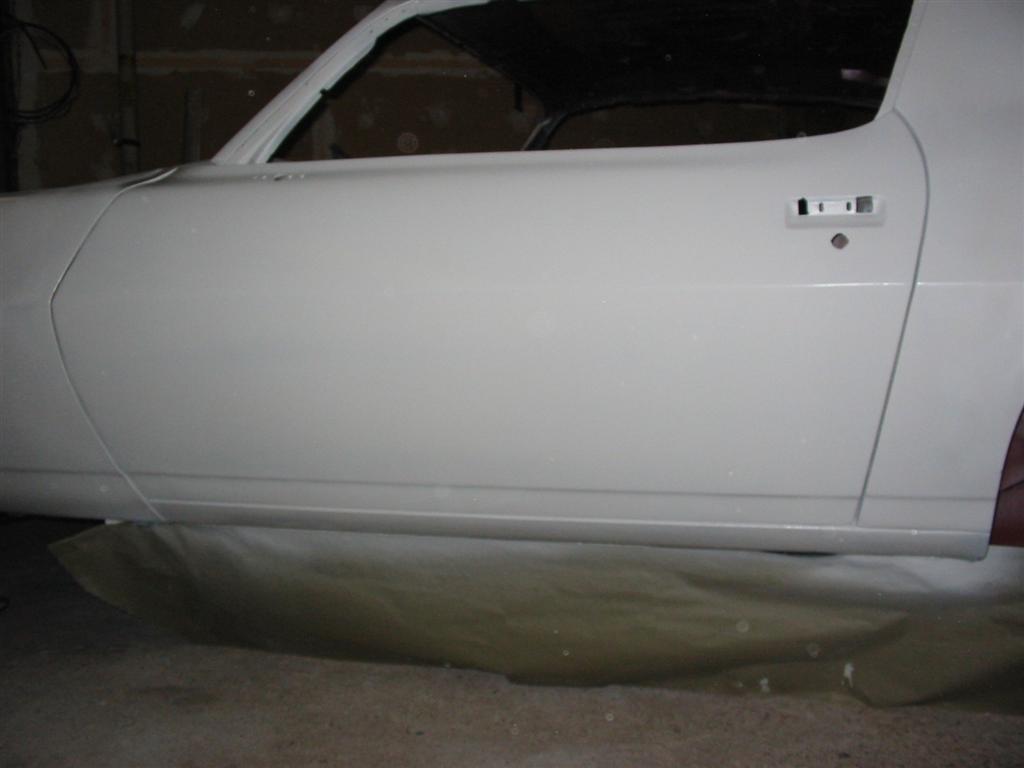
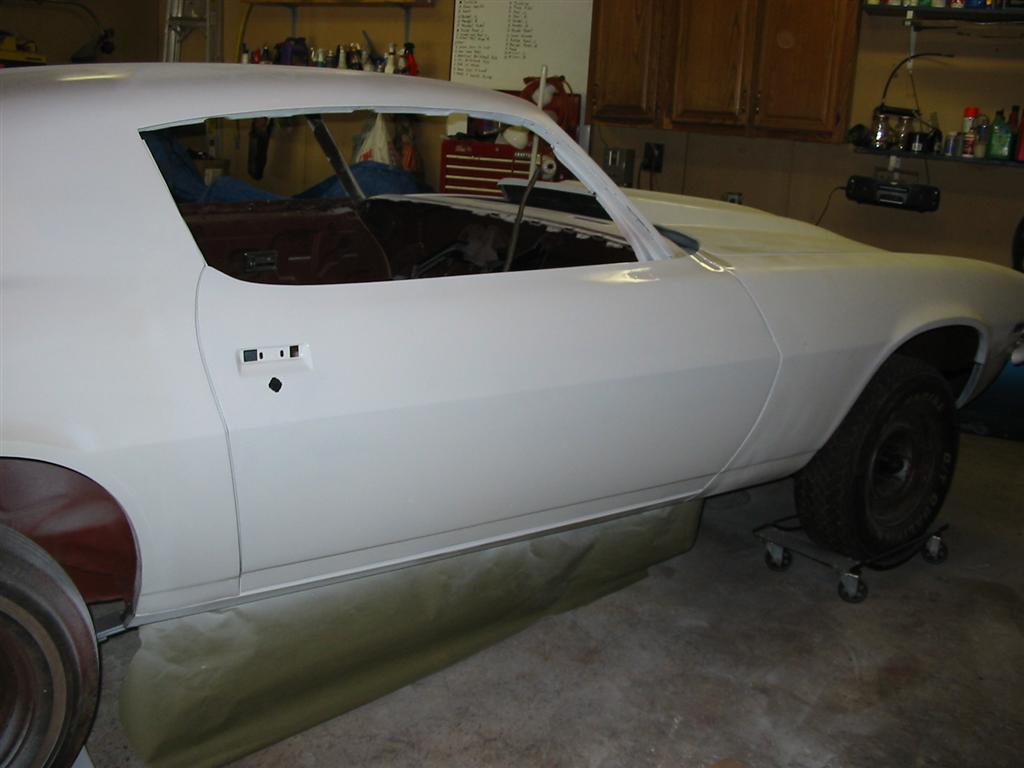
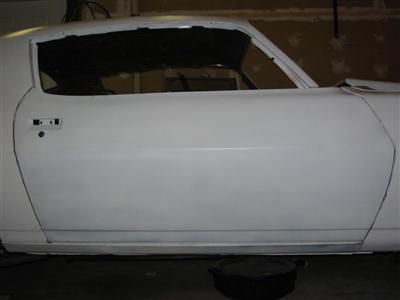
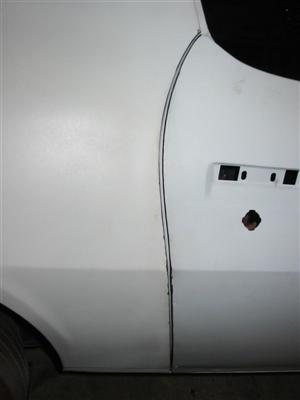
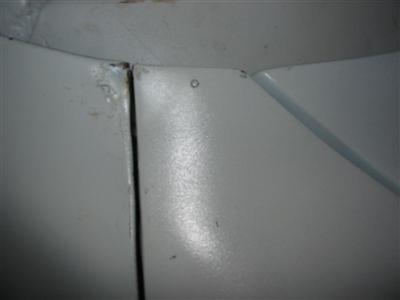
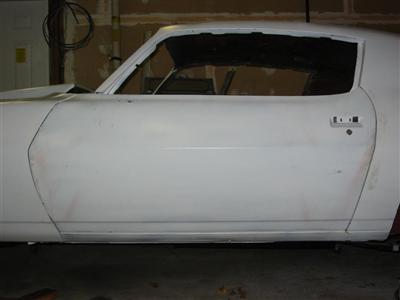
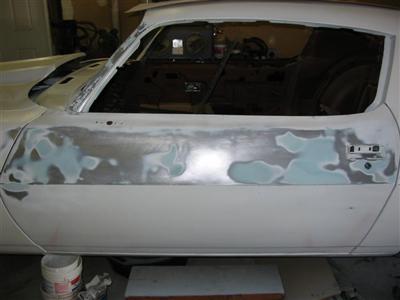
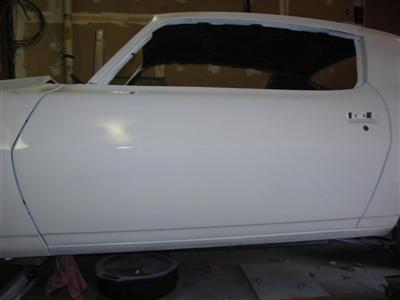
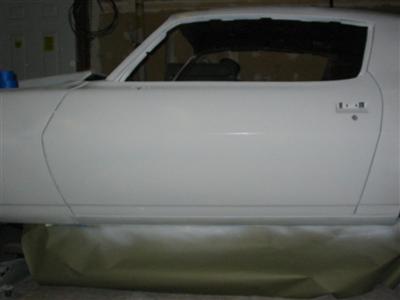
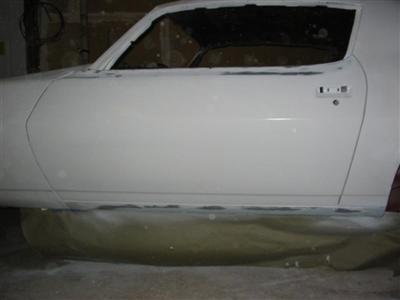
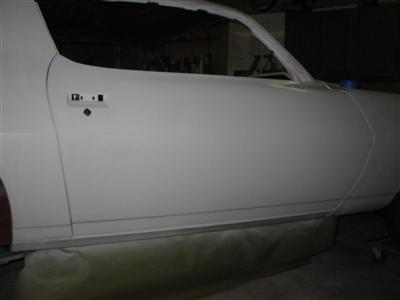
| Here are pictures of the right door after it has been aligned. |

|
|

|

|
|
|
|
|
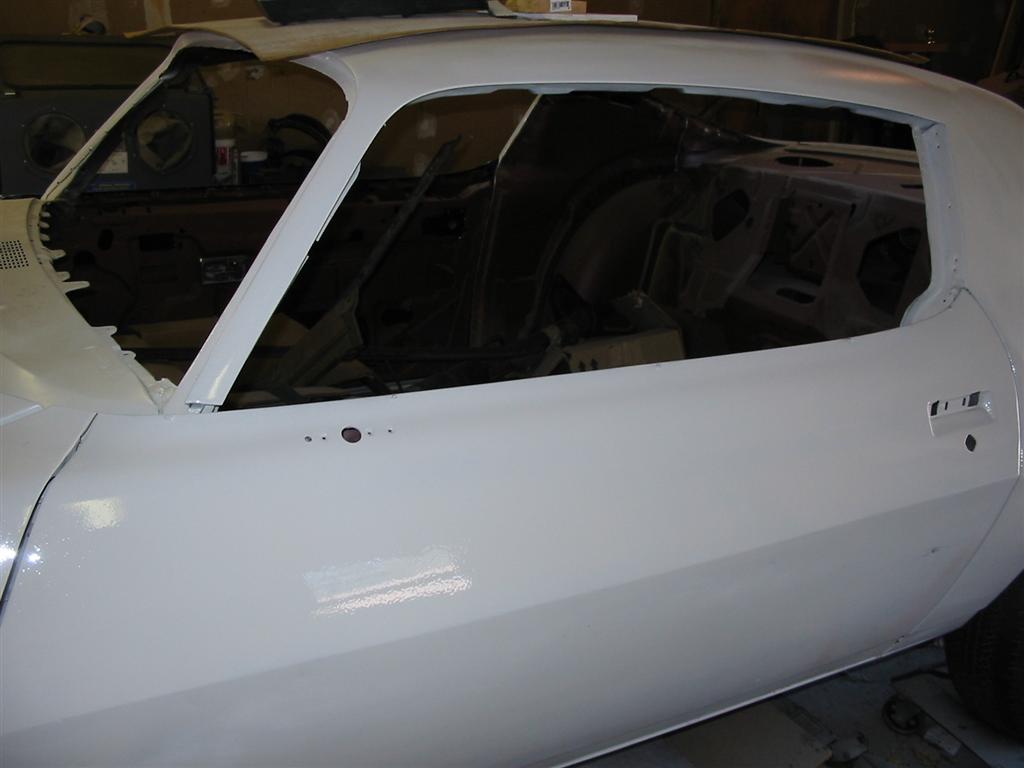
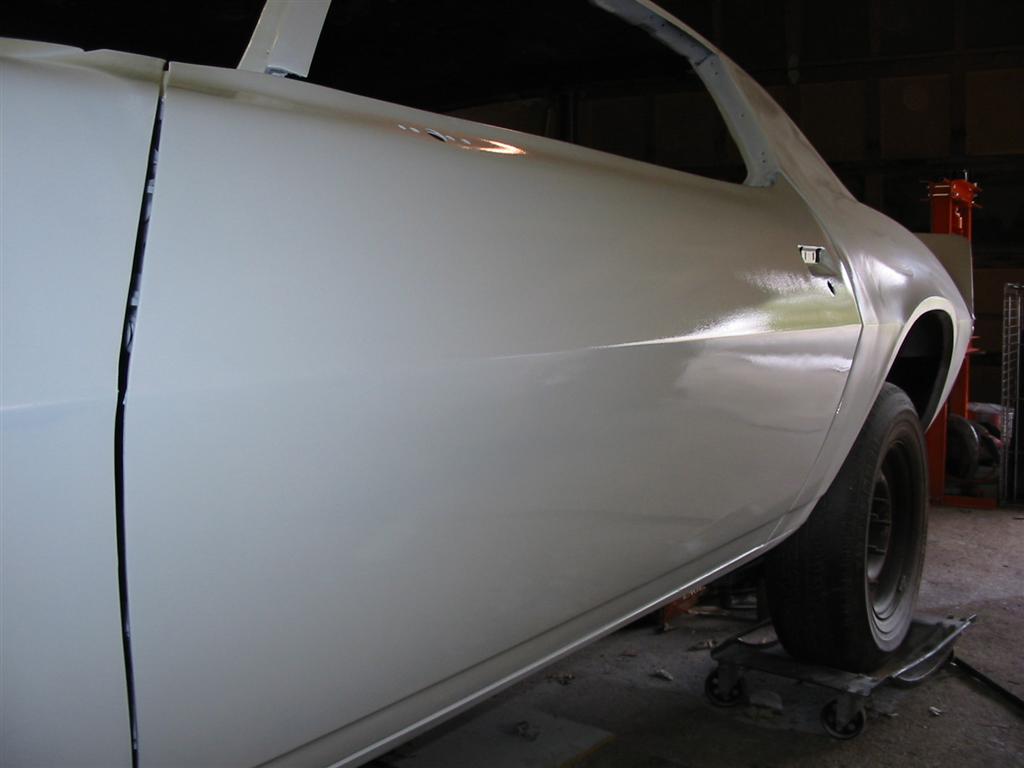
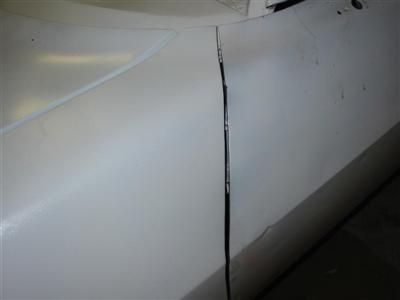
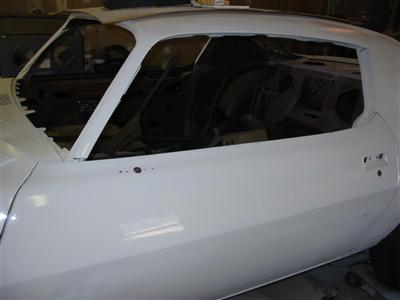
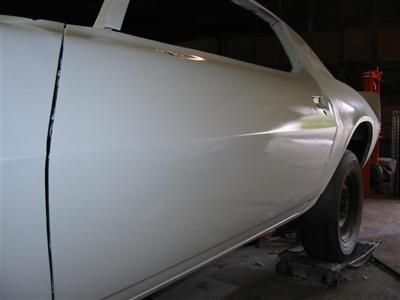
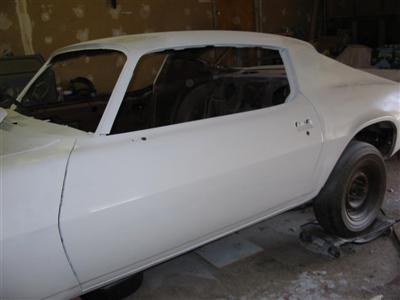
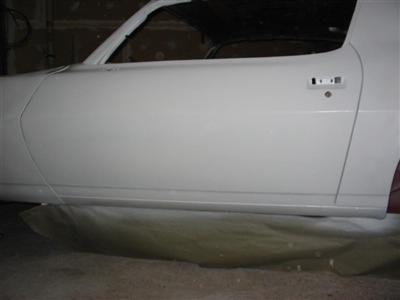
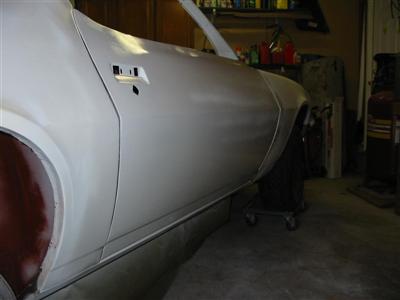
| Here are pictures of the left door after it has been aligned. |
|
|
|
|
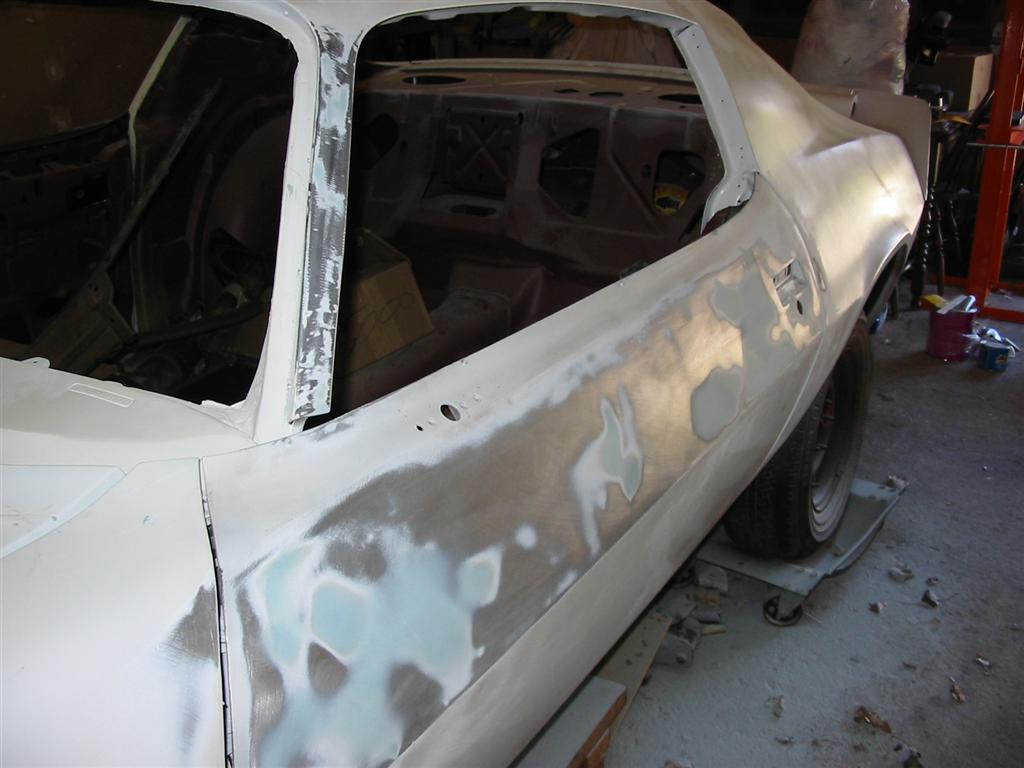
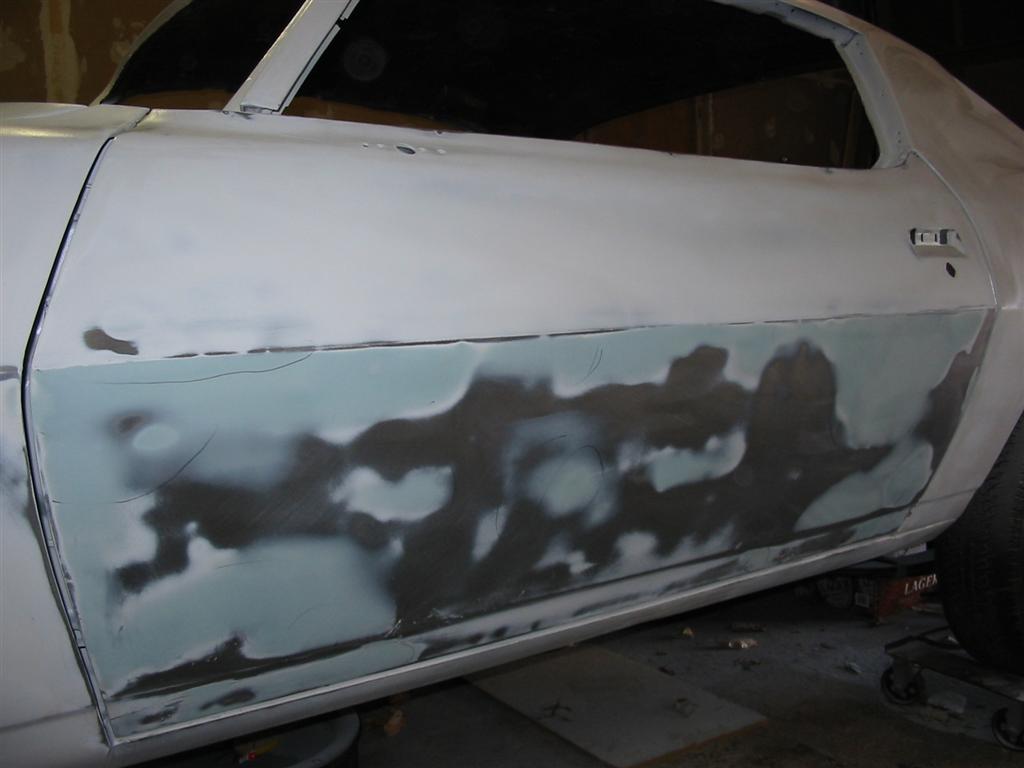
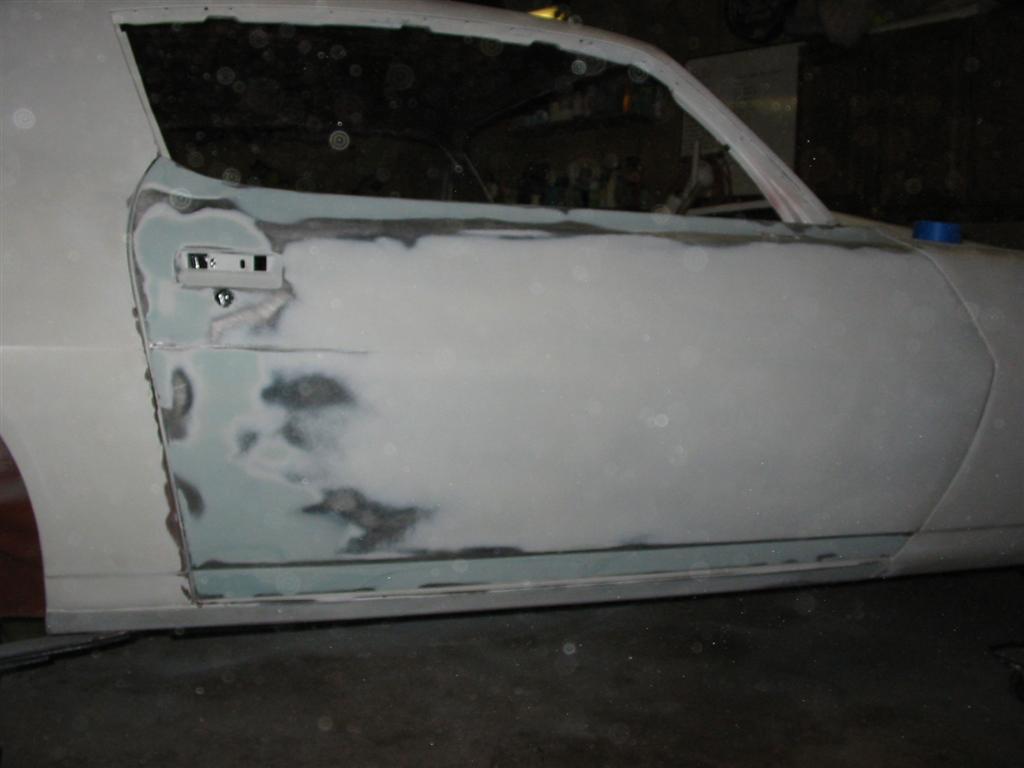
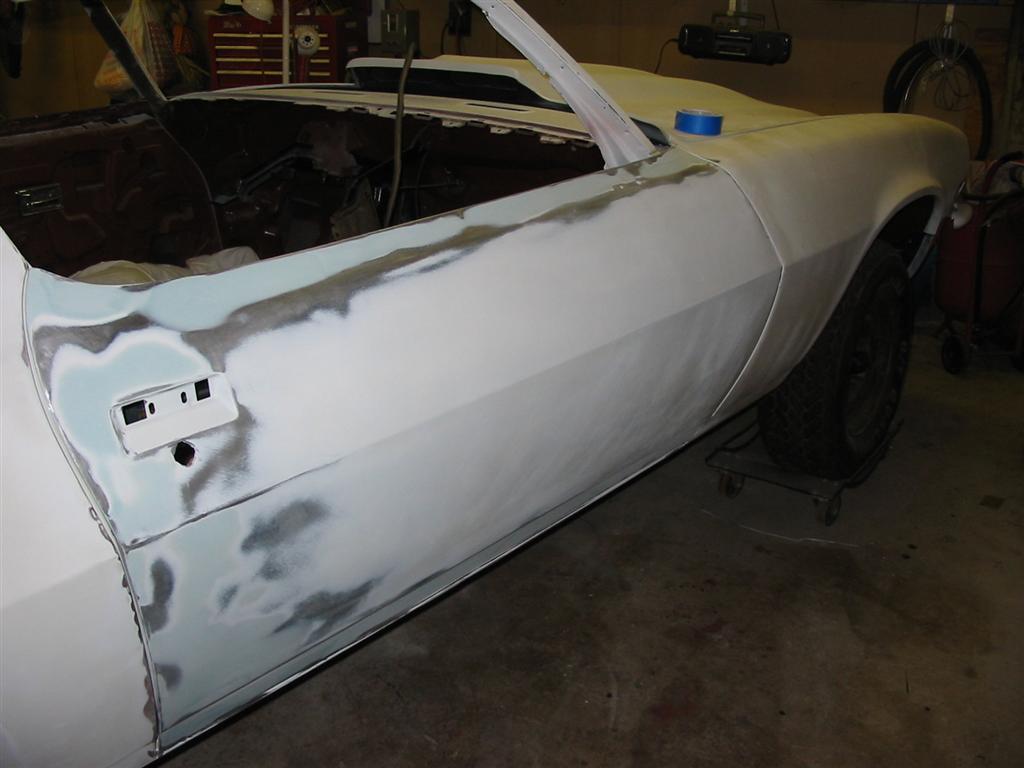
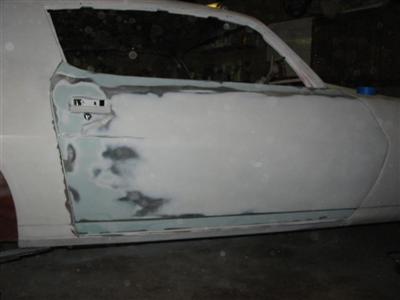
| The following photos are of the filler and metal work on the left door and A pillar.
The filler in the door is put on and sanded done to a very thin thickness. You do
not want the filler to be thick or it could crack later on. I tried to keep it to
the thickness of a credit card. I applied the filler over a scuffed up epoxy primer.
Once the filler work is done, I then seal the work with another coat of epoxy primer. |
|
|
|
|

|
|
|
|
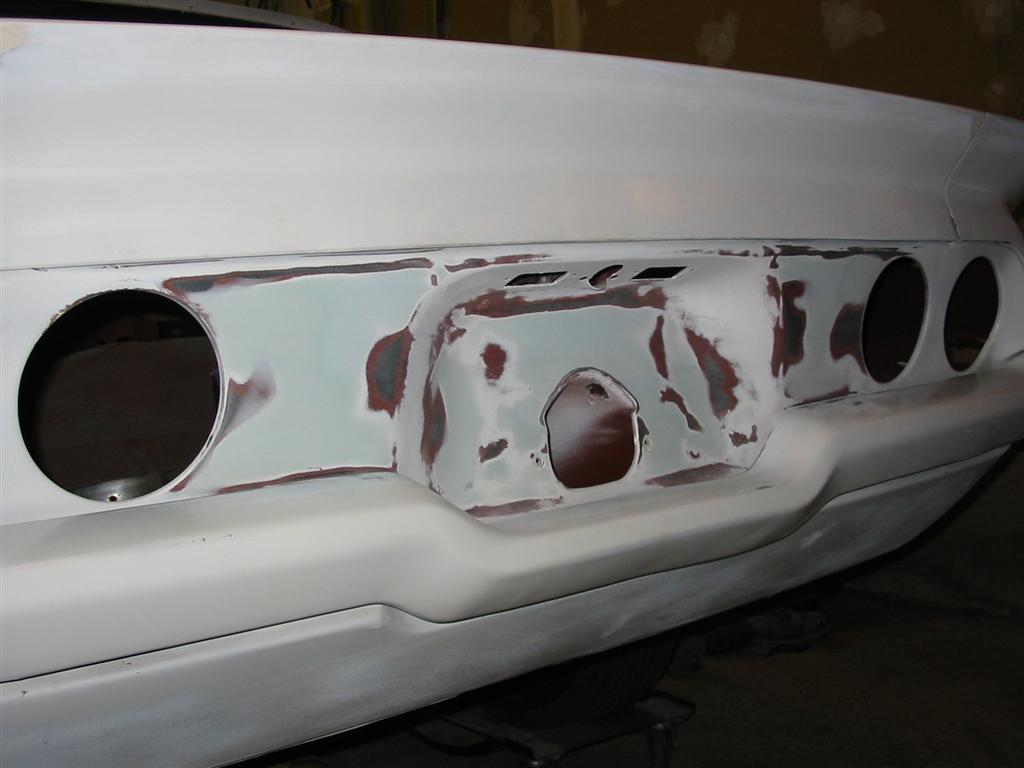
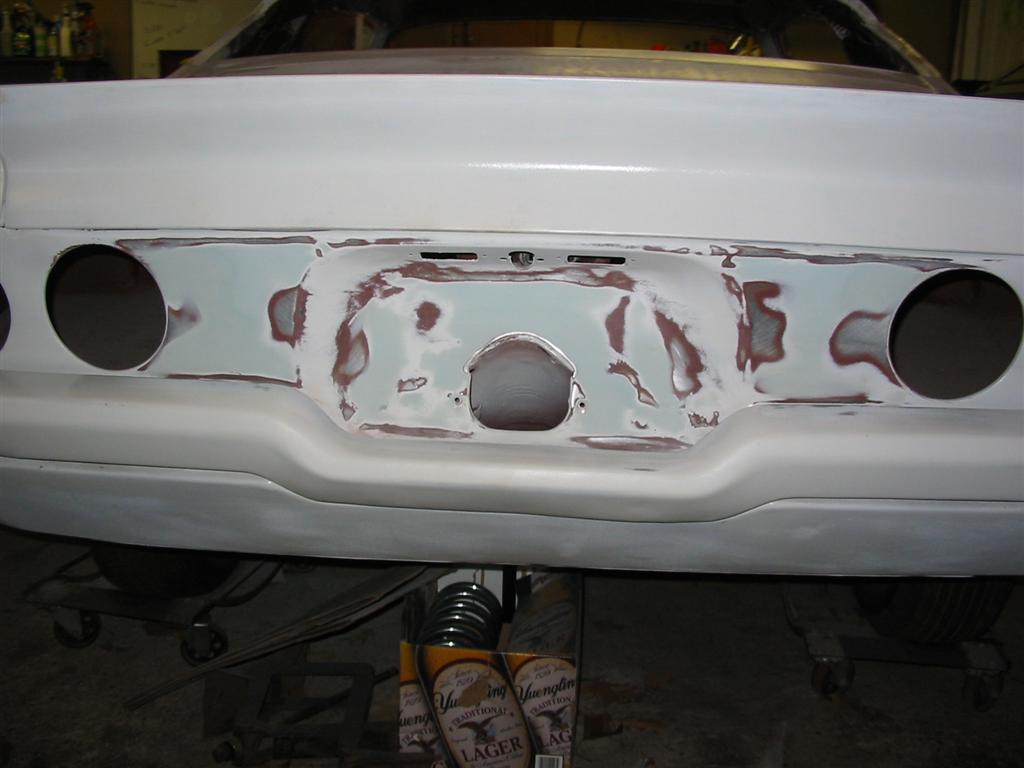
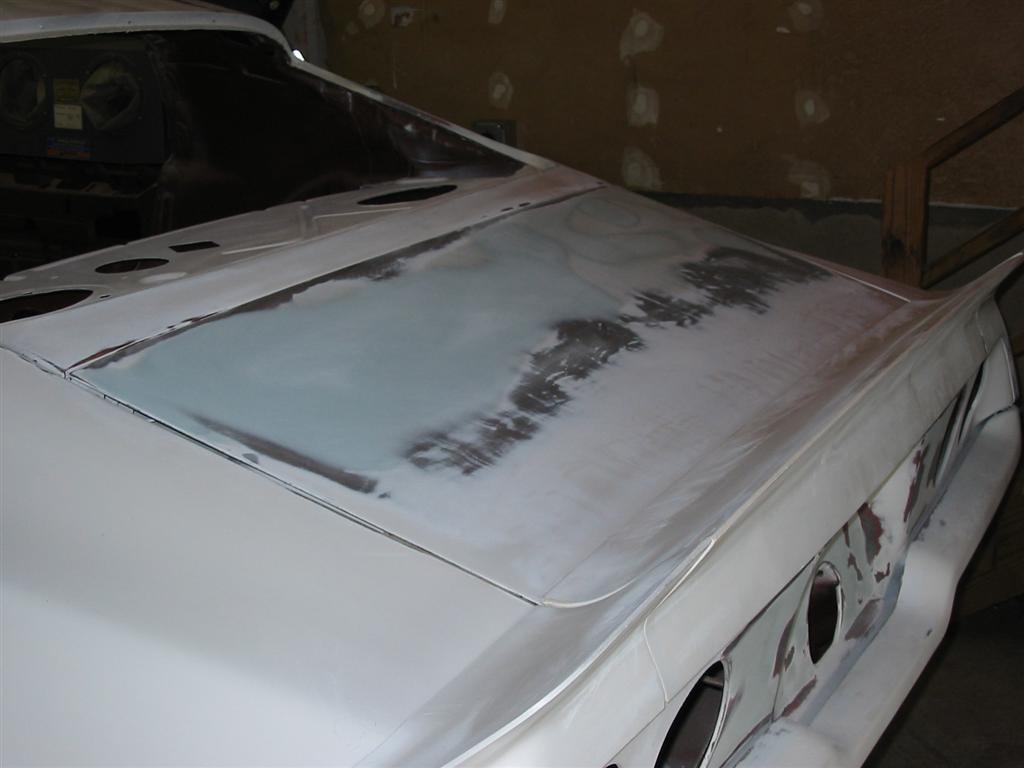
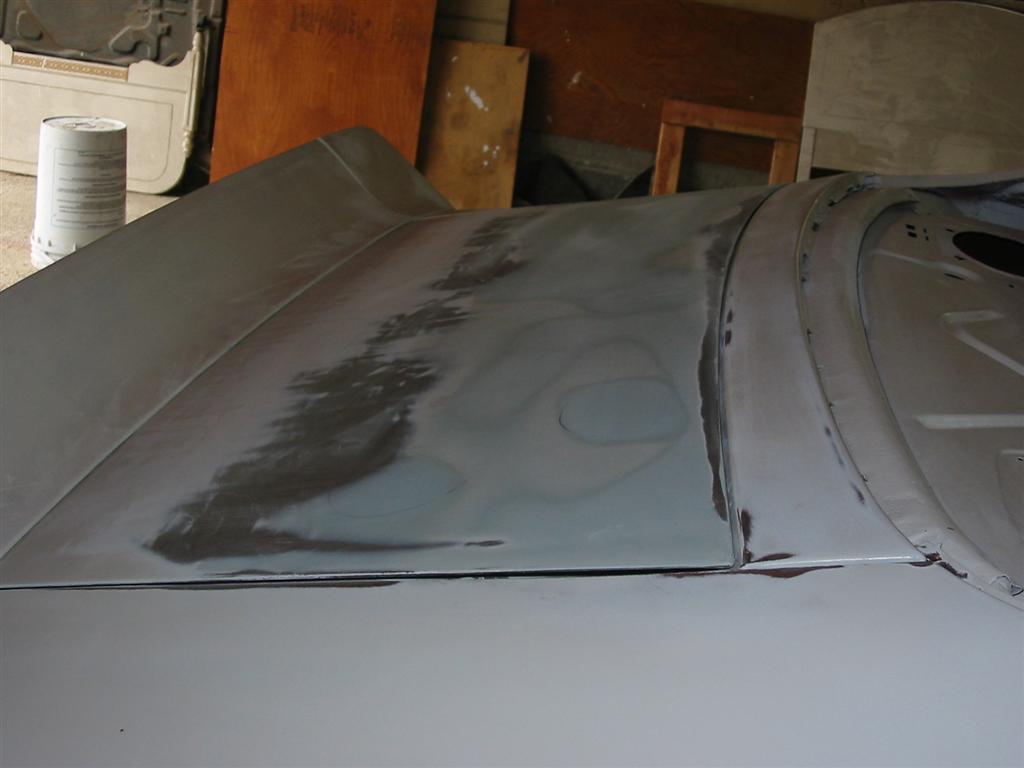
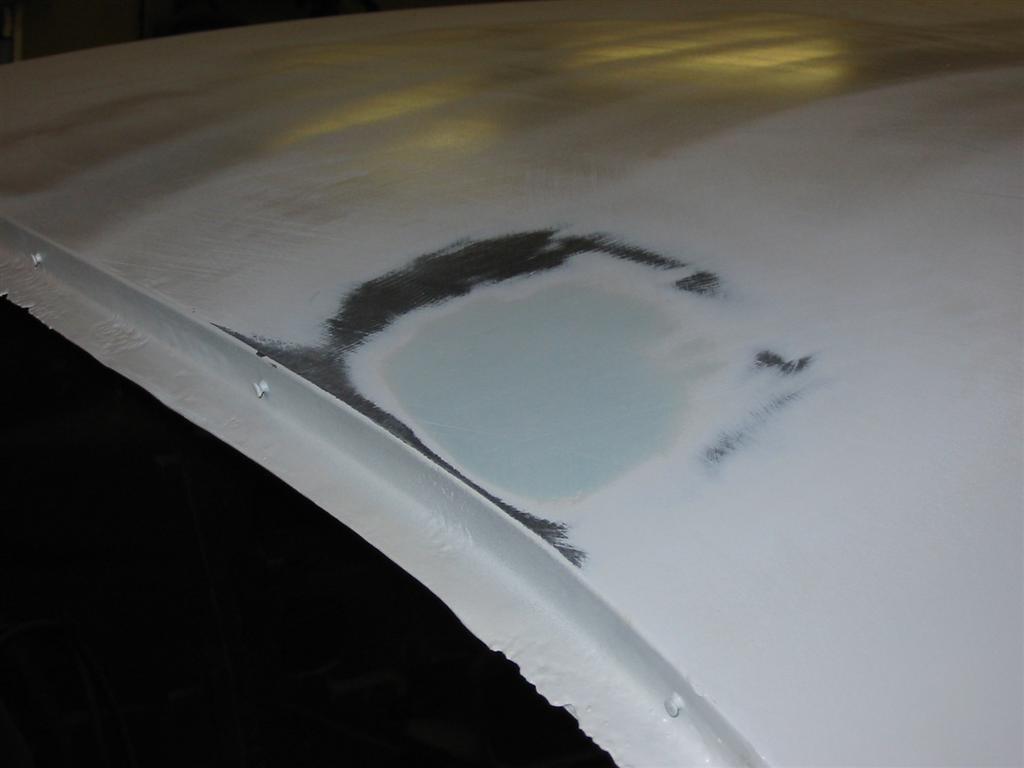
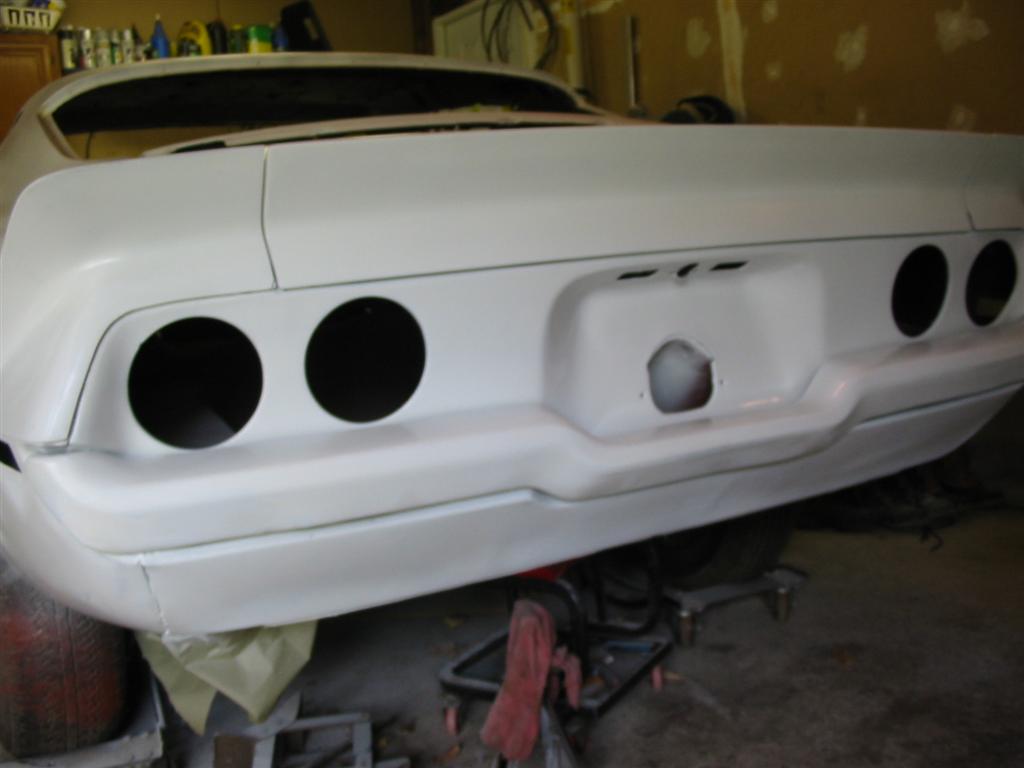
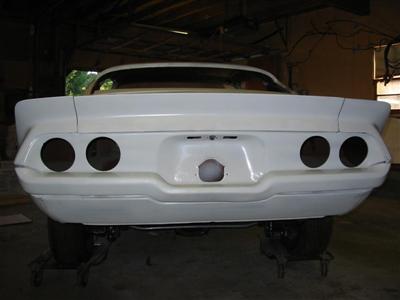
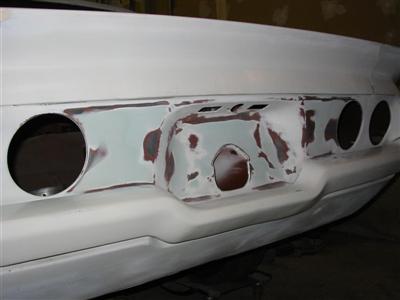
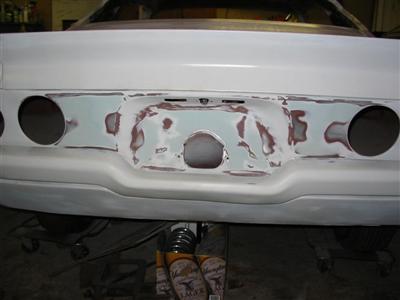
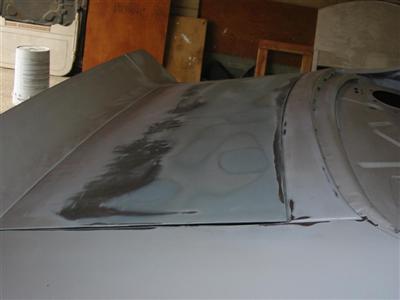
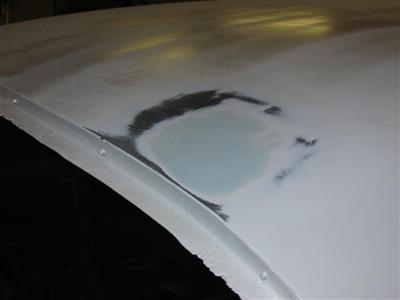
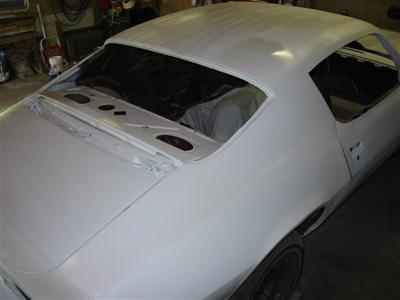
| The following photos are of body work on the tailpanel, trunklid and roof. |
|
|
|
|
|
|
| Here are the tailpanel, trunklid, roof and left rocker with a coat of epoxy
over the repaired areas. |
|

|
|

|
|
|
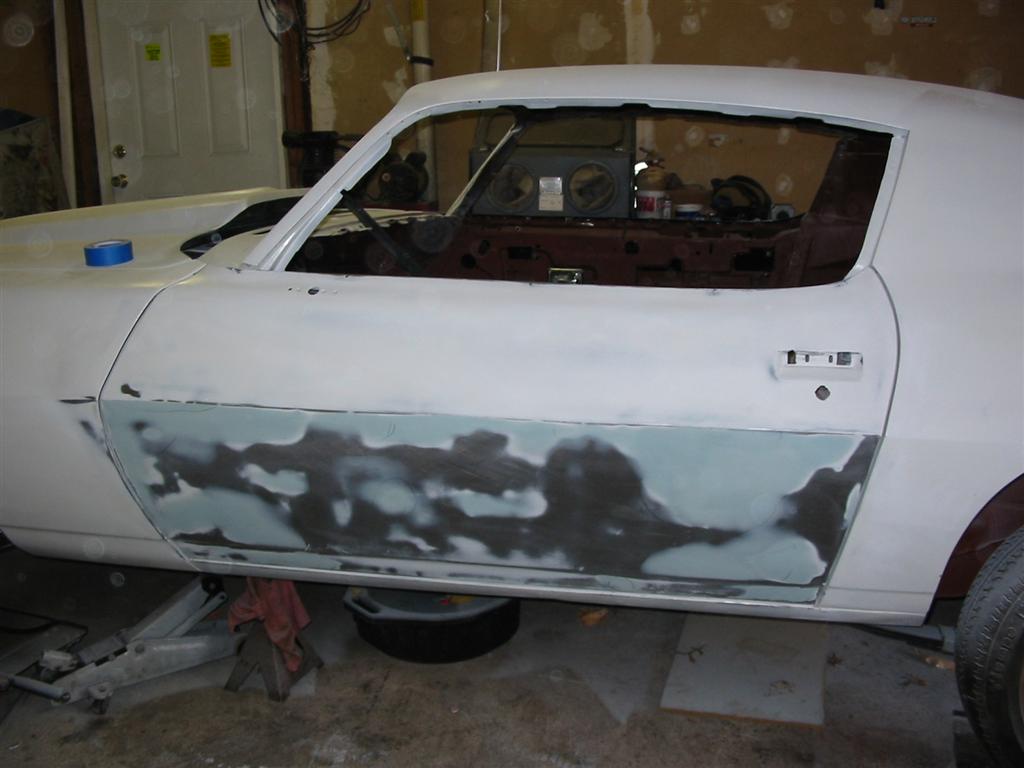
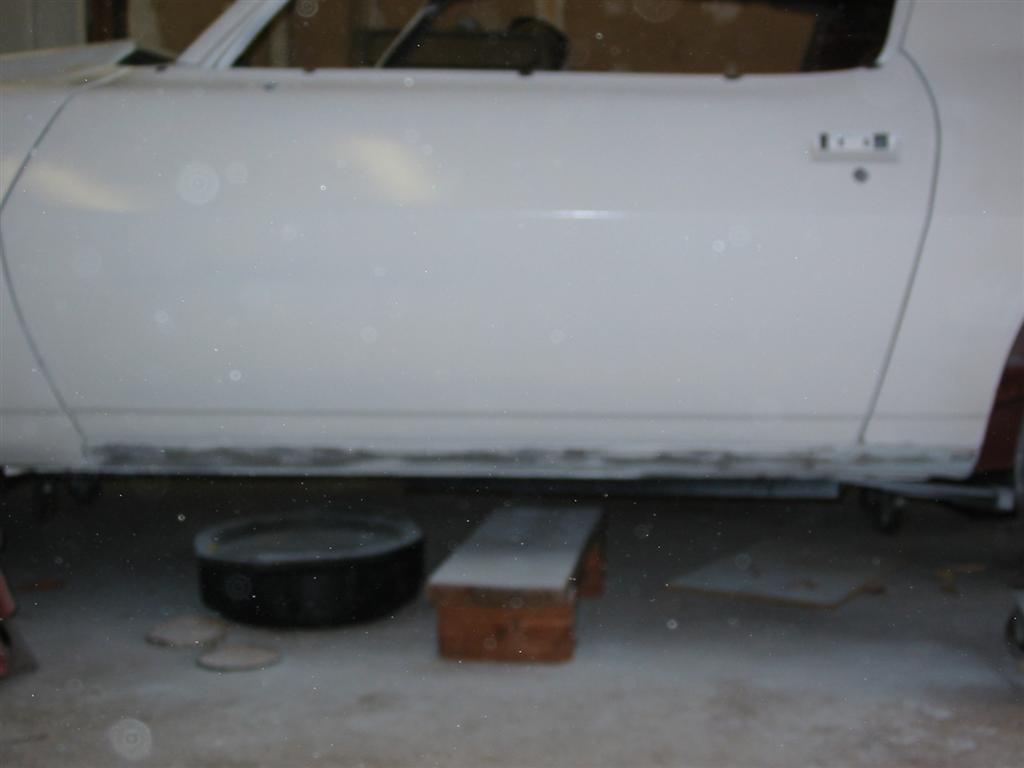
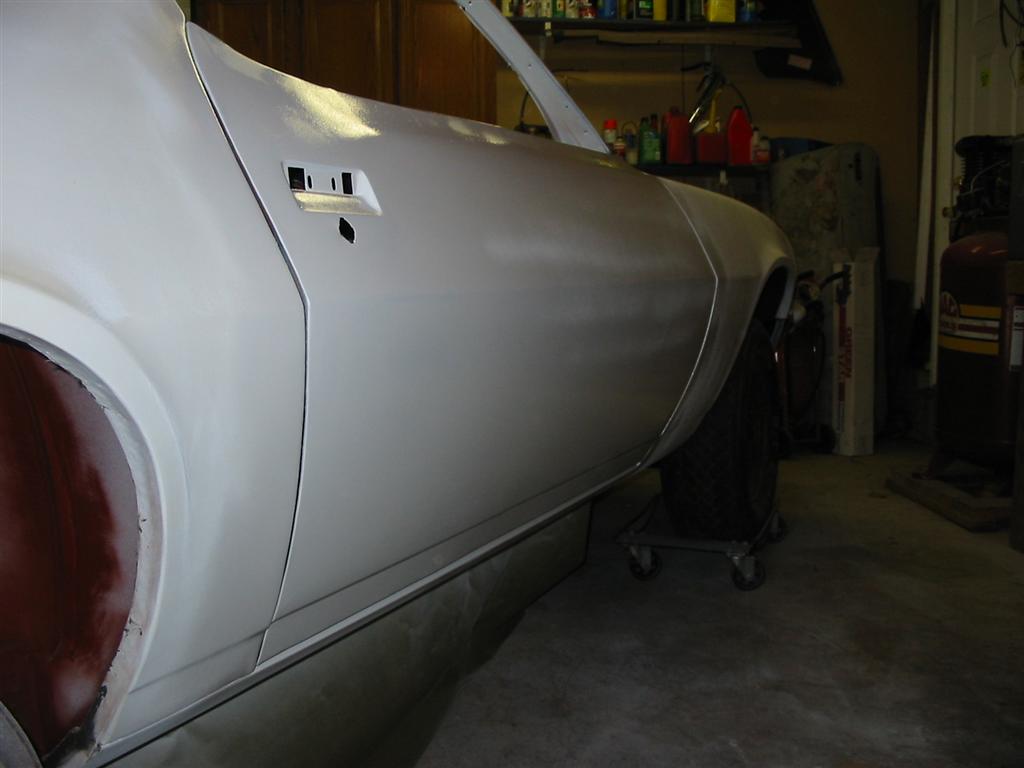
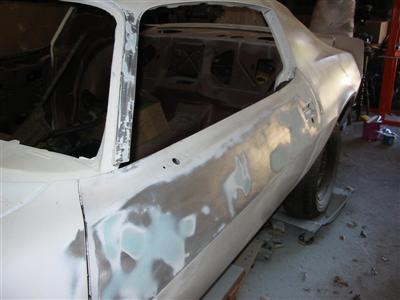
| This photo is of the work done to the left rocker panel. This panel needed
some pulling due to a dent and needed some small trim mounting holes filled with a
welder. I used fiberglass filler on this area for fear of moisture getting to the filler
from inside the rocker. This filler should not absorb any moisture if it should
get through from the inside the rocker and through any pinholes in the welds. |

|
|
|
|

|
|
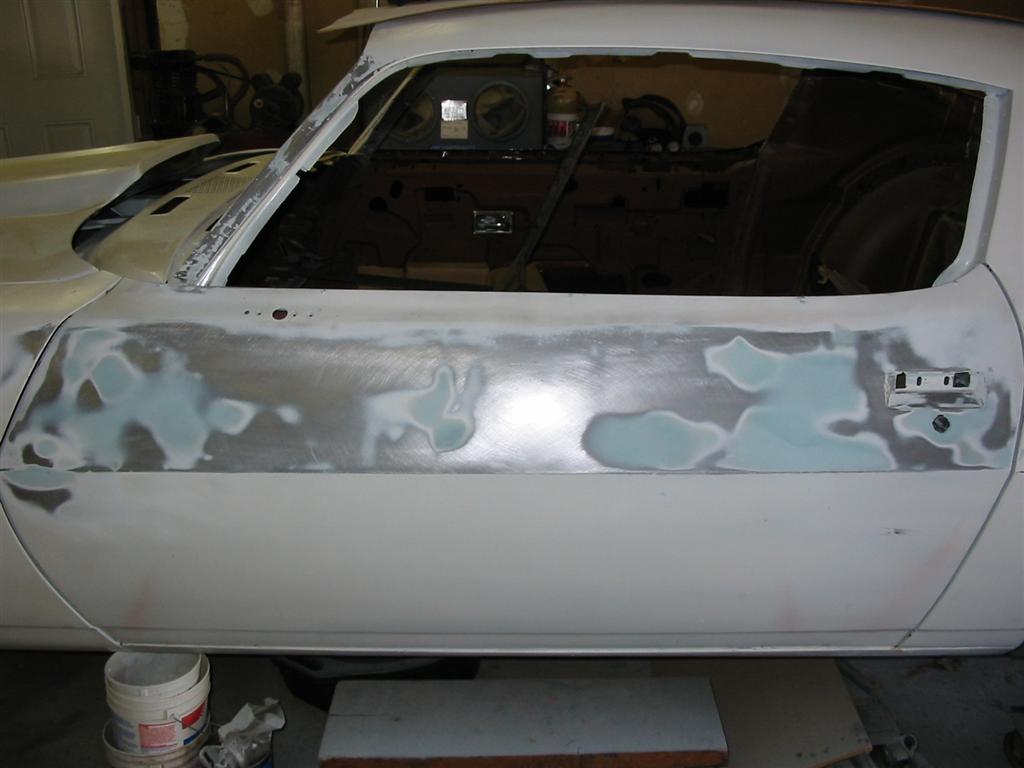
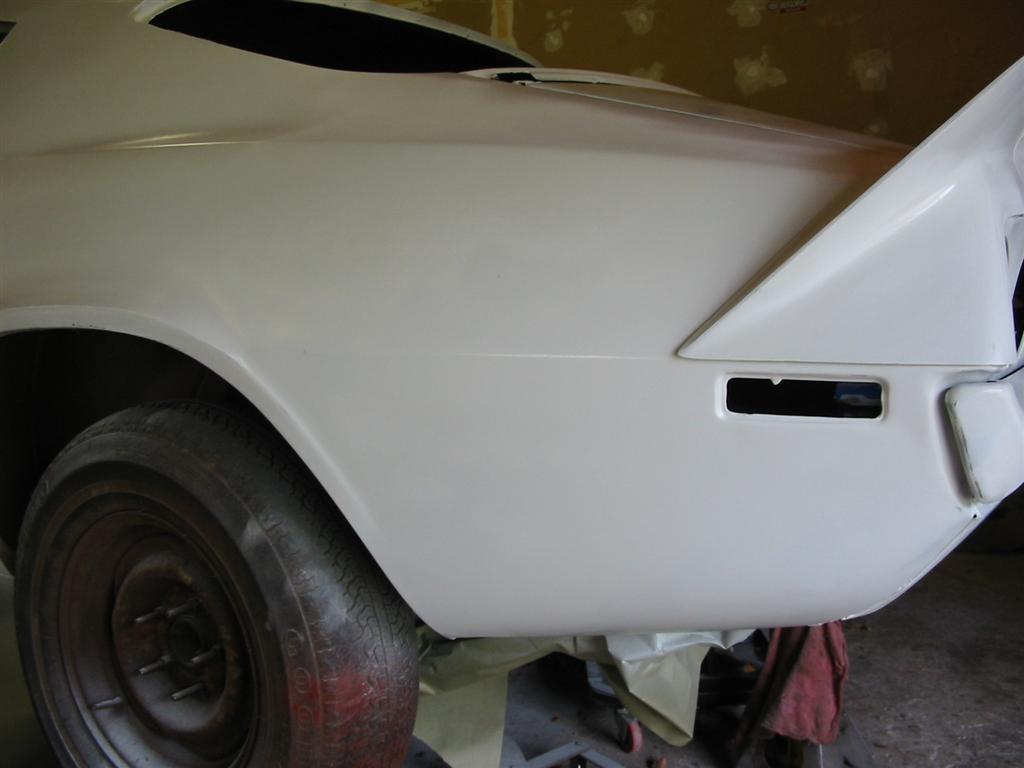
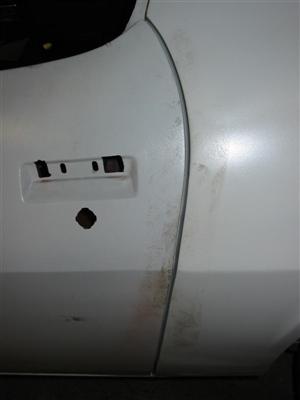
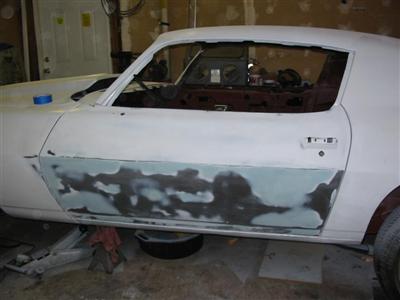
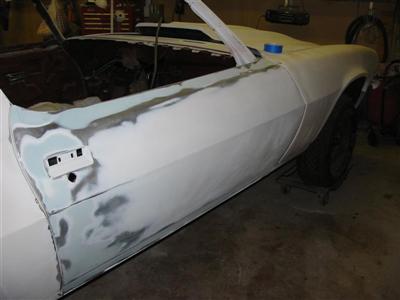
| Here is the filler work for the right door and rocker panel. |
|
|
|

|
|
|