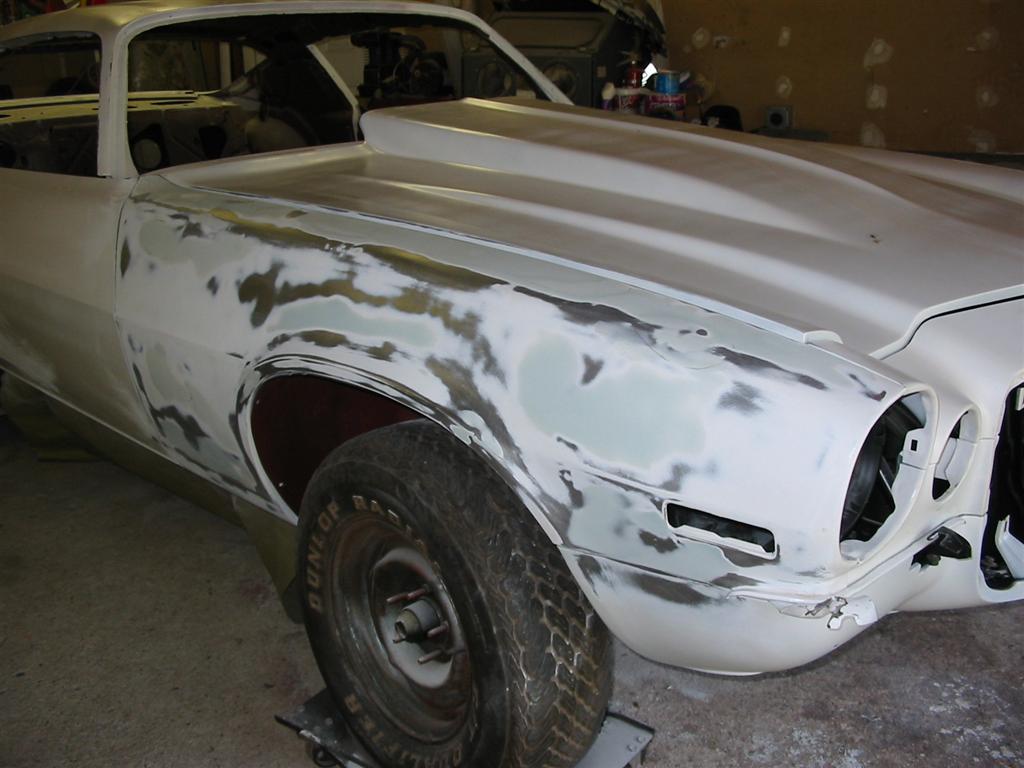
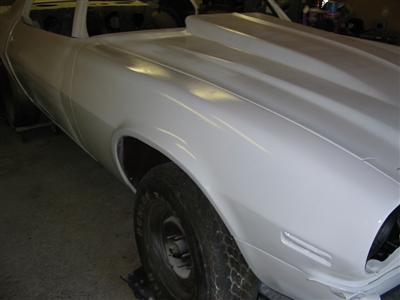
| Here is the right fender after filler work and block sanding. |
|
|
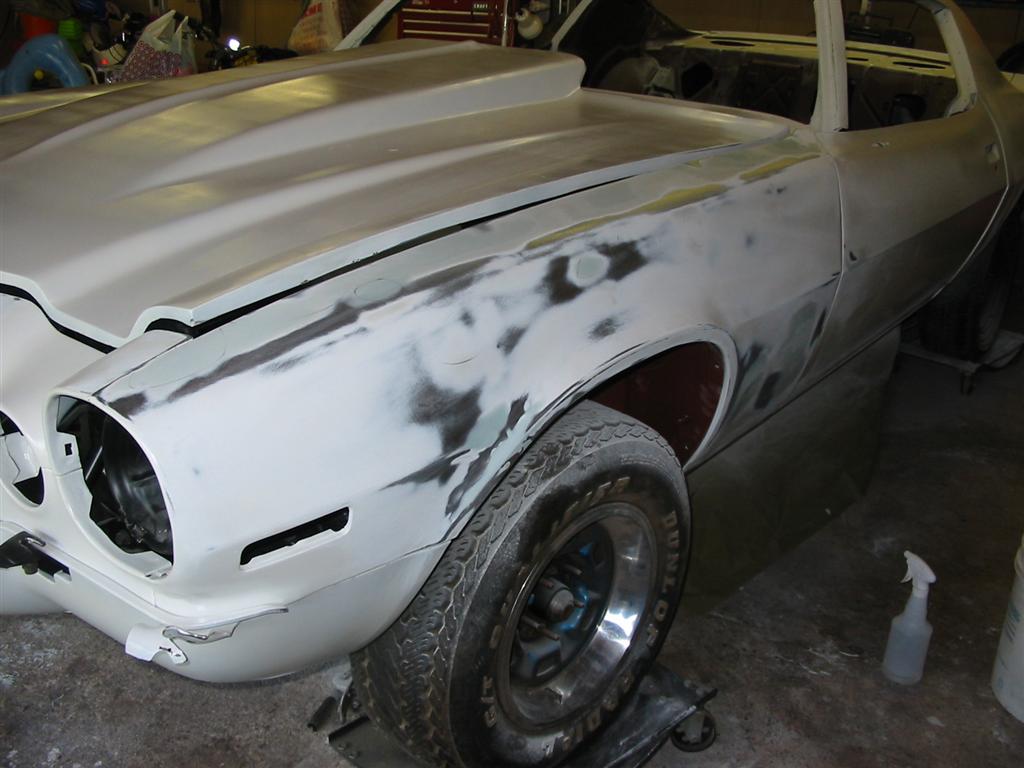
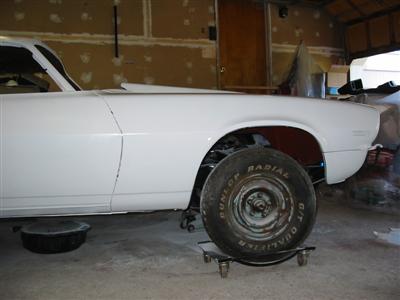
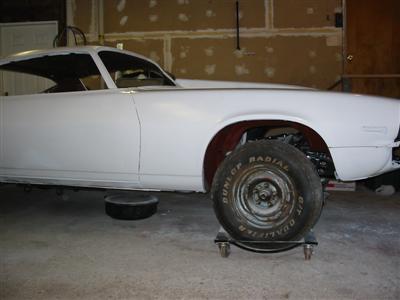
| Here is the left fender after filler work and block sanding. |

|
|
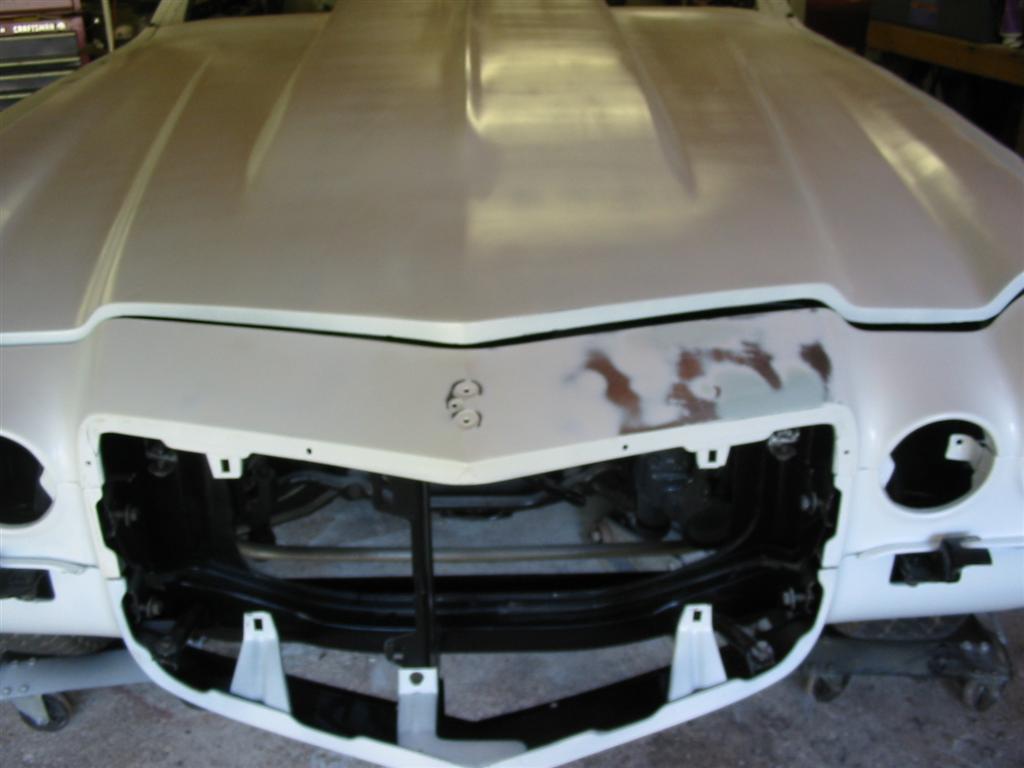
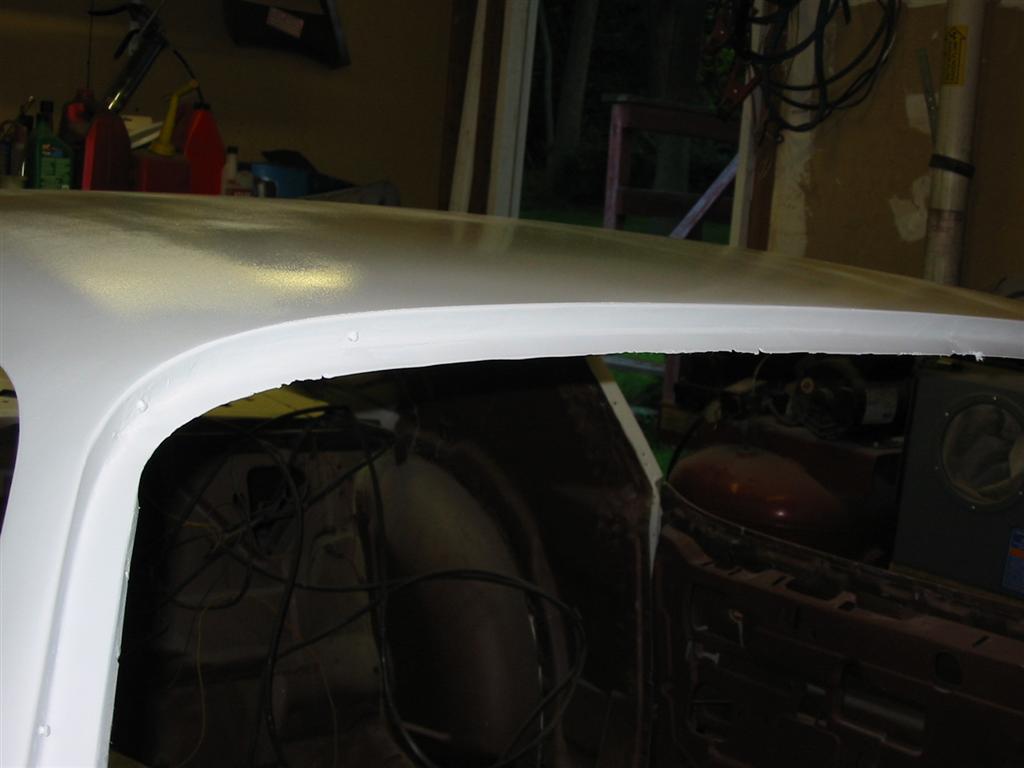
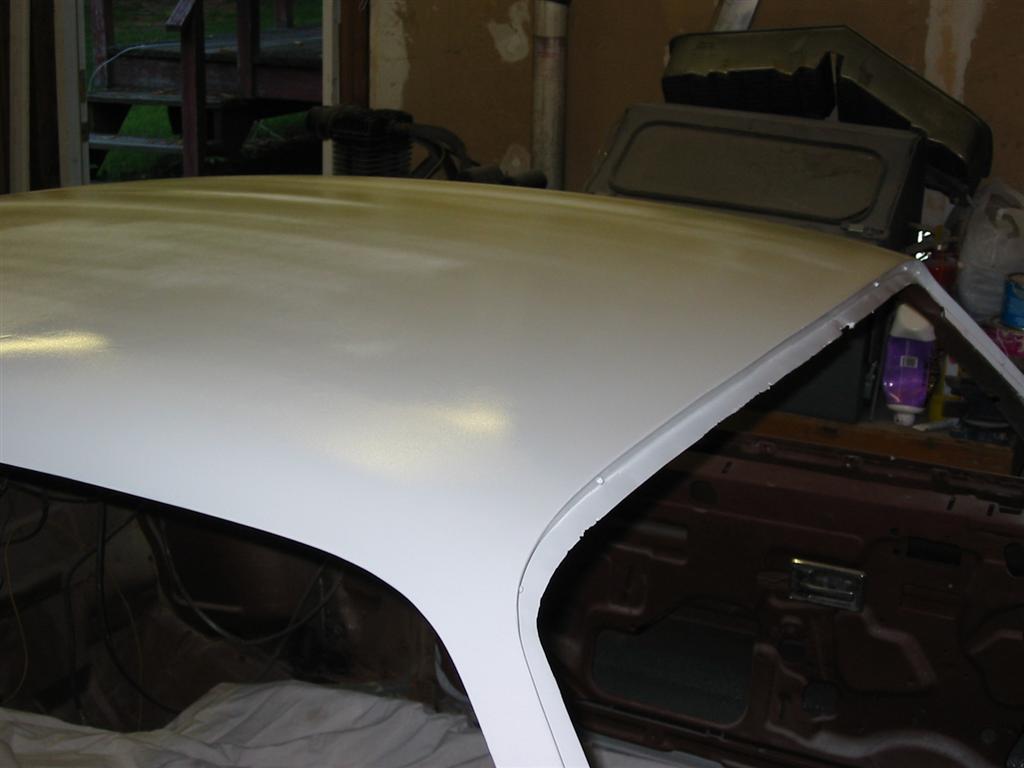
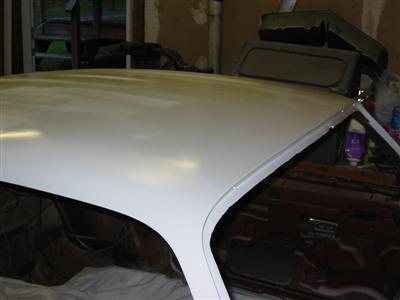
| Here is the upper header panel after filler work and block sanding. |
|
|
| Here are the door jams after filler work and block sanding. I decided to smooth
them even though the factory would have been a little rough with the spot welds showing. |

|
|
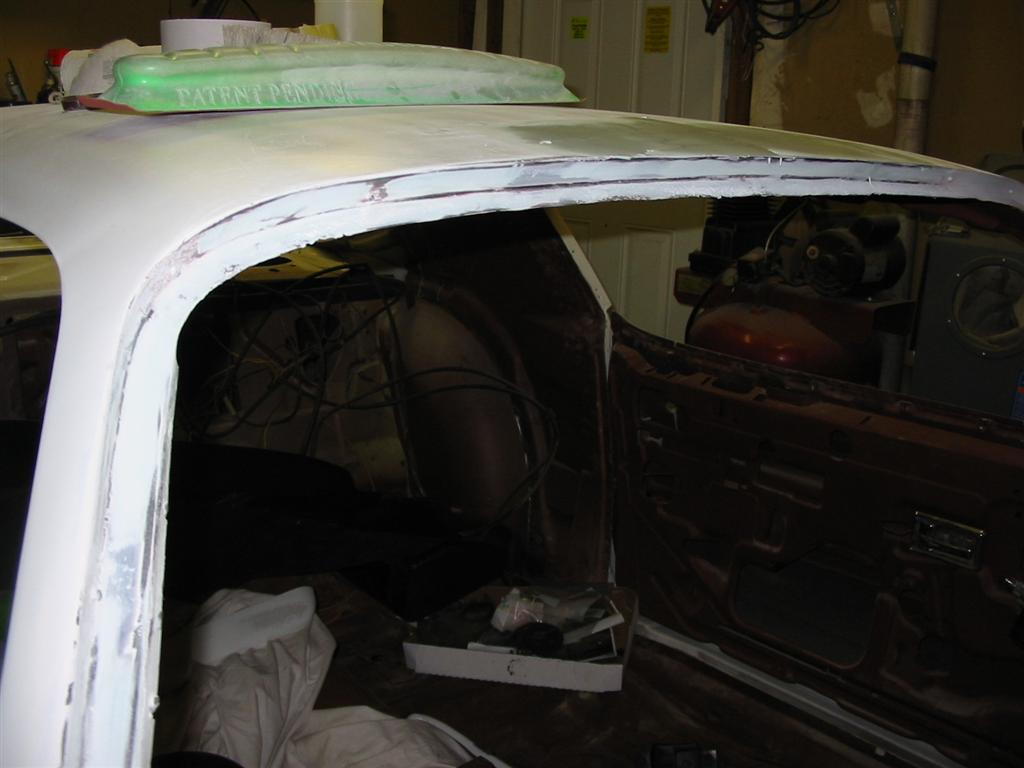
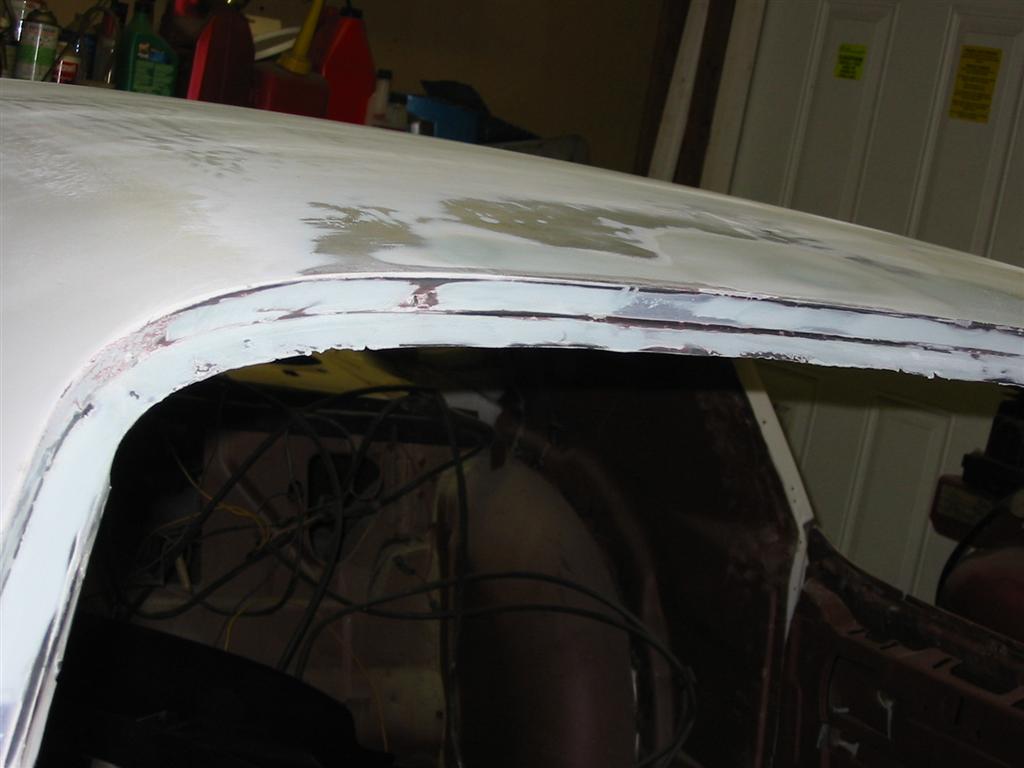
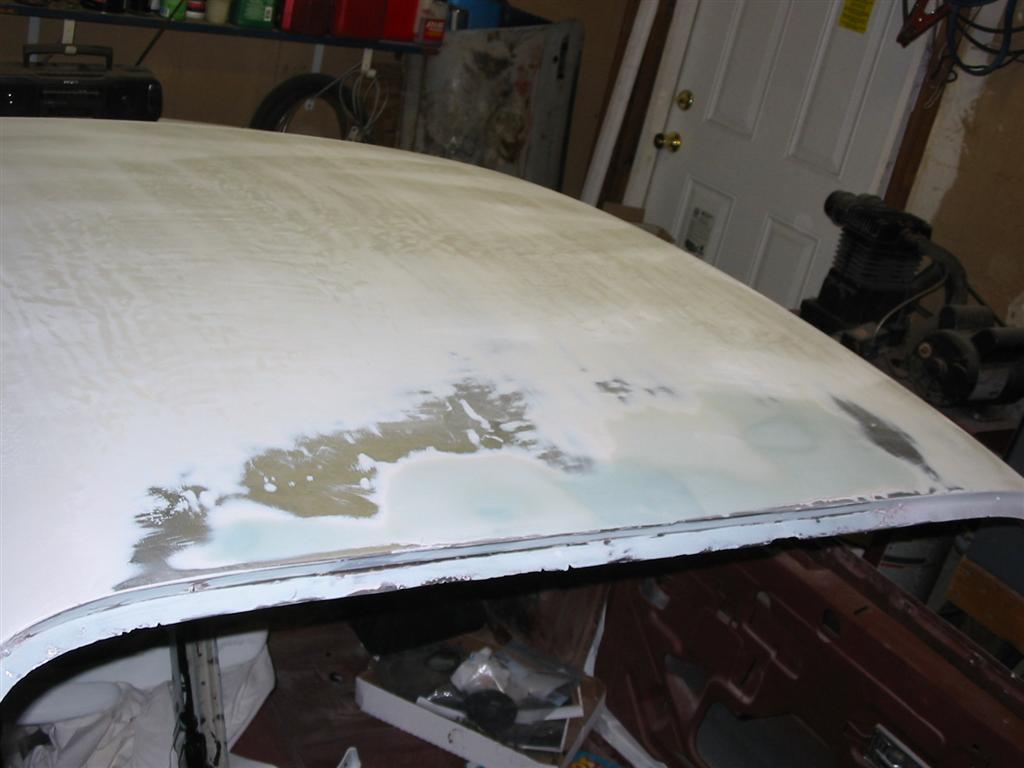
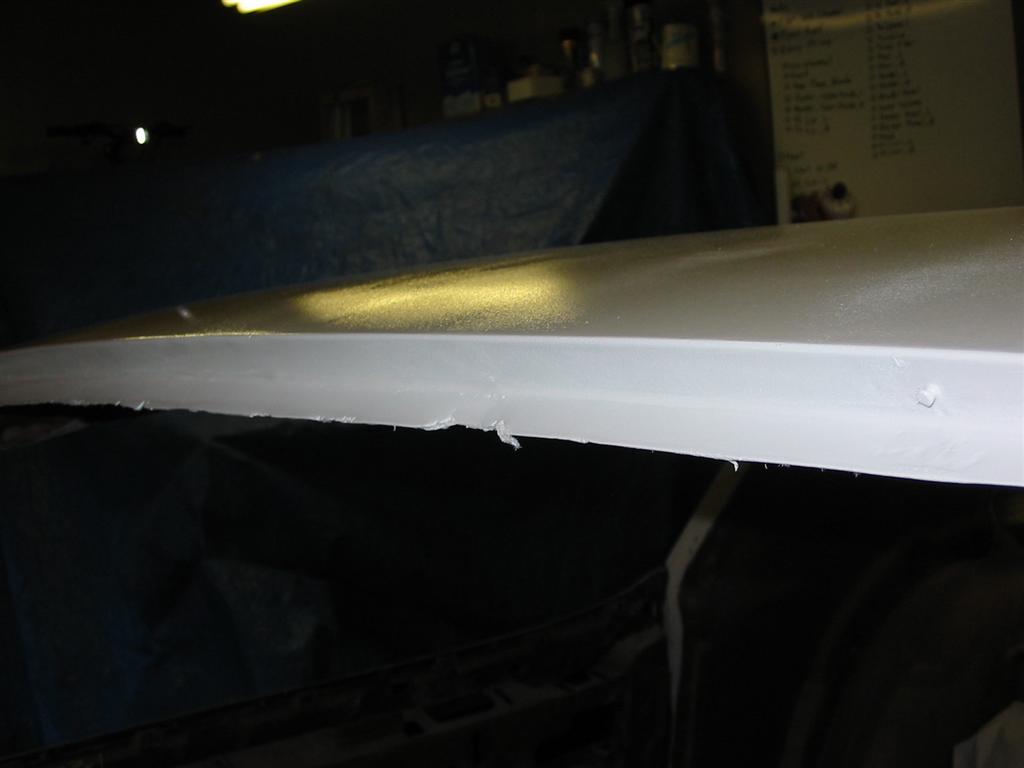
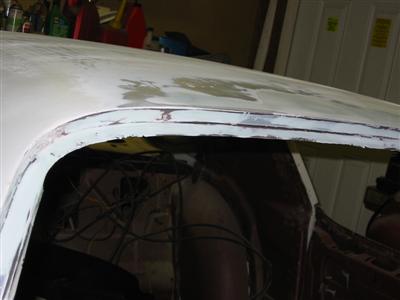
| The following shots are of the filler work for the repaired area of the windshield
channel and front roof. For the initial layer of filler, I used a fiberglass waterproof filler.
The top coats were standard Evercoat Extreme Gold. The waterproof filler is to protect from
potential rust. |
|

|
|

|
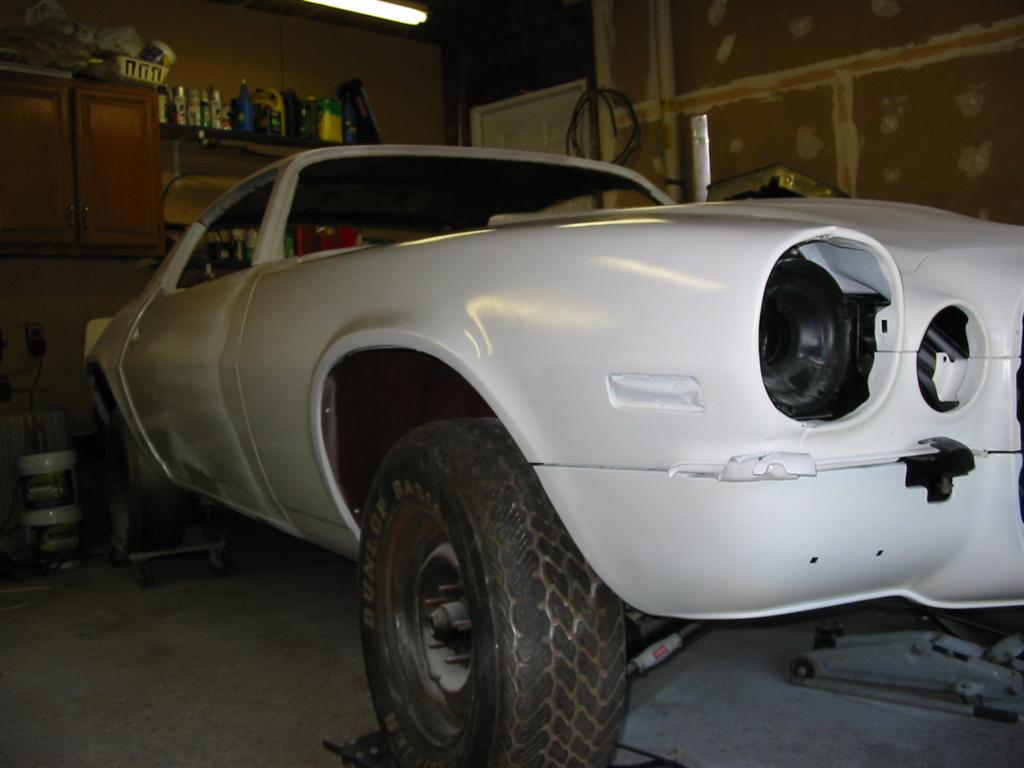
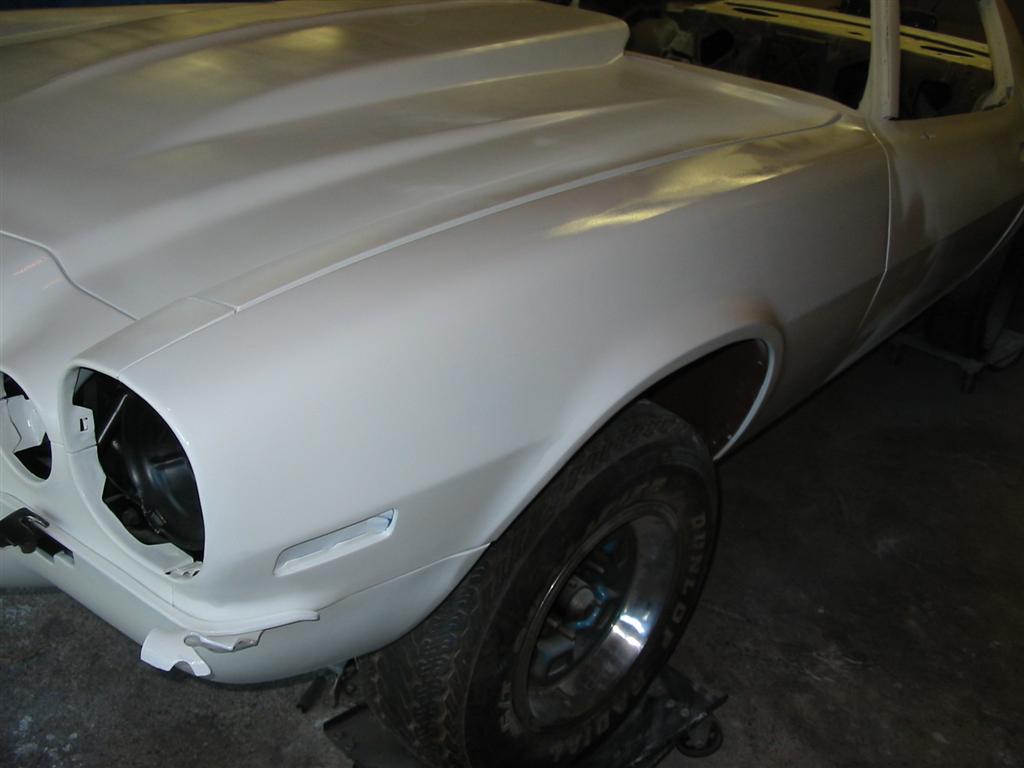
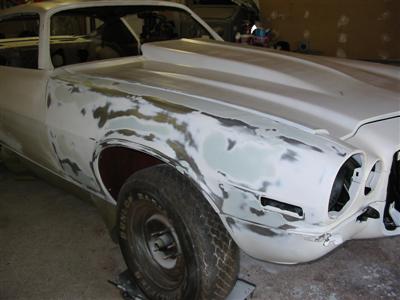
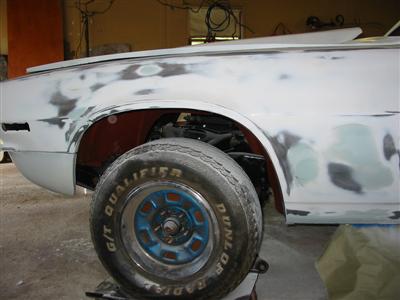
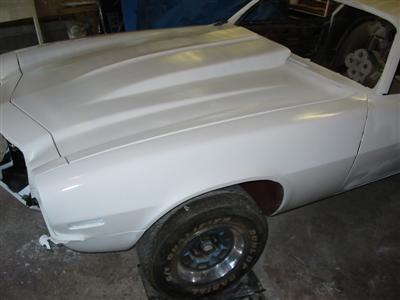
| Here is the right fender after filler work with a coat of epoxy primer. |

|
|
|
|
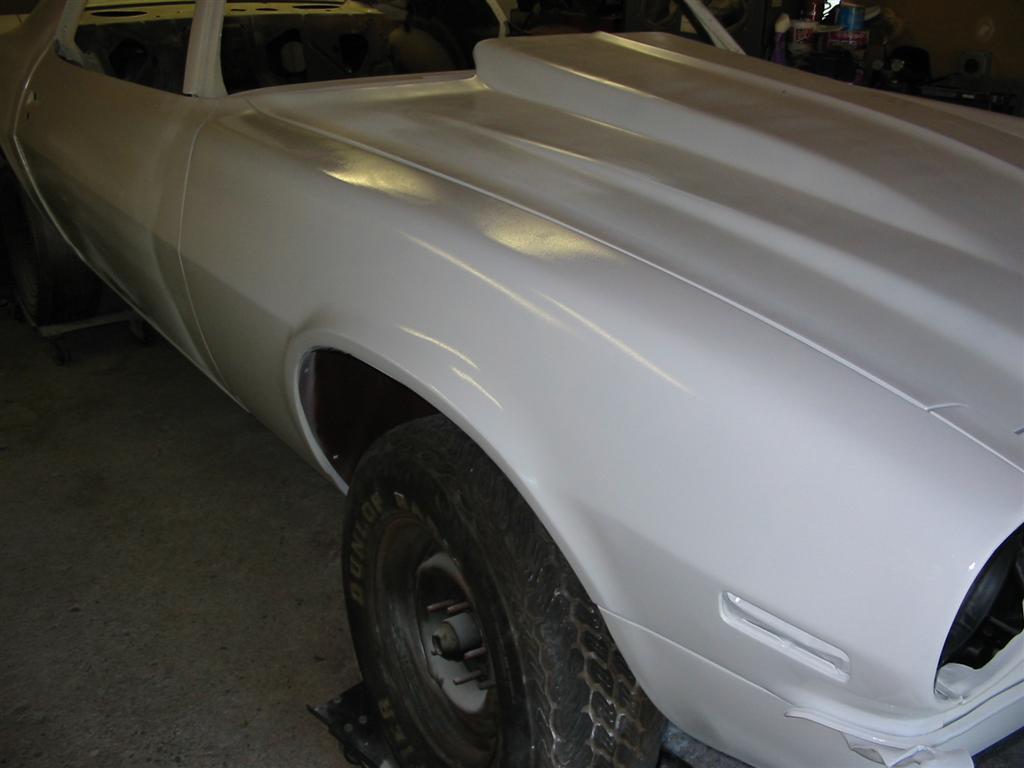
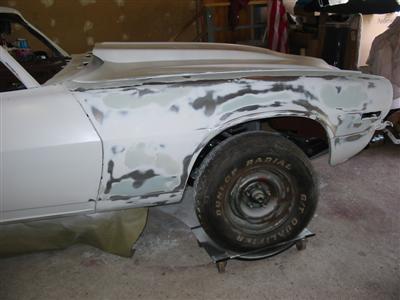
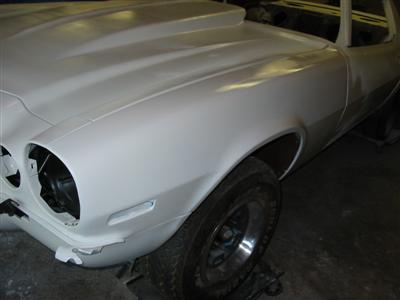
| Here is the left fender after filler work with a coat of epoxy primer. |
|
|
|
|
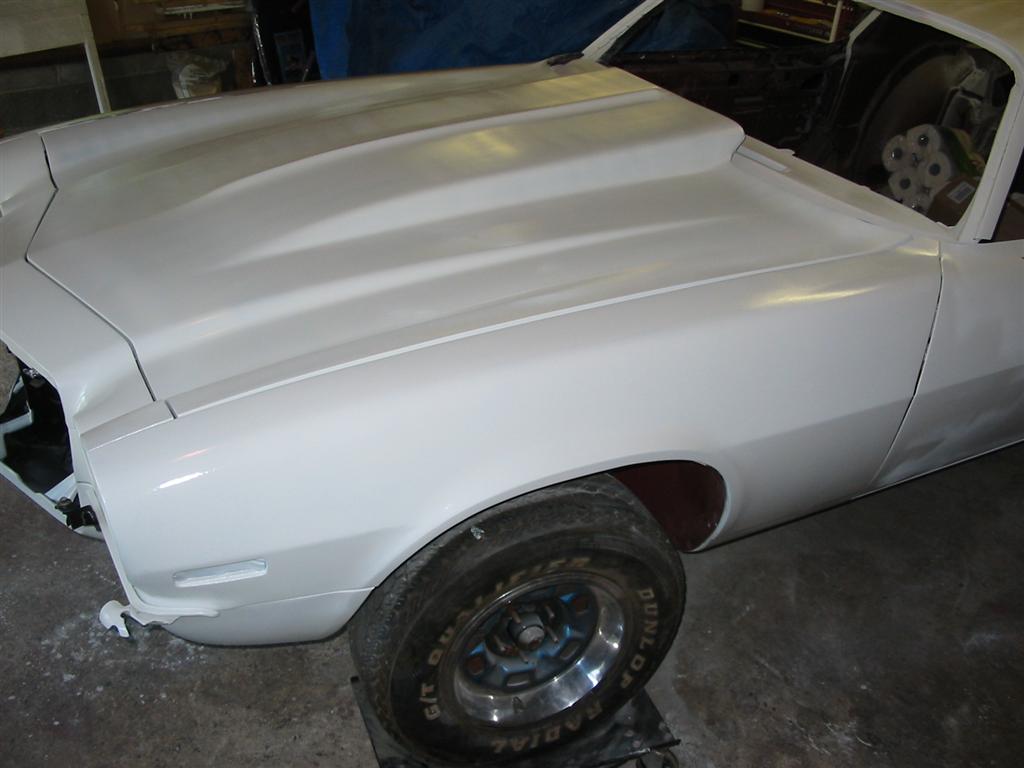
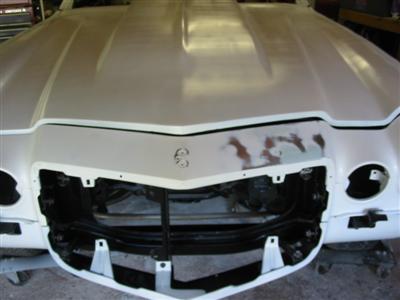
| Here is the header panel after filler work with a coat of epoxy primer. |

|
|
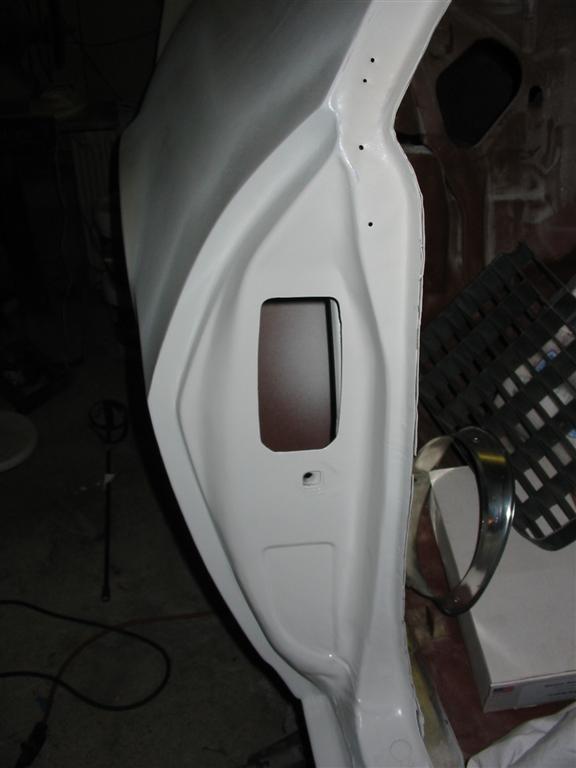
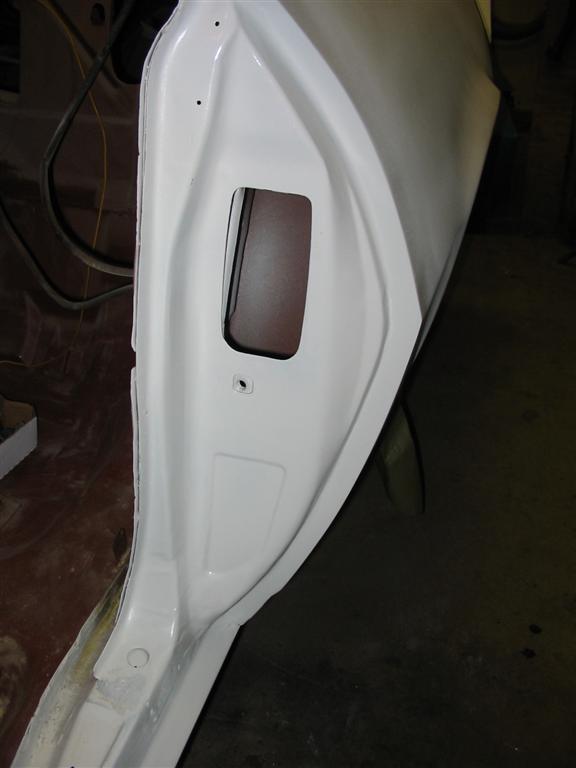
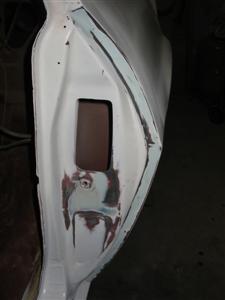
| Here is the door jams after filler work with a coat of epoxy primer. |

|

|
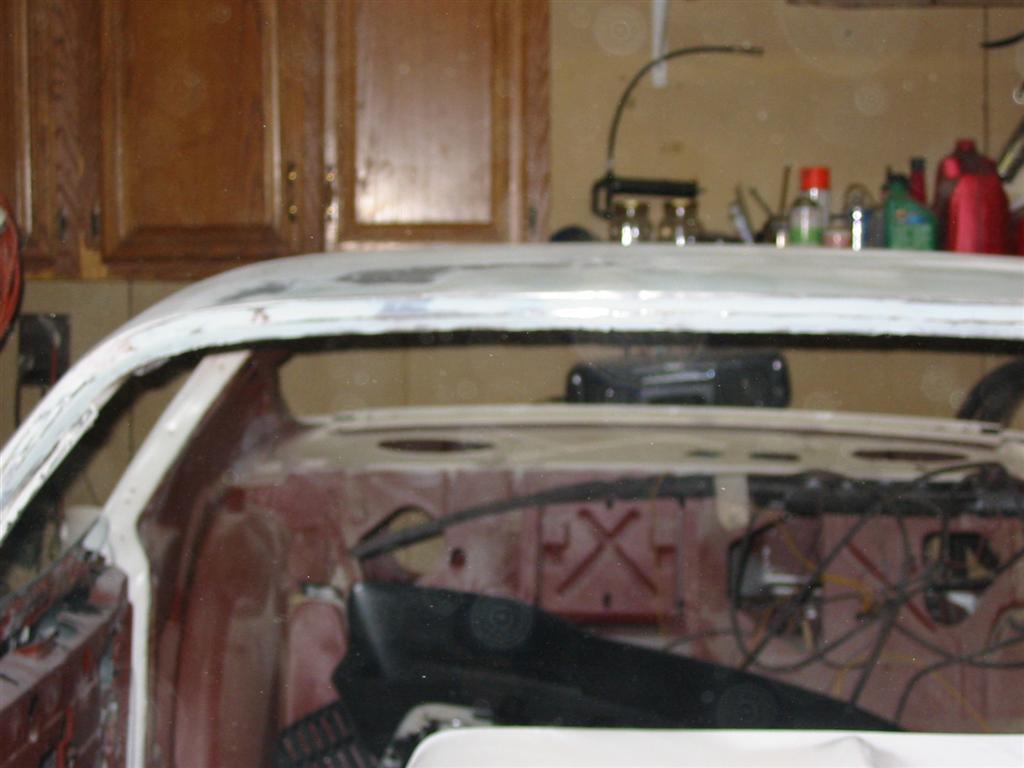
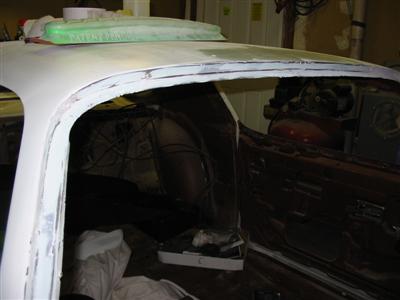
| Here is the windshield channel and front roof after filler work
with a coat of epoxy primer. |

|
|
|
|
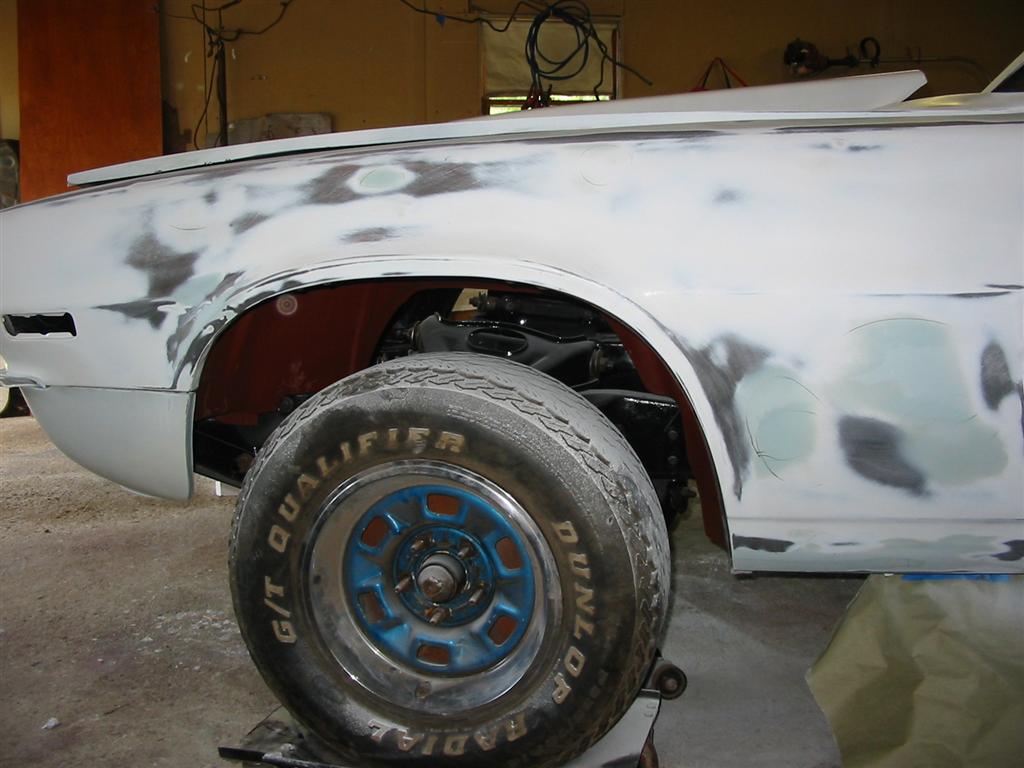
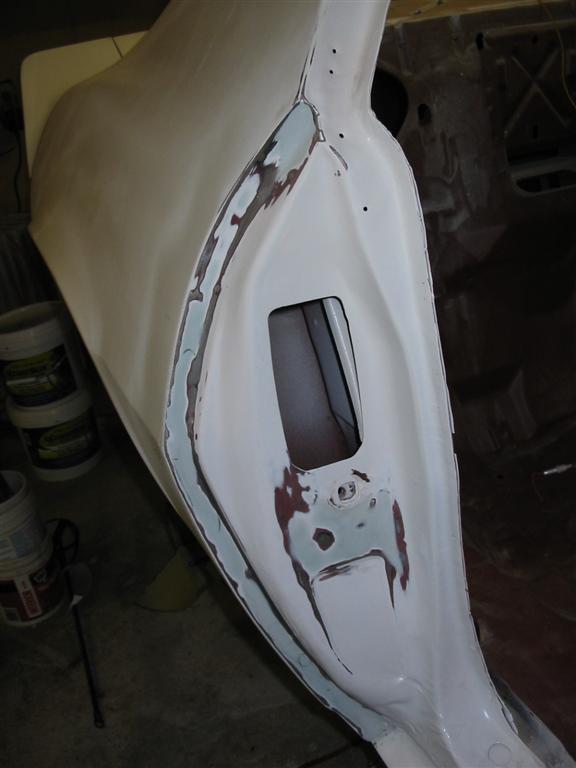
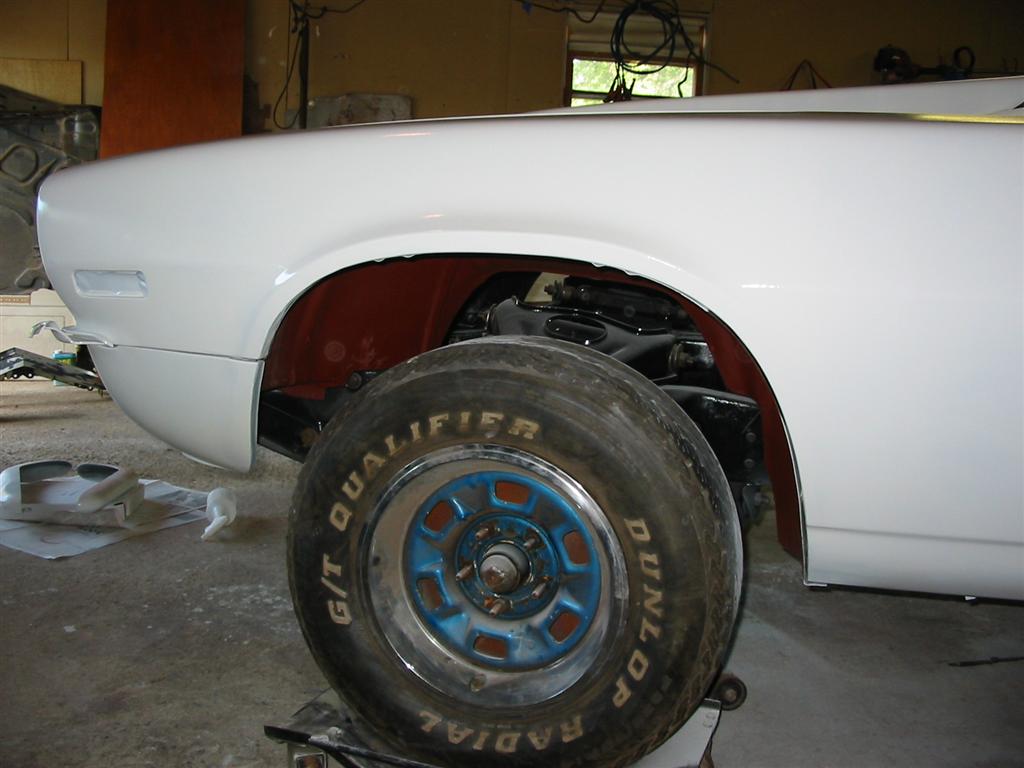
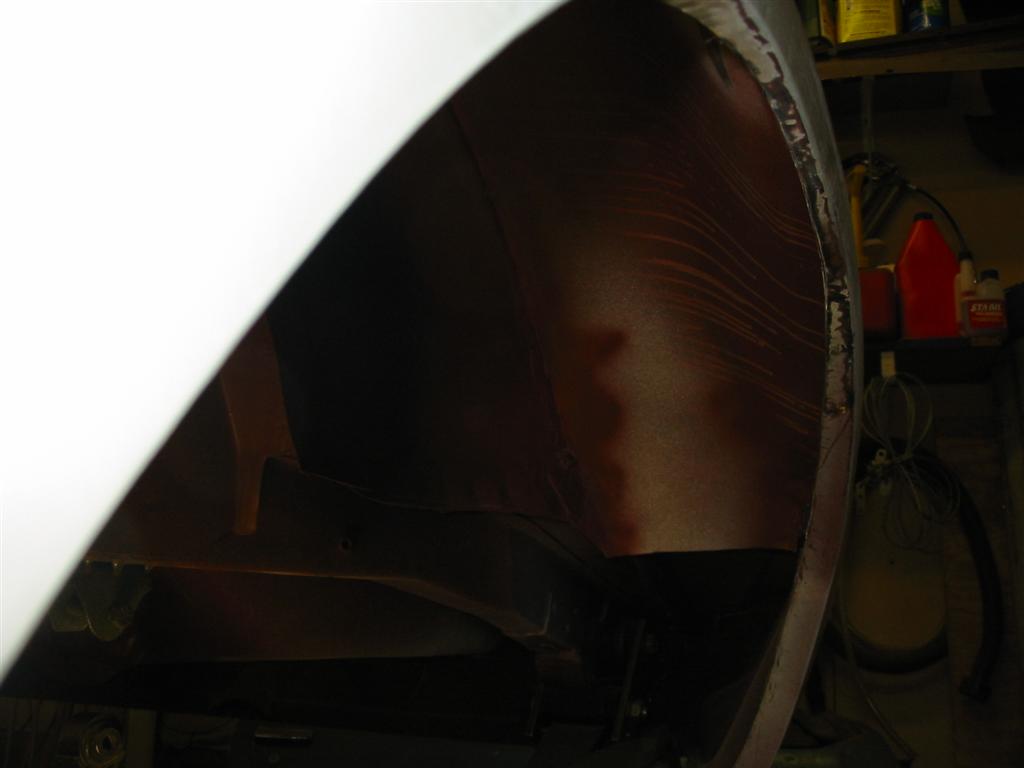
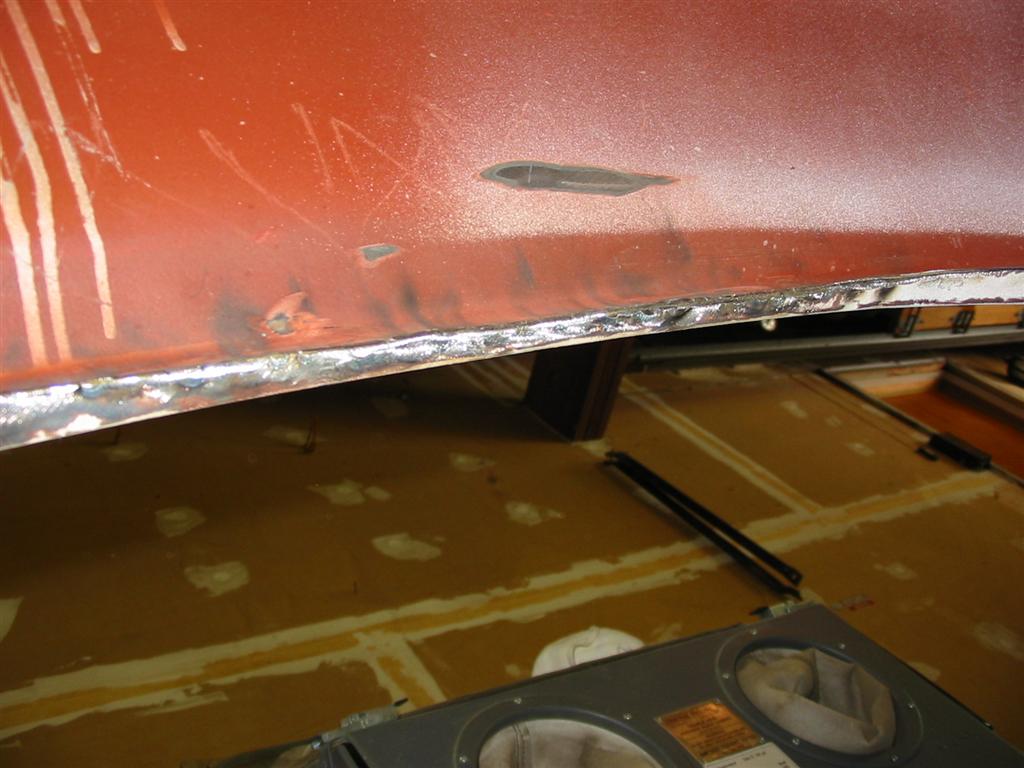
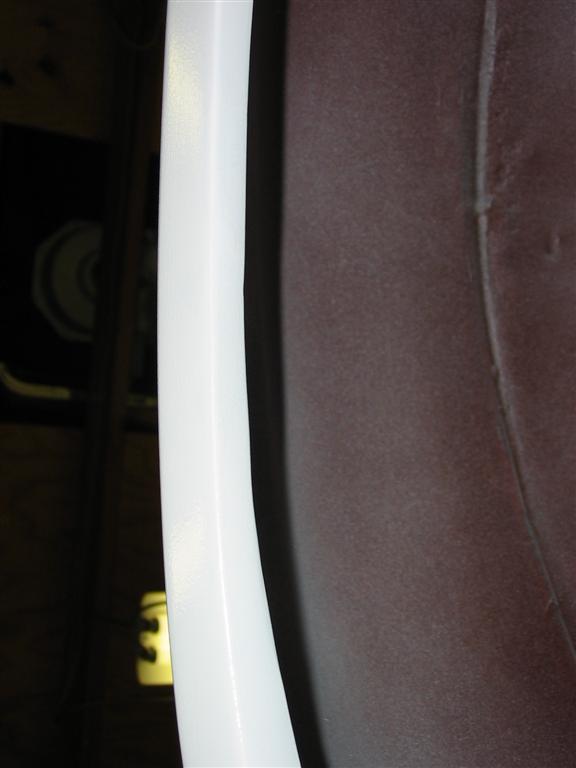
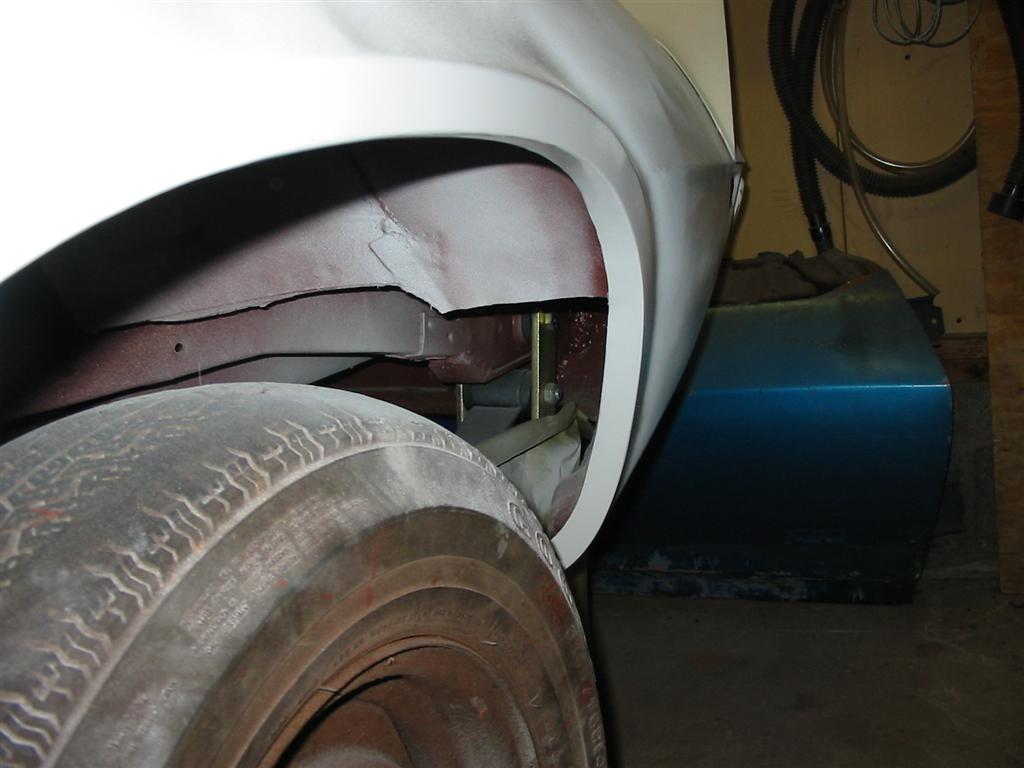
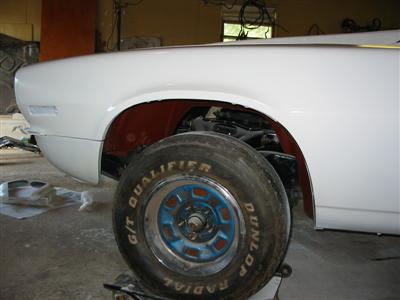
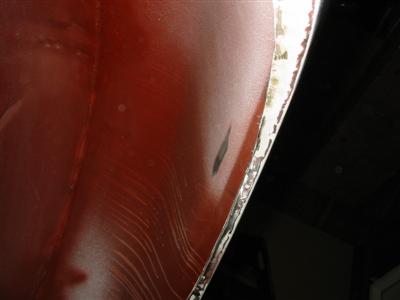
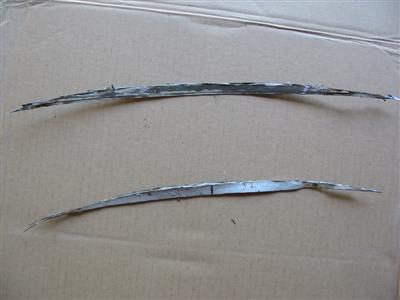
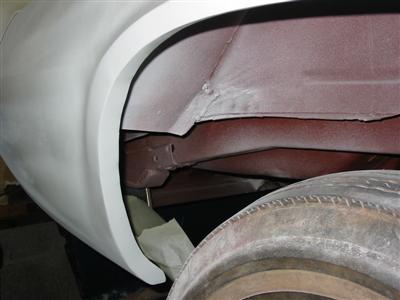
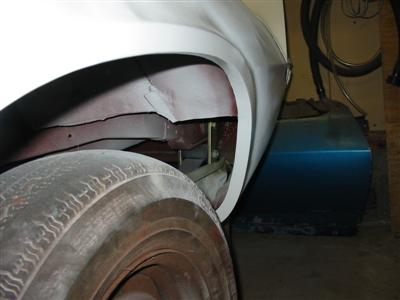
| The following photos detail the process of trimming the rear quarter panel
lip for additional clearance. The first step was to remove a half inch of the center upper lip. These pictures
are of the left quarter panel after trimming. |
|

|
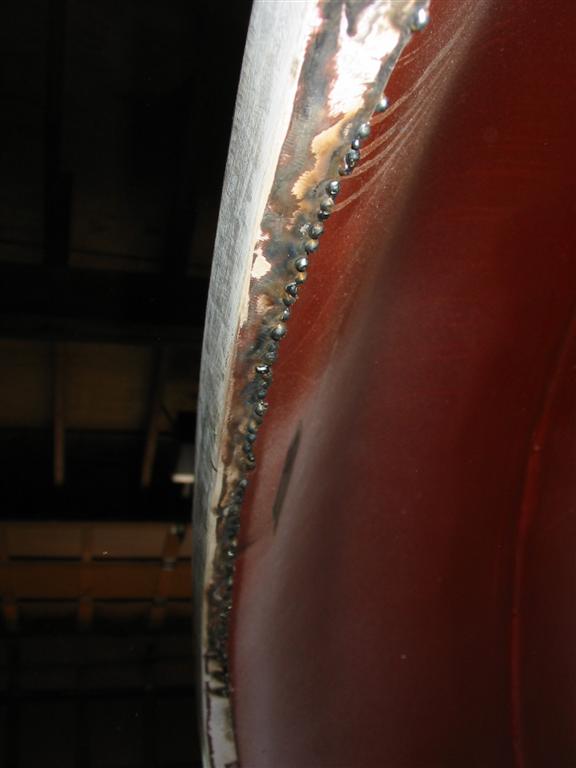
| The next step was to reweld the quarter panel to the inner fenderwell. These pictures
are of the left quarter panel after welding. |

|

|
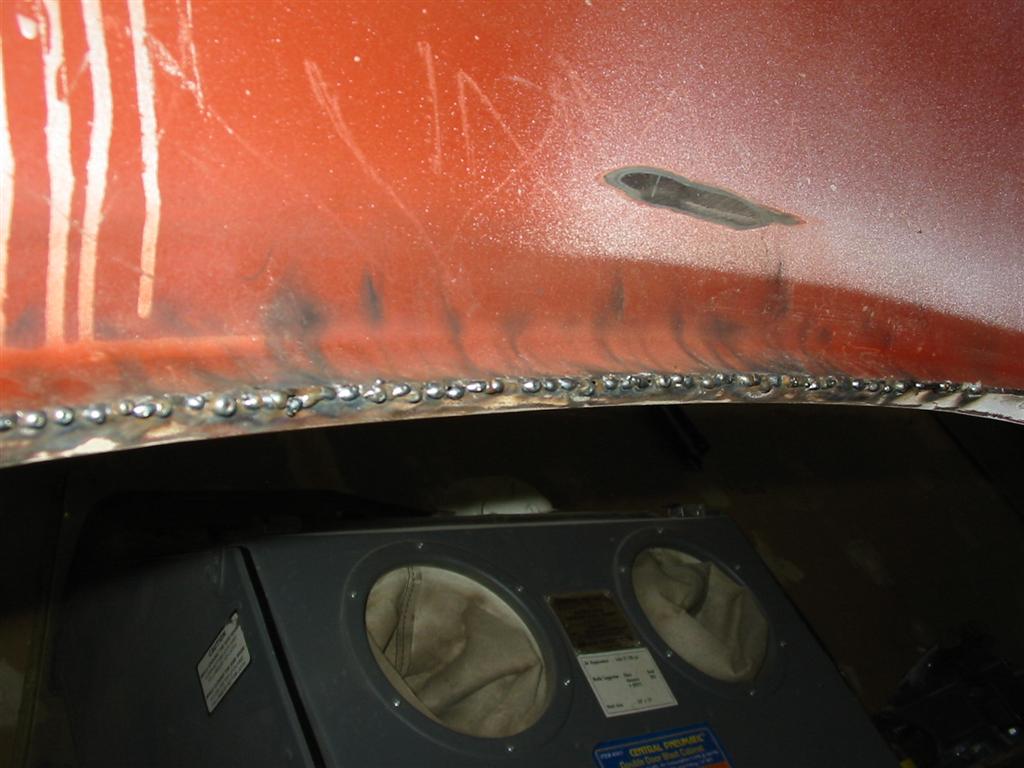
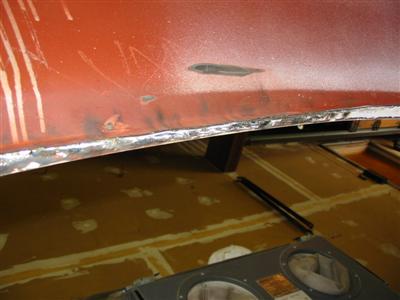
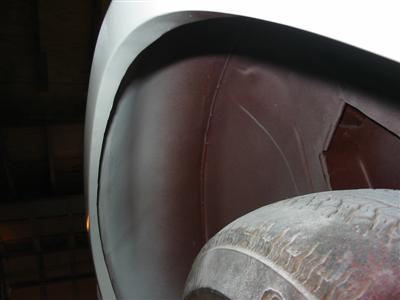
| The next step was to grind the welds down smooth. These pictures
are of the left quarter panel after grinding. |
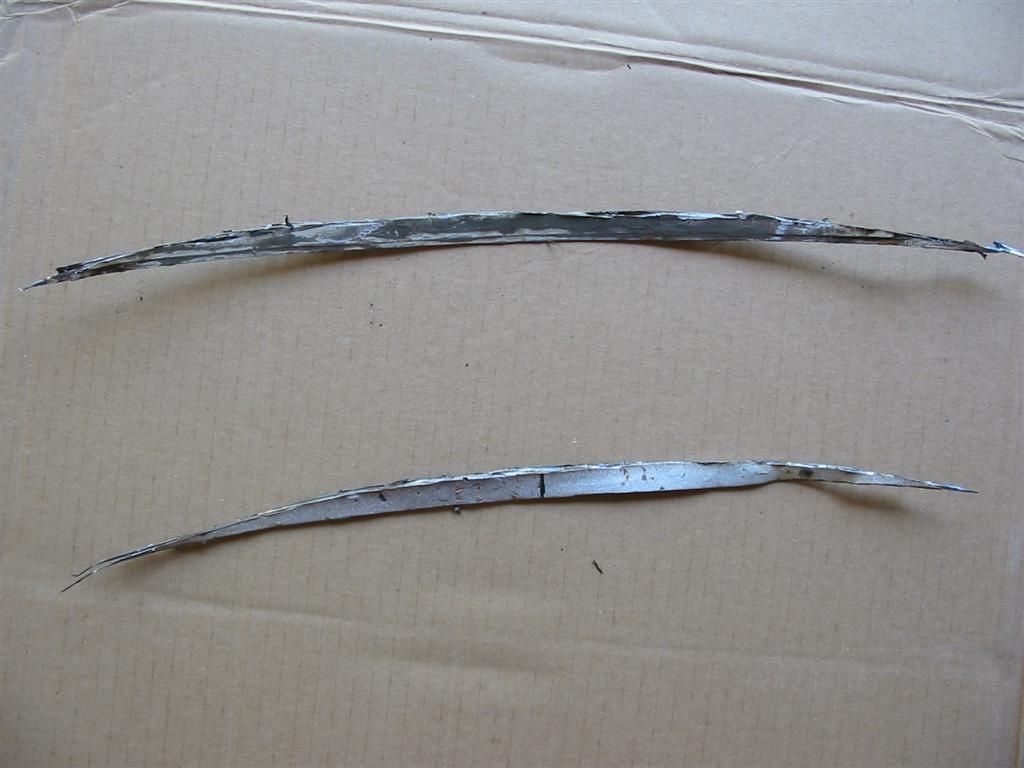
Here is a picture of the amount of material removed from each corner. |
|
|
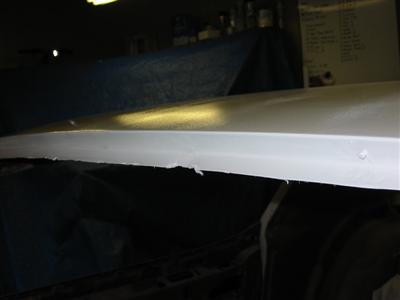
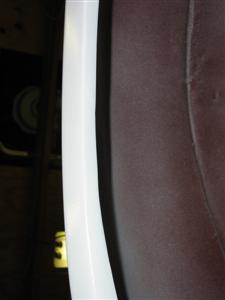
| The next step was to coat the area with epoxy primer before doing the fiberglass
filler followed by normal filler. These photos show the primed right lip. |
|
|
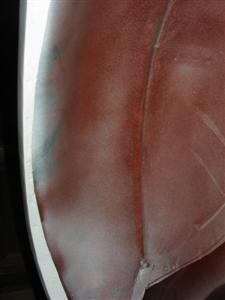
| The next step was to coat the filler work with epoxy primer. Unfortunately, I
do not have photos of the filler work. These photos are of the right quarter panel. Eventually,
I will coat the upper edge with ZeroRust followed by seam sealer to keep water out of the
seam. |
|
|
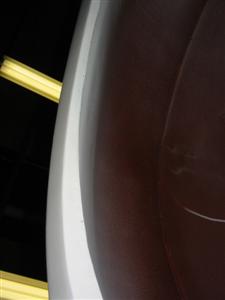
| These photos are of the right quarter panel. |
|
|