|

Door Panels and Interior Part 3 (November 21, 2010)
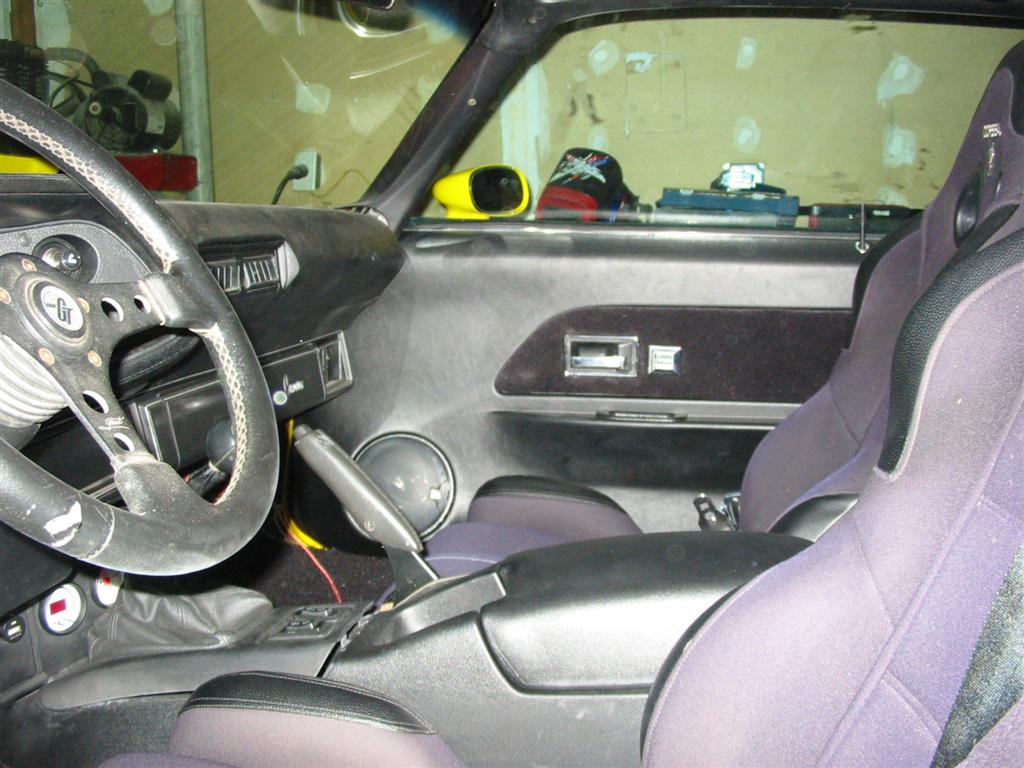
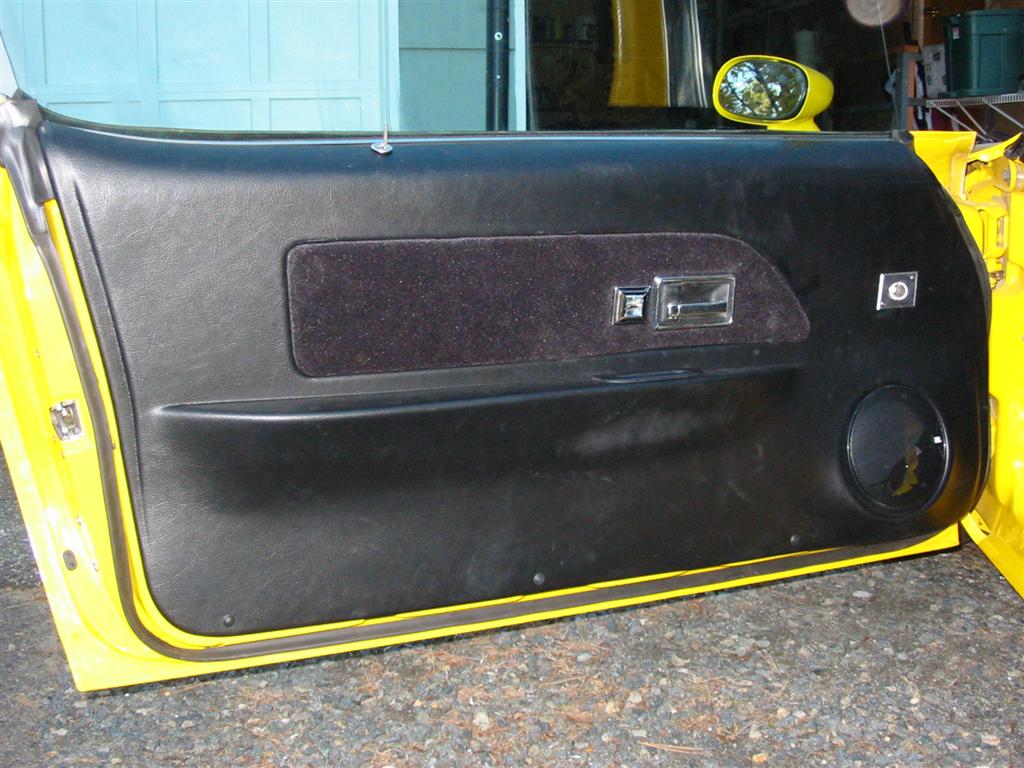
This page documents the installation of the 93 Camaro center console and the Year One Custom 1-Piece Door panels. I went with the 93 Camaro center console because I wanted something a little more modern and I wanted to install a hand brake. I modified the console to house the power window switches and a clock.I went with Year One Custom 1-Piece Door panels because I liked the modern look of these panels. Also, the original 73 door panels are not available reproduction and either were the 74 Type LT panels that were in my car. Not only that, but the 74 panels that I had were in terrible shape. Lastly, when I priced out complete reproduction door panels, all the components would have cost more than the Year One Custom 1-Piece Door panels. The Year One panels do not bolt in right out of the box. They come without any holes cut in them to allow the installer to customize them to their liking. Overall, I really like the look of them installed.
Status photos as of 11/21/2010:
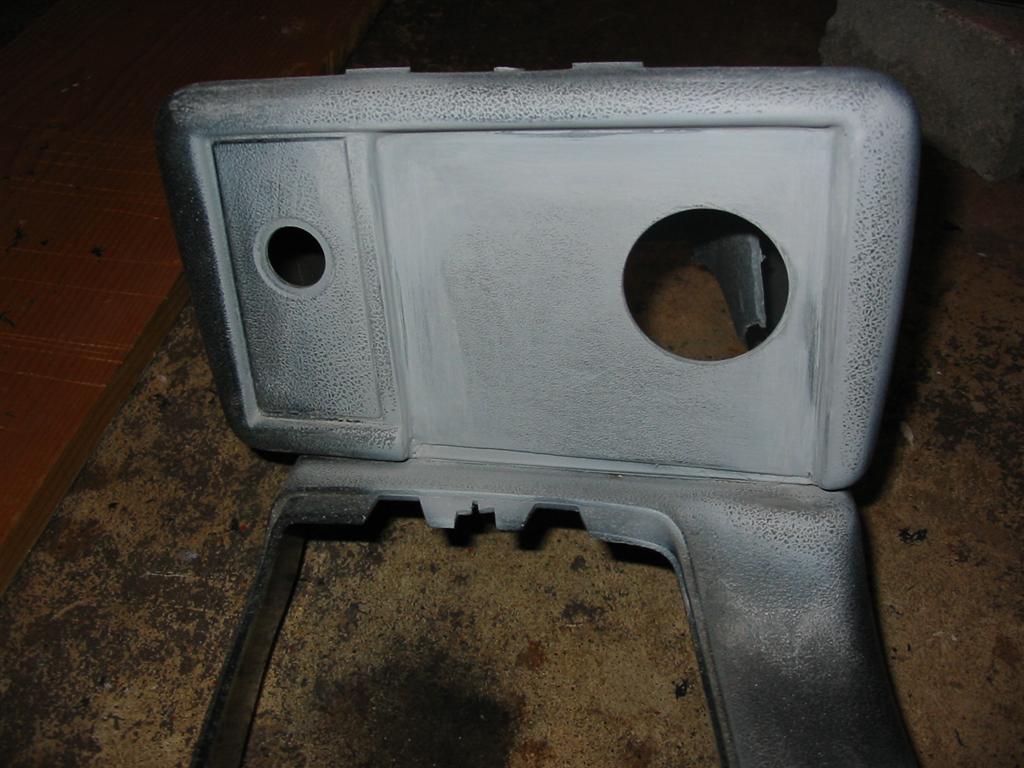
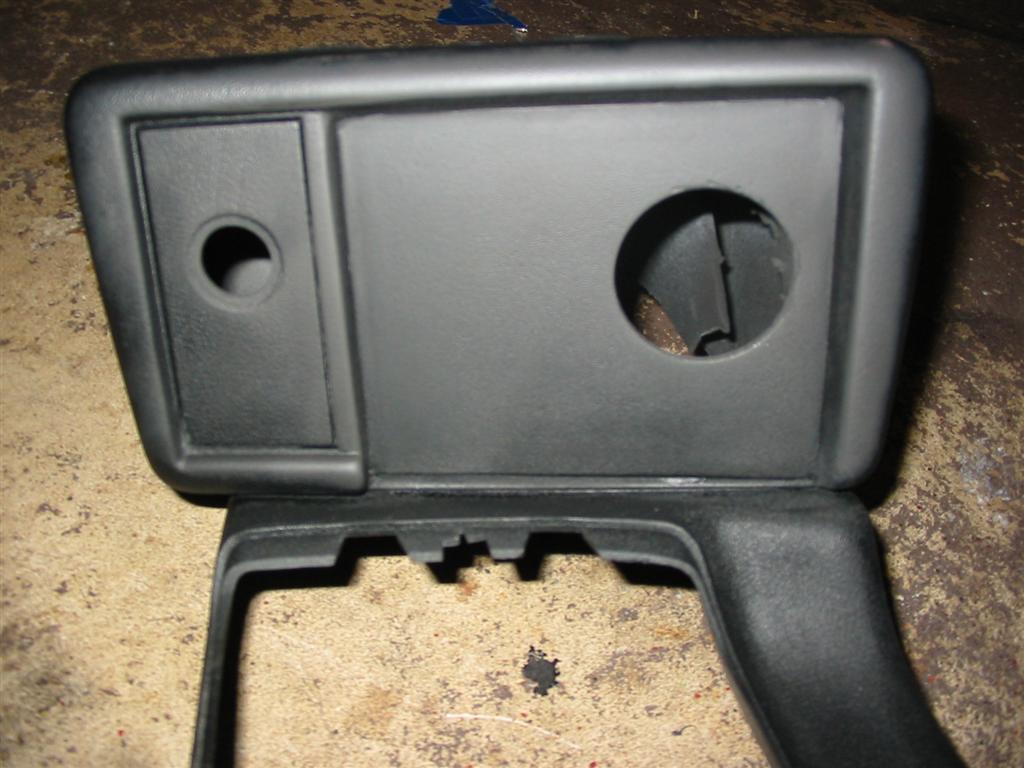
| Here is the Front of the console. I used epoxy to glue this plastic plate to cover the open area originally used to store cassette tapes. Once the epoxy was dry, I drilled a hole for the clock and I sanded it smooth and primed everything with sandable primer. | |

|
|
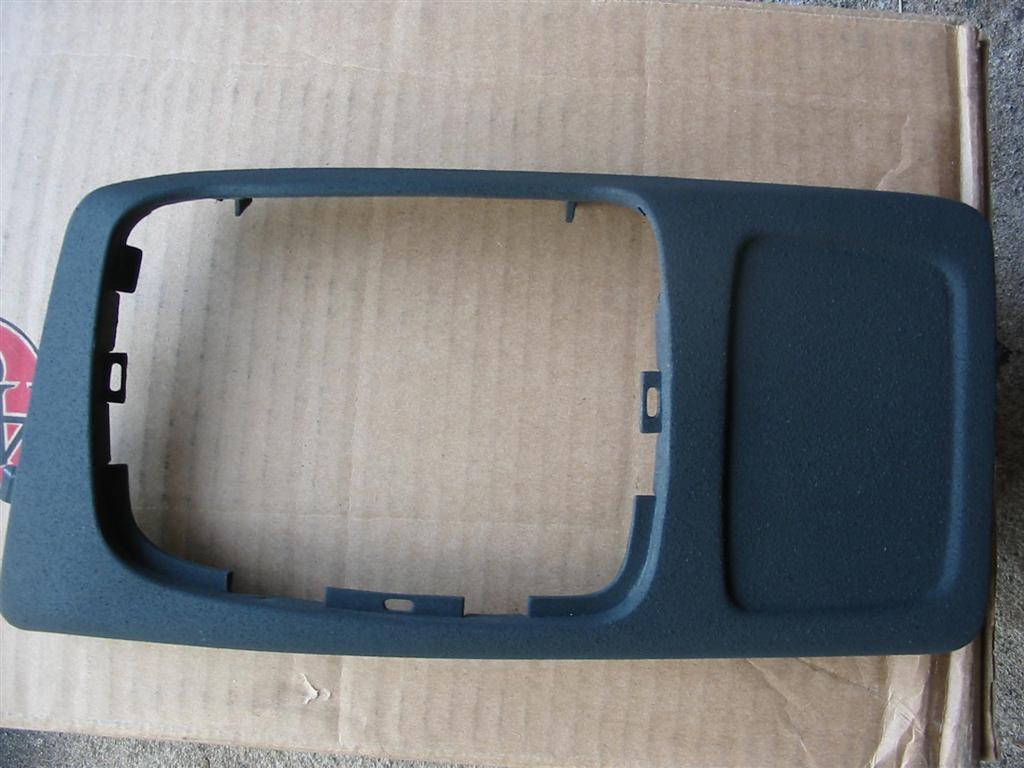
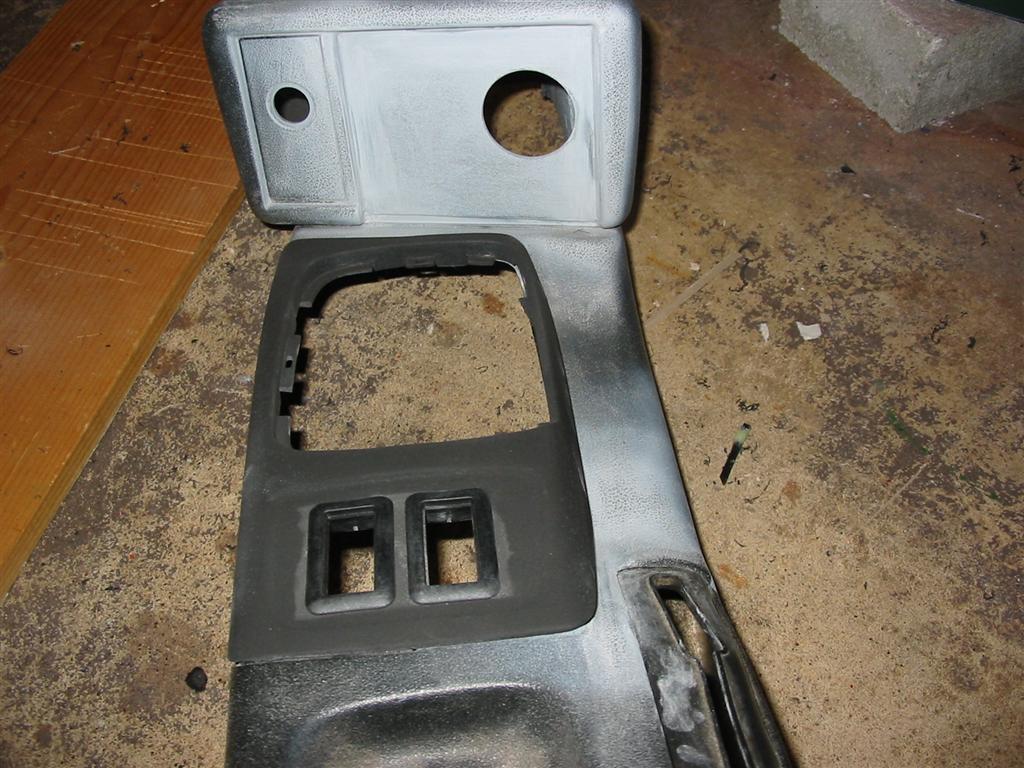
| Here is shifter surround with a plastic plate epoxied in where the ashtray used to be. This is where the power window switches are going to be installed. Once the epoxy was sanded and the panel was primed, I used the SEM texture paint to give the panel a factory like texture. | |
|
|
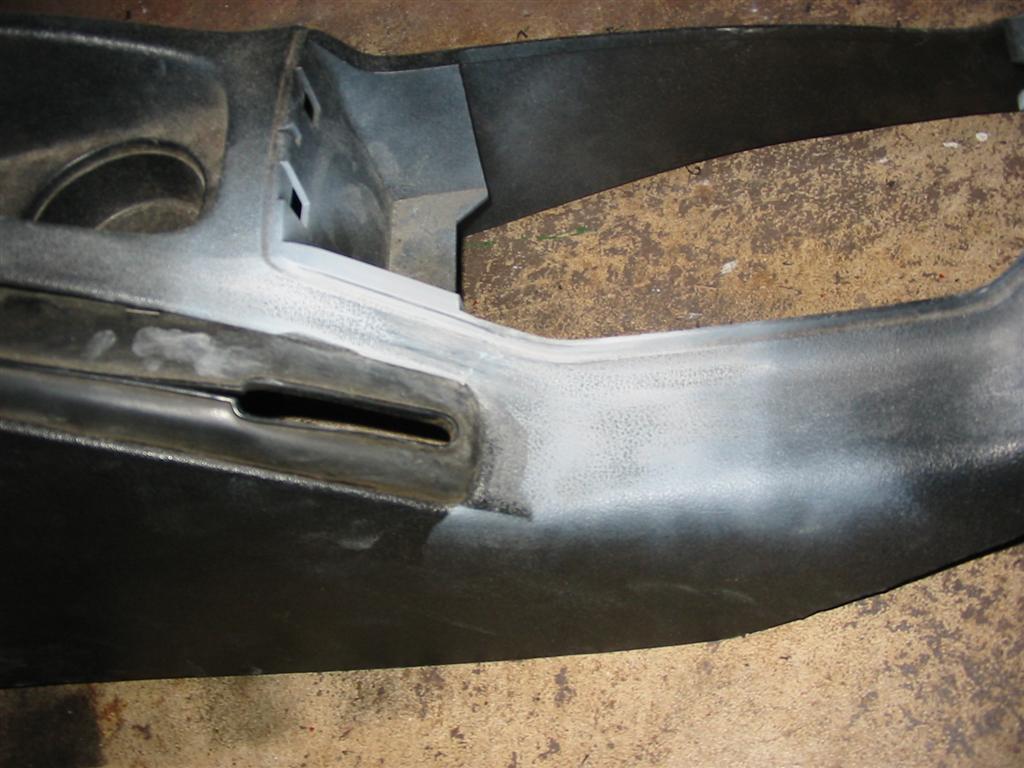
| Here the console primed and sanded. I also used epoxy to repair a break in the console near the parking brake handle. | |
|
|
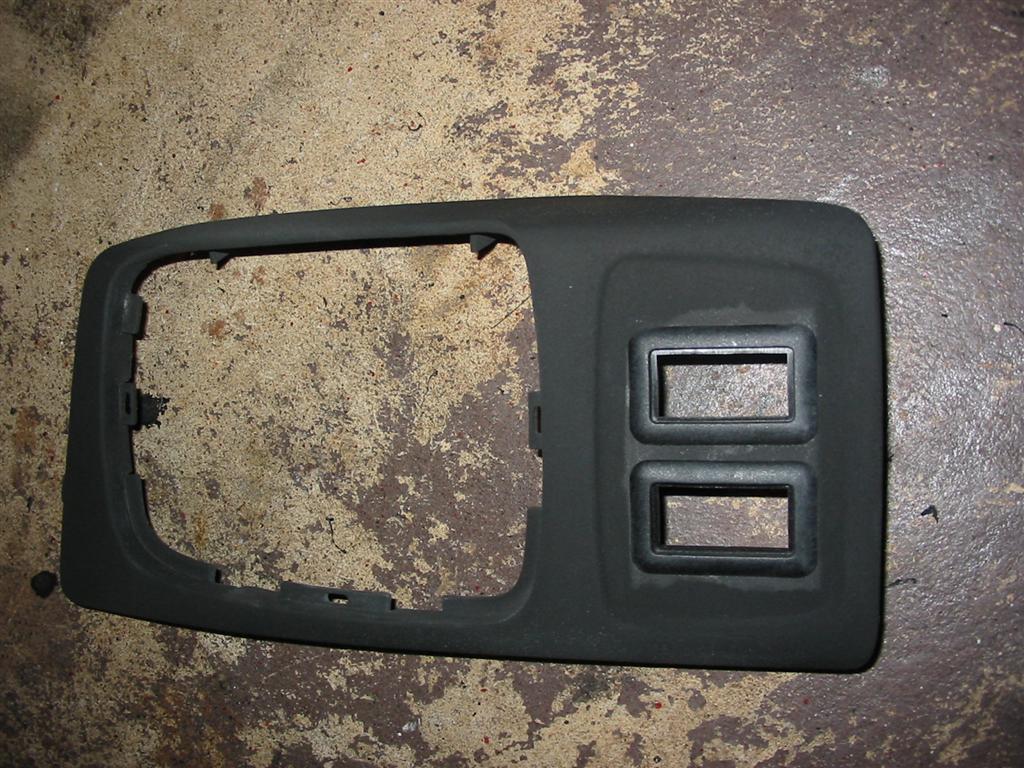
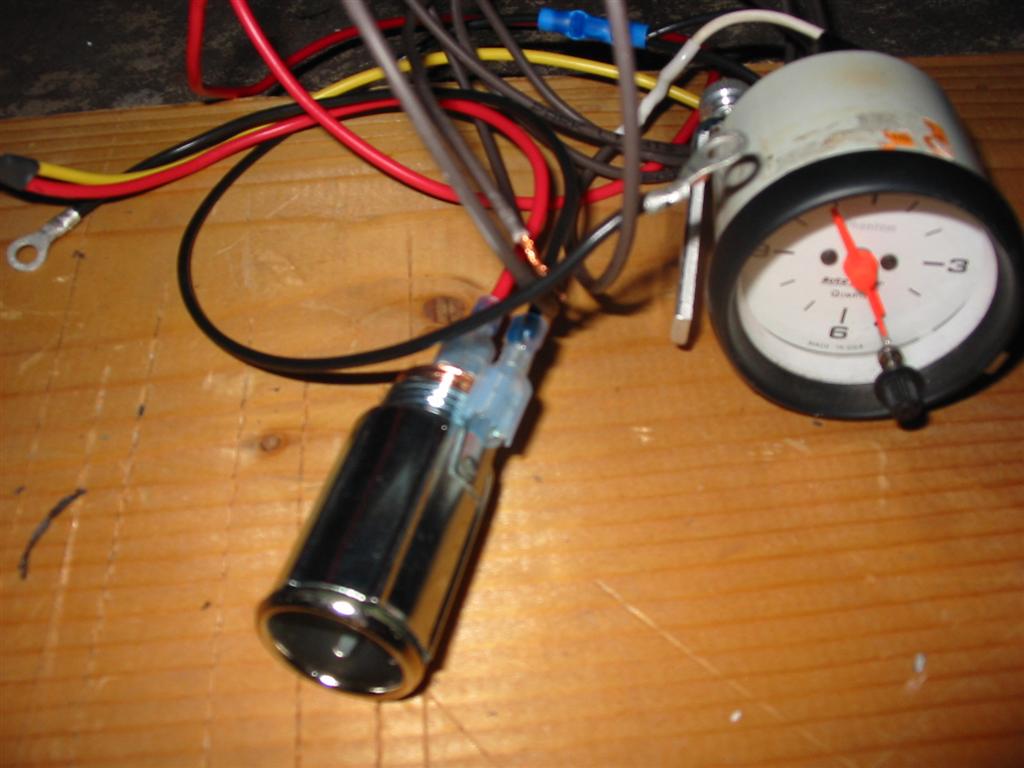
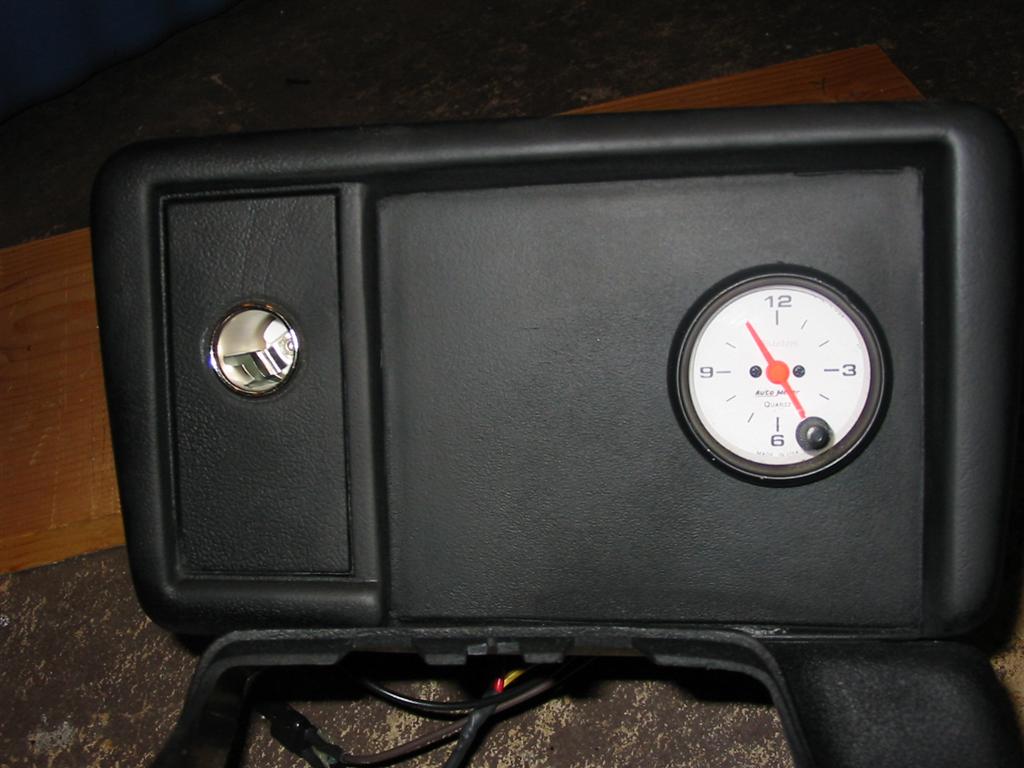
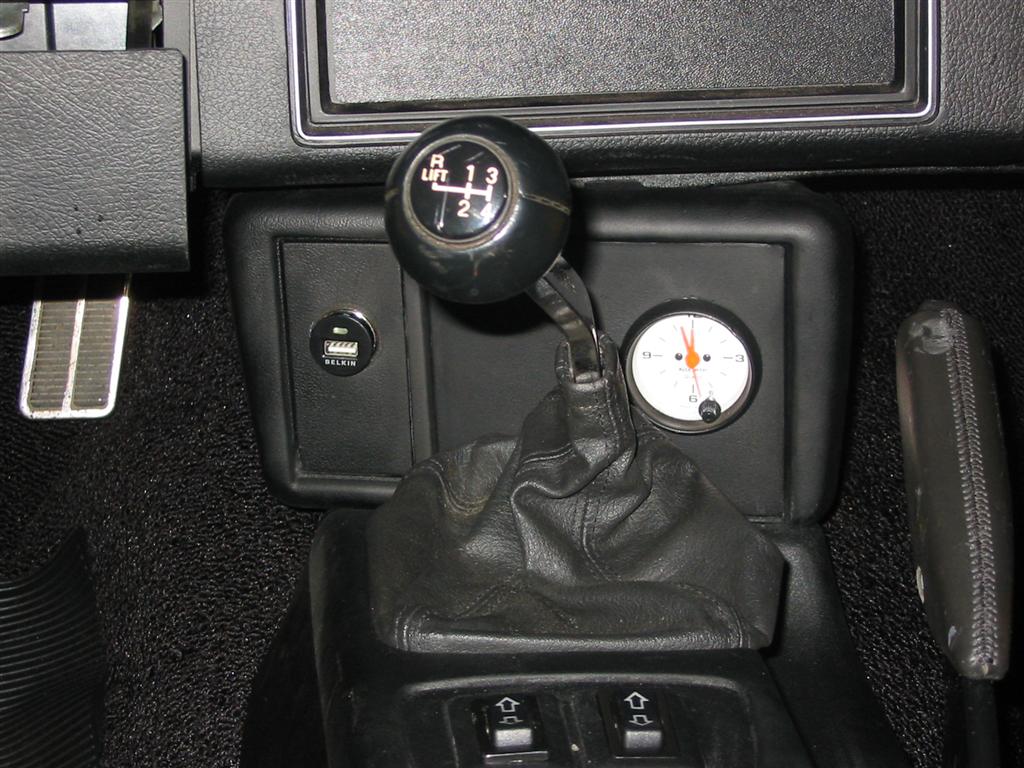
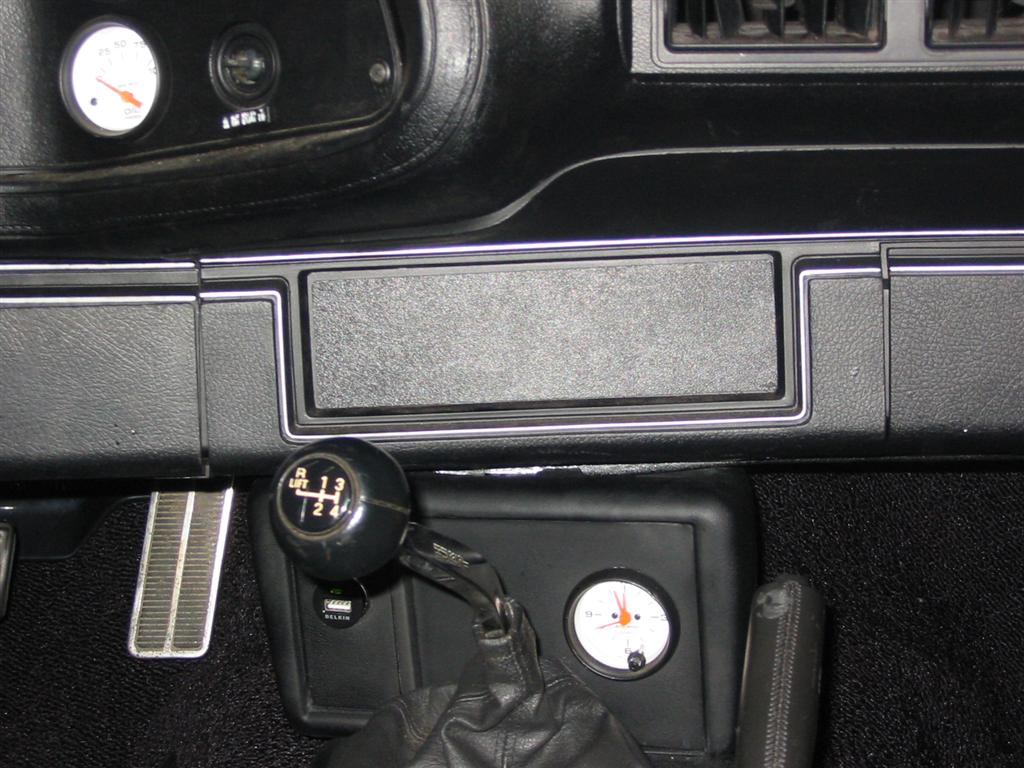
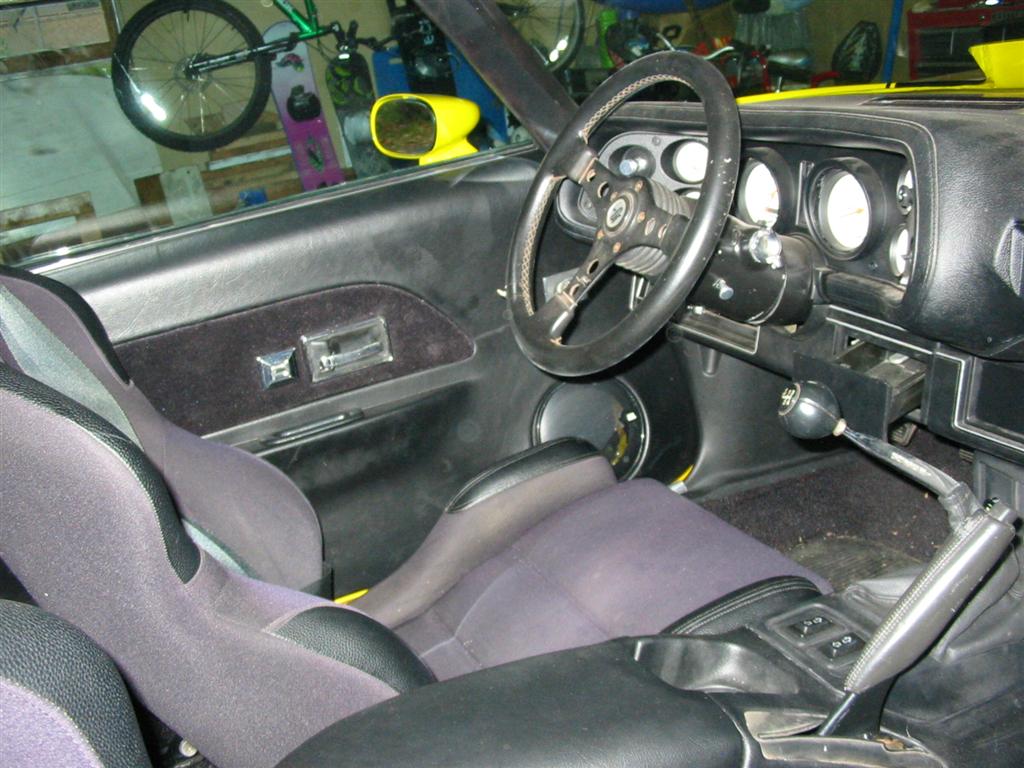
| Here is the front of the console completed, painted and the installation of the Autometer Phantom clock and cigarette lighter. The clock matches the gauges that I have in the dash. | |
|
|

|
|
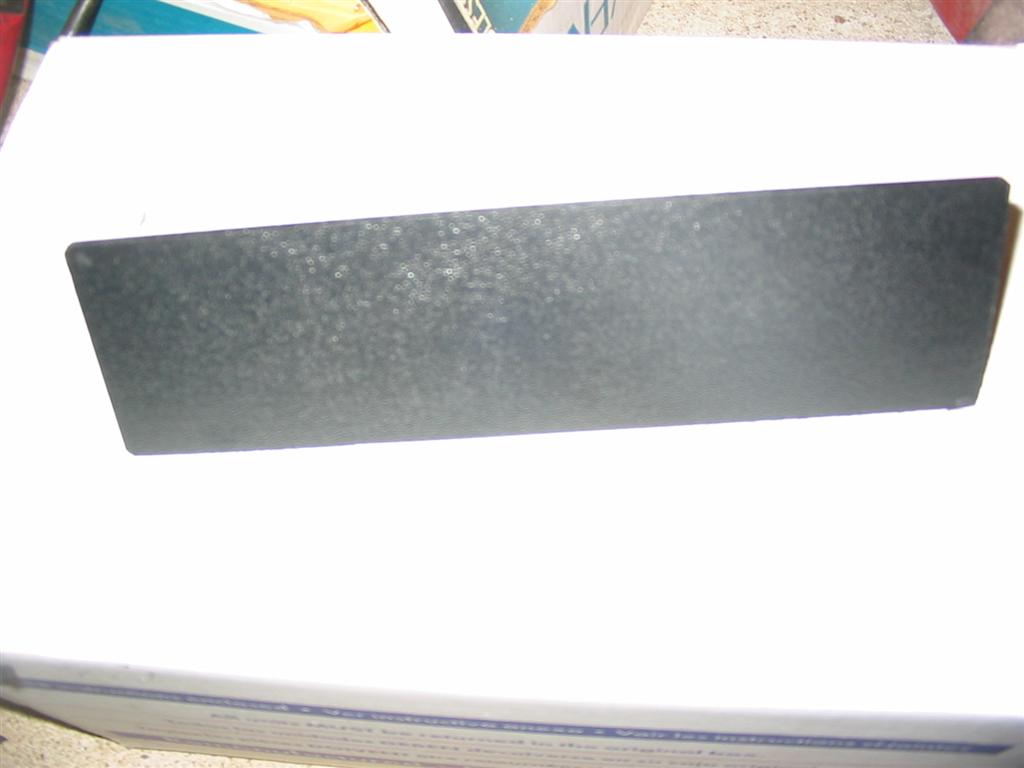
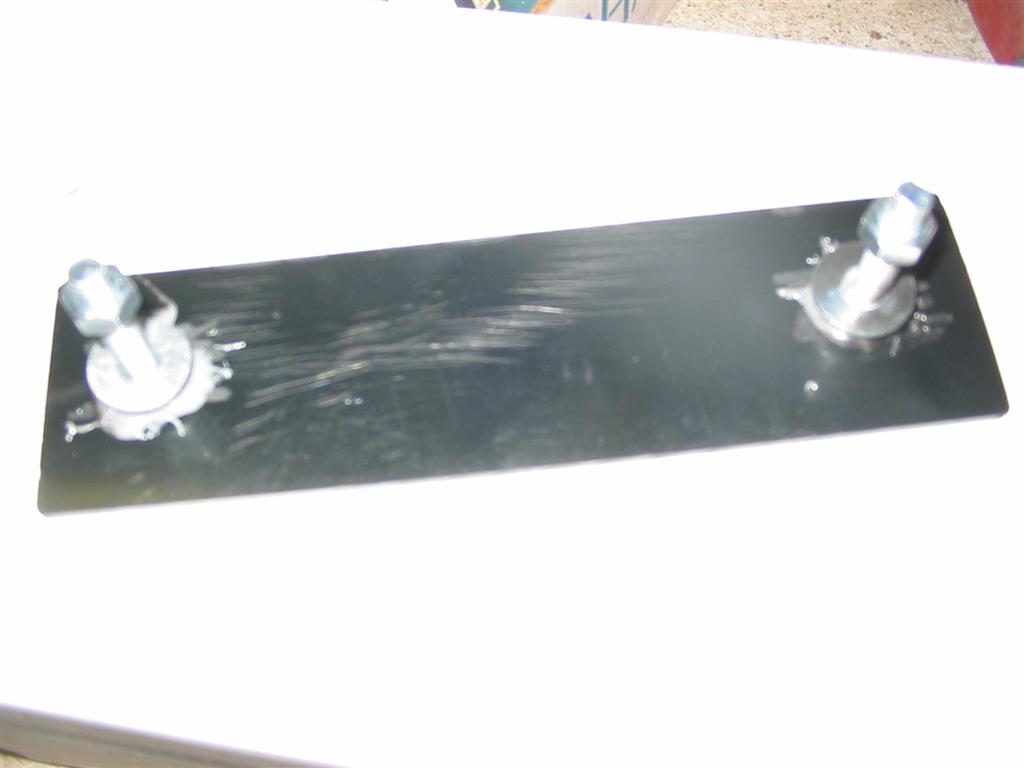
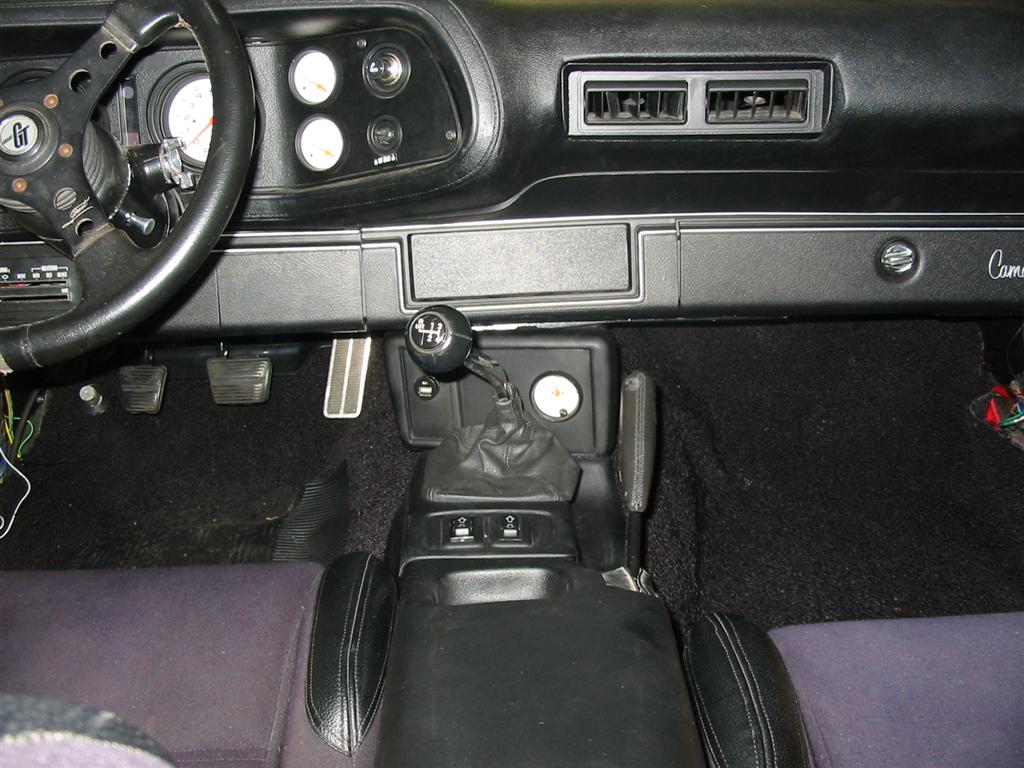
| Currently, I do not have the funds for a radio to install into the dash so I made a radio delete plate out of a piece of plastic, a couple of nuts and bolts and JB Weld. | |
|
|
|
|
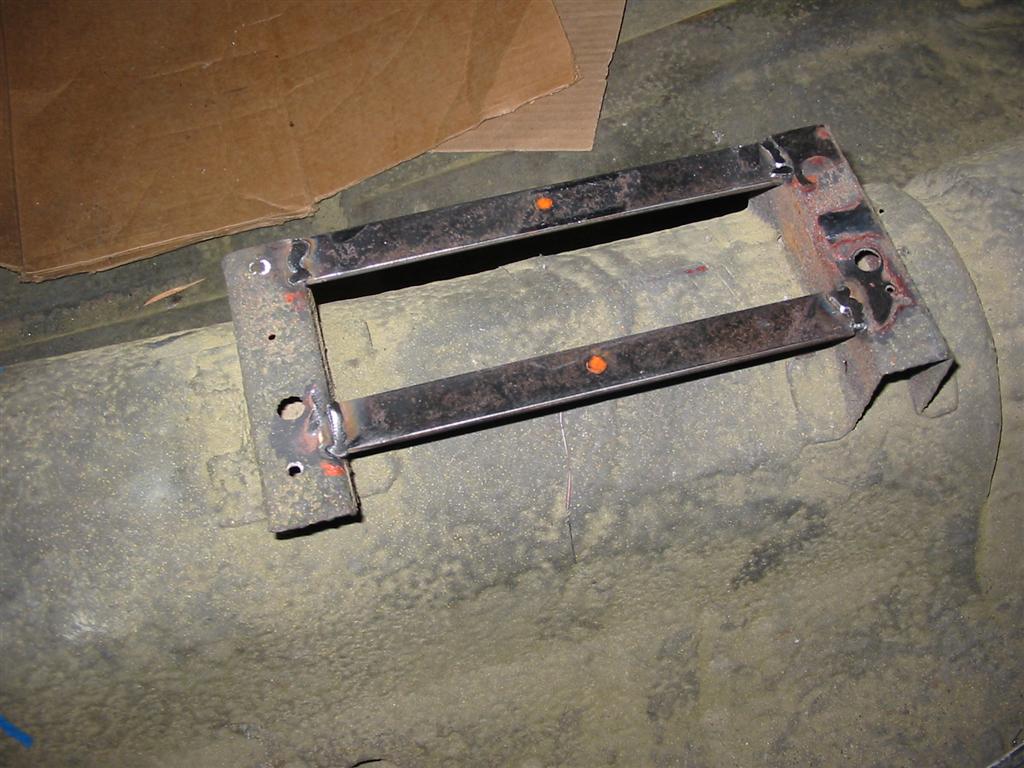
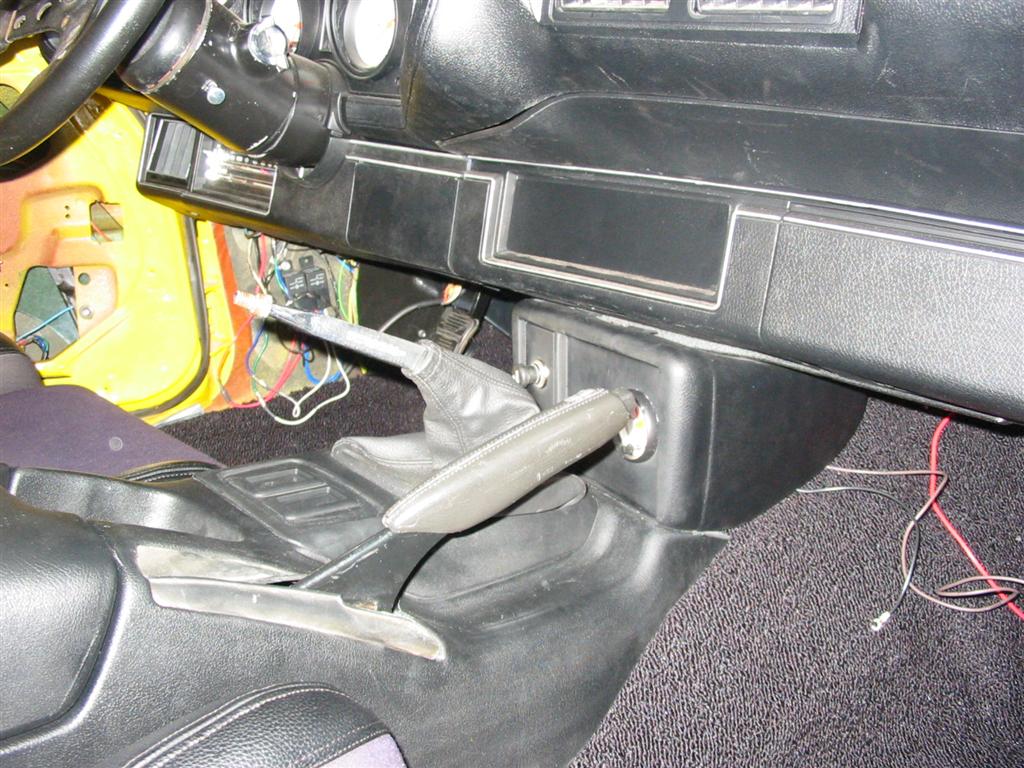
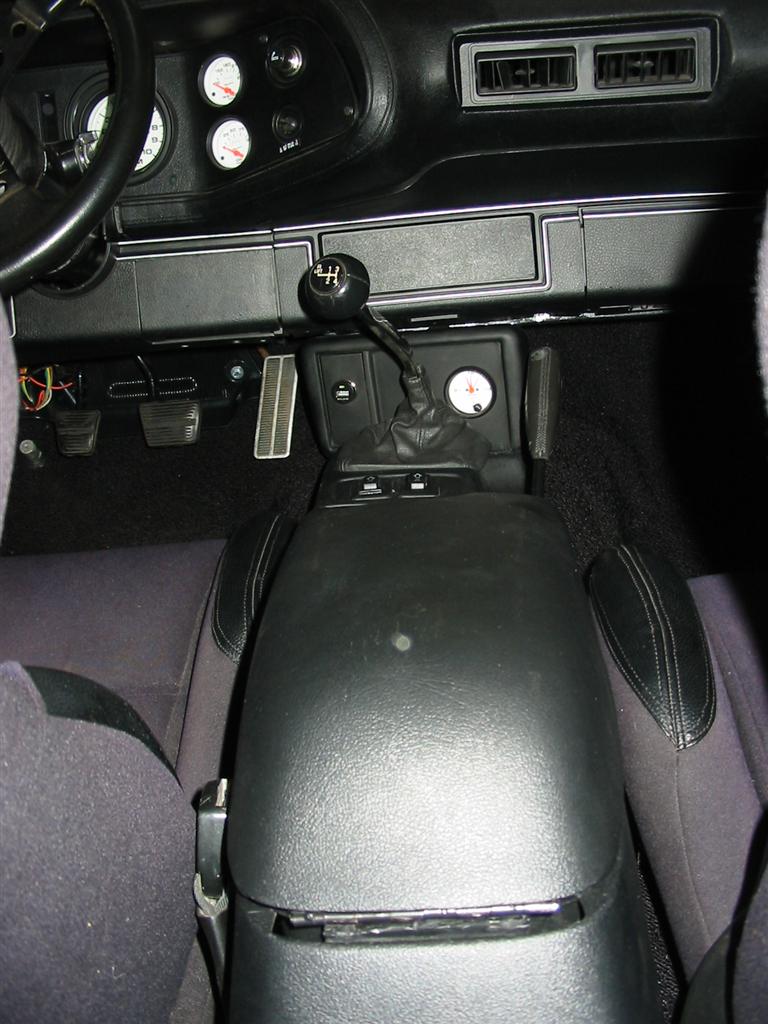
| I welded some steel to the factory brackets to give the console something to screw into utilizing the factory console mounting holes. I then mounted the console into the car. It is a real tight fit under the dash. | |
|
|
|
|
|
|
|
|
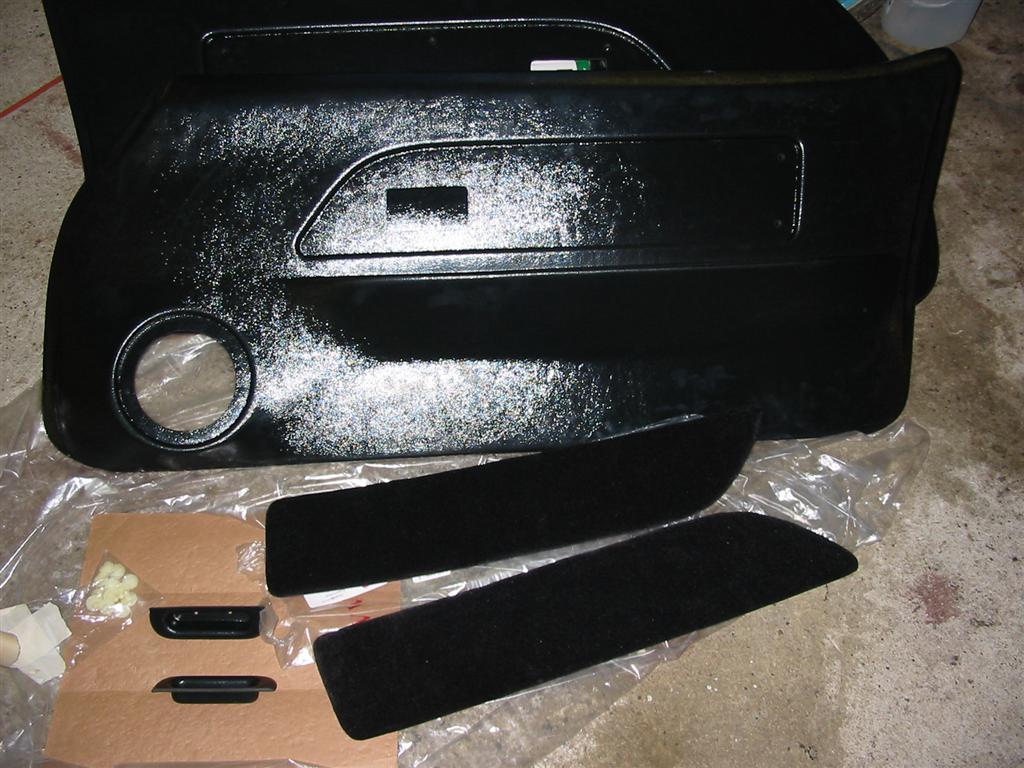
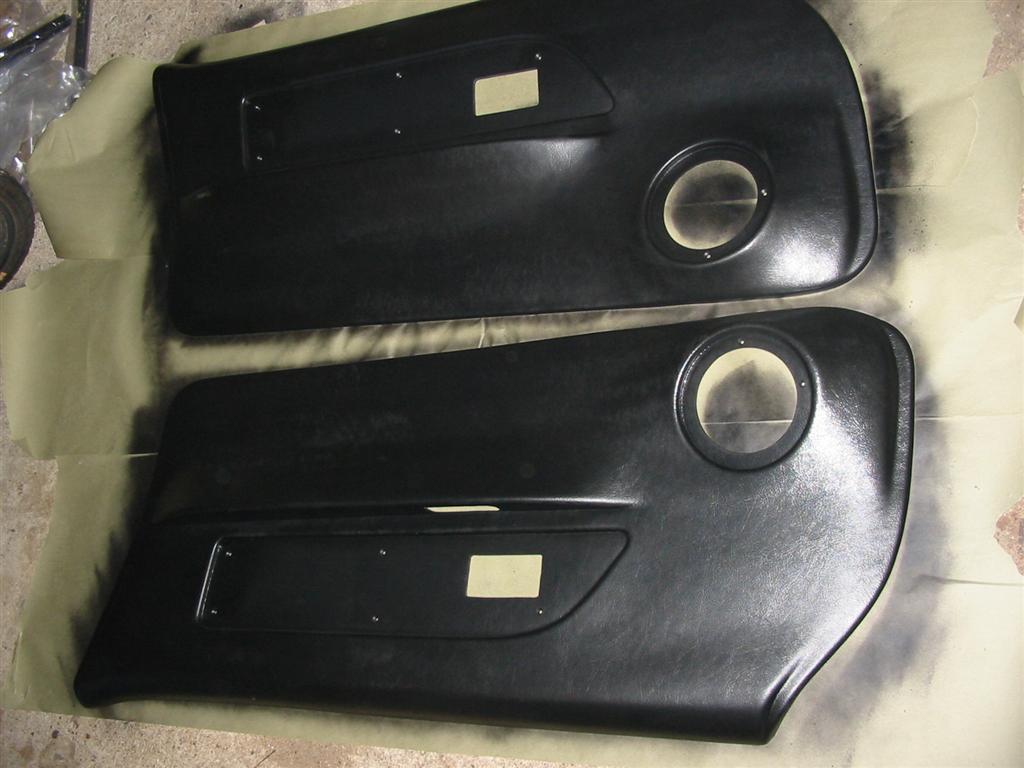
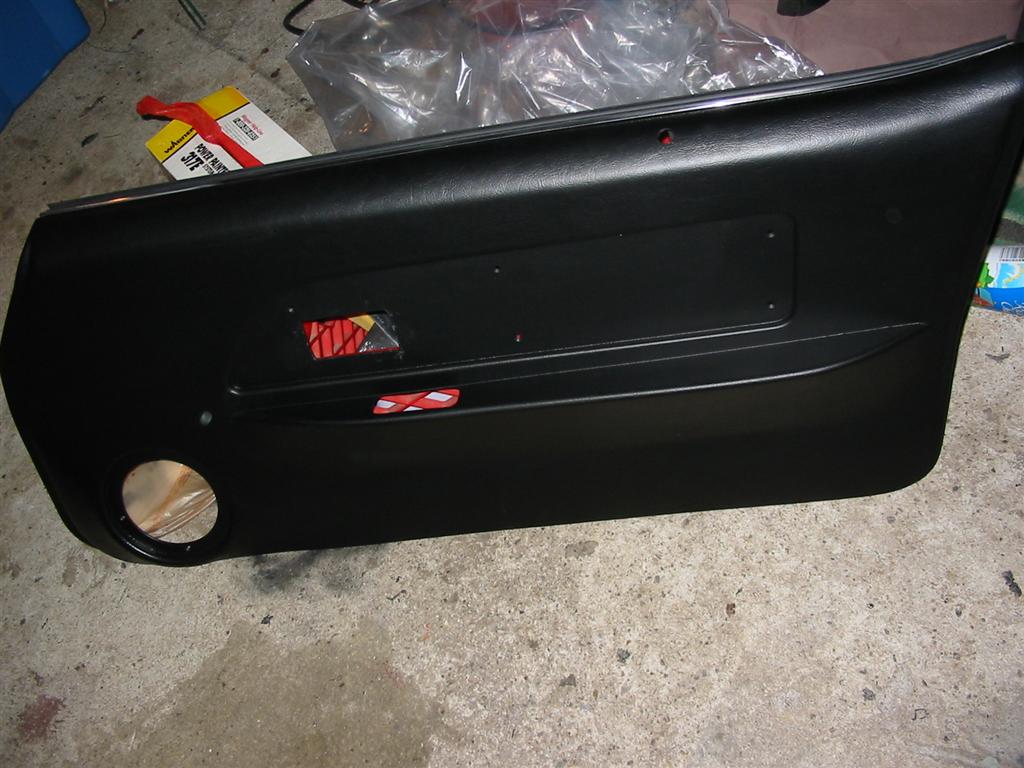
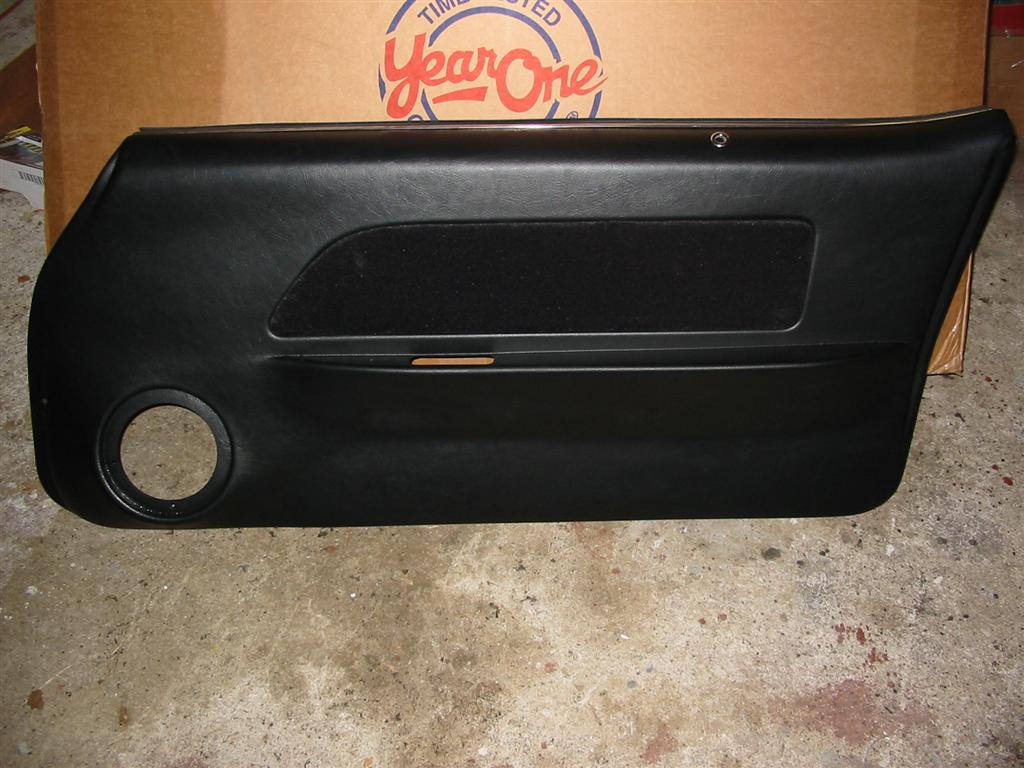
| Here is everything that comes in the box for the door panels. I went with the black cloth inserts. They are made of ABS plastic with a pattern that matches the other interior panels. They were too shiny out of the box to match my other panels that I dyed with Duplicolor flat black interior dye. So I also dyed the new door panels to match. | |
|
|
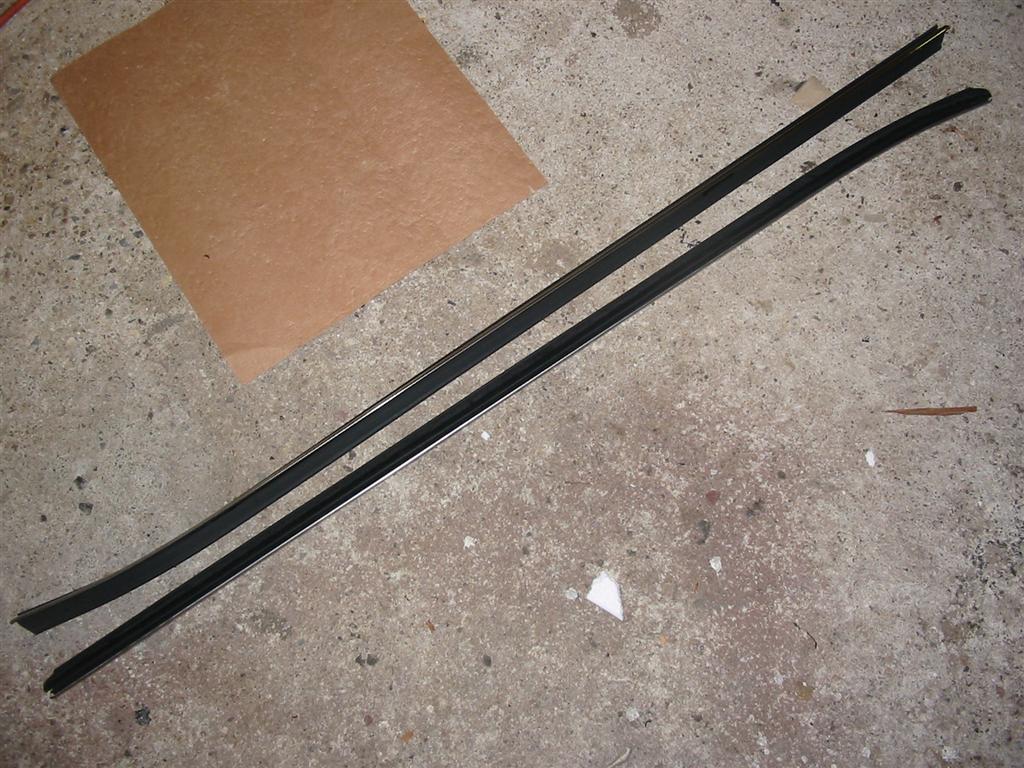
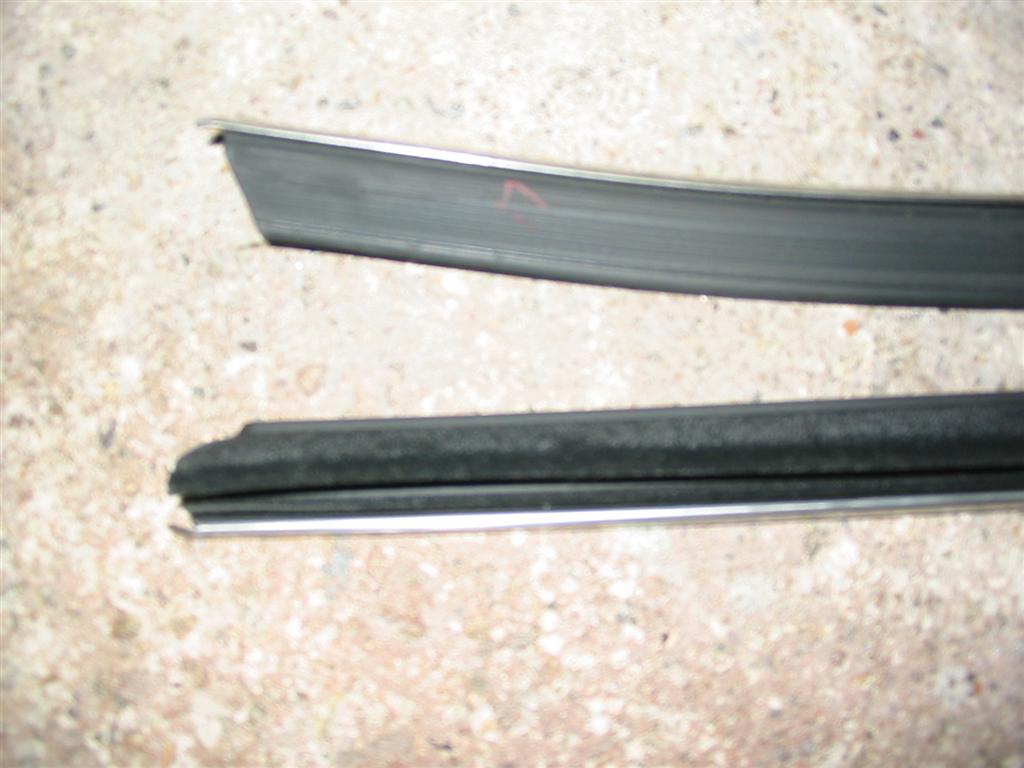
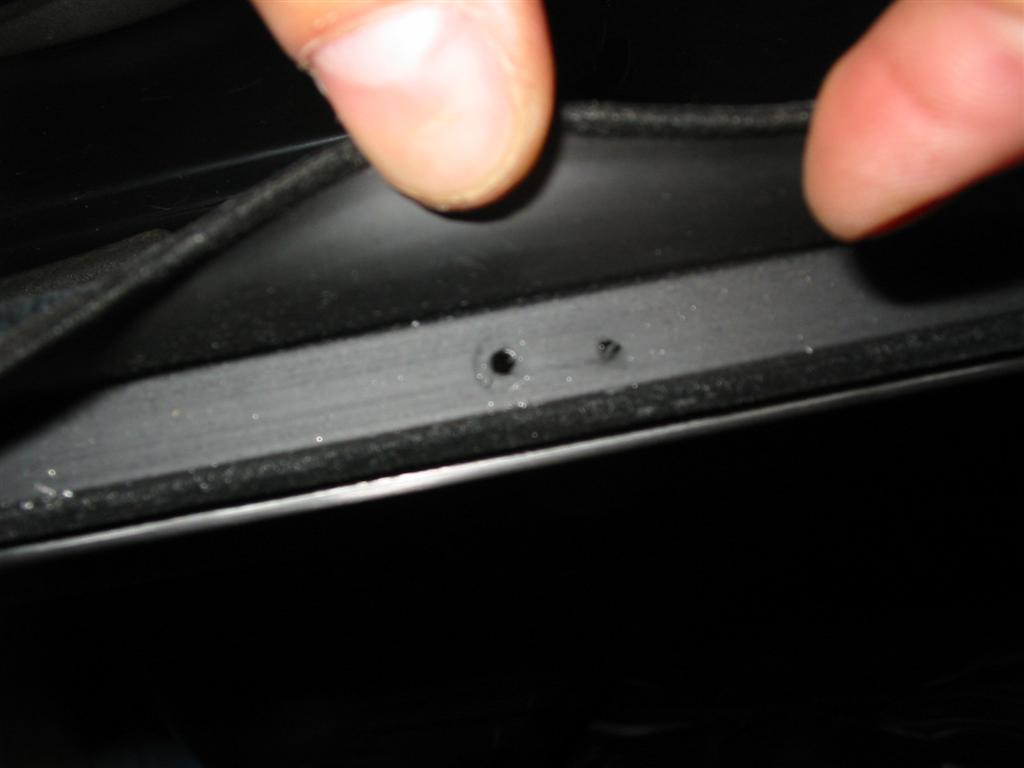
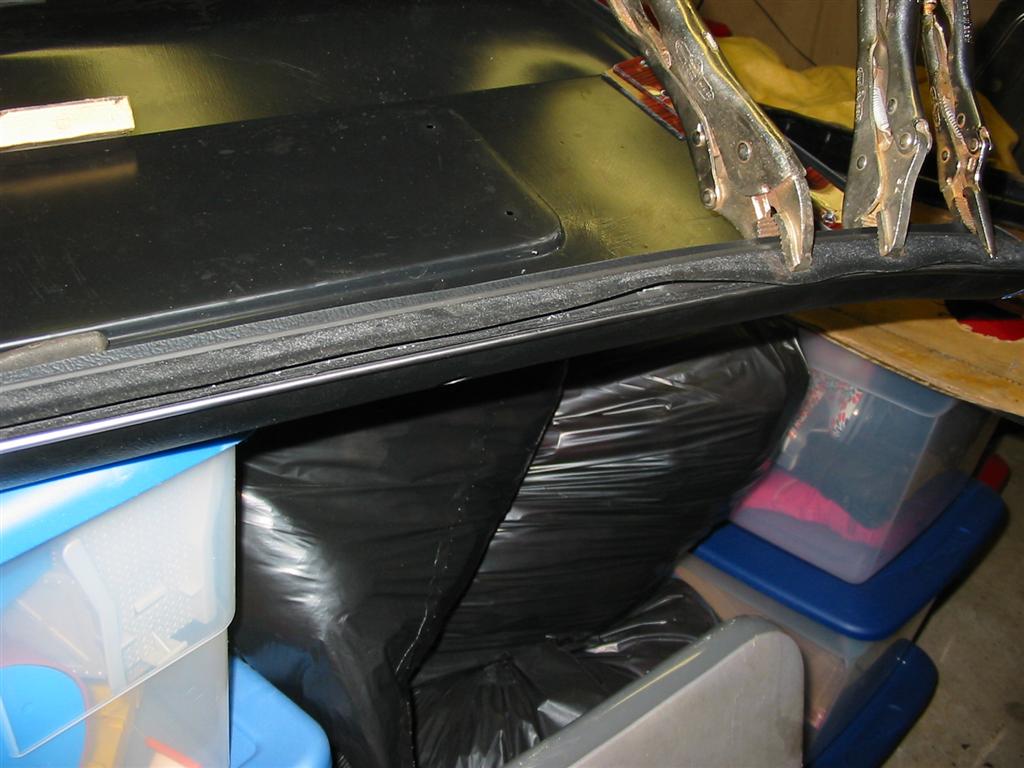
| The door panels do not come with the inner weather strip seals. I purchased these reproduction units from Rock Auto. To install them I had to drill small holes in the weatherstripping and the panel and manually installed staples to hold them in place. | |
|
|
|
|
|
|
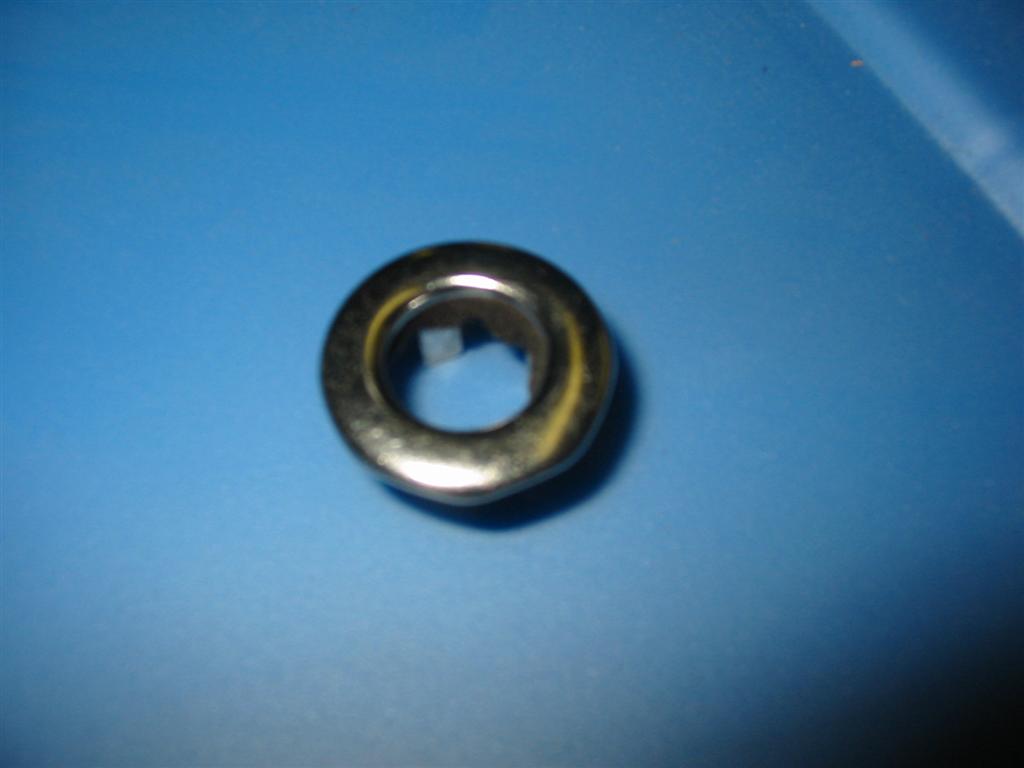
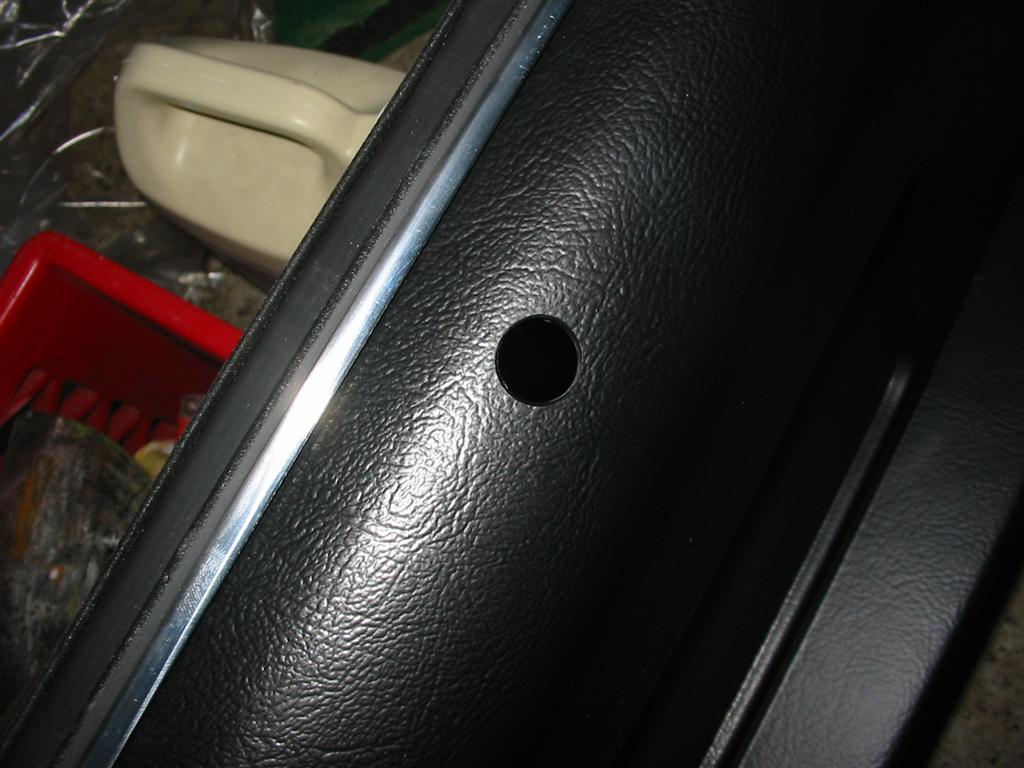
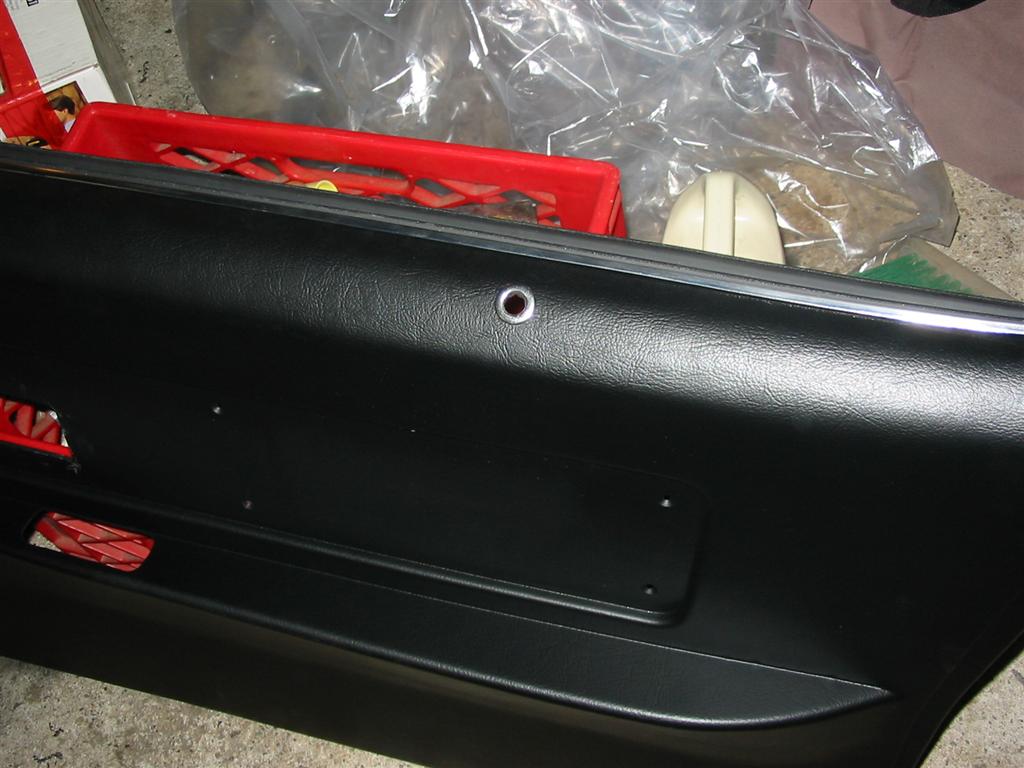
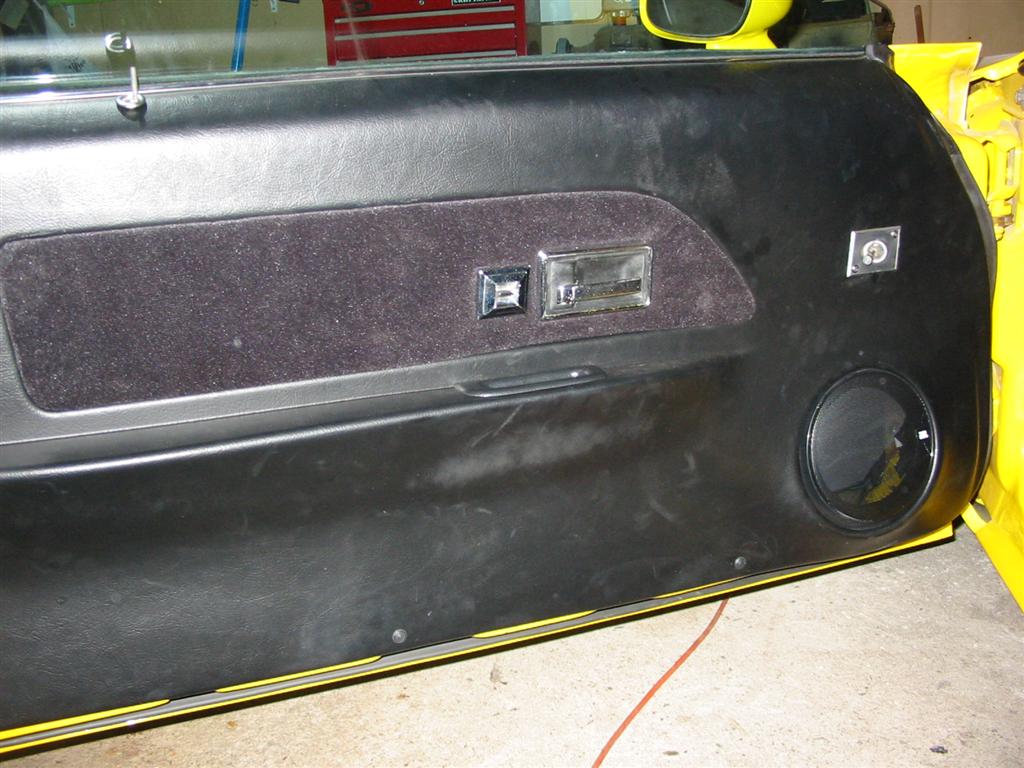
| Next I installed the round trim rings that go around the lock knobs. The panels needed the holes drilled. The panels did have an outline of where the hole needed to be on the backside of the panel. | |
|
|
|
|
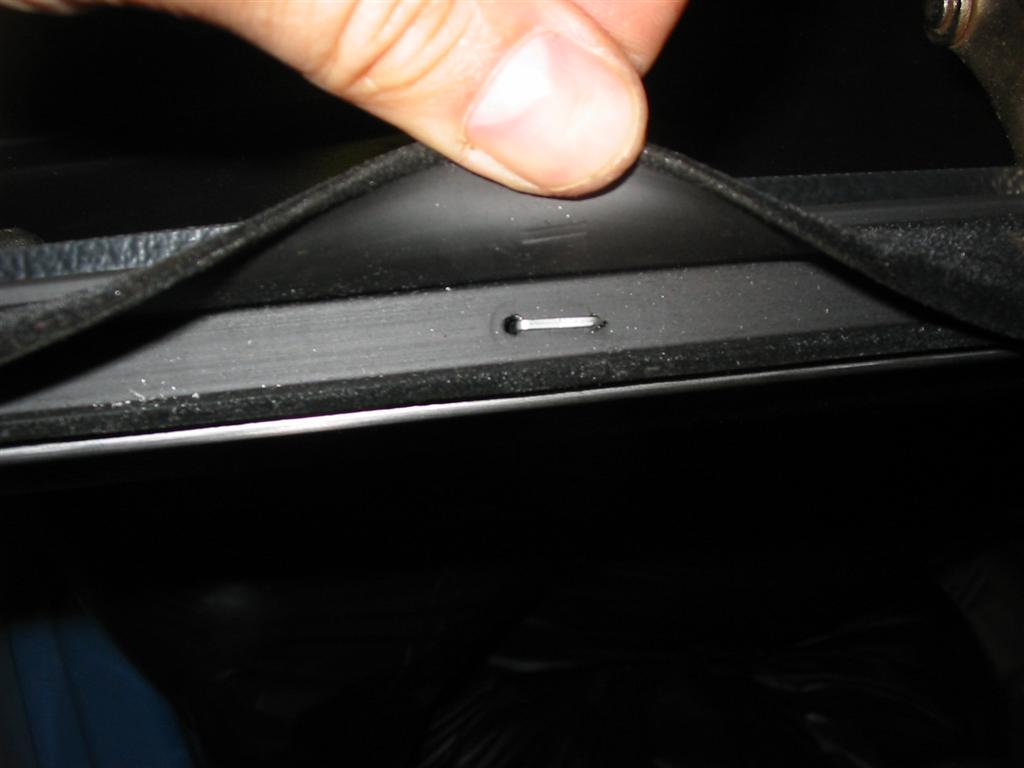
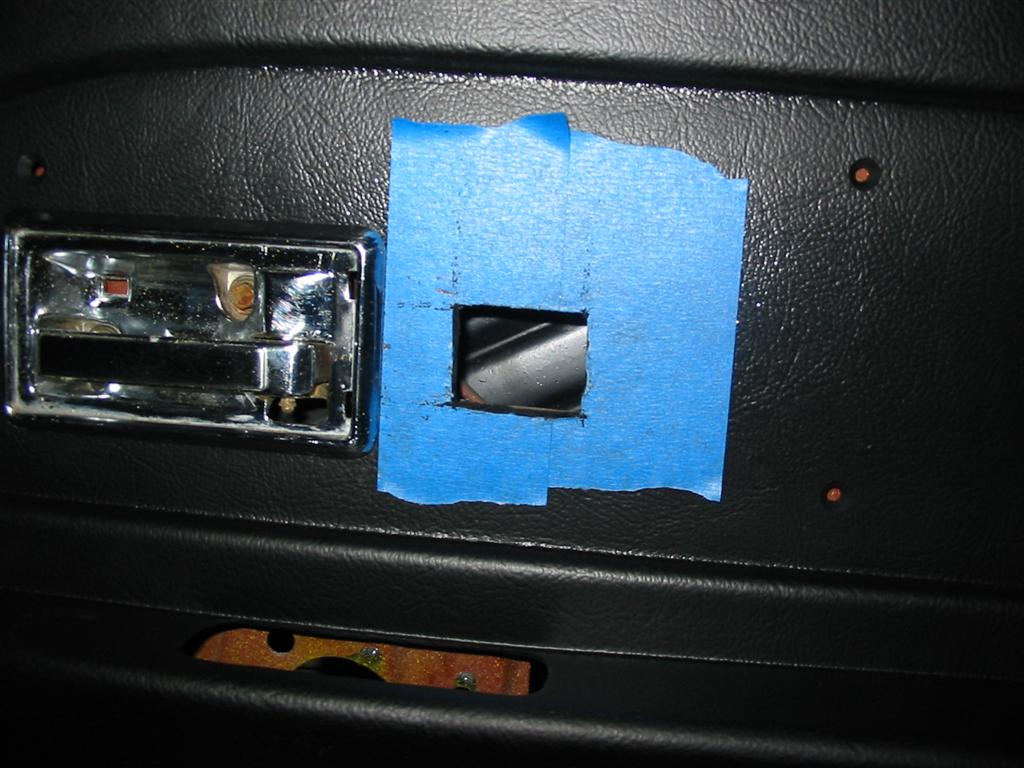
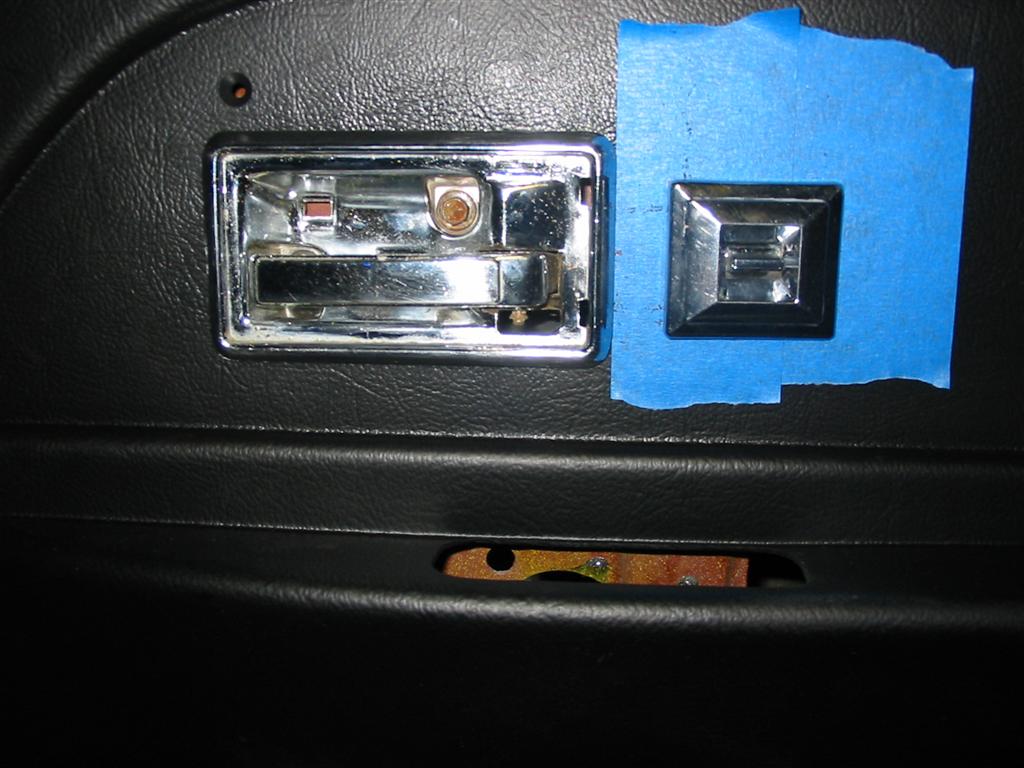
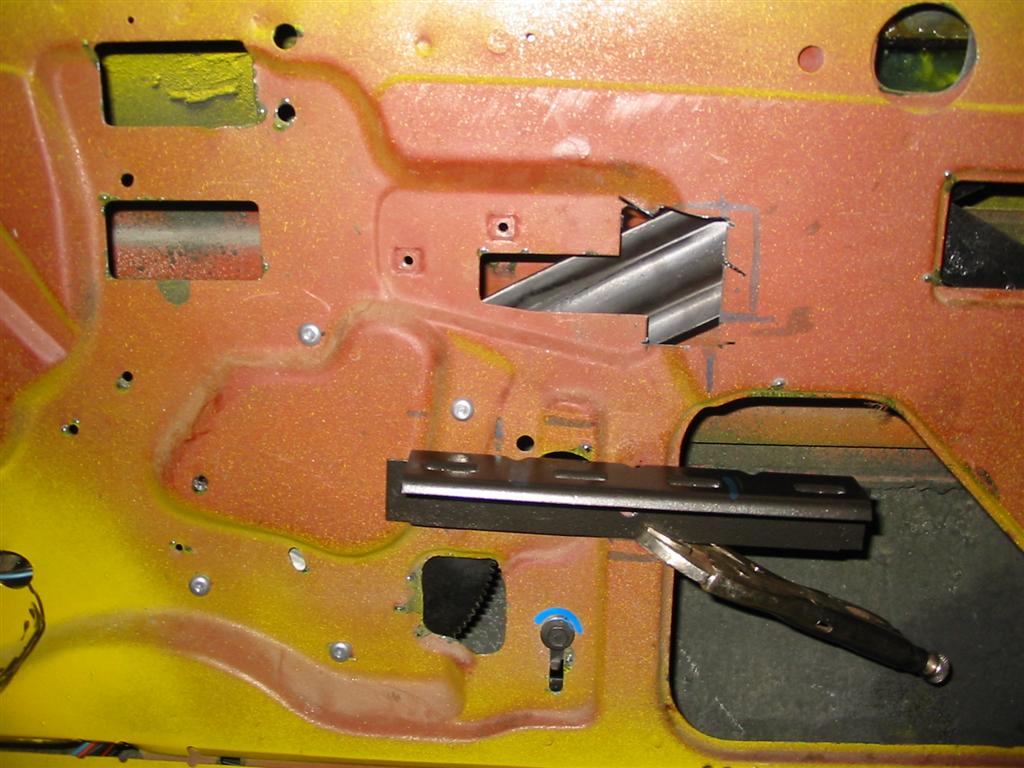
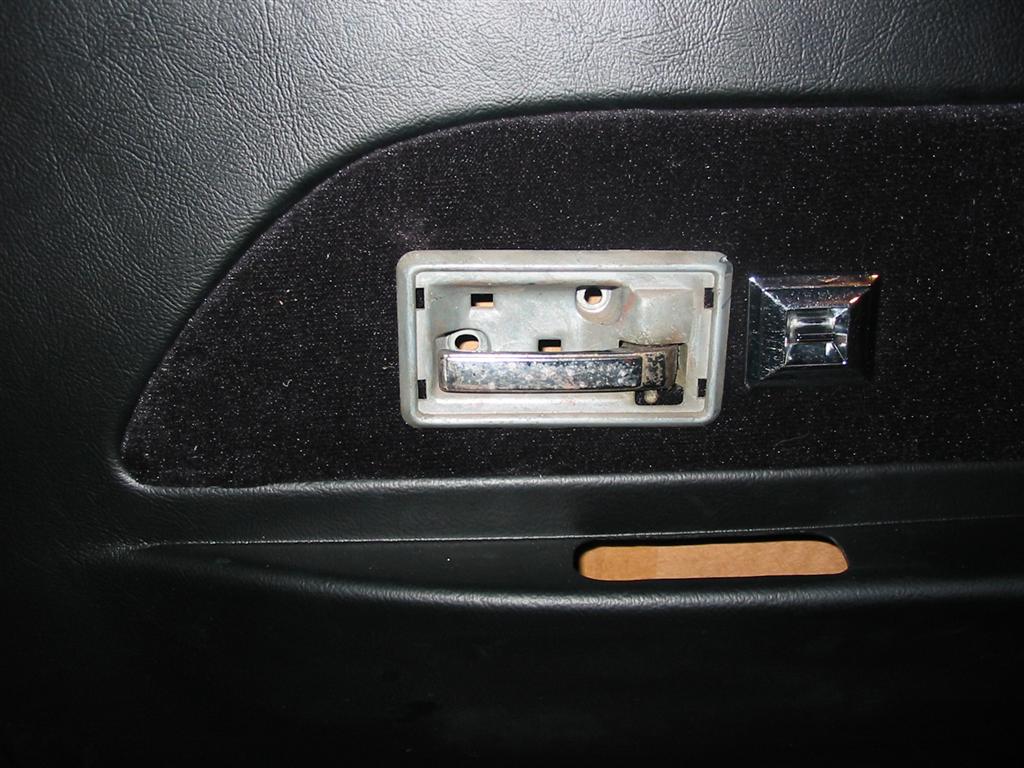
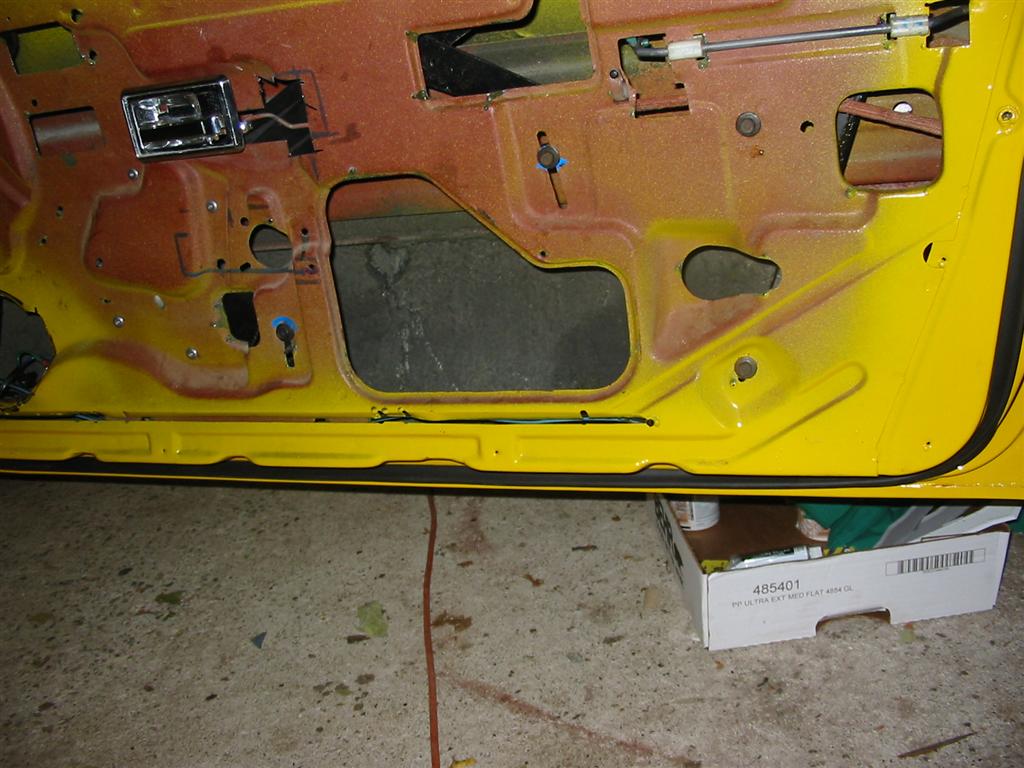
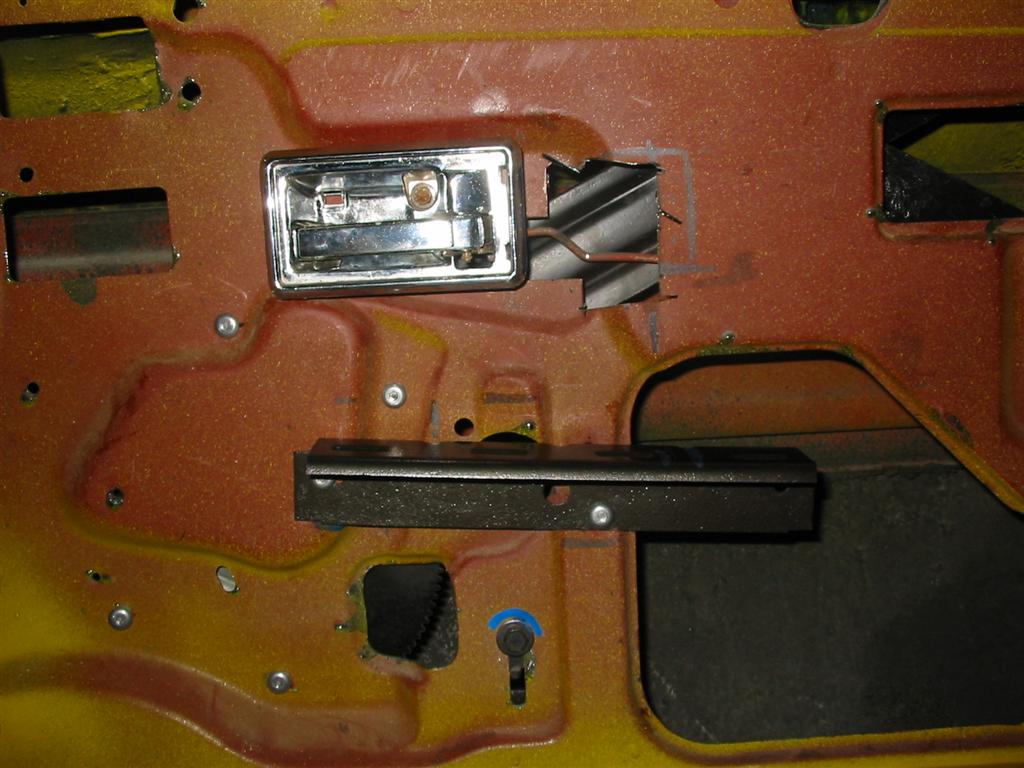
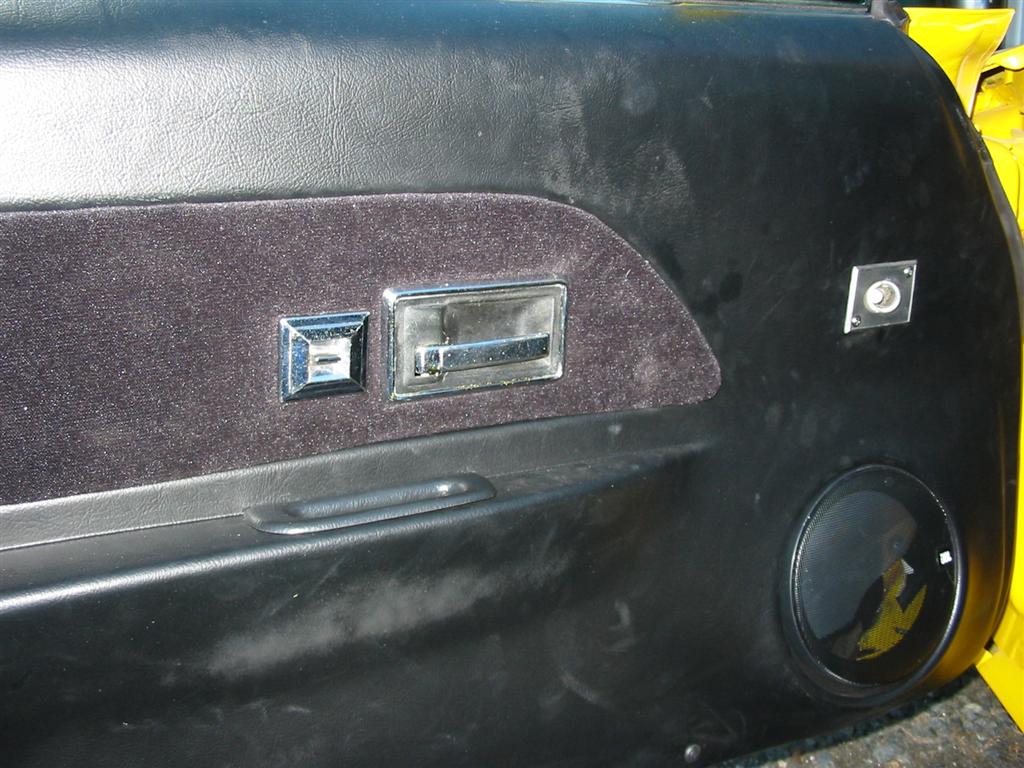
| The door panels are not designed to have the power lock switches in them. I decided to put them in the insert next to the door handle. This required me to cut the panel and the insert. I also needed to cut the door behind the panel to fit the switch and plug. | |
|
|
| I also needed to cut the door behind the panel to fit the switch and plug. I also marked where the front speaker holes needed to be. | |
|
|
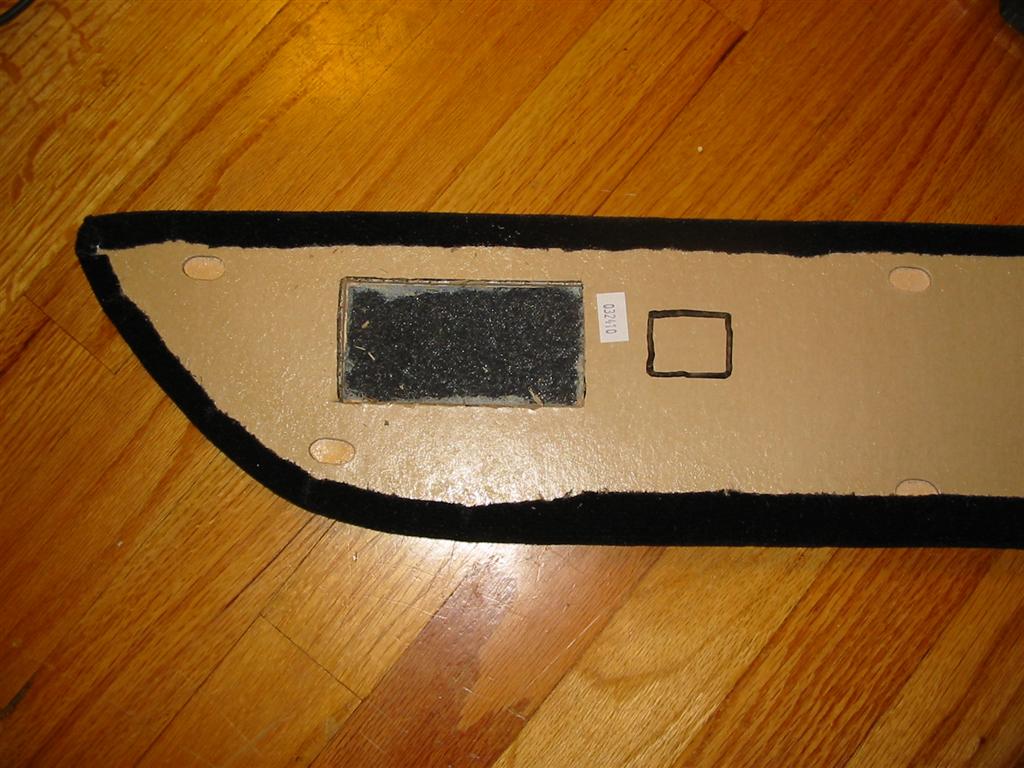
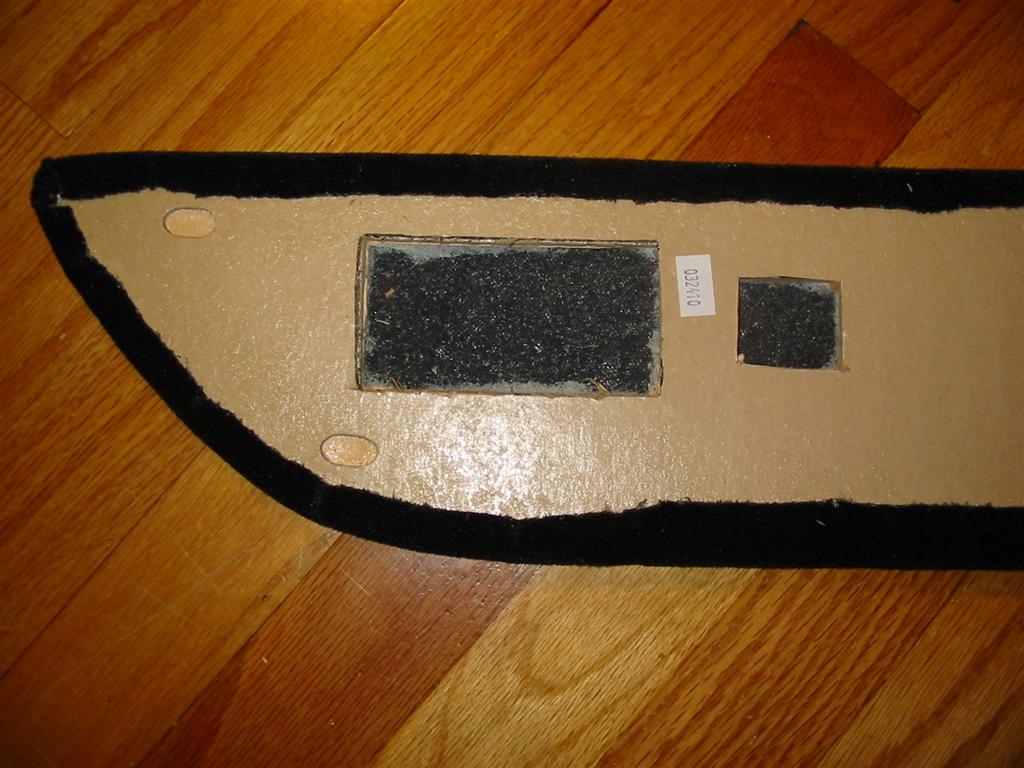
| Here are pictures of me test fitting and modifying the inserts. They do not come with the holes cut for the door handle. I also needed to cut out where my door lock switch would go. | |
|
|
|
|
|
|
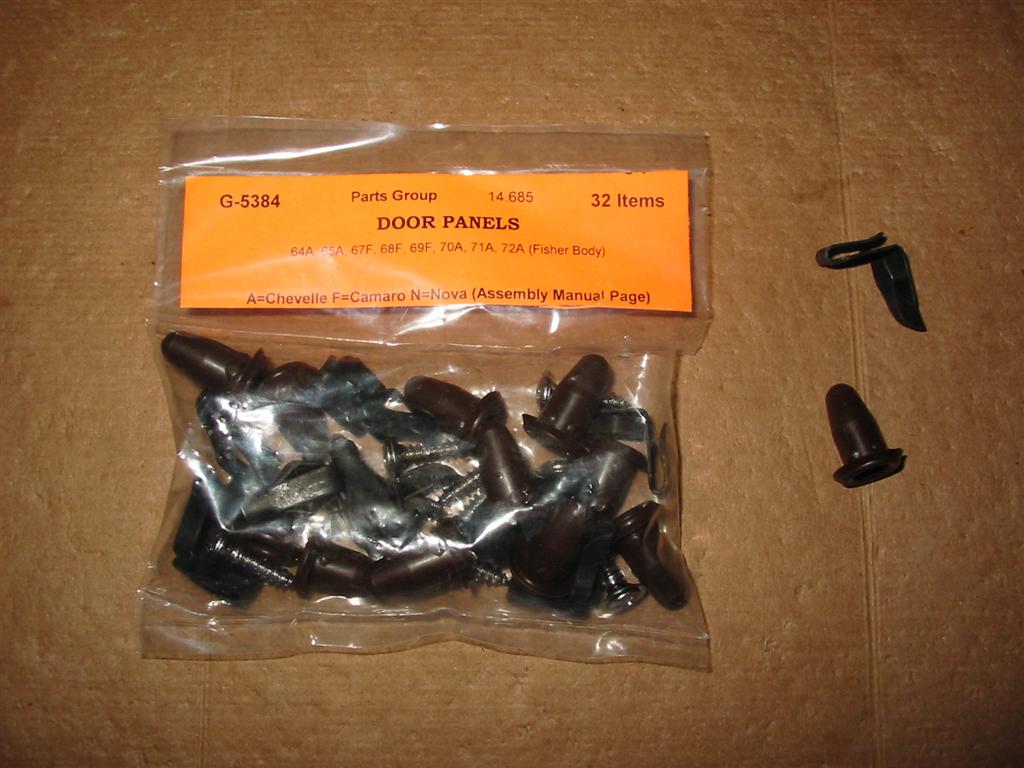
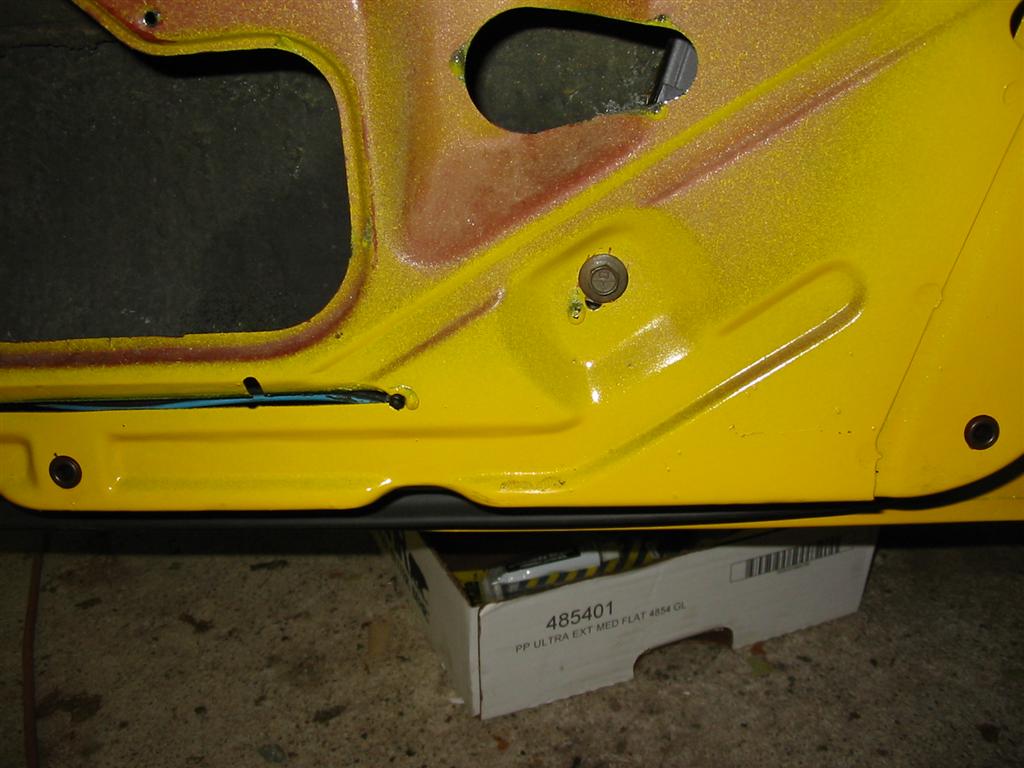
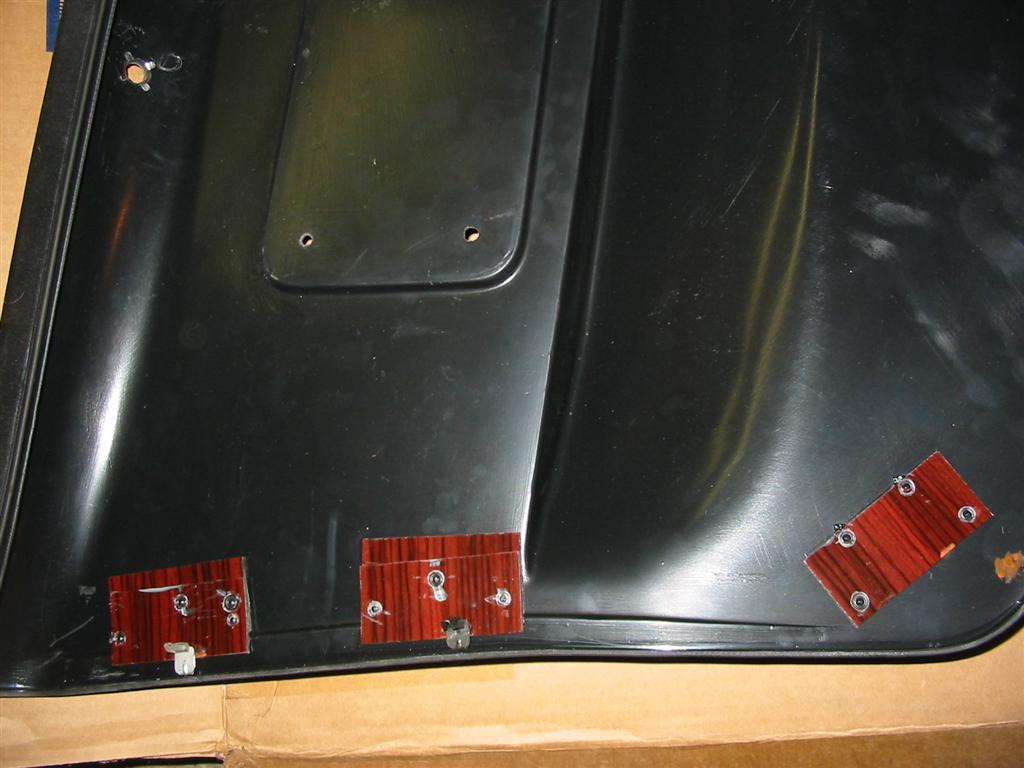
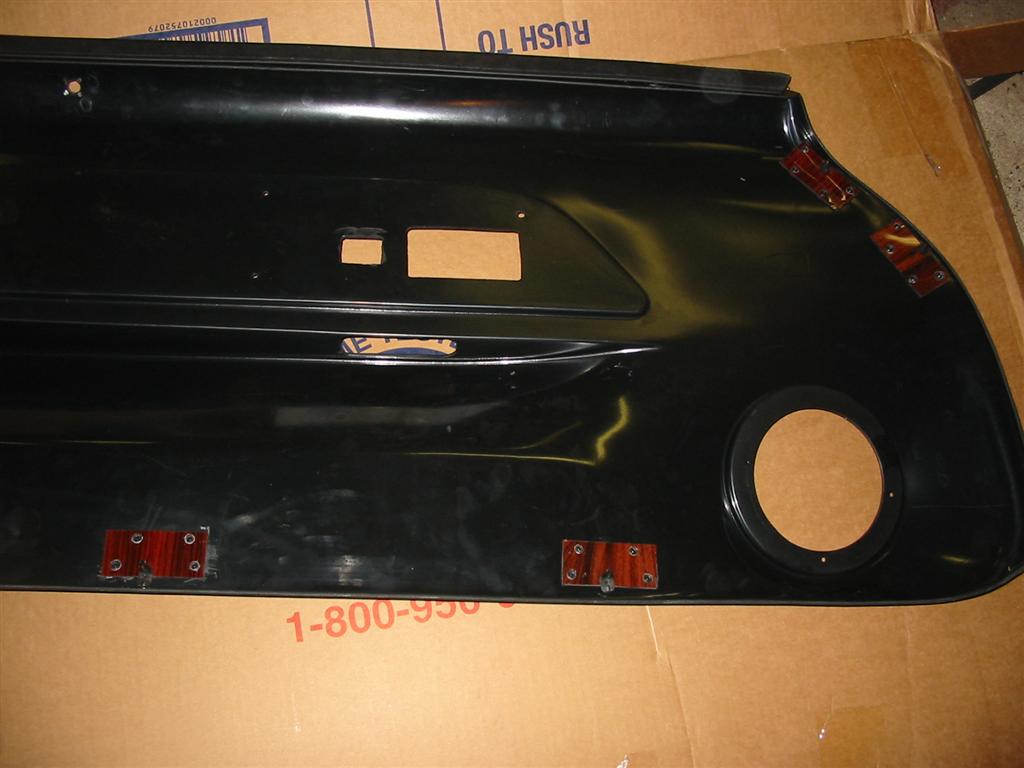
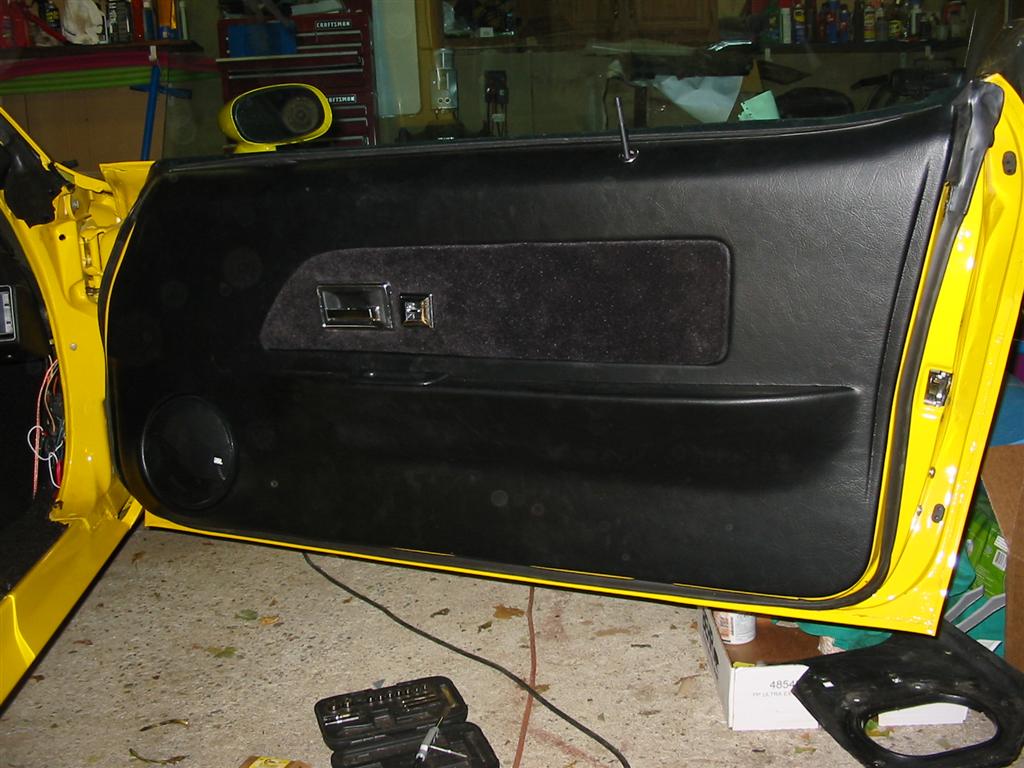
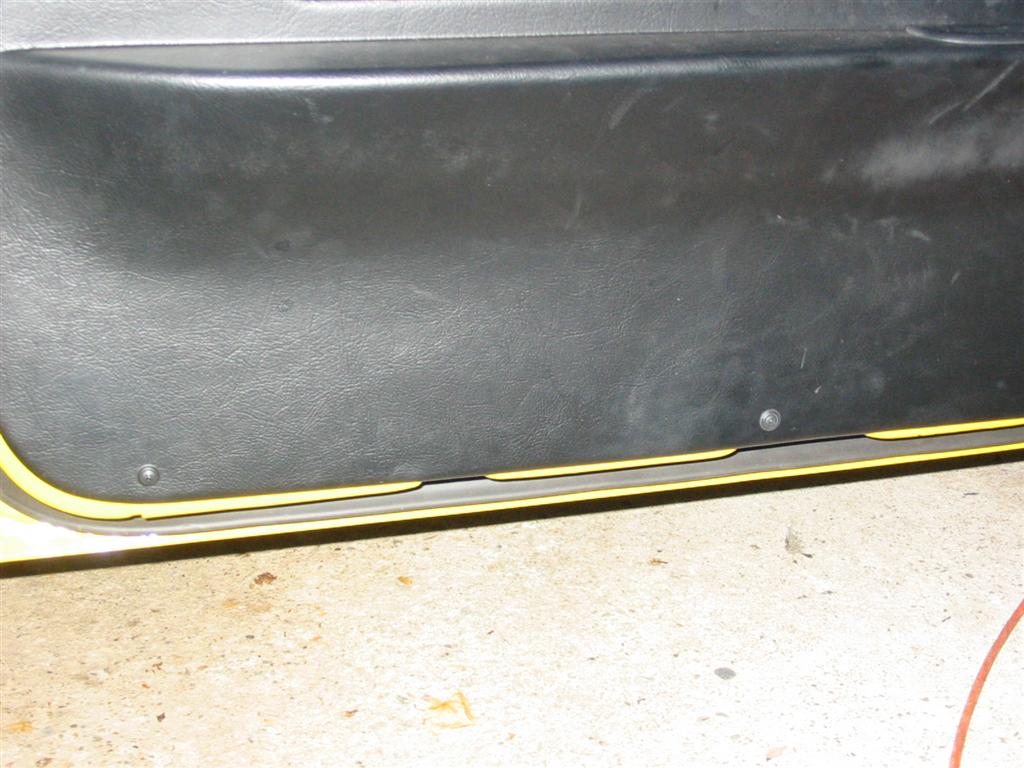
| Here are pictures of the clips and plugs I needed to buy to install the panels. I also needed to drill holes in the lower half of the door for the clips to mount to. I also needed to mount the door pull supports in a different spot from the factory application. | |
|
|
|
|
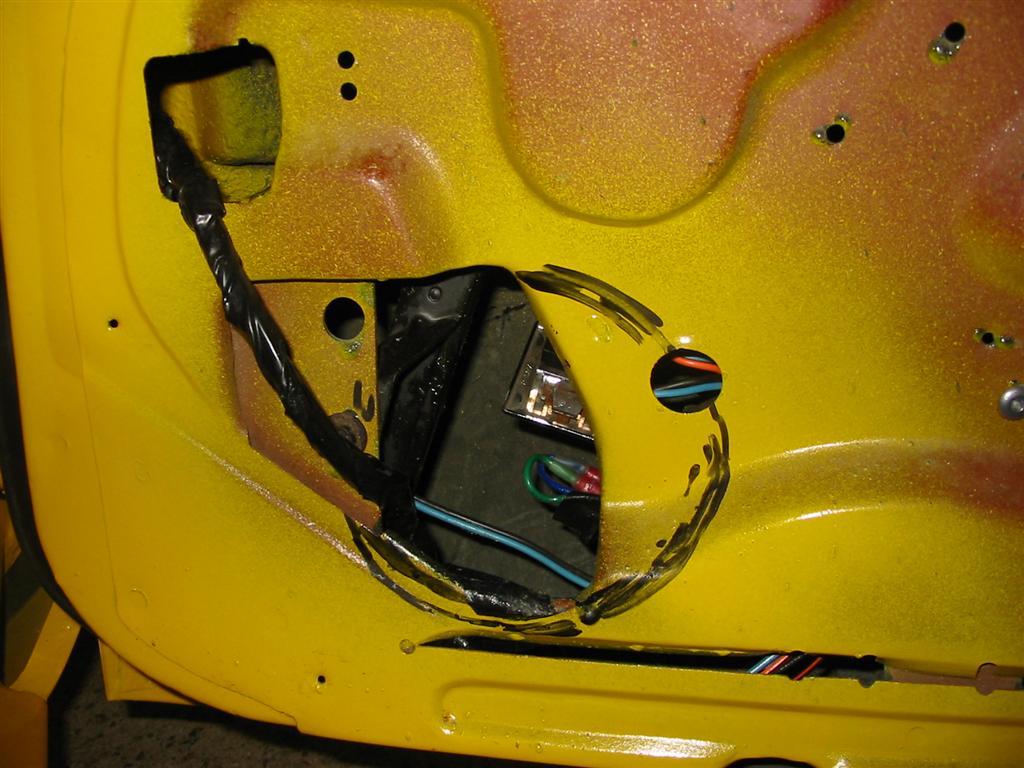
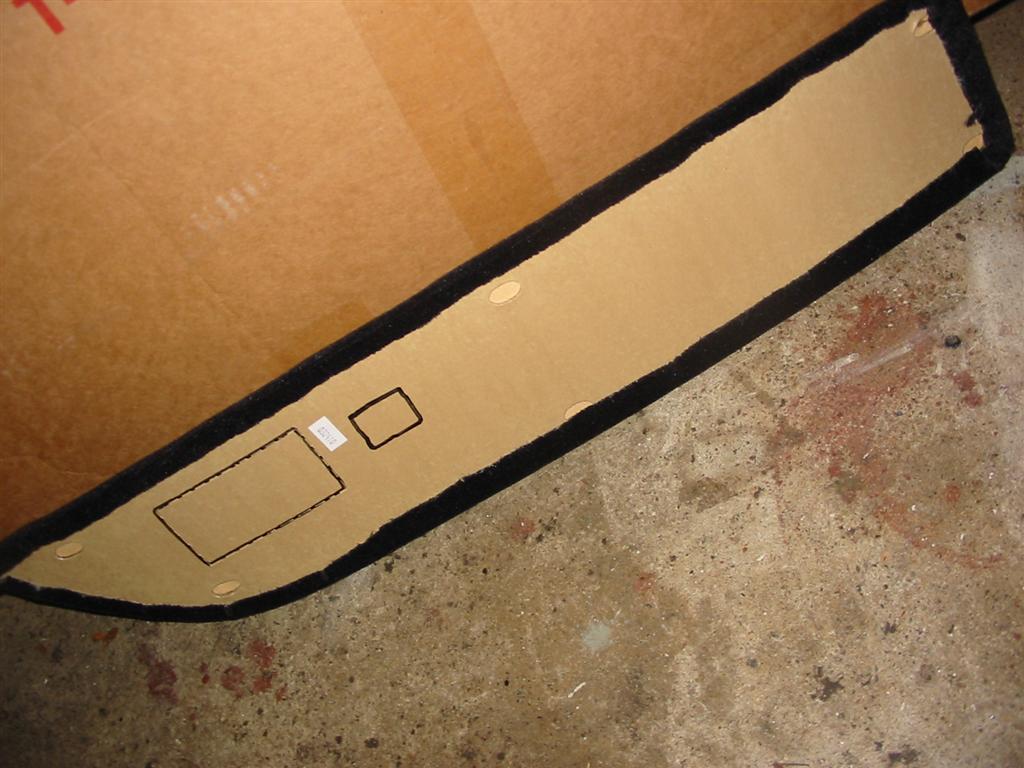
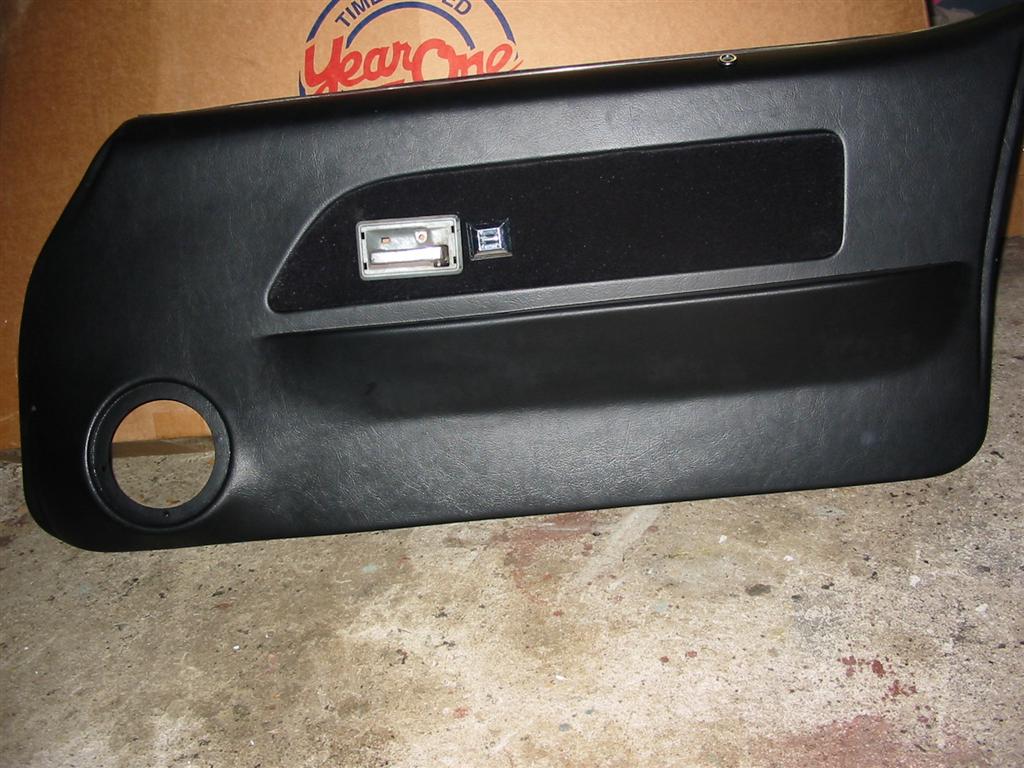
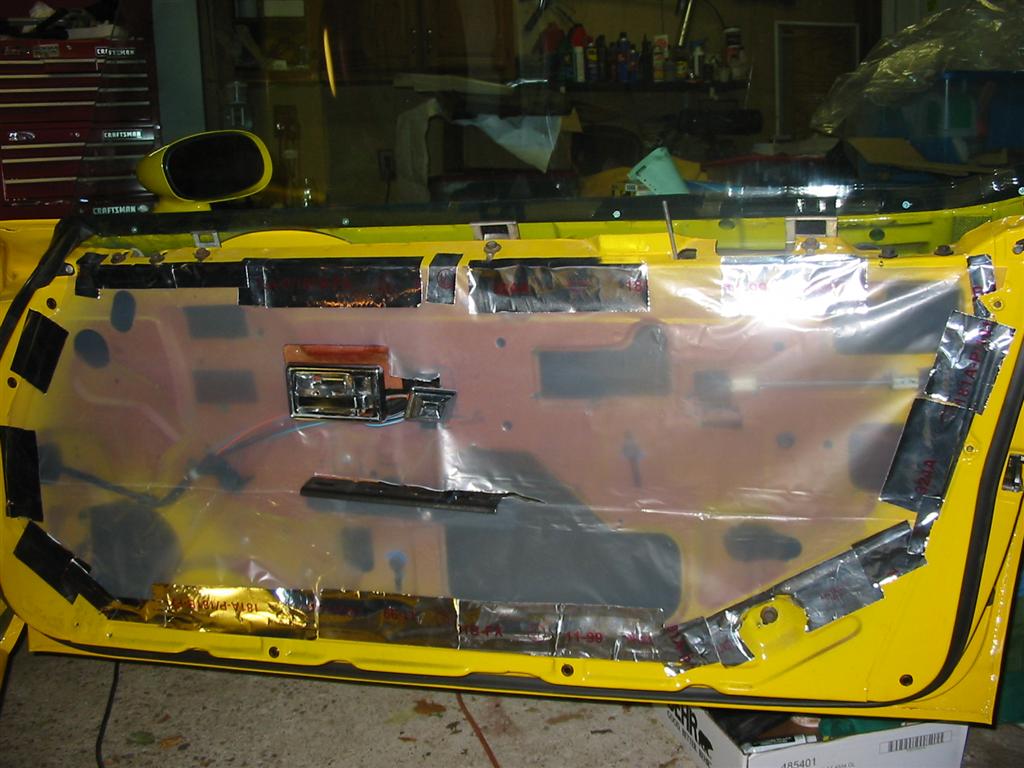
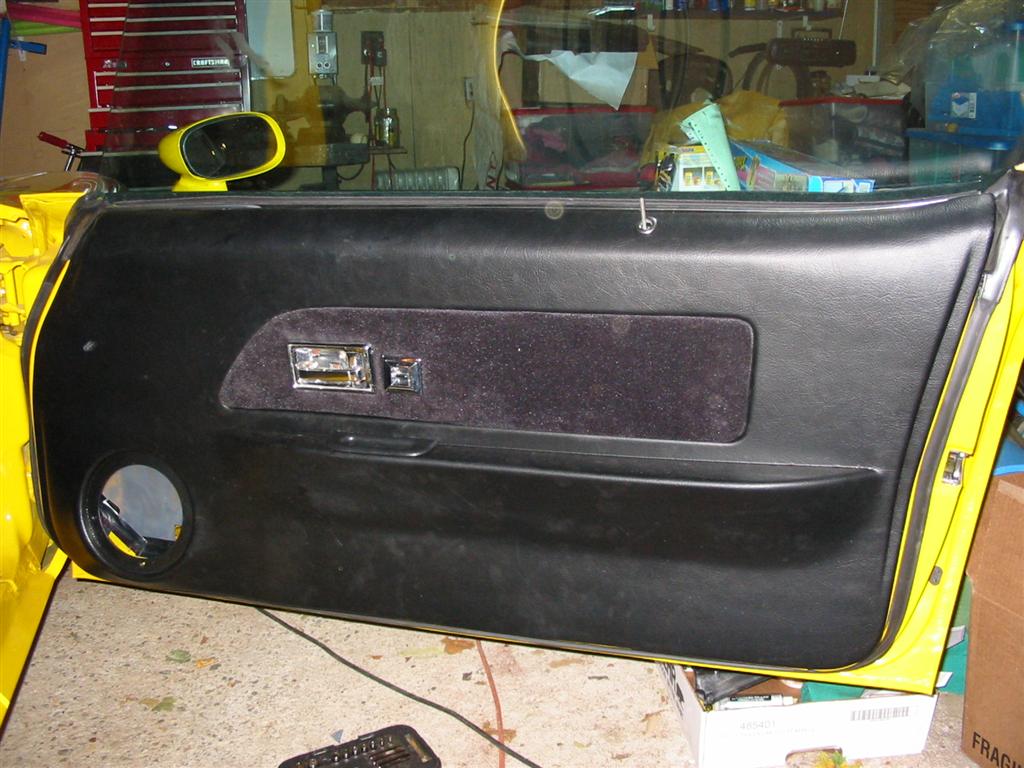
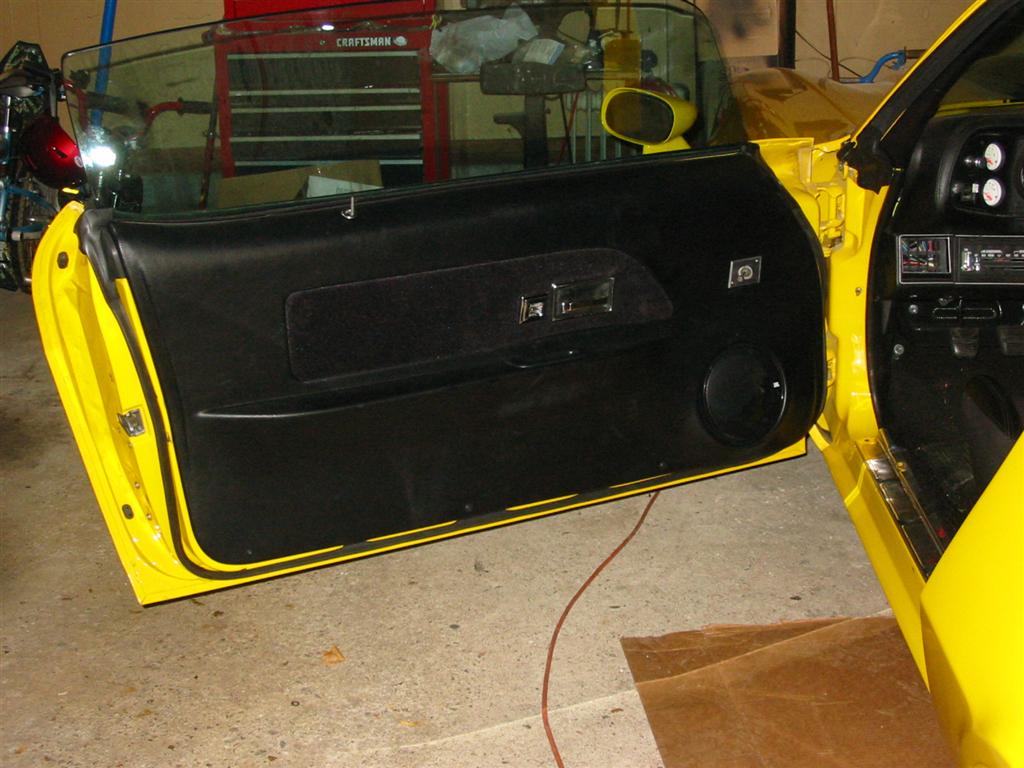
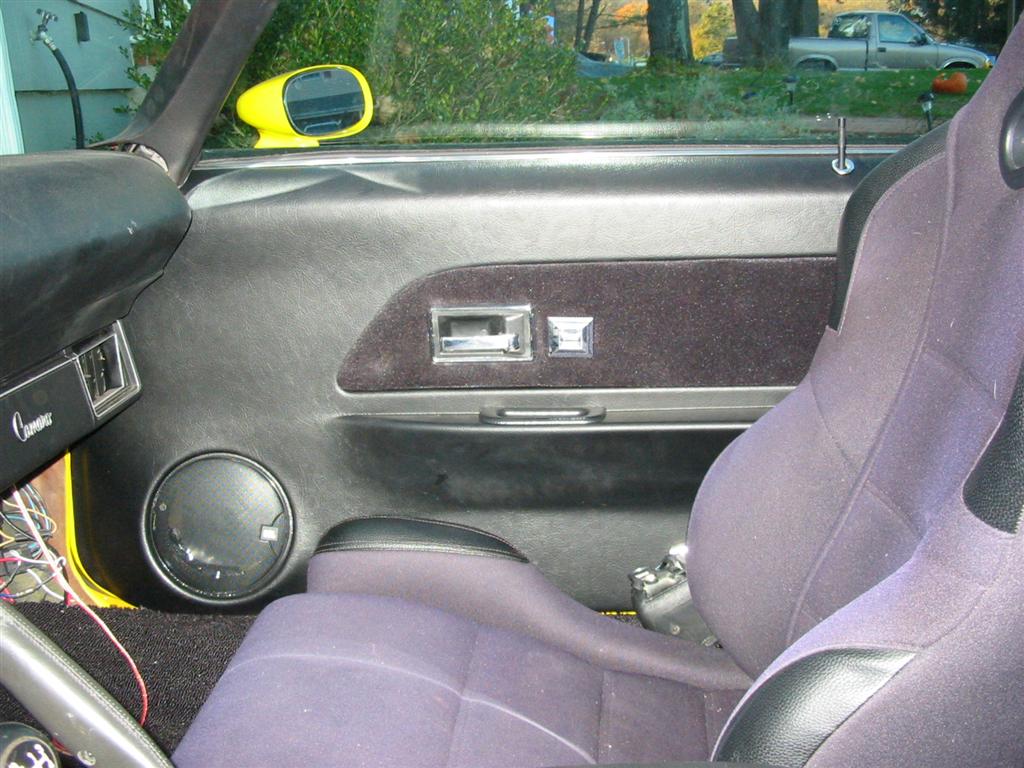
| I installed heavy duty plastic as water barrier behind the panel. Also, here is the back of the panel and the mounts for the door panel clips. Most of the holes match up with the factory locations except for the lower rear one. Unfortunately, the clips did not do a great job of holding the panel. Ultimately, I used trim screws on the bottom of the door to hold the panel in place. Here are the panels installed. | |
|
|
|
|
|
|
|
|
|
|
|
|
|

|