|

TPI Serpentine Brackets (March 6, 2011)
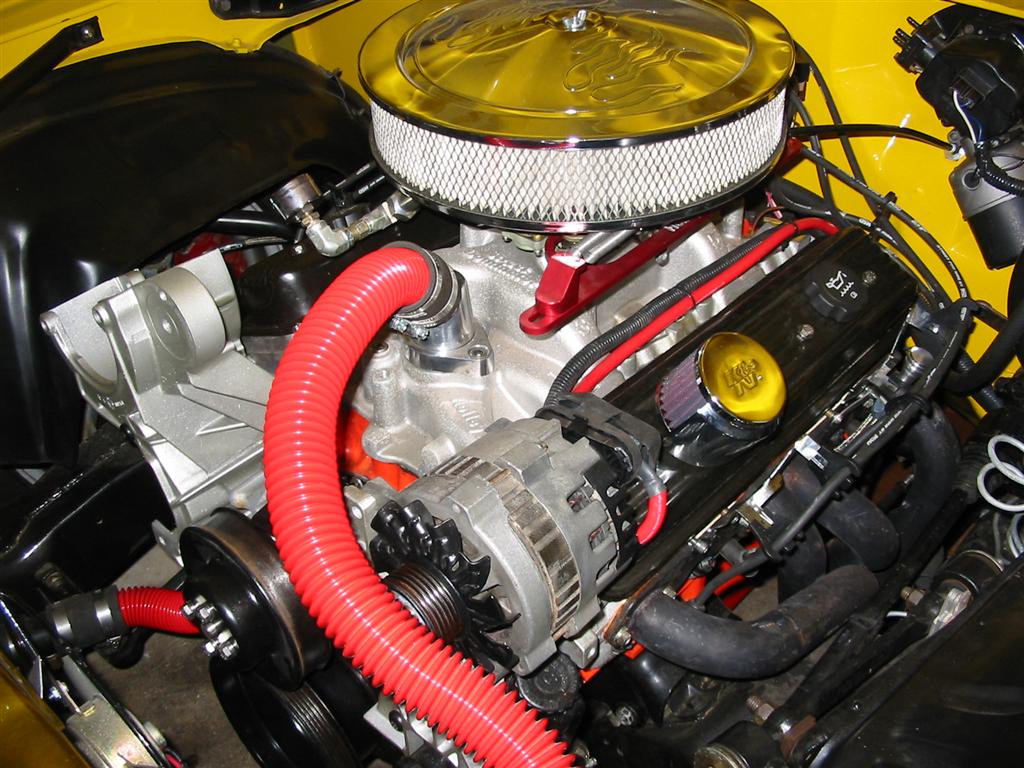
This page documents the installation of the GM TPI style serpentine belt system. I originally installed a system based off of a TBI truck setup. This system worked great, but it would not work with the TPI manifold I am going to install in the car. The TBI brackets put the tensioner right in the way of the throttle body. Before installing the TPI brackets I did some comparison photos of the brackets and pulleys and took measurements to document the differences. In general the Truck TBI system sits almost a half inch closer to the front of the engine but are nearly 2 inches taller. Here is a comparison chart of the two systems.| Component | TPI Part | Truck TBI Part |
|---|---|---|
| Water Pump Pulley Part # | 10055880 | 14102093NH |
| Water Pump Pulley Diameter | 18.5 Inches | 18.5 Inches |
| Water Pump Pulley Height | 2.285 Inches | 2.700 Inches |
| Crank Pulley Part # | 10055879 | 14102091ND |
| Crank Pulley Diameter | 23.625 Inches | 23.625 Inches |
| Crank Pulley Height | 3.33 Inches | 2.95 Inches |
| Power Steering Pulley Part # | 14102096NL | 14102096NL |
| Power Steering Pump Pulley Diameter | 20 Inches | 20 Inches |
| A/C Delete Pulley Diameter | 15.75 Inches | 14.50 Inches |
| Tensioner Pulley Diameter | 9.50 Inches | 11.25 Inches |
Status photos as of 3/3/2011:
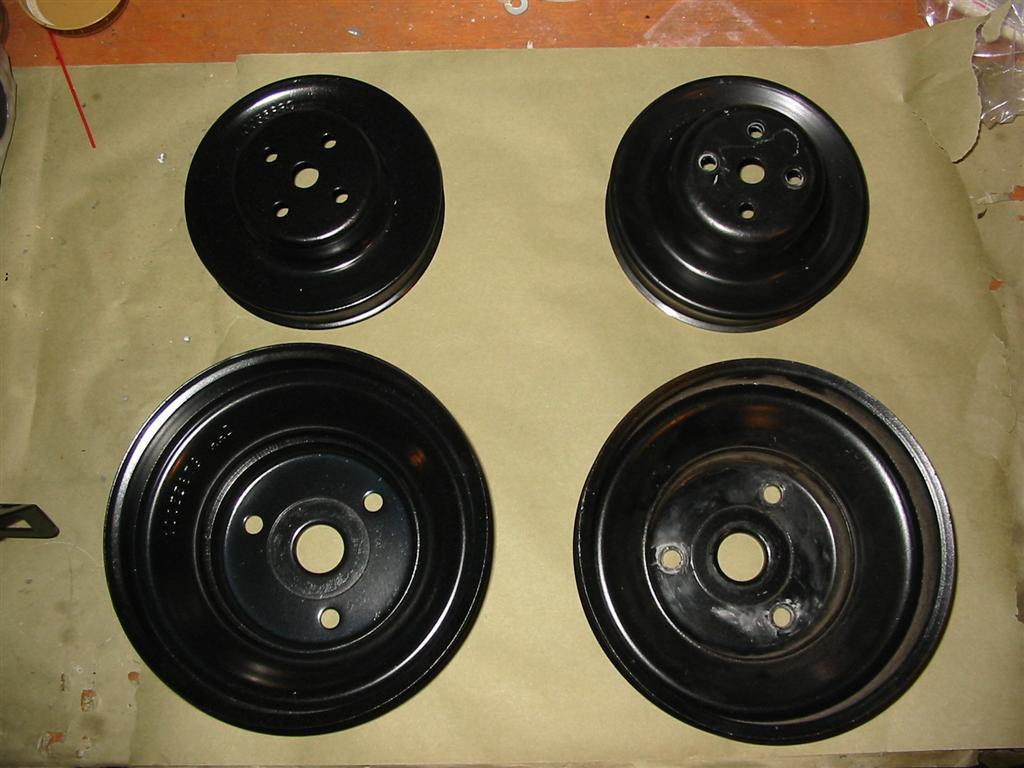
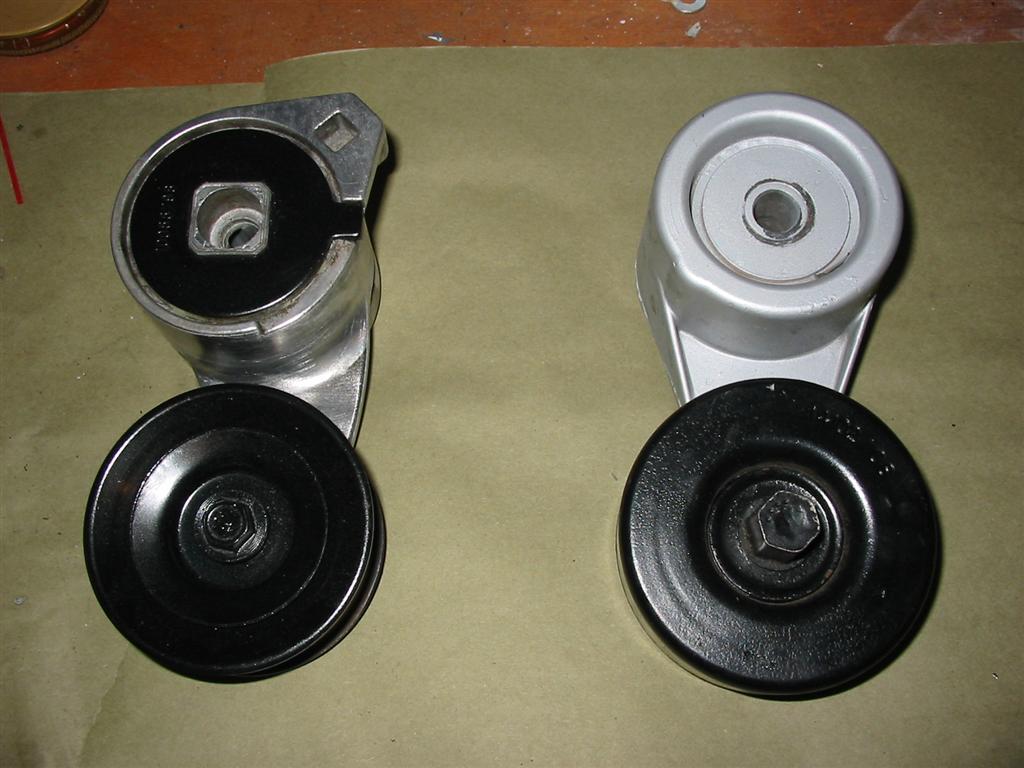
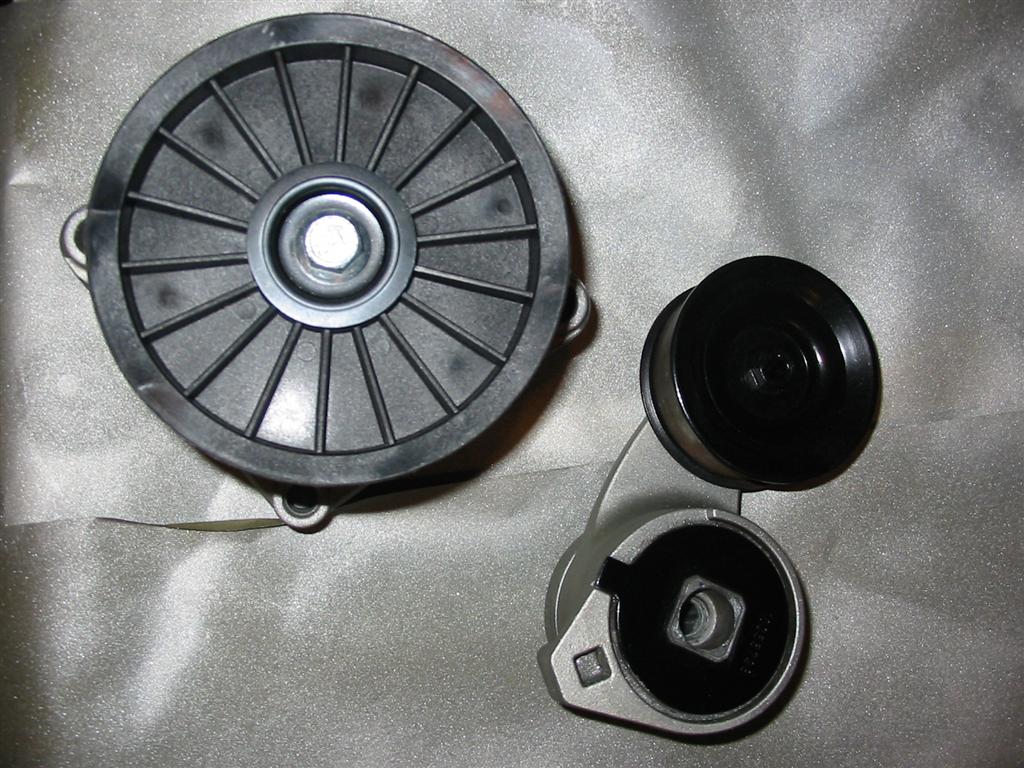
| Here are the Waterpump and Crank Pulleys side by side. The TPI pulleys are on the left and the Truck pulleys are on the right. | Here are the tensioners side by side. The TPI tensioner is on the left and the Truck tensioner is on the right. |
|
|
| Here are the A/C delete pulleys side by side. The TPI pulley is on the left and the Truck pulley is on the right. | |

|

|
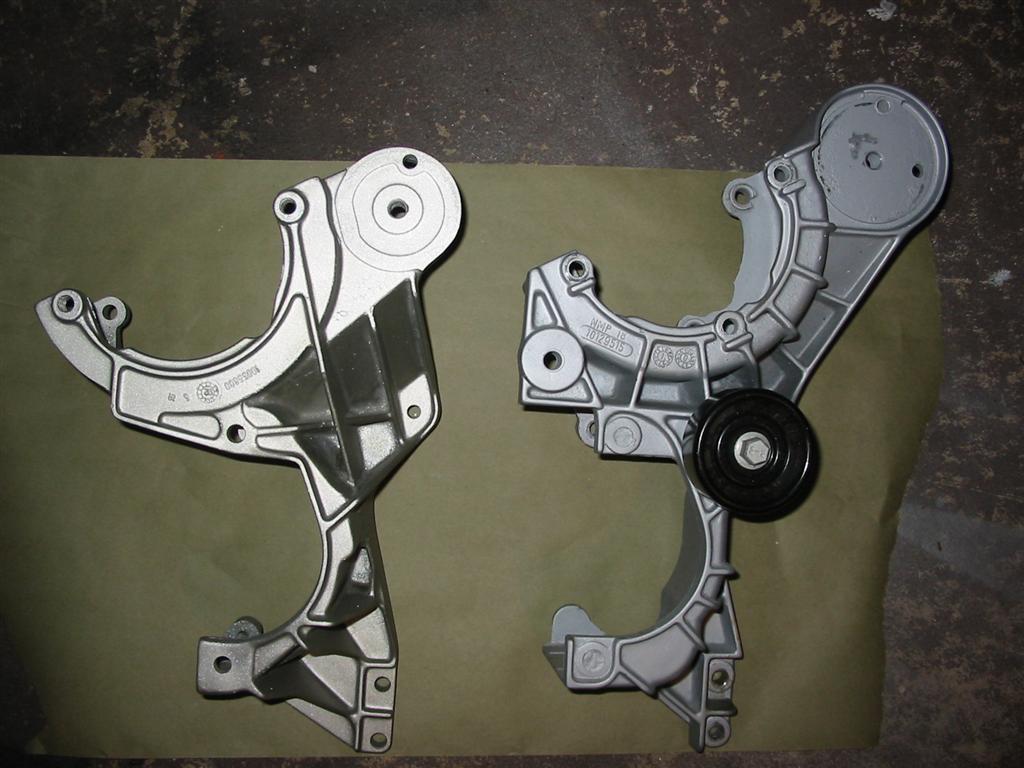
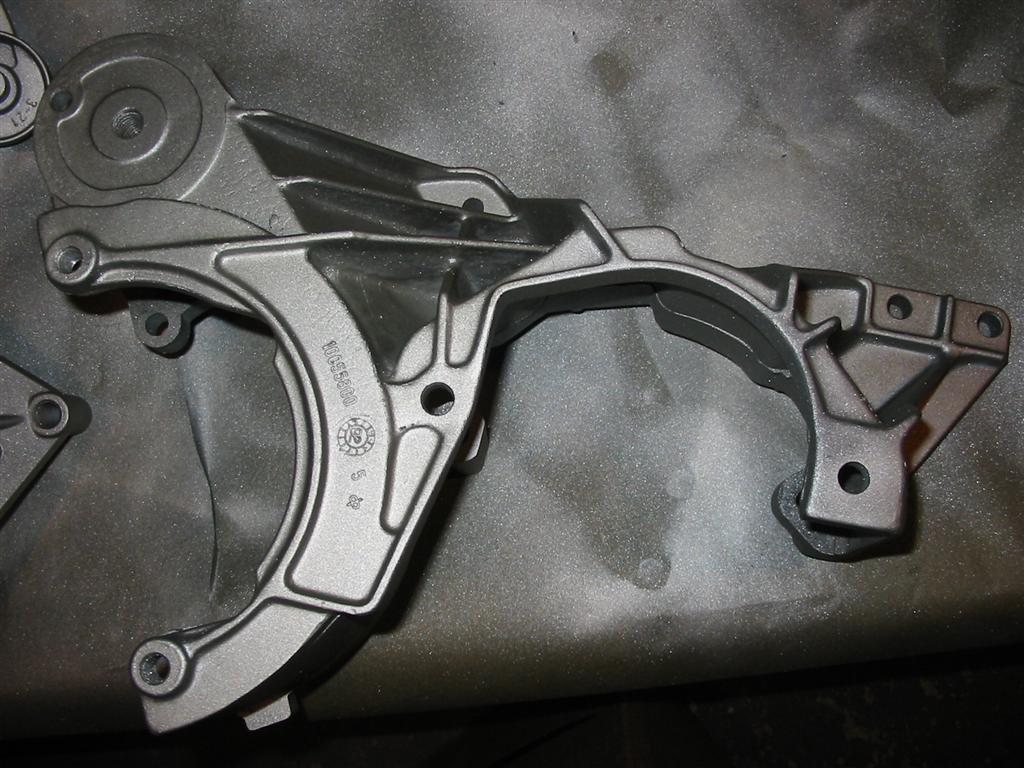
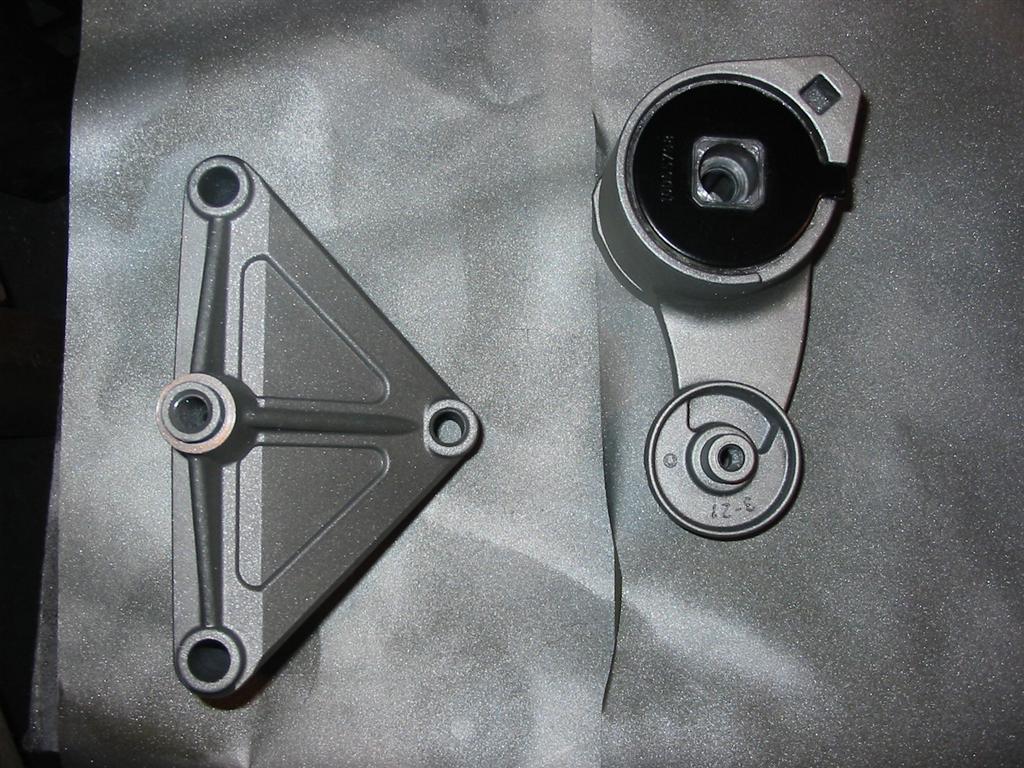
| Here is a comparison of the Alternator brackets. The TPI bracket is on the right and the Truck bracket is on the left. | |

|

|
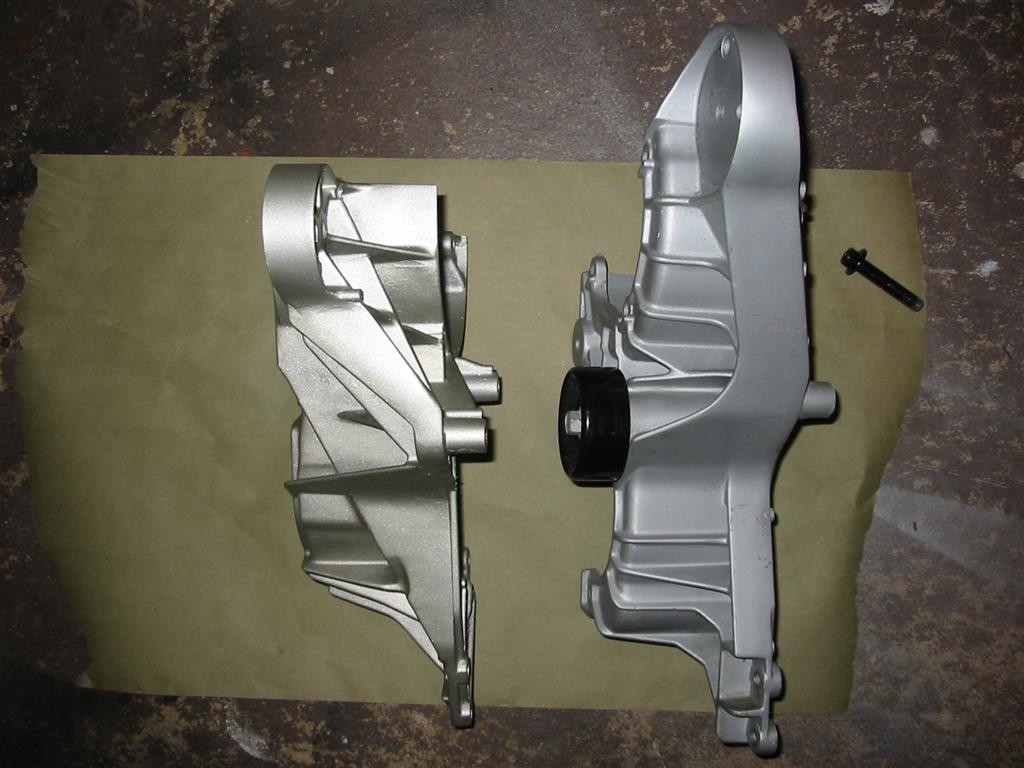
| Here is a comparison of the A/C brackets. The TPI bracket is on the left and the Truck bracket is on the right. | |
|
|
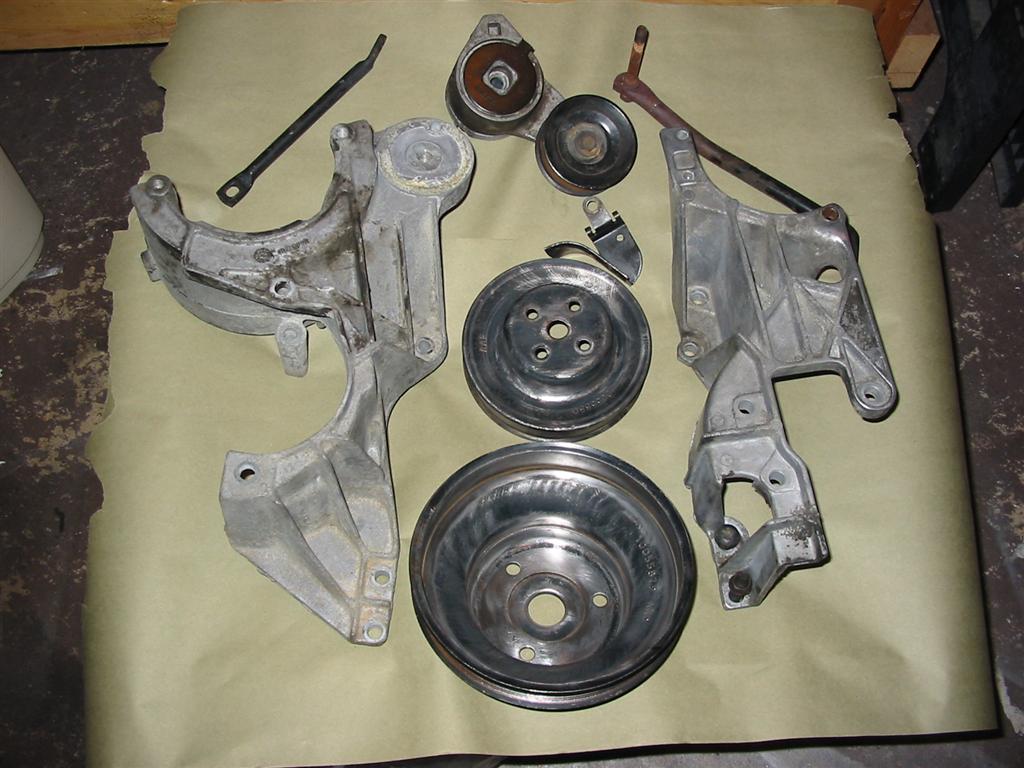
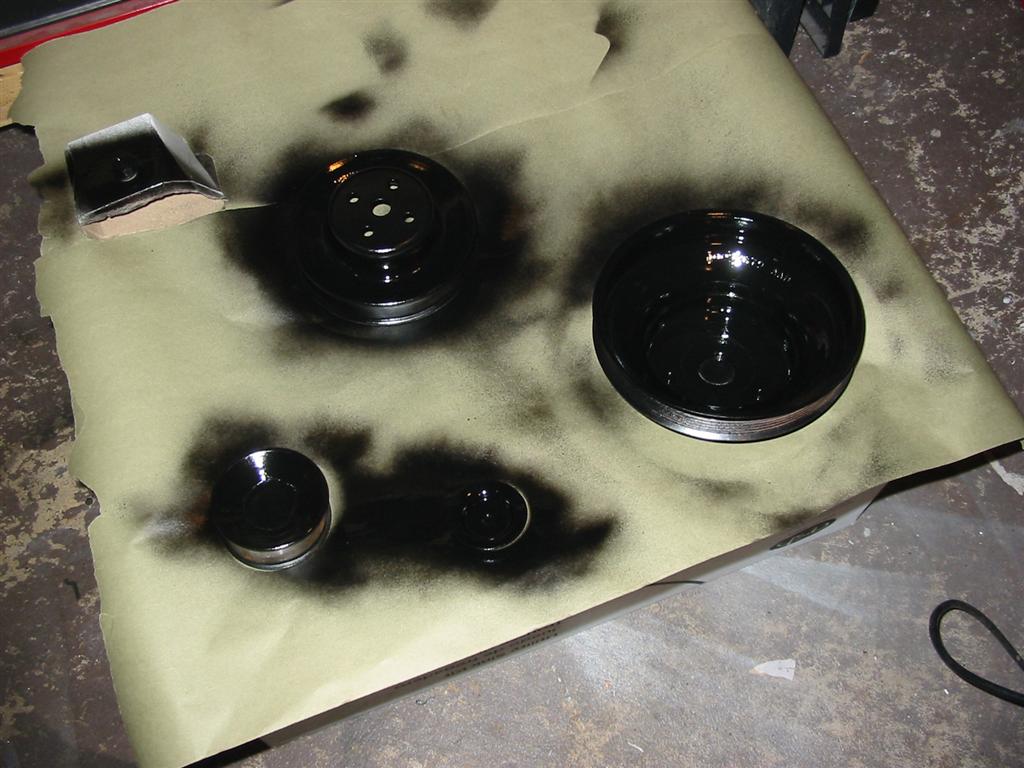
| Here are the brackets and pulleys before they were cleaned and painted. | Here are the pulleys with a coat of paint. |
|
|
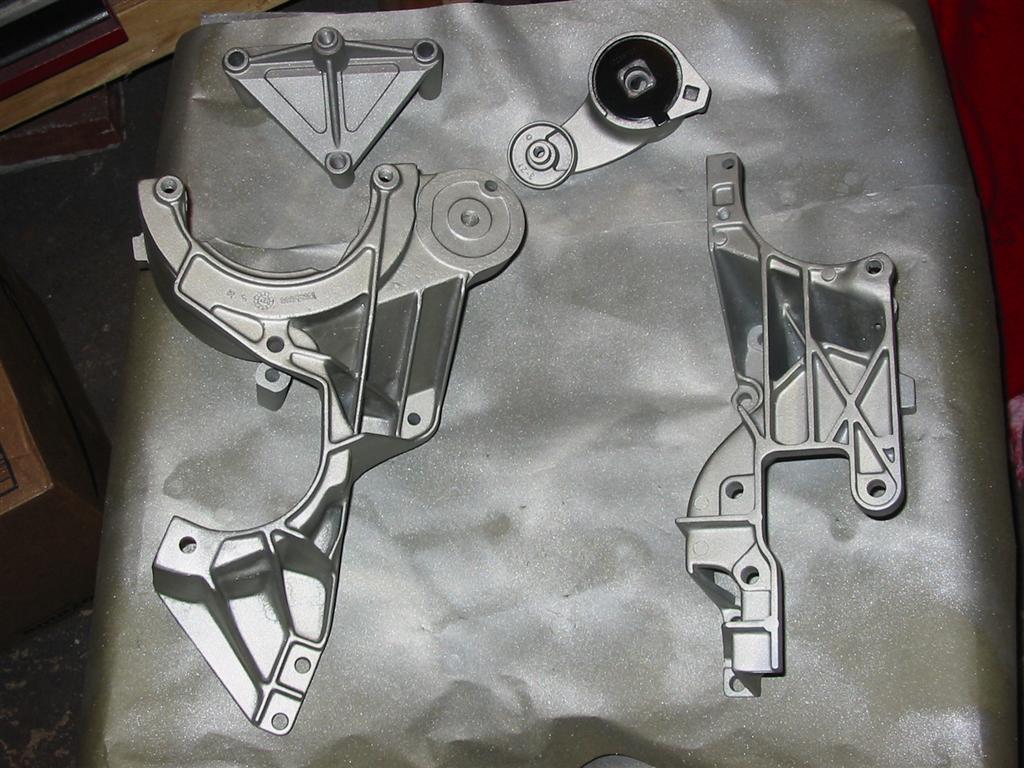
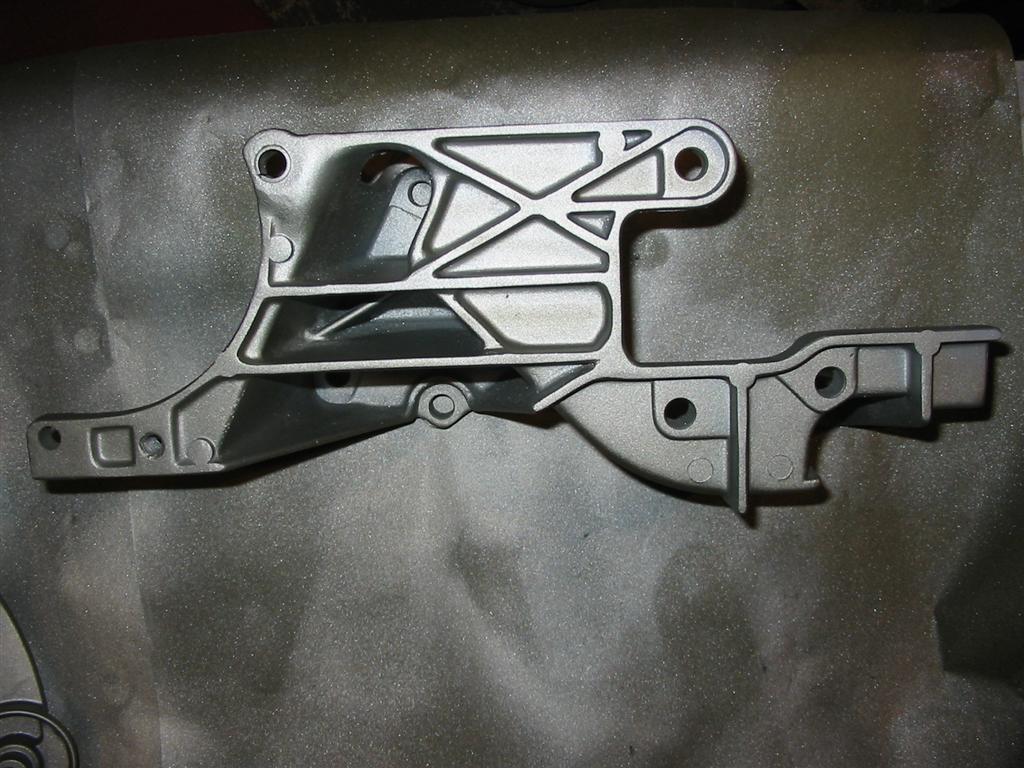
| Before installing the brackets I decided to clean them up and grind off all the casting lines for a smoother look. After that I prepped them and painted them with Eastwood Alumablast paint. Here are pictures of the finished brackets. | |
|
|
|
|
| I also decided to paint the A/C deleted pulley bracket and the tensioner. | |
|
|
| Here is the engine with the original serpentine system stripped off. | Here are the water pump and crank pulleys. |
|
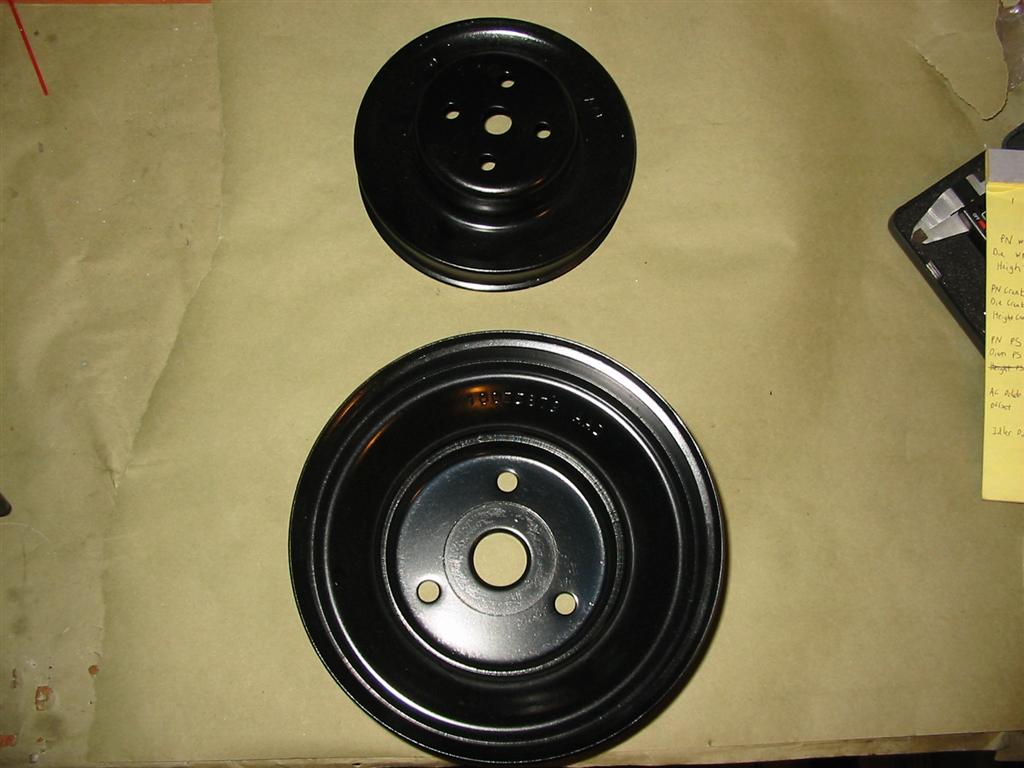
|
| Here is the crank pulley installed. | Here are the water pump and crank pulleys installed. |

|

|
| Next I installed the Alternator bracket. | |
|
|
| Here is the A/C bracket installed. | |

|

|
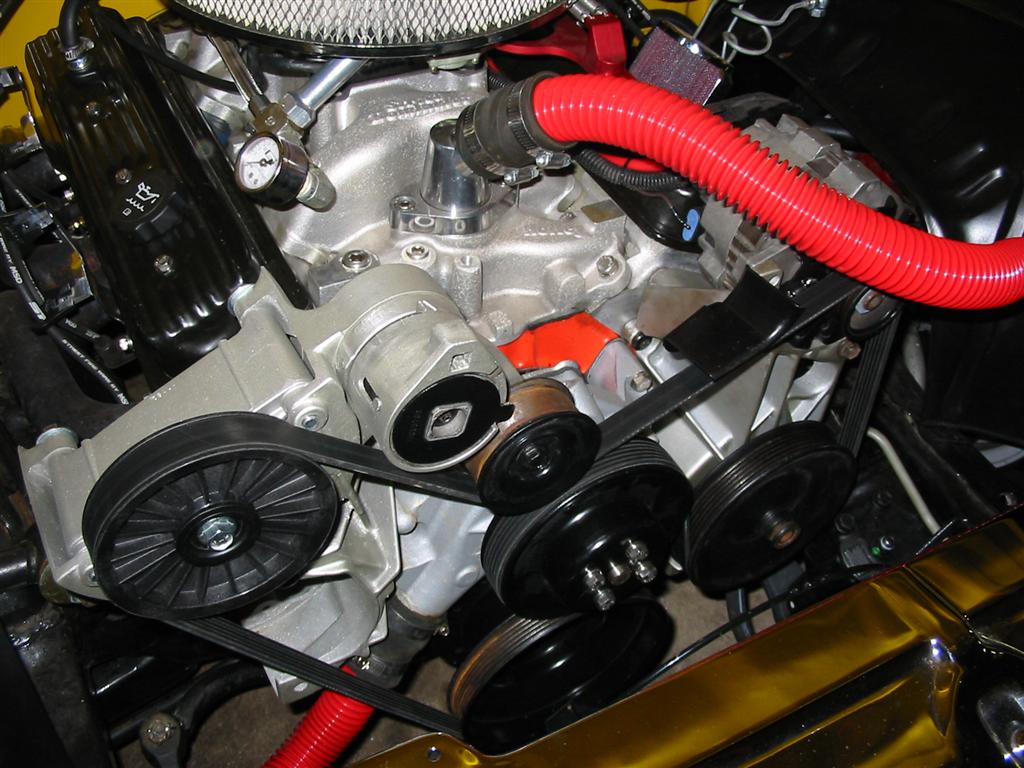
| Here are a few more shots of both brackets installed. | |
|
|
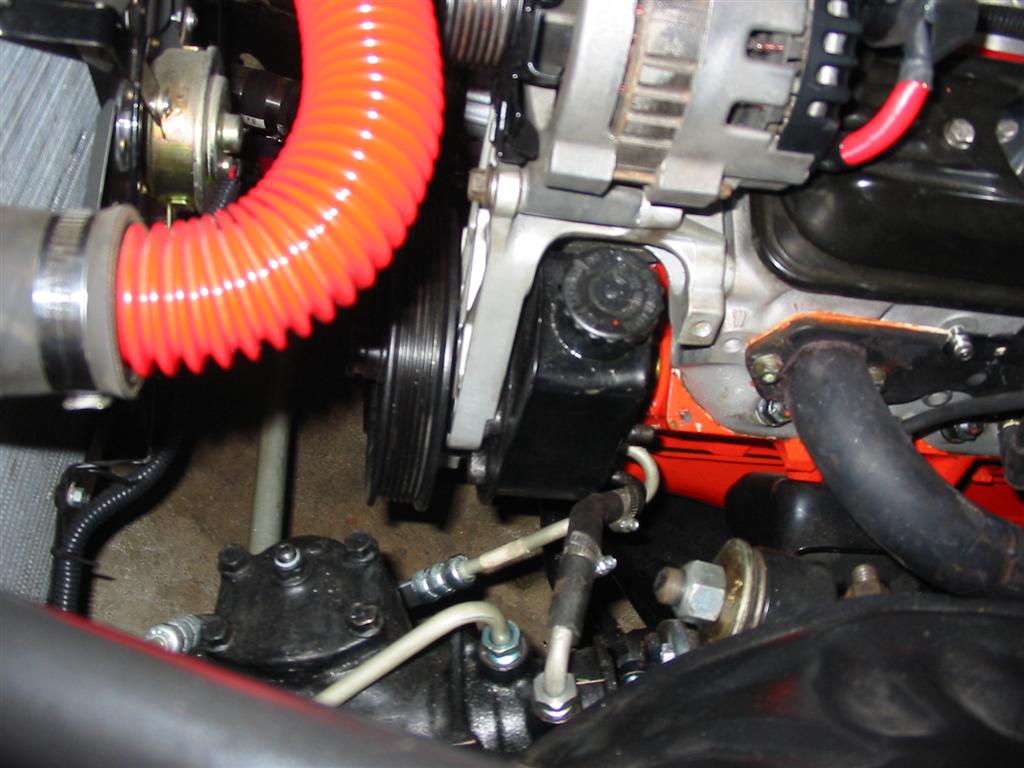
| Here is a picture of the tensioner installed. | |

|
|
| Here is the A/C delete pulley installed. | |

|
|
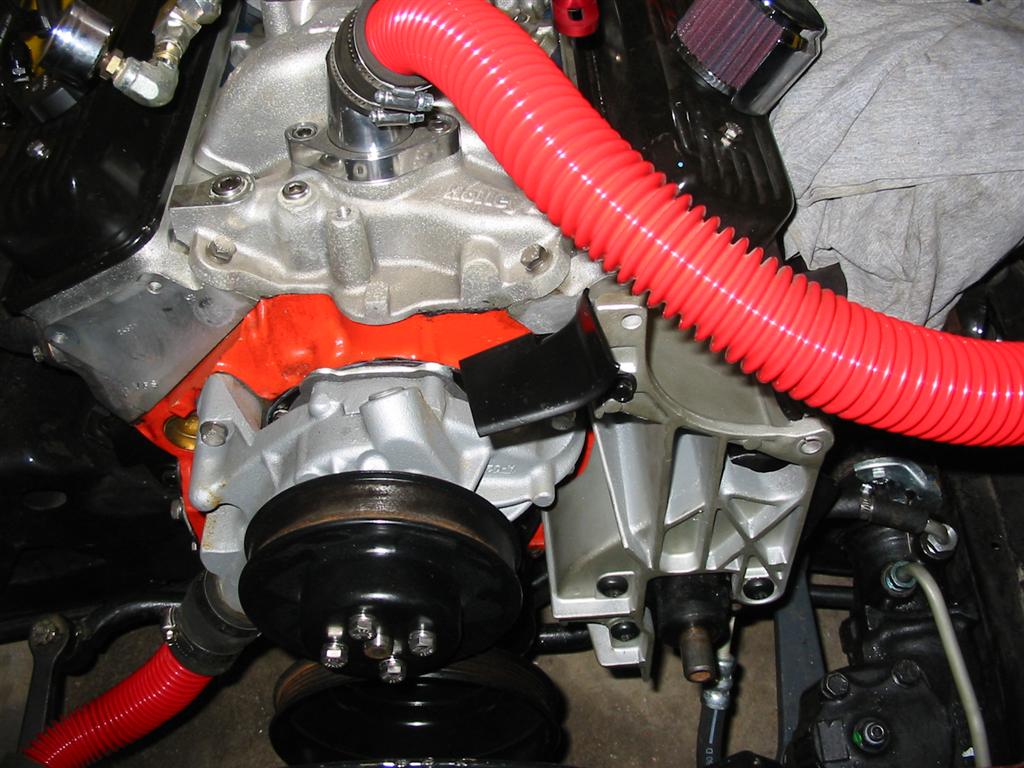
| The last pulley to get installed is the power steering pump pulley. Installing this pulley required the use of a power steering pump pulley installation tool | |

|
|
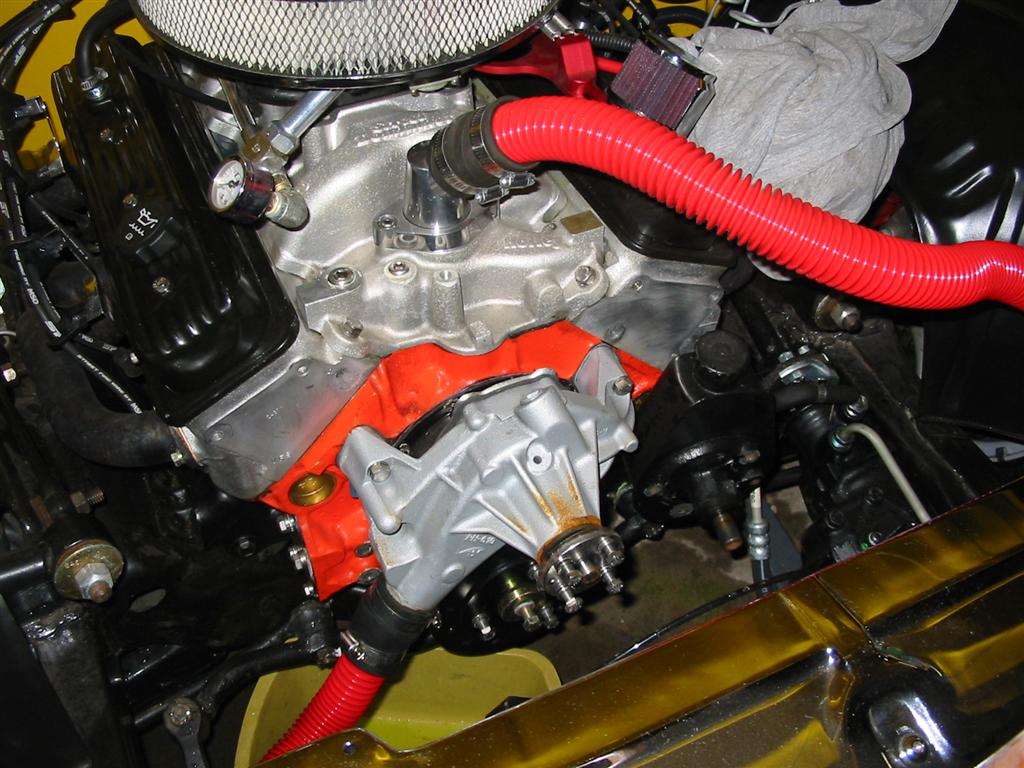
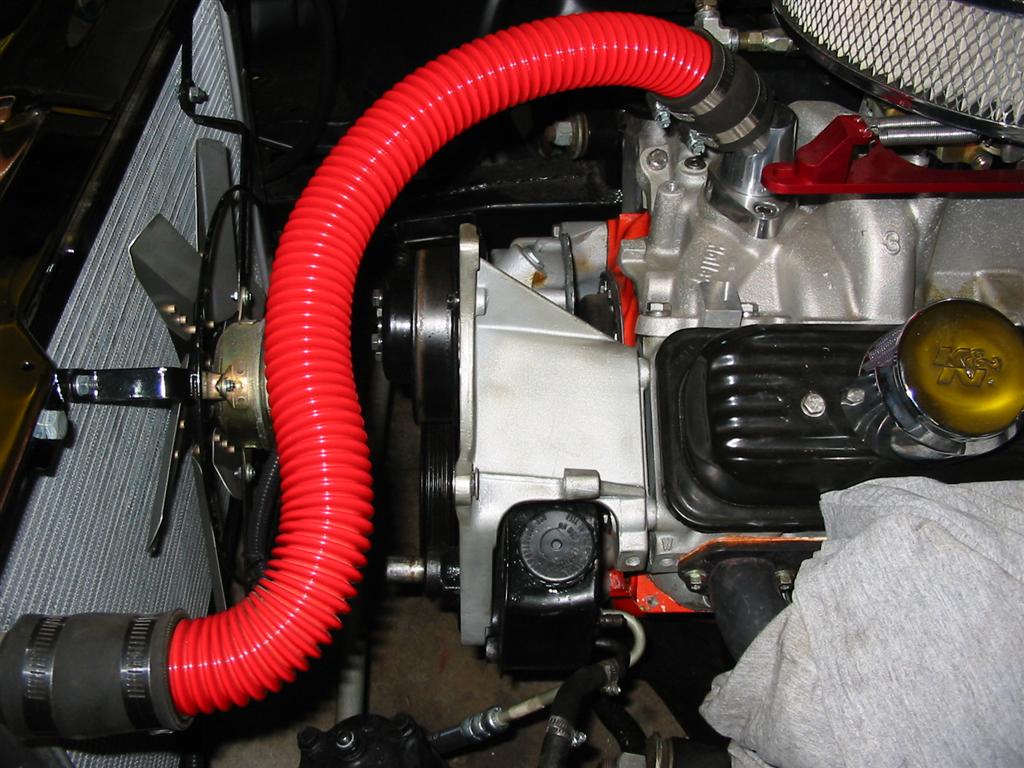
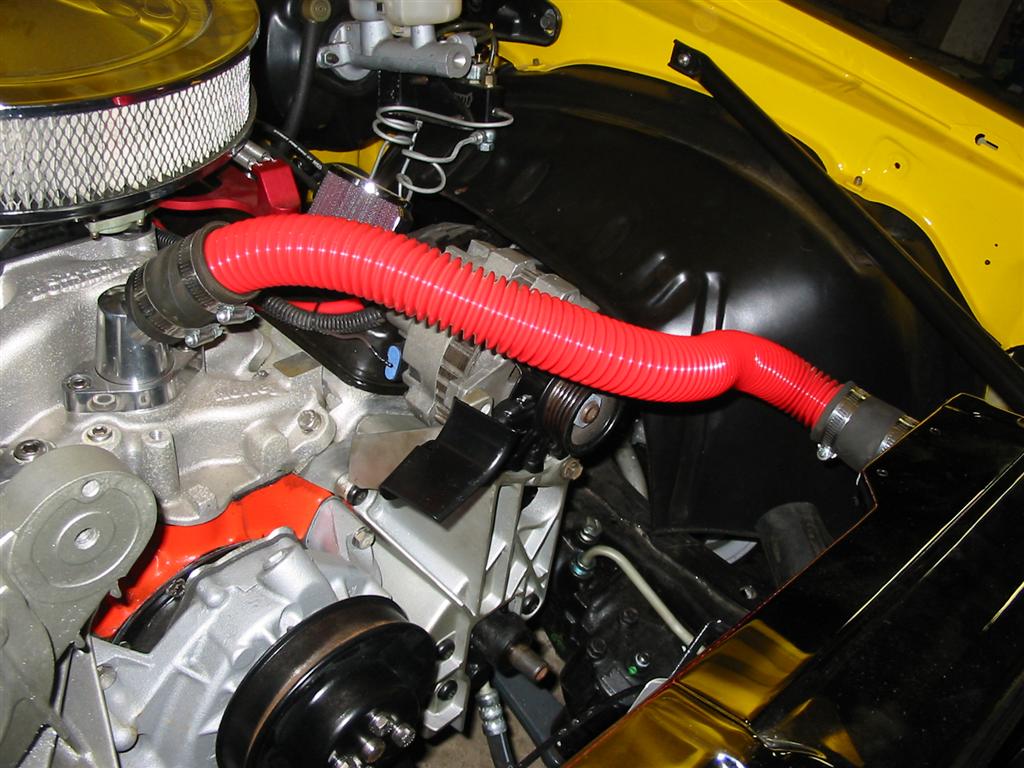
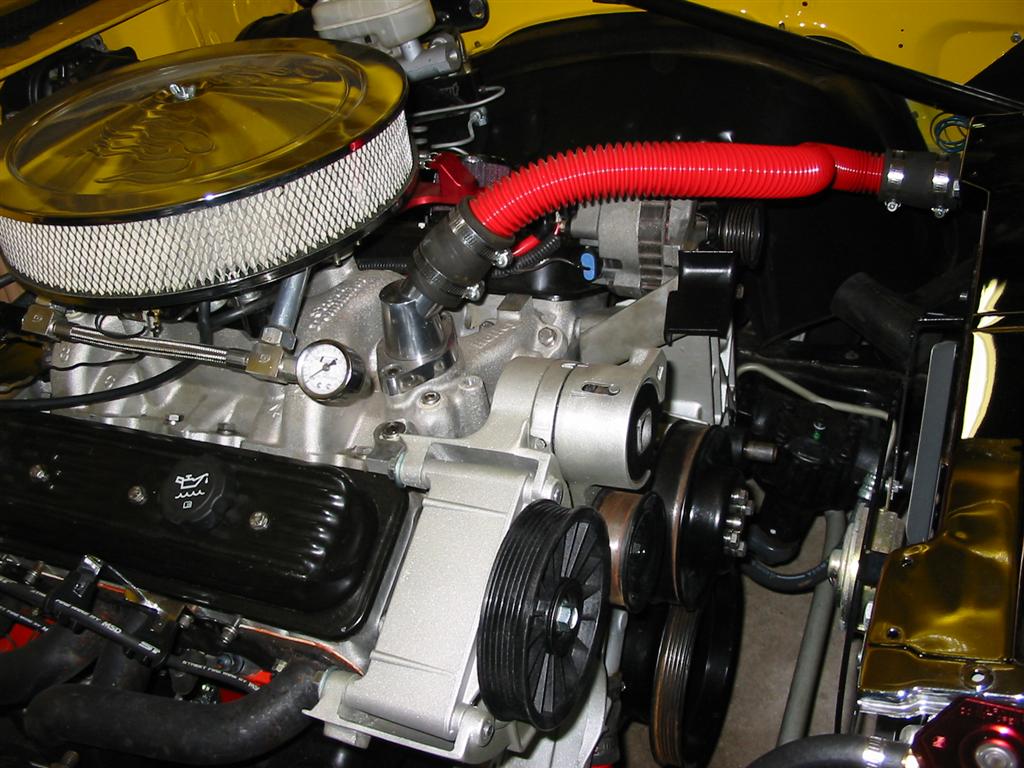
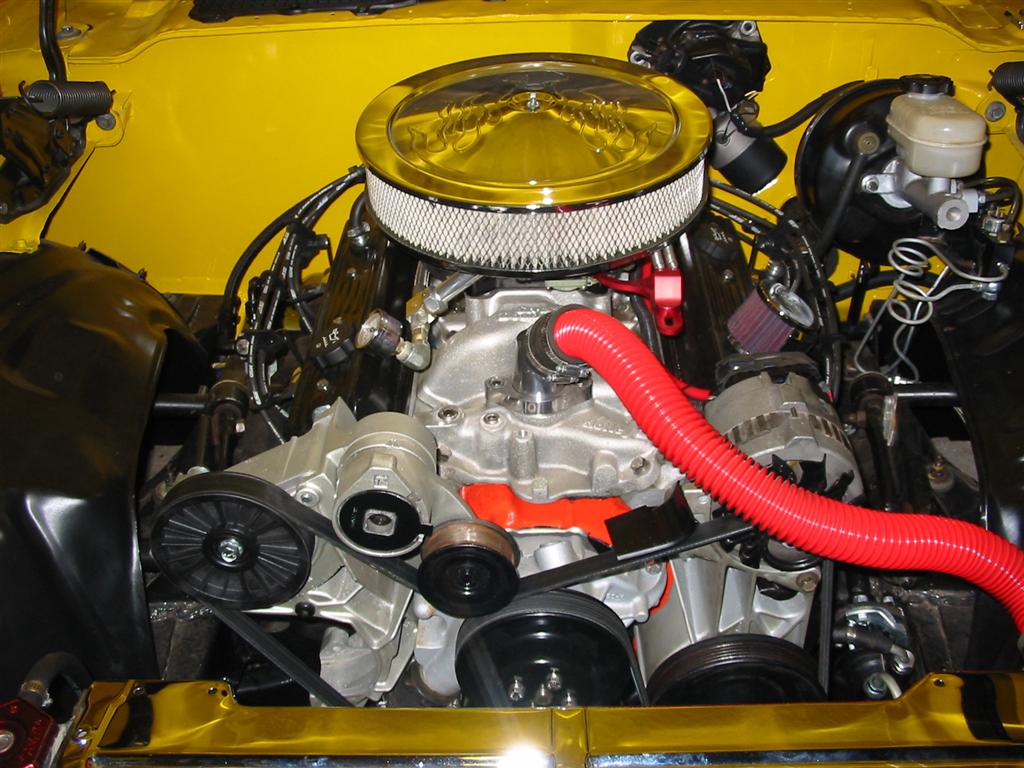
| Here is the TPI serpentine belt system installed. | |
|

|
|
|