|
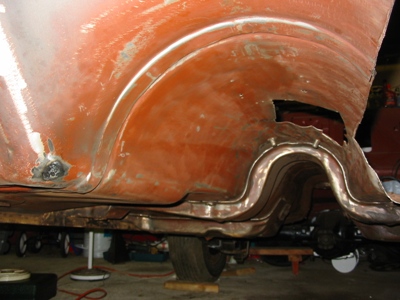
Here is a picture of the tans tunnel under the car. You can see in the upper right corner,
part of the hole for replacing the left floorboard. For better pictures of the area cut out,
view the previous restoration page.
|
|
|
|
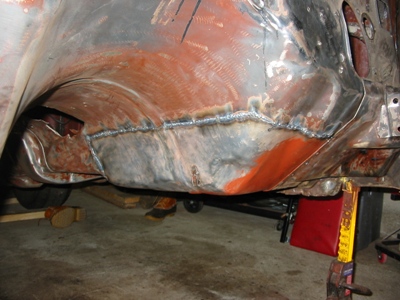
Here are shots of the floorboard panel welded in from under the car. These welds will later be
ground smooth.
|
|
|
|
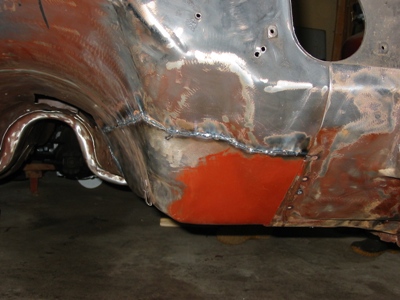
Here are shots of the floorboard panel welded in from inside the car. These welds will later be
ground down. They will not be as smooth as the bottom since they will be covered with seam sealer
and lizardskin.
|

|

|
|
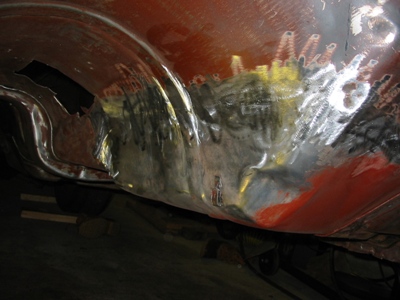
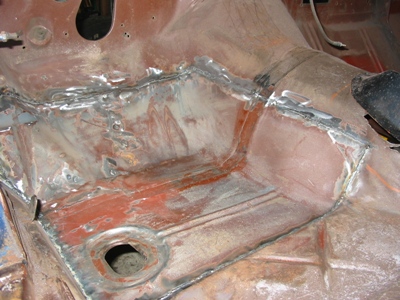
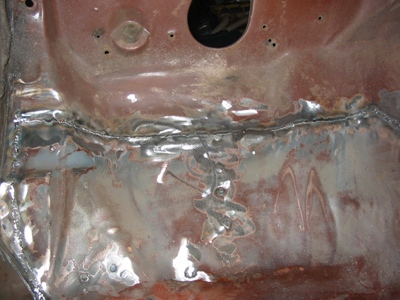
Here are final shots of the floorboard panel welded. The welds have been ground down and are nearly
invisible on he outside of the car. The inside welds are clean but still very visible.
|
|

|
|
|
|
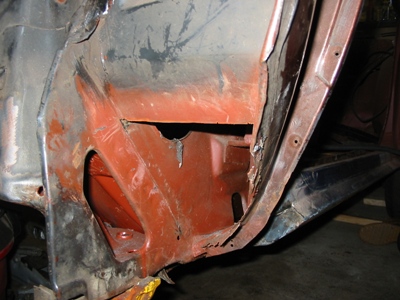
Here is the area of the lower cowl to be repaired. This picture shows the area prepped for the
repair.
|
|
|
| Here are the lower cowl patch pieces. The patch on the left is for the front of the
cowl. The patch on the right is for the side of the cowl.
|

|

|
| This is the first section to be patched. I decided to patch the side area first.
|

|
|
|
|
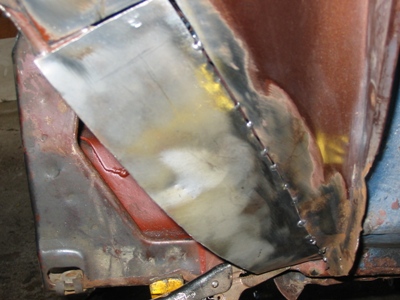
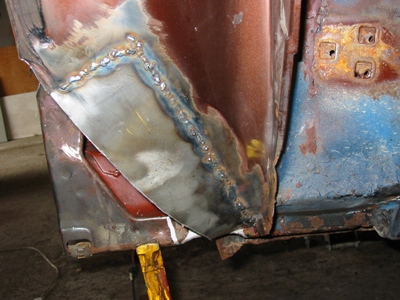
| Here is the side of the cowl completely welded and ground smooth.
|
After the side of the cowl was repaired, I coated the area on the inside with Zerorust before installing the front patch.
|
|
|
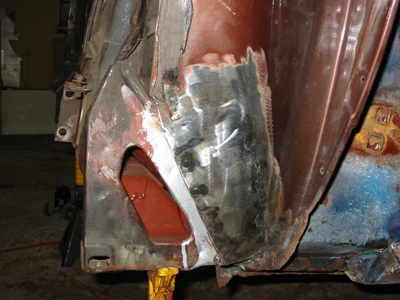
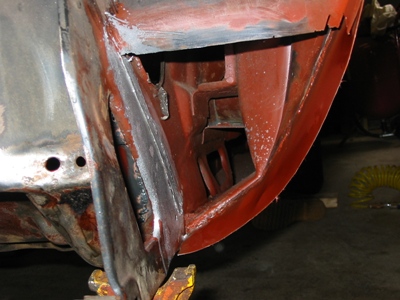
| Here are pictures of the front patch panel being trial fitted then installed. I am not concerned about the
appearance of the welds in the corners, because they will be covered with seam sealer.
|

|

|

|
|


