|
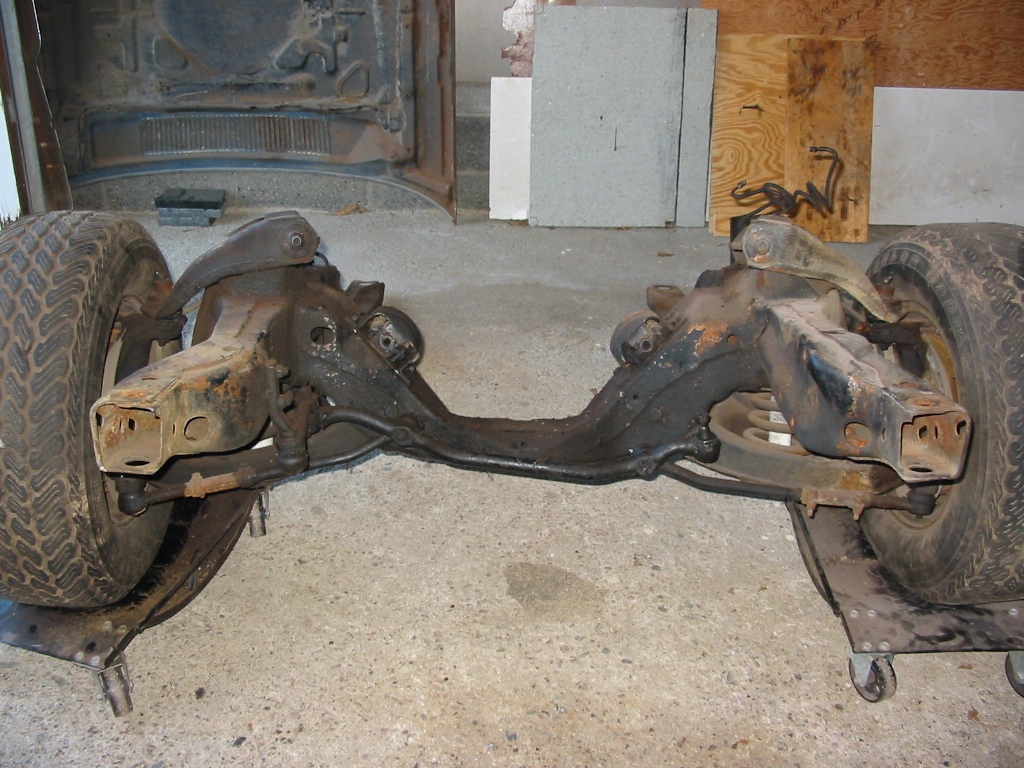
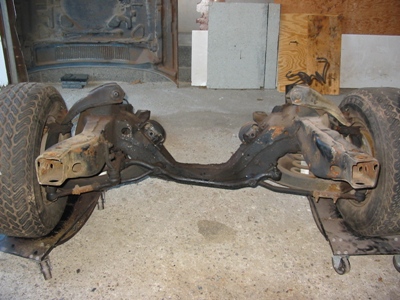
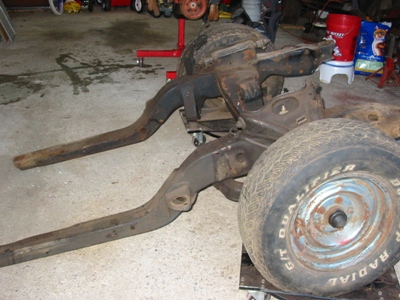
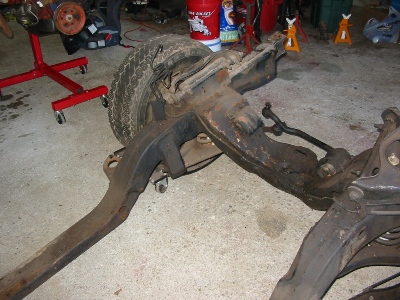
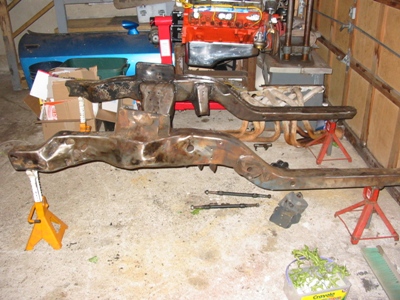
Here are pictures of the subframe with the engine and some of the steering linkage removed.
|
|
|
|
|
|
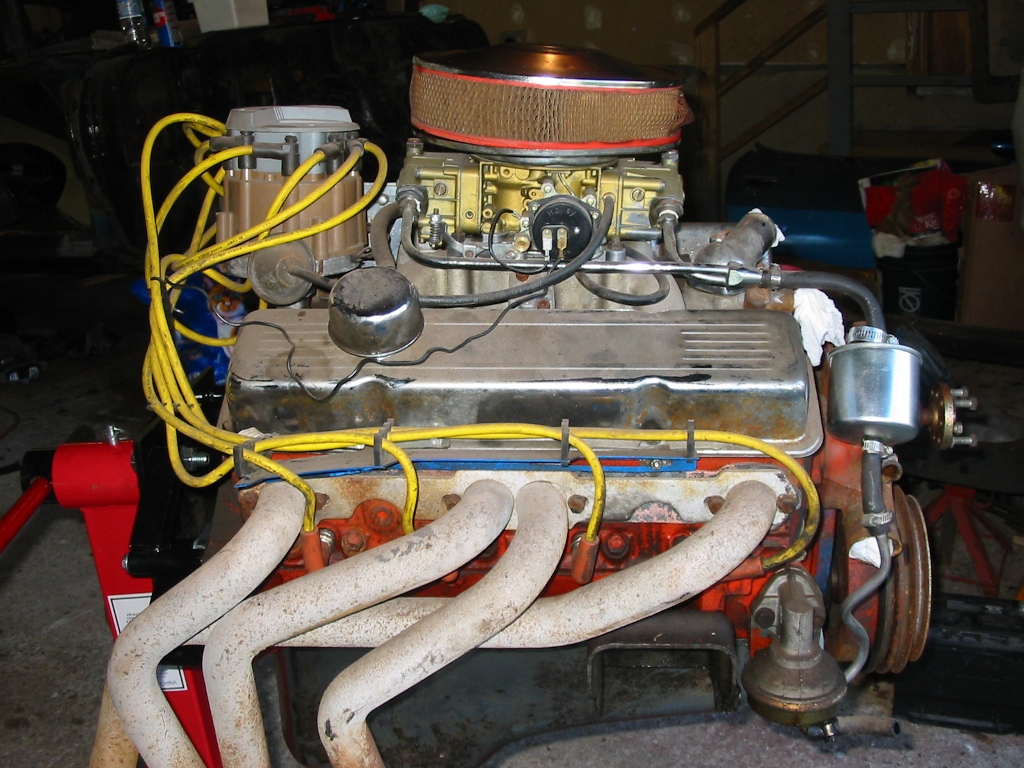
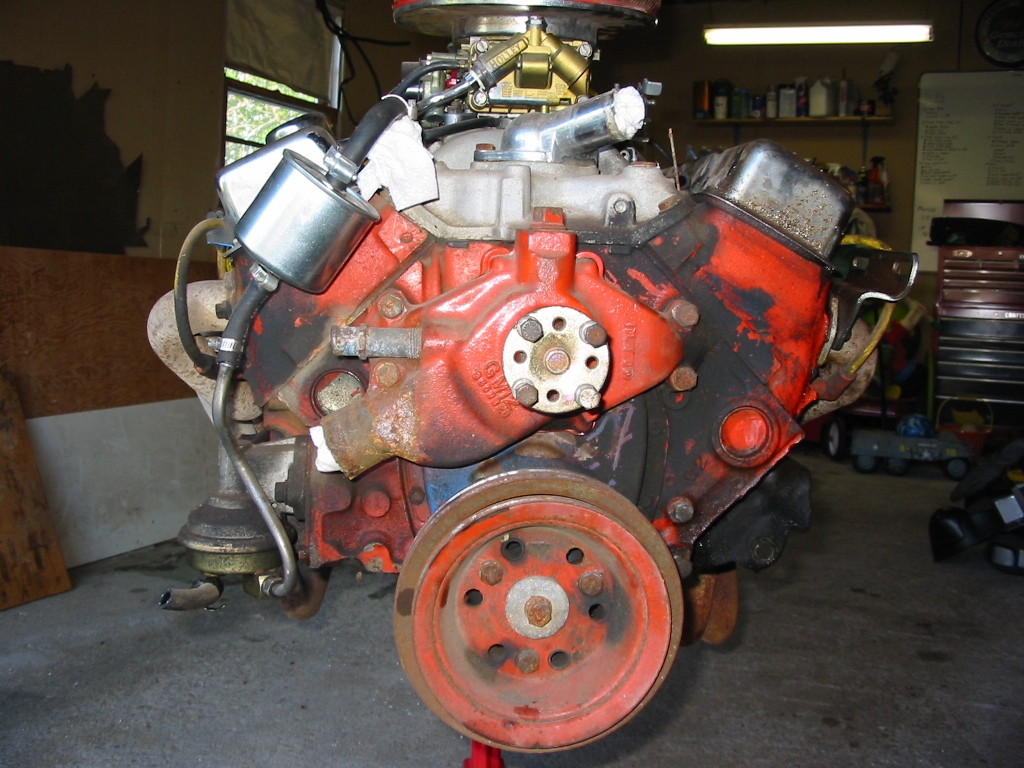
Here are a couple of shots of the engine after it was pulled from the subframe.
|

|

|
|
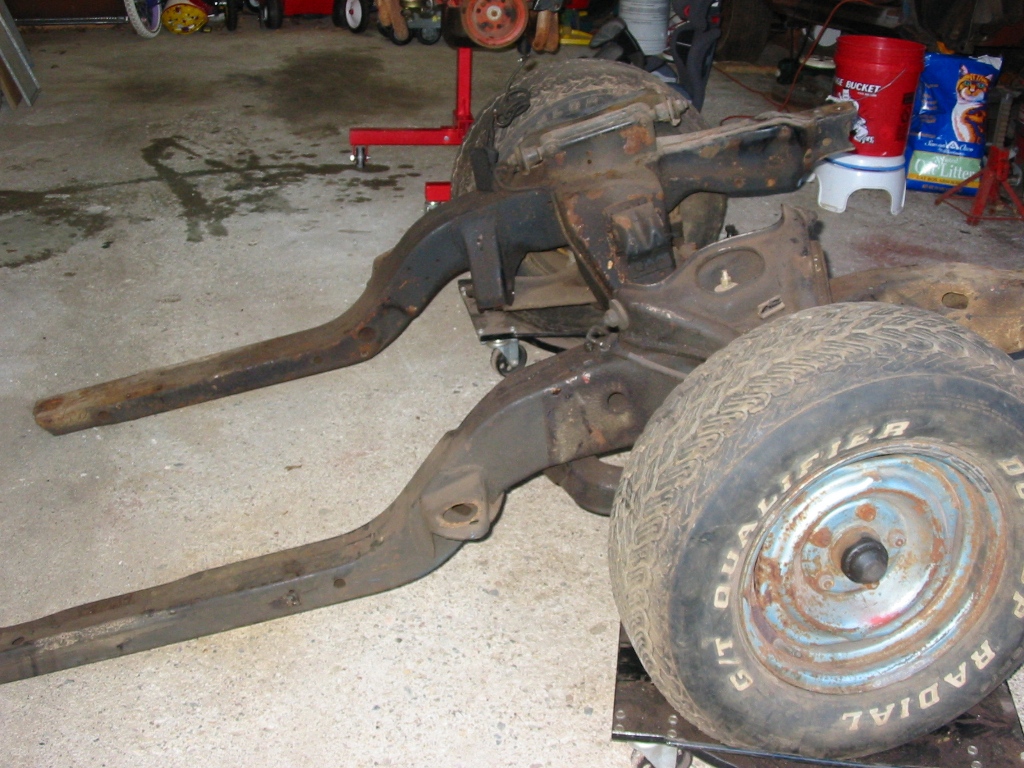
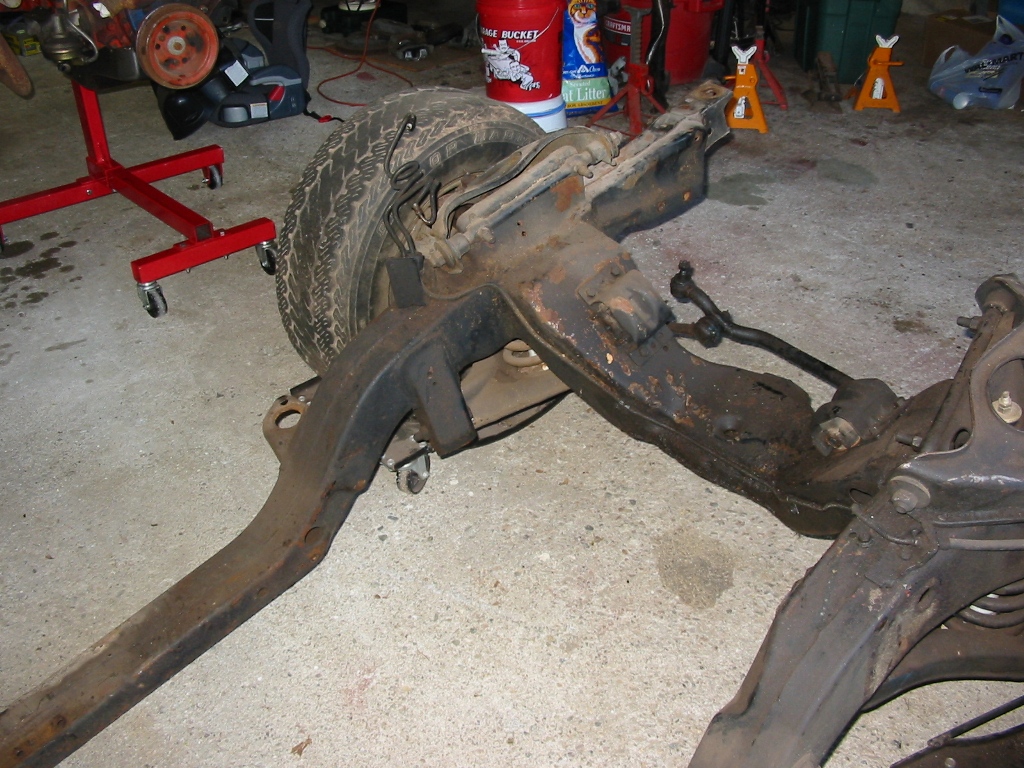
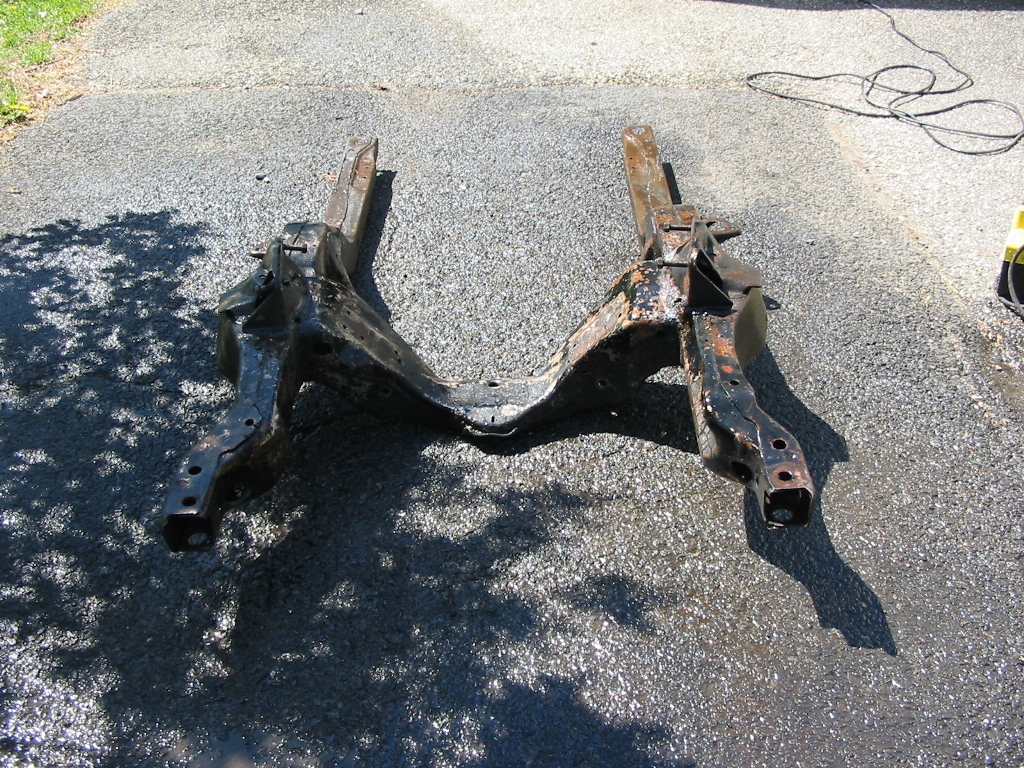
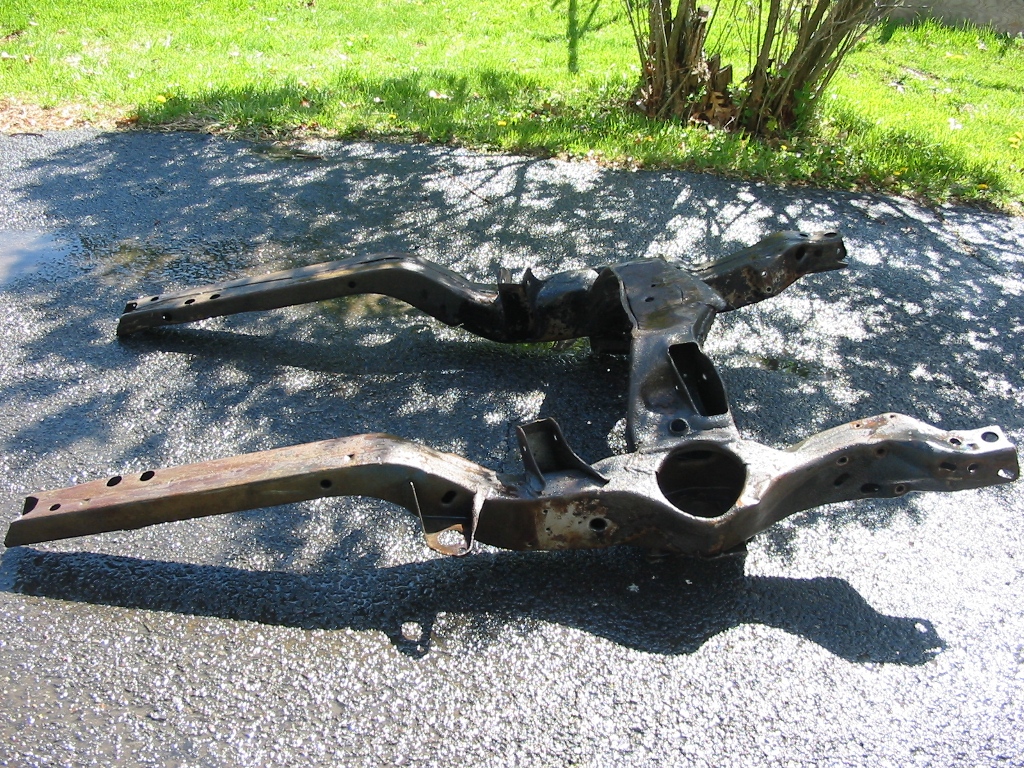
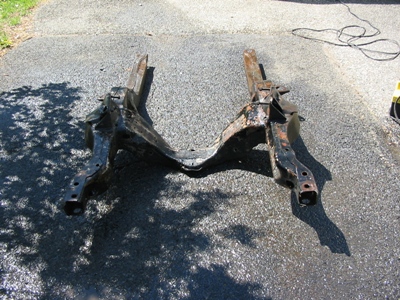
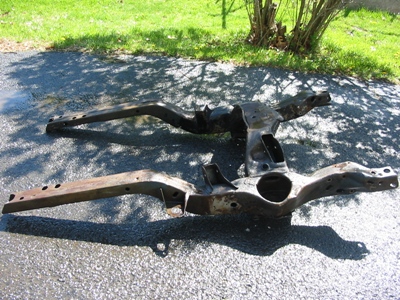
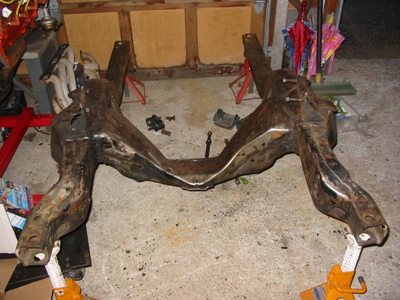
Here are some shots of the subframe stripped of everything. It still needs a thorough cleaning.
There is 30+ years of grease and road grime on it.
|
|
|
|
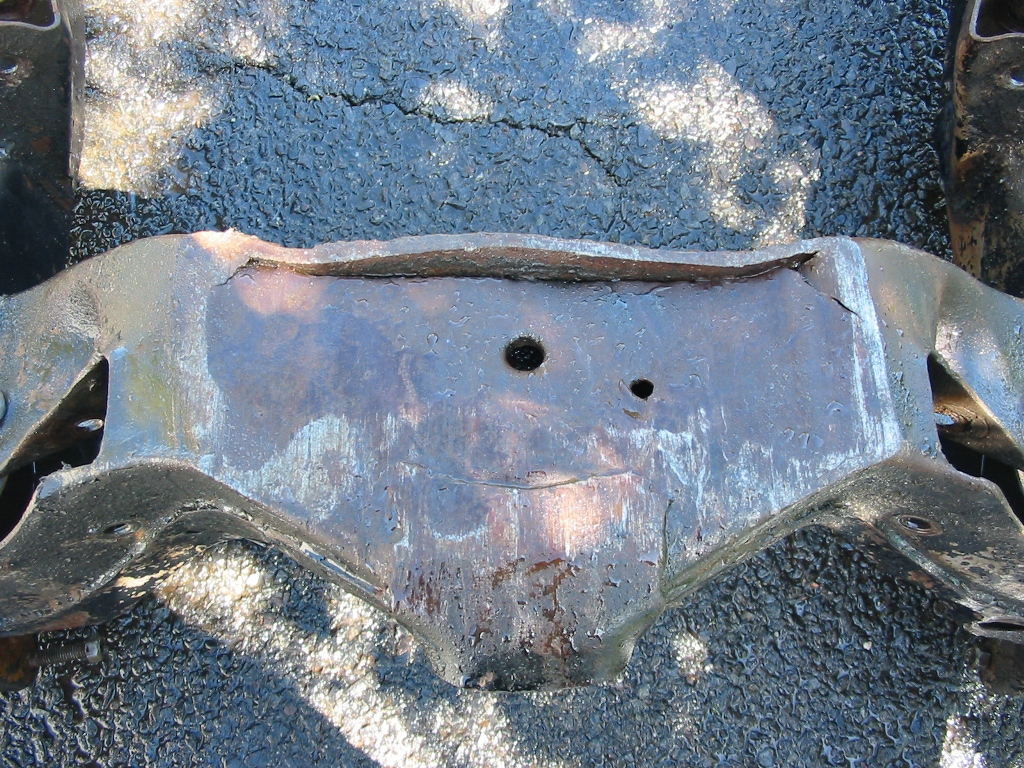
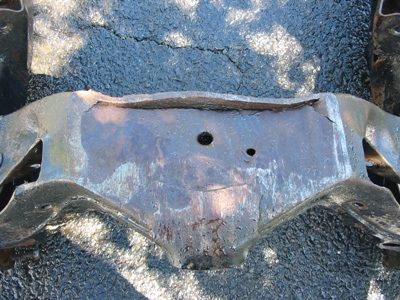
Here is a shot of the damaged crossmember. It looks like it took some shots over the years. I have
since banged the dent out and straightened the crossmember.
|
|
|
|
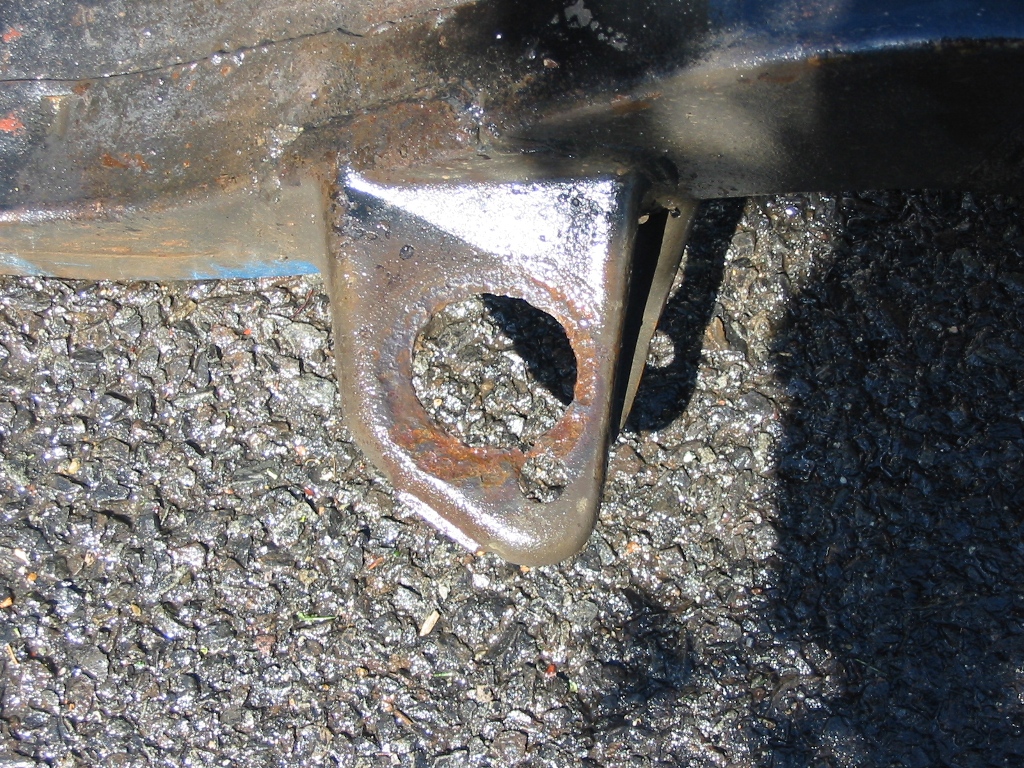
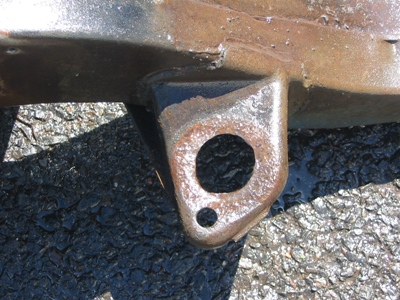
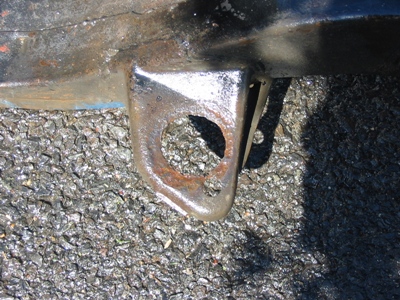
Here are some pictures of the front body mounting holes. These are rusted and will need new metal welded in.
|
|
|
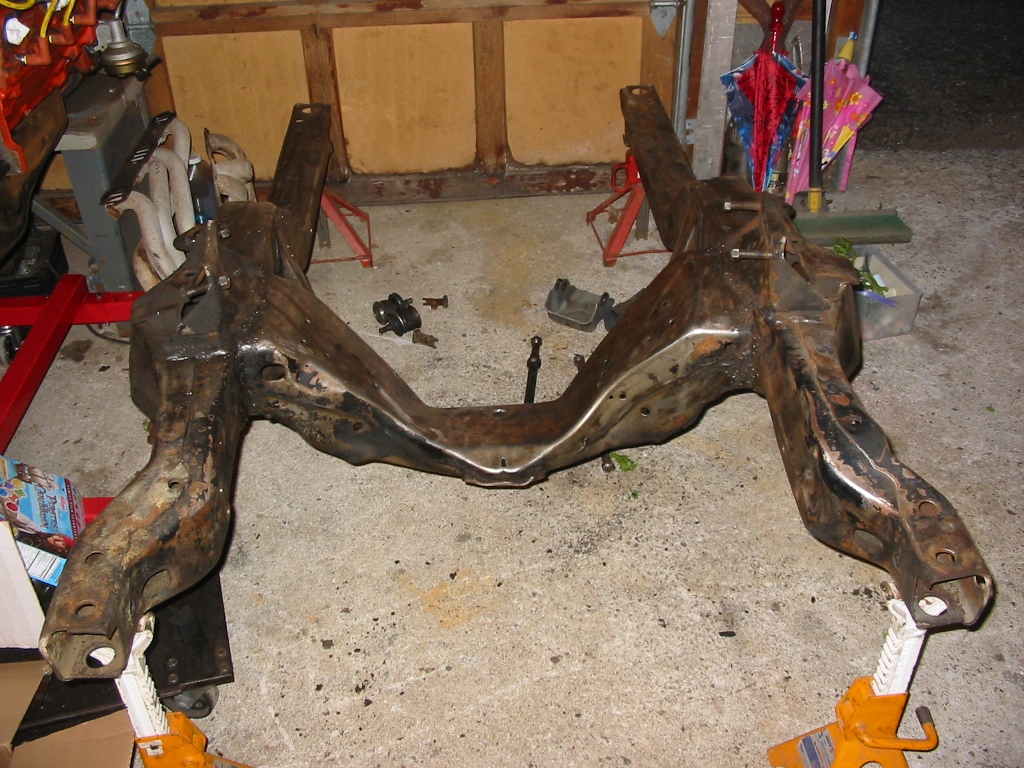
| Here is the subframe sitting on a set of jack stands. The subframe sits level in these
pictures because I banged out the crossmember damage. Fixing the crossmember damage require some persuasion
from a 10 pound sledgehammer and a big pry bar. I still need to weld the area back up.
|
|
|
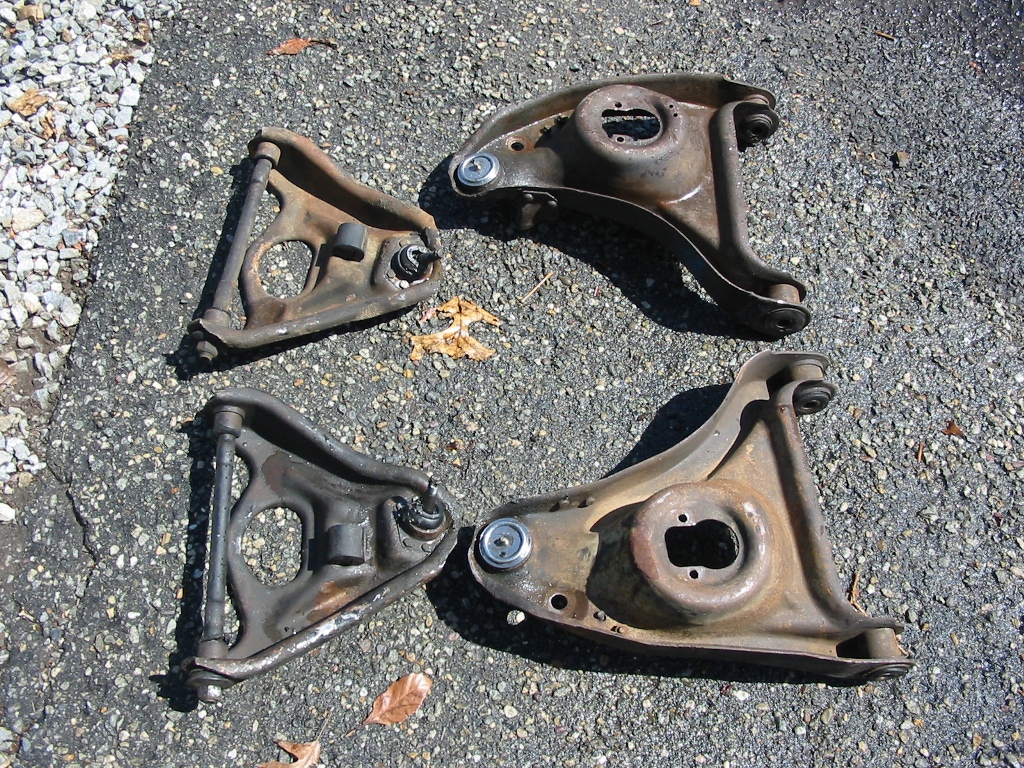
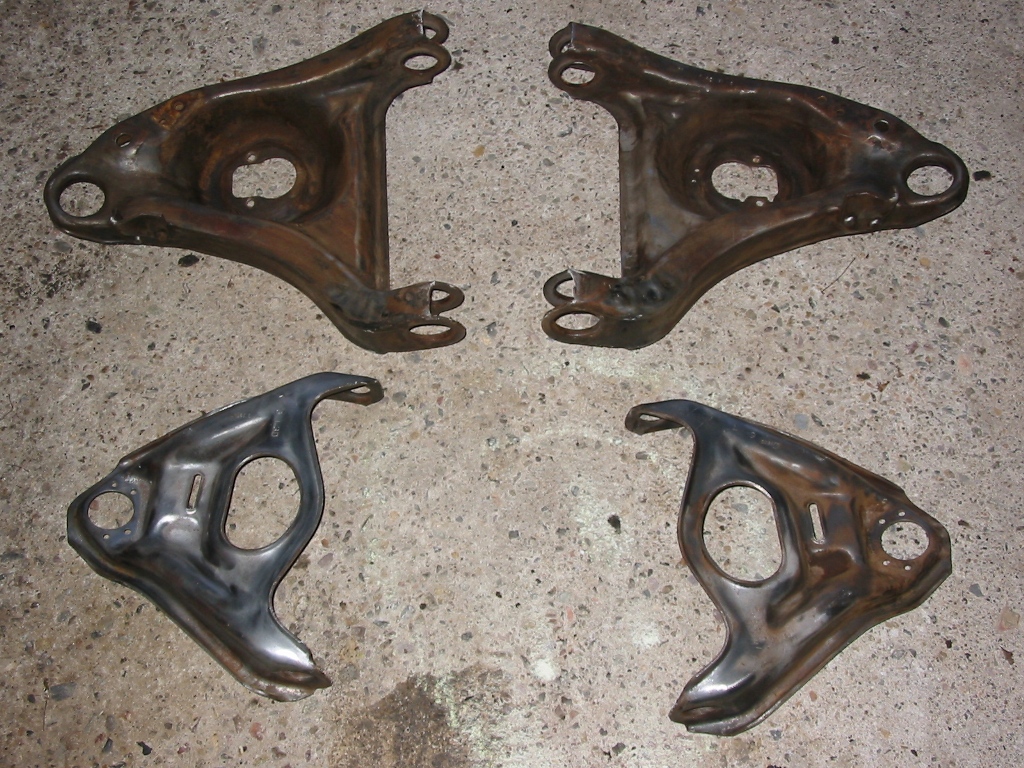
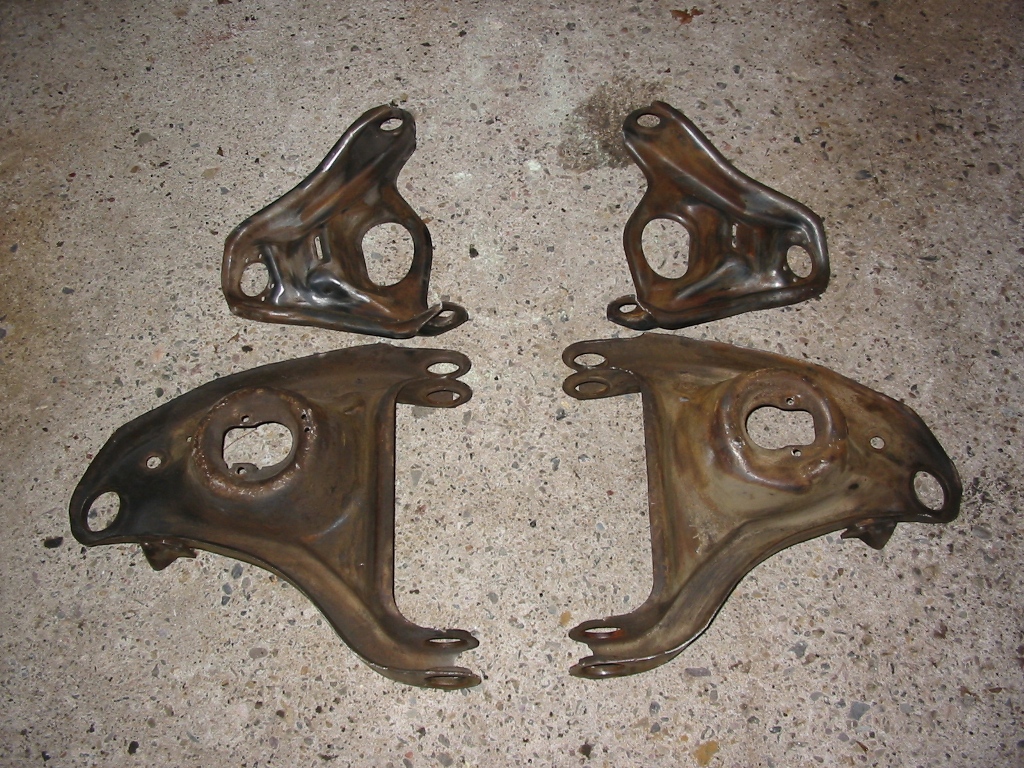
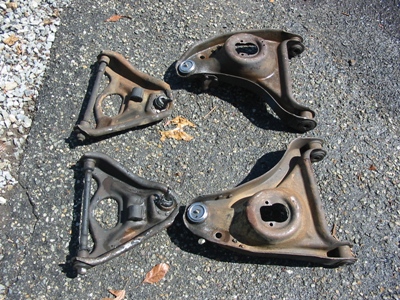
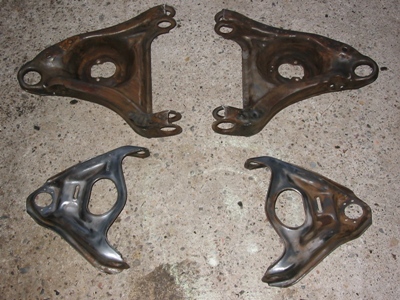
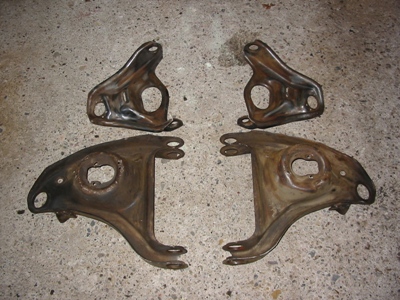
| Here are some pictures of the control arms. The first picture shows them with
ball joints and bushings still installed. The second two pictures shows them both stripped of ball joints and
bushings. You can also see that the upper arms are partially cleaned and nearly ready for POR15. As a scary
side note, the lower ball joints popped out with a hit of a hammer. I think I need to replace them with the
oversized replacement ball joints when the time comes.
|
|
|
|
|