|

Lower Cowl and Toe Board Repairs (April 06, 2006)
Now that winter's over, I have started working on the car again. The following pictures are from repairs being done the last couple of months. The car is now completely stripped of any part that bolts on to it except, some of the rear suspension. I only have three rust areas left to repair on the shell. I have a rust hole in the lower cowl area on the left side. I also have a small patch of rust to repair in the right side toe board. Lastly, I need to completely replace the left front floor and toe board.After several months, I was lucky enough to find someone selling a decent floorboard/toe board piece. The panel wasn't perfect, but it was more than useable. It was missing about six inches of metal from a rollcage install. This section was easy enough to fix.
Documented on this page is the complete repair of the right toe board and the beginning of the left floor repair and the cowl repair.
Status photos as of 4/6/2006:
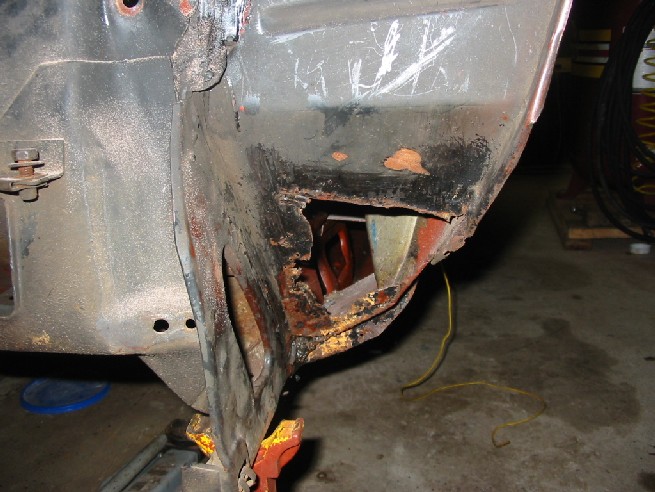
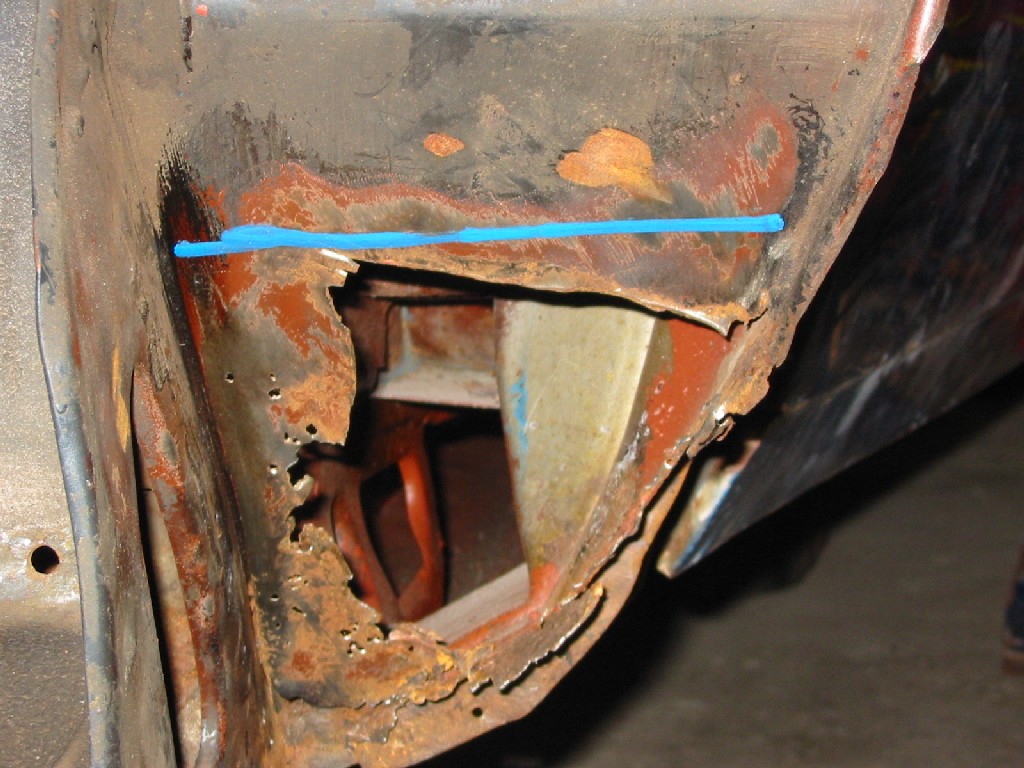
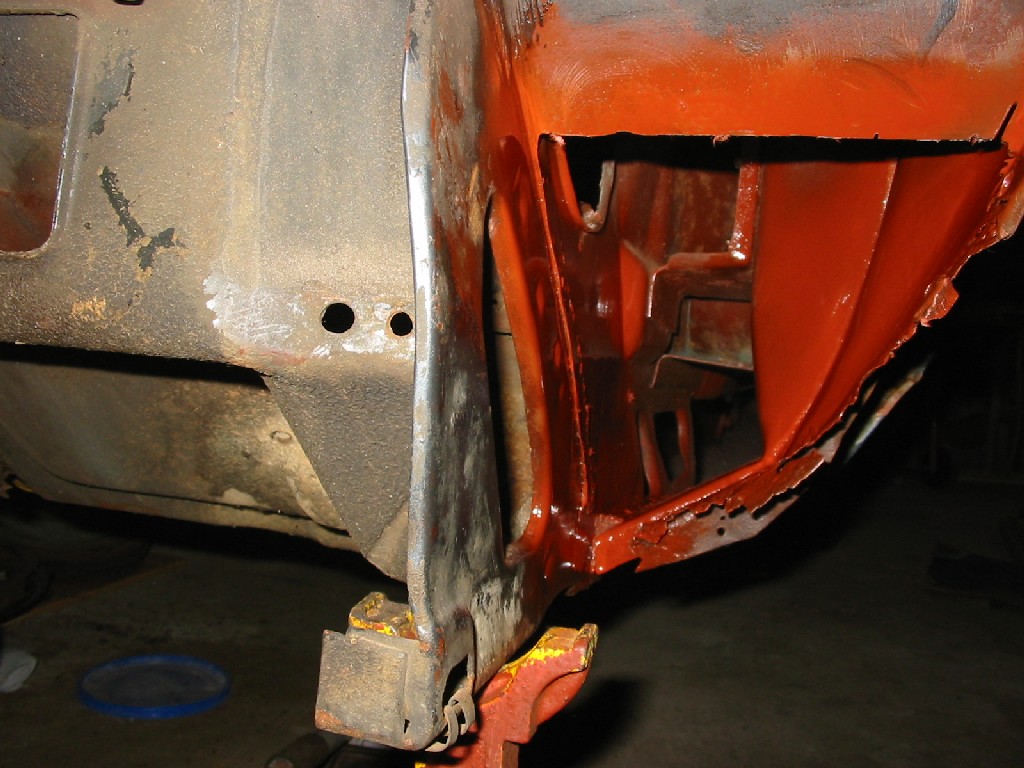
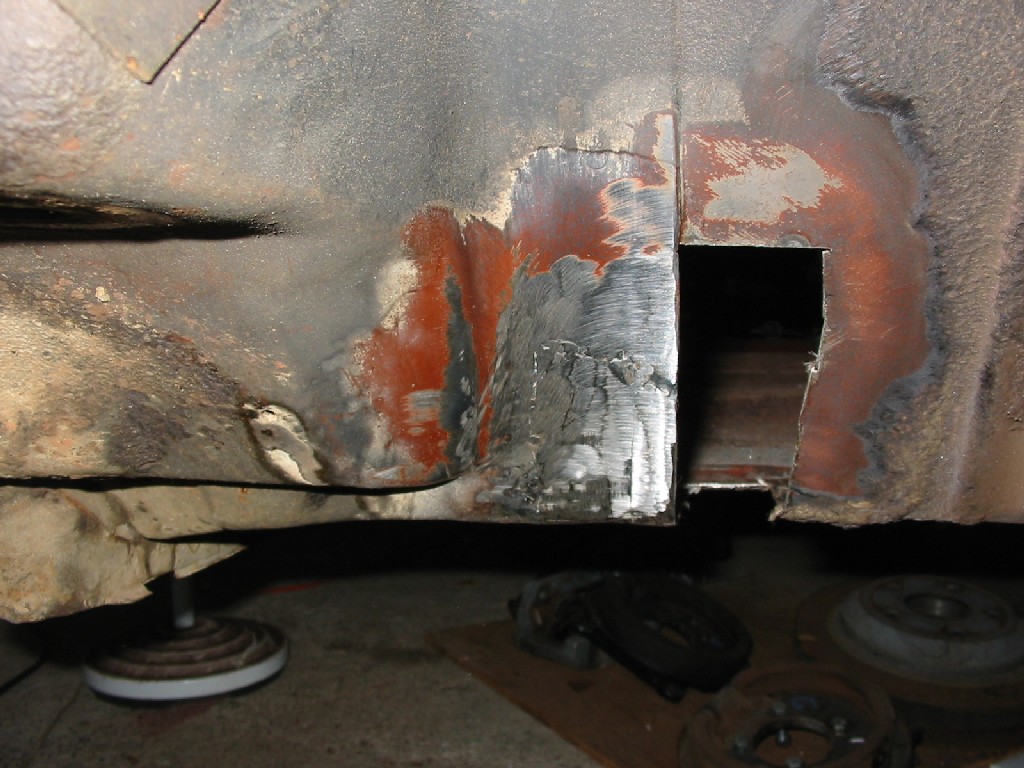
| Here are some pictures of the rust hole in the left lower cowl section. The blue line is where I am going to cut. I will be making a patch for this section out of 18 gauge steel. | |
|
|
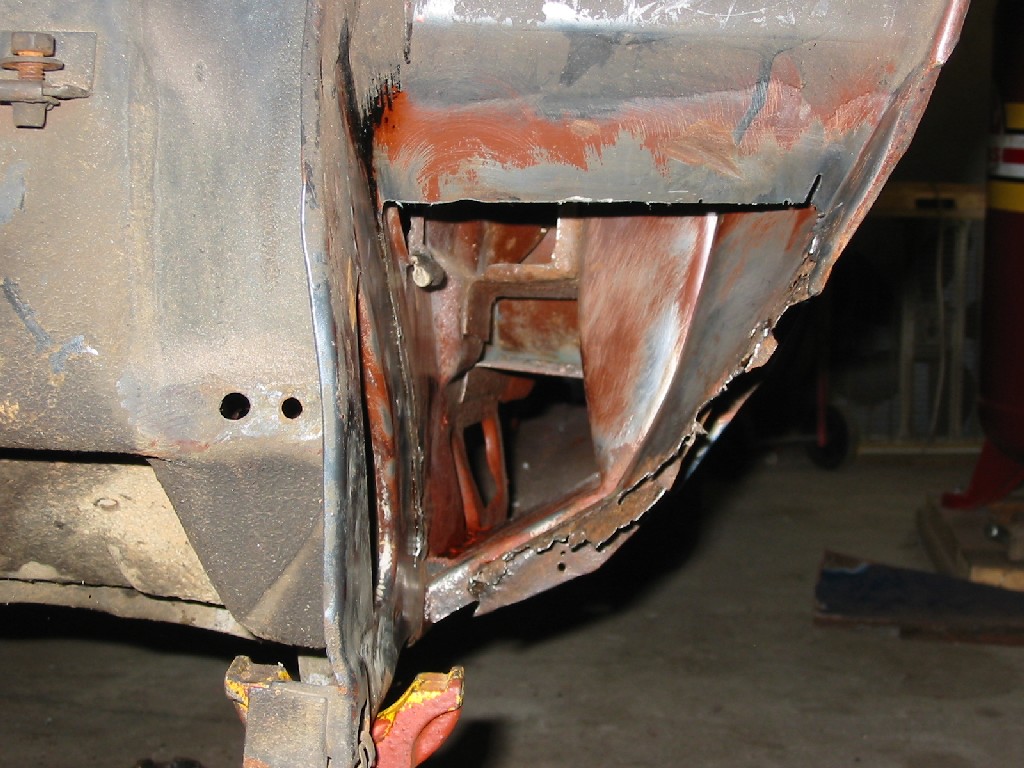
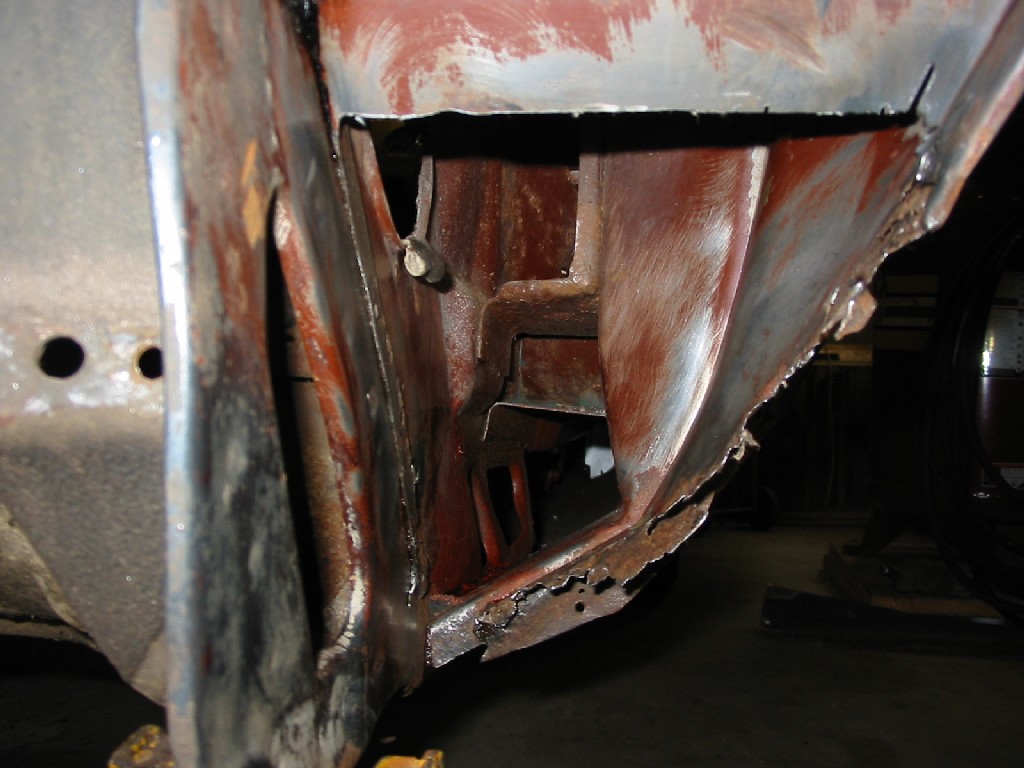
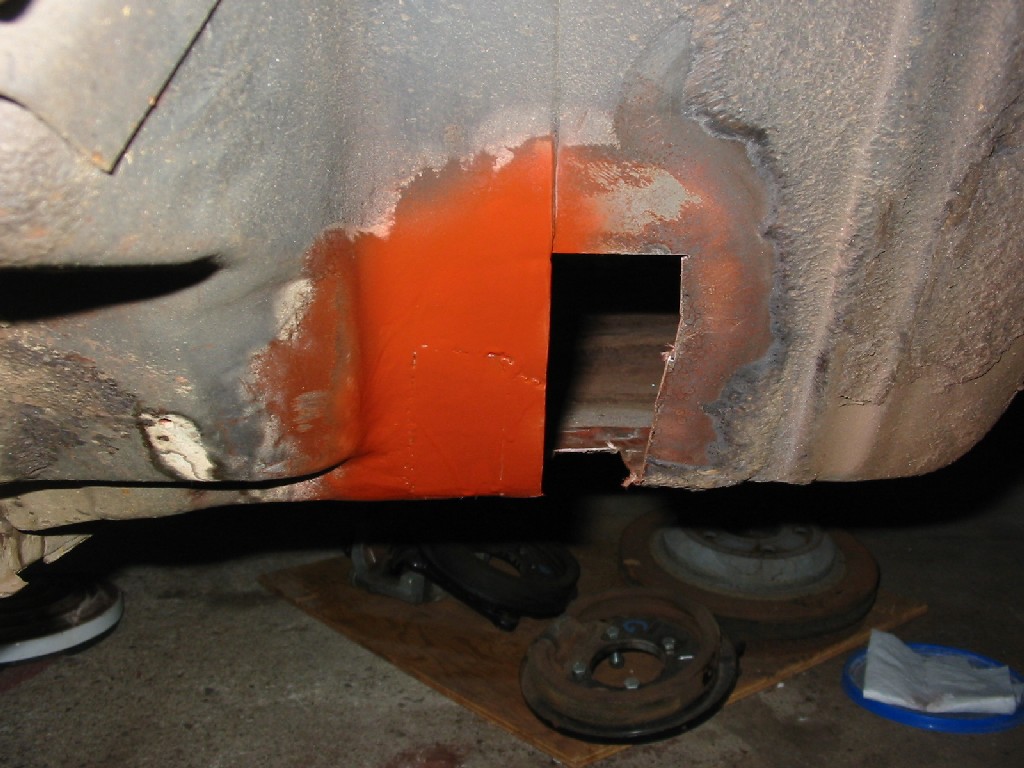
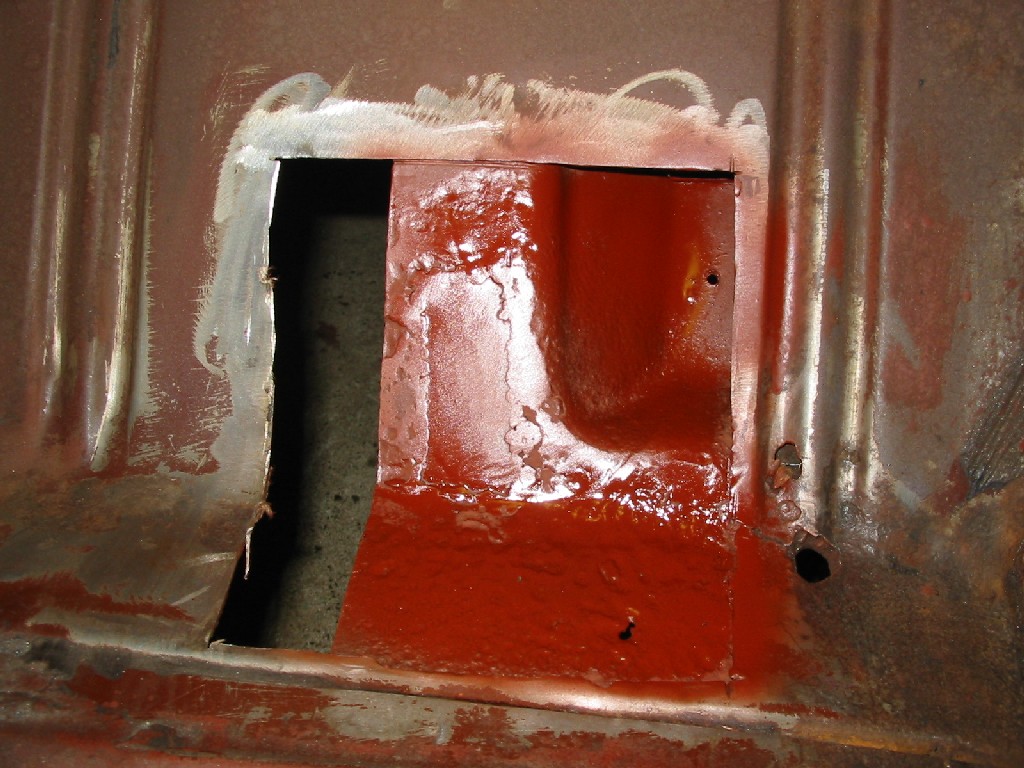
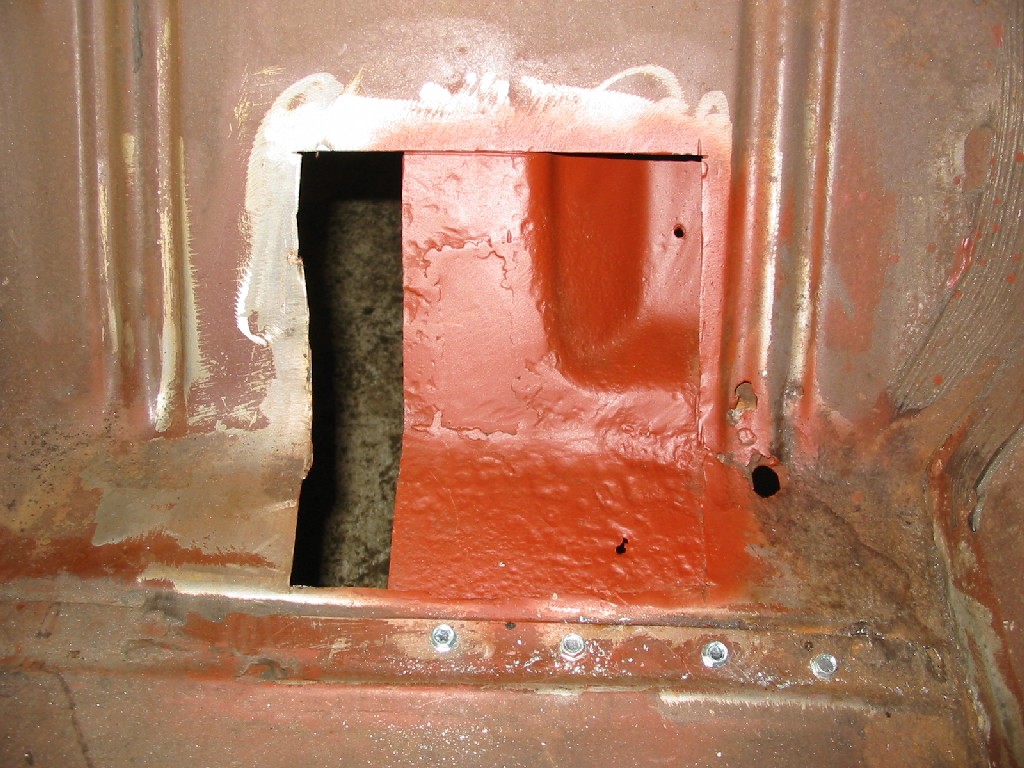
| Here a are shots of some of the rust cut out. I still have to trim and remove the metal on the side. The final one is the area coated with Zero-Rust to prevent any more rust from spreading until I work on this area again. | |
|
|
|
|
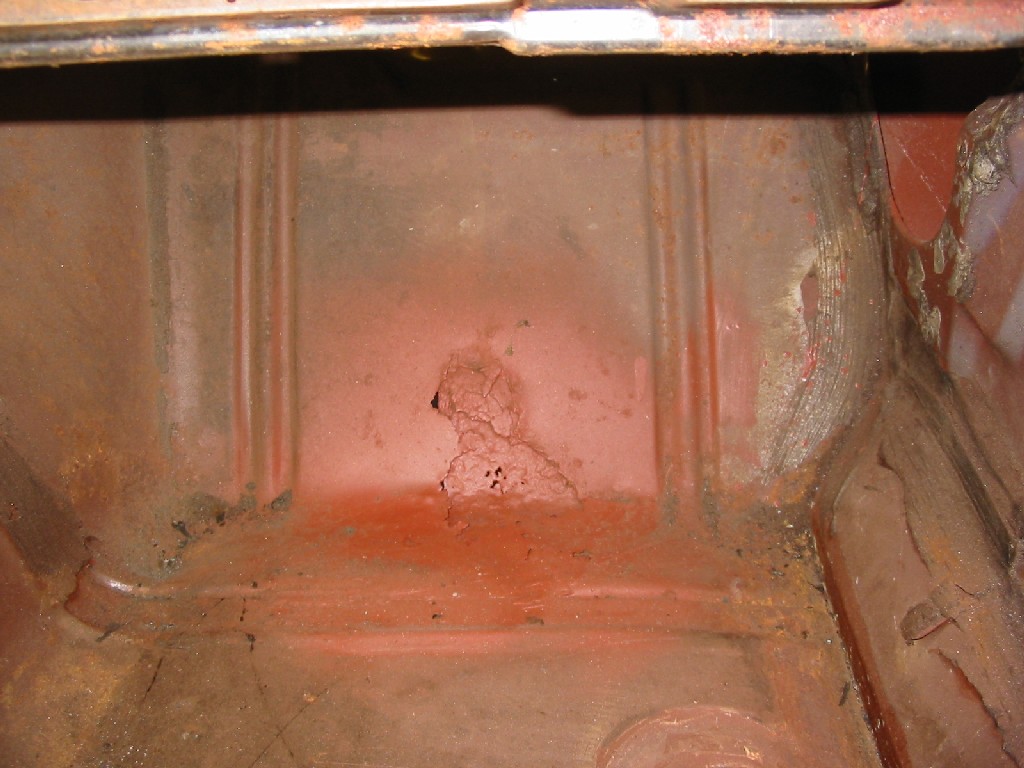
| Here is the right side toe board. I coated it with Zero-Rust about a year ago to keep the rust from spreading while I worked on other parts of the car. | This is how the area looked after cleaning it up a bit with a wire wheel. I will be making a patch for this section out of 18 gauge steel. |
|

|
| Here is toe board with the rust cut out. The last picture is the toe board as viewed from the firewall | |
|
|
|
|
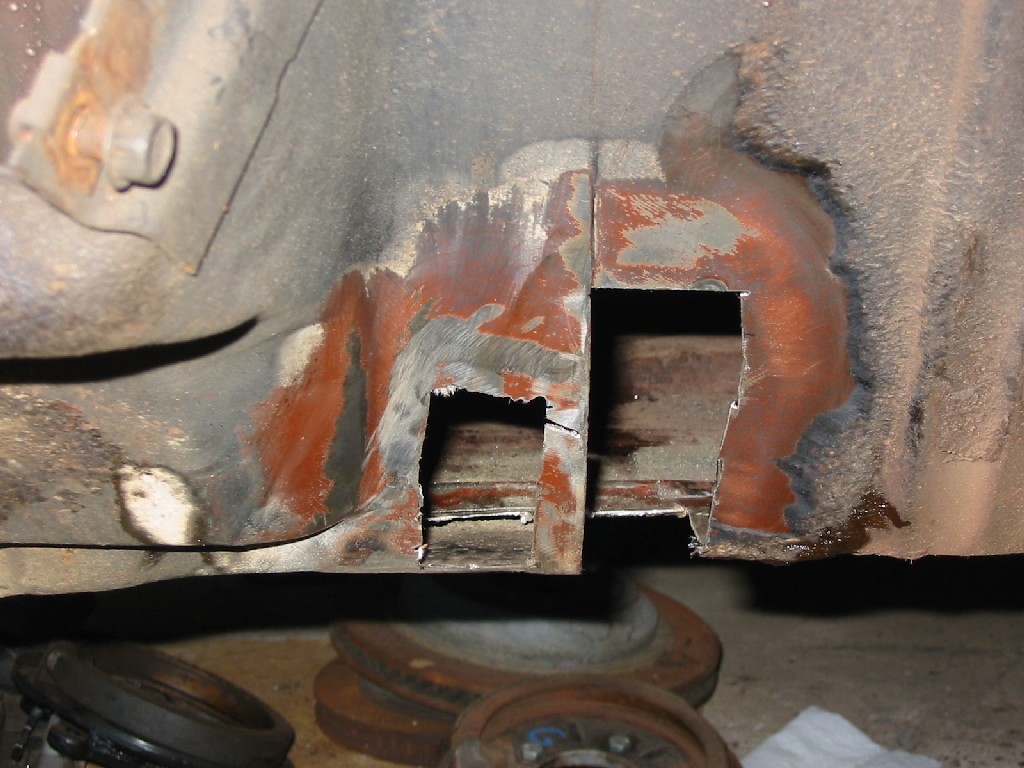
| This is first section to be patched. This is for the support piece beneath the toe board. | |
|
|
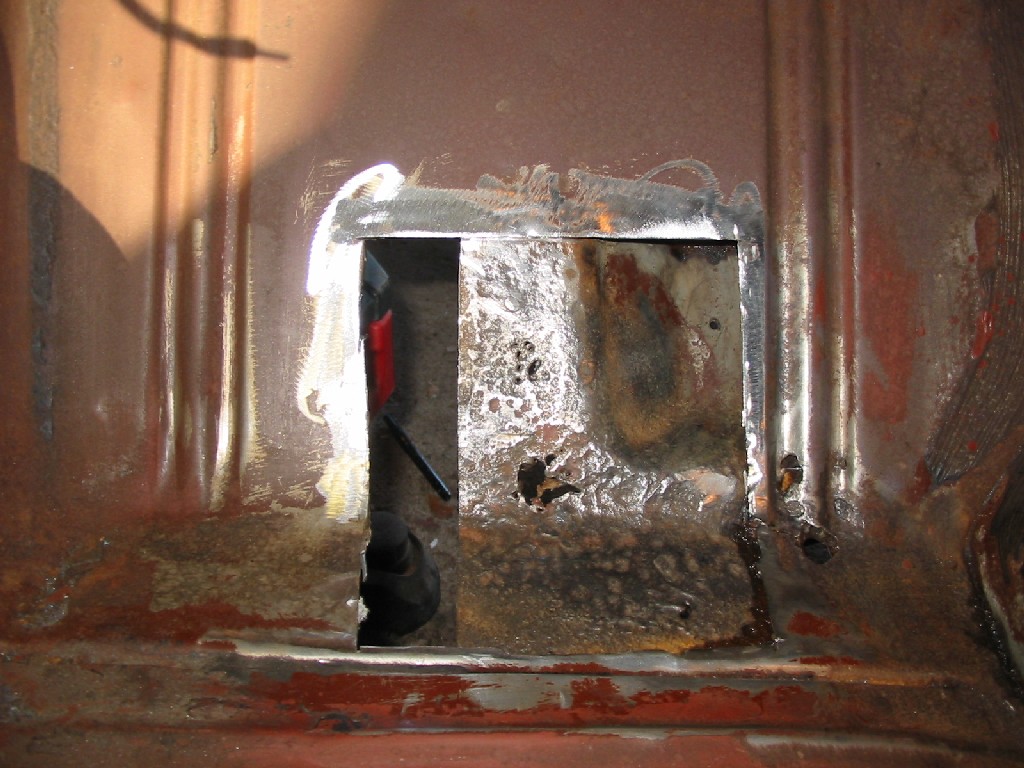
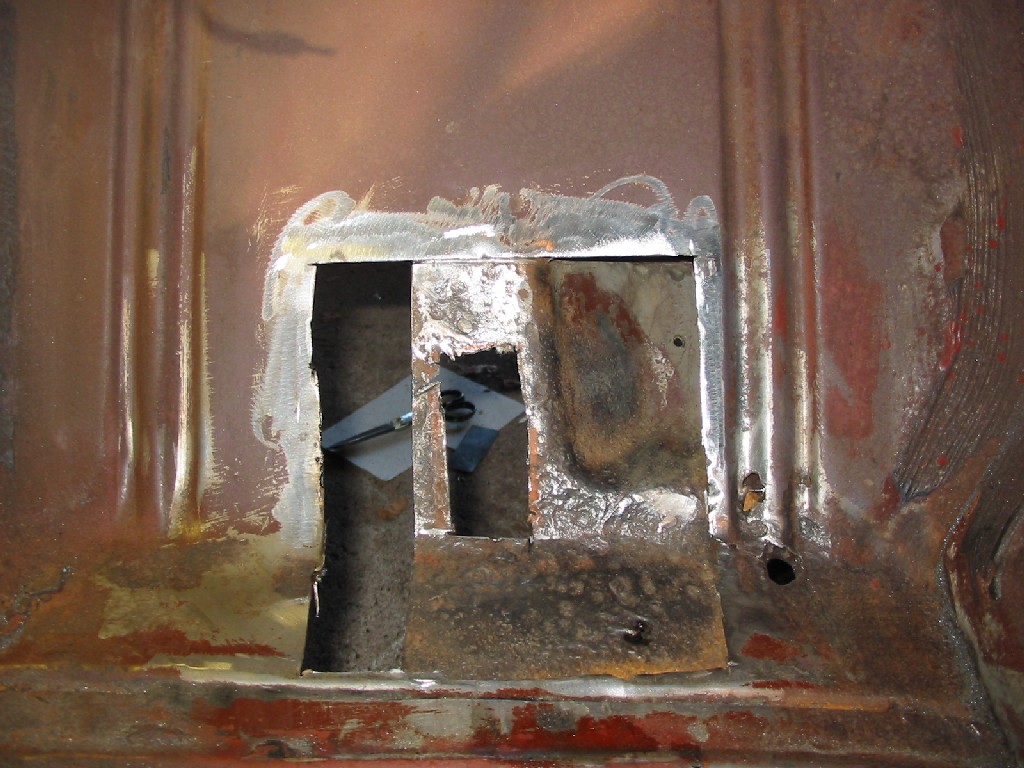
| Here are all the pictures of the repair for the support piece beneath the toe board. Some are from inside the car and others are from the outside. Once again Zero-Rust is used to cover the newly repaired bare steel. | |

|
|
|
|
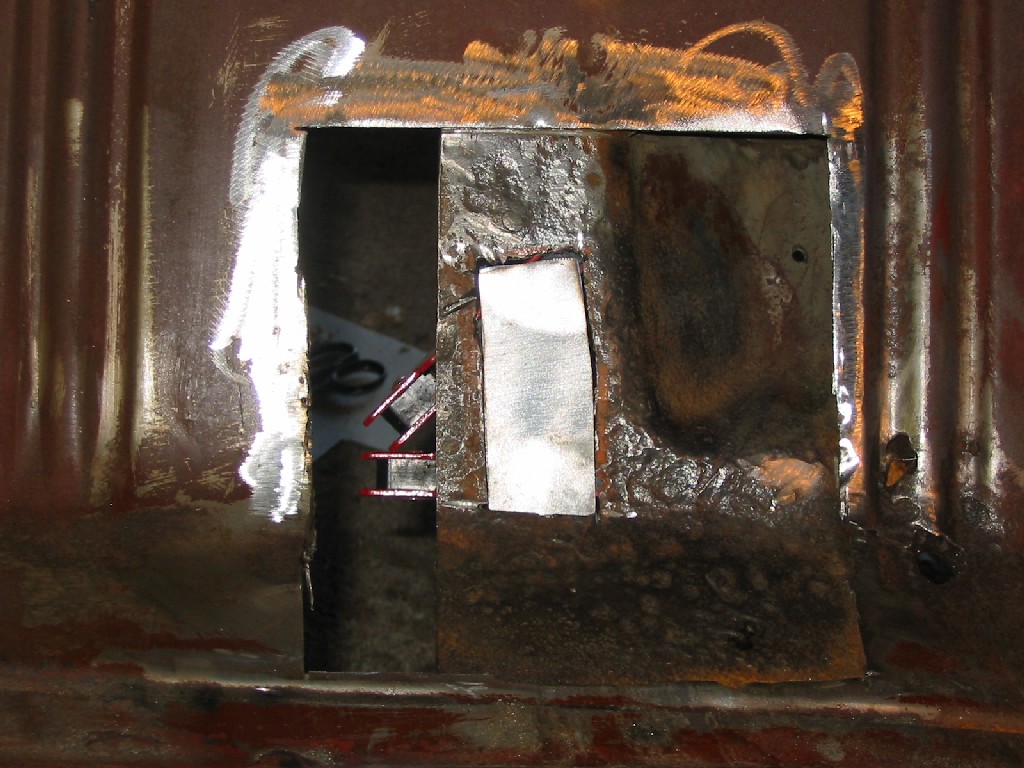
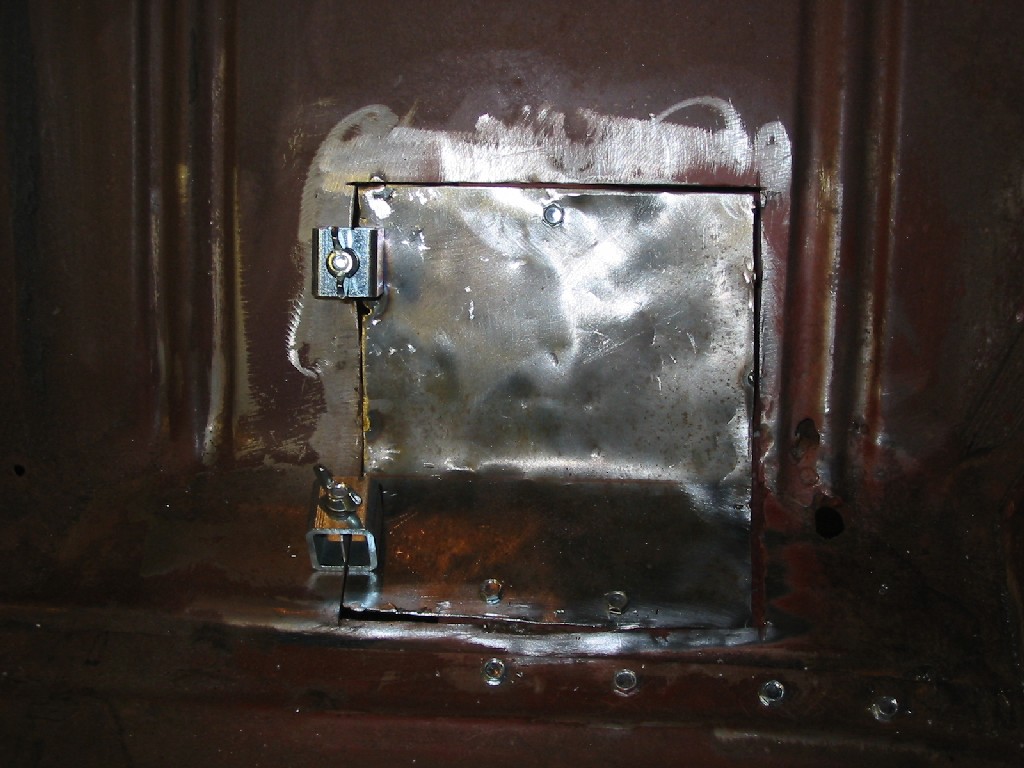
| I stripped the toe board support piece then coated it with Zero-Rust. Once patched, the toe board will cover this section. It was important to clean and rustproof this piece. The screws are to secure the support piece to the floor in preparation of welding in the toe repair panel. | |
|
|
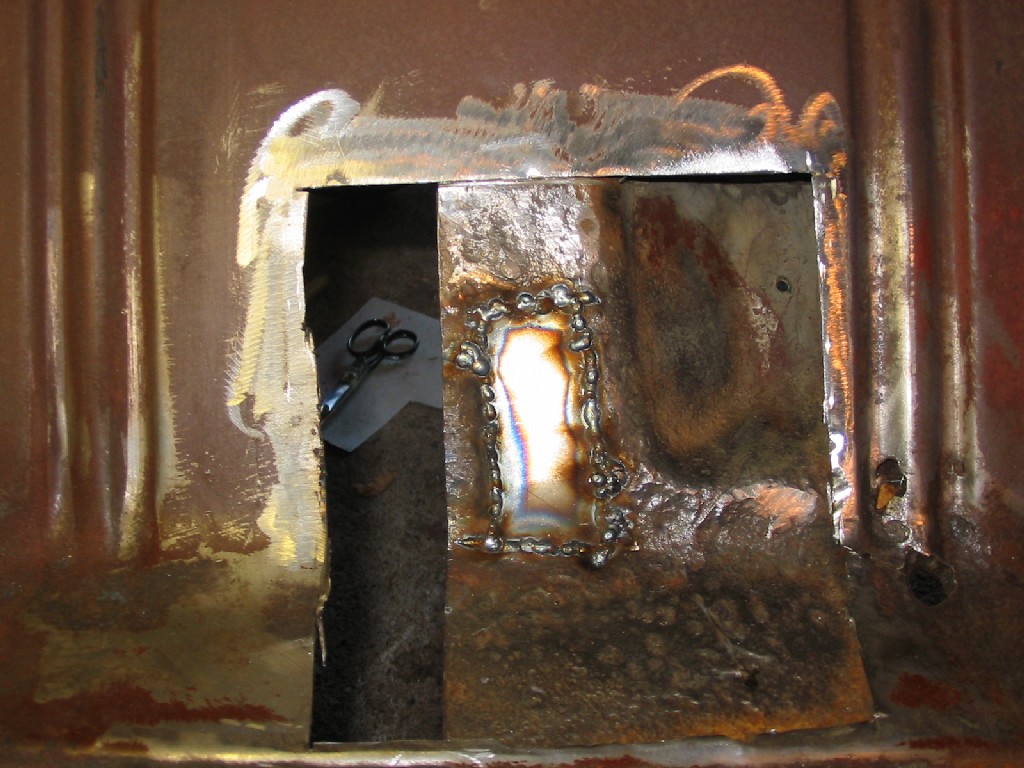
| Here is the toe patch piece clamped into place and ready to be welded. I also coated the bottom of this piece with Zero-Rust to protect it. | |
|
|
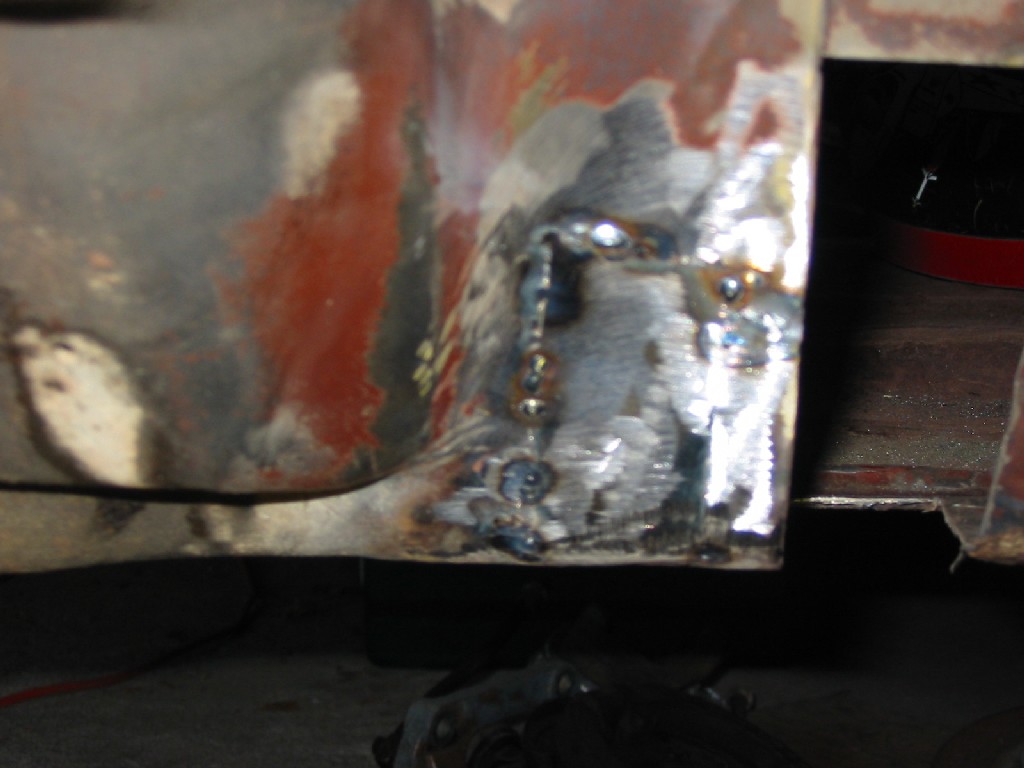
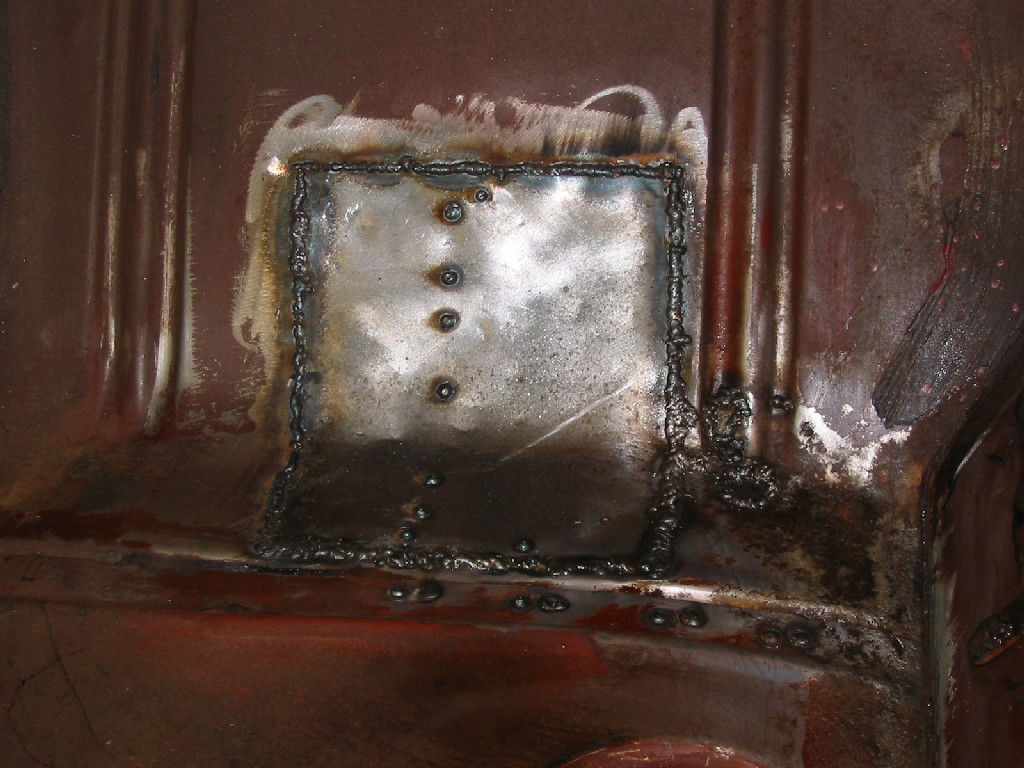
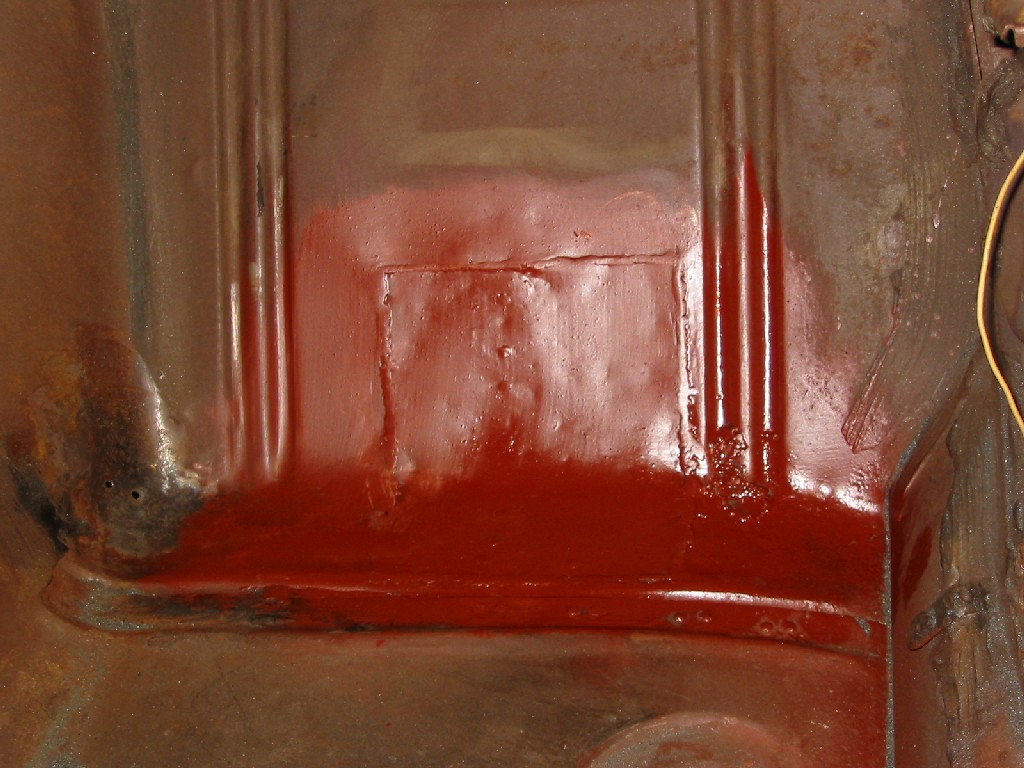
| Here is the completed toe board repair. From under the car the repair is clean and nearly invisible On the inside, you can feel the weld seam. This seam should disappear once the interior is coated with either LizardSkin or truck bed liner. | |
|
|
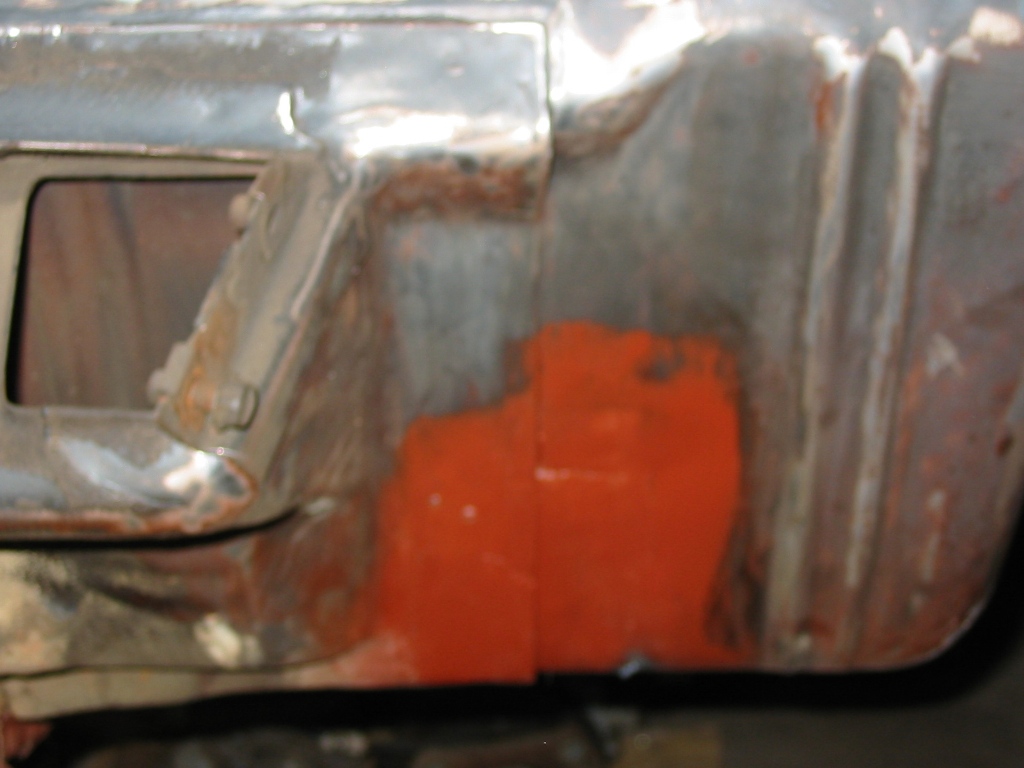
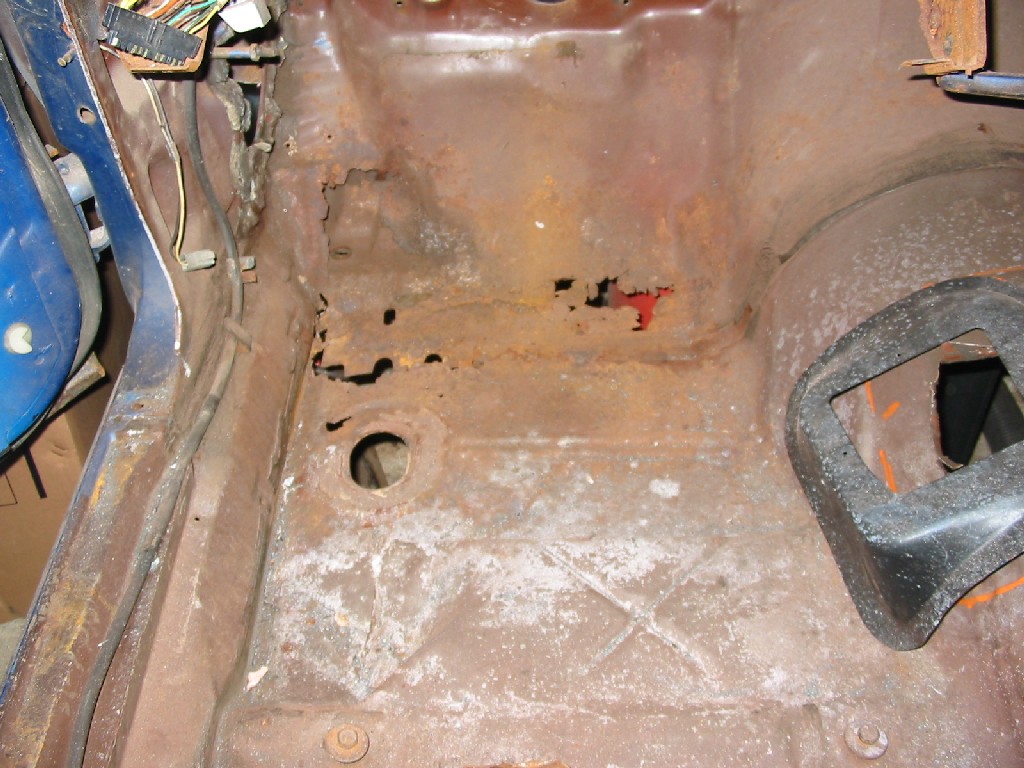
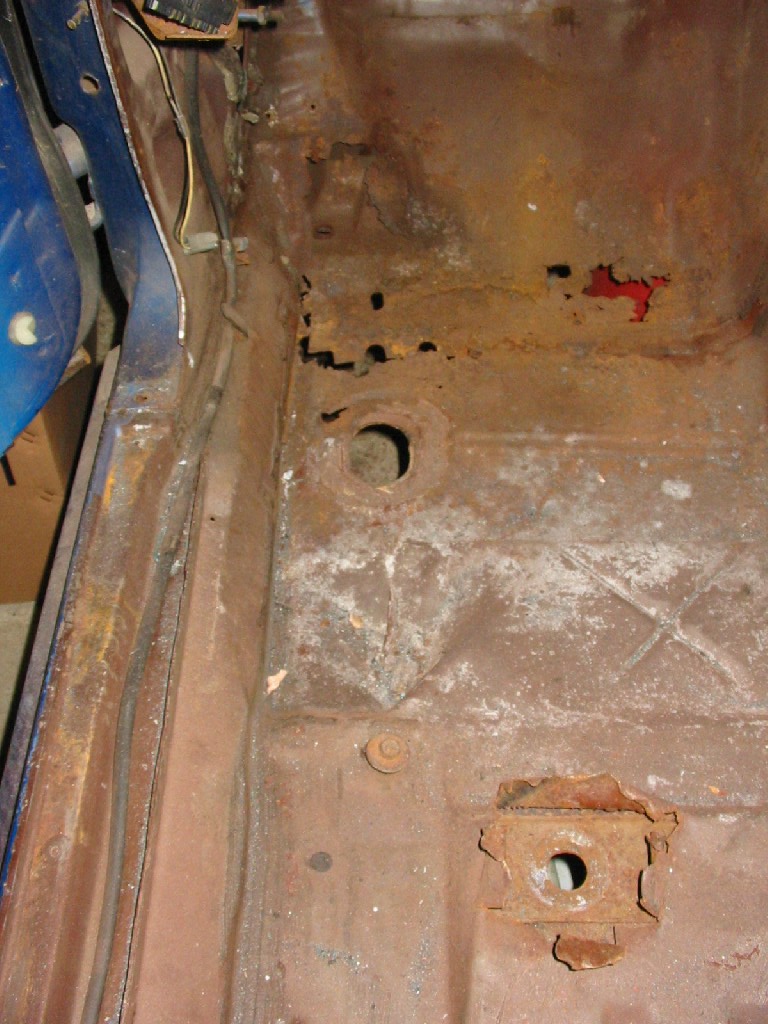
| Here are before pictures of what is left of the front left floorboard and toe board. Rust took its toll on this section. | |
|
|
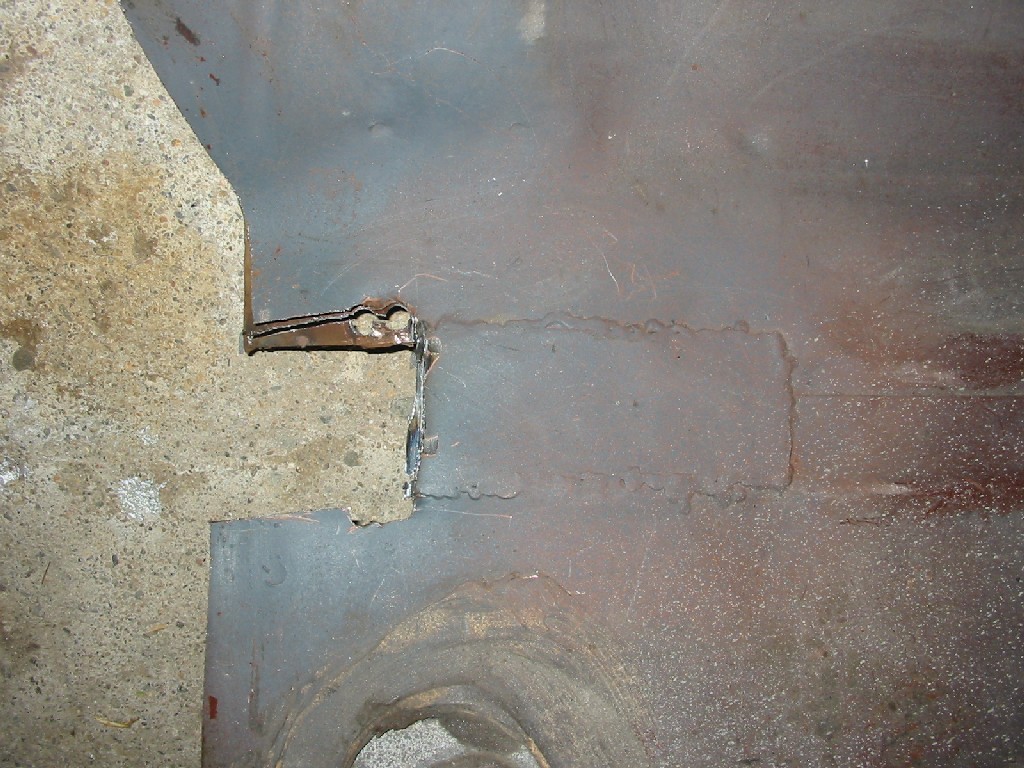
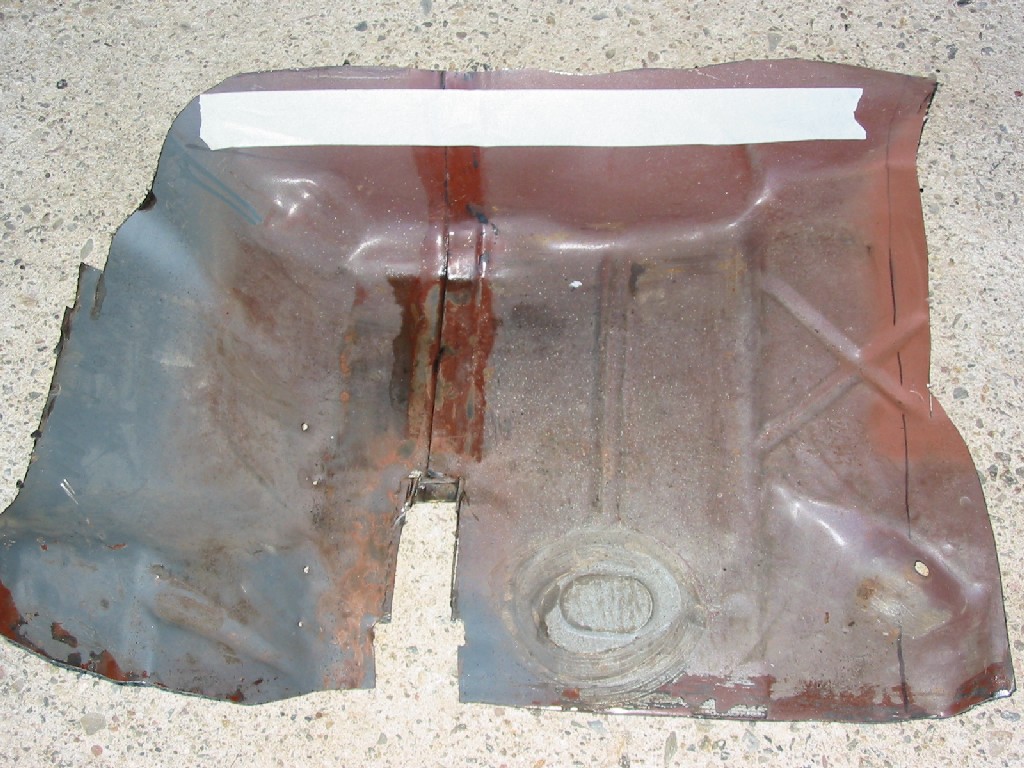
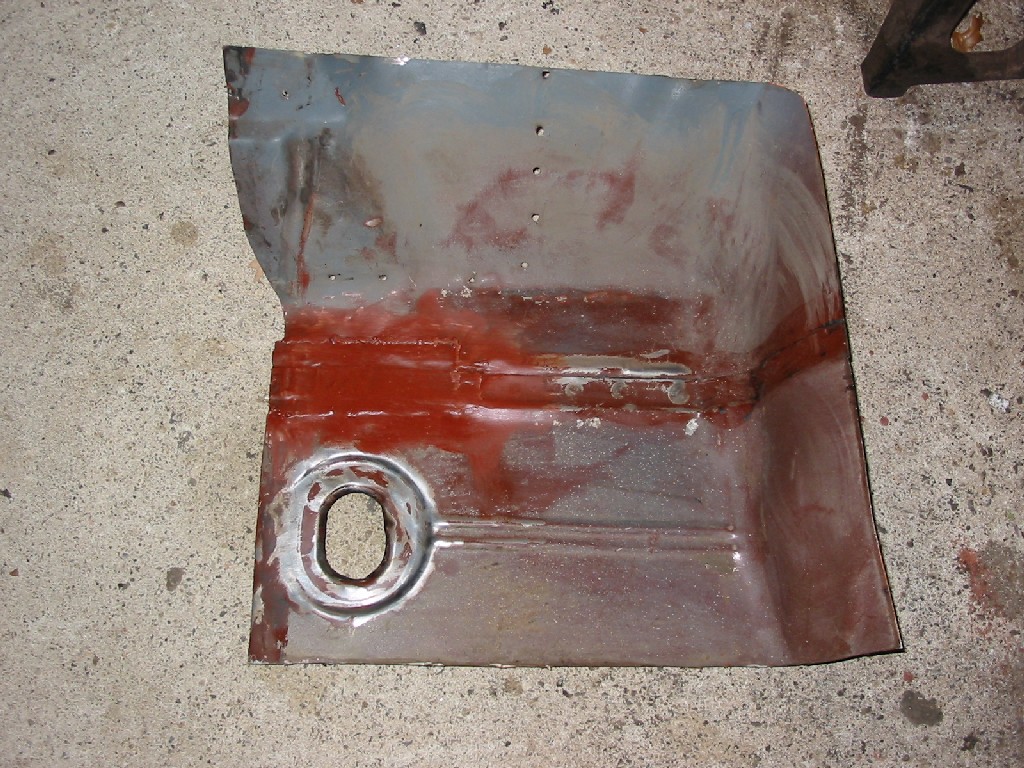
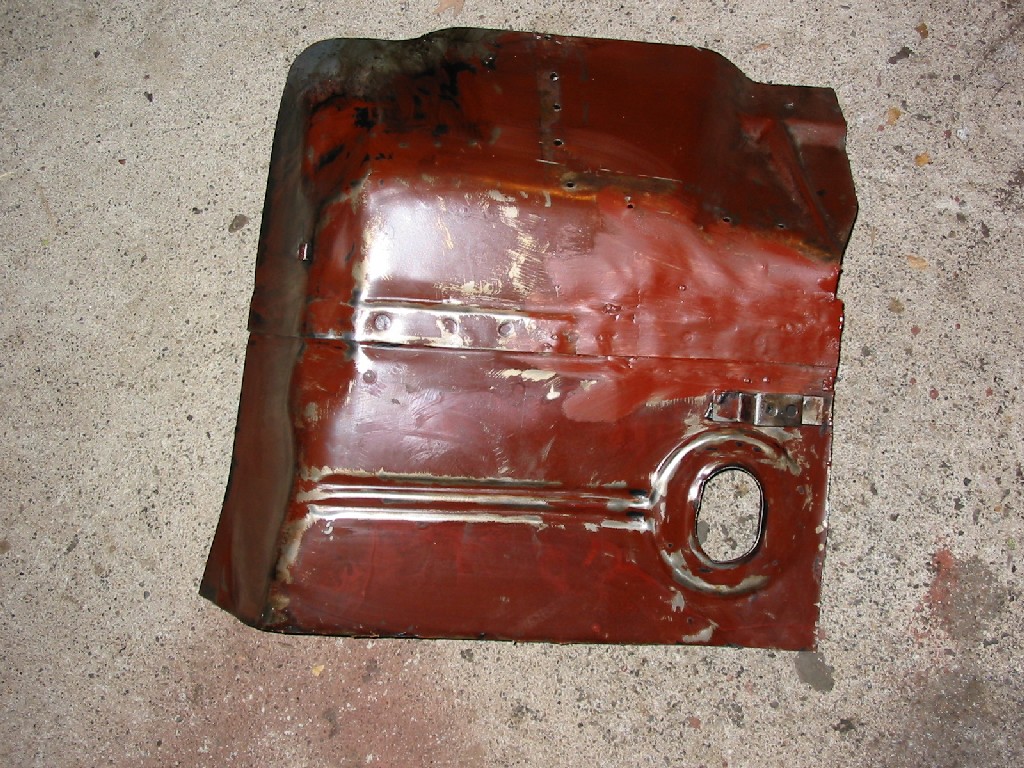
| Here are pictures of the used repair piece I bought. The last picture is where the piece was altered for the rollbar. | |
|
|
|
|
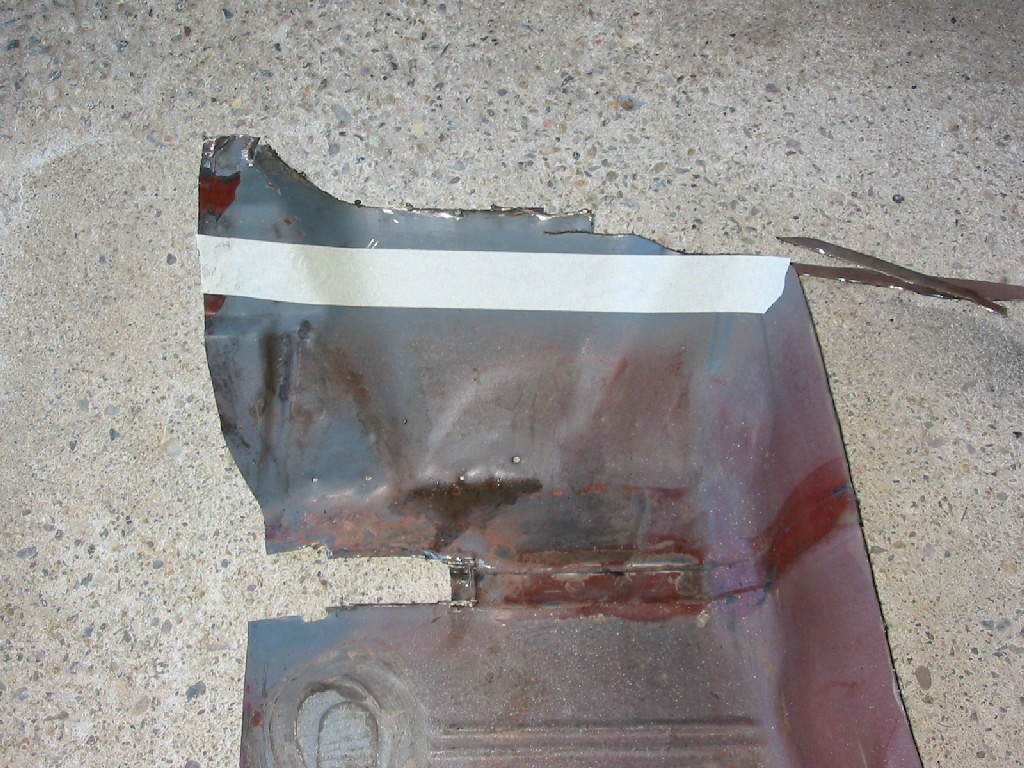
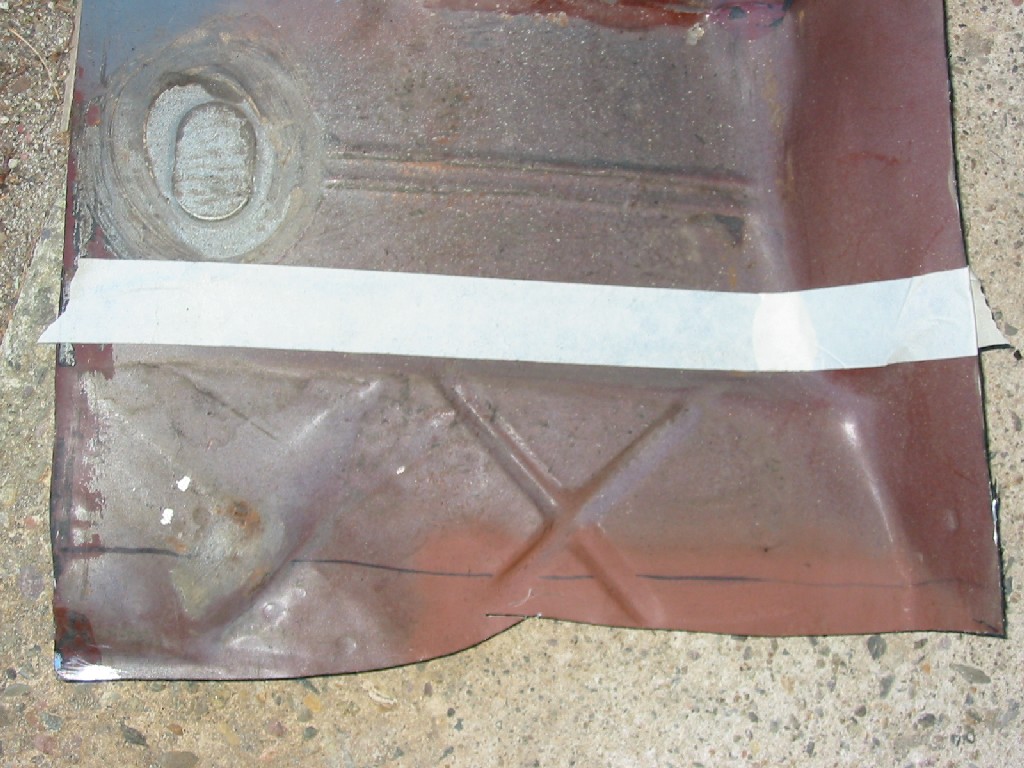
| Here are pictures of where I trimmed the piece. The tape is used as a guide for cutting. | |
|
|
|
|
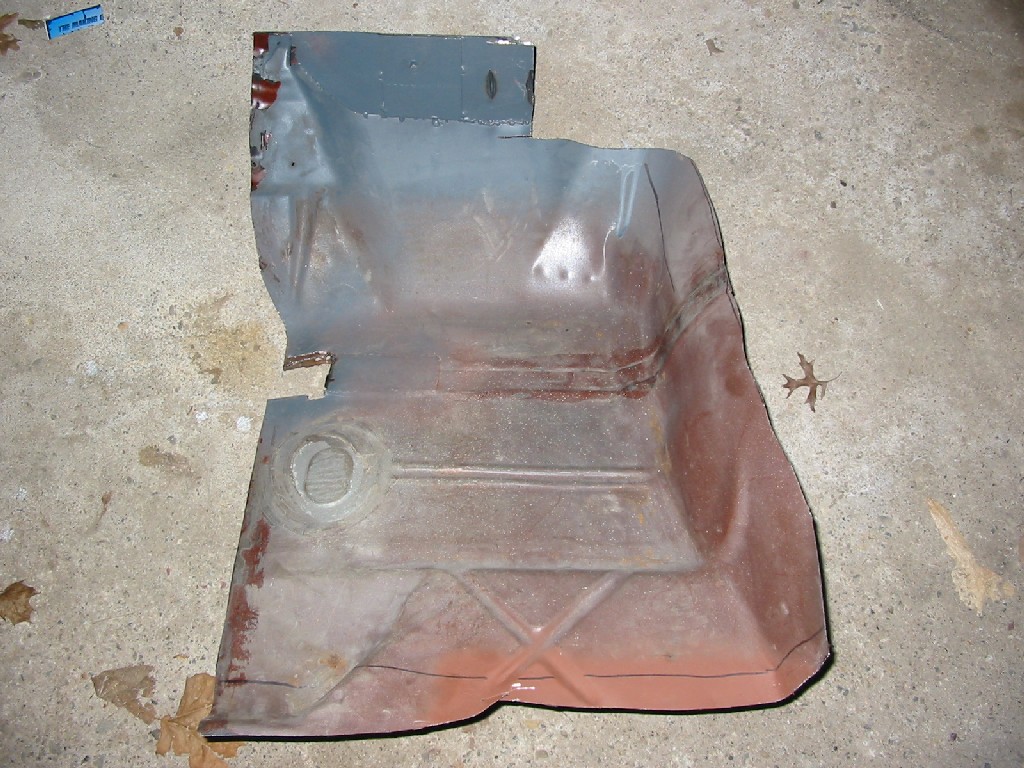
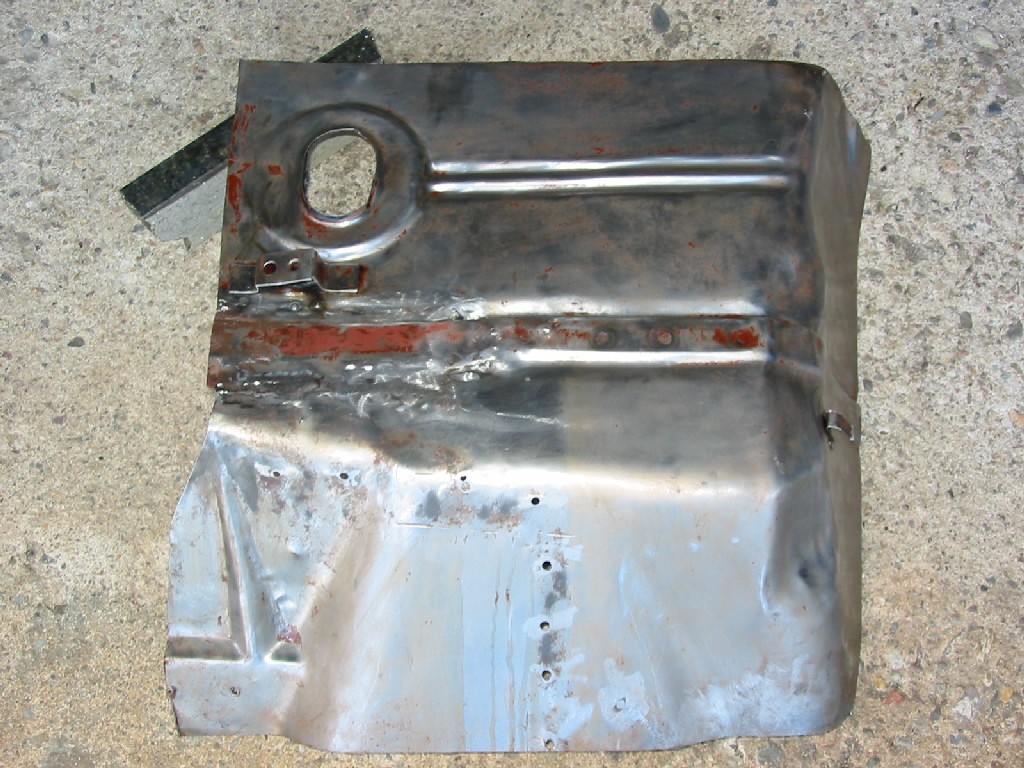
| Here is the patch panel repaired then stripped. Once again the goal is to make the repair look good from under the car. Anything on top will be covered with sound deadener. | |
|
|
|
|
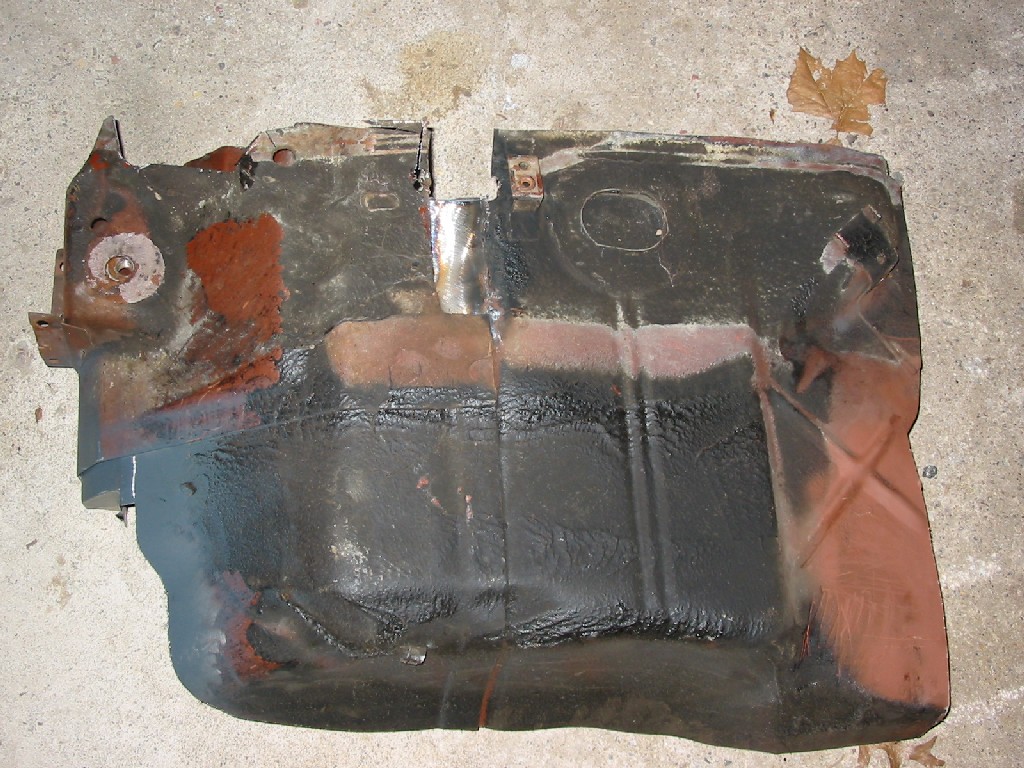
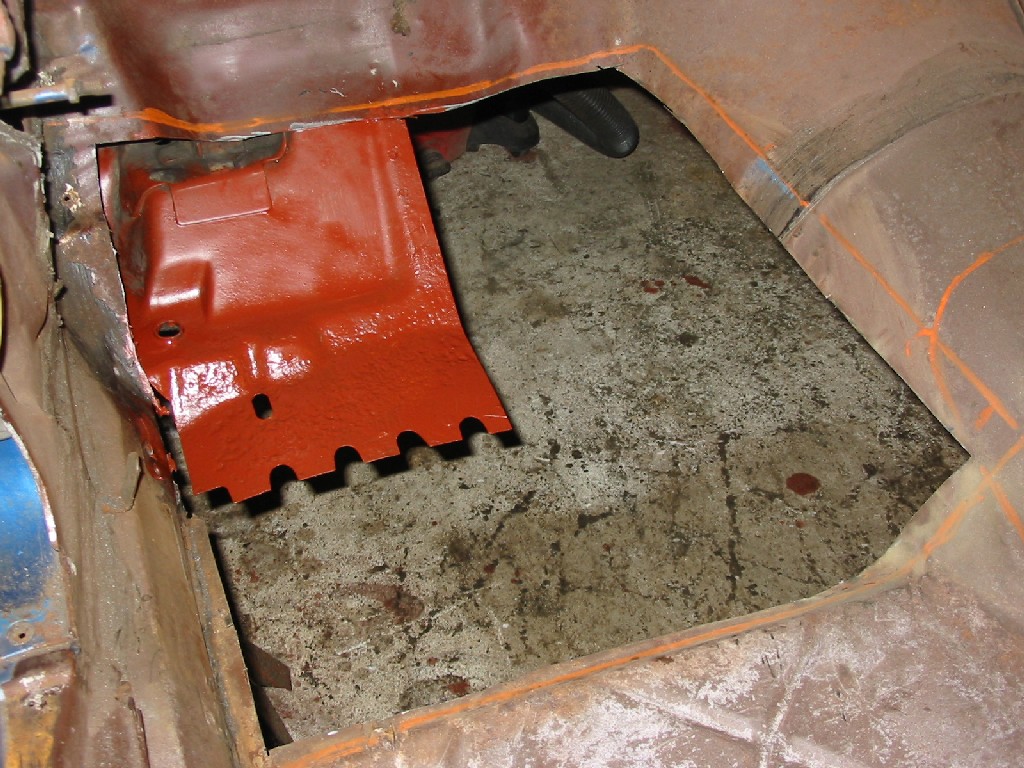
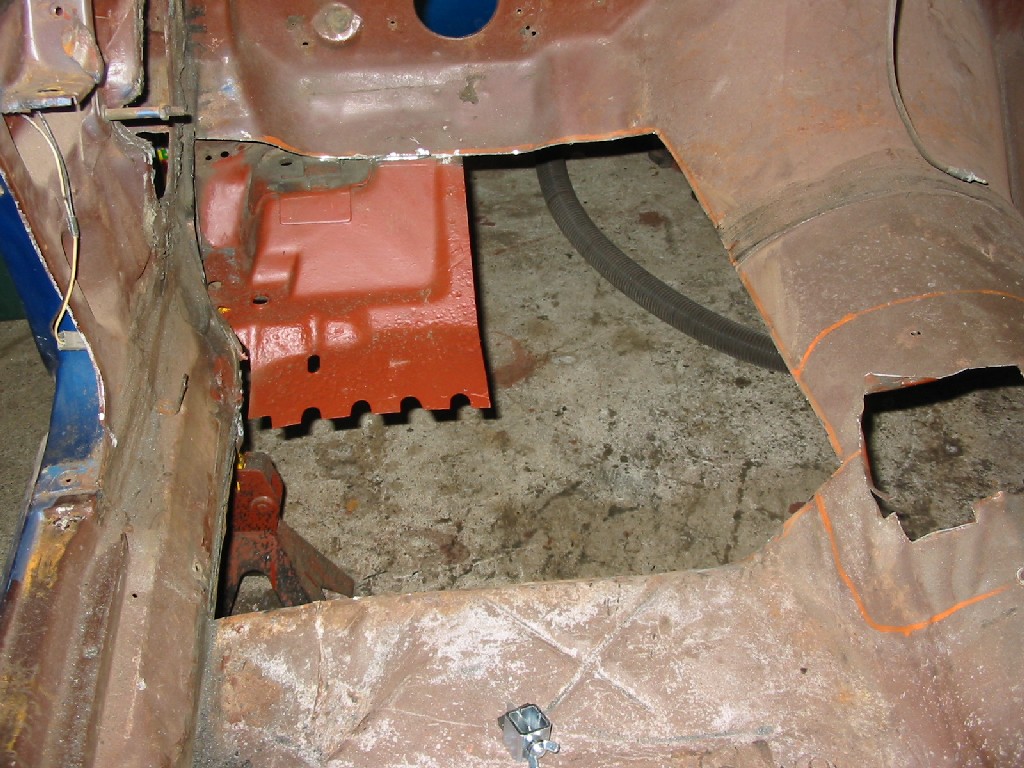
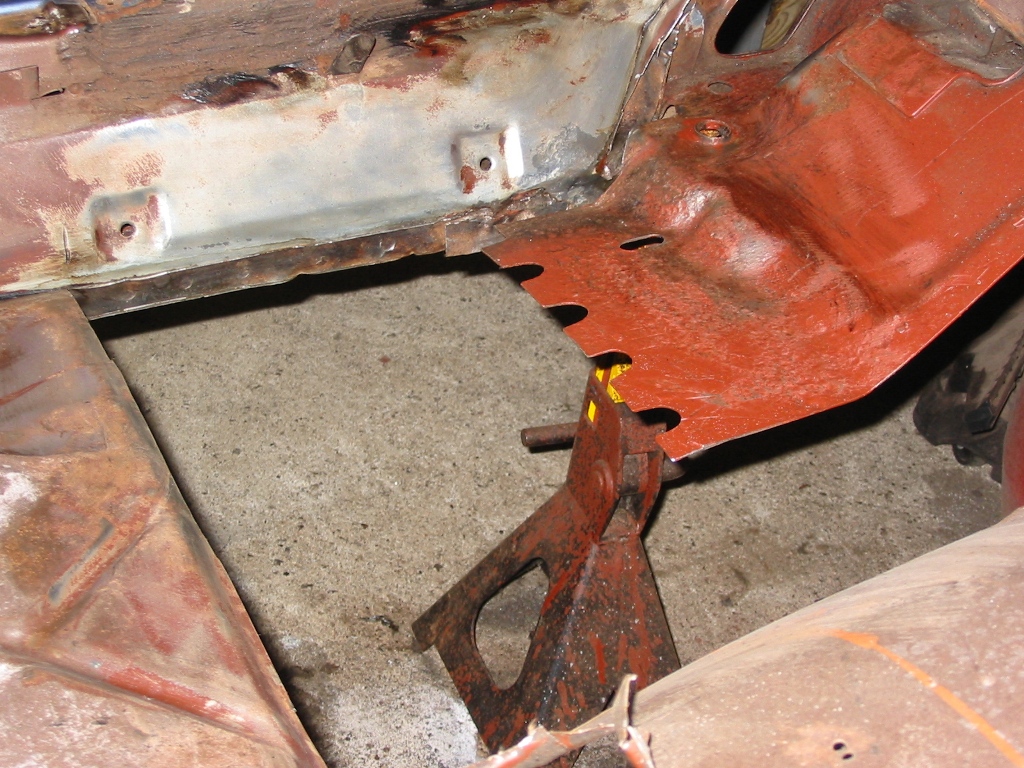
| Here is the left front floor and toe board area removed from the car. I plan on butt welding in the patch piece. | |
|
|
|
|