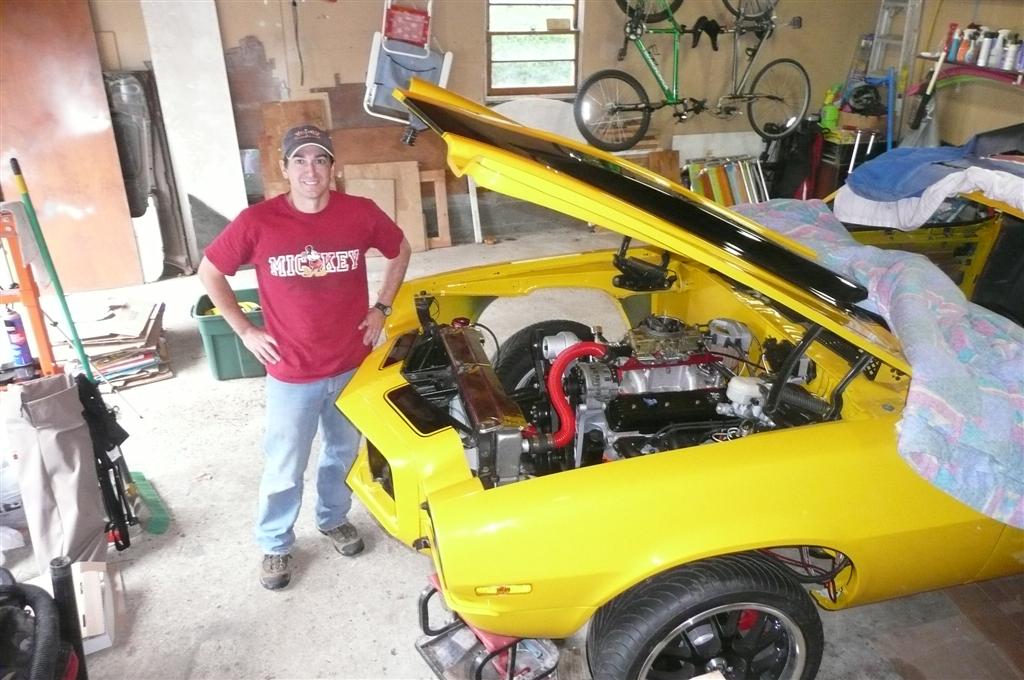
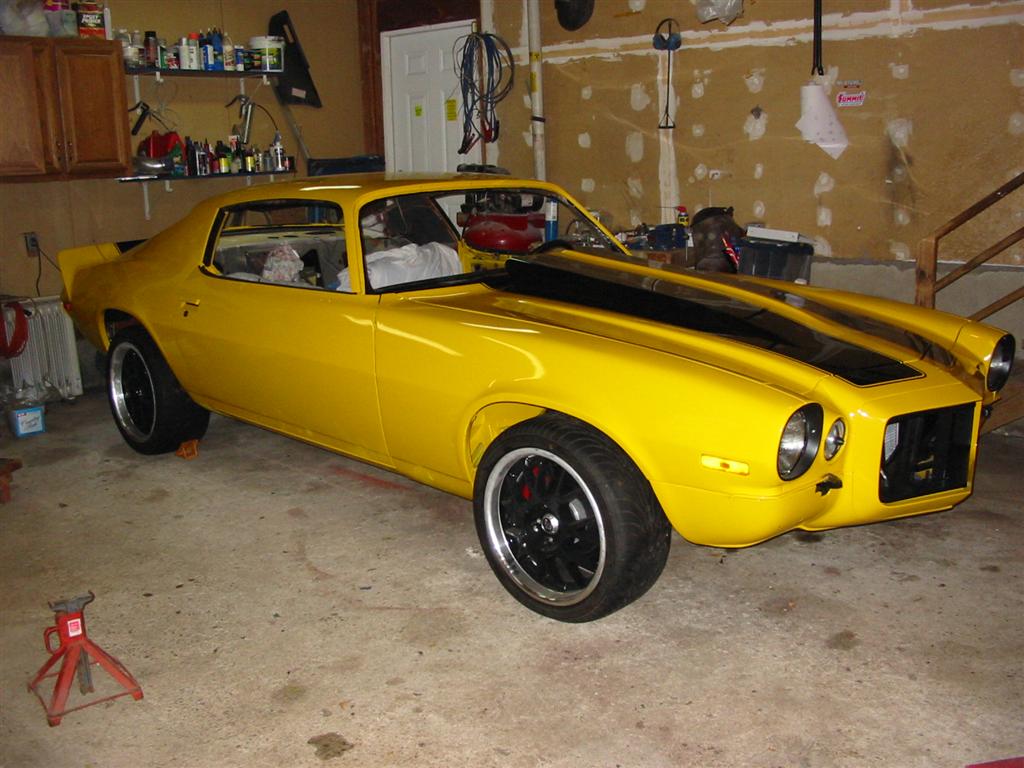
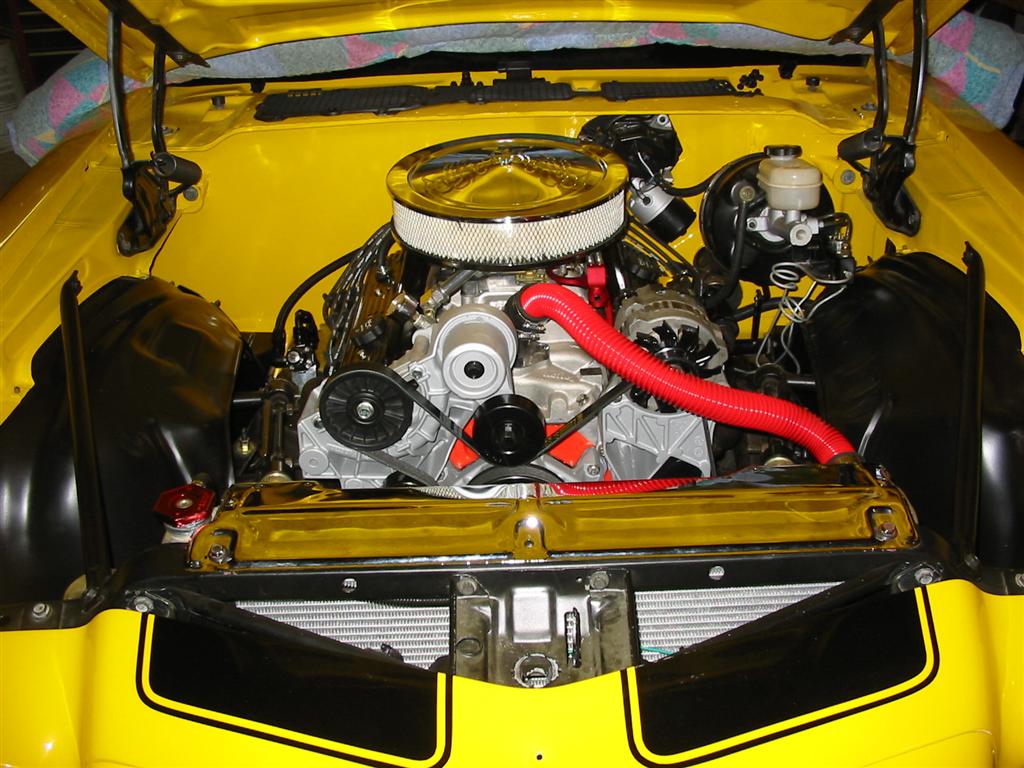
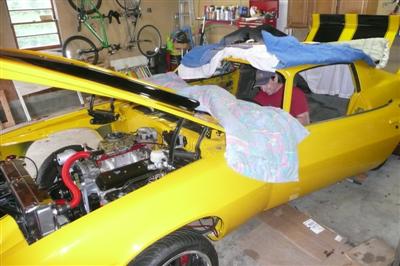
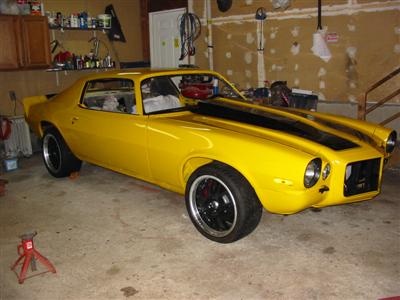
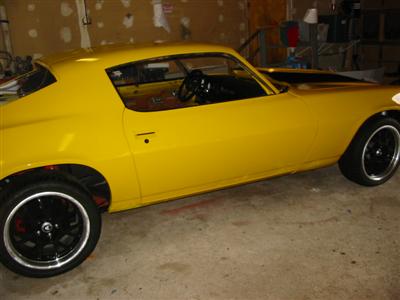
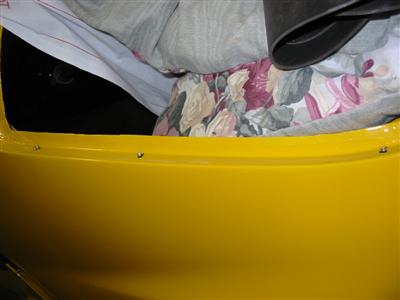
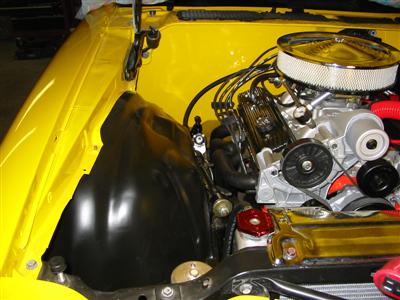
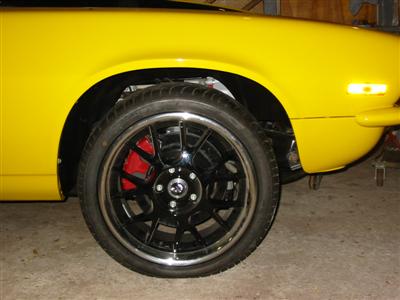
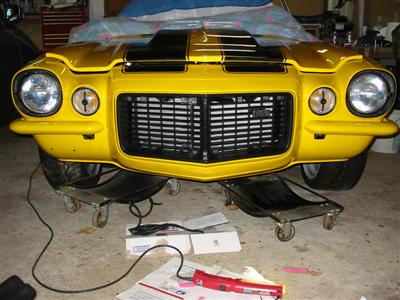
| Here are some pictures from when I started up the car. This is before the
inner fenders, and bumpers were installed. This is one of the few pictures of me with the car. |

|
|
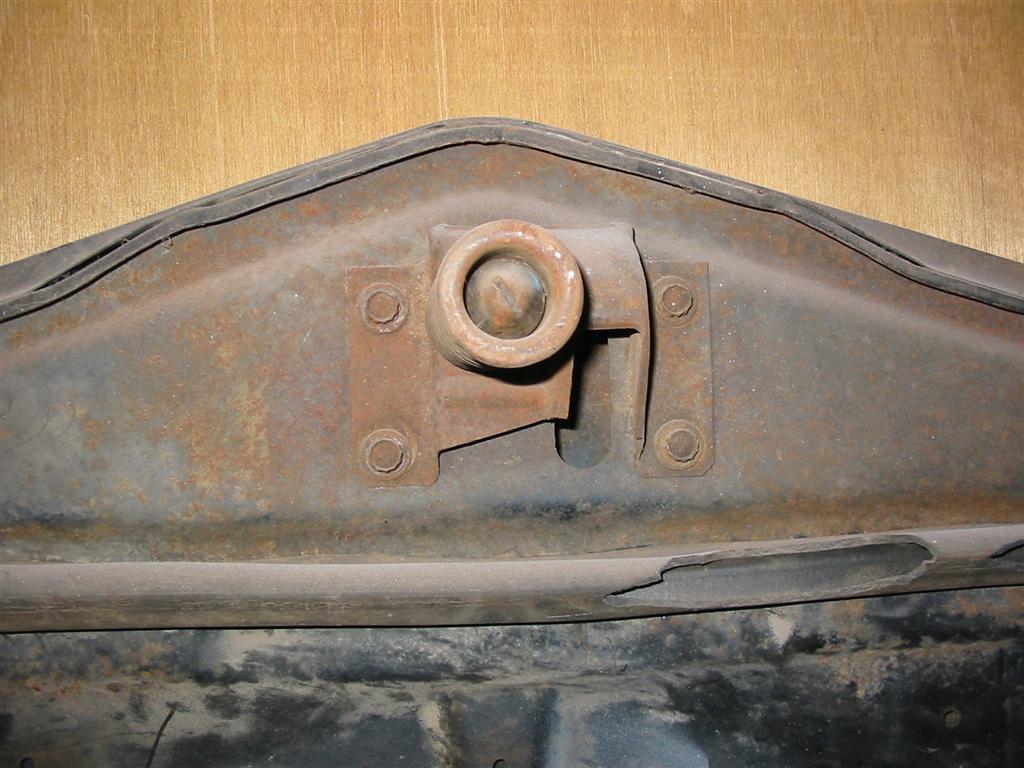
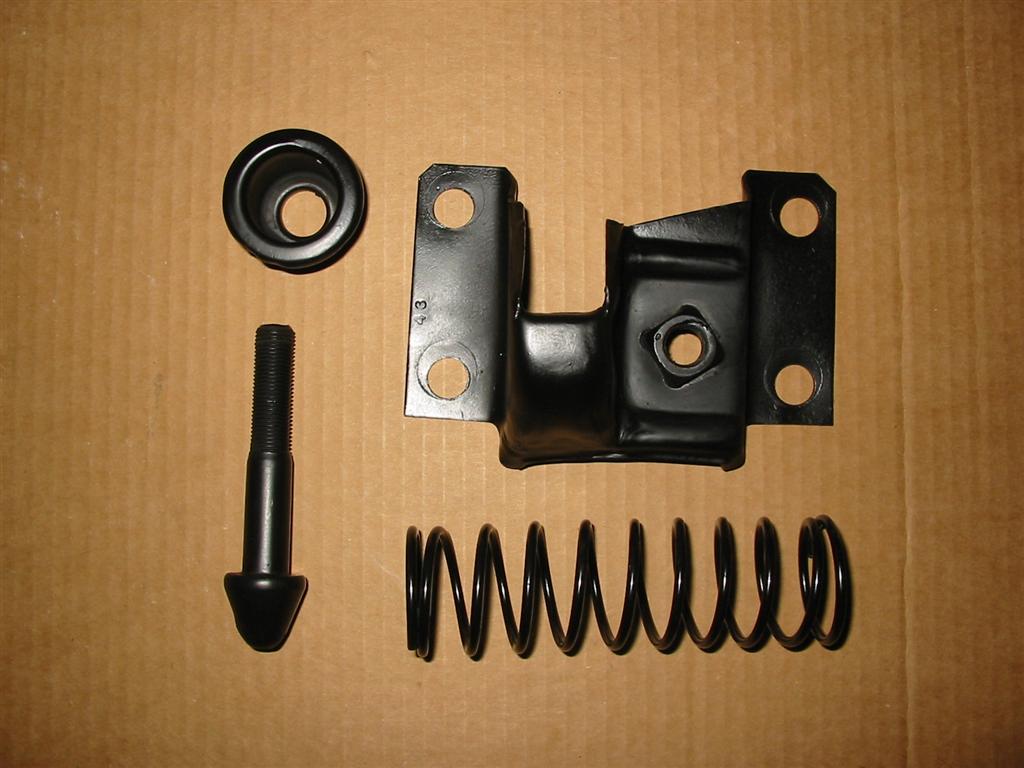
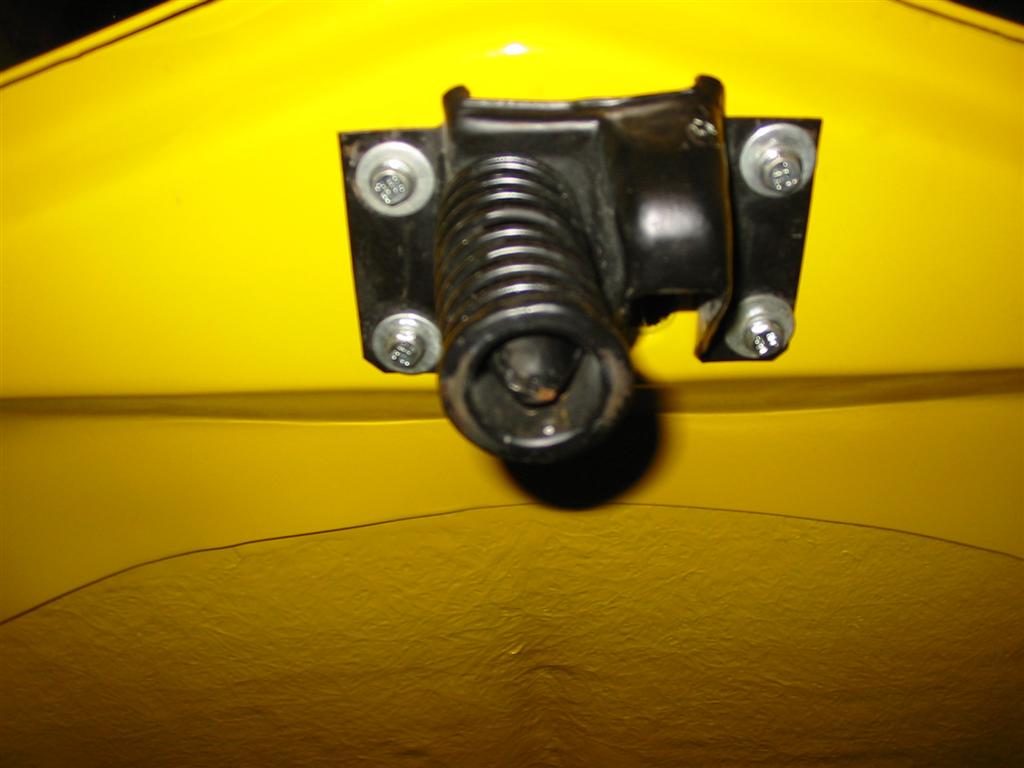
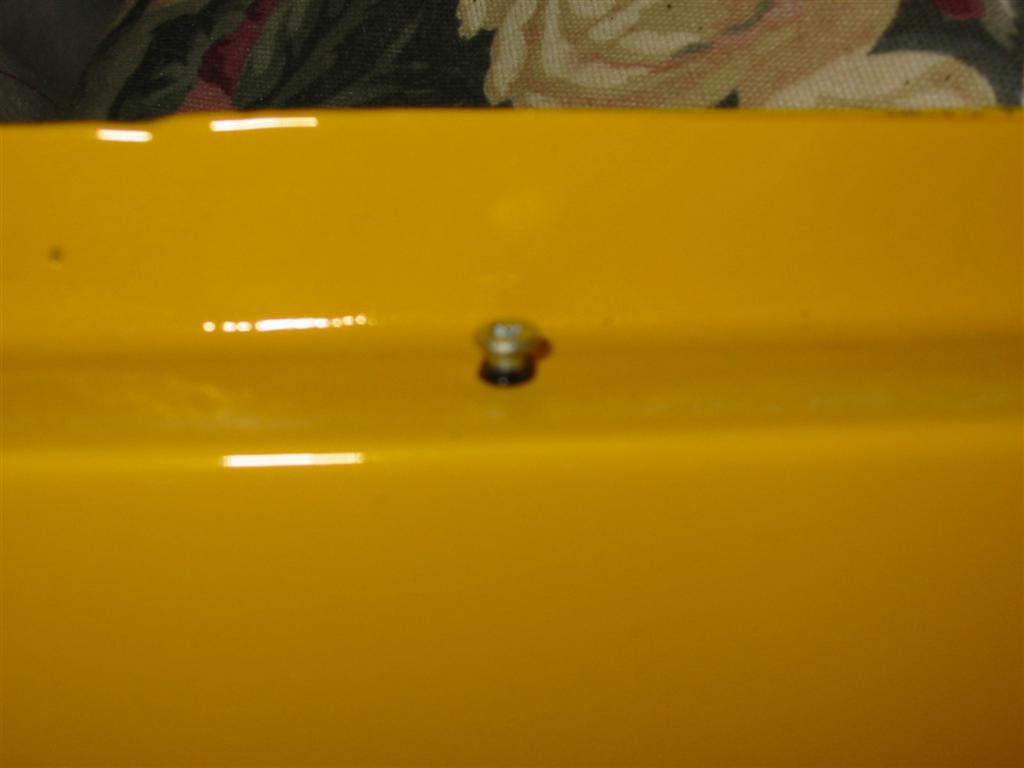
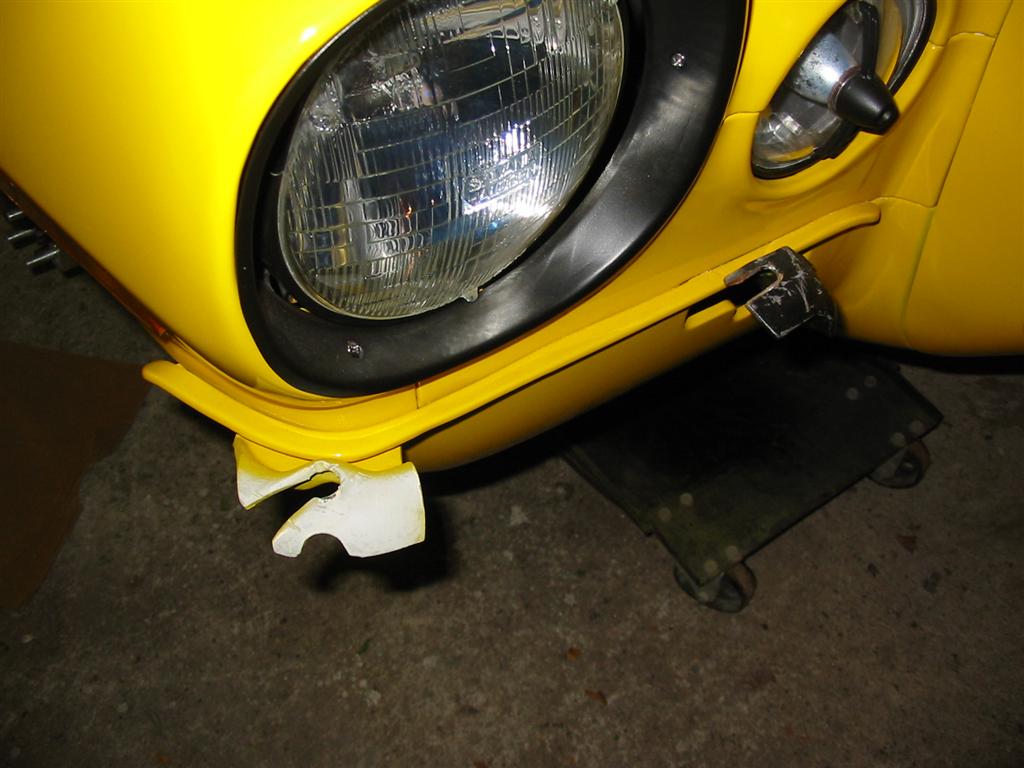
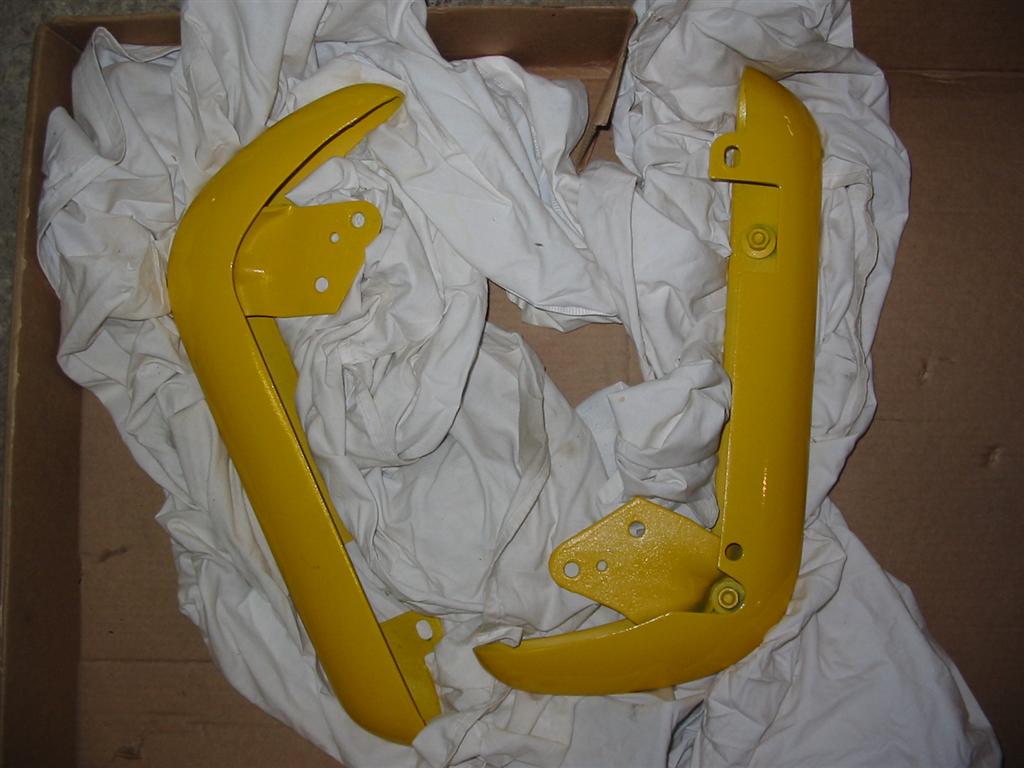
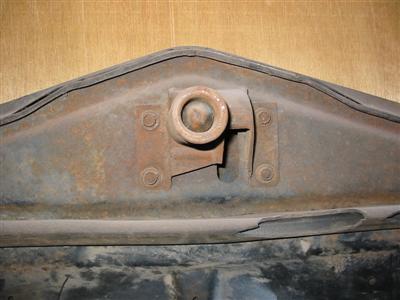
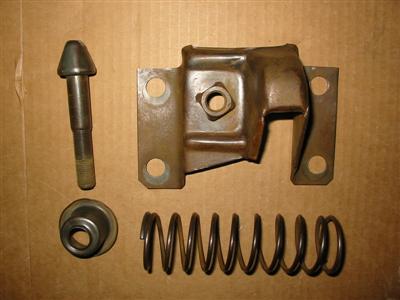
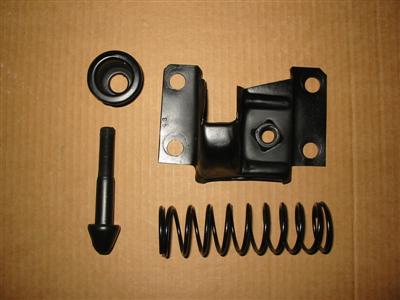
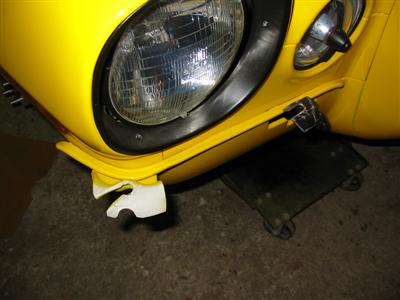
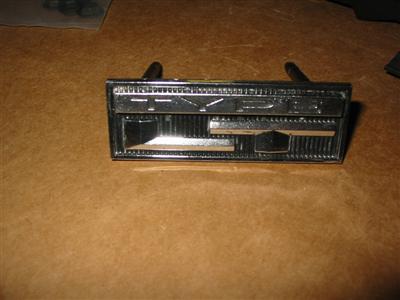
| Here are some before and after pictures of the hood latch. |
|
|
|

|
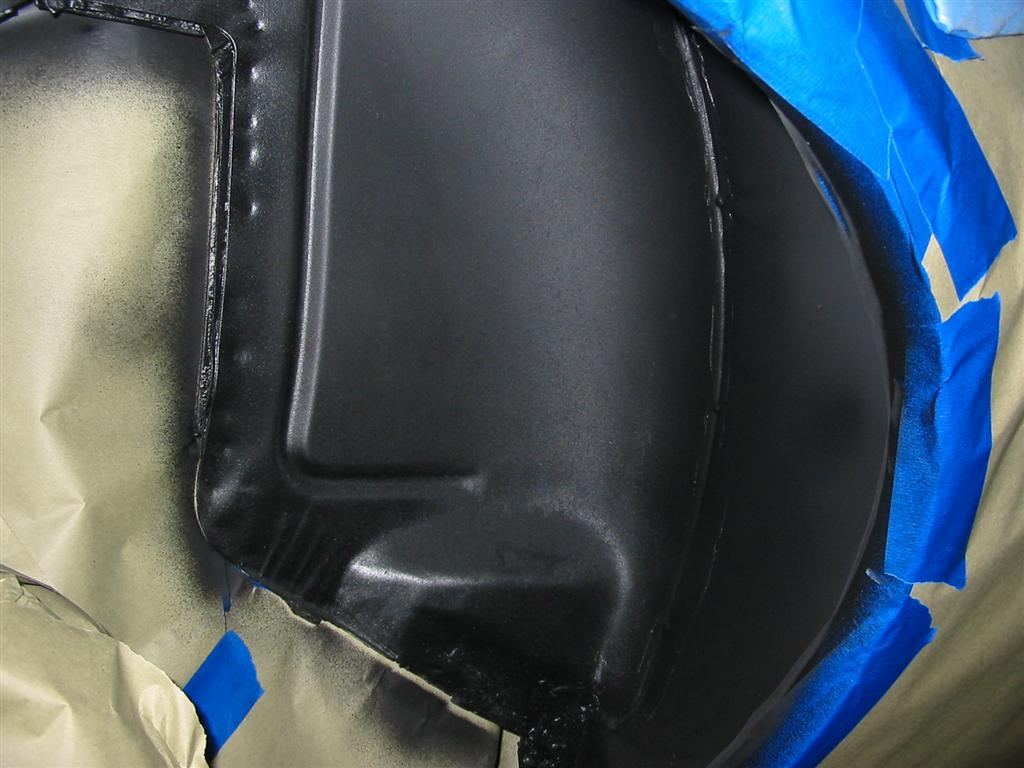
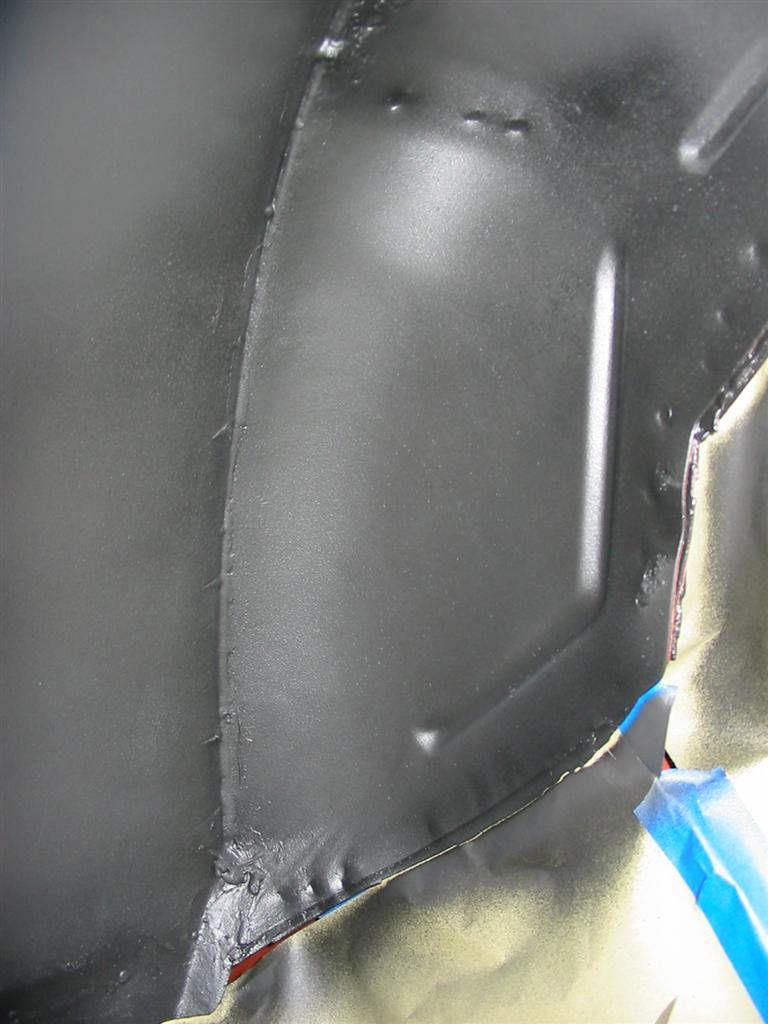
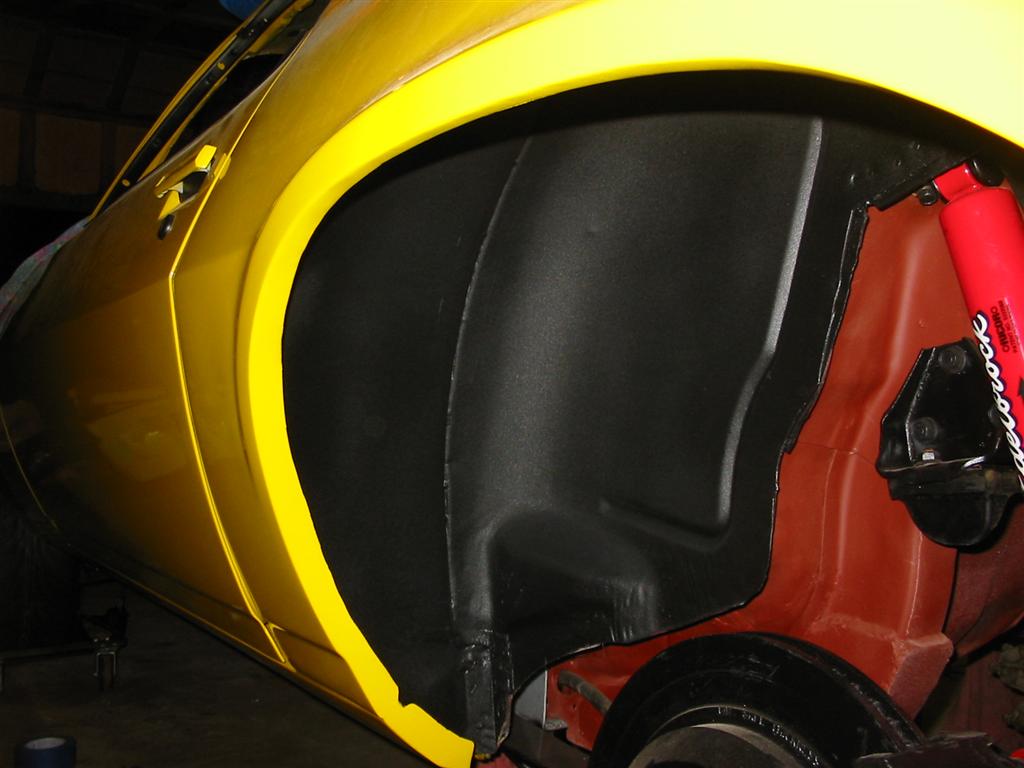
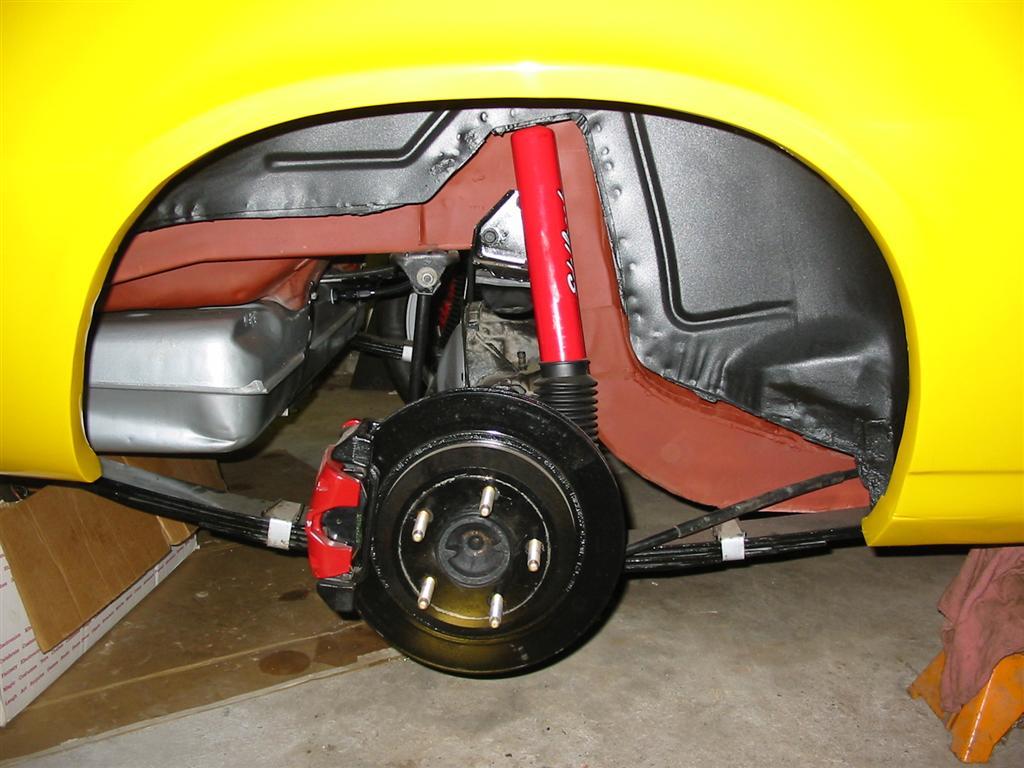
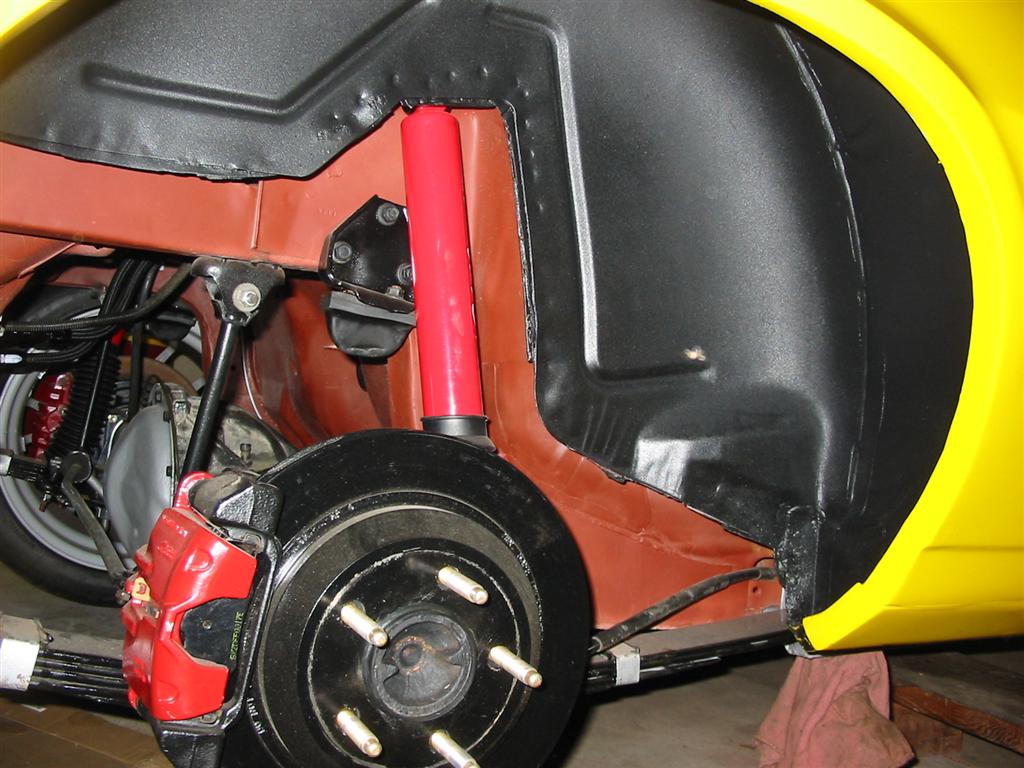
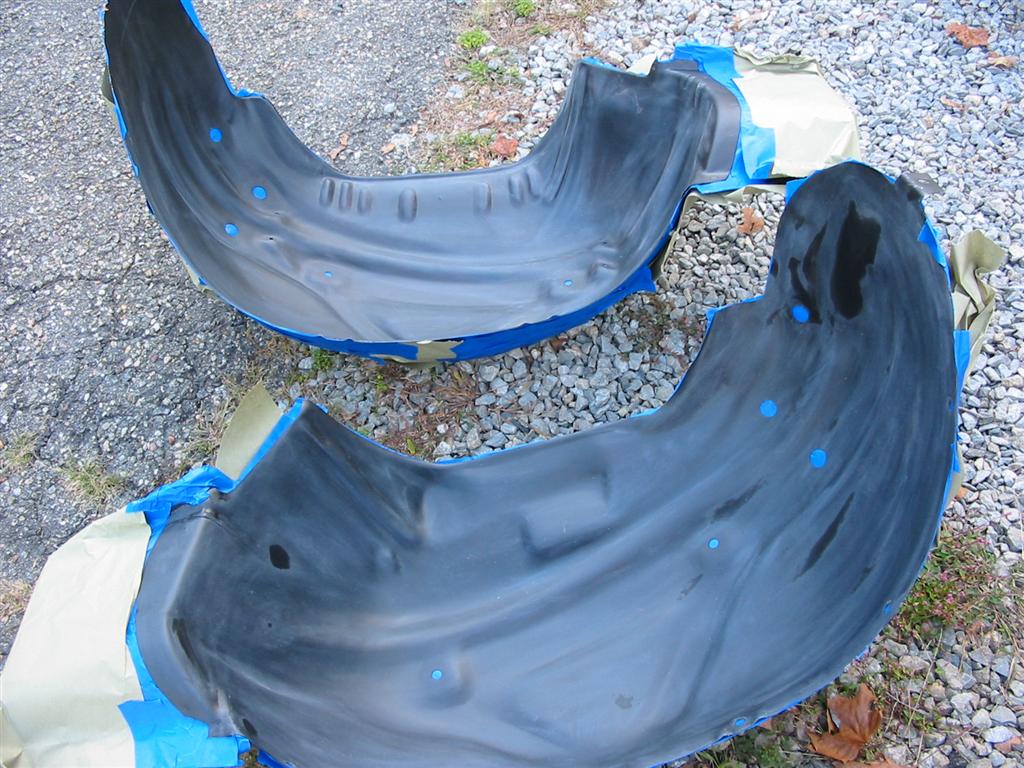
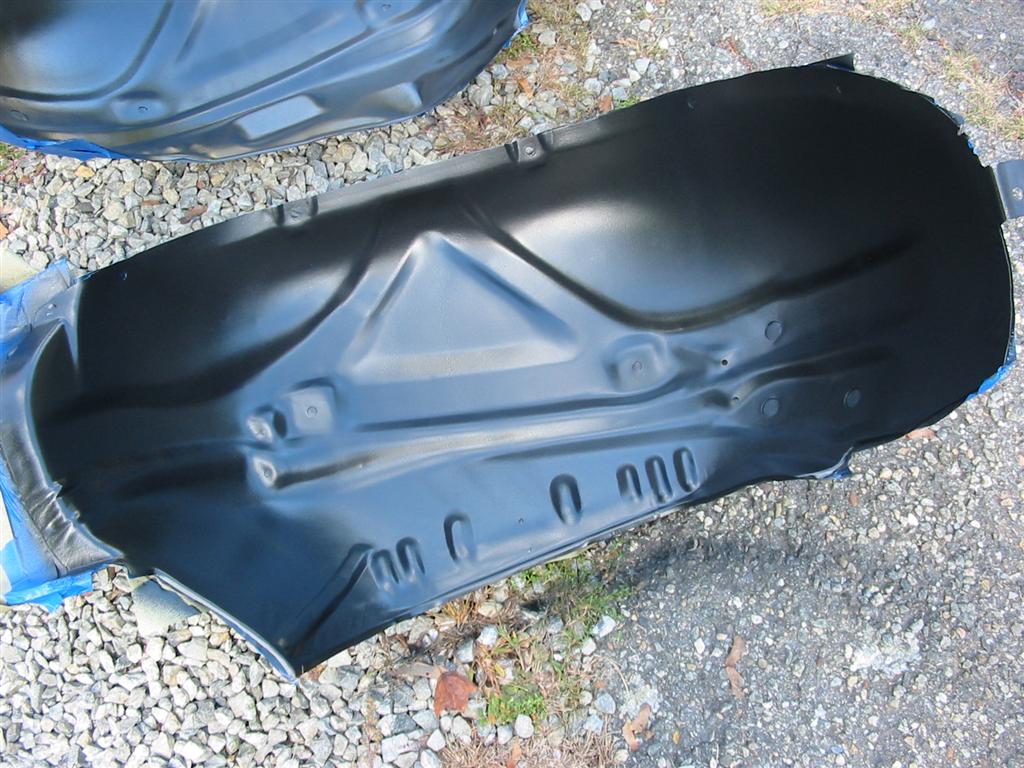
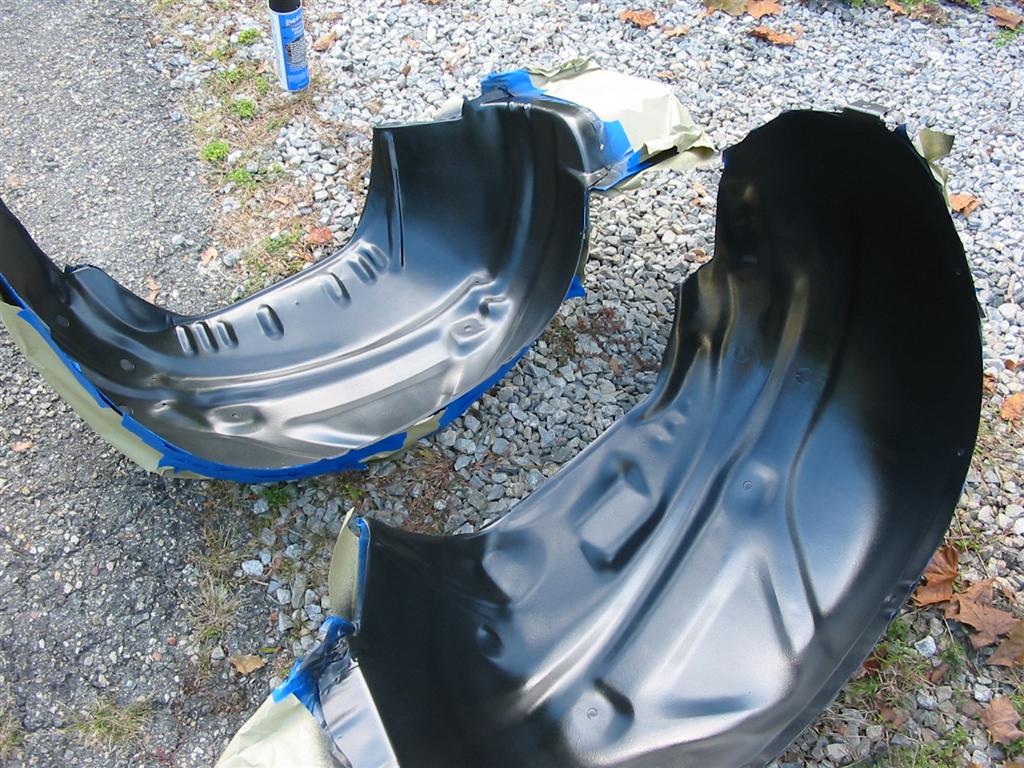
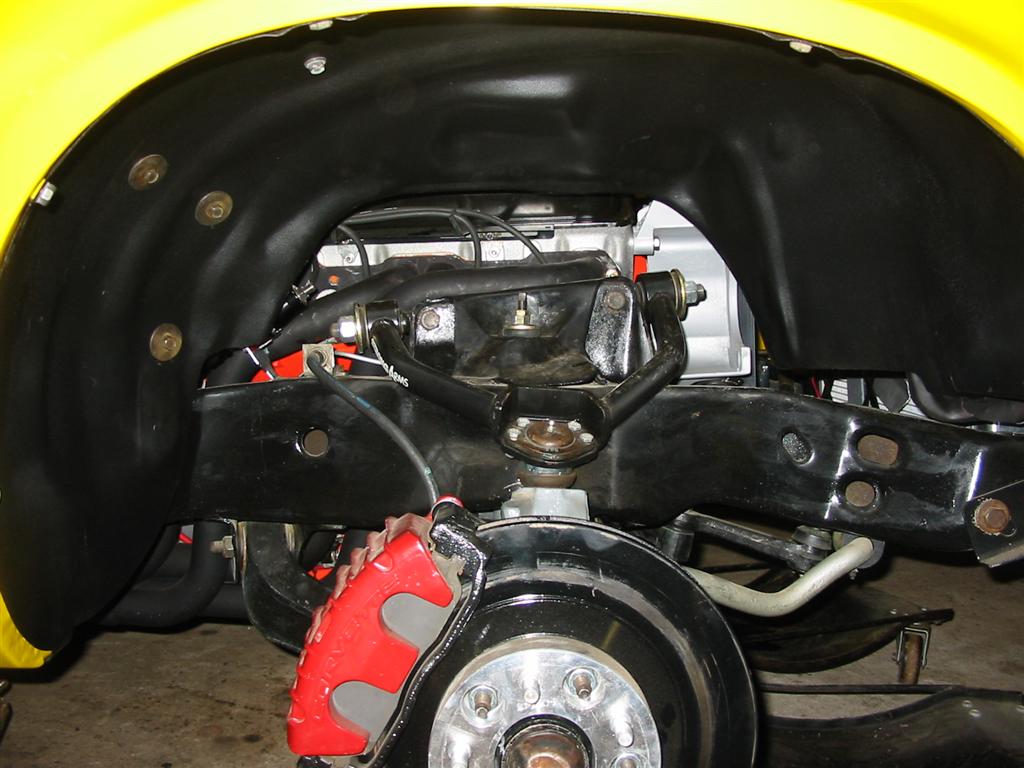
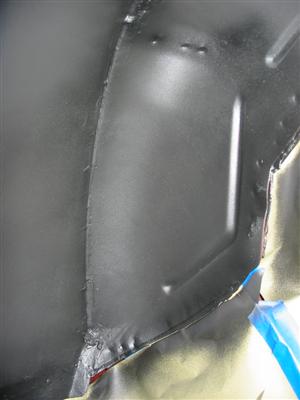
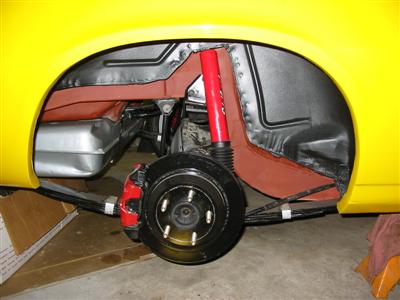
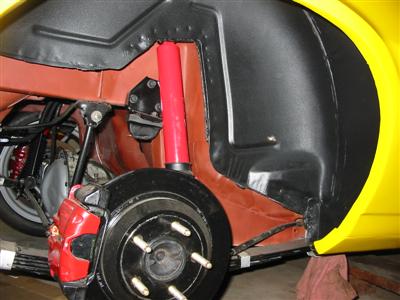
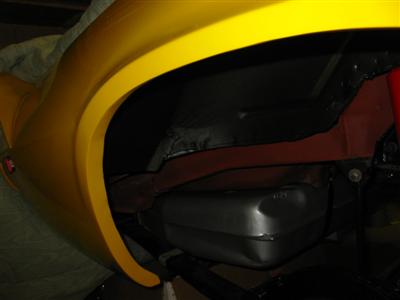
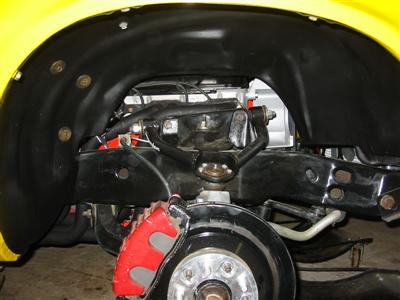
| Here are some pictures of the completed rear fenderwells. I originally painted them with
Red Oxide Zero Rust. I then put a coat of black Zero Rust followed by Duplicolor spray on bed liner. These
pictures show the fenderwells covered with Duplicolor spray on bed liner. |

|
|

|
|
|
|
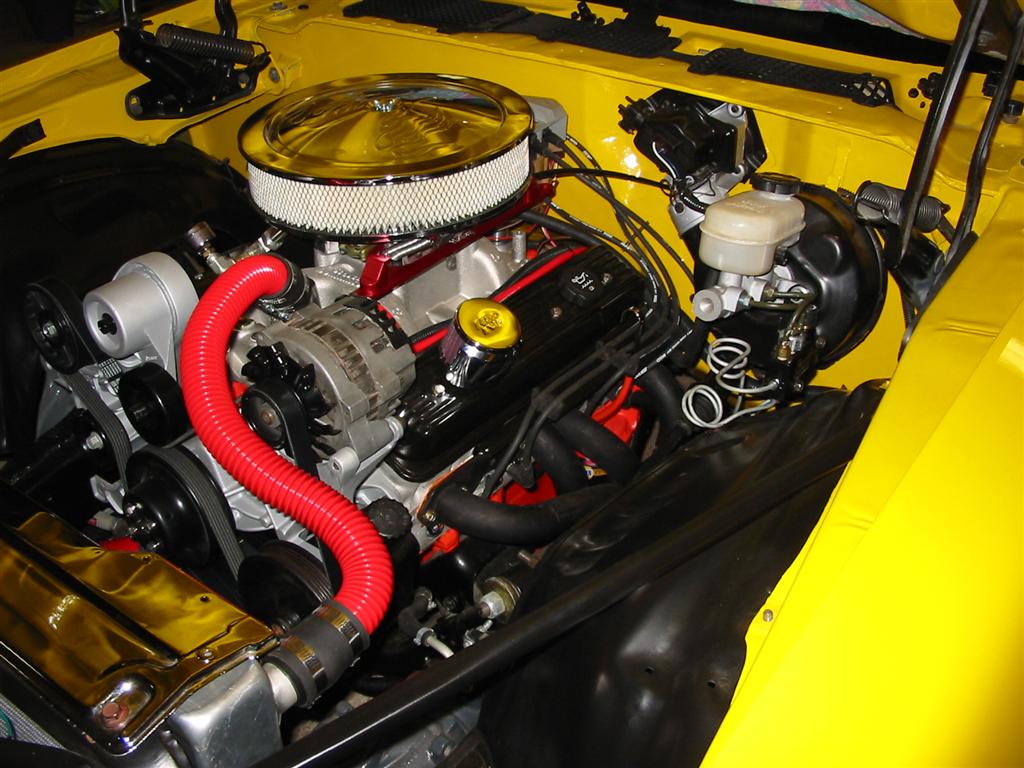
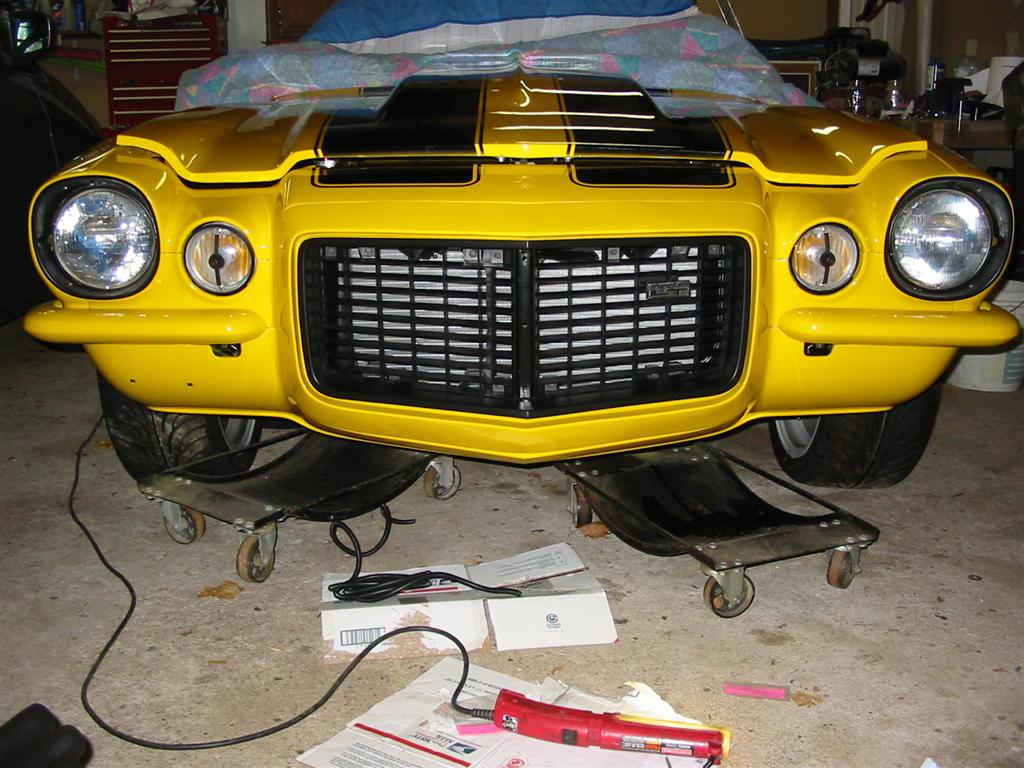
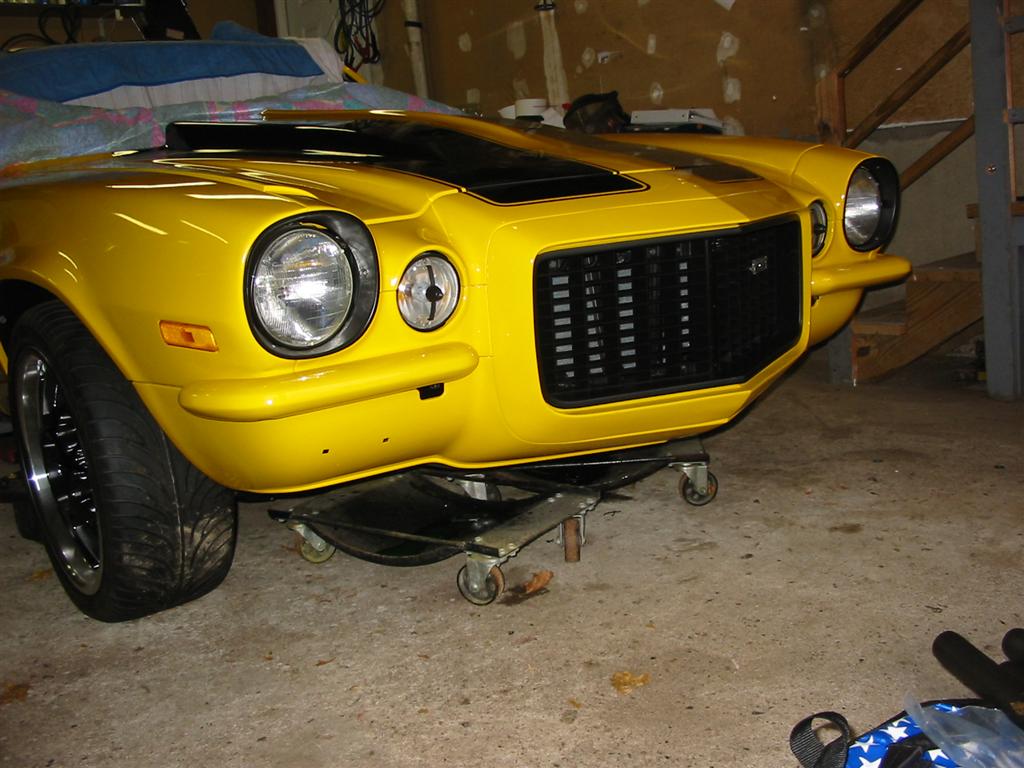
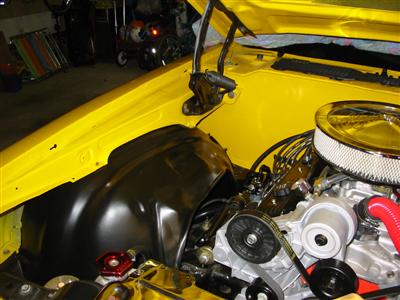
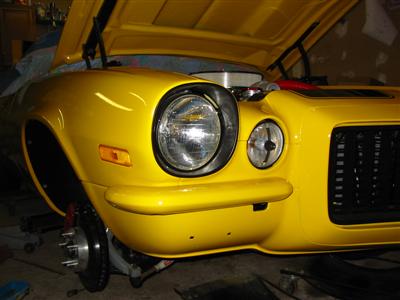
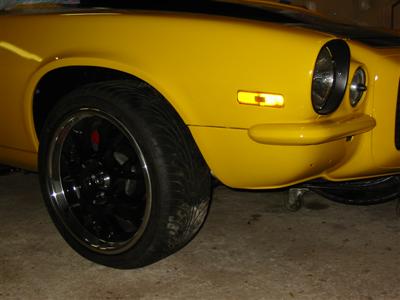
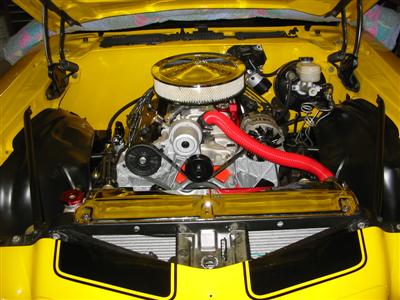
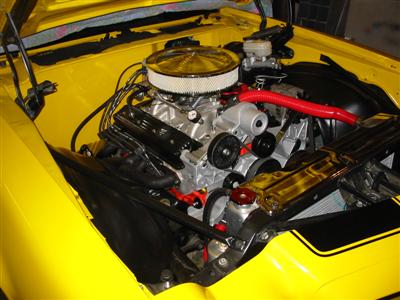
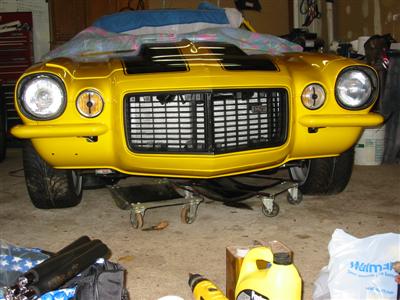
| Here are a few shots before the front inner fenders, grille and front bumpers were installed. |
|

|
|

|
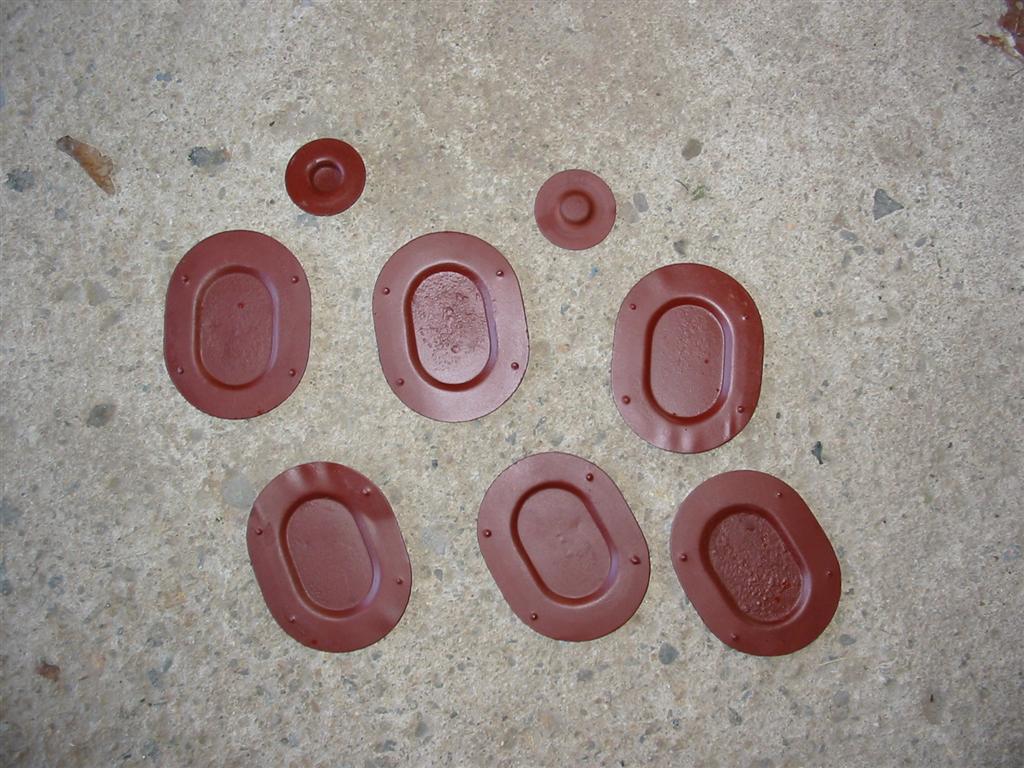
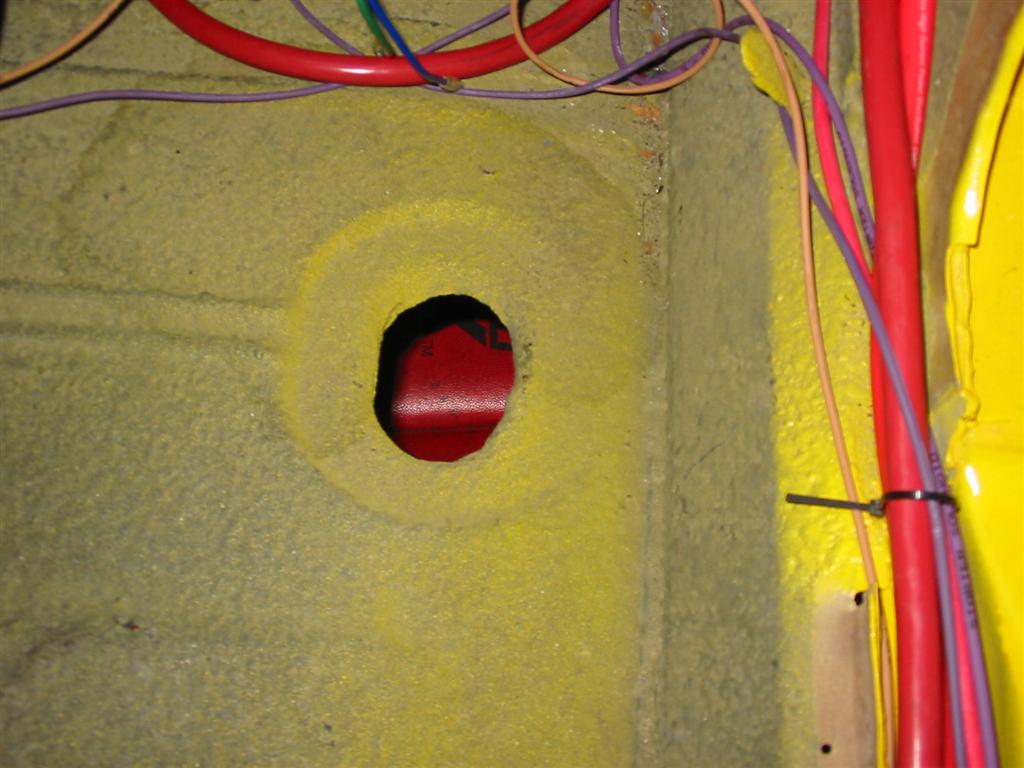
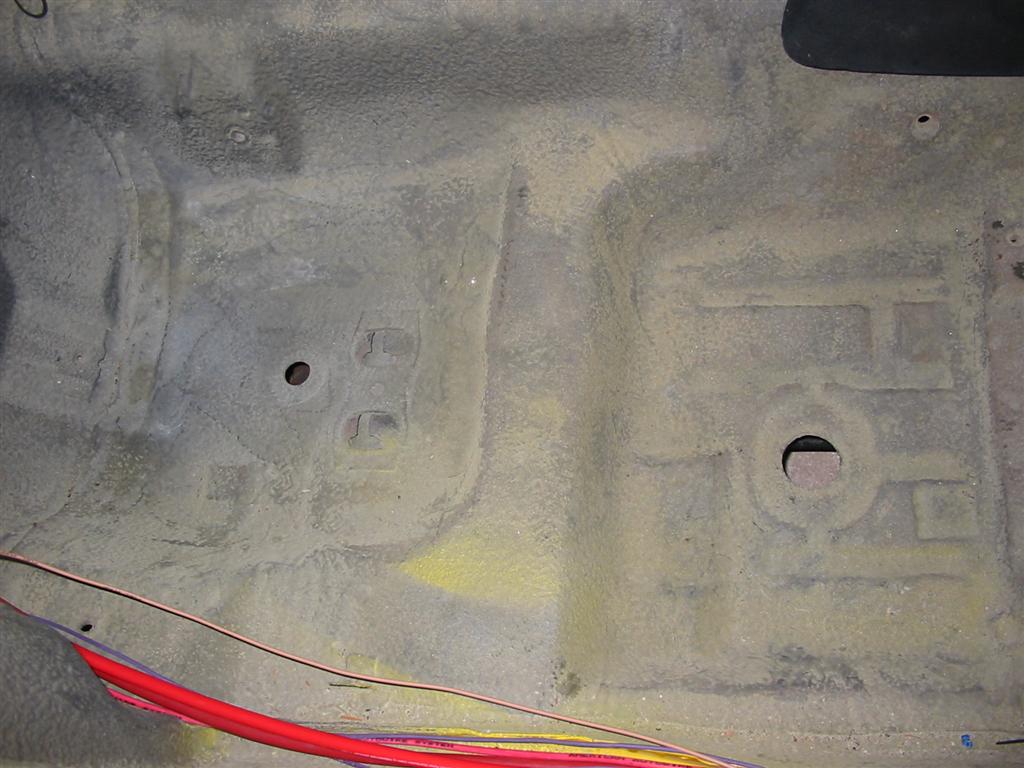
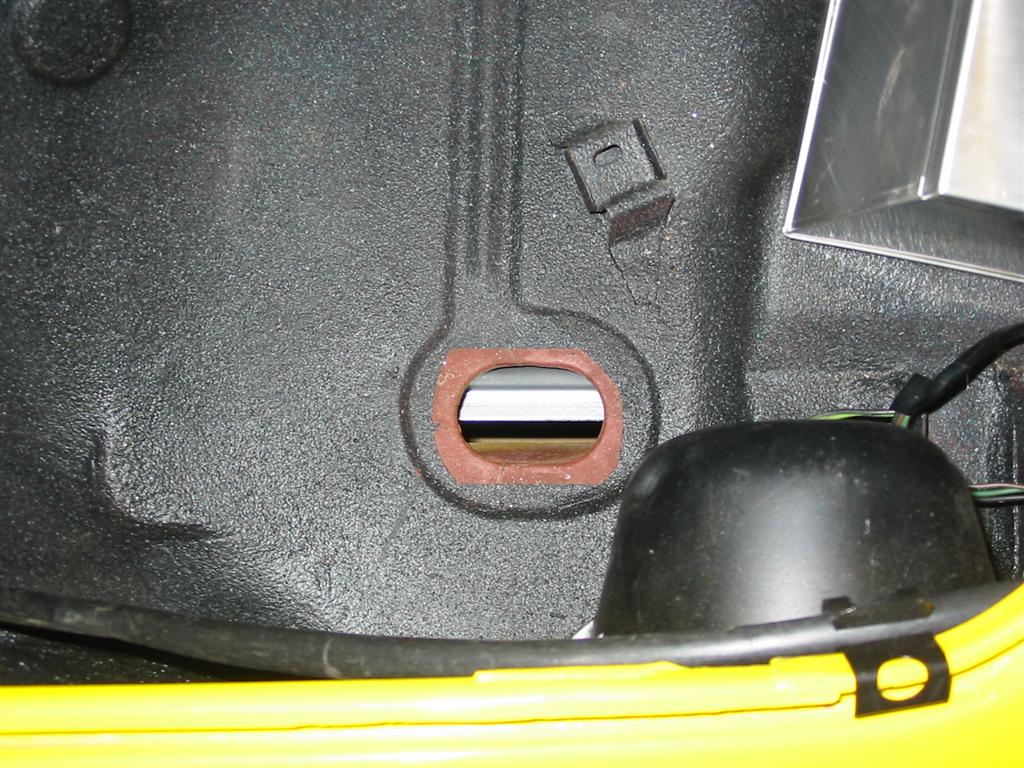
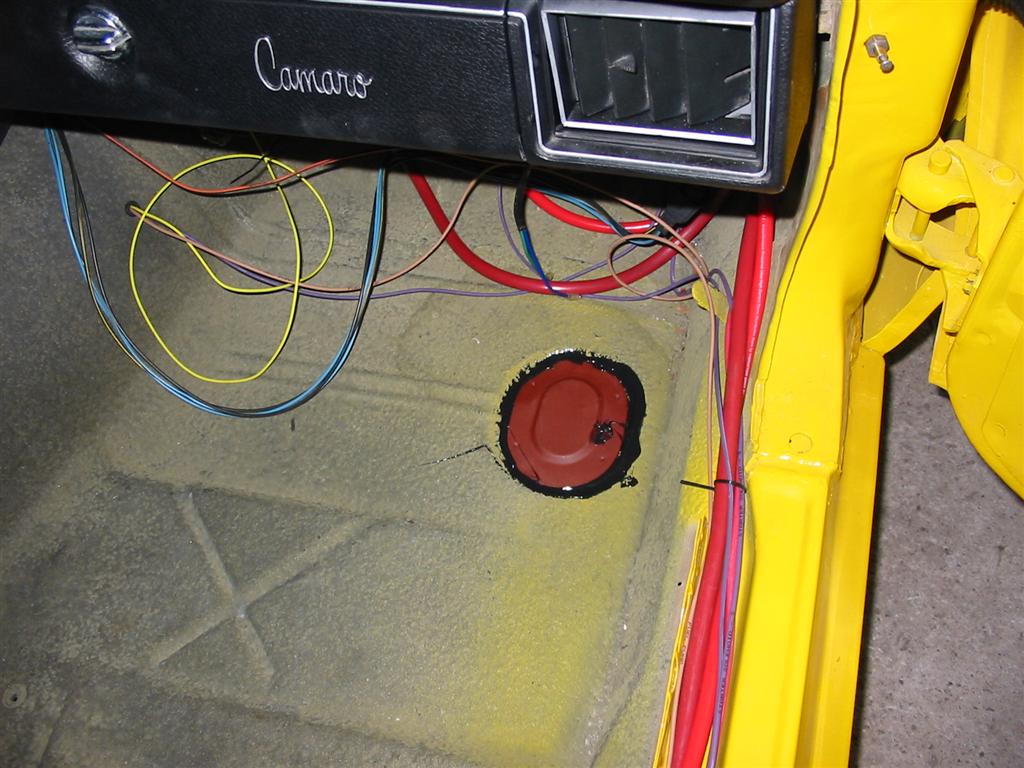
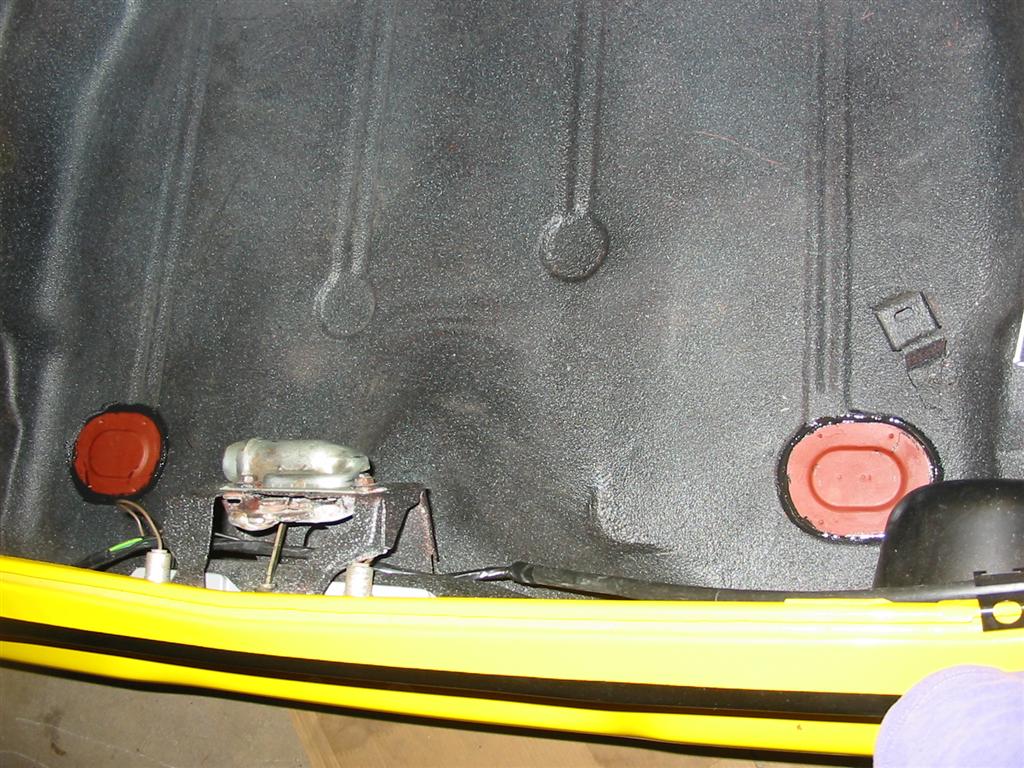
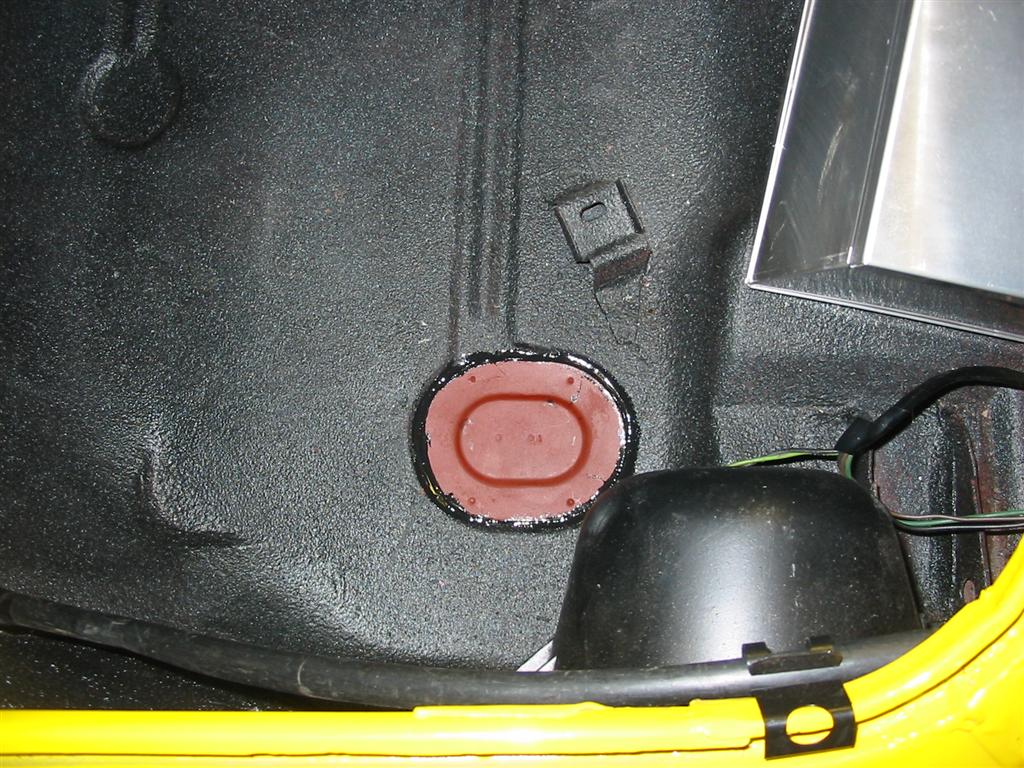
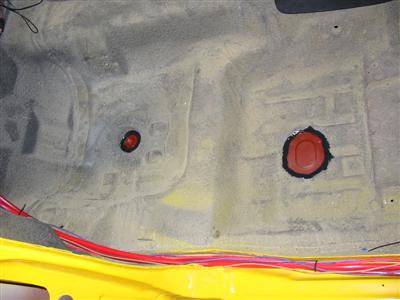
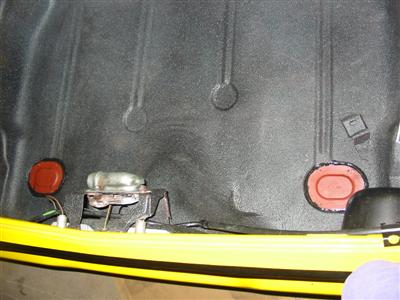
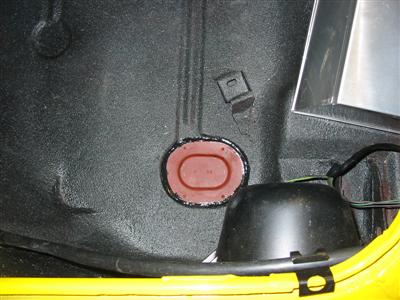
| Here is the process for reinstalling the floor plugs in the car. |

|

|

|

|

|
|
|
|
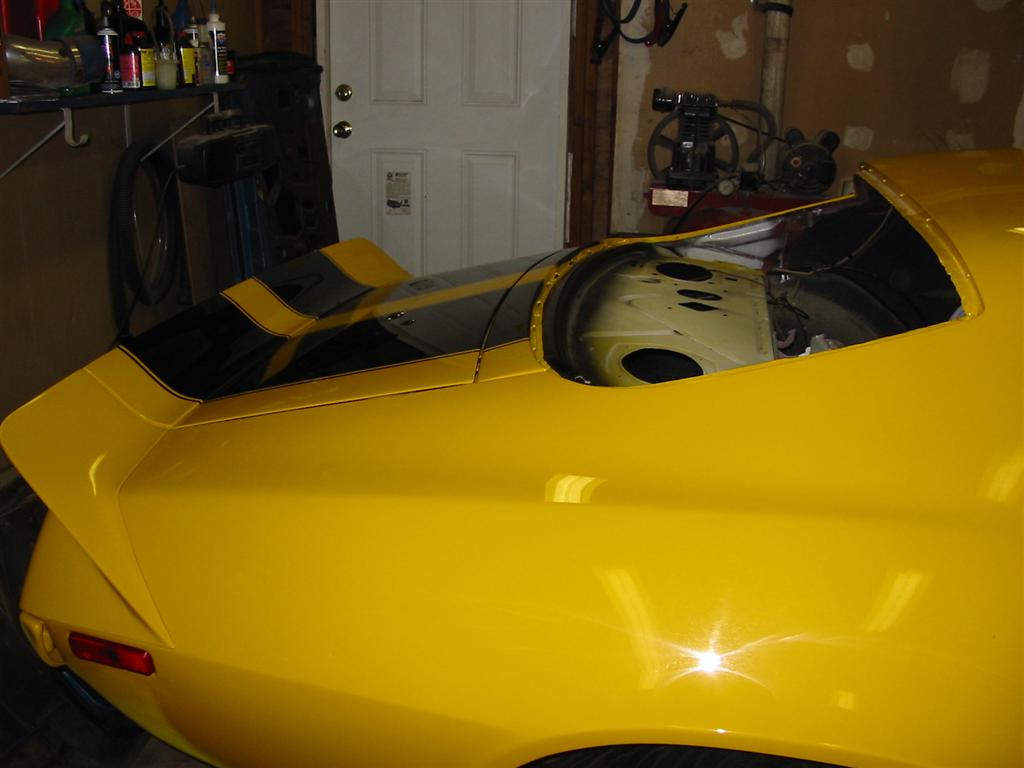
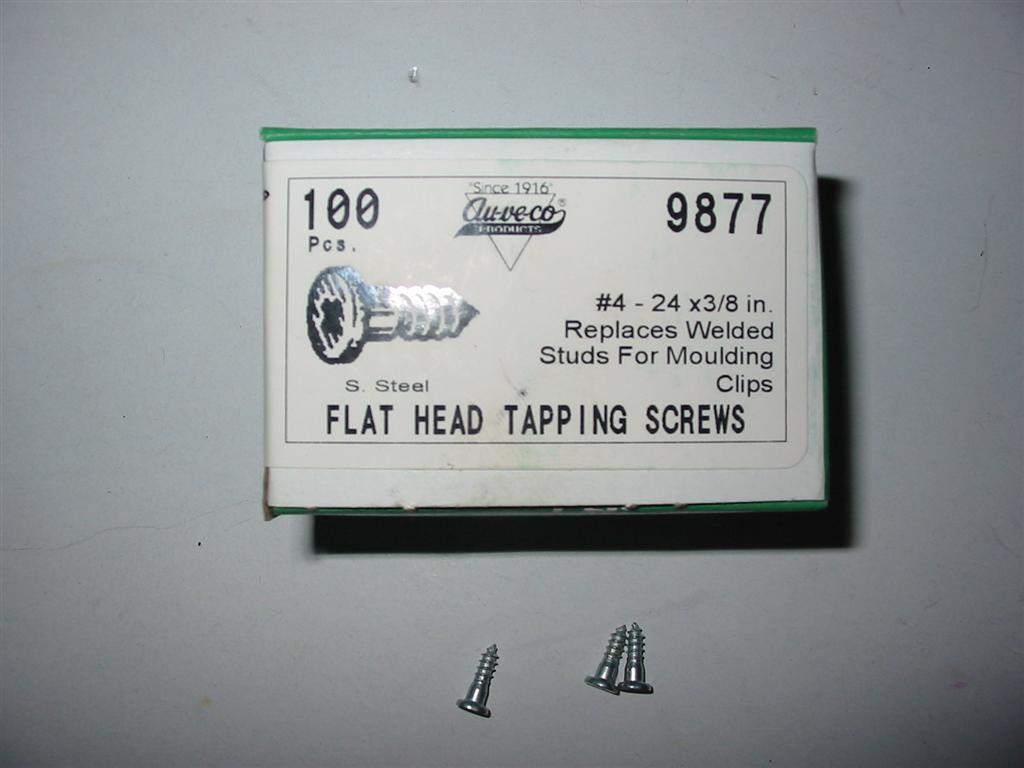
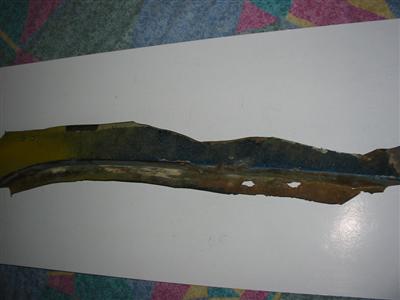
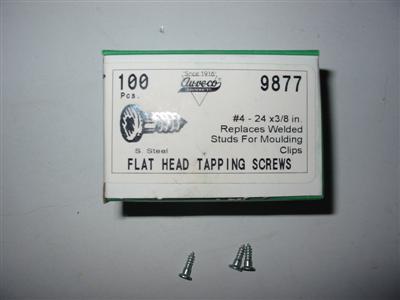
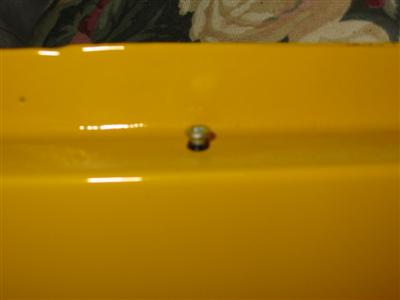
| I then installed the tiny studs in the rear window channel. These do not come installed on
the replacement quarter panels. They sell weld on ones that need to be installed with a stud gun before the
car is painted. I did not have a gun so I used these screw in ones. I made sure to dip each screw in seam
sealer to prevent leaks and rust. I kept a piece of the original quarter panel channel so I could see where
the original studs mounted. |
|
|
|
|

|
|
|
|
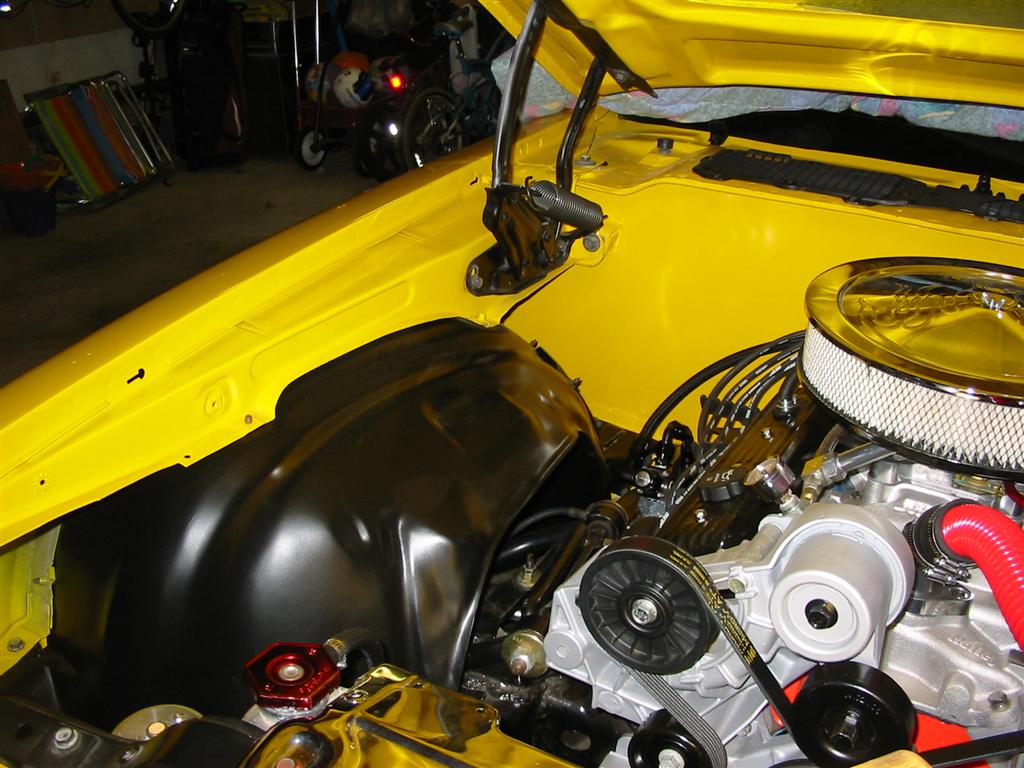
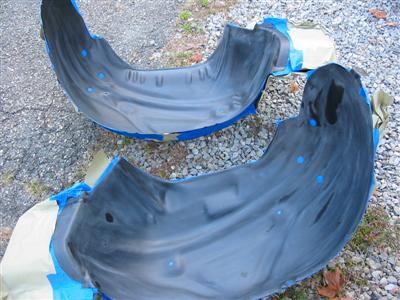
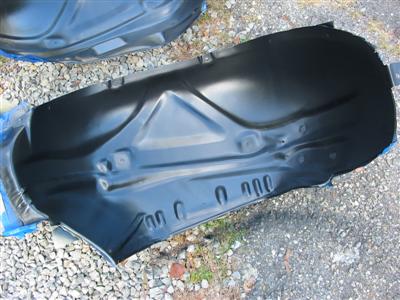
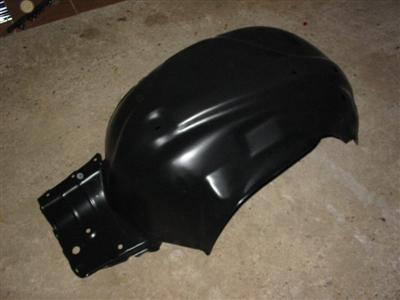
| Here are the front fender wells. The topsides were coated with Eastwood underhood black
The bottoms were coated with Black Zero Rust. I then scuffed the Zero Rust and coated
the bottoms with spray on truck bed liners like the rears. |
|

|
|

|
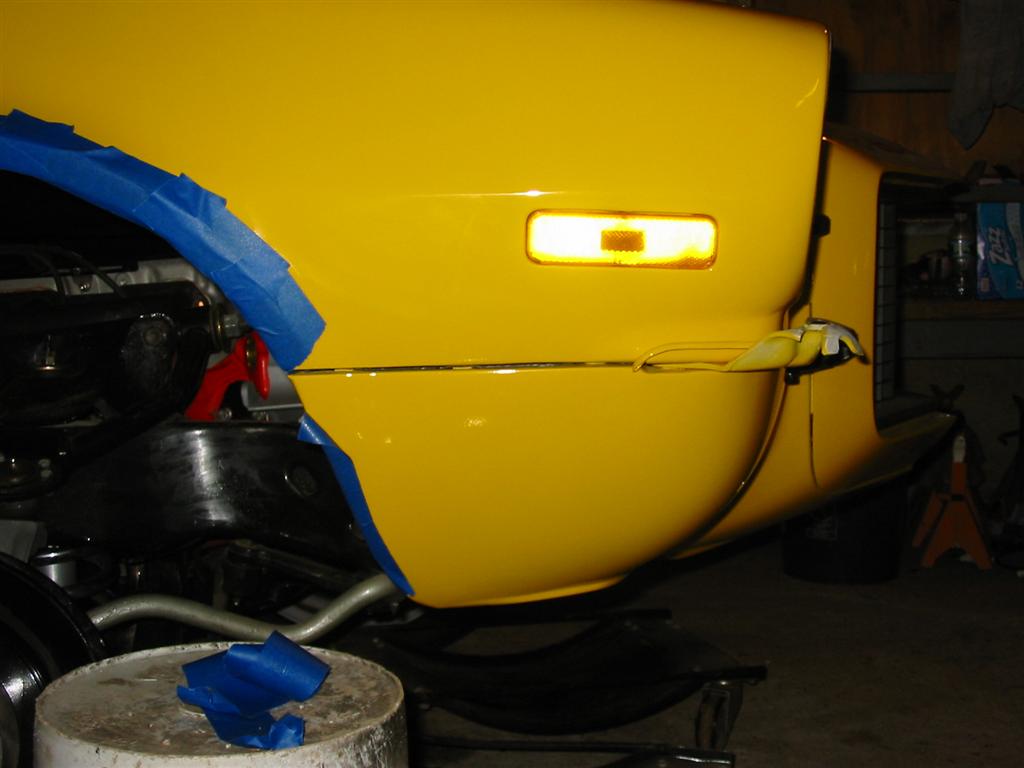
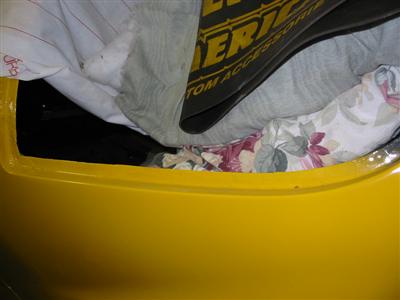
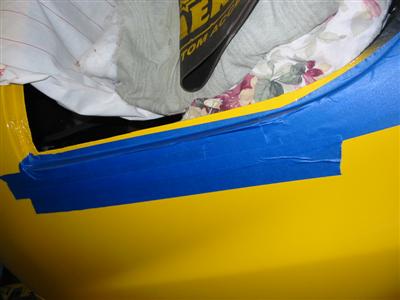
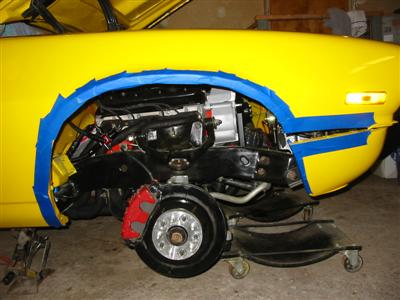
| The next step was installing the front inner fenders and the bumper braces. I used
painters tape to protect the fenders and valance from potential scratches during the install. |
|
|

|
|
|
|
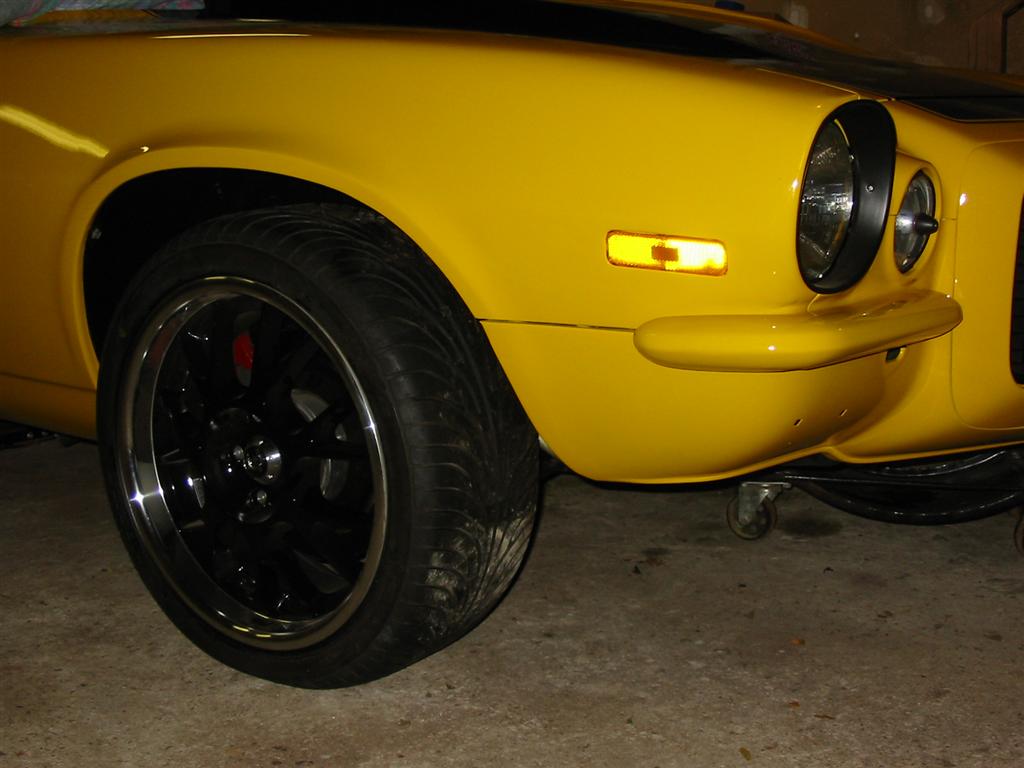
| Once the inner fenders and bumper braces were installed, I then installed the bumpers.
My front bumpers had been smoothed so I modified my brackets a bit. This was documented
on an earlier page. |
|

|
|
|
|
|
| Here are the fender braces installed. The braces on the 73 Rally Sports are longer than
the braces on the other second generation cars. These were designed to make the RS
Camaros comply with stricter crash test standards implemented in 1973. |
|
|

|
|
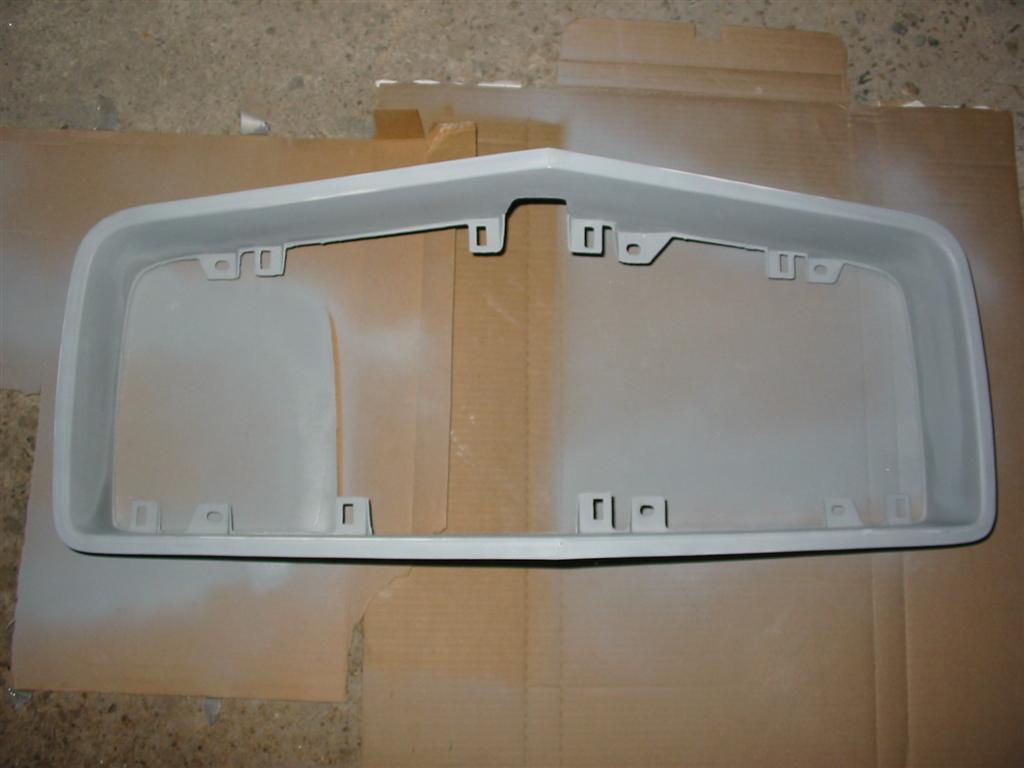
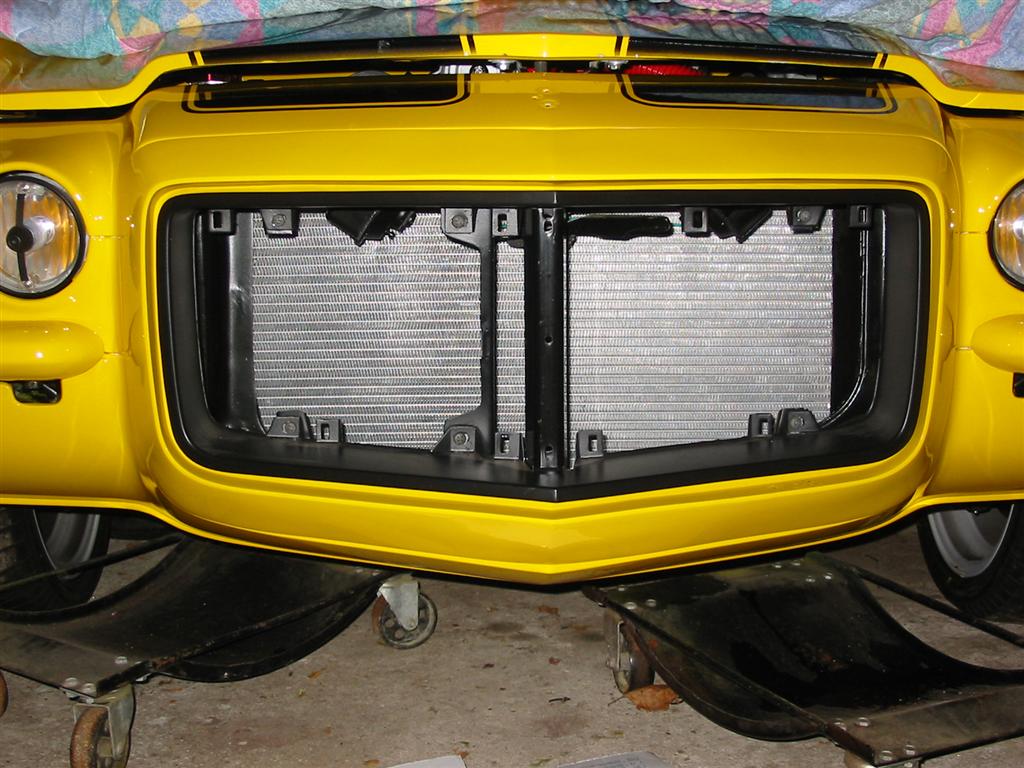
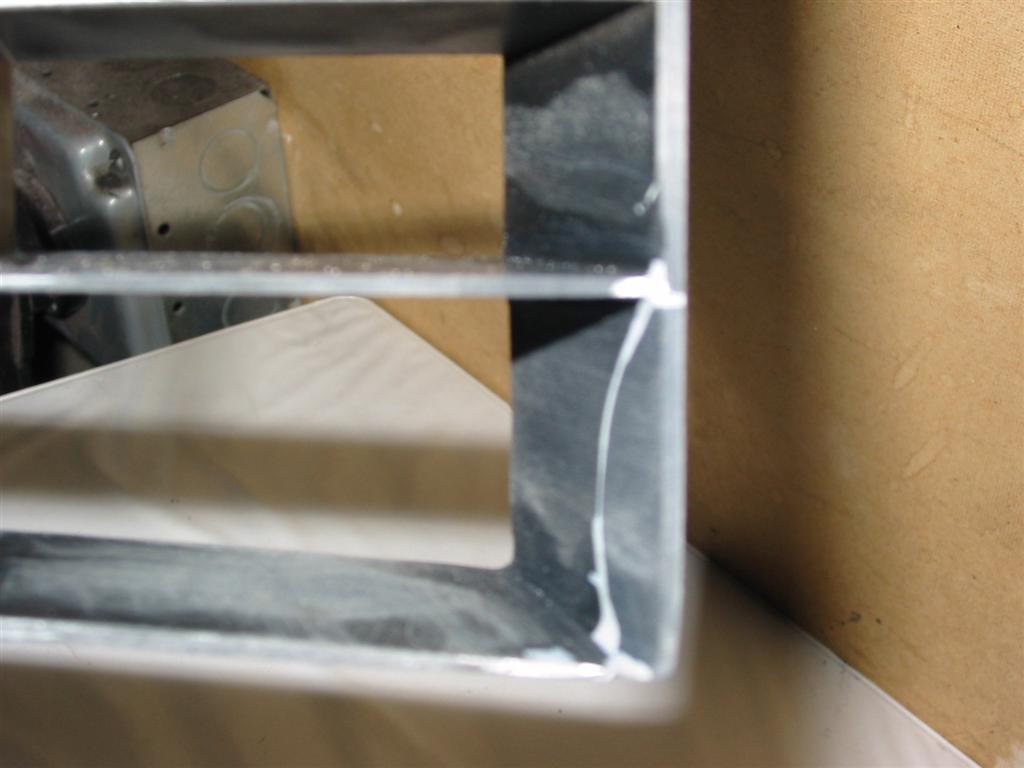
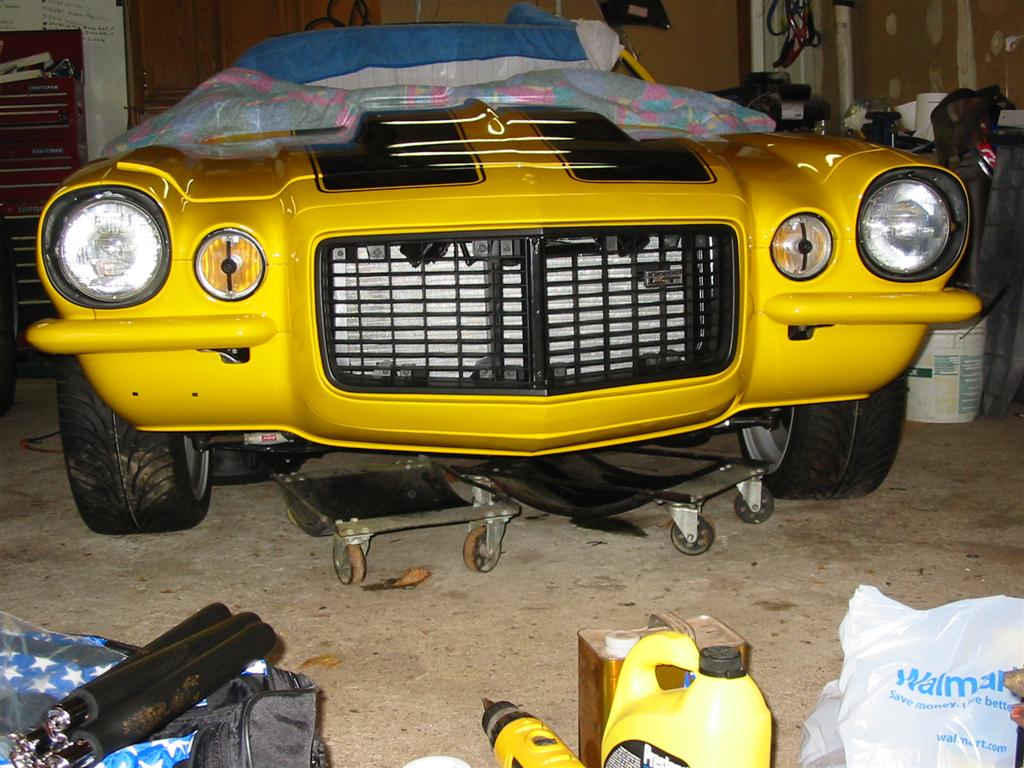
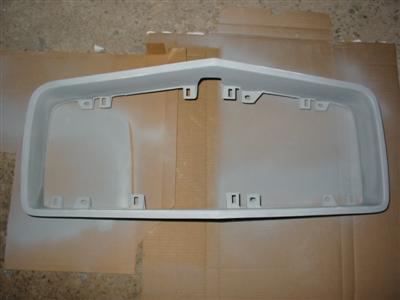
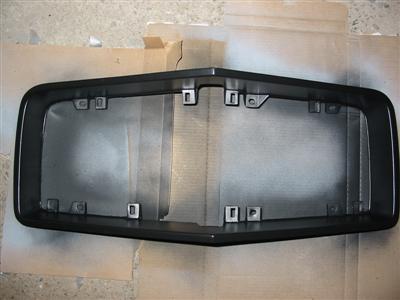
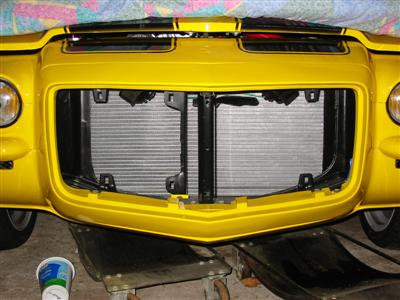
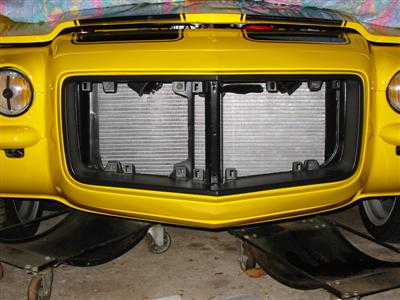
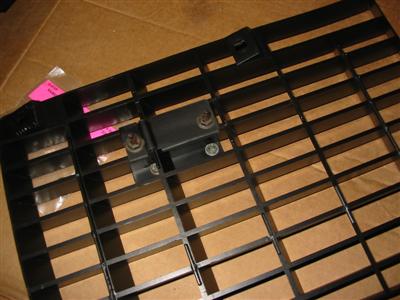
| I primed the factory grille surround and painted it SEM Trim Black. I then installed the
grille surround. |
|
|
|
|
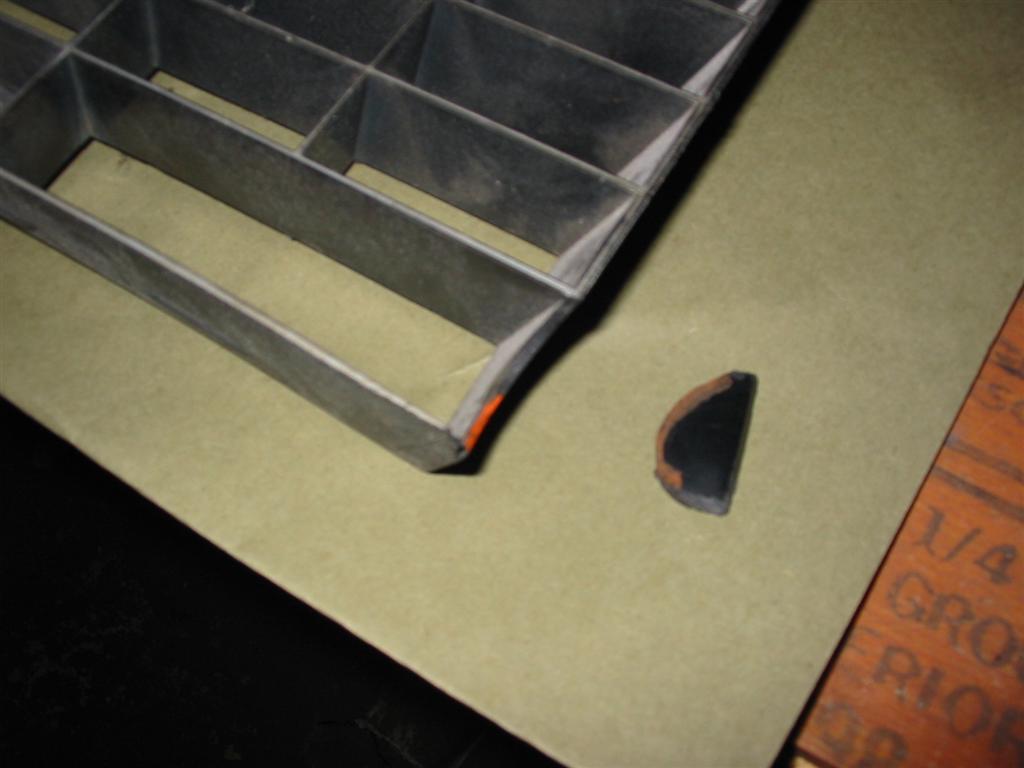
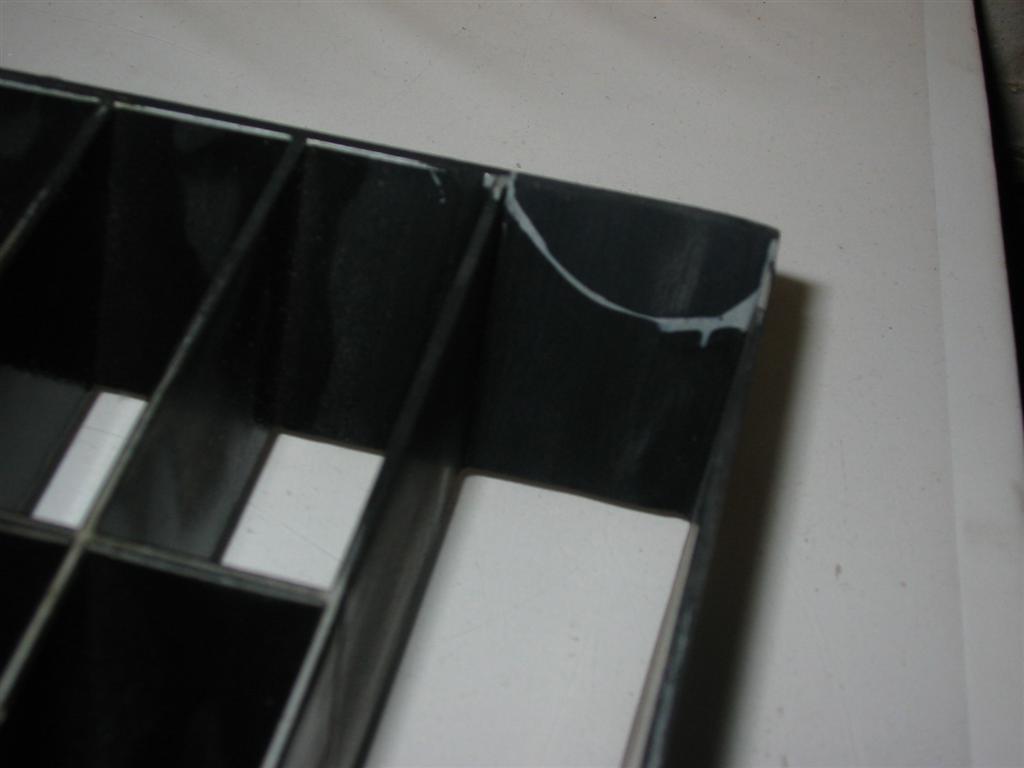
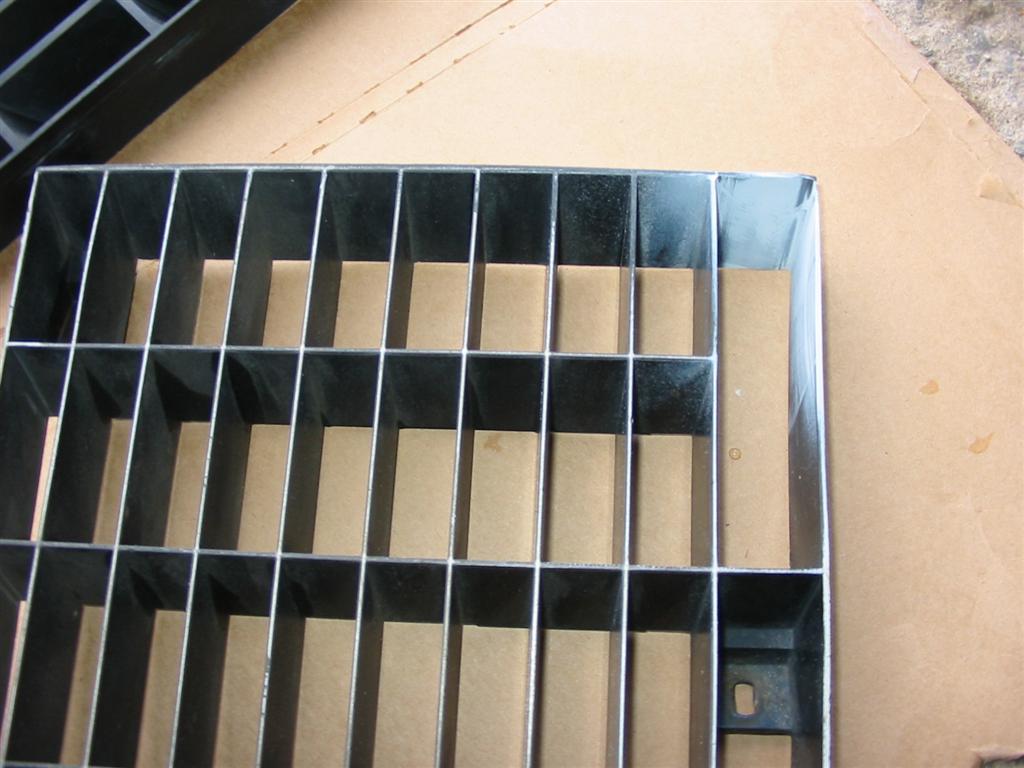
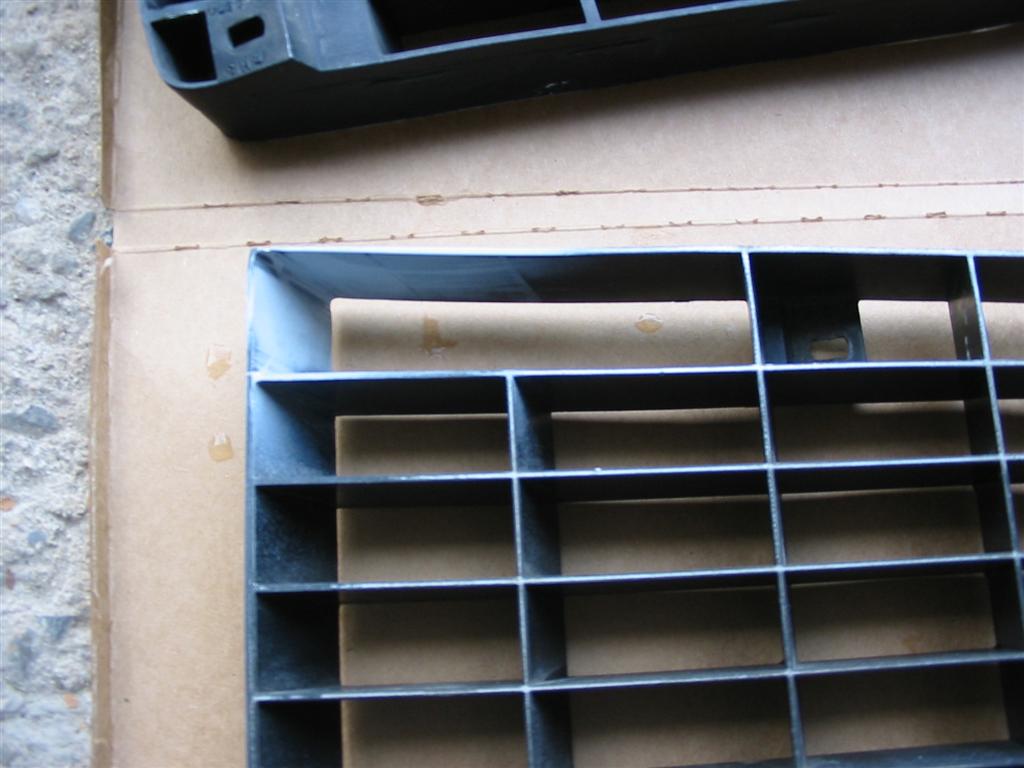
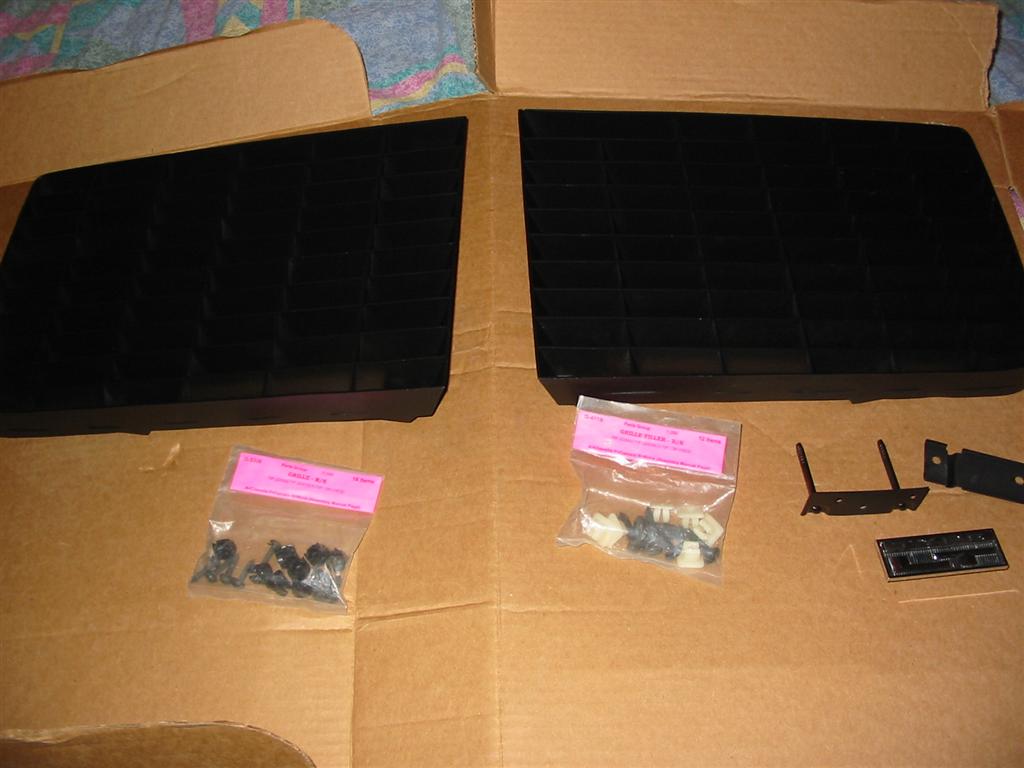
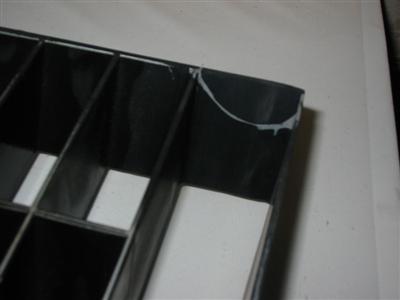
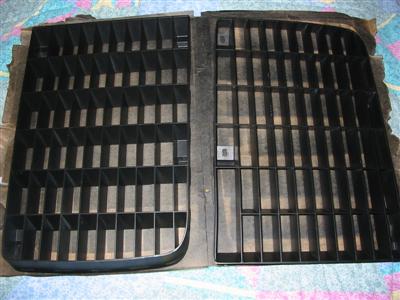
| My left front grille was broken. I cut a piece off of a spare grille I had and used
JB Weld to install the piece. I then sanded the repair. Covered the area with high
build primer and sanded everything smooth. I then painted the grilles with SEM
Trim Black. |

|
|

|

|

|
|
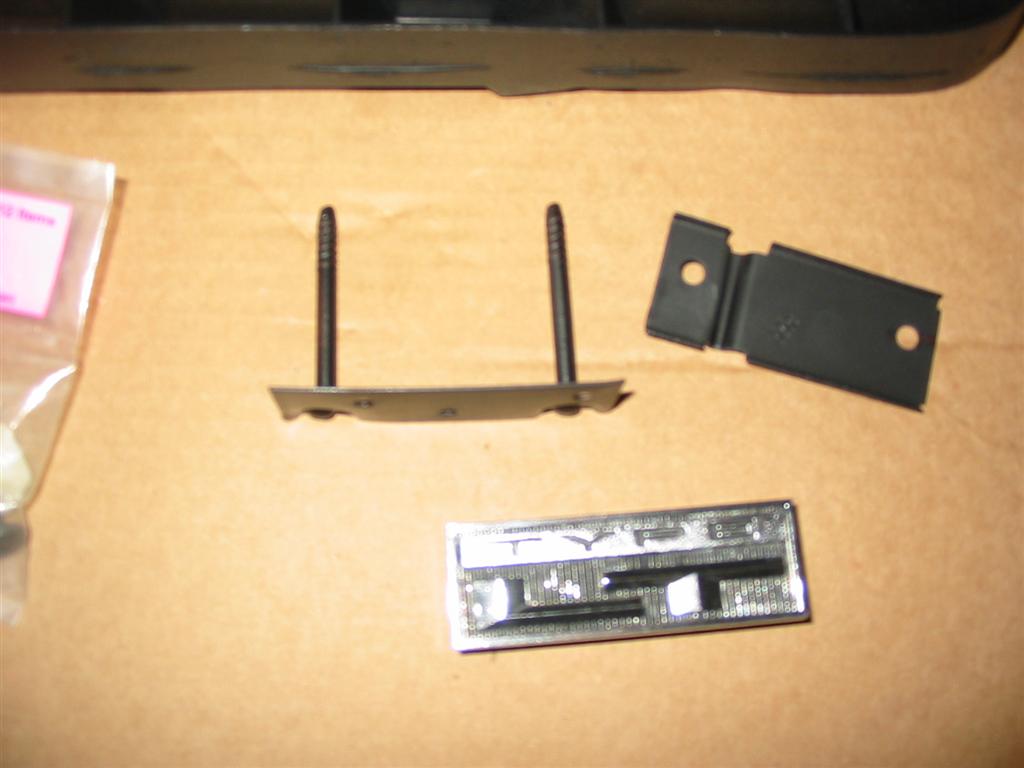
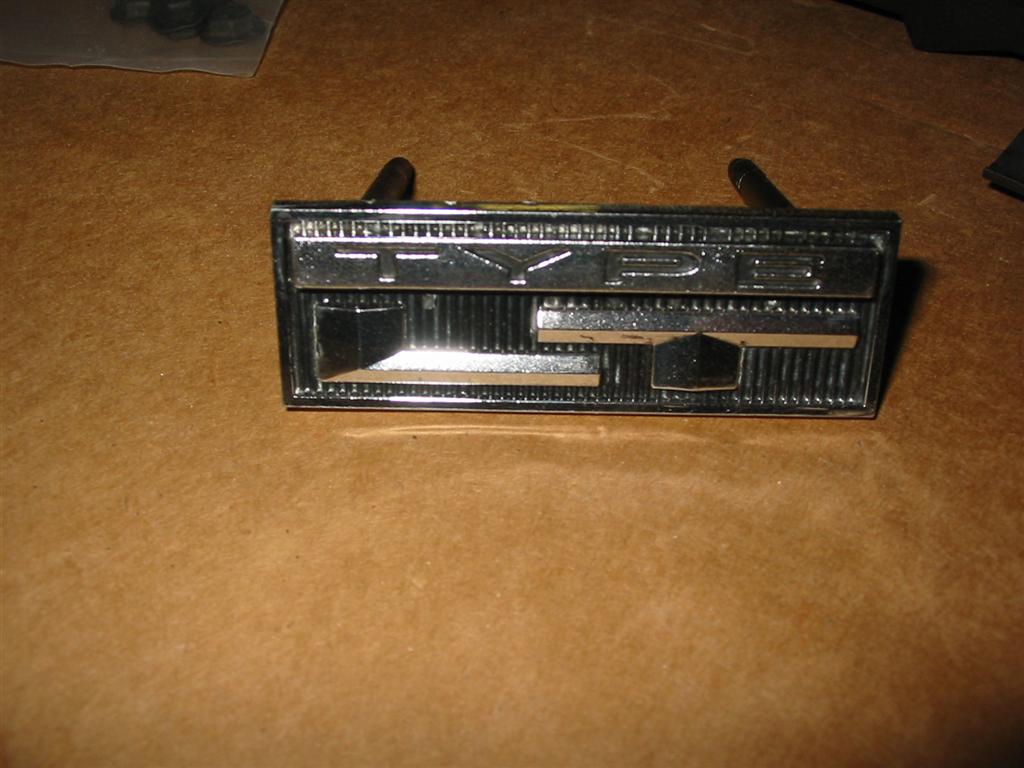
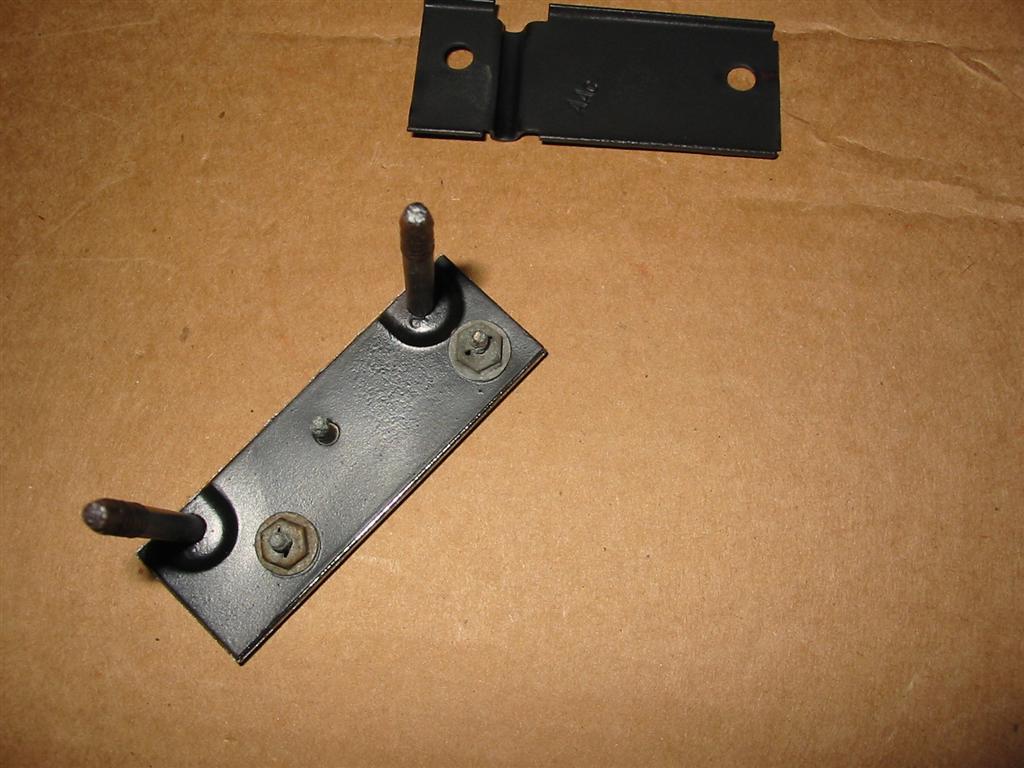
| I decided that I would install the small factory Type LT emblem on the grille. I needed to
clean and repaint the bracket before installing. |

|
|

|
|
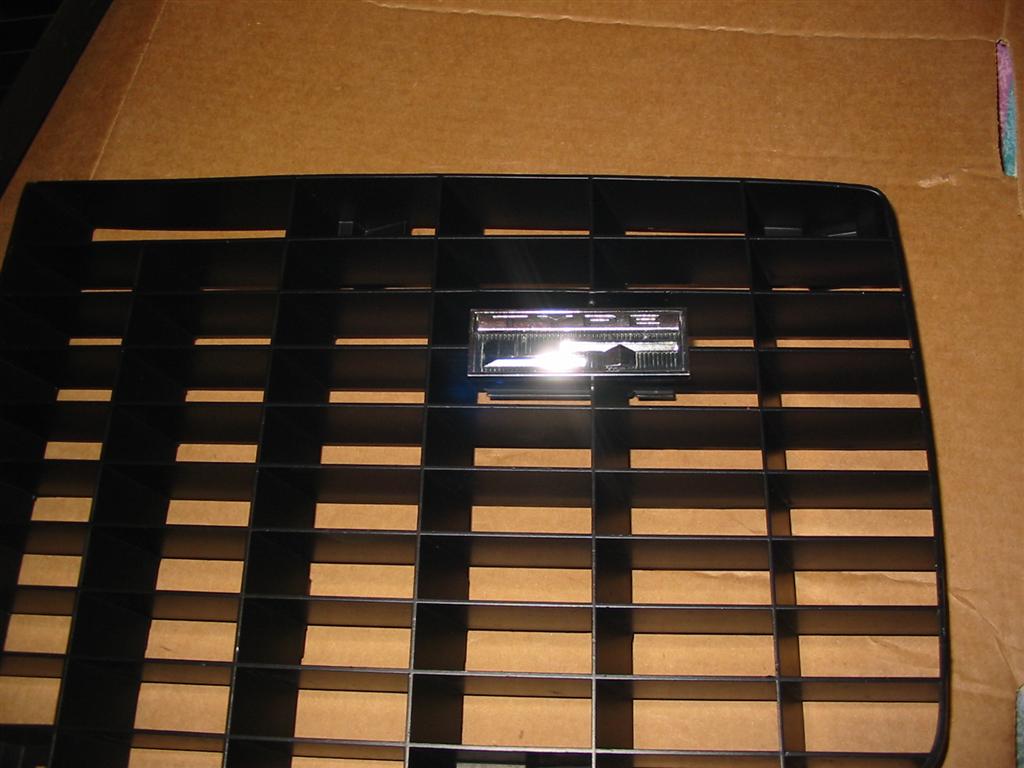
| Here are the pictures of the Type LT emblem and grille install. |

|
|

|
|

|
|