|

Upper Rear Valance Repair and Spring Mounts (February 5, 2005)
Here are the first updates in a few months. It has been cold here in New Jersey, and the garage isn't heated. Since the last update, I have worked on grinding the mounting areas smooth for the outer wheel wells and the trunk side dropdowns. I then coated these surfaces with Bloxide Weldable Primer primer from Eastwood. This stuff will keep the metal panels from rusting where they are spot welded together. I have also repaired the upper rear valance edge and the trunk floor where it meets at the edge of the trunk on the right side. I also took my rear front spring mounts and drilled the spring mounting holes 3/4 of an inch higher to improve rear end spat and traction. This is a old trick developed by Herb Adams. This requires a portion of the mount to be cut out for clearance of the front spring eye. Hopefully the weather will start to improve so I can continue to work on the car.Status photos as of 02/05/2005:
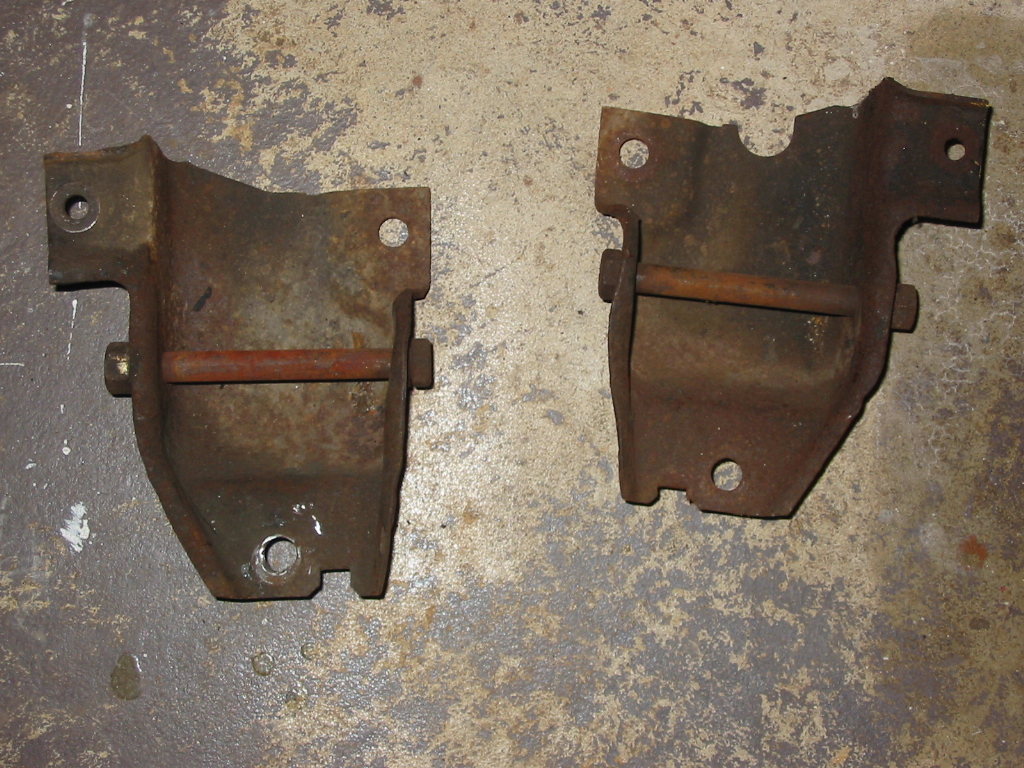
| Here are front rear spring mounts before I modified them. They were covered with over 30 years of dirt and rust. | |
| Top | Bottom |

|
|
| Here are front rear spring mounts after I modified them. I wire brushed them to clean them off a bit. I will later sandblast them and coat them with POR15 | |
| Top | Side |

|

|
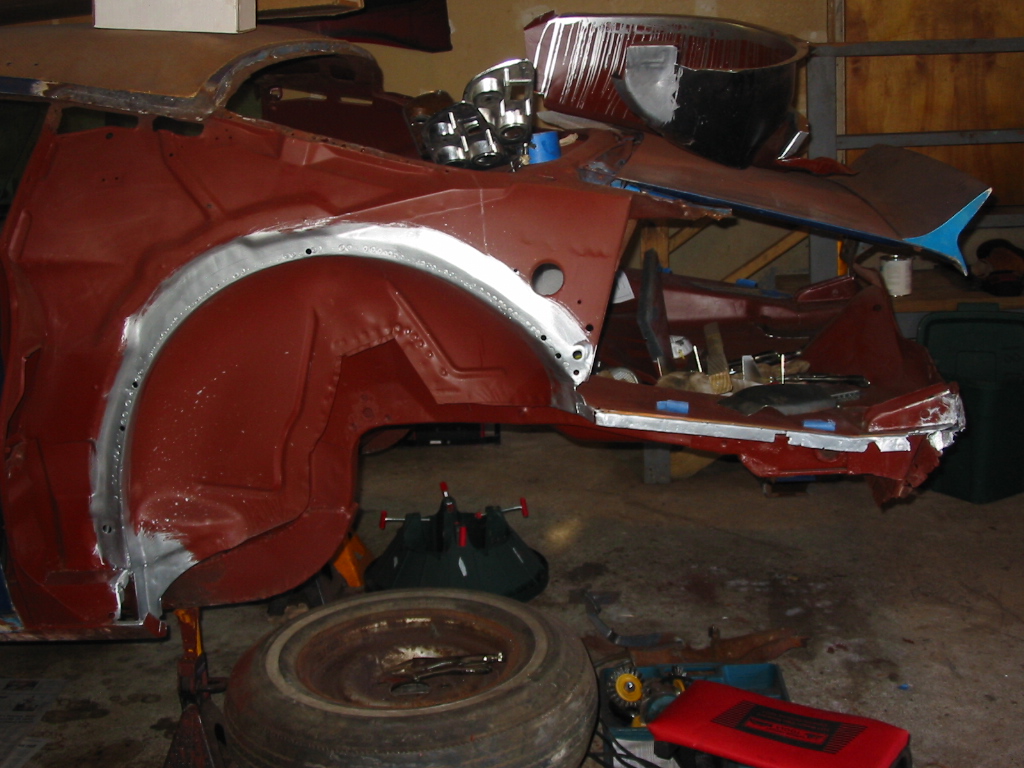
| Here are the inner wheel wells ready for mounting the outer wheel wells | |
| Left Side | Right Side |
|

|
| Here is the trunk area where the dropdowns and rear valance mount. This area rusted away and required me to fabricate and weld an new piece in. | |
|
|
| Here is the piece I fabricated. | Here it is being test fitted. |
|

|
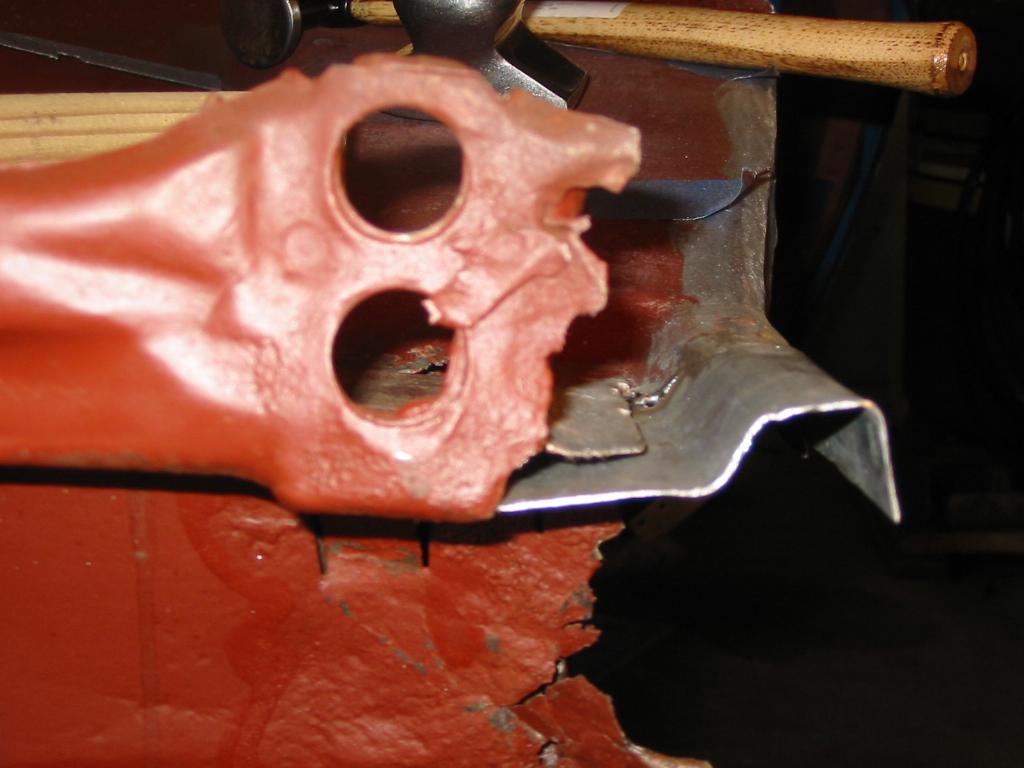
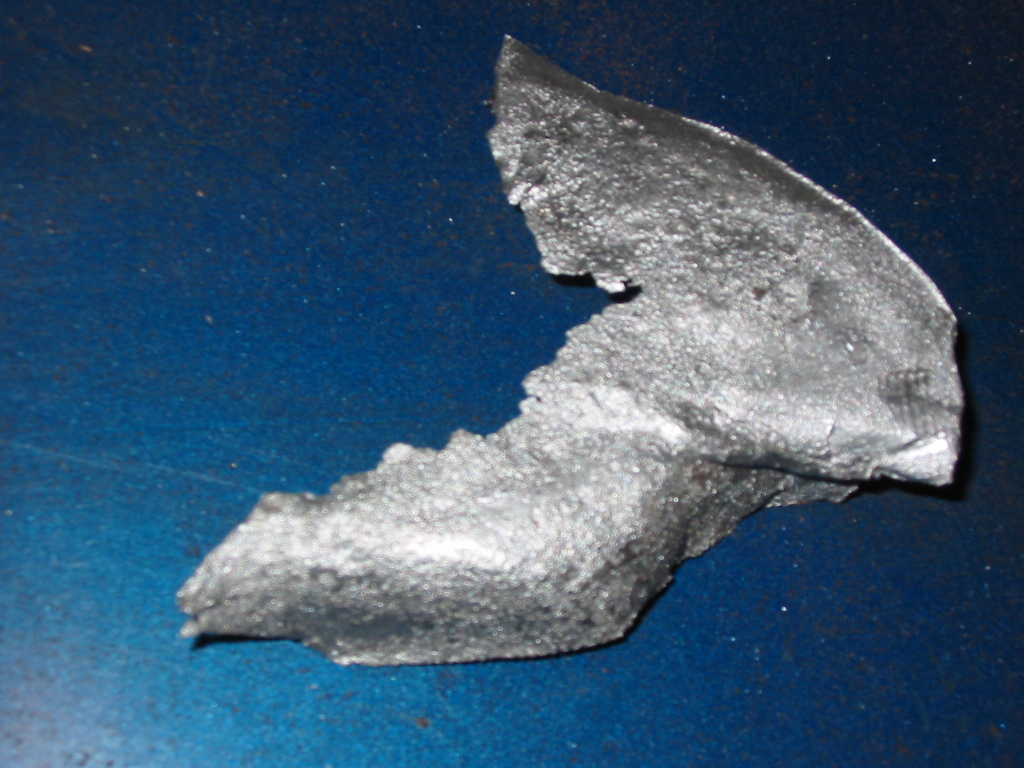
| Here is a picture of the upper rear Valance before being repaired. Luckily I saved the piece that was removed from the corner. It was rusty, but salvagable. | |
| View of the valance from the rear. Notice the trunk floor from before has been welded in. | Here is what's left of the piece that needs to go back on the valance. This piece has been stripped, treated with Metal Ready and coated with weldable primer. |
|
|
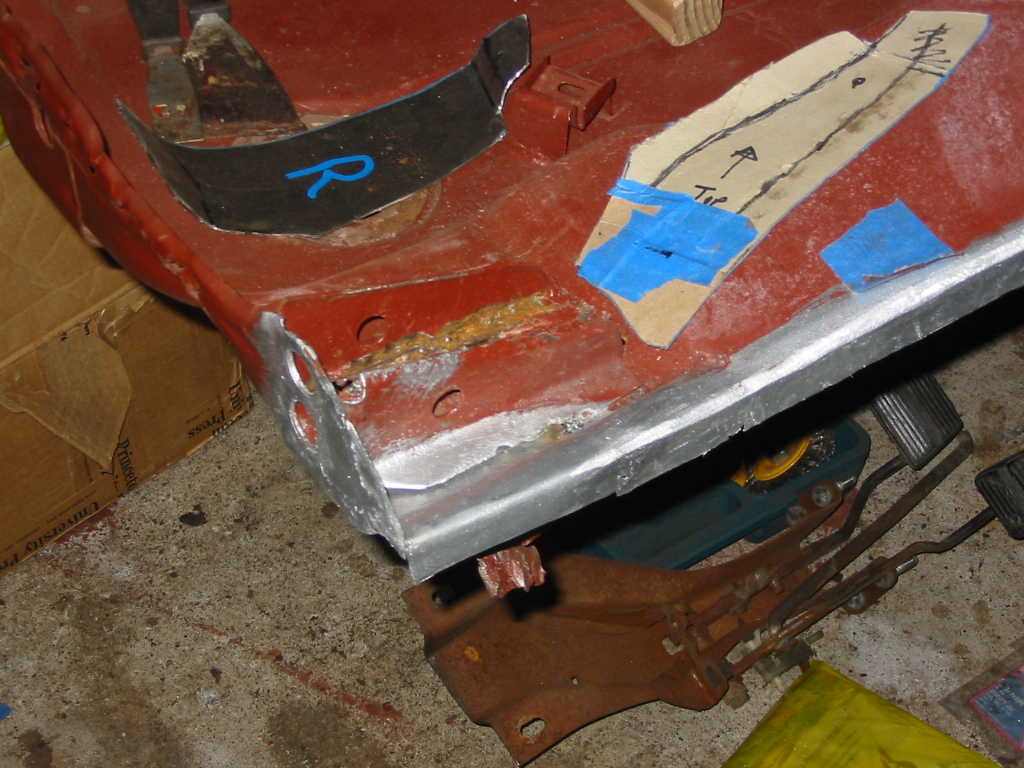
| Here is the above piece tacked into place. | Here is the same piece looking at it from the trunk side. |

|

|
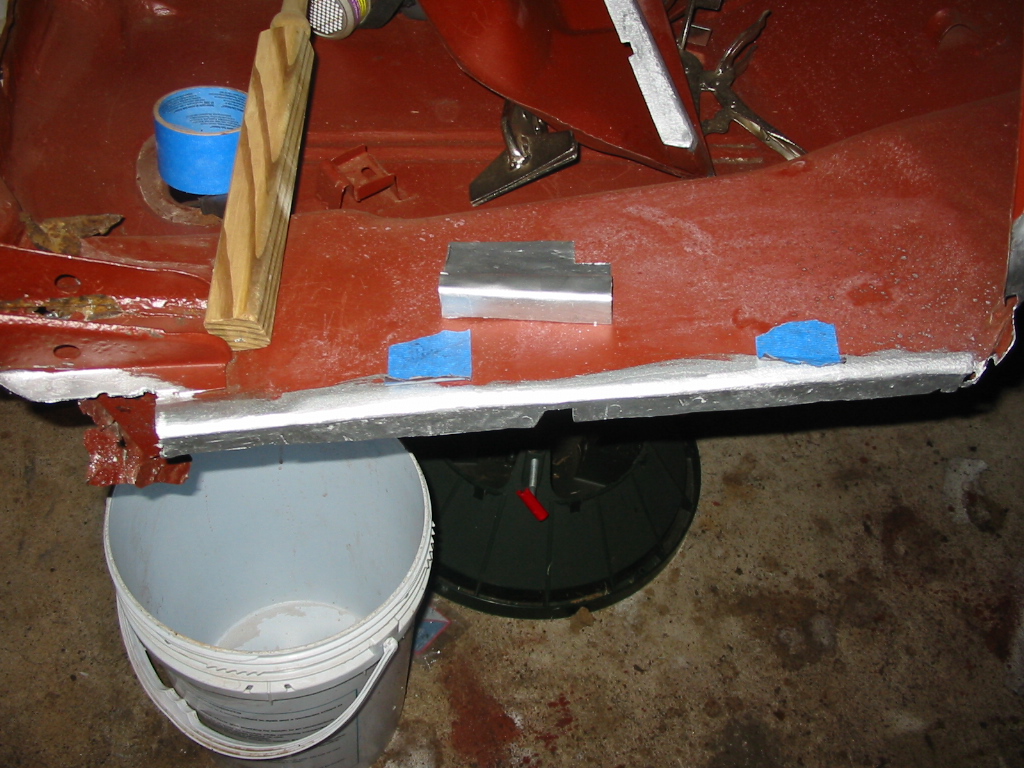
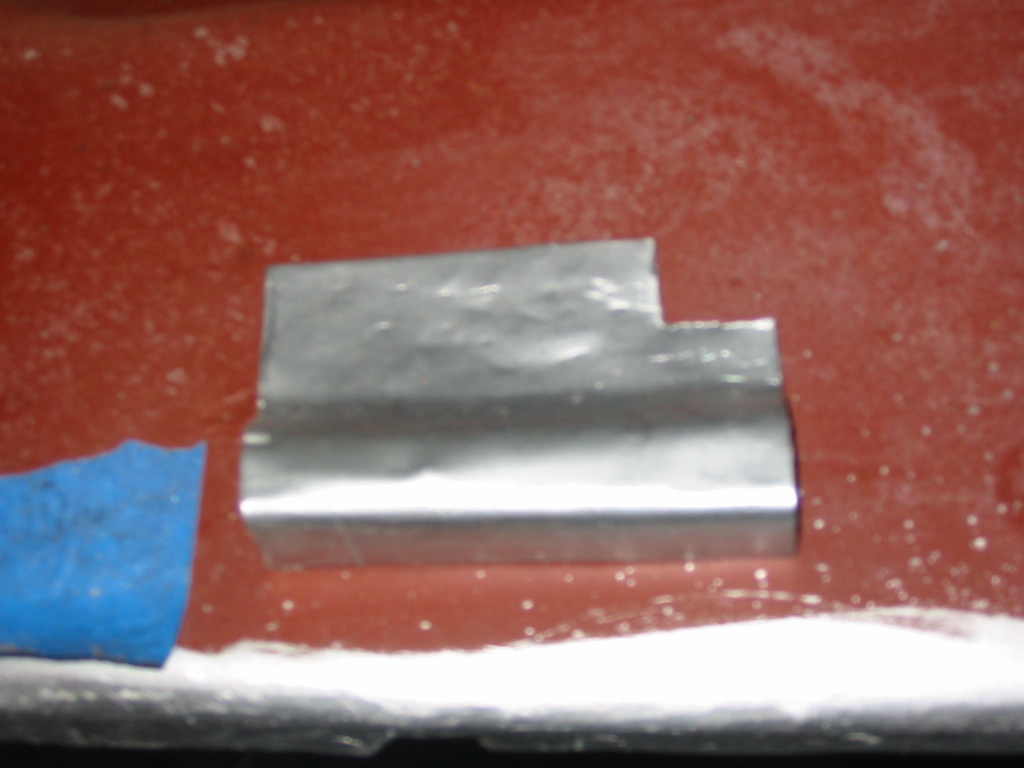
| Here is the patch piece I made. I have a piece of copper behind it to make the welding easier. | Here is the patch piece tacked in. |

|

|
| Here is the finished product. | |

|
|