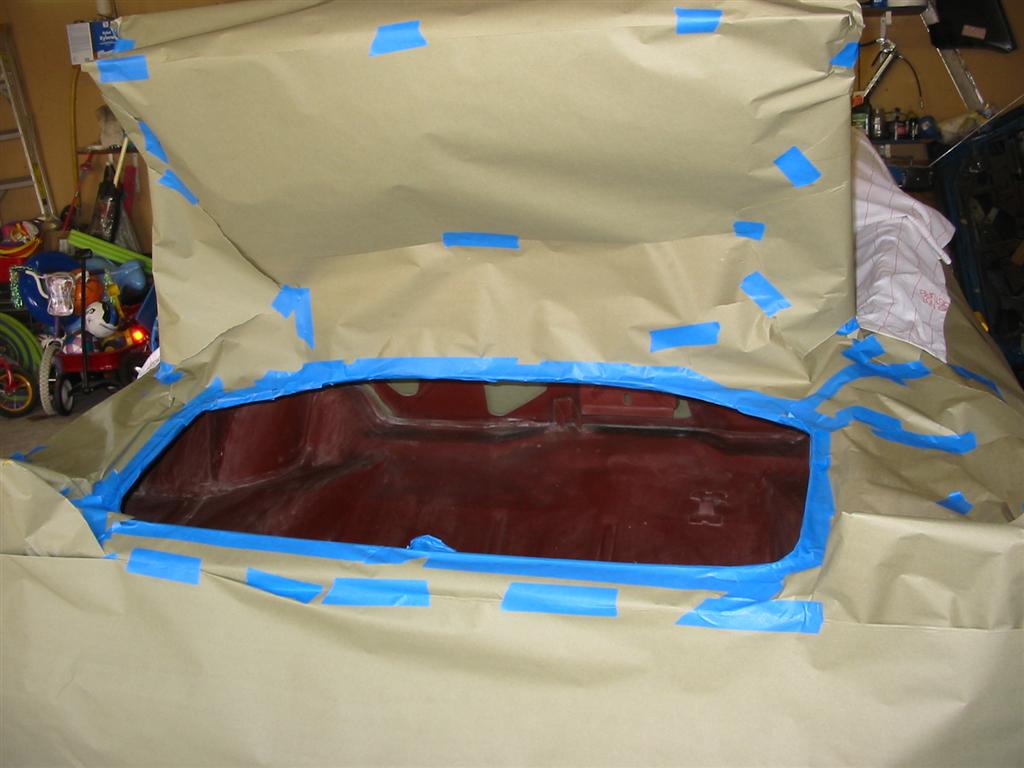
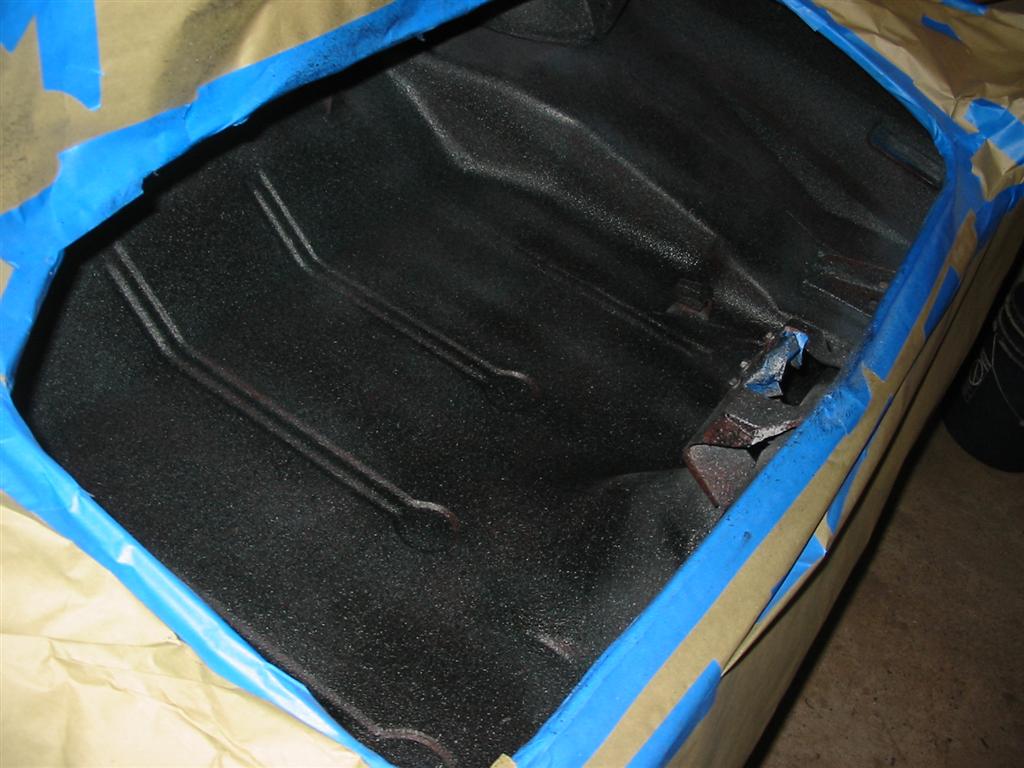
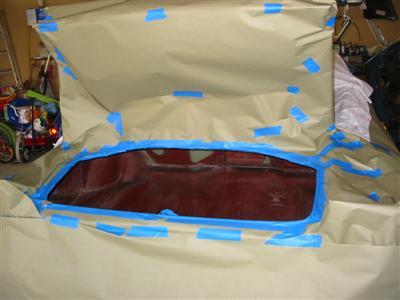
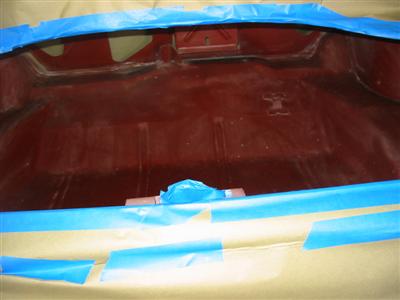
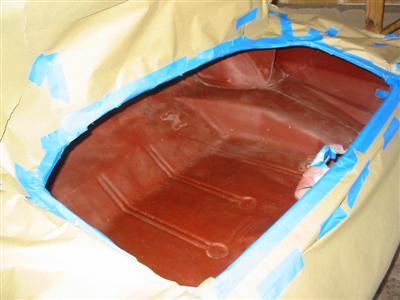
| Here are some shots of the trunk with the outside of the car masked off.
The Trunk interior is coated in ZeroRust Red which matches the original
trunk primer. |
|
|
|
|
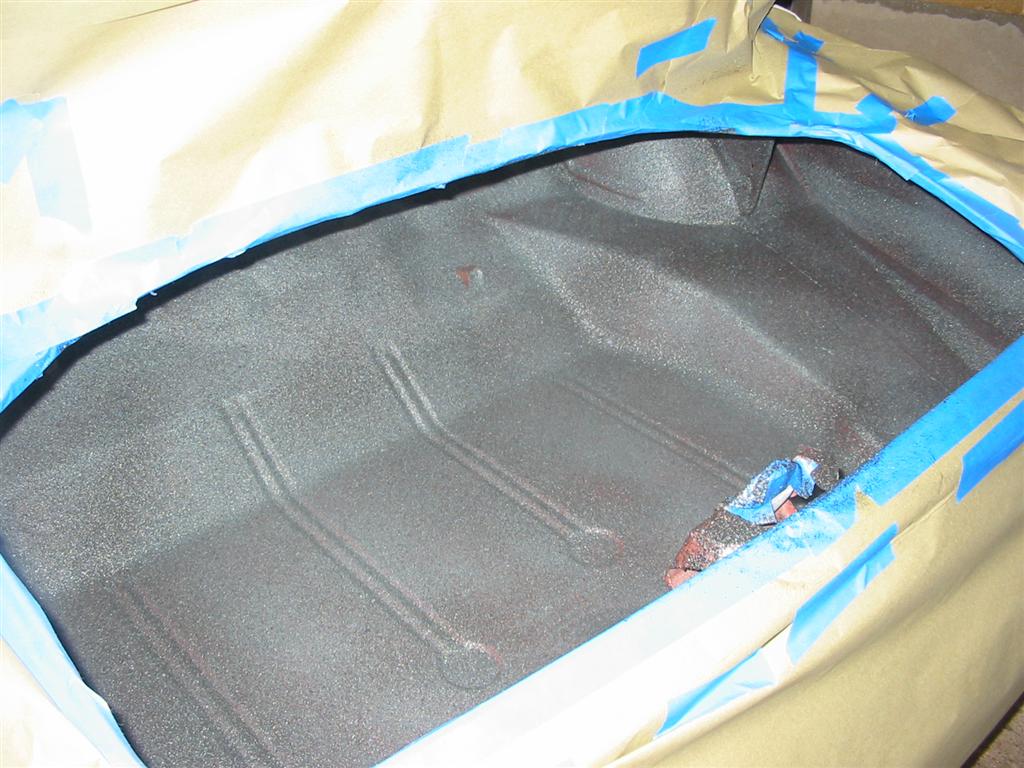
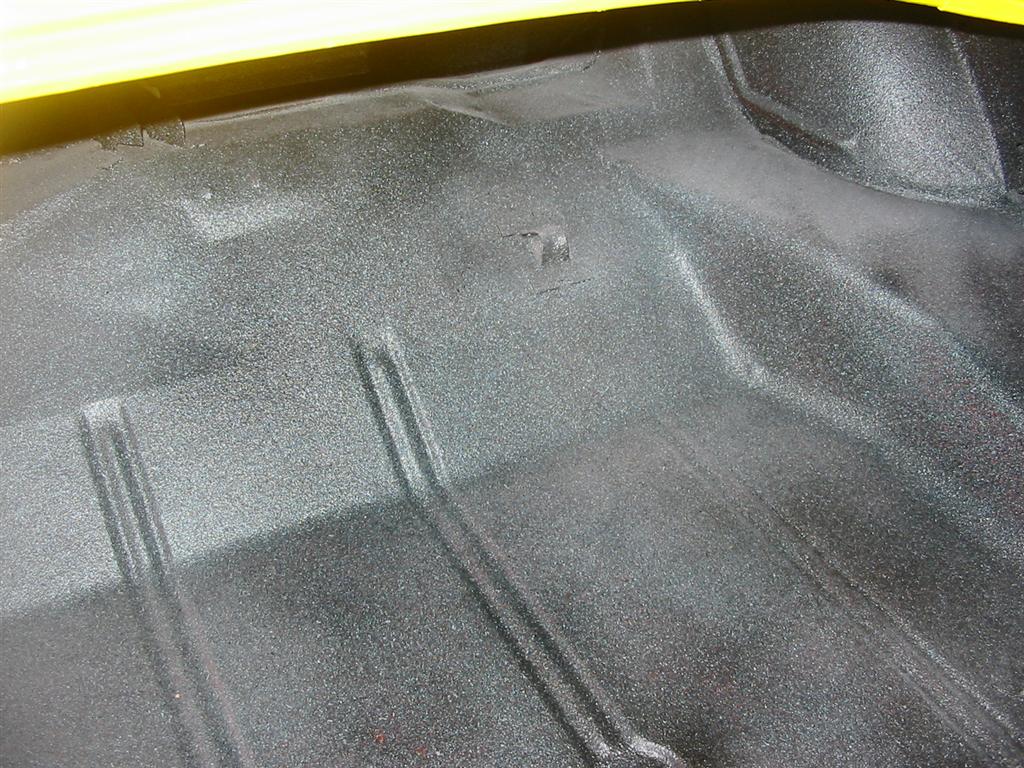
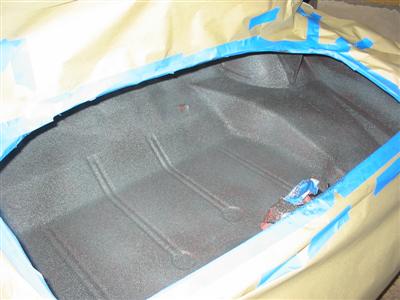
| Here is the first coat of the black and grey splatter paint. I noticed that the
trunk splatter paint does not cover the red very well. If I had to do this again,
I would paint the trunk with black primer first. I needed 6 cans to cover the red
paint and it still didn't cover 100%. |
|

|
|
|
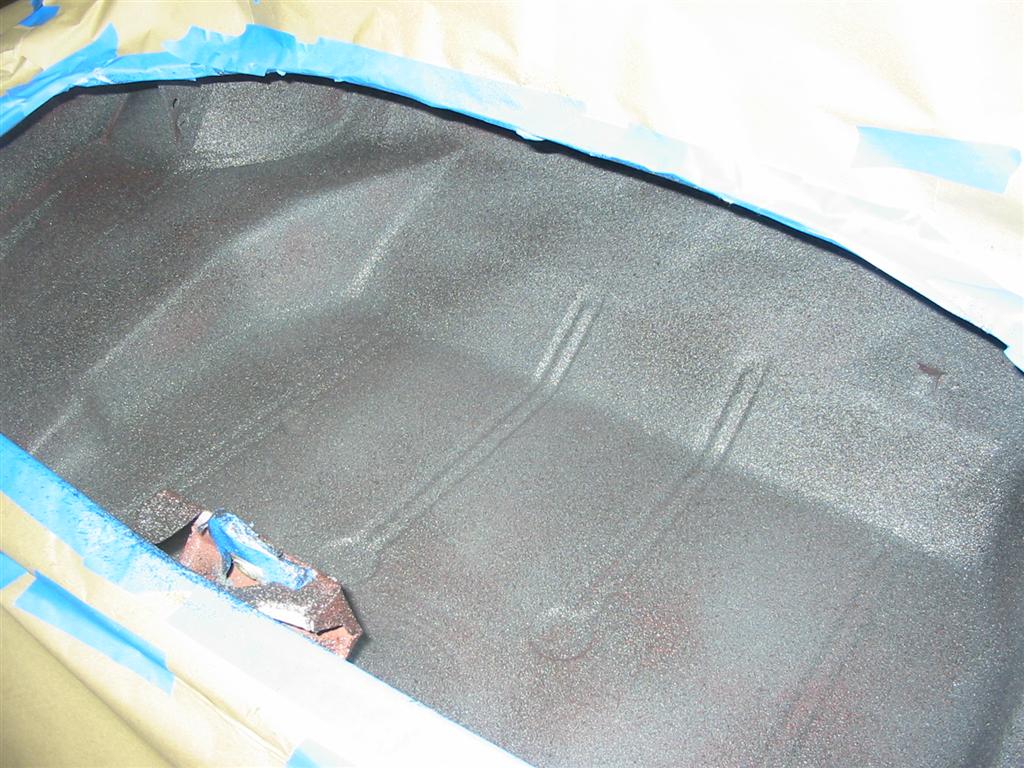
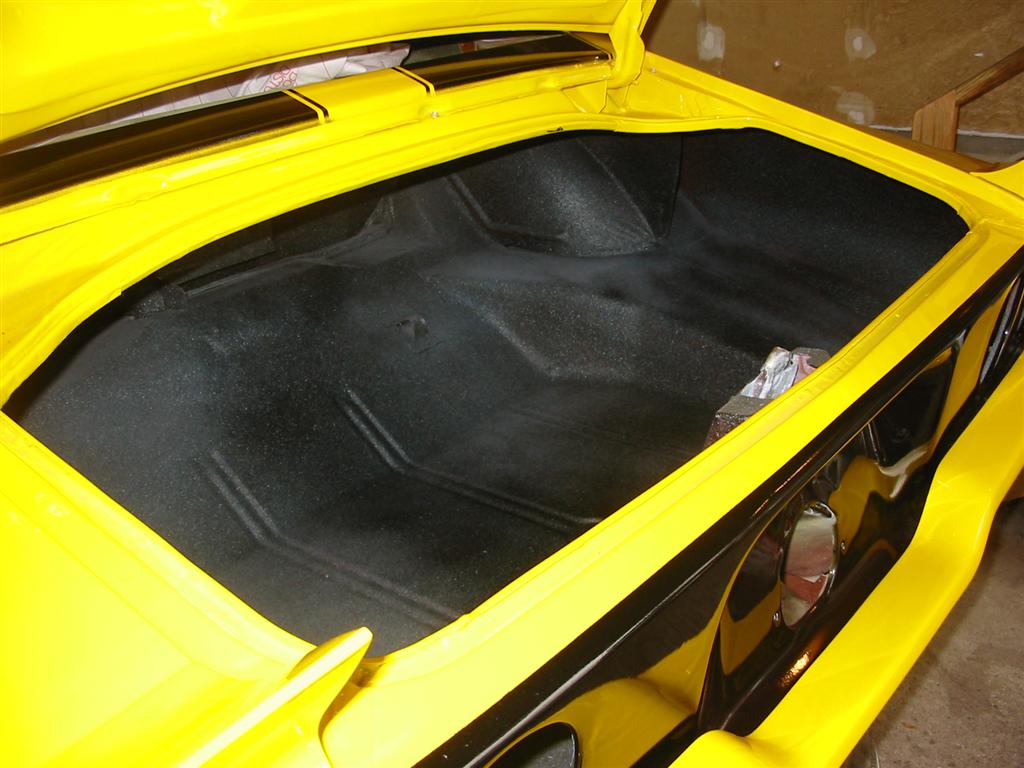
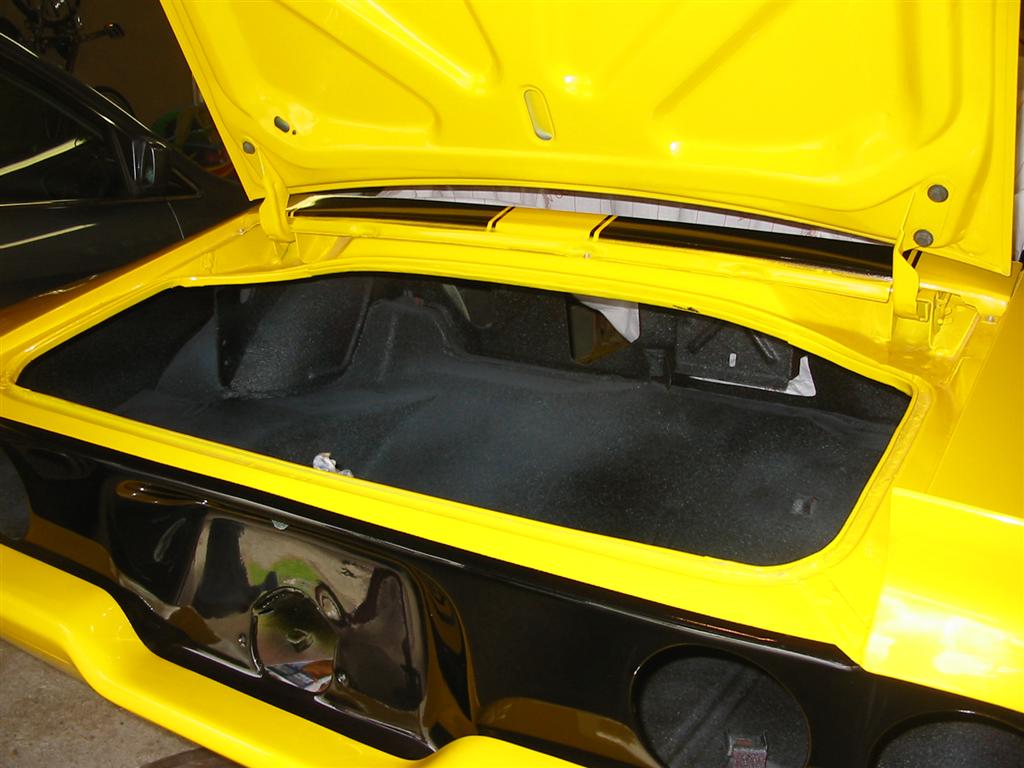
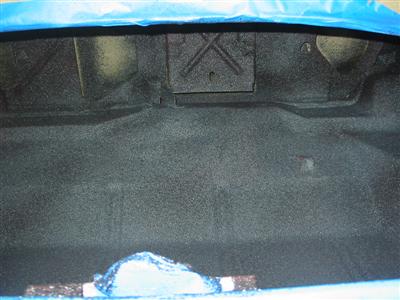
| Here is the trunk after a couple of coats of splatter paint and clearcoat. |

|

|
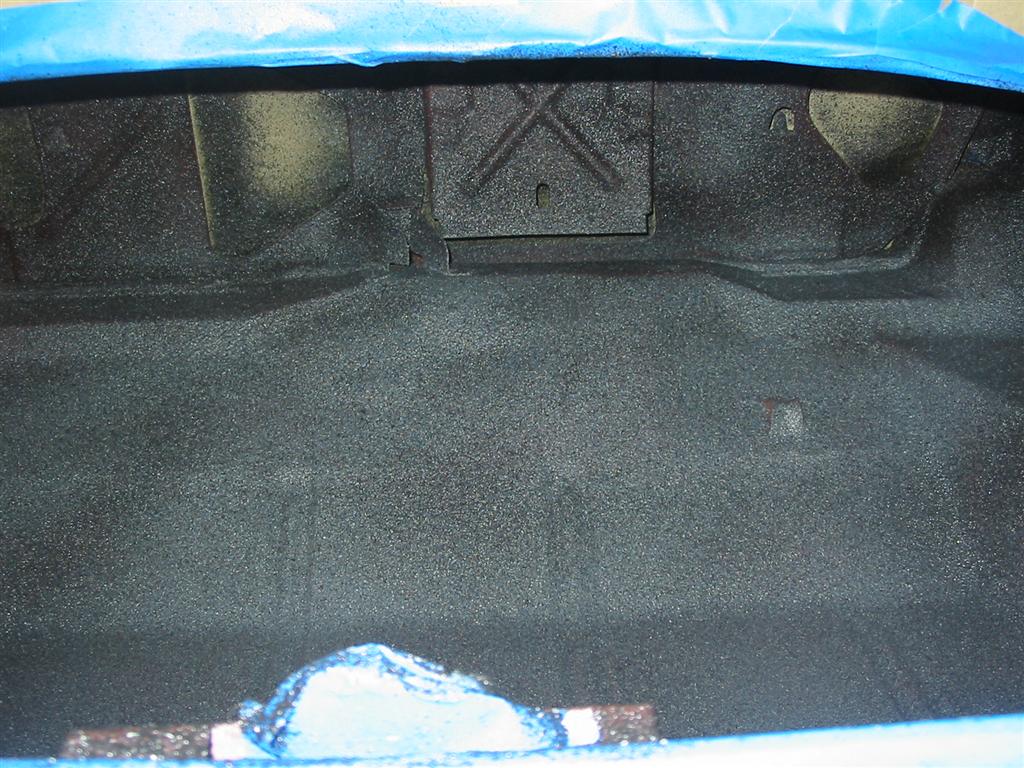
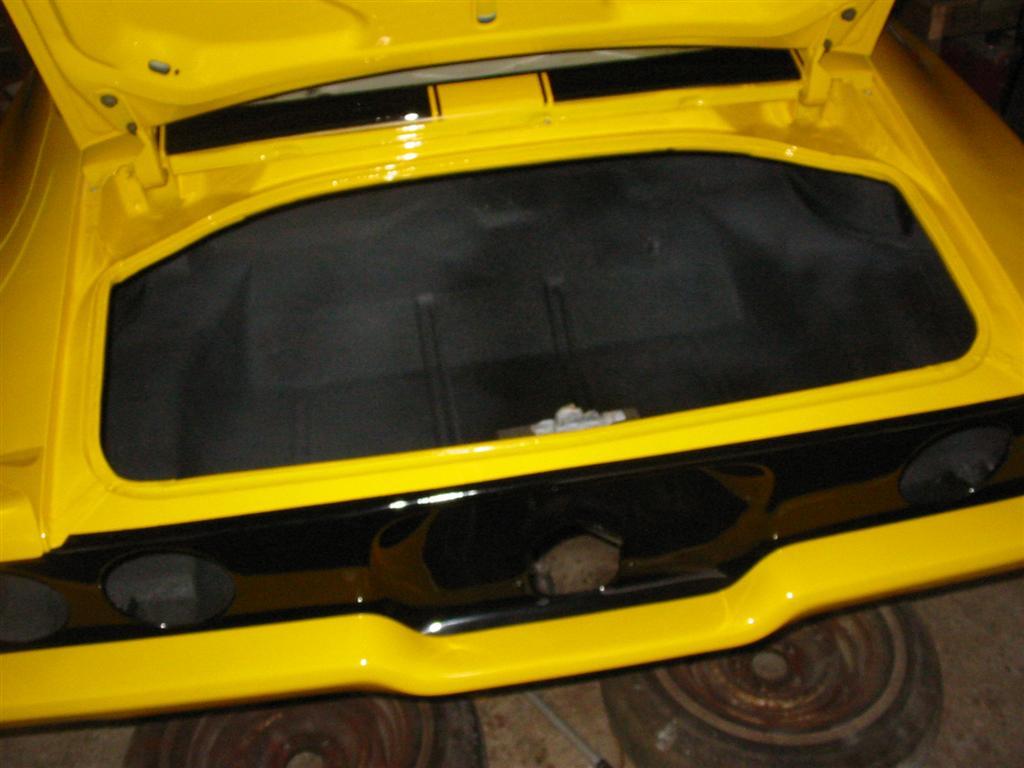
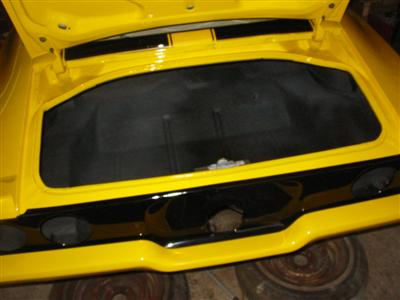
| Here is the trunk complete with the masking off. This really finished the trunk off nicely. |

|
|

|
|
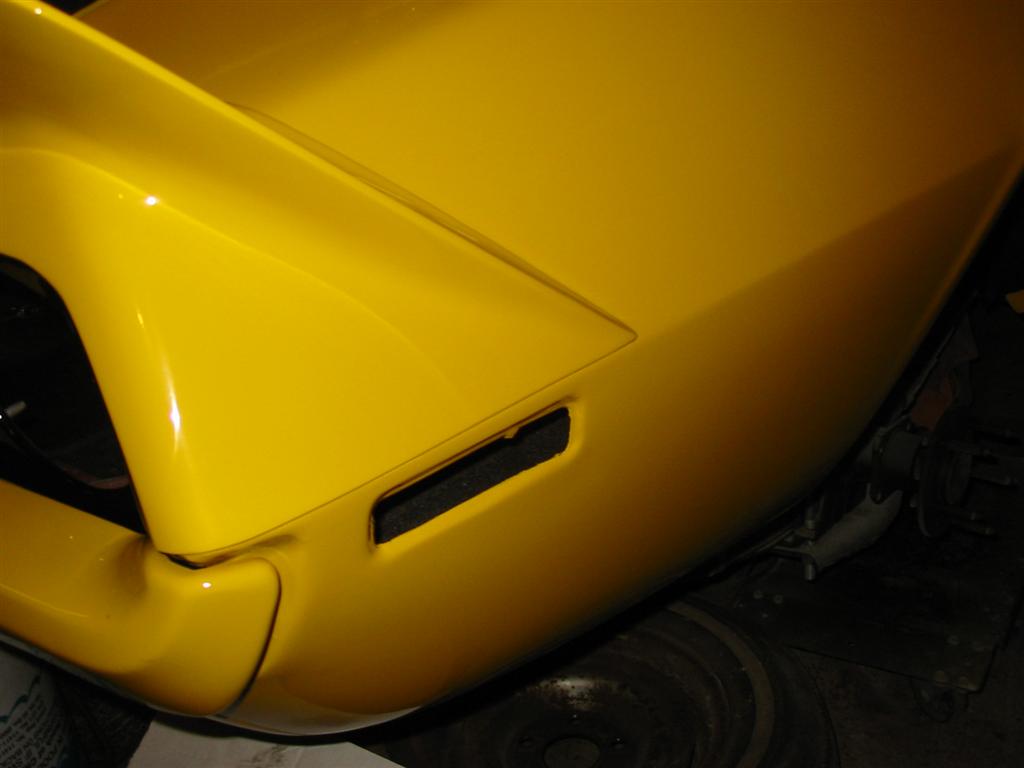
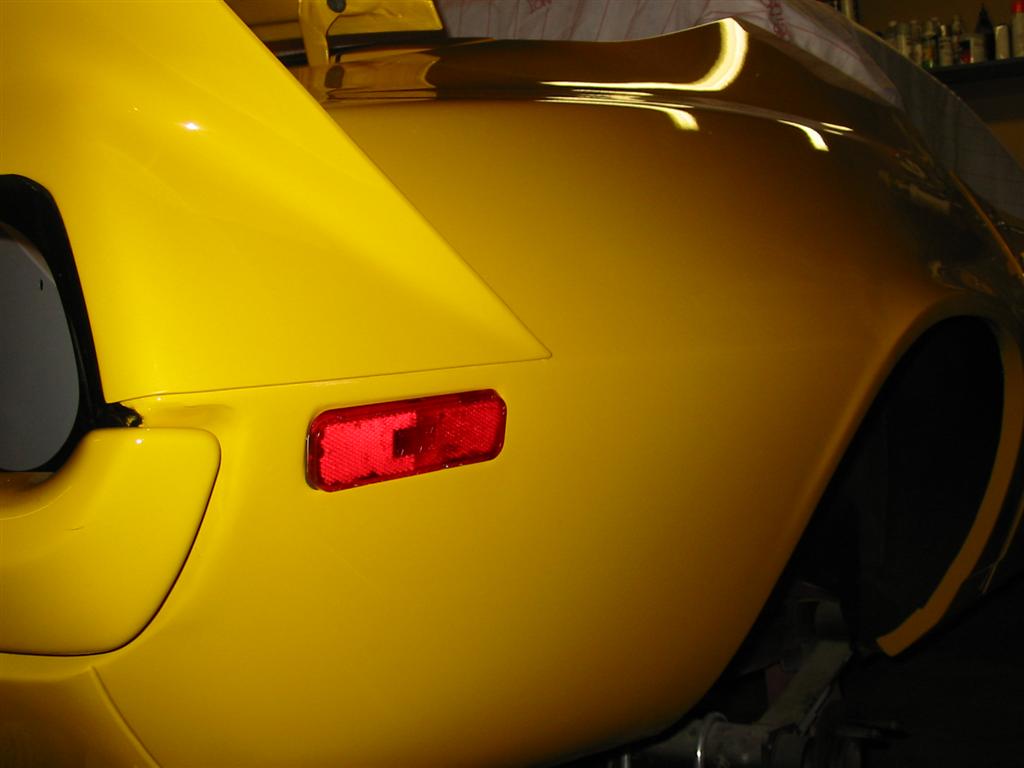
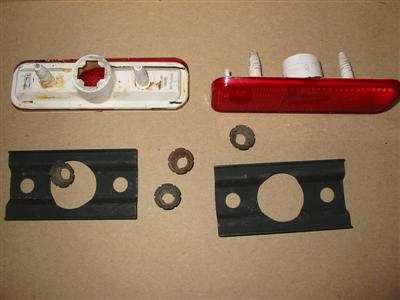
| The next step was to clean up and install the rear side marker lights. |
|
|

|
|
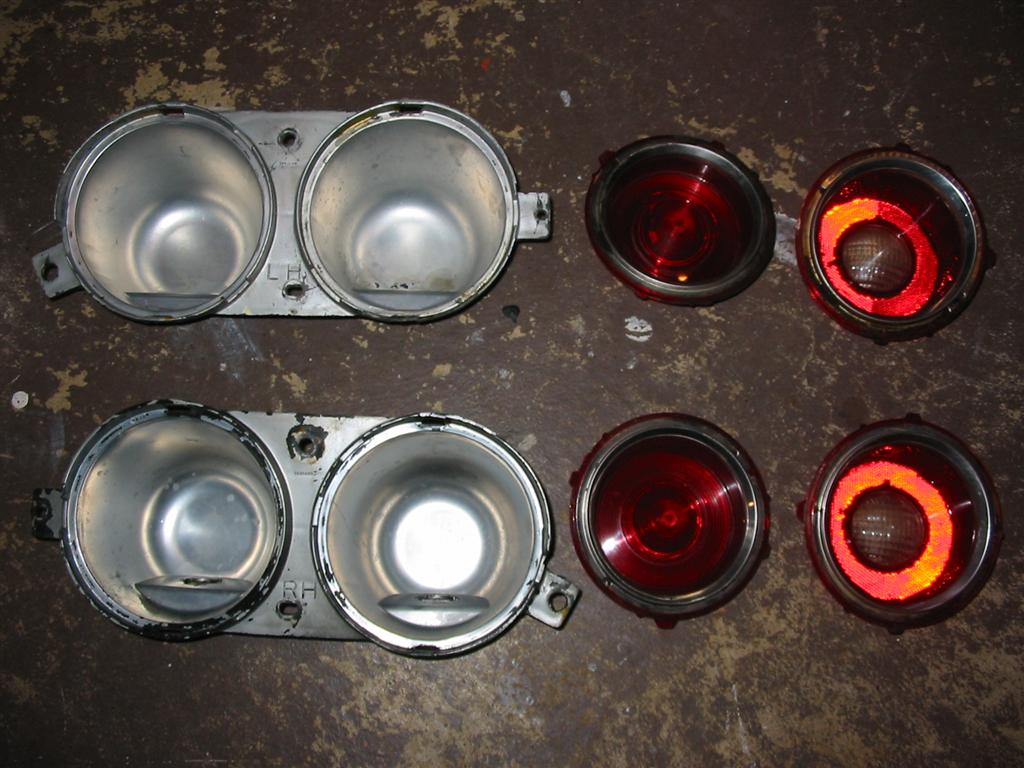
| Here are the tail lights before restoration. |

|

|
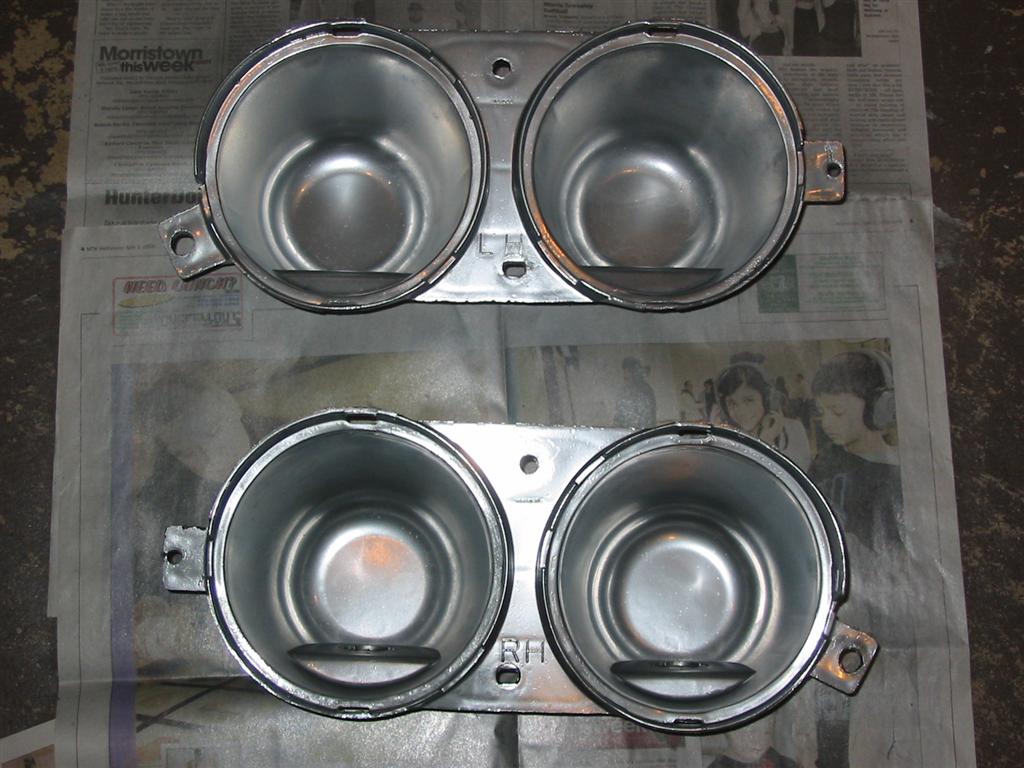
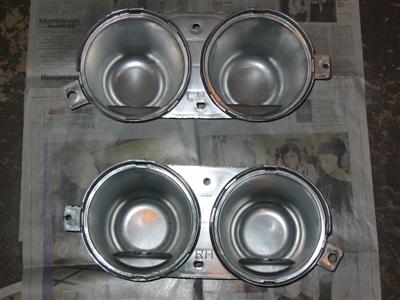
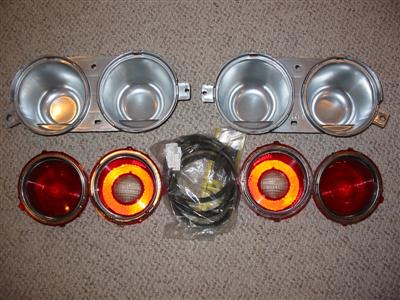
| The next step with the tail lights was to prep the inside of the lights and coat them
with Eastwood's chrome paint. |
Here are the tail lights ready for assembly after I polished the lenses and cleaned up and painted the
buckets. I also purchased new gaskets for the installation. |
|
|
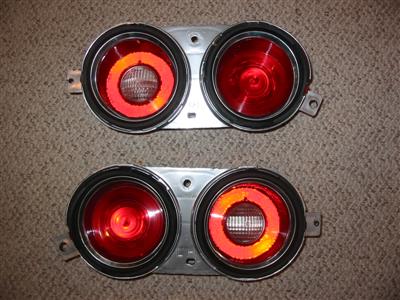
| Here are the tail lights assembled with the gaskets sealed in place with weatherstripping
adhesive. |
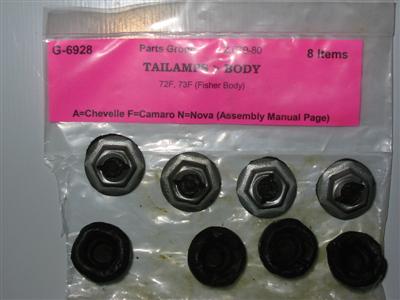
Here are the self tapping speed nuts to install the tail lights. These were part of my body hardware kit. |
|
|
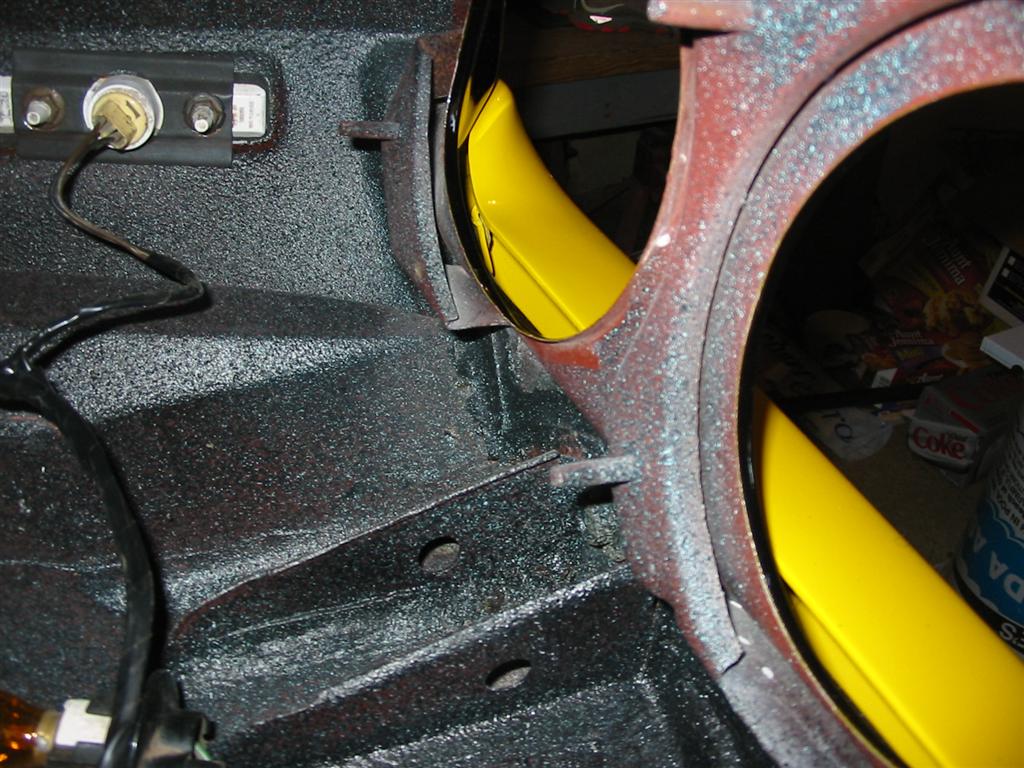
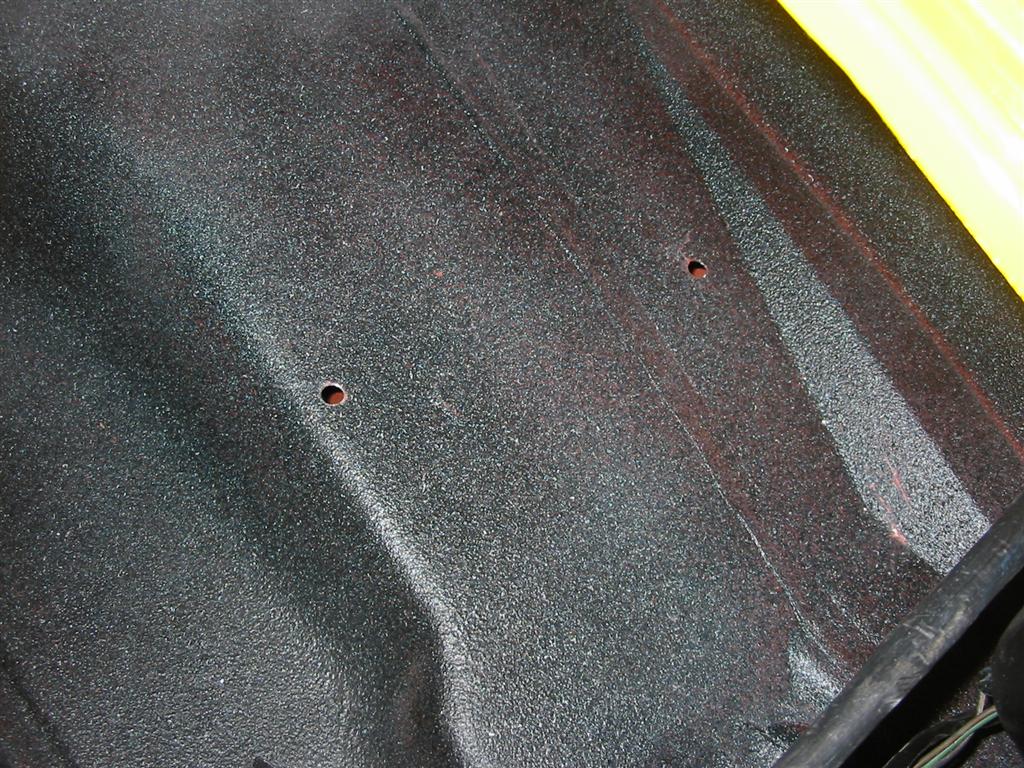
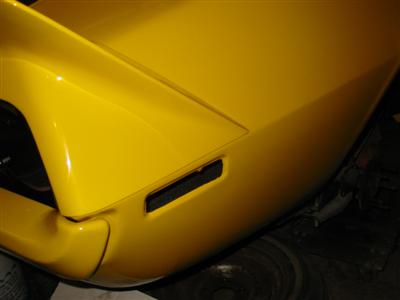
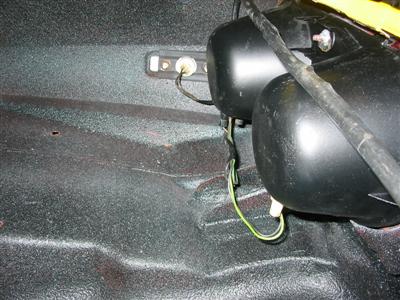
| This is the mounting location in the trunk for the right tail light. Notice that the studs are not
threaded. |
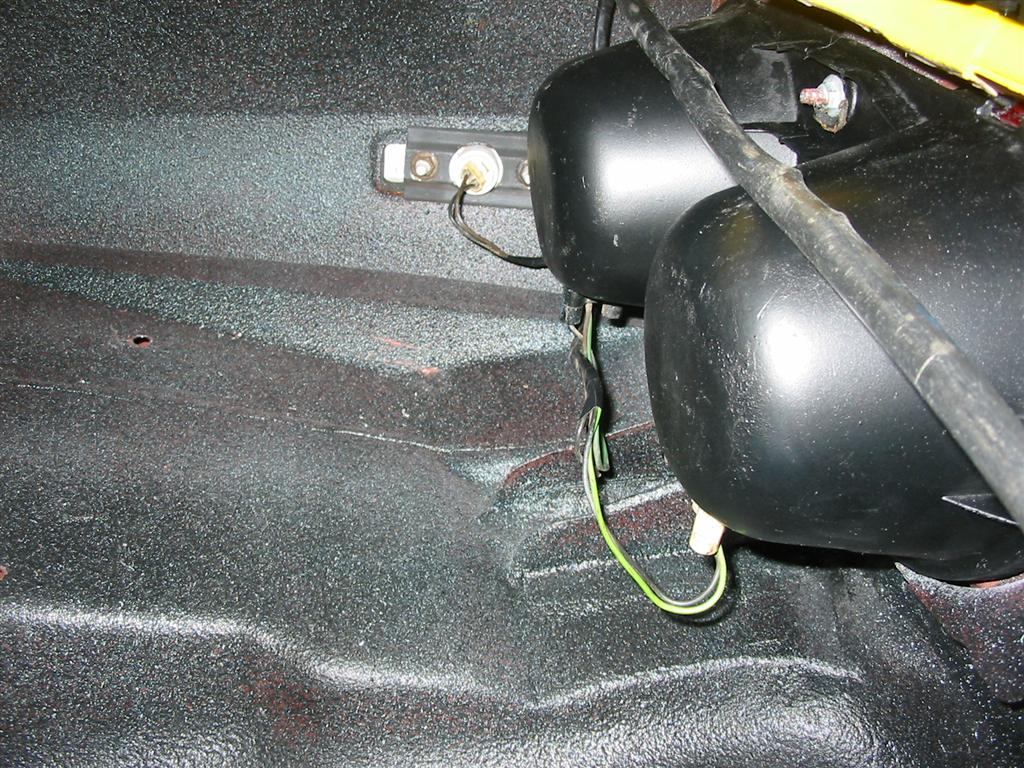
Here is the right tail light installed. I have also cleaned up and installed the factory trunk harness. |

|
|
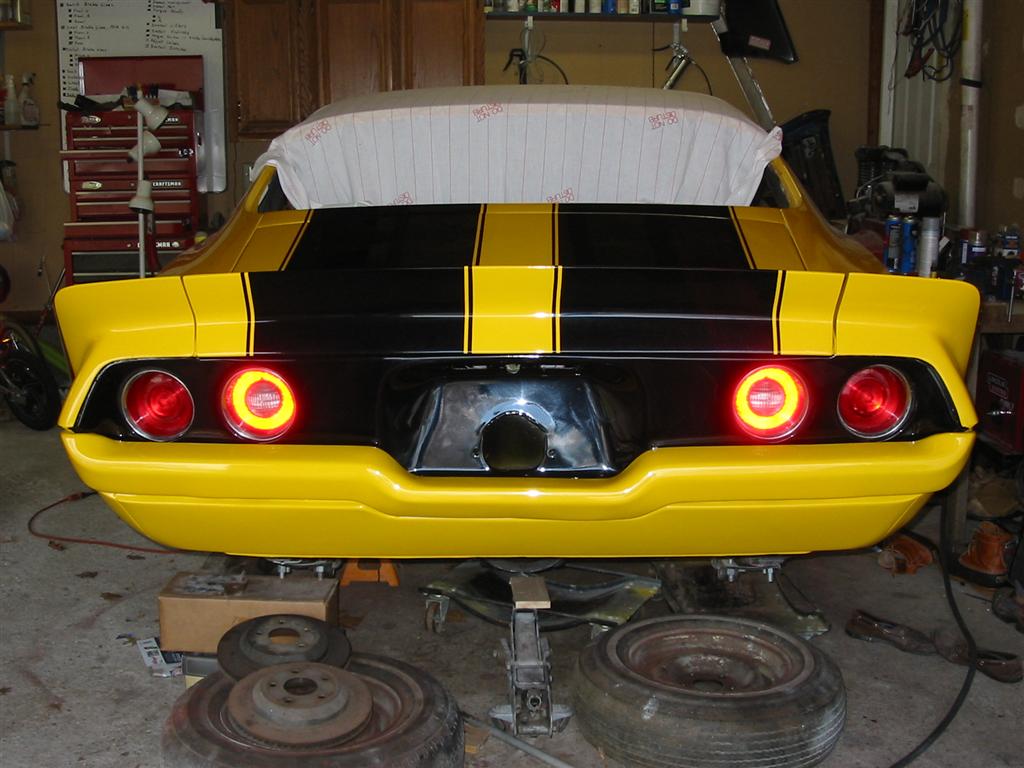
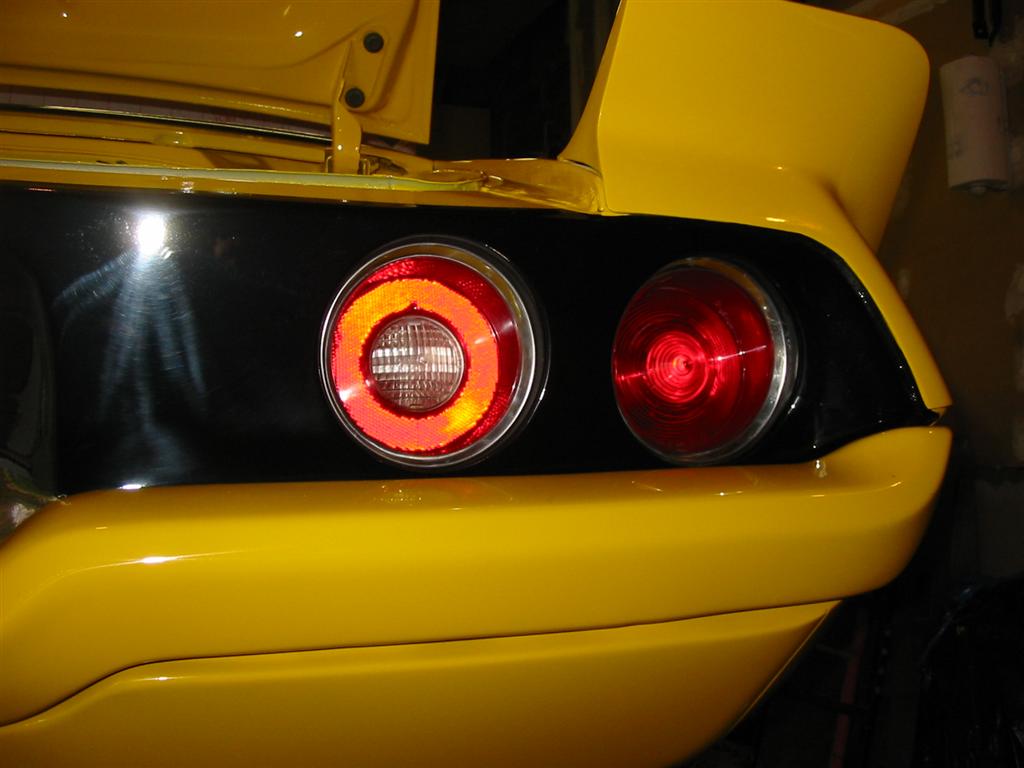
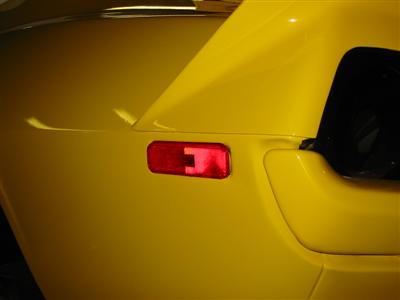
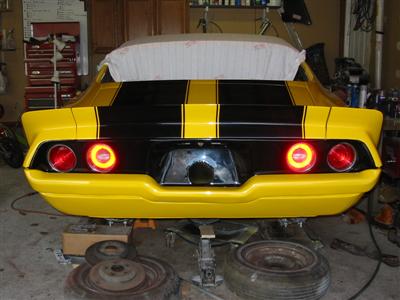
| Here are the tail lights installed from the outside. |
|

|
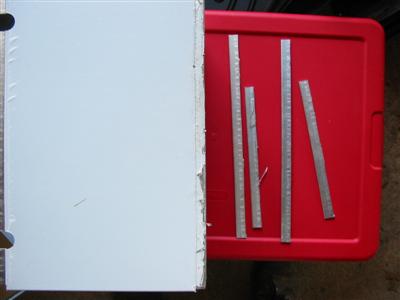
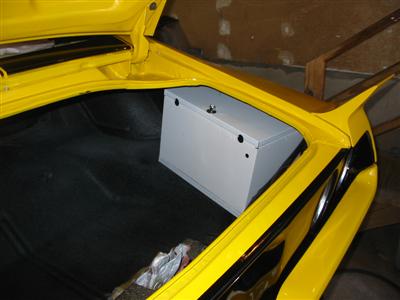
| I decided to mount the battery on the right side of the trunk behind the tail light
under the quarter panel. My battery box is the Taylor 48100 box. The box dimensions are
13.50l X 9.5w X 10.0h. Unfortunately, the 10 inch height was a little too tall.
I plan on running a Optima battery that does not require the 10 inch height. When
I bought this box Taylor did not make the smaller box for the Optima battery. My
solution was to cut the box shorter and re-flange the bottom of the box. The extra
1/2 inch was all I needed to make it fit. It is a tight fit, but it fits. |
|

|

|
|