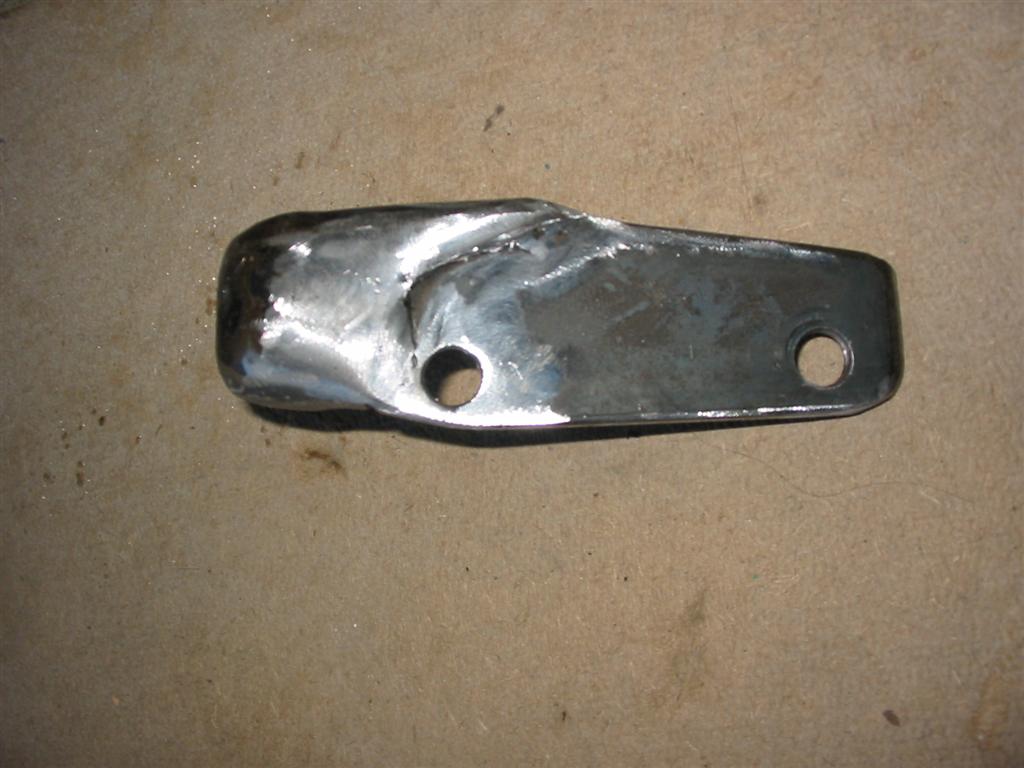
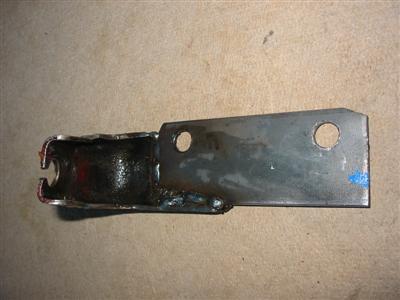
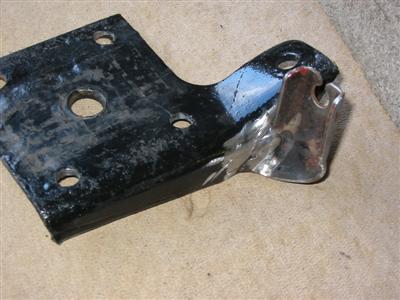
| This was the initial try at making the lower bracket mount. I cut the shock tab off and
welded it back but reversed the angle of the mount. |

|
|
|
|

|
|
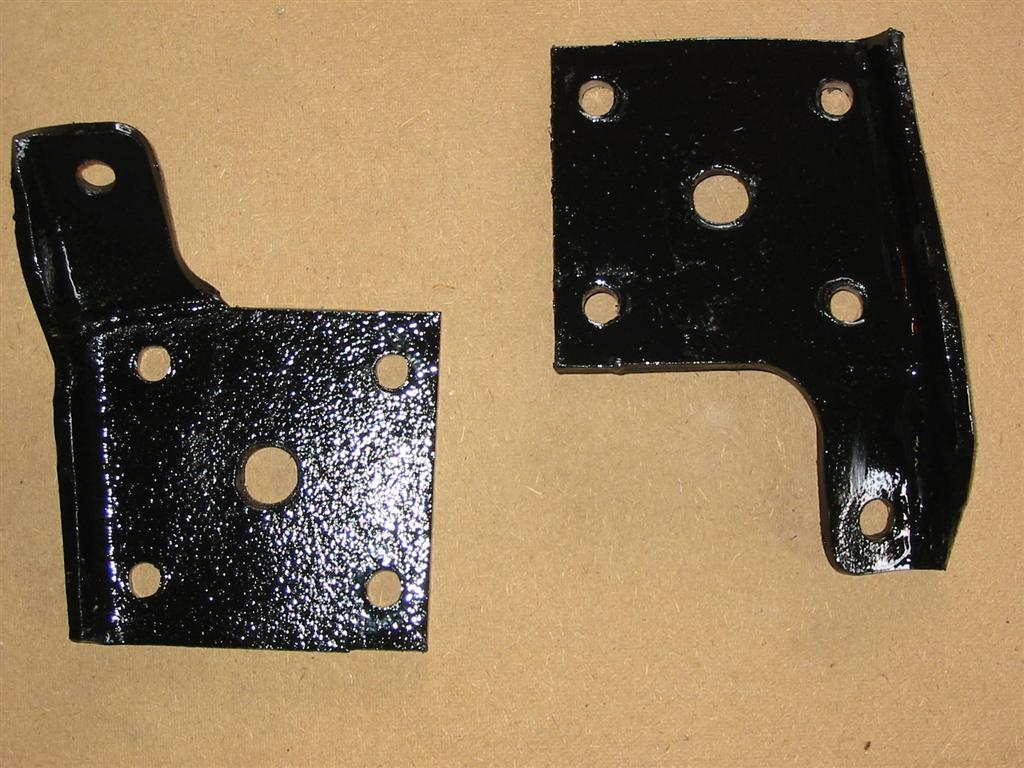
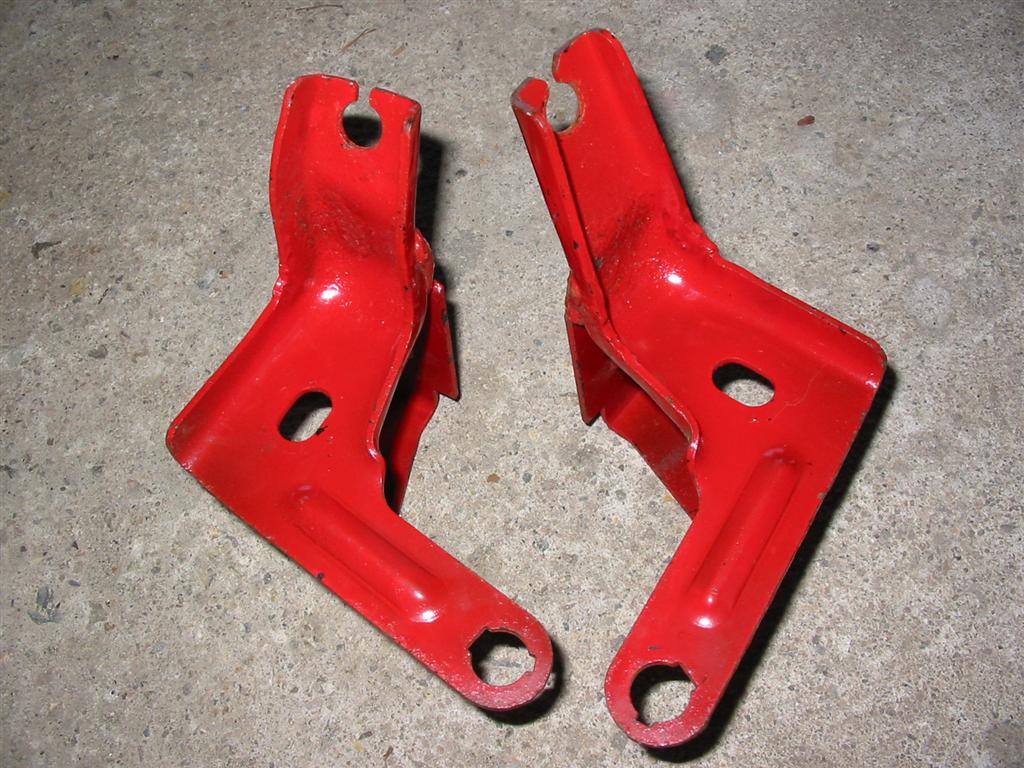
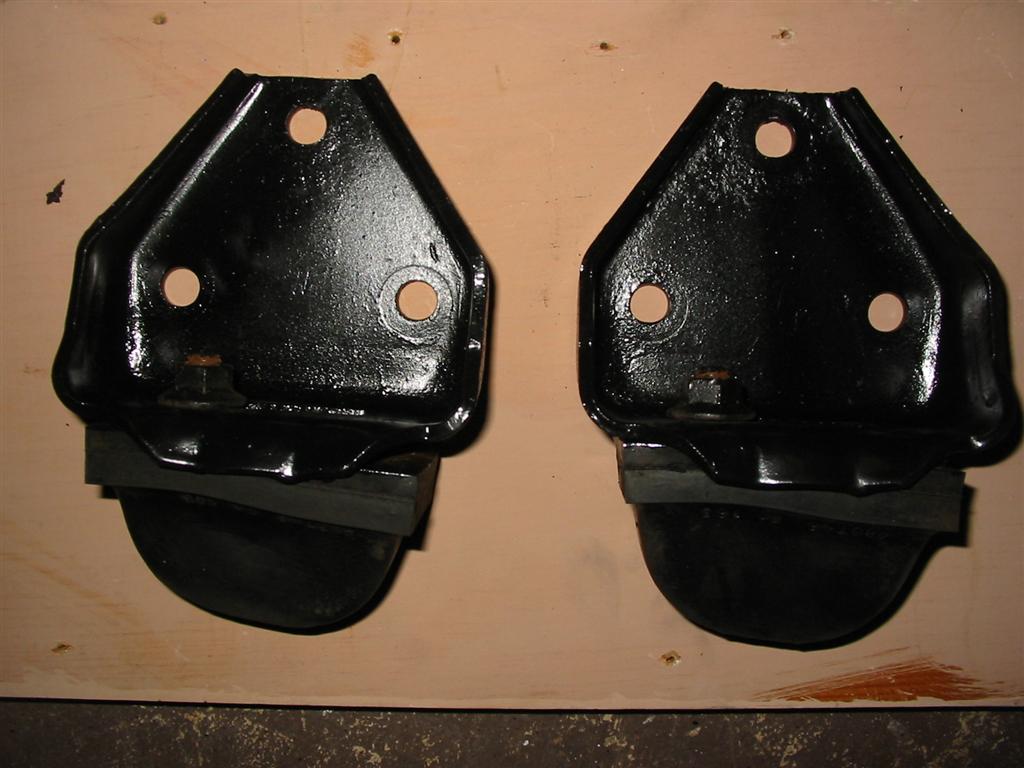
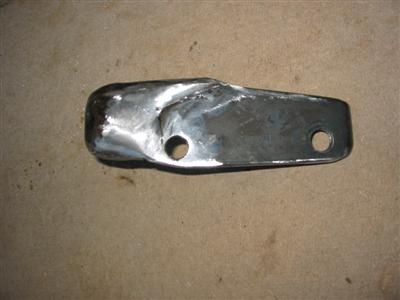
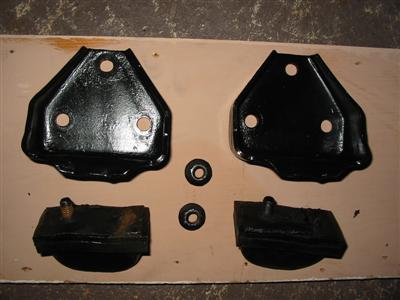
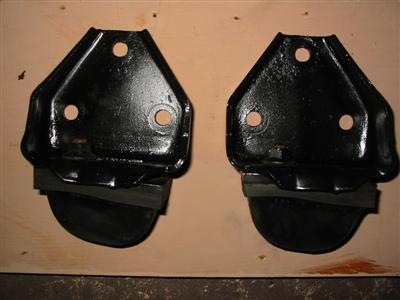
| Here are both lower mounts coated in POR15 |

|
|
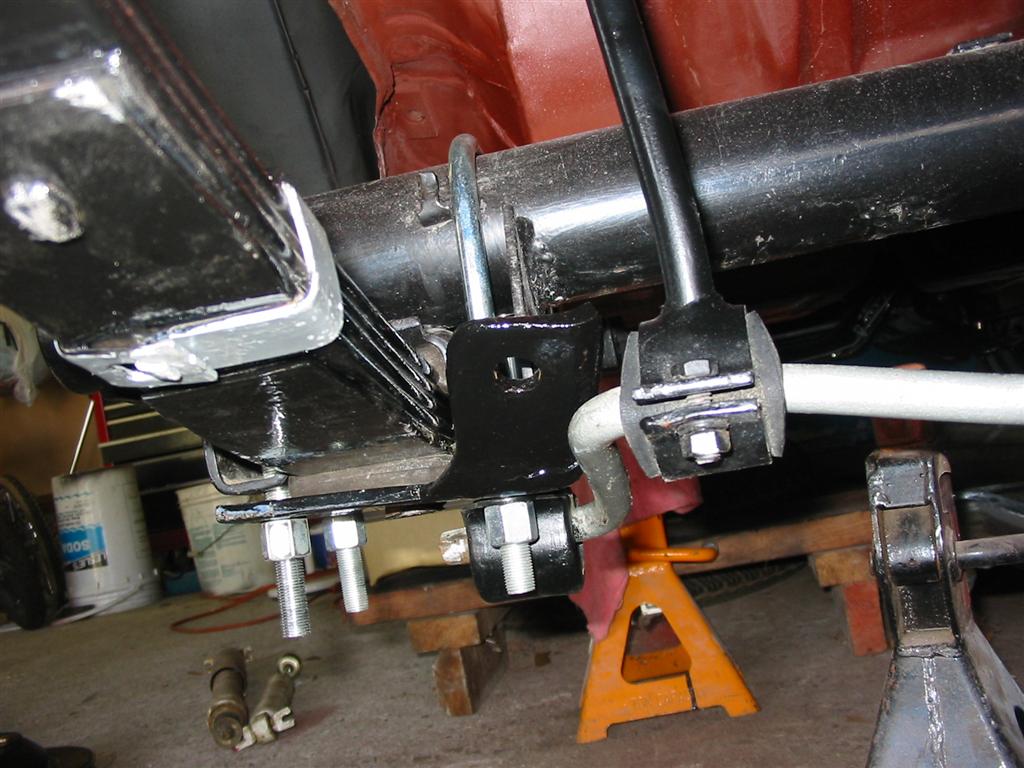
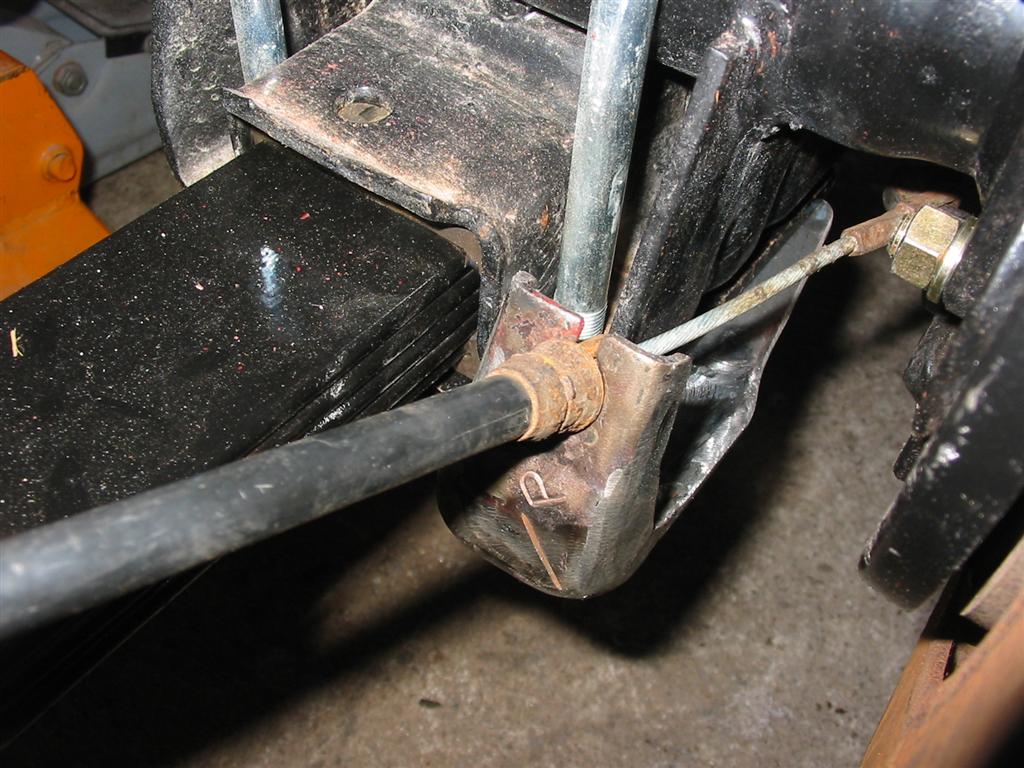
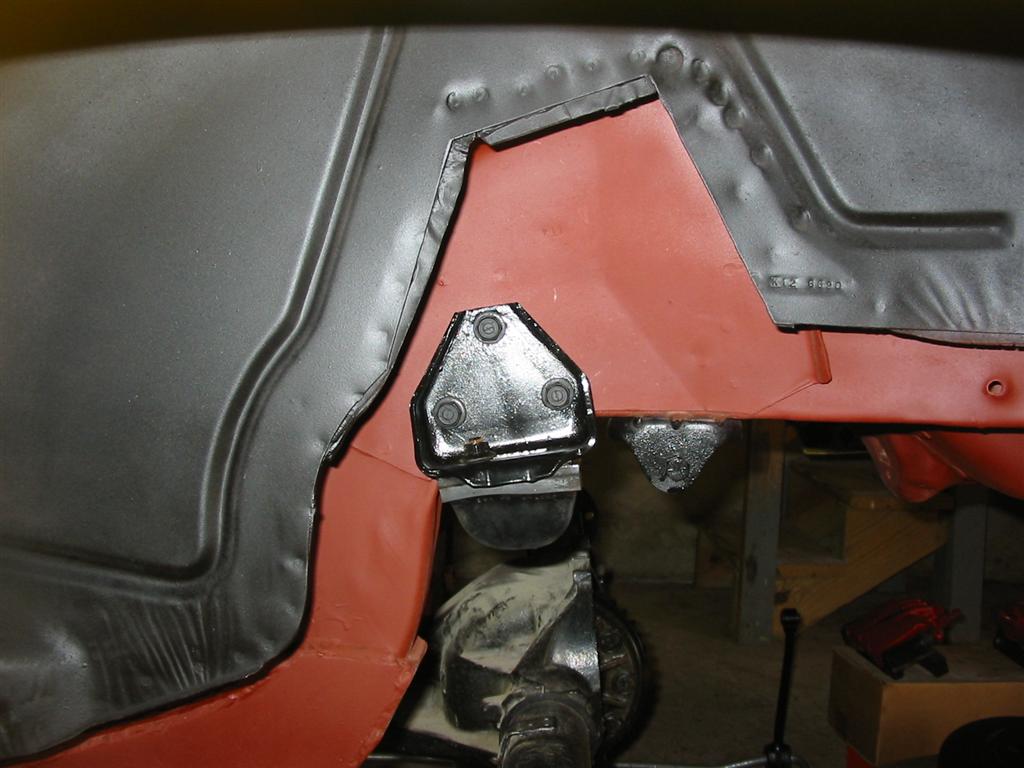
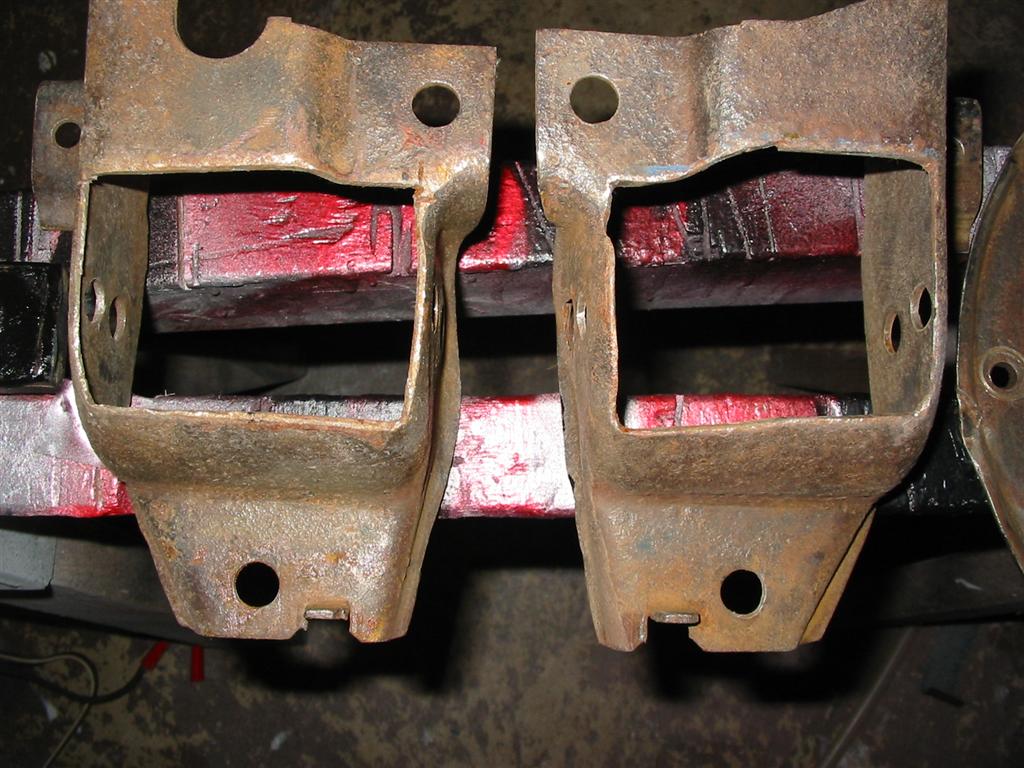
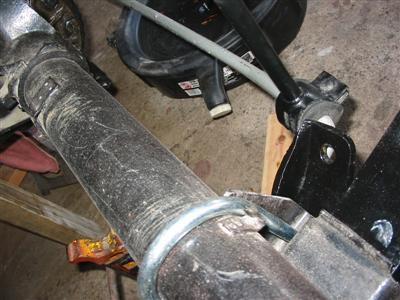
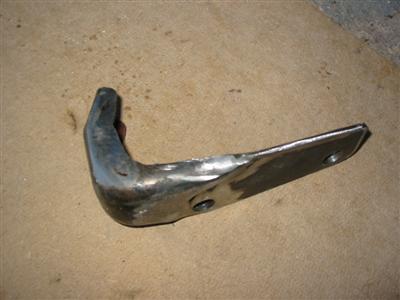
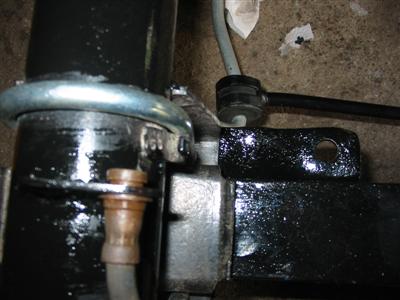
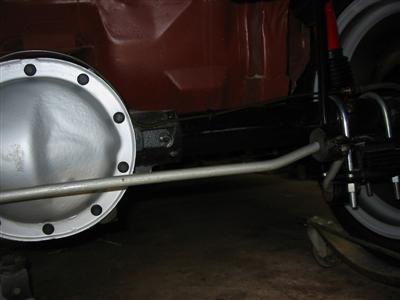
| Here is where my bracket failed. After mounting the bracket, I noticed that it hit the
sway bar. I would have to go back to the drawing board. |

|
|
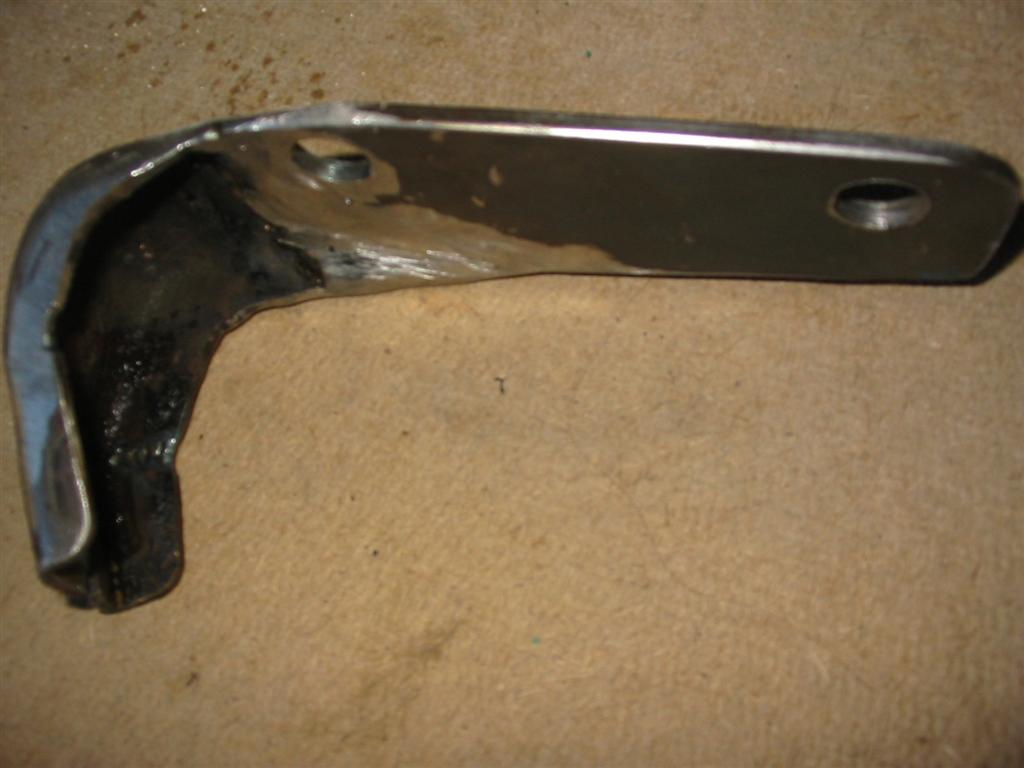
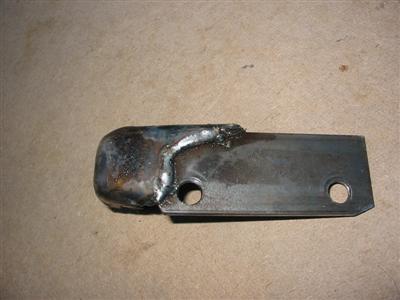
| This time I tacked the tab onto the bracket with the bracket on the car. I also trimmed
some of the side of the bracket. I then welded the bracket back together. |

|
|

|
|
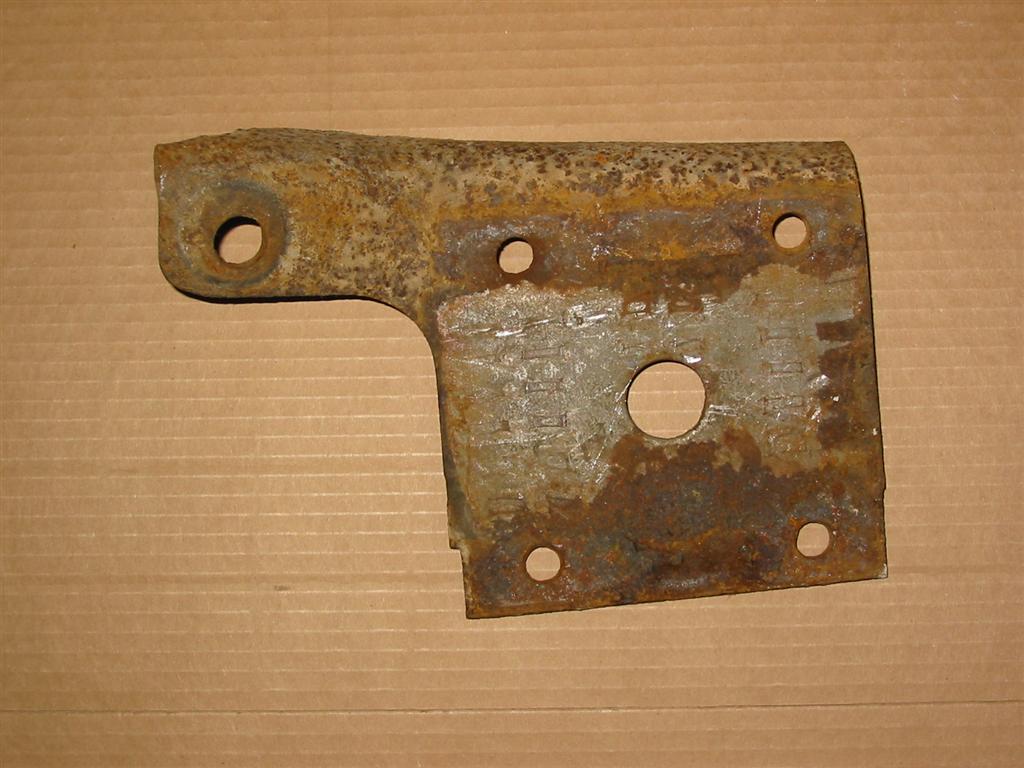
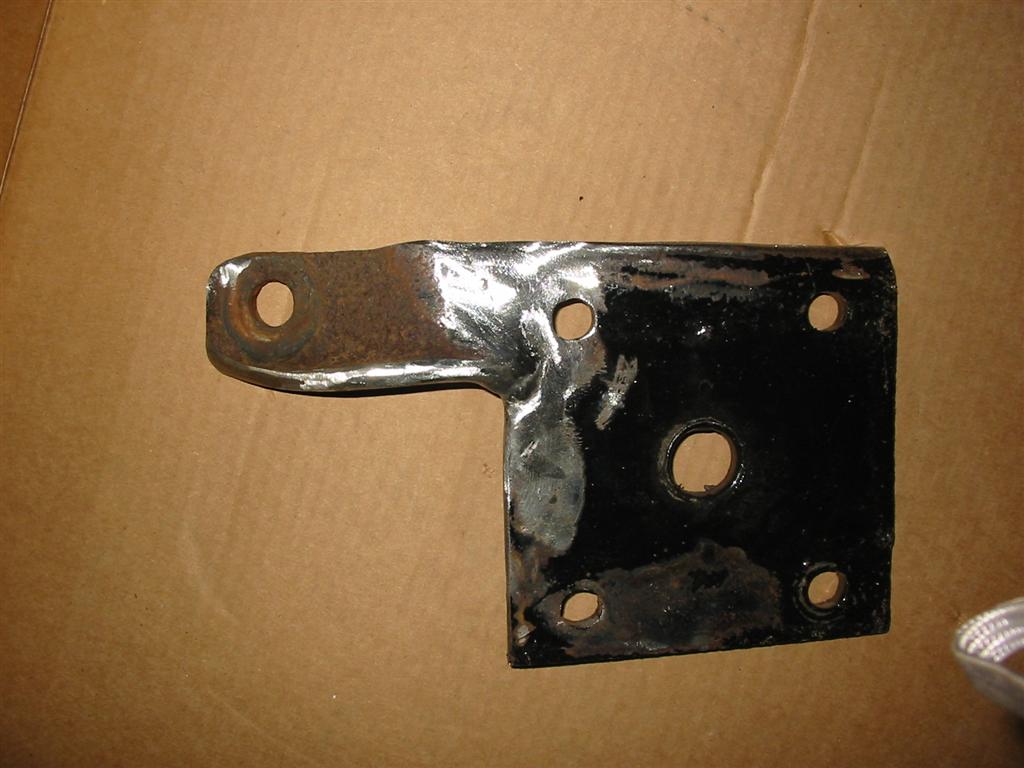
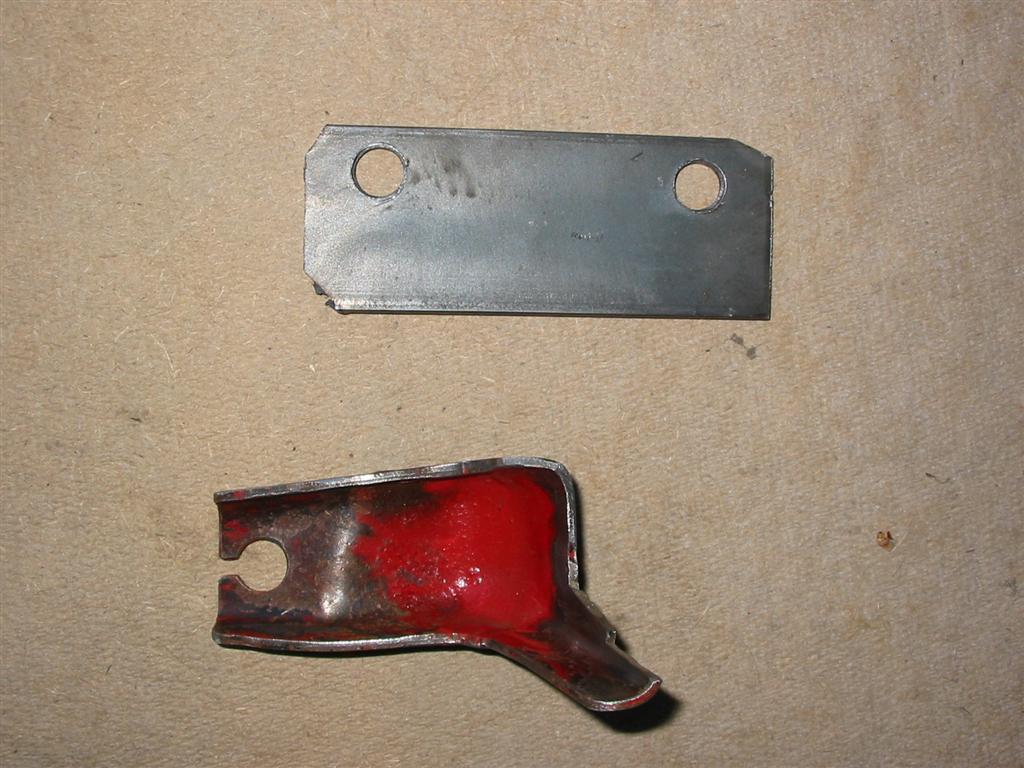
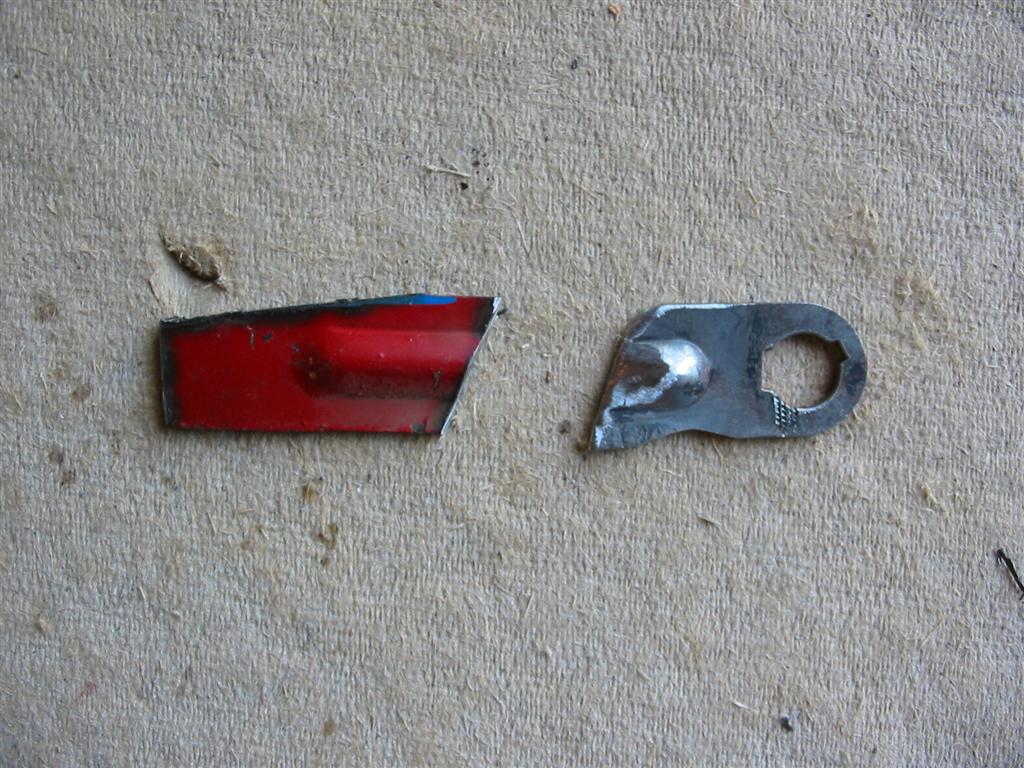
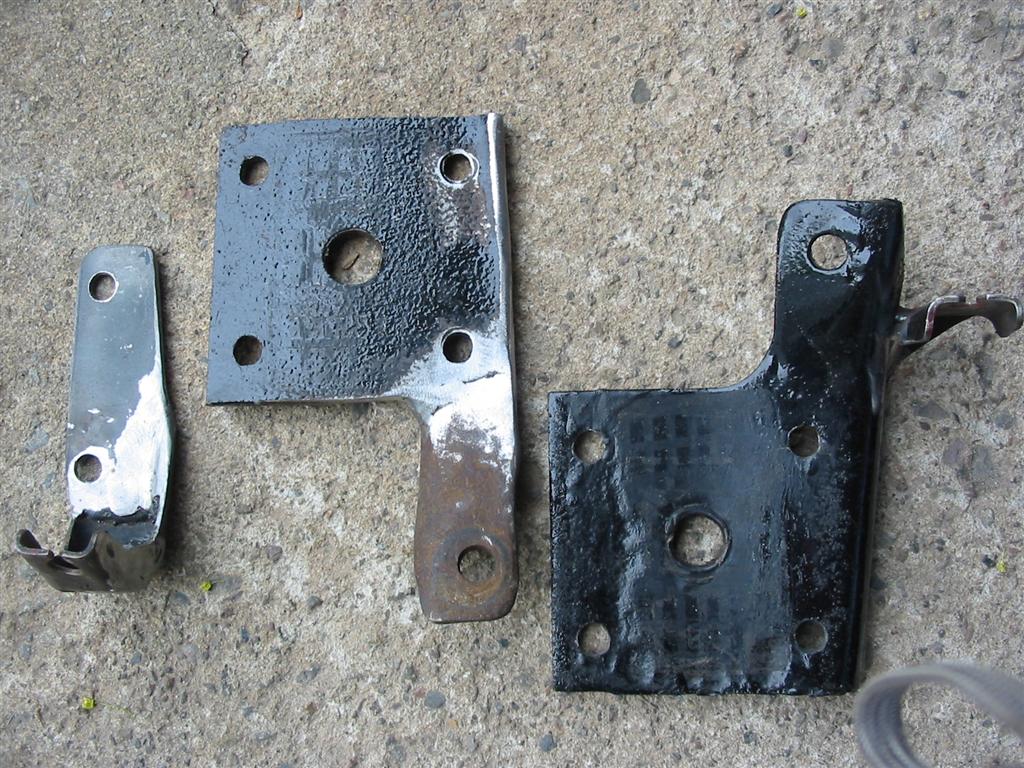
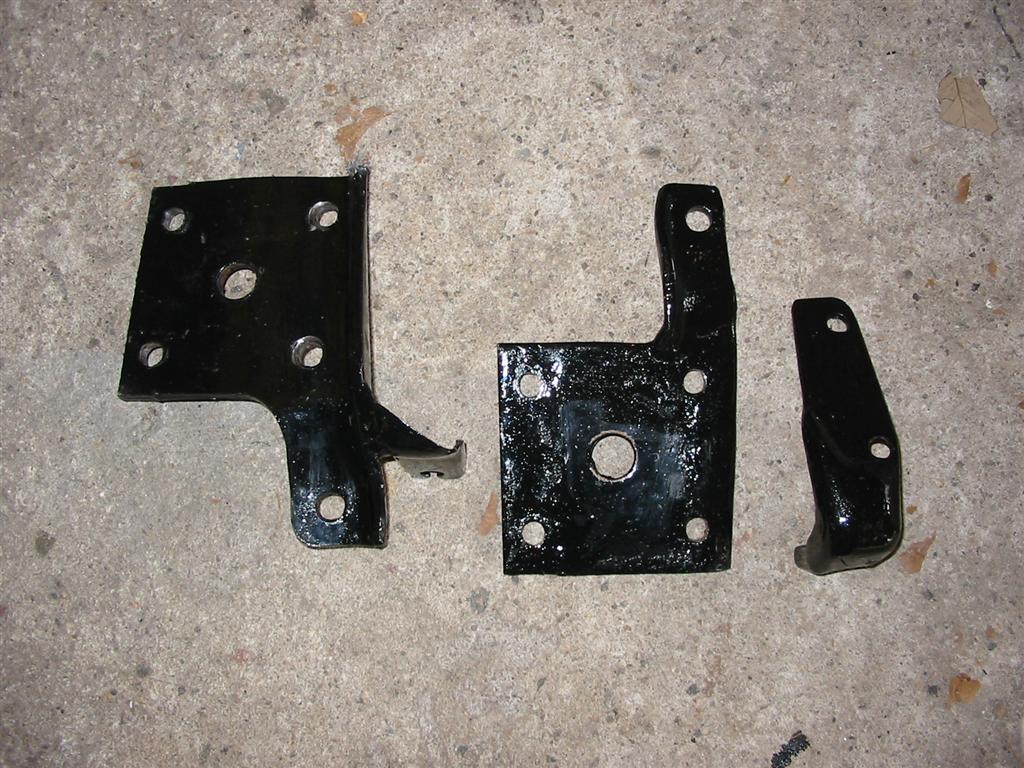
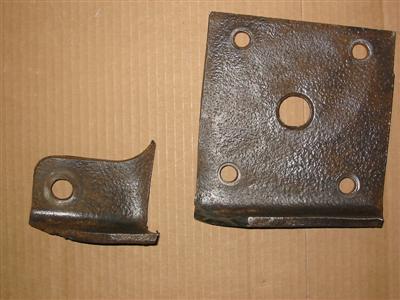
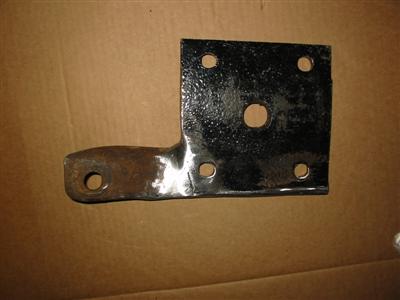
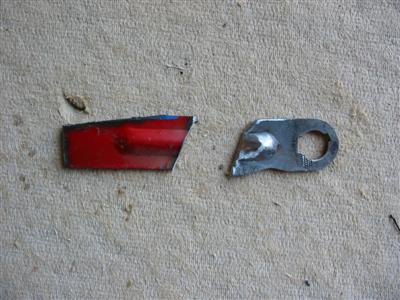
| The next step was to modify the original LS1 brackets for the brake line and parking brake cable. |
The original bracket could not be used as is, so I had to cut it up and use the pieces separately.
Here is the parking brake cable portion of the bracket with a piece of steel. The piece of steel
has holes drilled in it to slip over the u-bolts on the bottom of the lower shock bracket. |
|

|
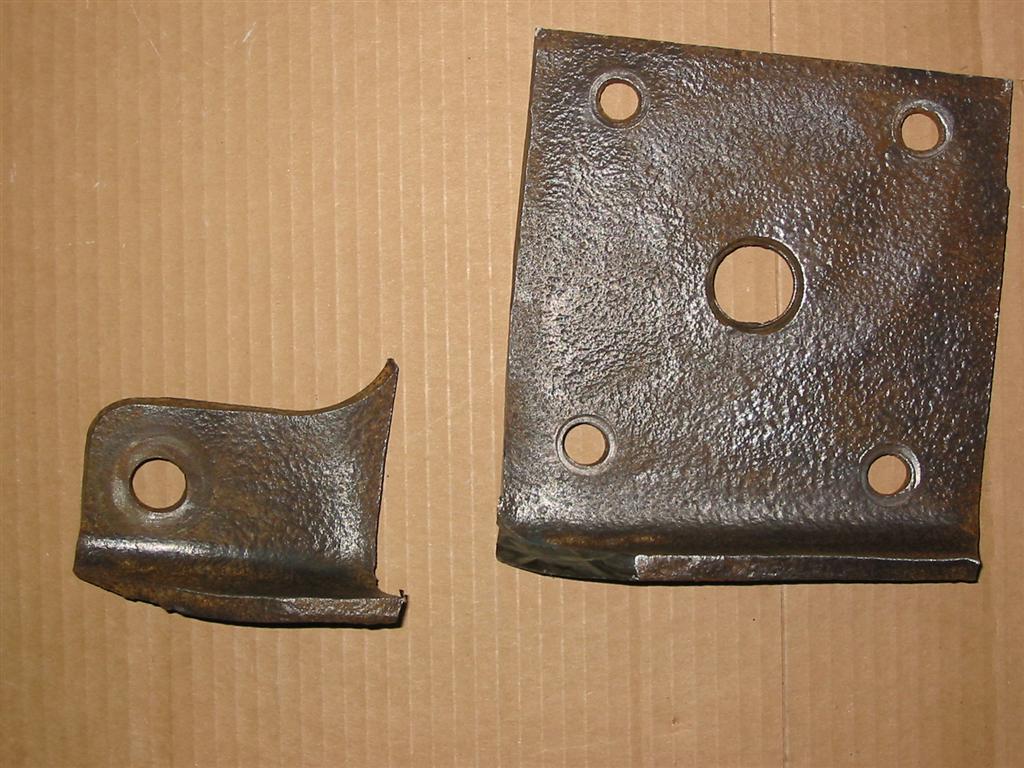
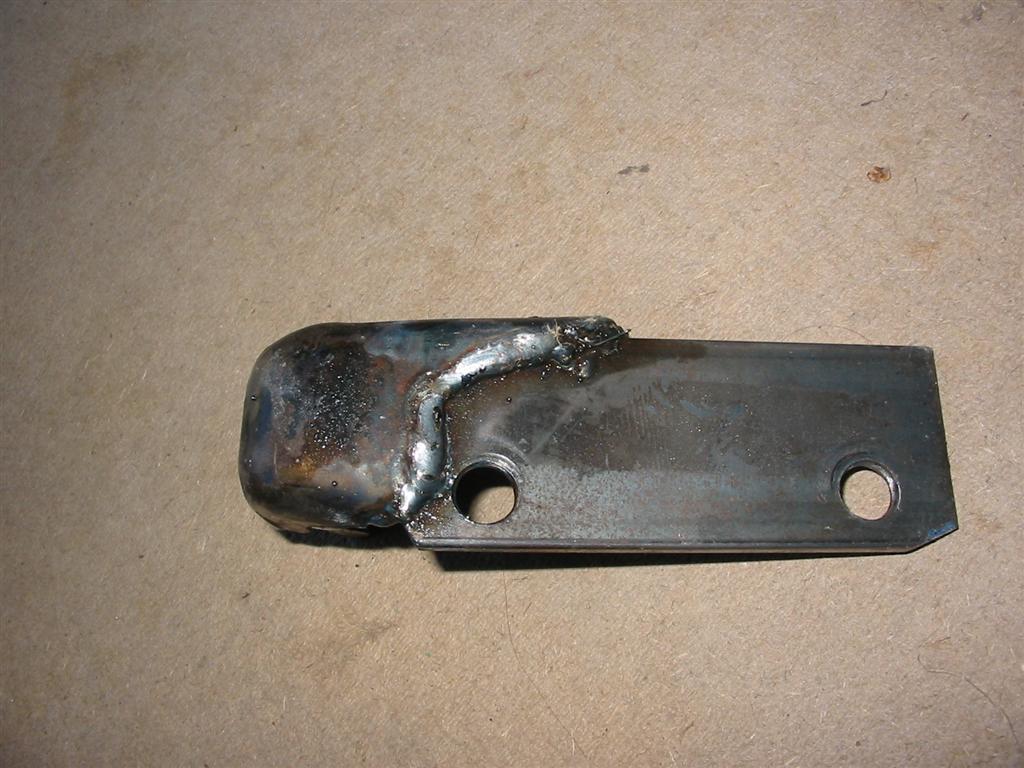
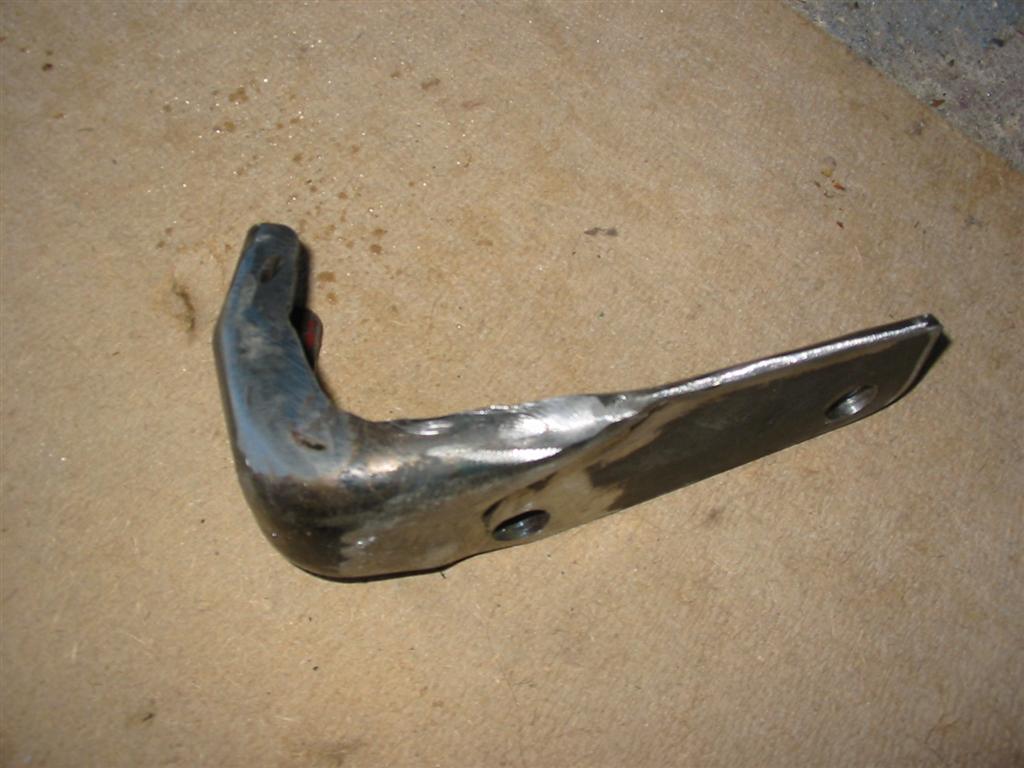
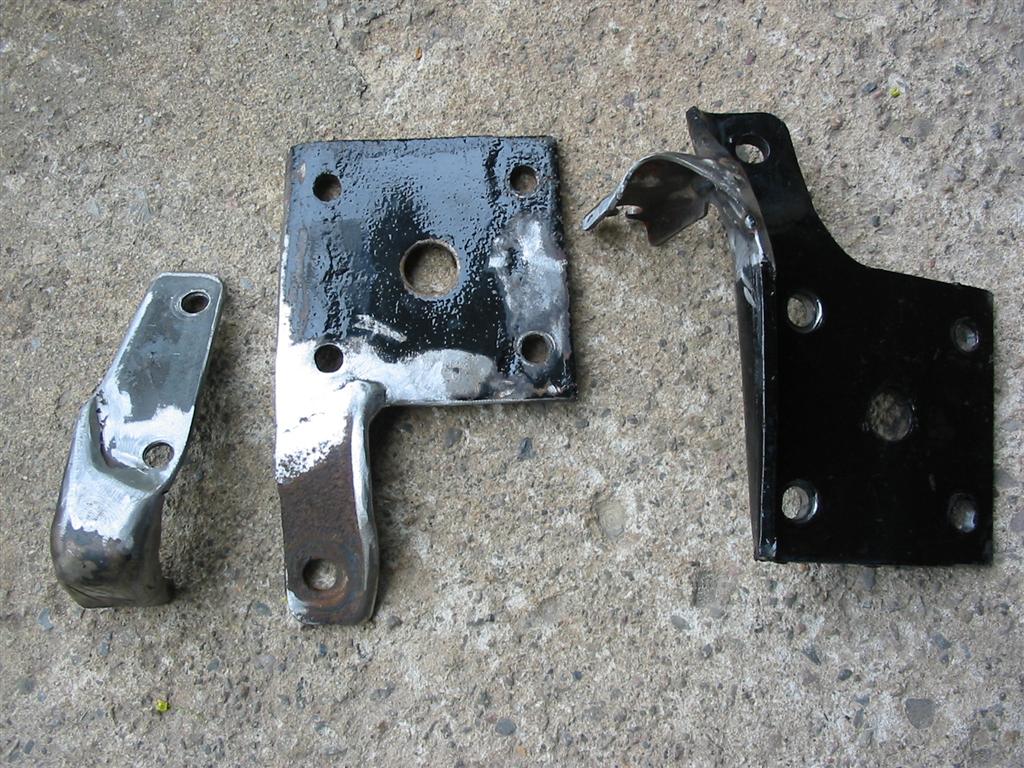
| Here is the processes of making the parking brake cable bracket for the left side. |
|
|
|
|

|
|
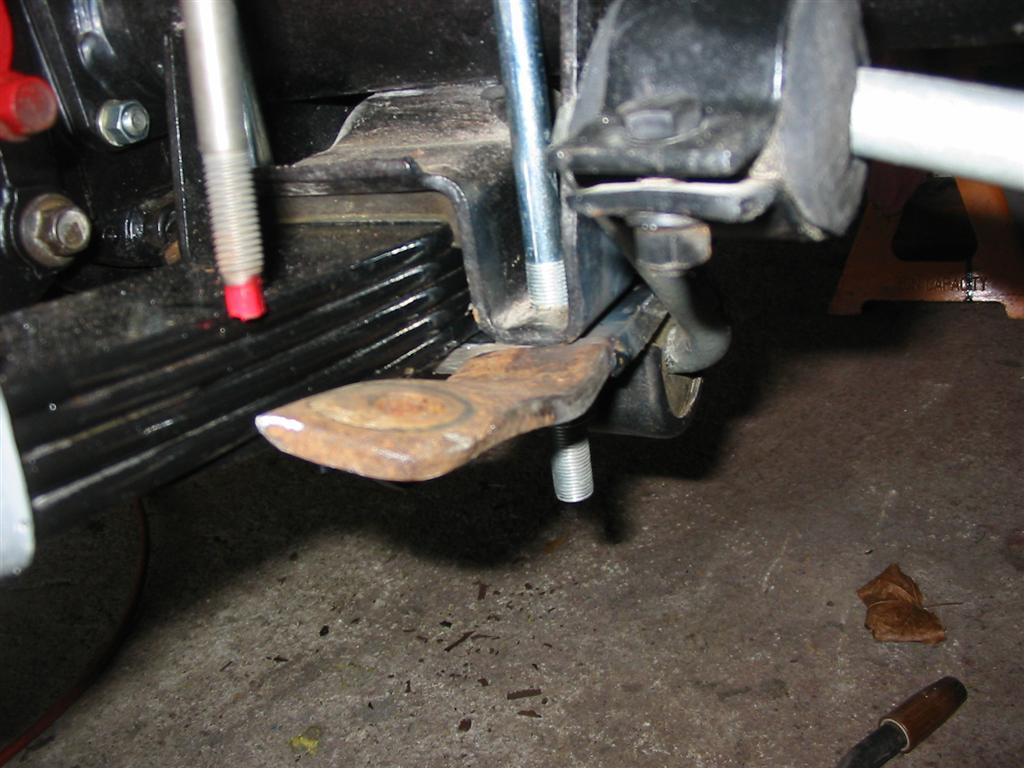
| Here is the parking brake cable bracket for the left side mocked up on the car. |

|
|
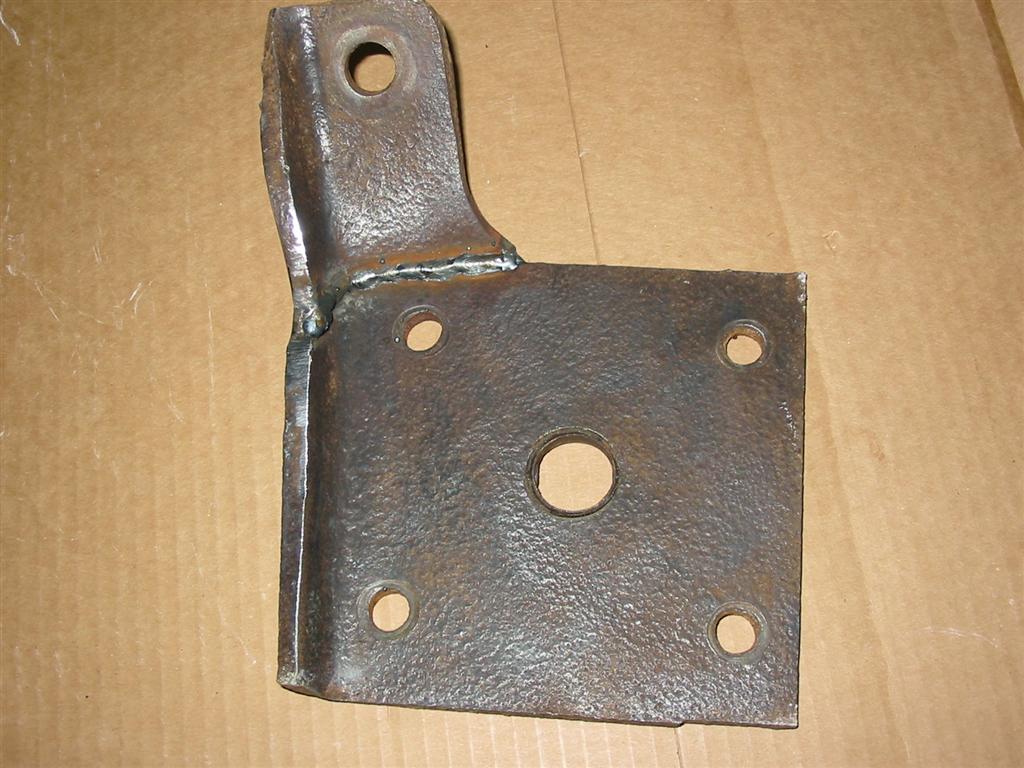
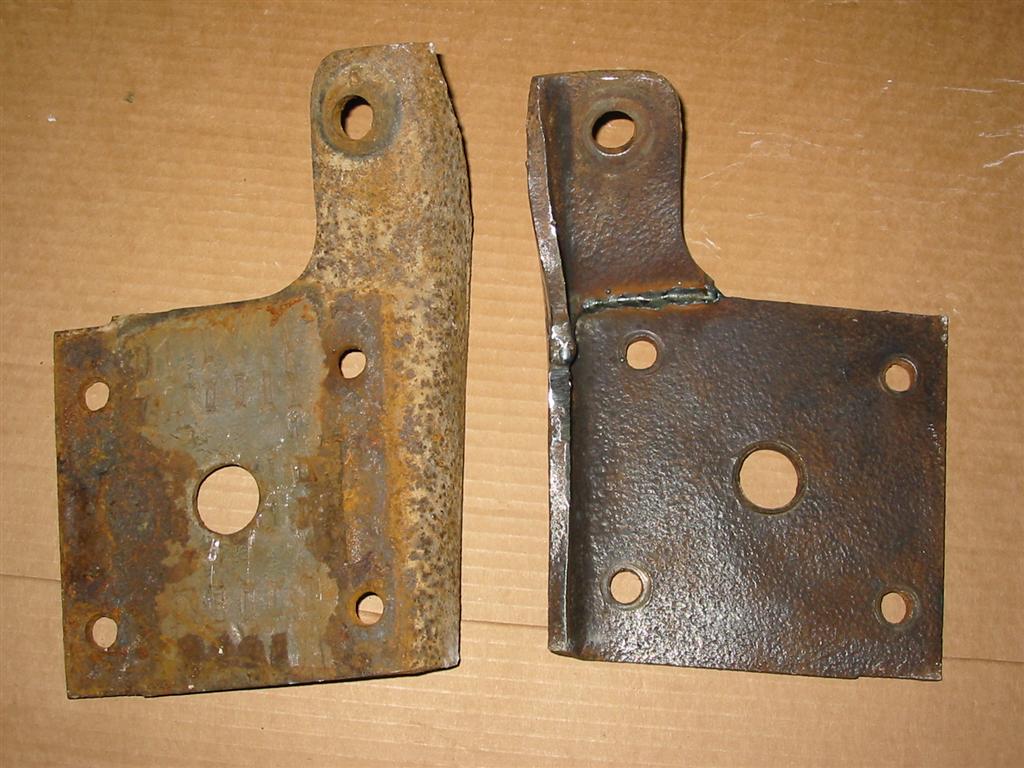
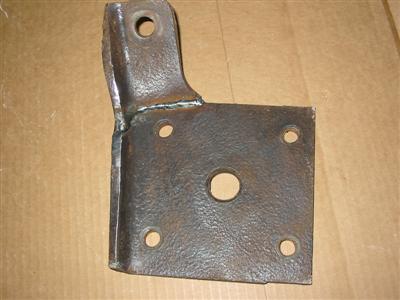
| For the right side, I could not use a separated bracket for the parking brake bracket because
the shock mounting tab was in the way. The easy solution was to weld the parking brake
bracket directly to the shock mounting bracket. |
|
|
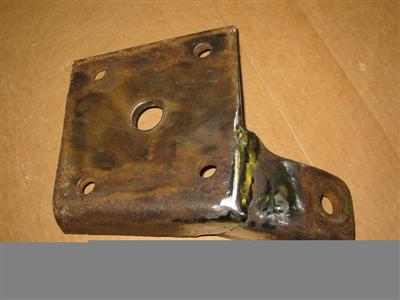
| Next, was to add a mount for the brake lines. I cut the tab off of the original bracket
and welded it to the axle tube. |
|

|
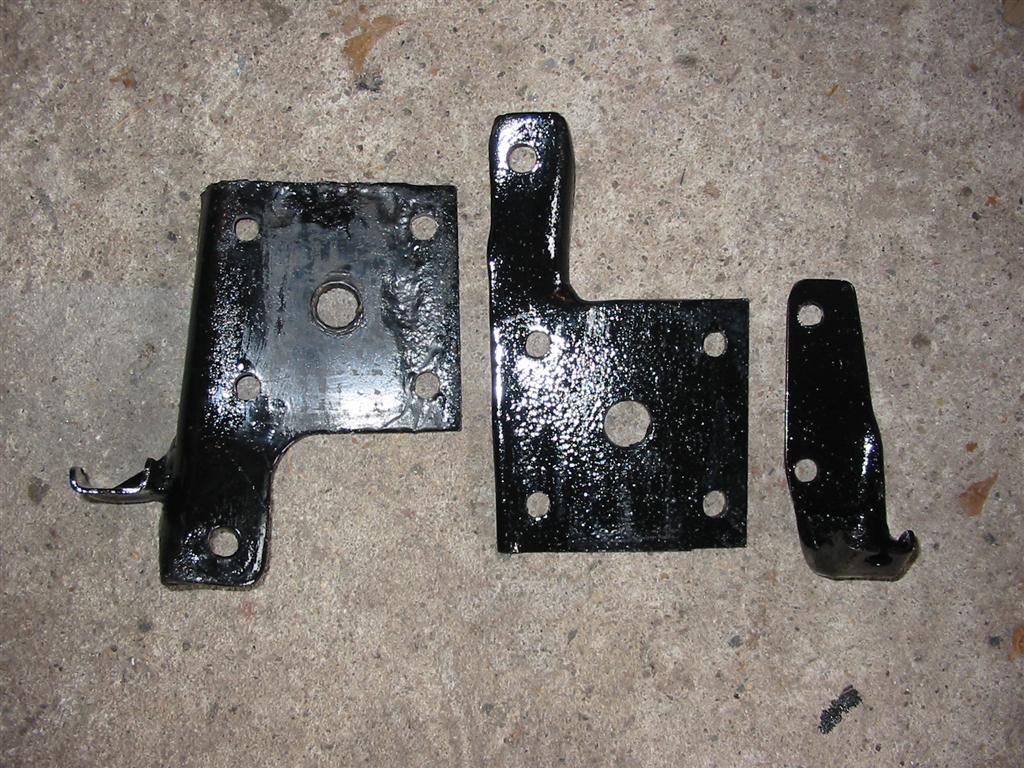
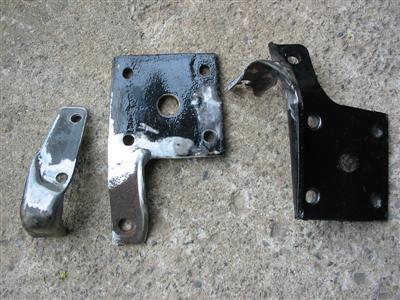
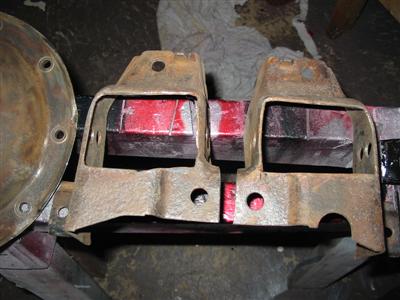
| Here are all the modified brackets ready for POR15 |

|
|
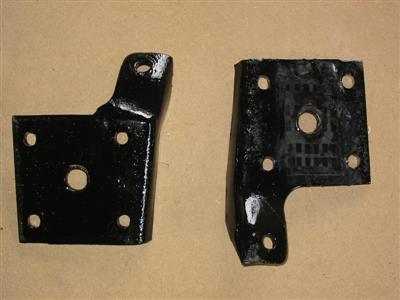
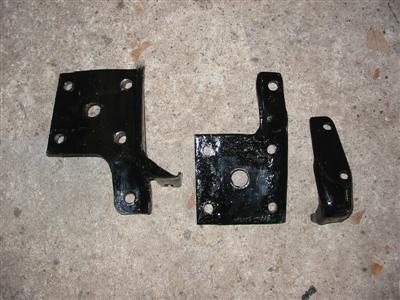
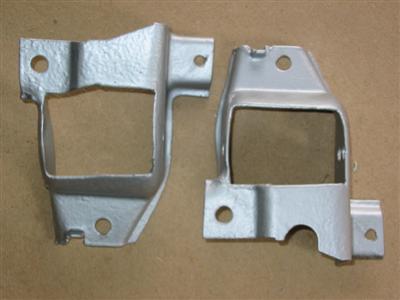
| Here are all the modified brackets coated in POR15 |

|
|
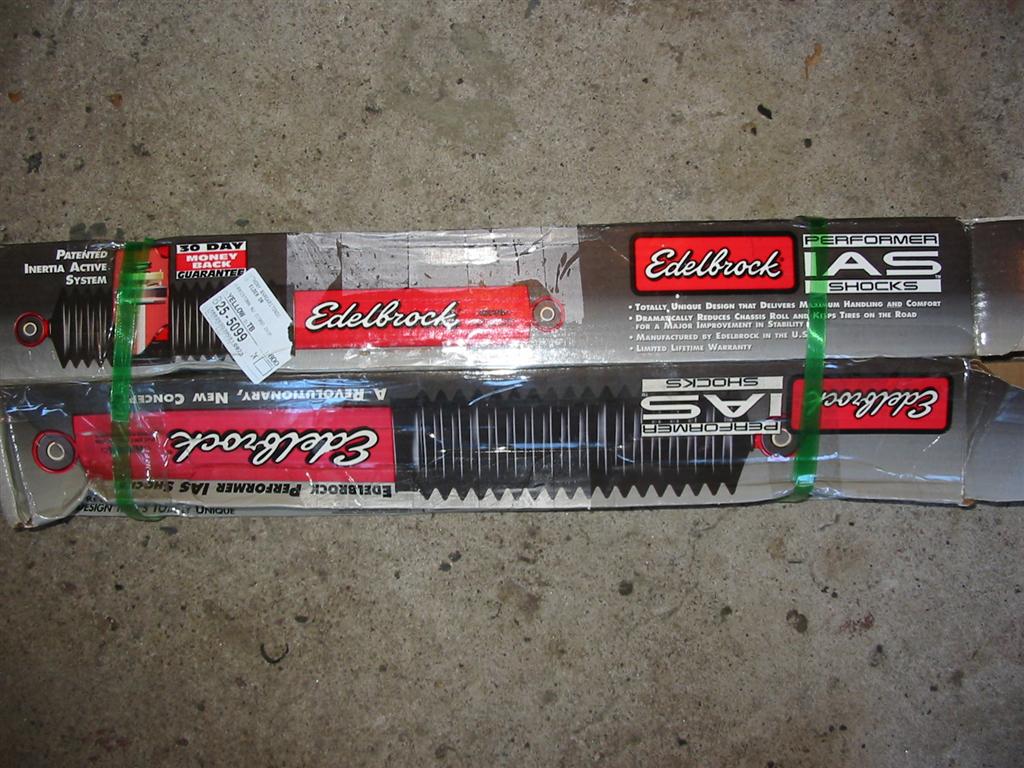
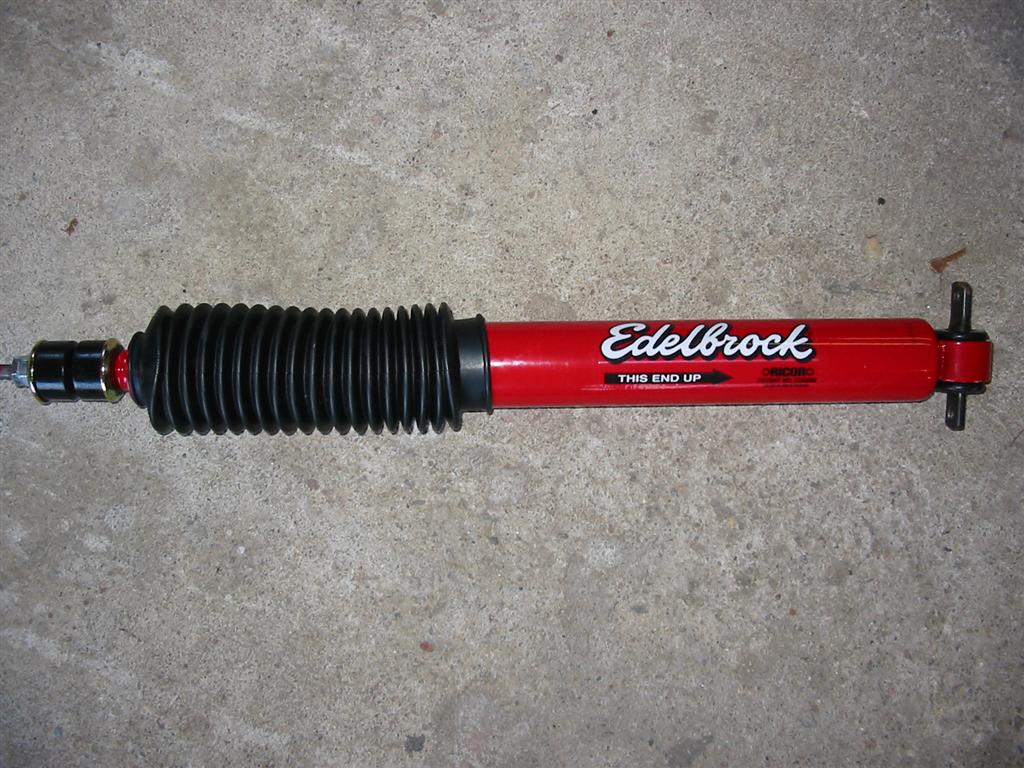
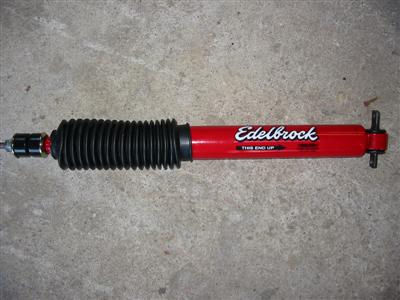
| For shocks I am using Edelbrock Performer IAS shocks. |

|
|
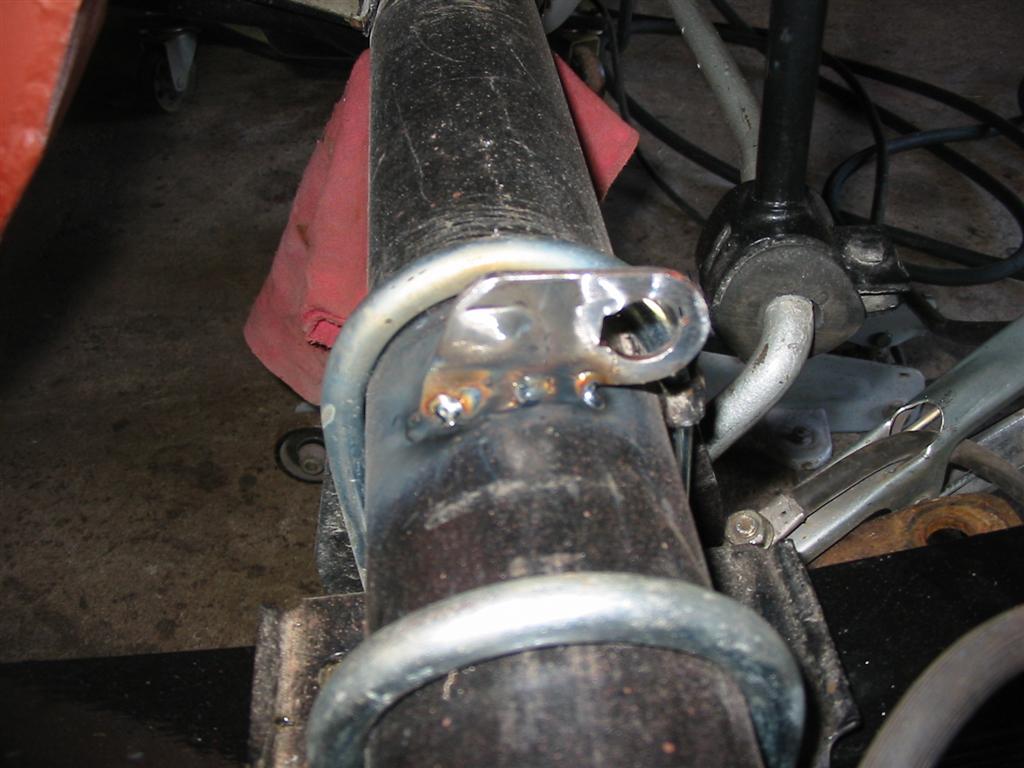
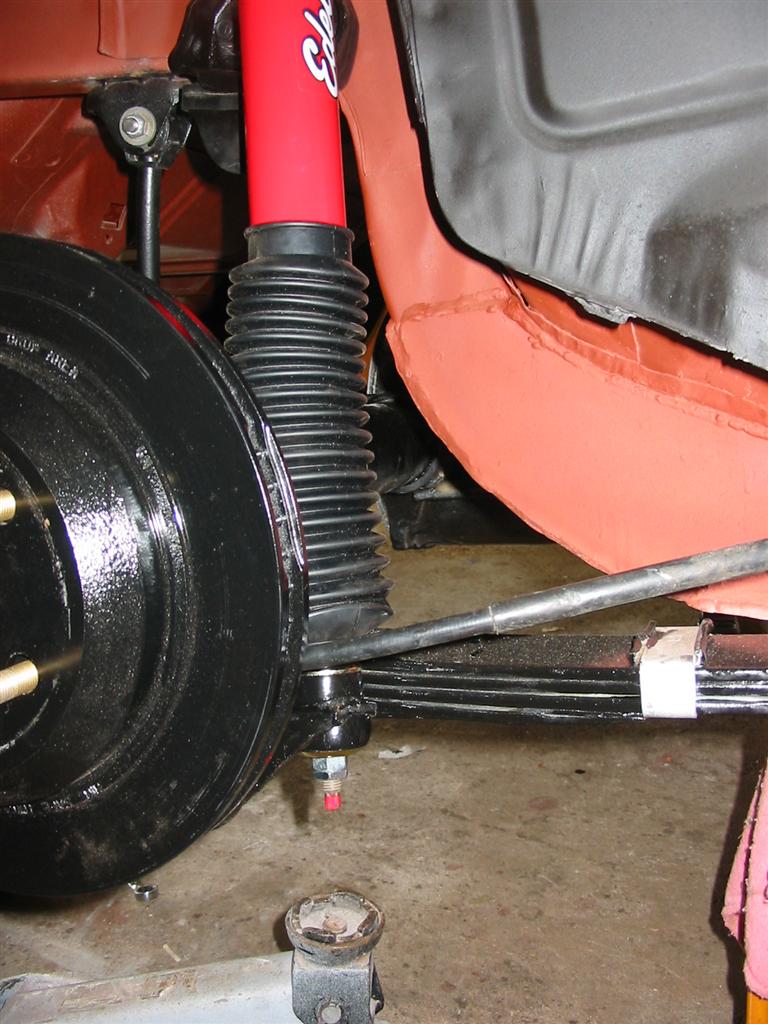
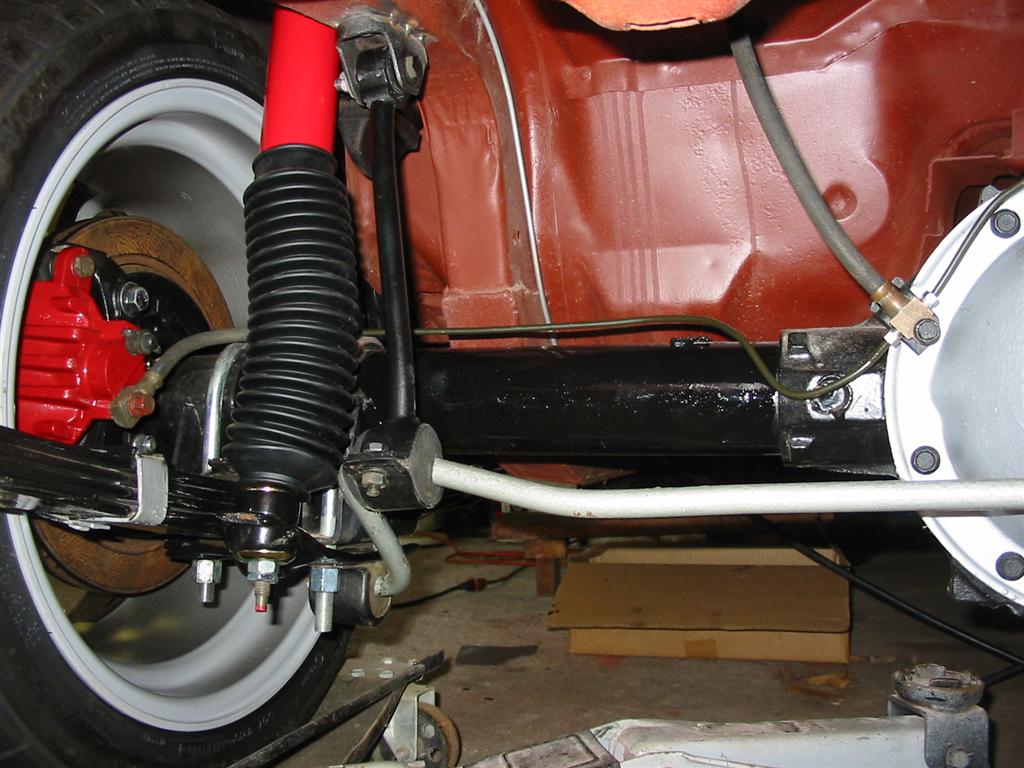
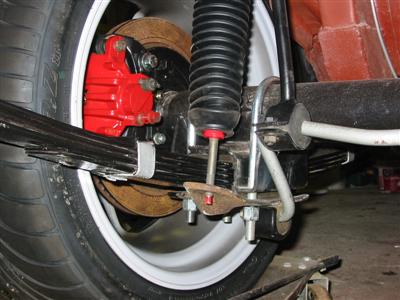
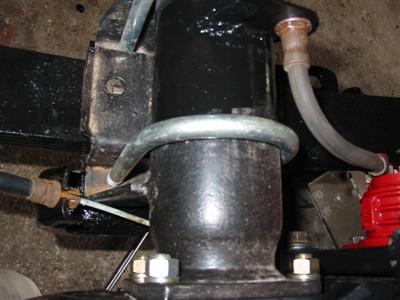
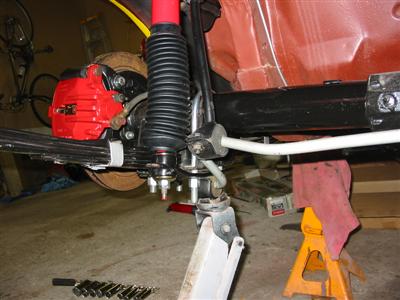
| Here is the left side installed. You can see how the parking brake cable bracket,
lower shock mount and brake cable mount look installed. |
Here is a shot of just the left side lower shock mount. |
|
|
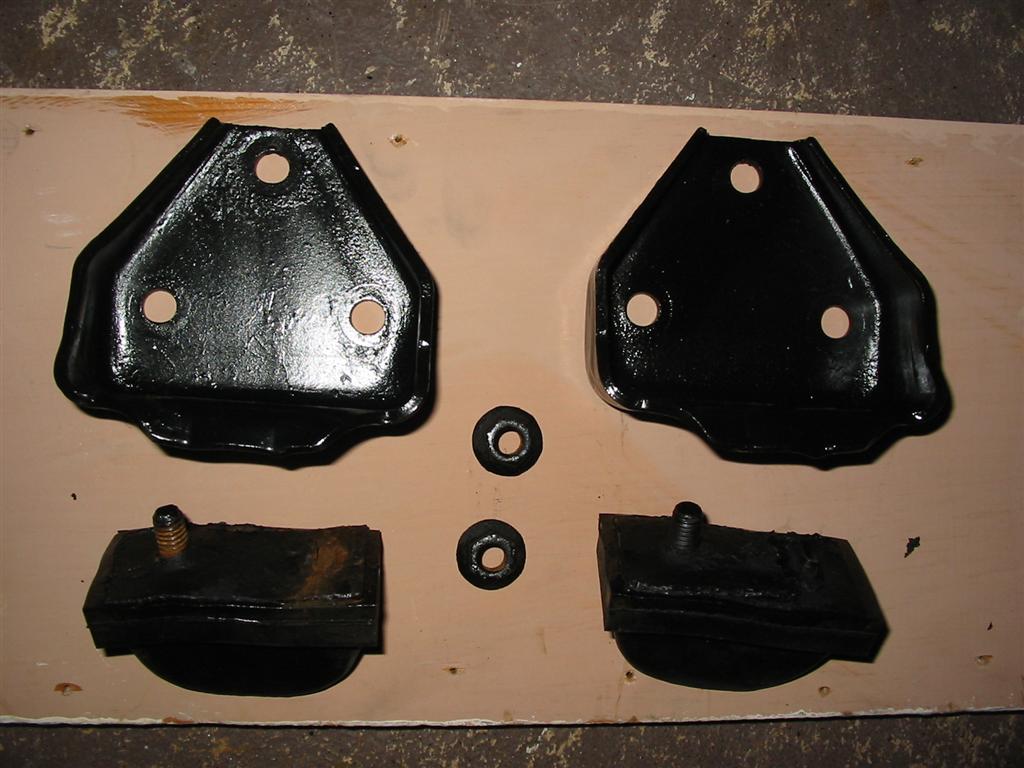
| I also chose this time to clean, paint and install all the axle snubbers. |
|
|

|
|
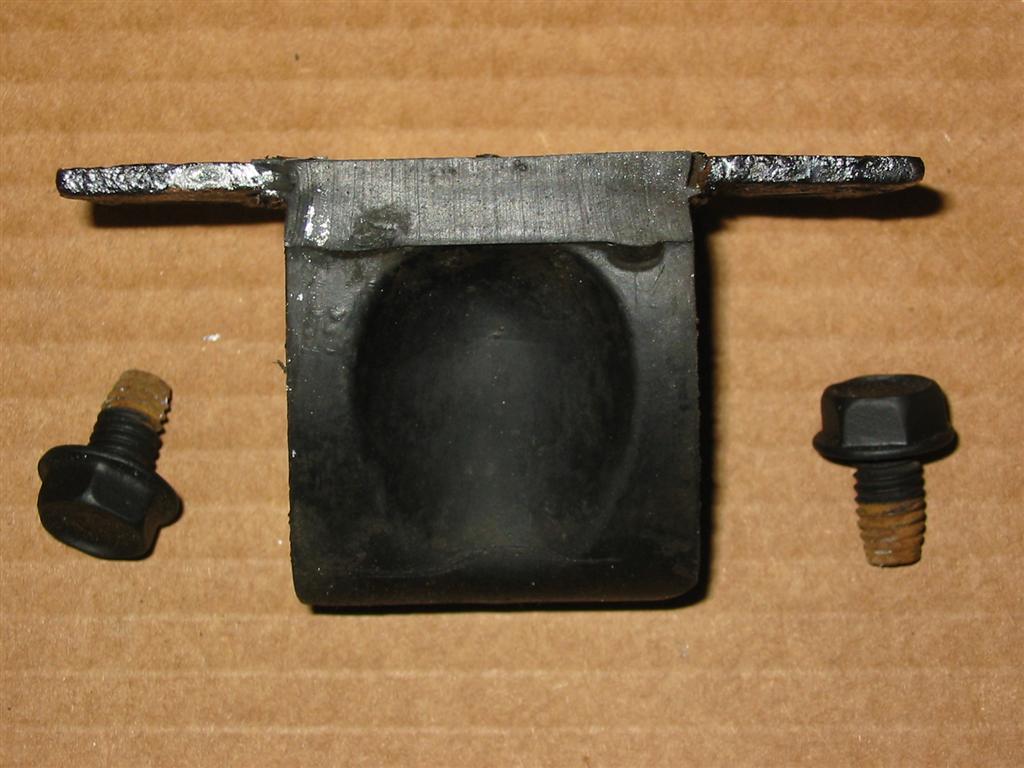
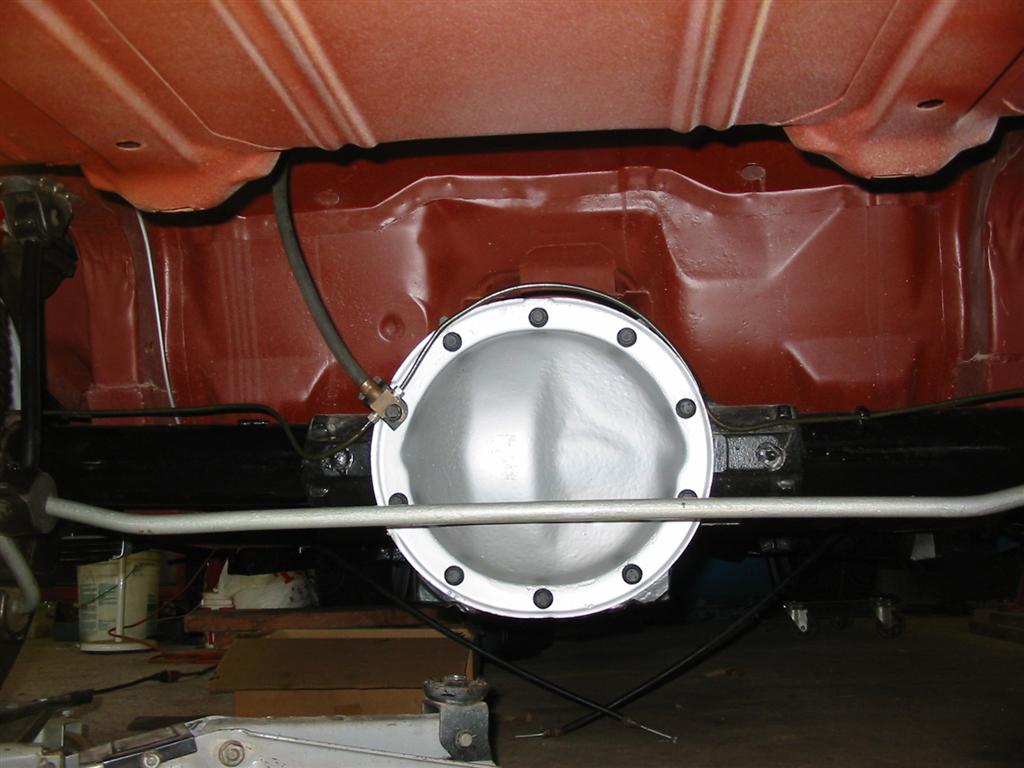
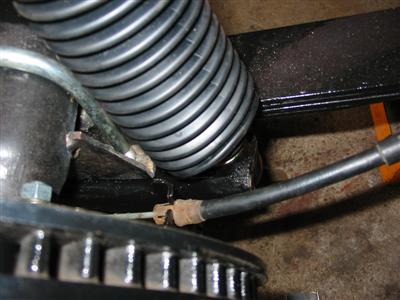
| Here is the center snubber. |

|

|
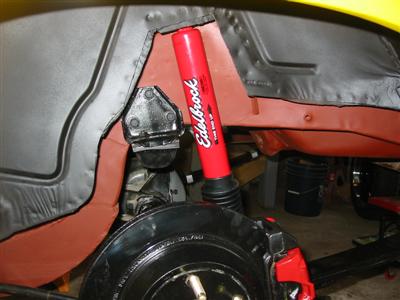
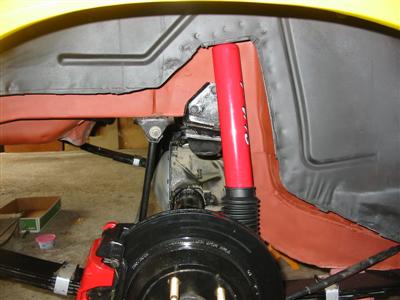
| Here is everything on the left side with the shock mounted. |
|
|
| Here is everything on the right side with the shock mounted. |
|

|
|
|
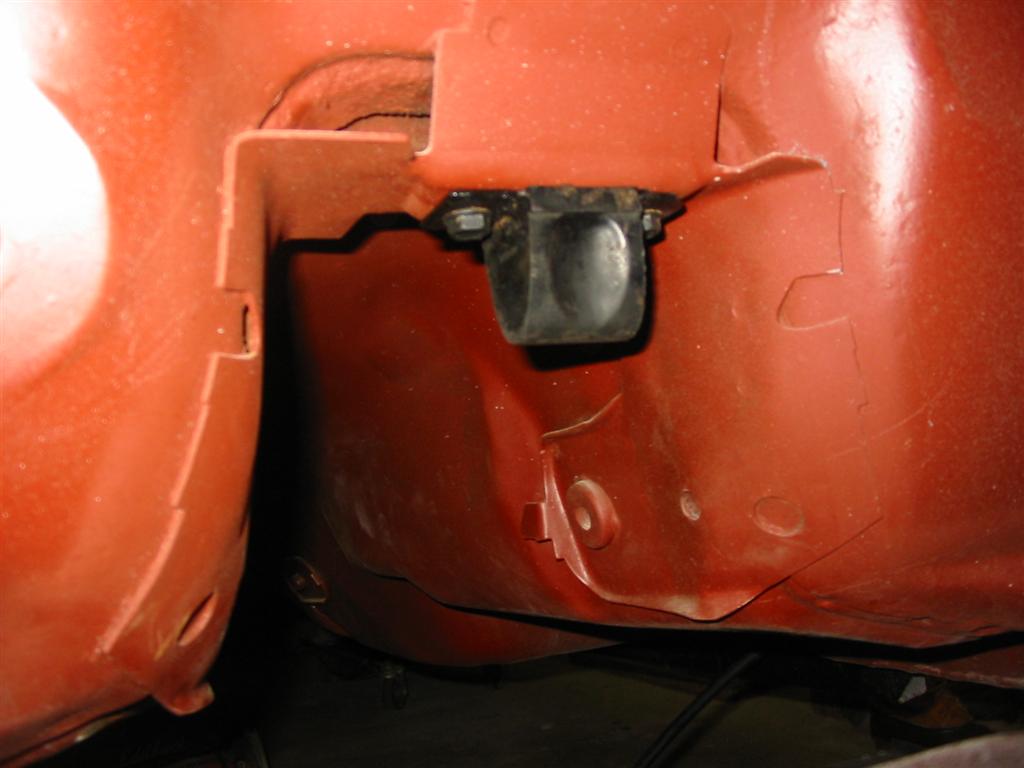
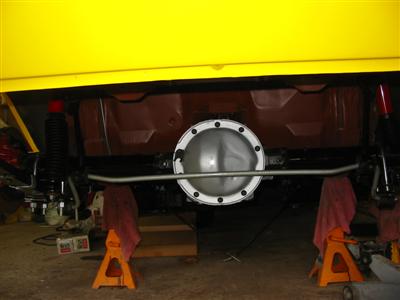
| Here is everything installed. |
|
|
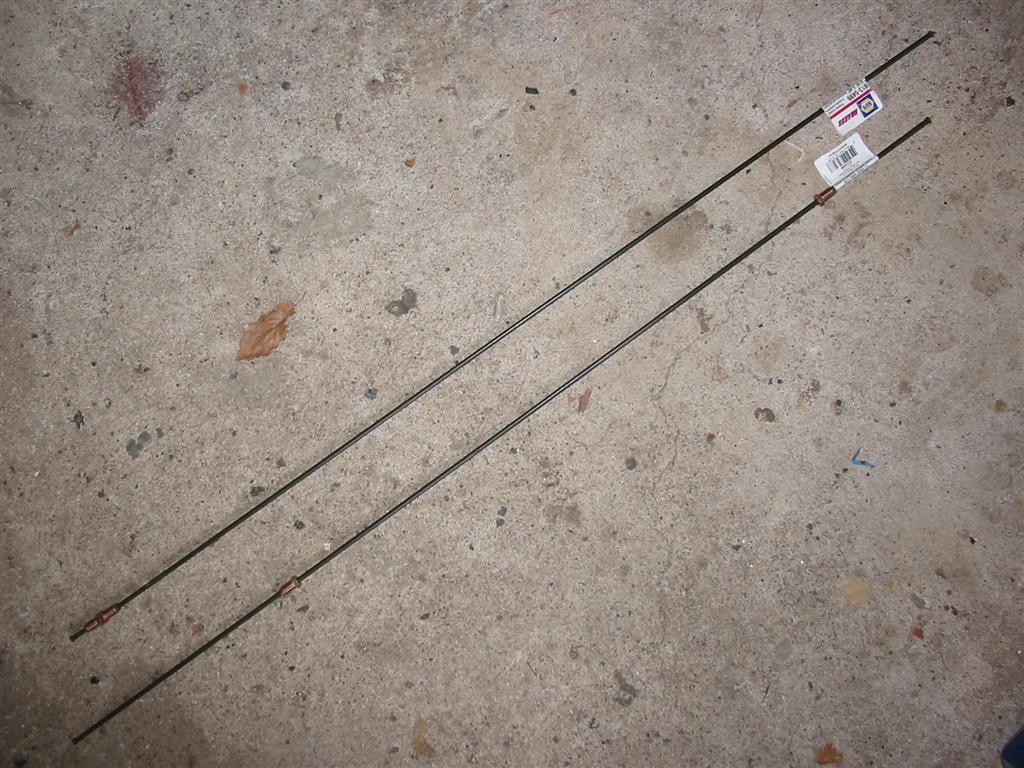
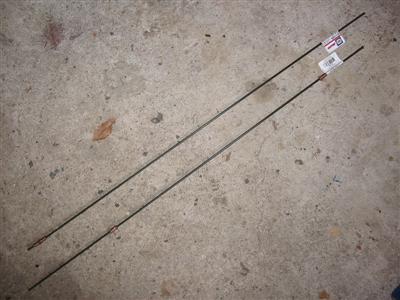
| Lastly, the hard brake lines needed to be made and installed. I went to NAPA and
picked up two pieces of 3/16 in. tube with the bubble flares. The caliper side uses bubble
flares while the center hose uses a standard double flare. |
|
|
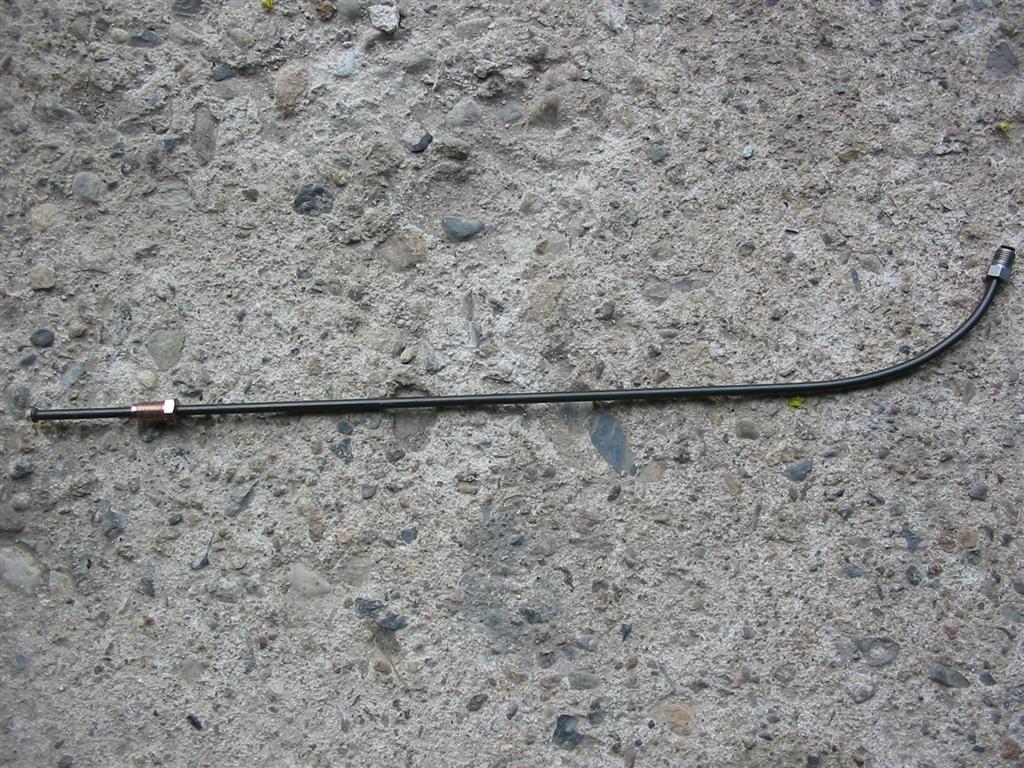
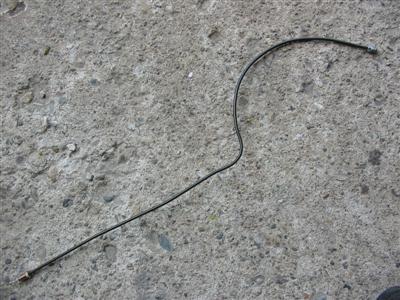
| Here is the right side line. |
|
|
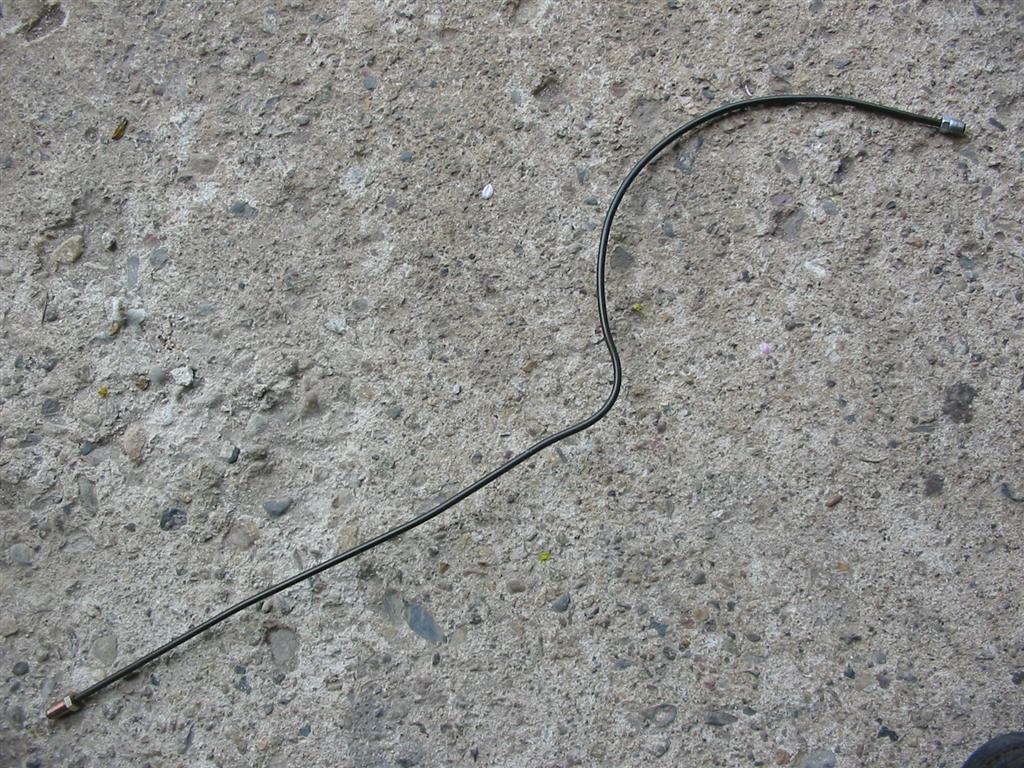
| Here is the left side line. |

|

|
| Here are the brake lines installed. |

|
|
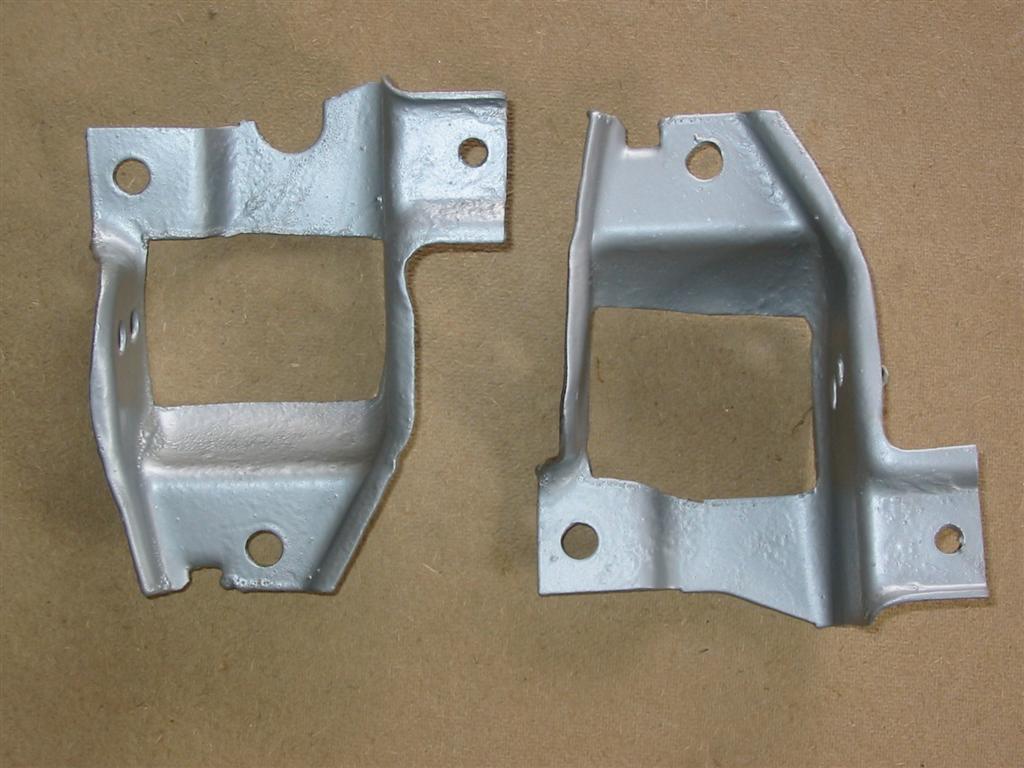
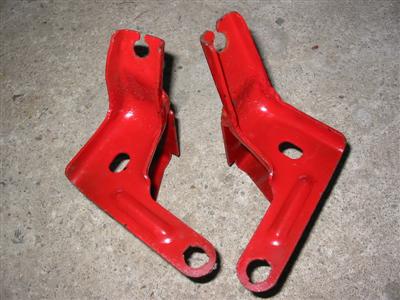
| While I was working on the rear suspension for the brakes, I cleaned and coated my modified
front leaf spring mounts in POR15 Silver and installed them. |
|

|

|
|