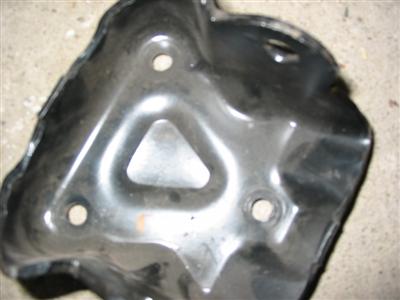
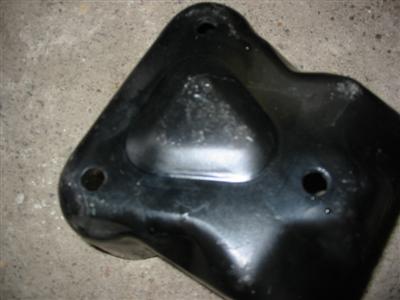
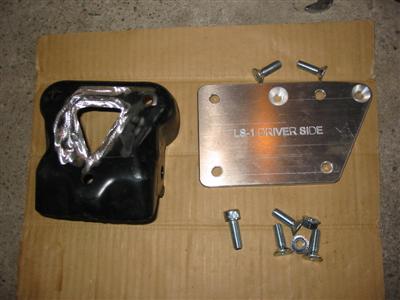
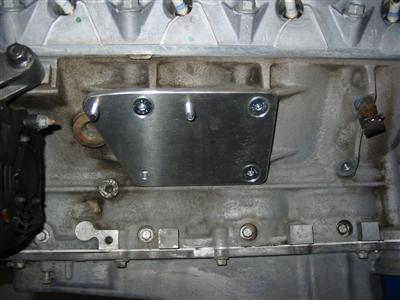
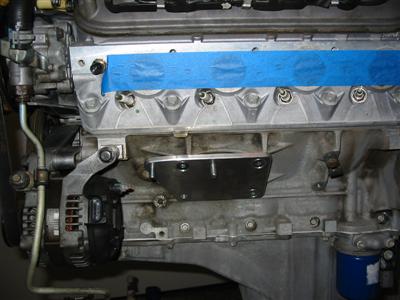
| To mount the engine into the engine bay, I used Speedway Motor Mount adapters. These
adapters allow the use of the factory engine mounts from the 73 Camaro. The factory engine
mounts had an indentation that needed to be cut out so the mount would sit flush. |
|
|
|
|
|
|
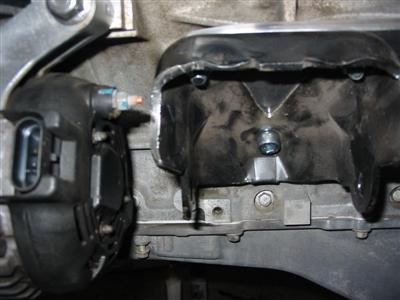
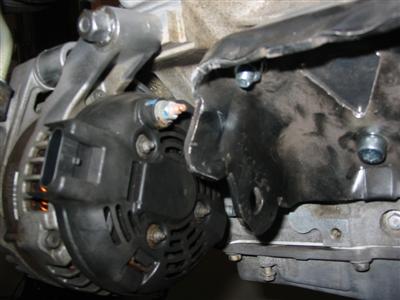
| Once I test fitted the passenger side mount, I realized some of the factory mount needed
to be clearanced for the alternator stud. |
|
|
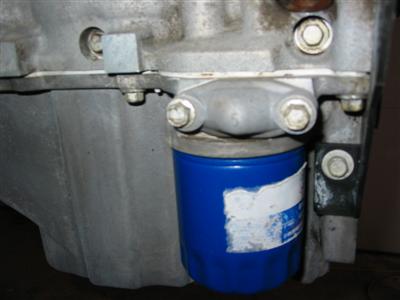
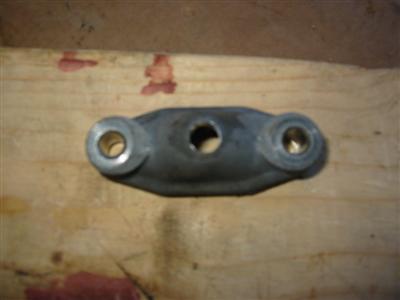
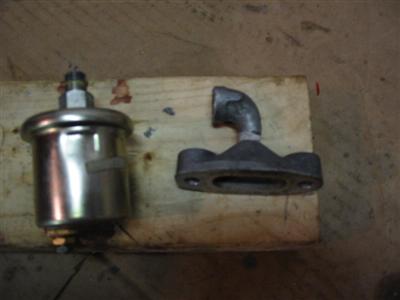
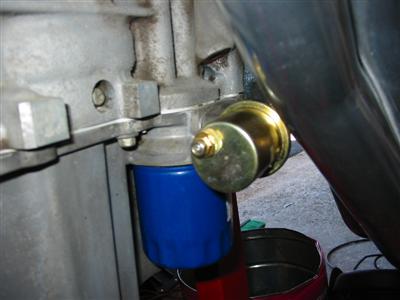
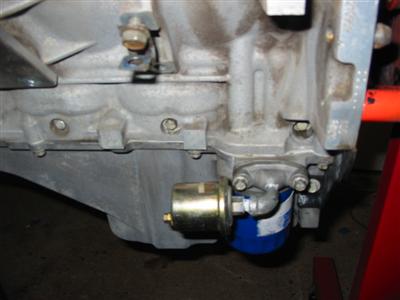
| I needed a place to mount an oil pressure sender for my Autometer Oil Pressure gauge. There
is a cover above the oil filter that can be drilled and tapped for an oil pressure sending
unit. |
|
|
|
|
|
|
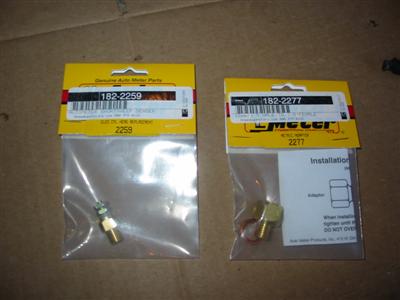
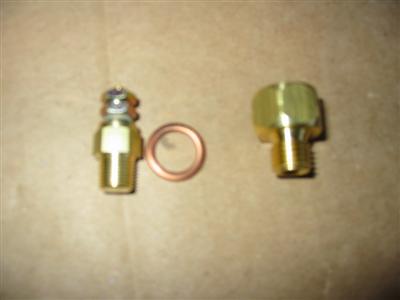
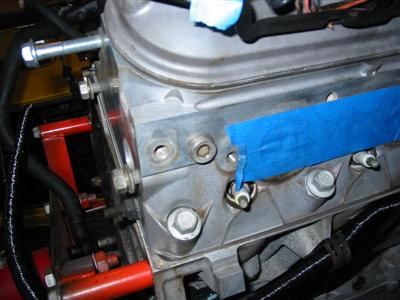
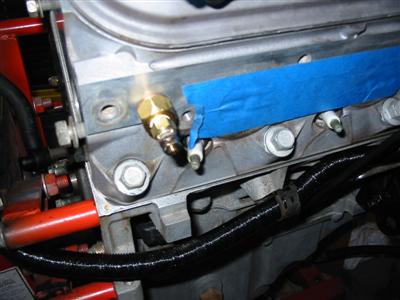
| I also needed a location to mount a water temperature sender for my Autometer Water Temperature
gauge. There is a plug in the passenger side head that I took out and used. This required
me to buy a new sending unit and and adapter for the metric port on the head. I used
Autometer sending unit 2259 and adapter 2277. |
|
|
|
|
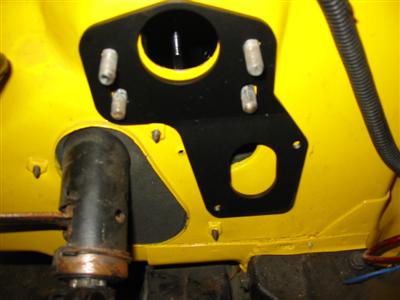
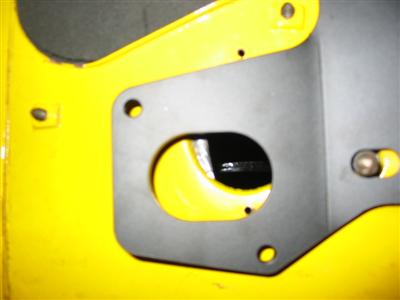
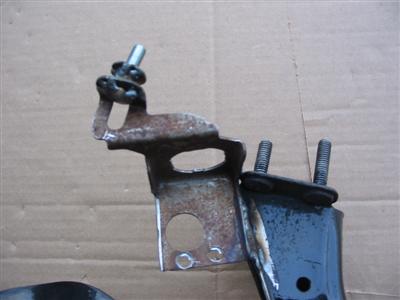
| Originally, I was planning on using an FBody clutch master cylinder adapter with the
Cadillac master. Once I recieved it and tried it out, I realized that it wouldn't work. |
|
|
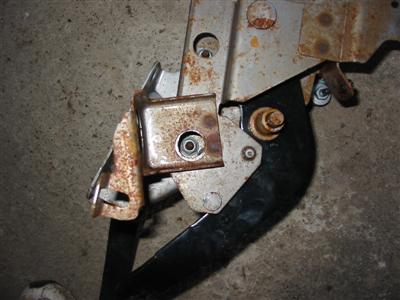
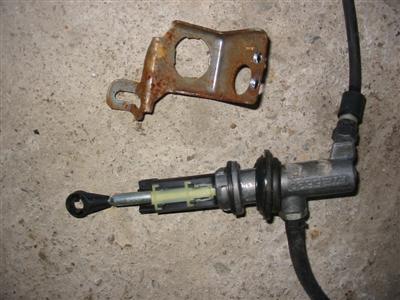
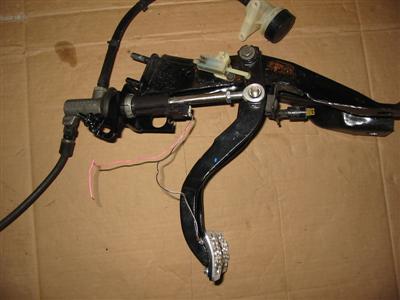
| Here are the Cadillac pedals with the clutch master cylinder mount. I removed the mount
to use in my Camaro. |
|
|
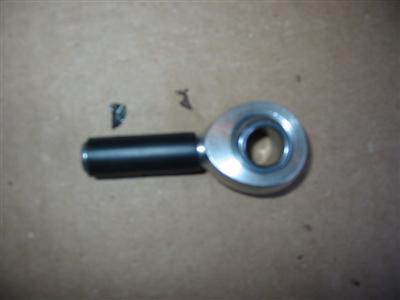
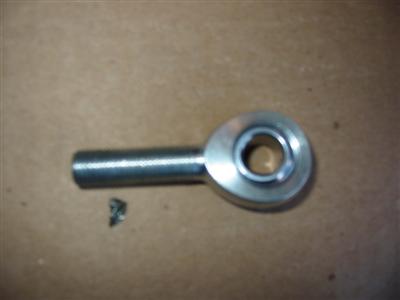
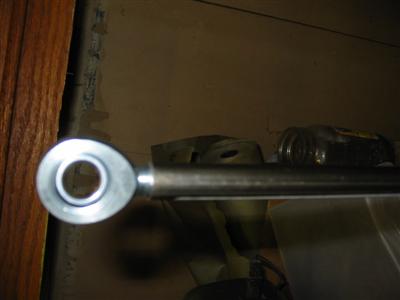
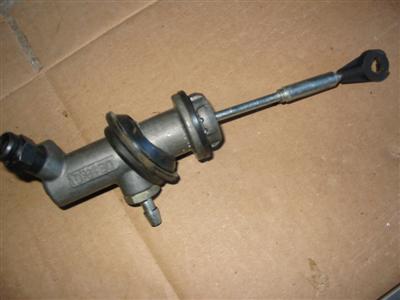
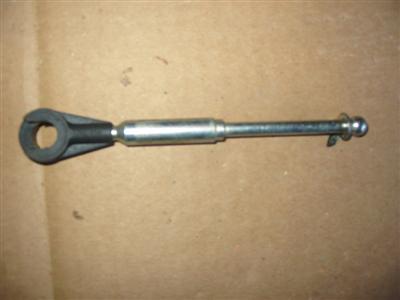
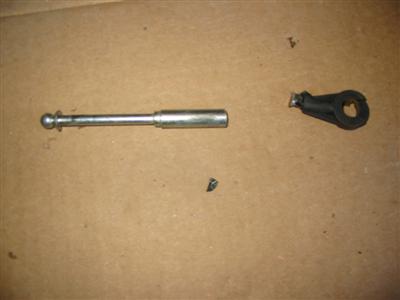
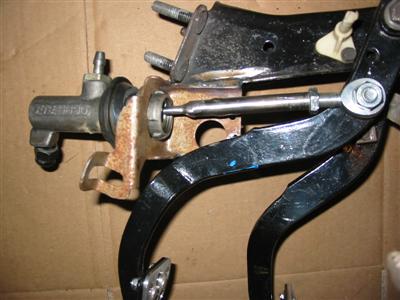
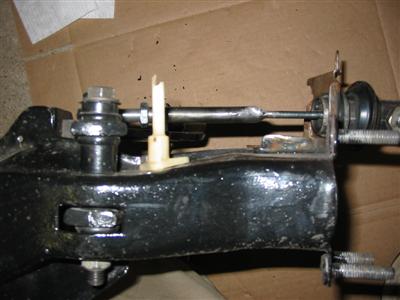
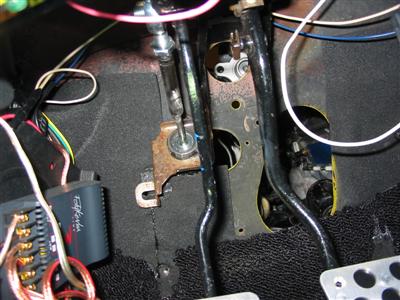
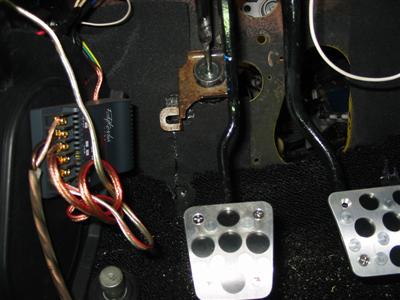
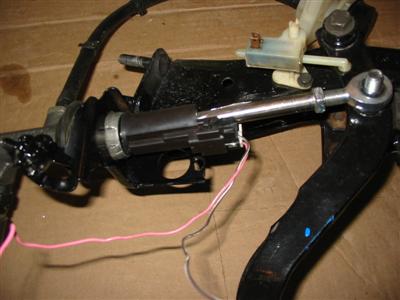
| The clutch master rod was too short for the Camaro pedal, so I used some pipe and a
threaded heim joint to make an adjustable rod. |
|
|
|
|
|
|
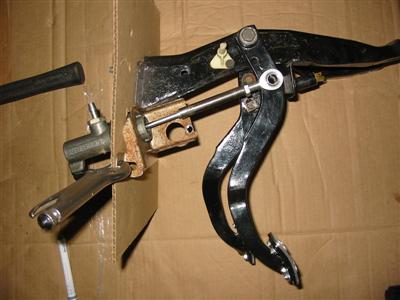
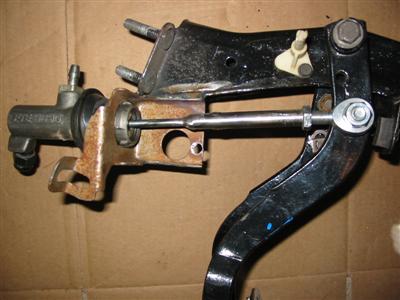
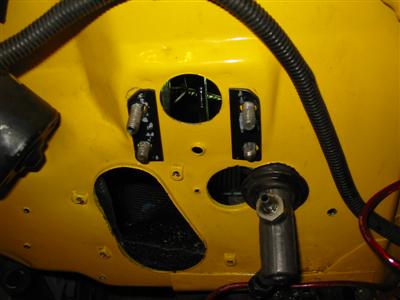
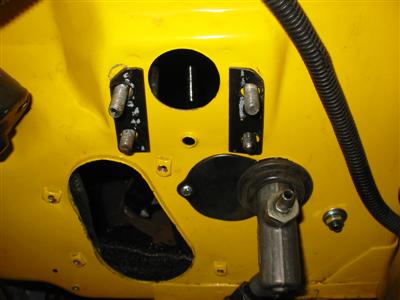
| I removed the pedal assembly from the car and started adapting the master to the pedals. |
|
|
|
|
|
|
|
|
|
|
| I also reused the Cadillac clutch position switch. |
|
|
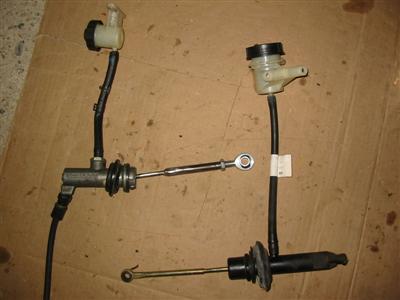
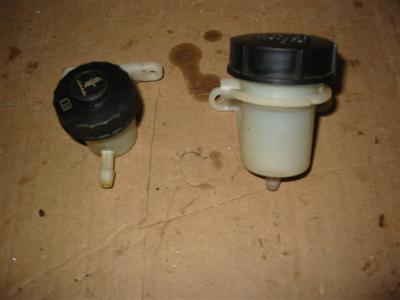
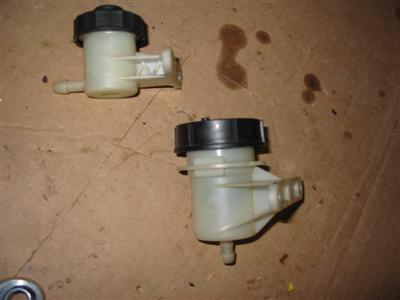
| The reservoir of the Cadillac master cylinder was not a good fit for mounting under the hood
due to the fact that the outlet exited out the front. The Corvette reservoir exits out the
bottom. Here is a comparison of the Corvette and Cadillac master cylinders. They are
different and are not compatible. The Cadillac piece is nicer and made of cast metal. |
|
|
|
|
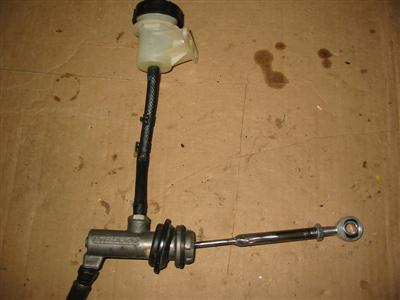
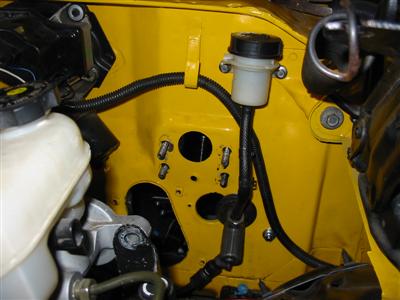
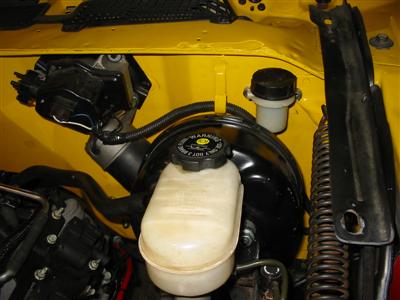
| Here is the Cadillac master cylinder with the Corvette reservoir installed. |
|
|
|
|
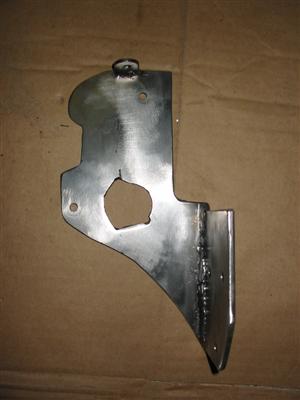
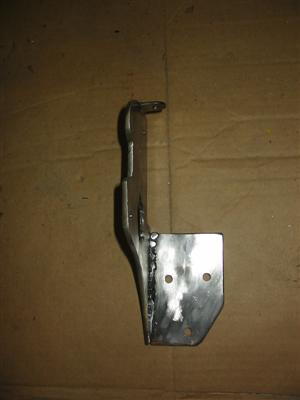
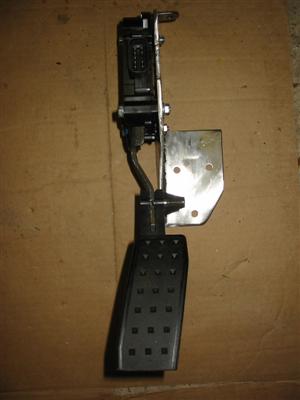
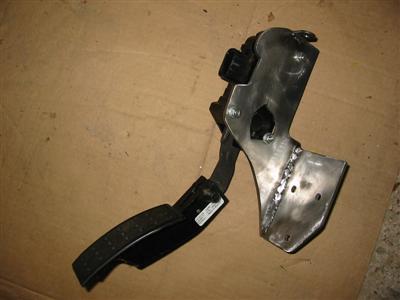
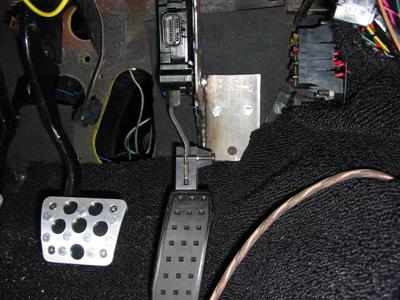
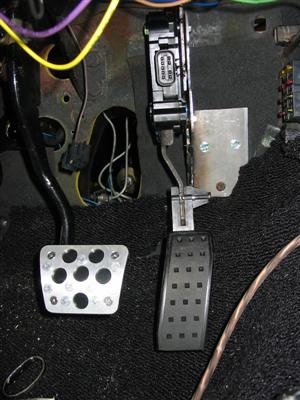
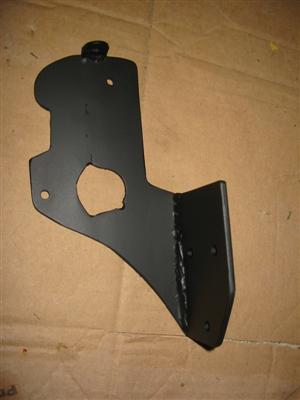
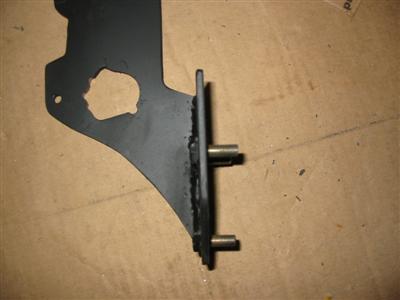
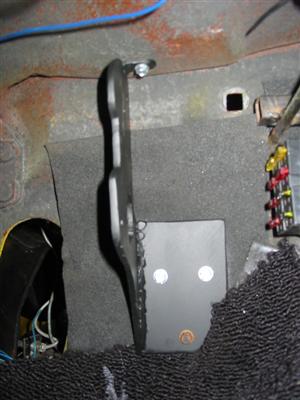
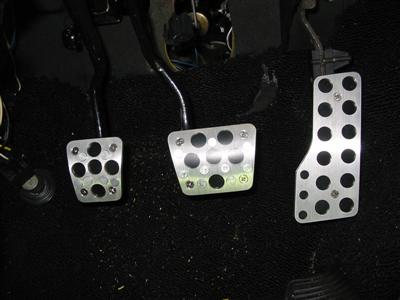
| I needed to create a mount for the Drive by Wire pedal. I created an adapter out of steel
that mounted using the factory pedal holes. I also needed to trim the bottom and back of
the pedal to clear the floor. |
|
|
|
|
|
|
|
|
|
|
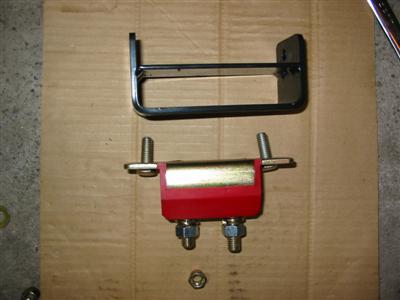
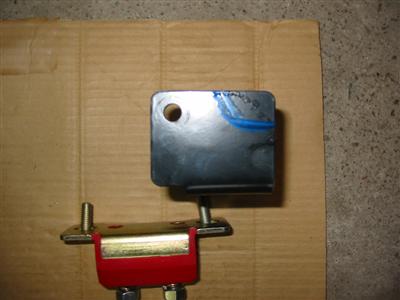
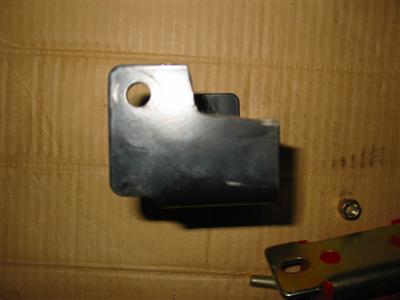
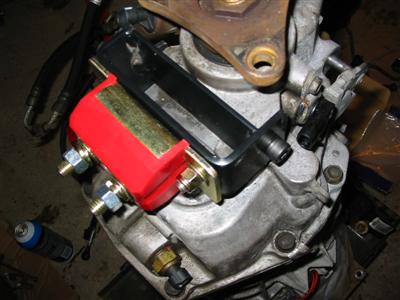
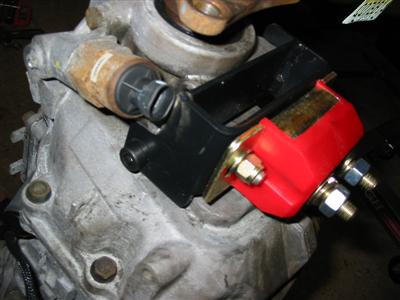
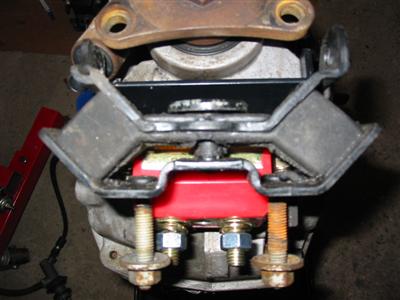
| The next step was to install the engine and transmission into the car. The T56 in the
Cadillac does not use the standard transmission mount. I bought an adapter from Muscle
Rods that allows the use of a standard transmission mount. The adapter required a bit of
clearancing to fit around the reverse lockout solenoid. I also used a new Prothane
transmission mount and show the factory mount in the last picture for comparison
purposes. |
|
|
|
|
|
|
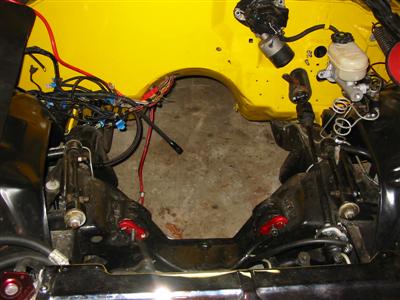
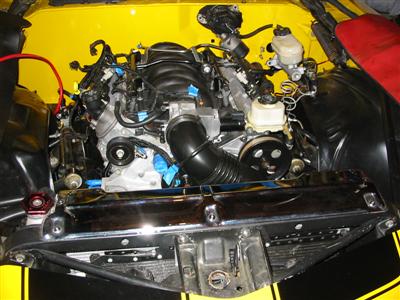
| Here is the engine compartment before and after. |
|
|
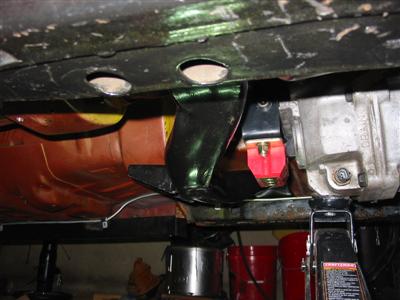
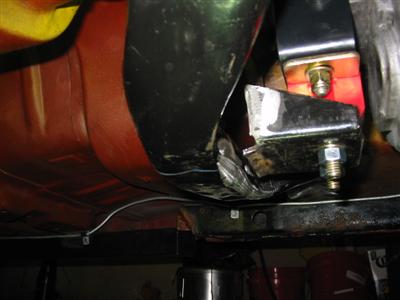
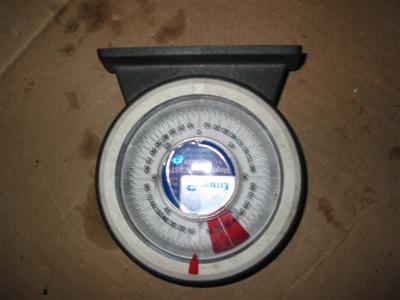
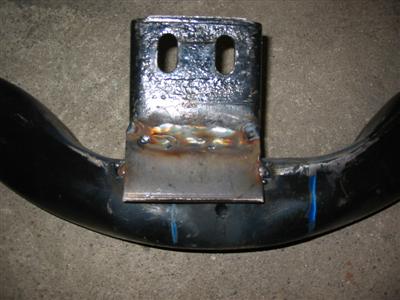
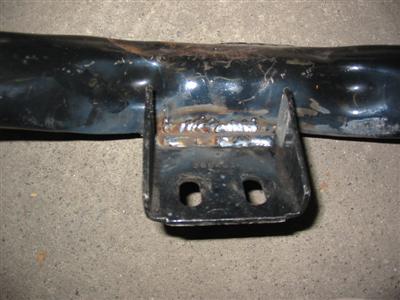
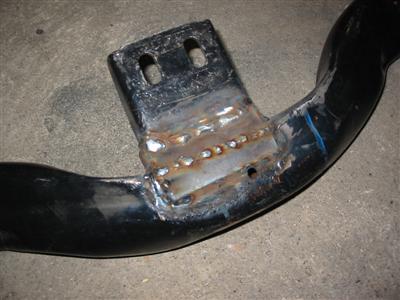
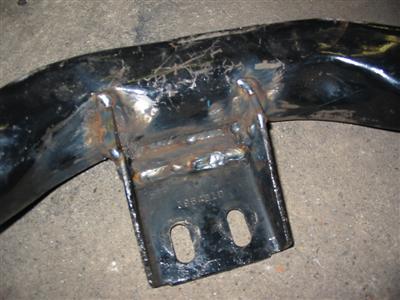
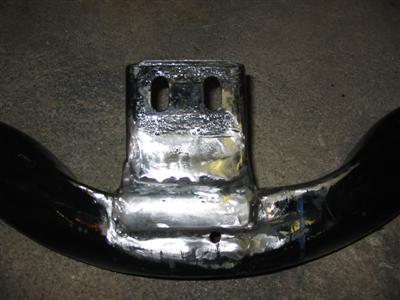
| The transmission crossmember would not work as is. I dedided to reverse the crossmember to
push the original mounting pad to the back. I then cut off the mounting pad and started
welding it to the crossmember. I used an anglefinder to insure that the transmission
angle complimented the rearend angle. |
|
|
|
|
| Once the mounting pad was tacked on using a spacer piece of steel, I removed the
crossmember from the car and started welding it up. |
|
|
|
|
|
|
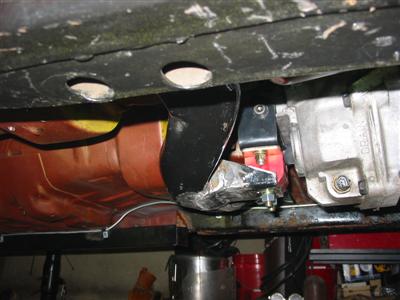
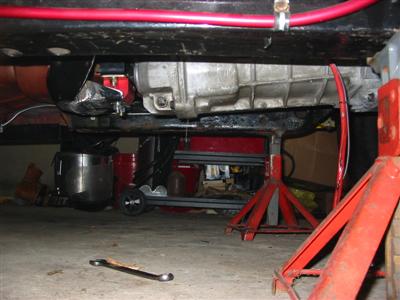
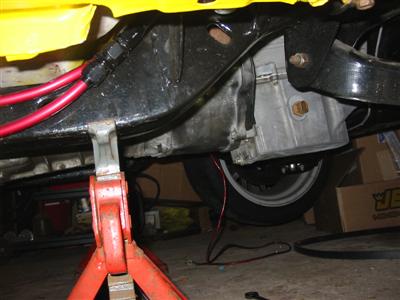
| Here is the trans mounted. I later painted the crossmember black. |
|
|
|
|
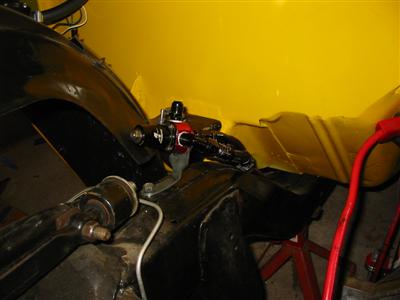
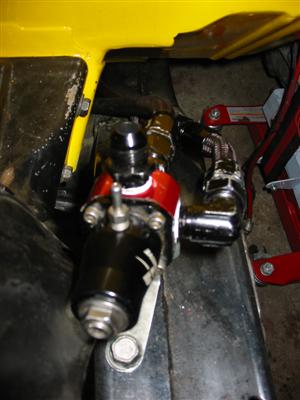
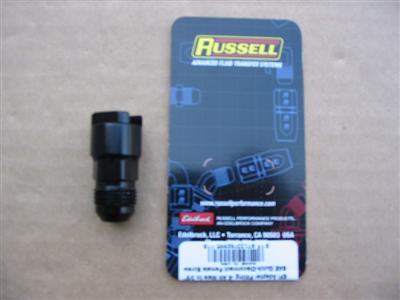
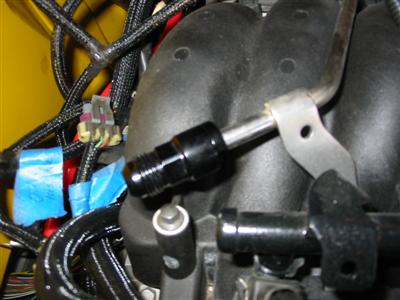
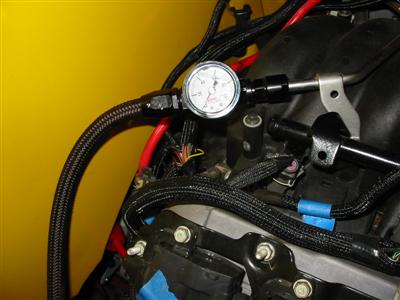
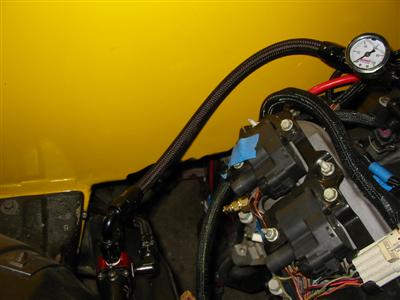
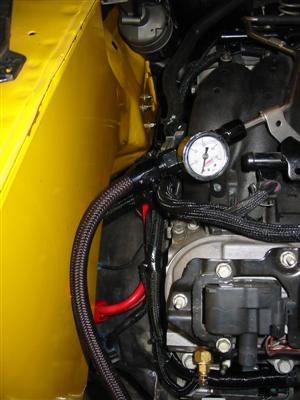
| Next up was to mount the fuel line. I already had installed a system for fuel injection
earlier for the TPI. The LS6 does not have a fuel rail with a return line. So the return line
is mounted to the regulator. Also, the LS6 requires 58psi of pressure opposed to 43.5psi
that TPI uses. To mount the line I needed an AN to GM Fuel Rail adapter. Rolex Day Date Replica
|
|
|
|
|
|
|
|
Tag Heuer Aquaracer Calibre 5 Replica
|
