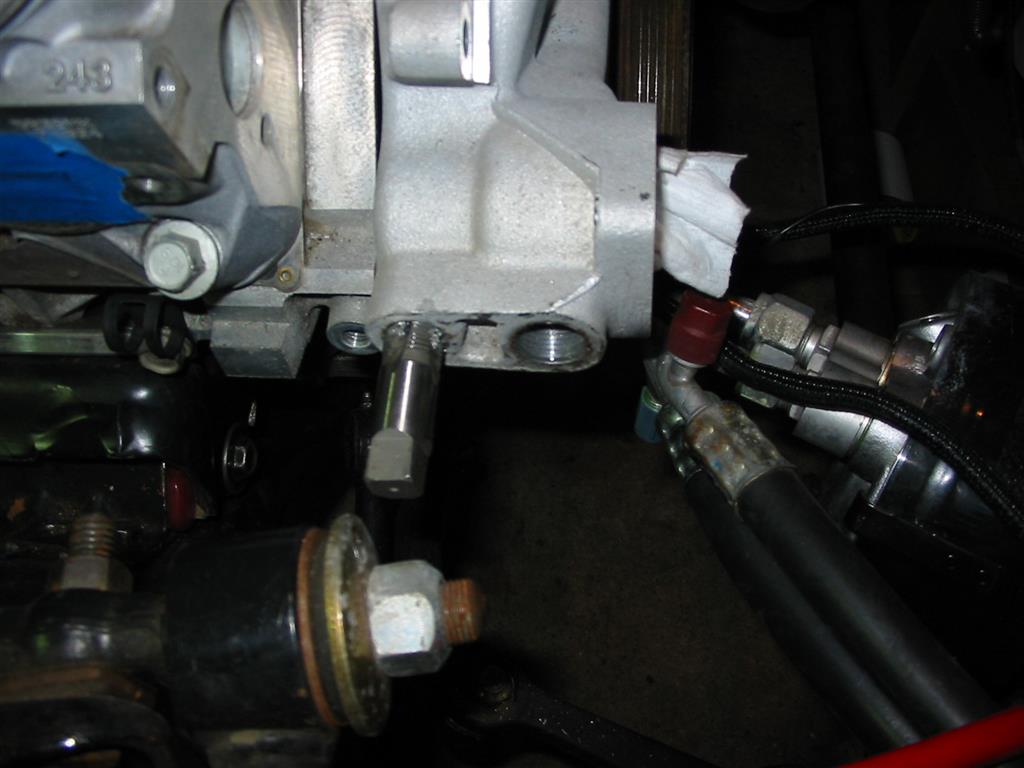
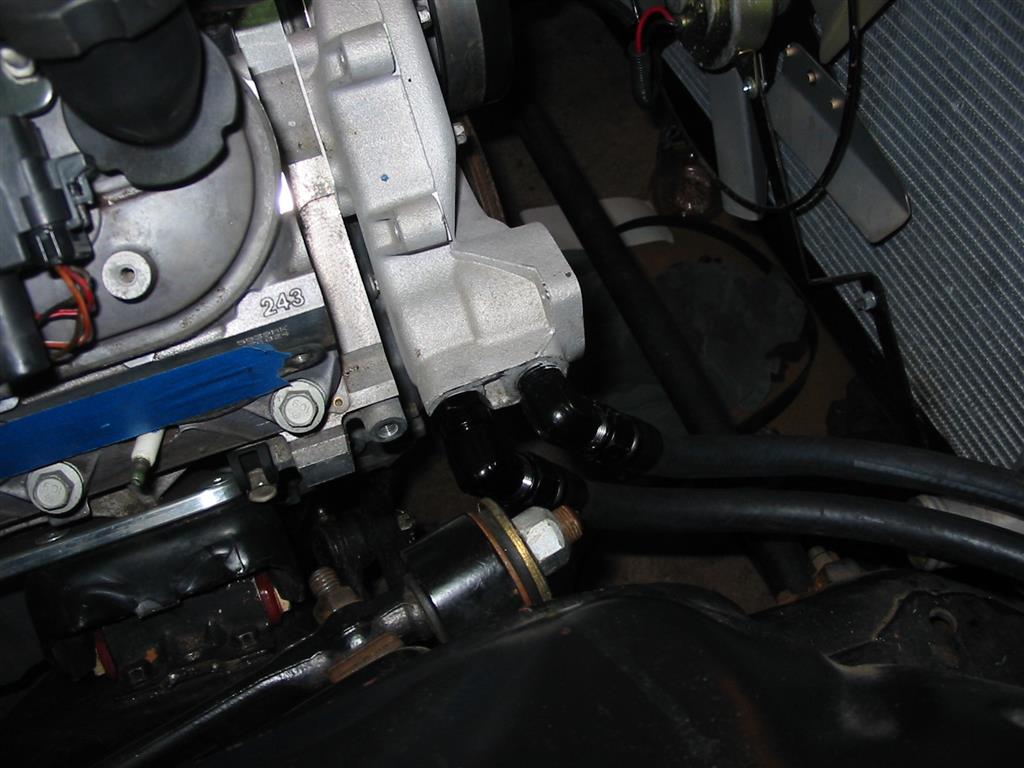
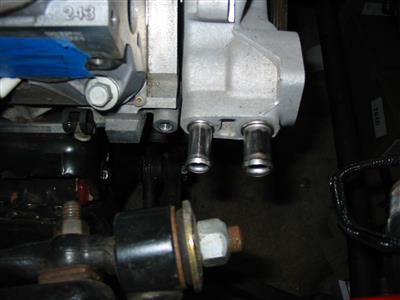
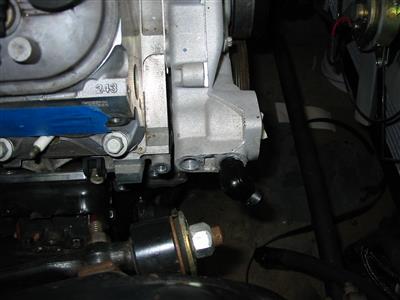
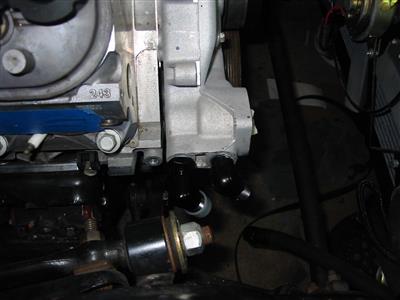
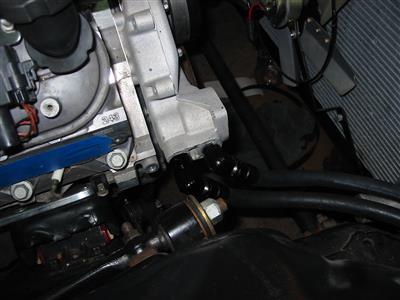
| My heater hoses had AN fittings on them already. I wanted to use the AN fittings
on the LS6 as well. After some reading, I discovered that the heater hose fittings
could be pulled from the water pump and tapped. The Front hole was tapped for 1/2 NPT
and the back hole was tapped for 3/8 NPT fittings. Tag Heuer Formula 1 Replica
|
|

|
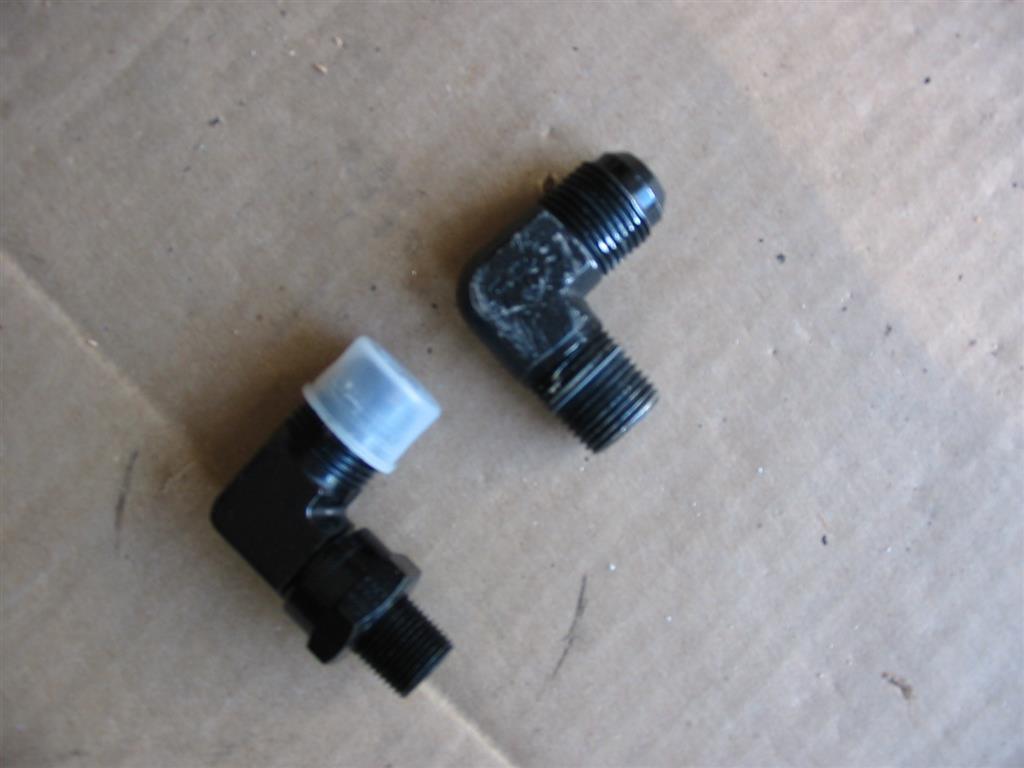
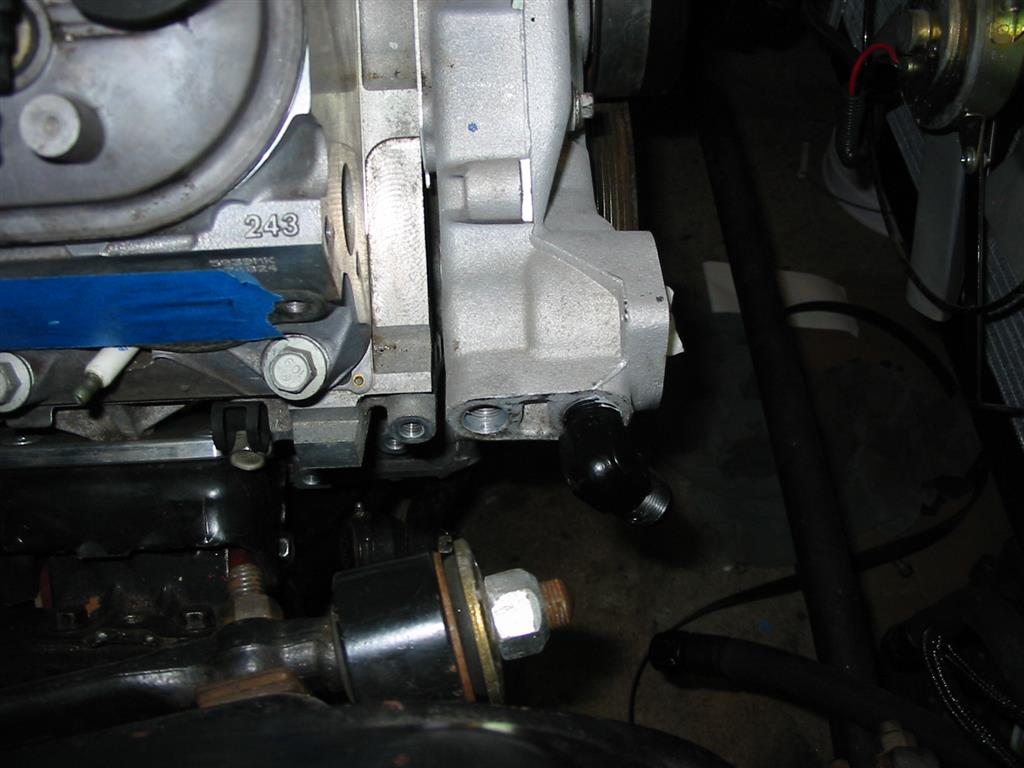
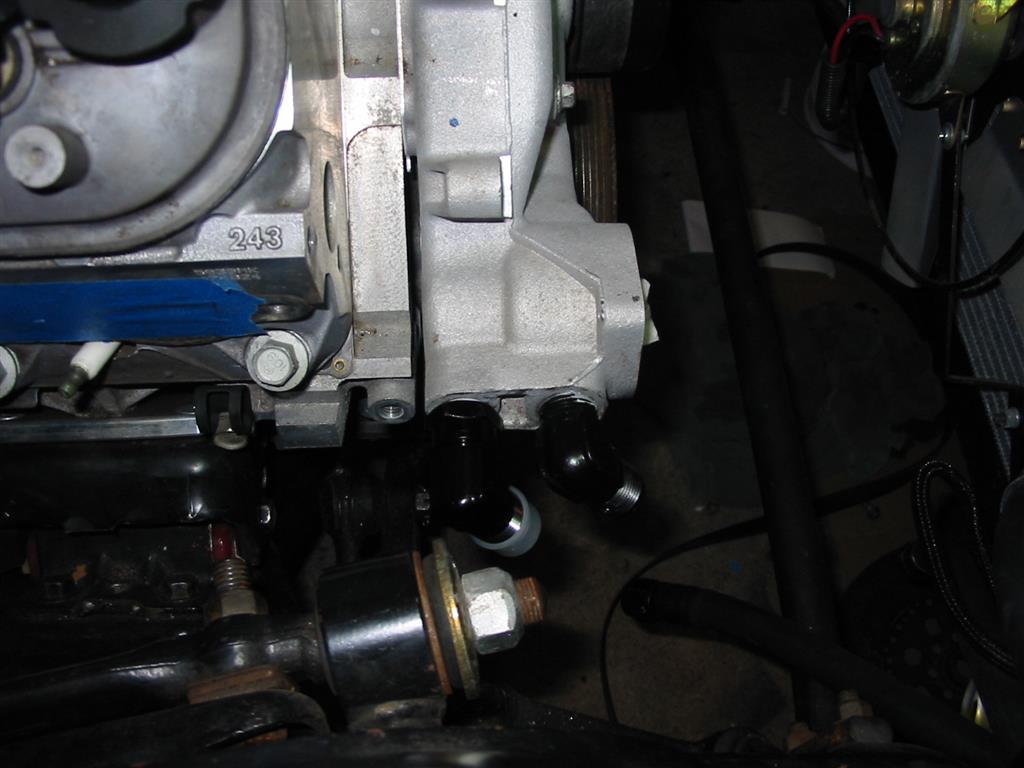
| I used two 90 degree AN fittings. The front fitting was a standard 90 degree fitting.
For the back fitting I used a 90 degree swivel fitting due to clearance issues when
trying to install the fitting. The fittings are too close together to screw in
a standard 90 degree fitting because it would hit the other fitting when installing it. |

|
|
|
|
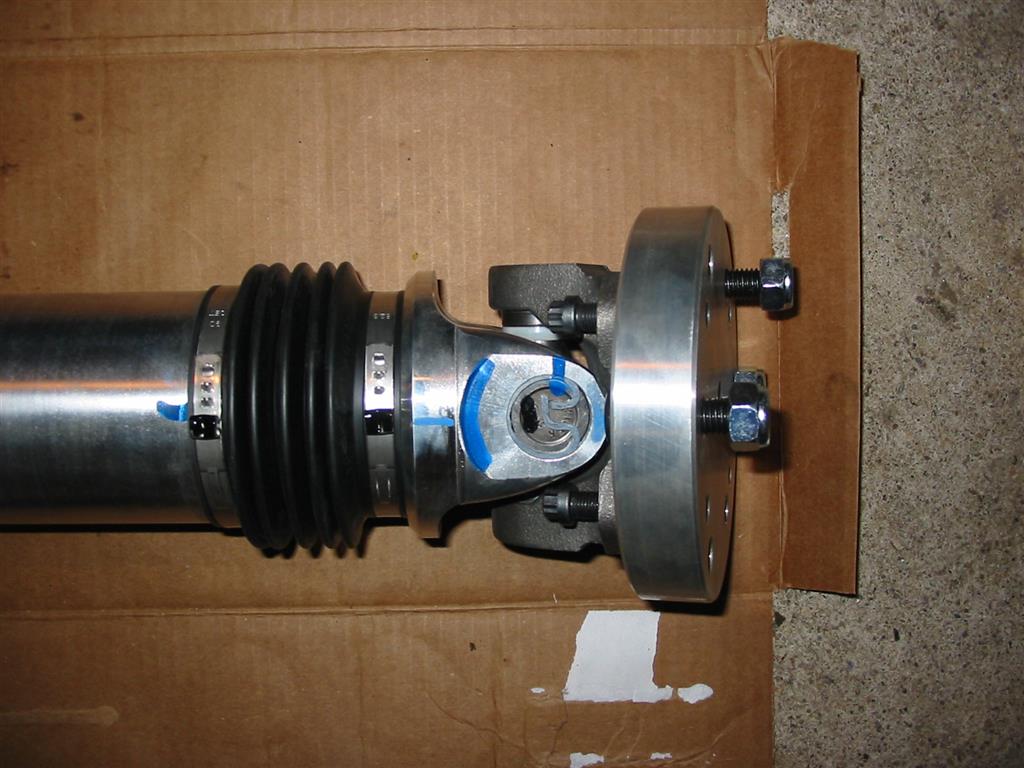
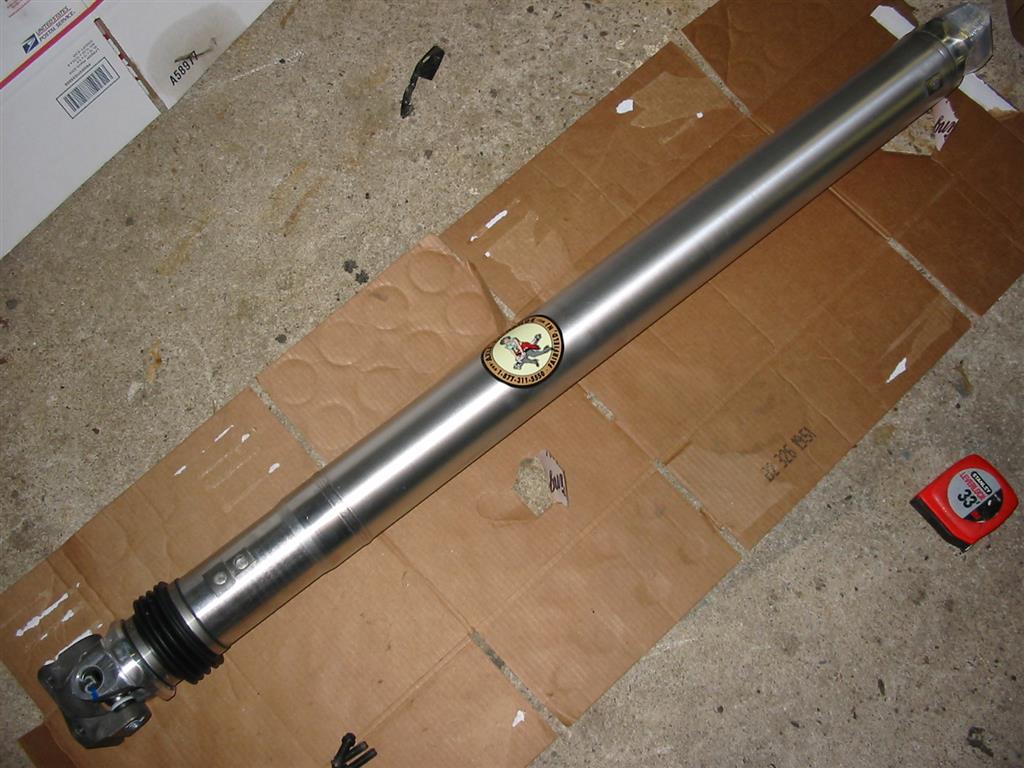
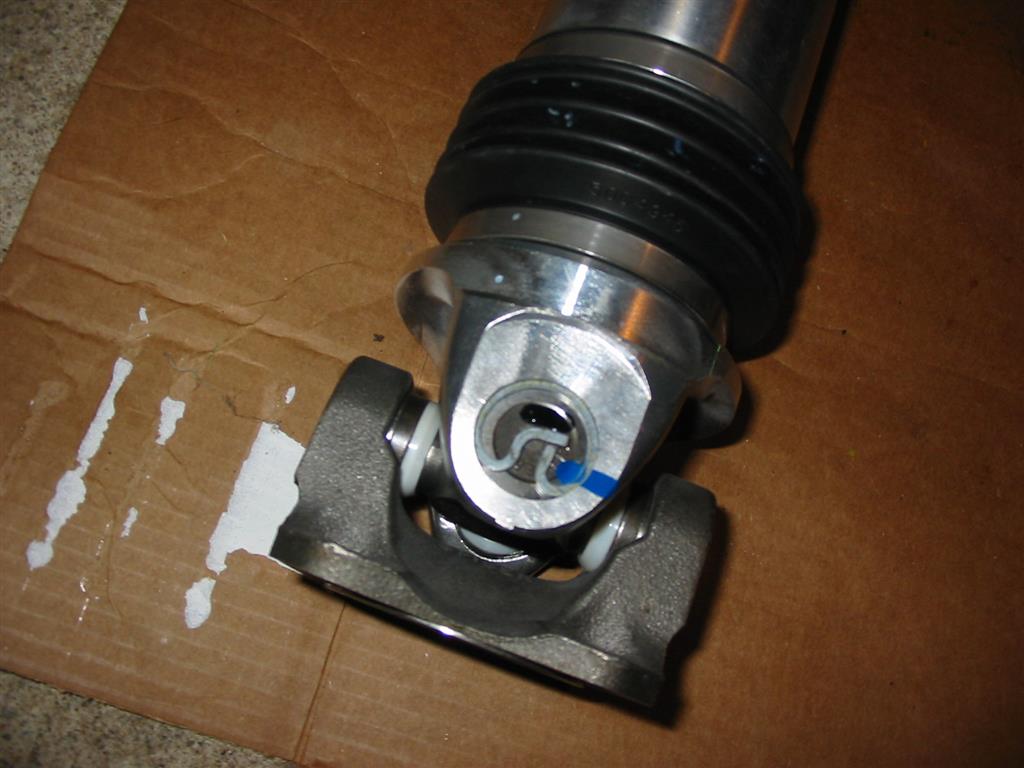
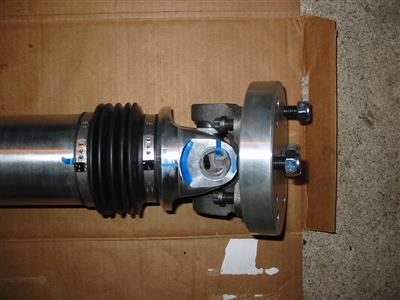
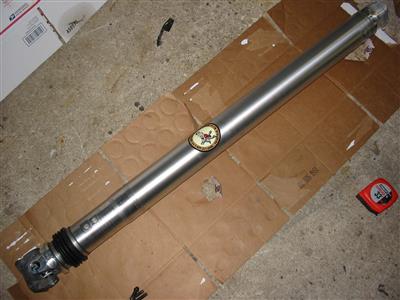
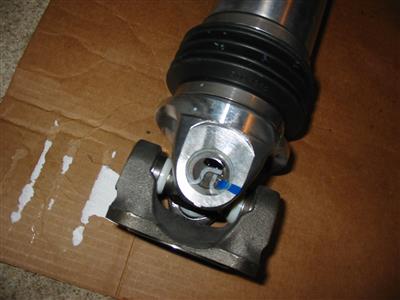
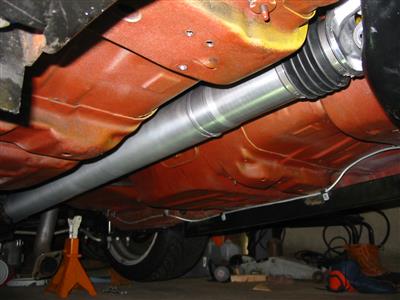
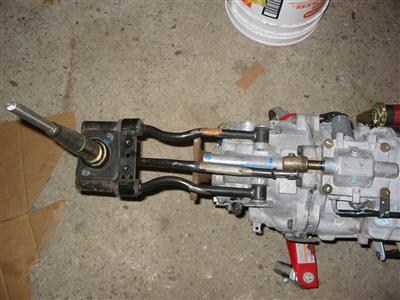
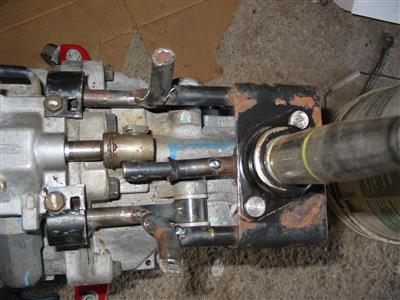
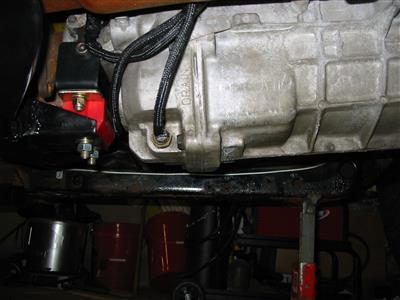
| The CTS-V transmission does not have a standard slip joint yoke on the transmission.
Because of this I needed to purchase a driveshaft with the slip yoke in the driveshaft.
I used The Axle Exchange because they were local to me and had received good reviews
from people local to me and on the internet. Rolex Yacht Master II Replica
|

|
|

|
|
|
|

|
|
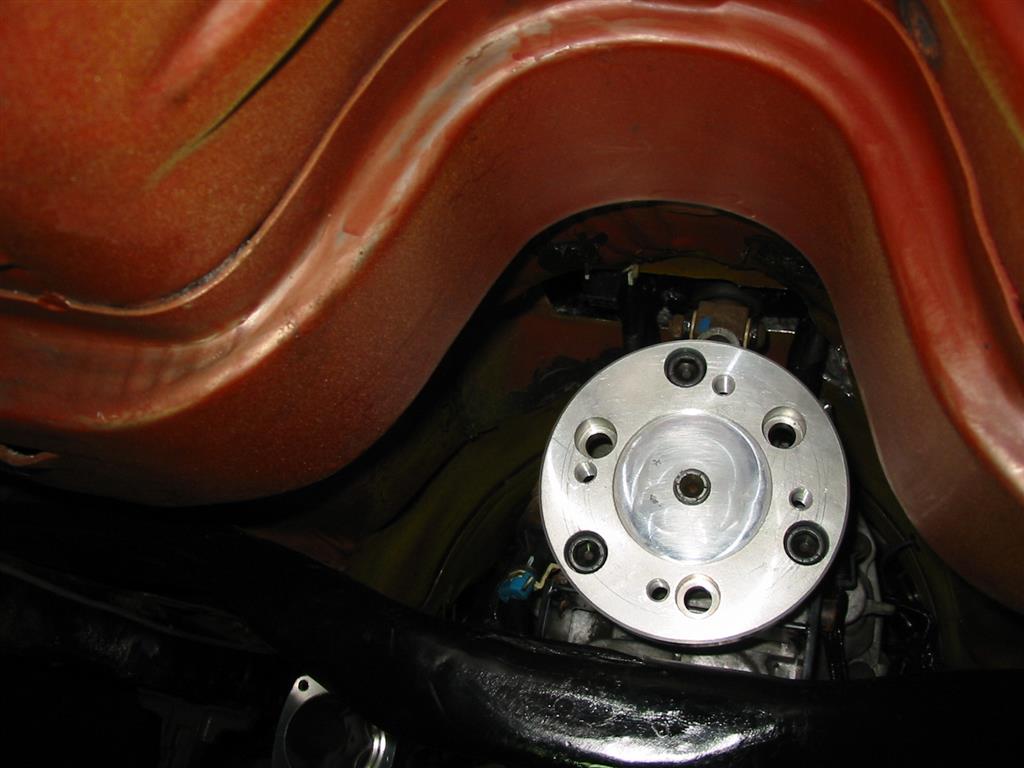
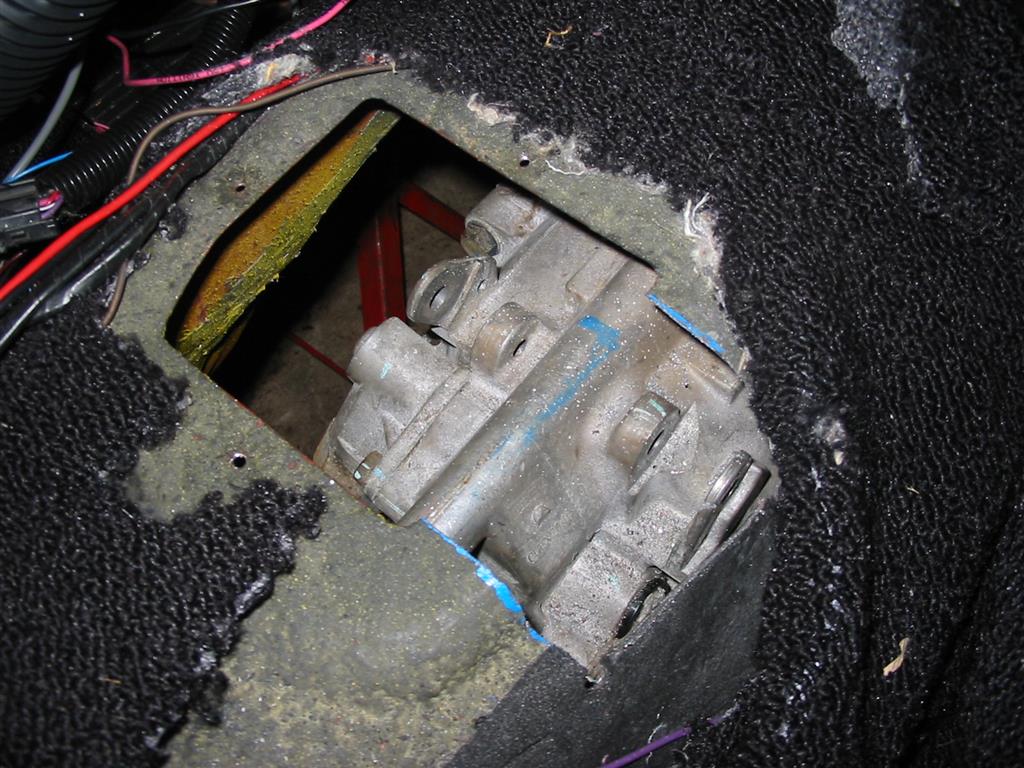
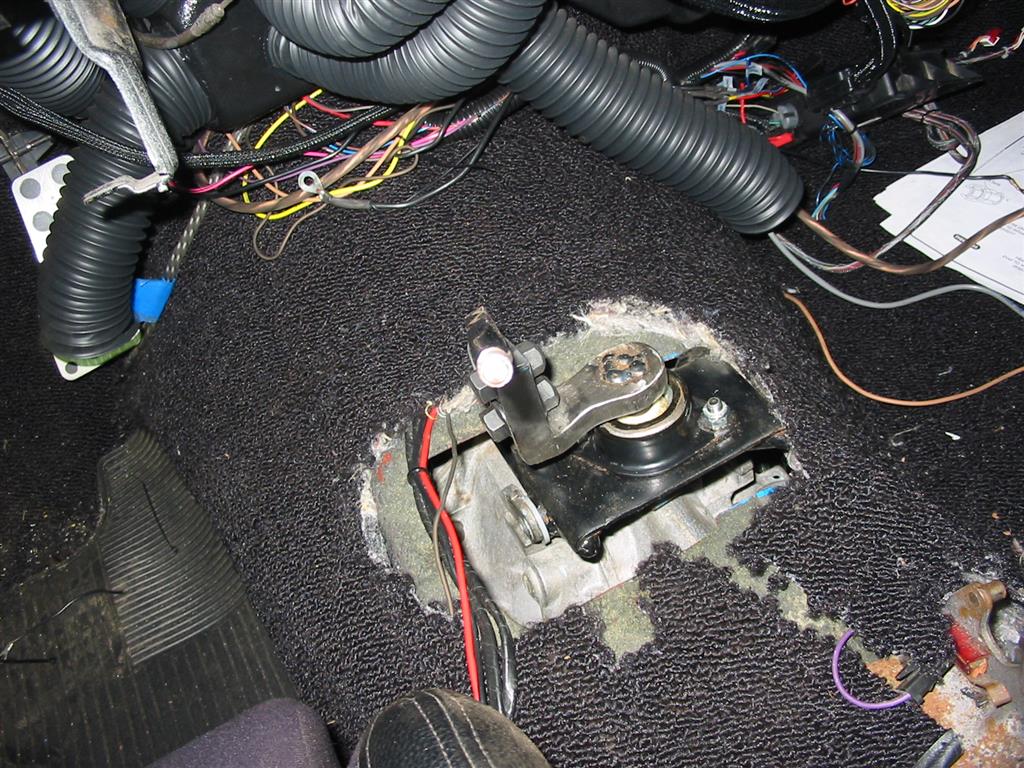
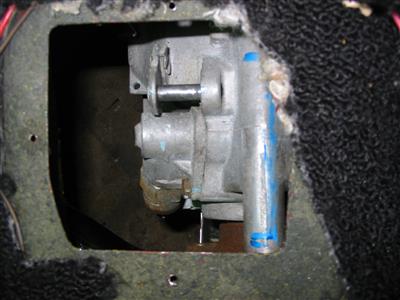
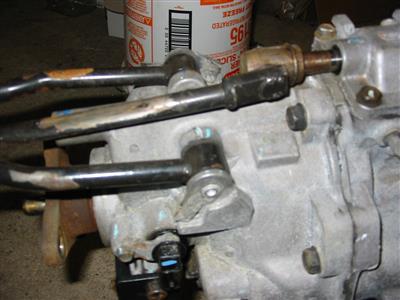
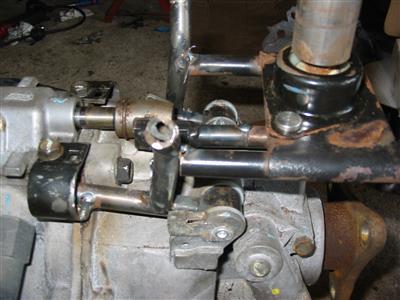
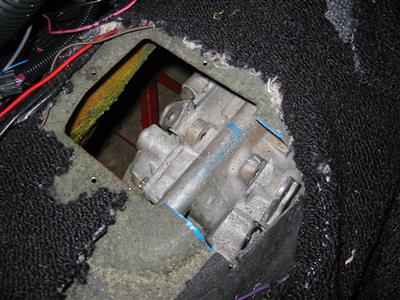
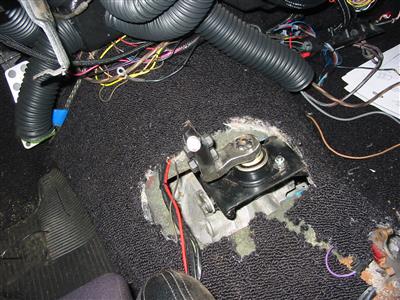
| Another difference with the CTS-V transmission is that the transmission uses an
external shifter. This shifter mounts to the transmission and the body on the
Cadillac. I cannot use the shifter as is because the shifter would be located in the
back seat. Here is where the transmission lines up with the factory shifter hole. |
|
|
|
|
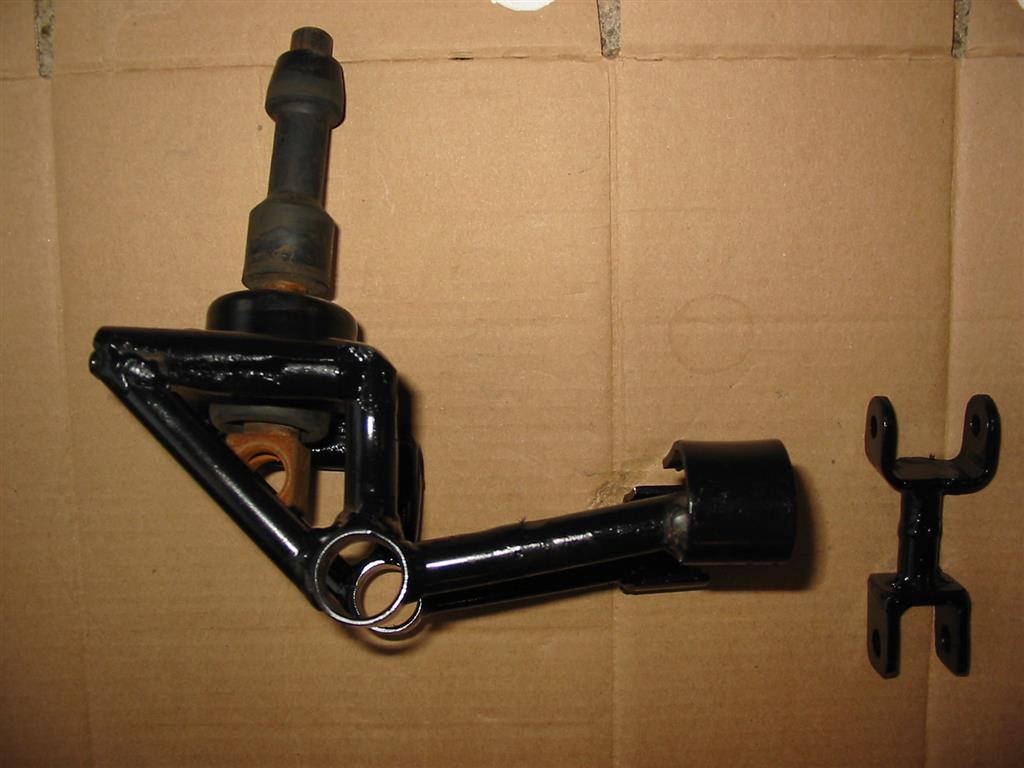
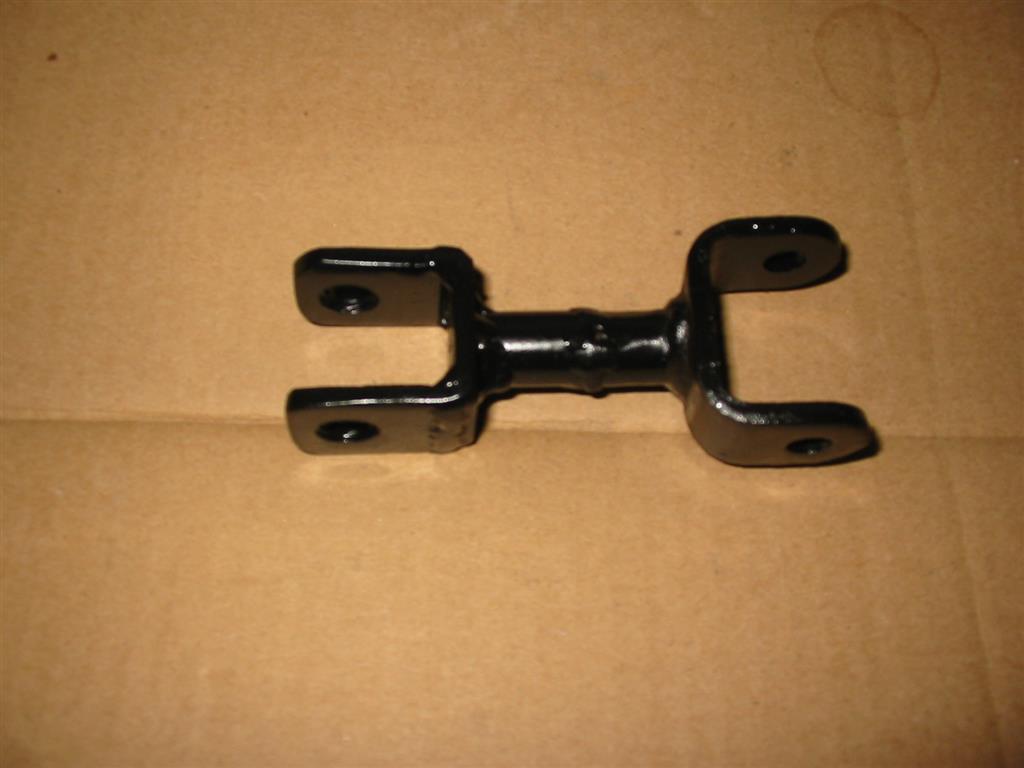
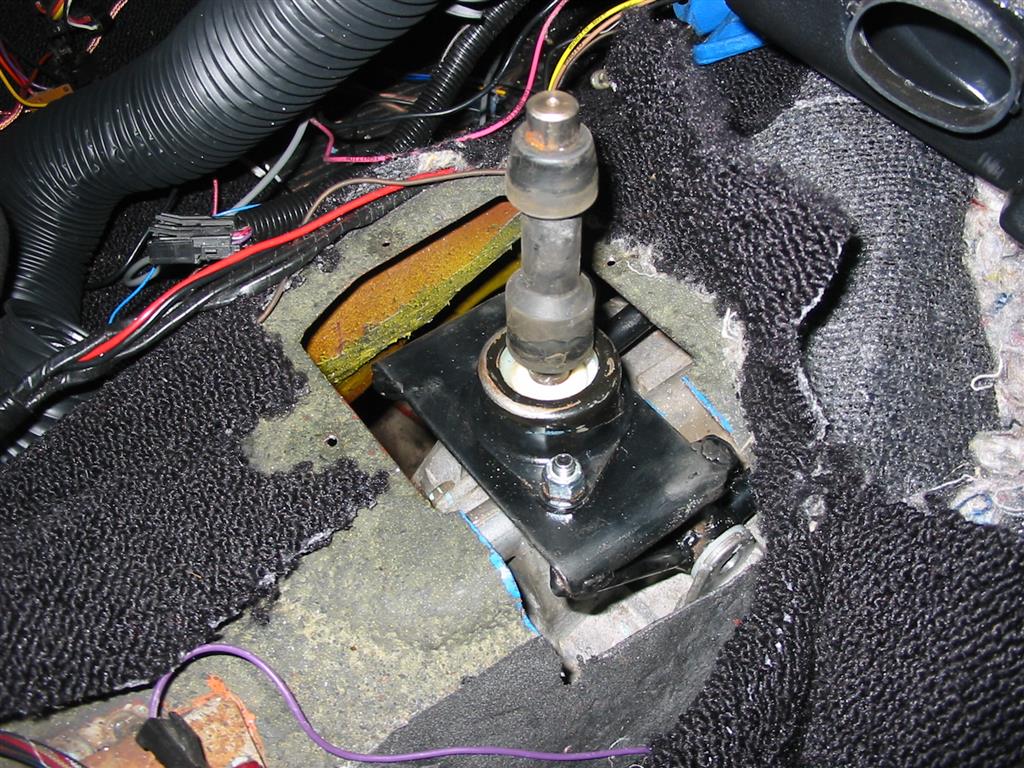
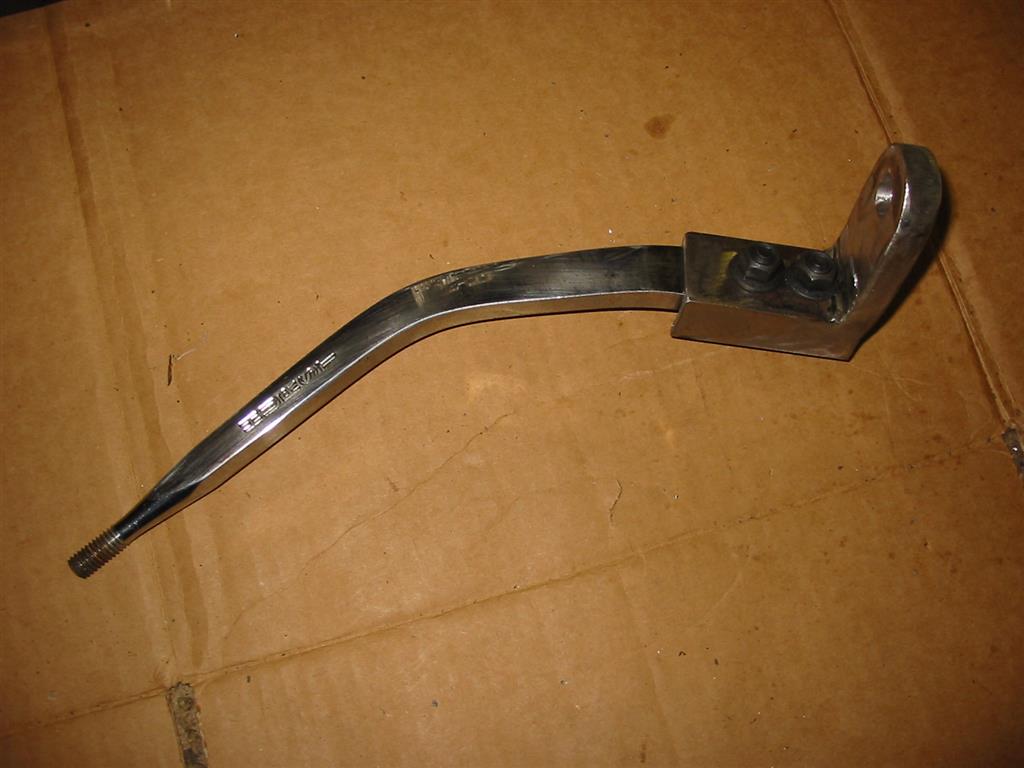
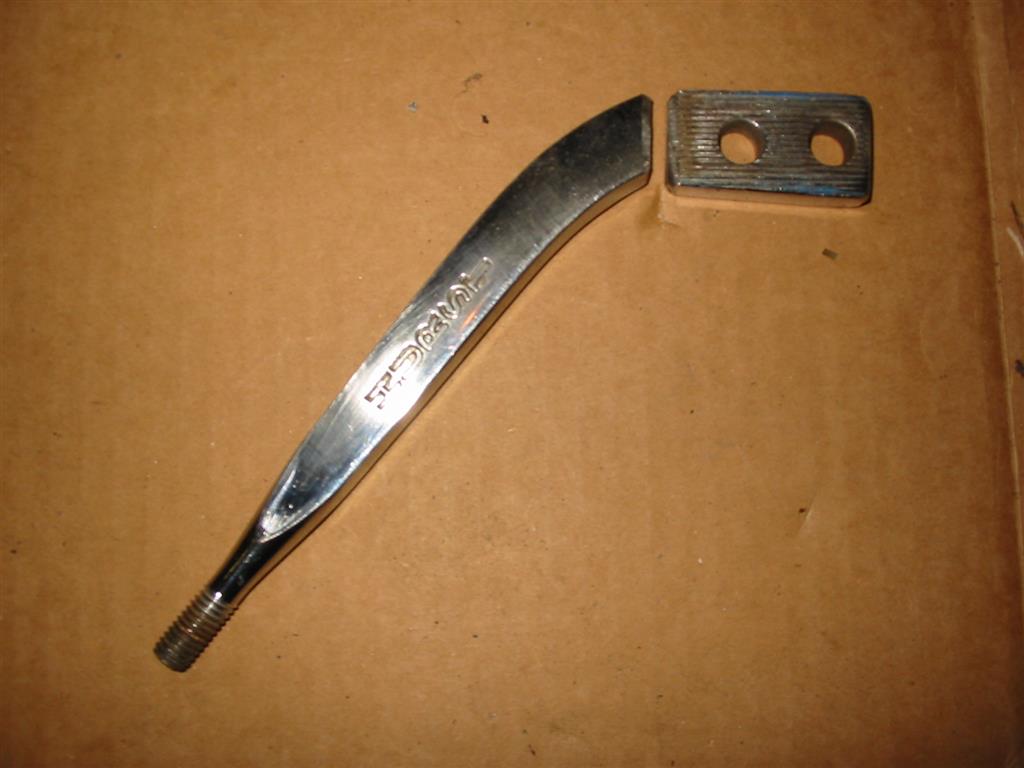
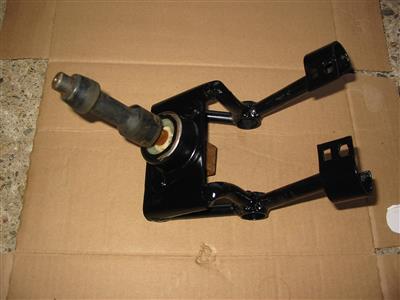
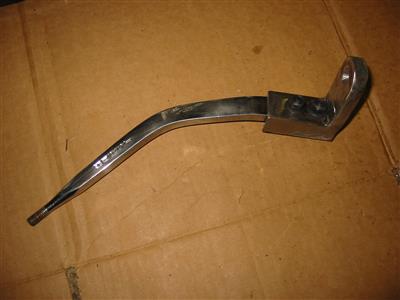
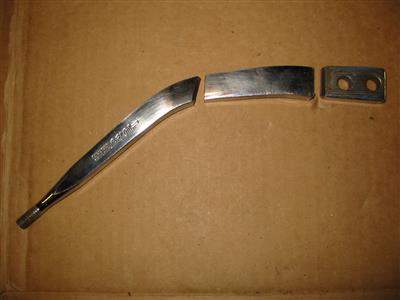
| Here is the unmodified factory shifter. |
|
|
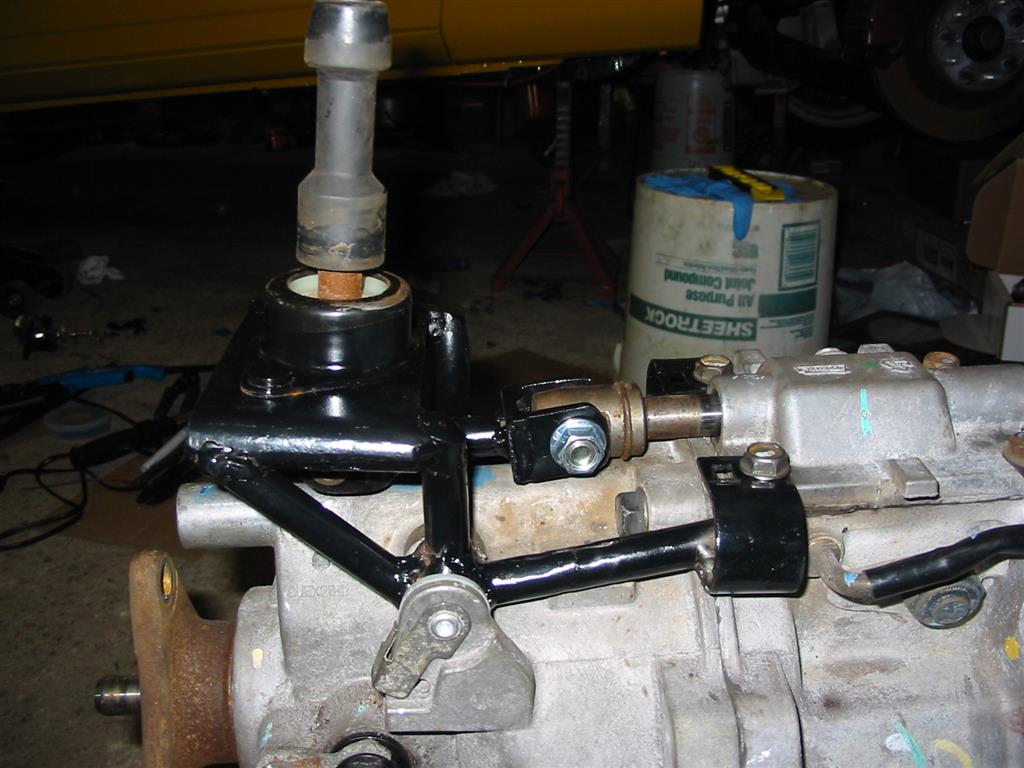
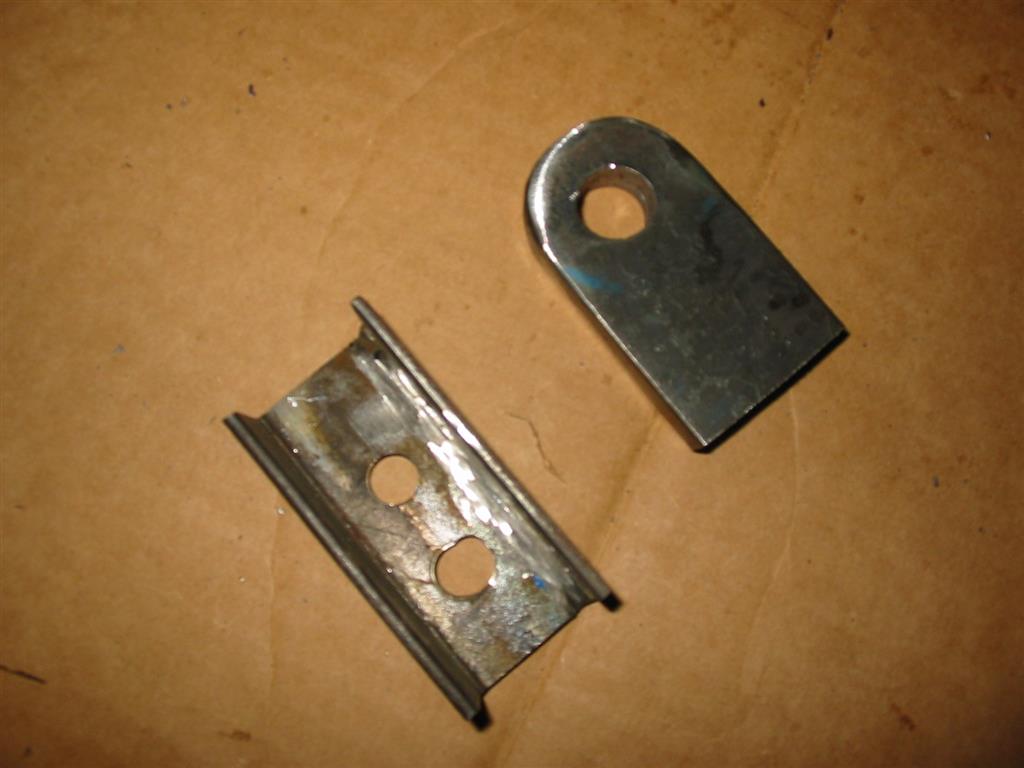
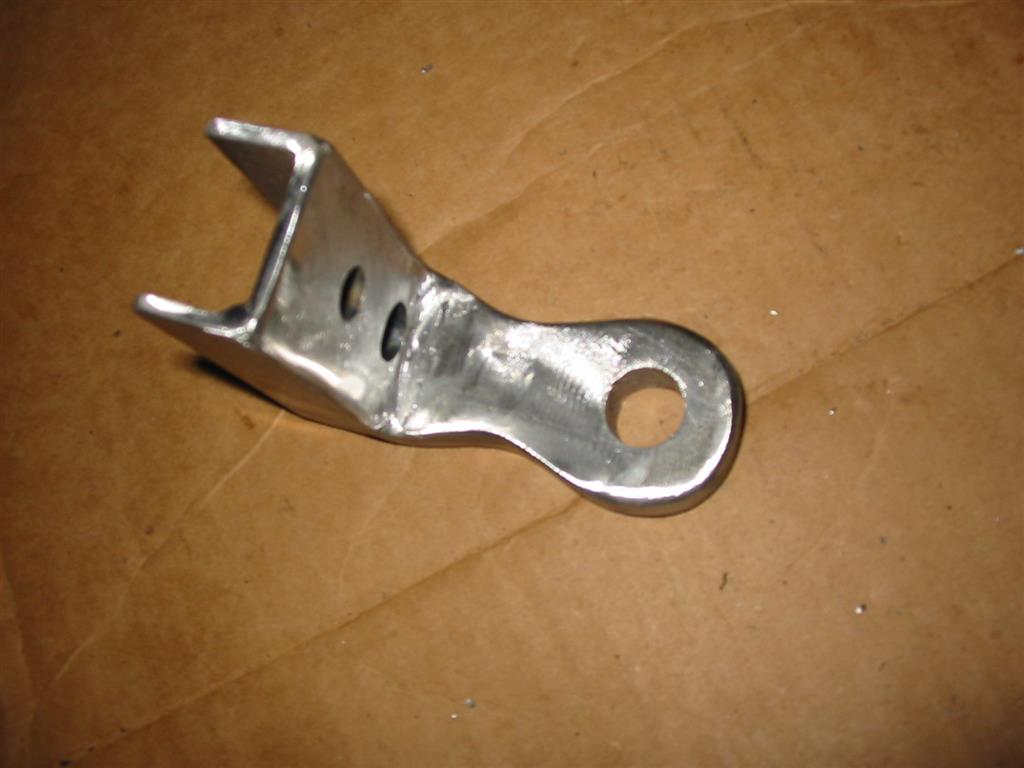
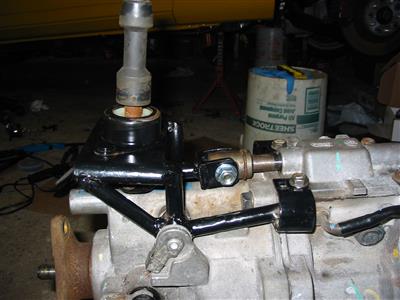
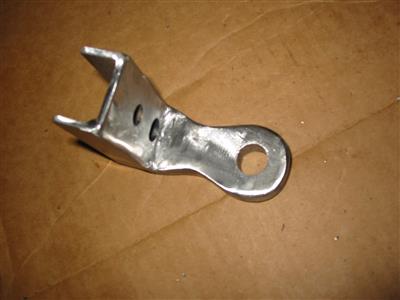
| Here was my original plan for the shifter using the modified factory shifter arm
mount. |
|
|
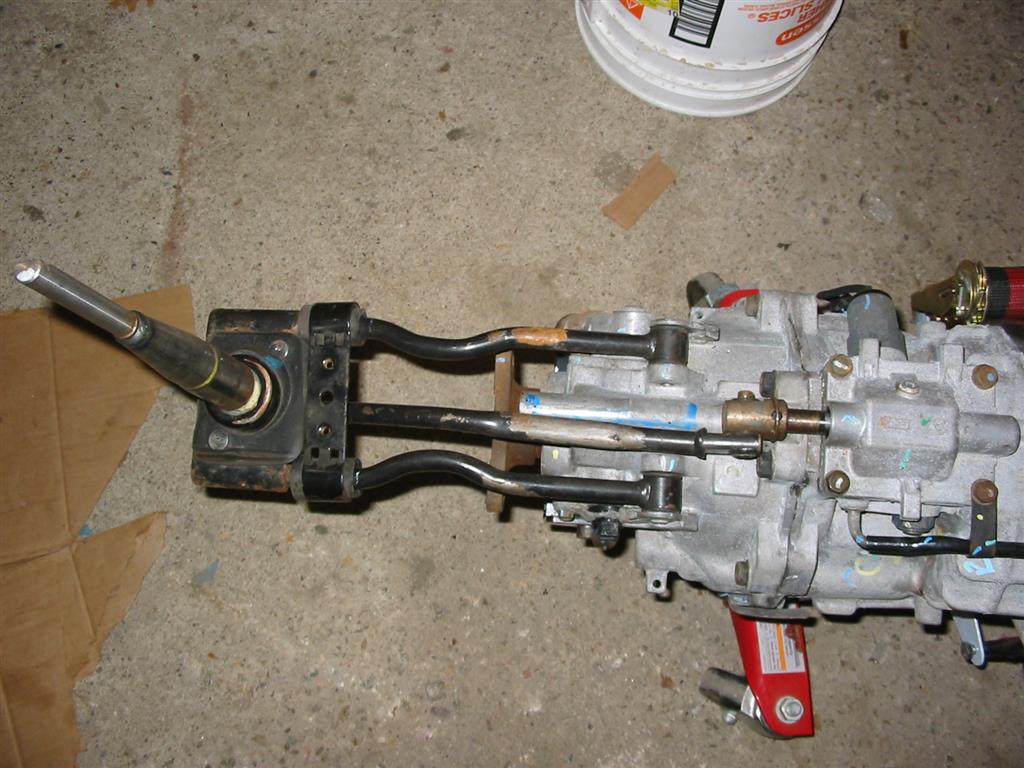
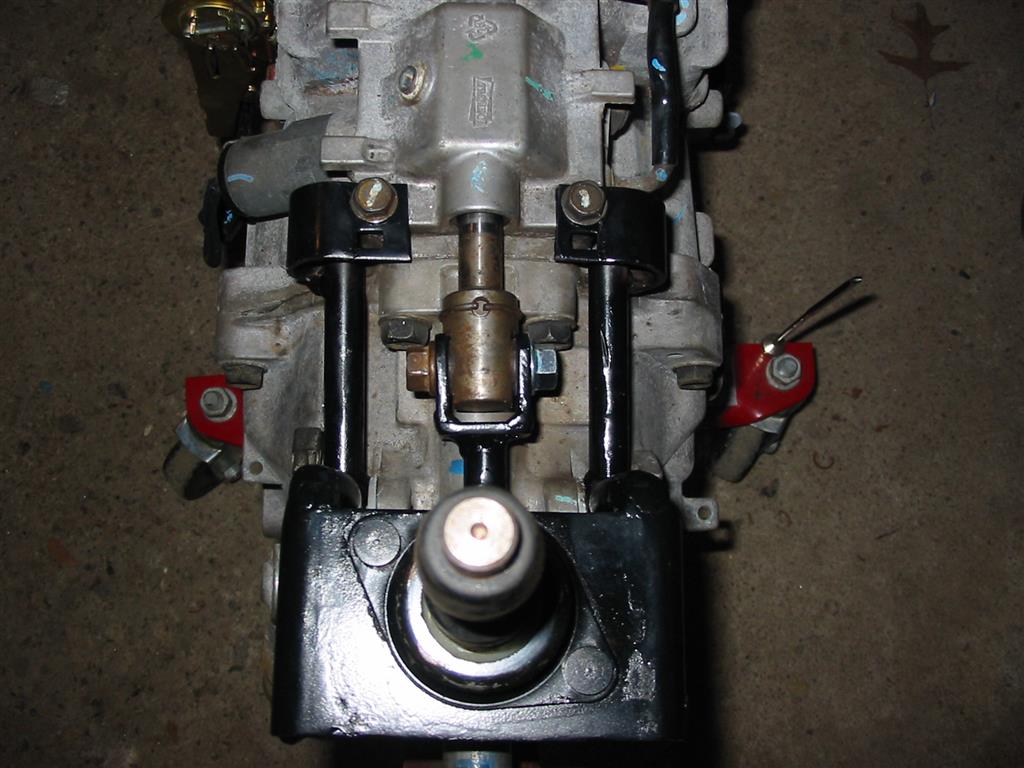
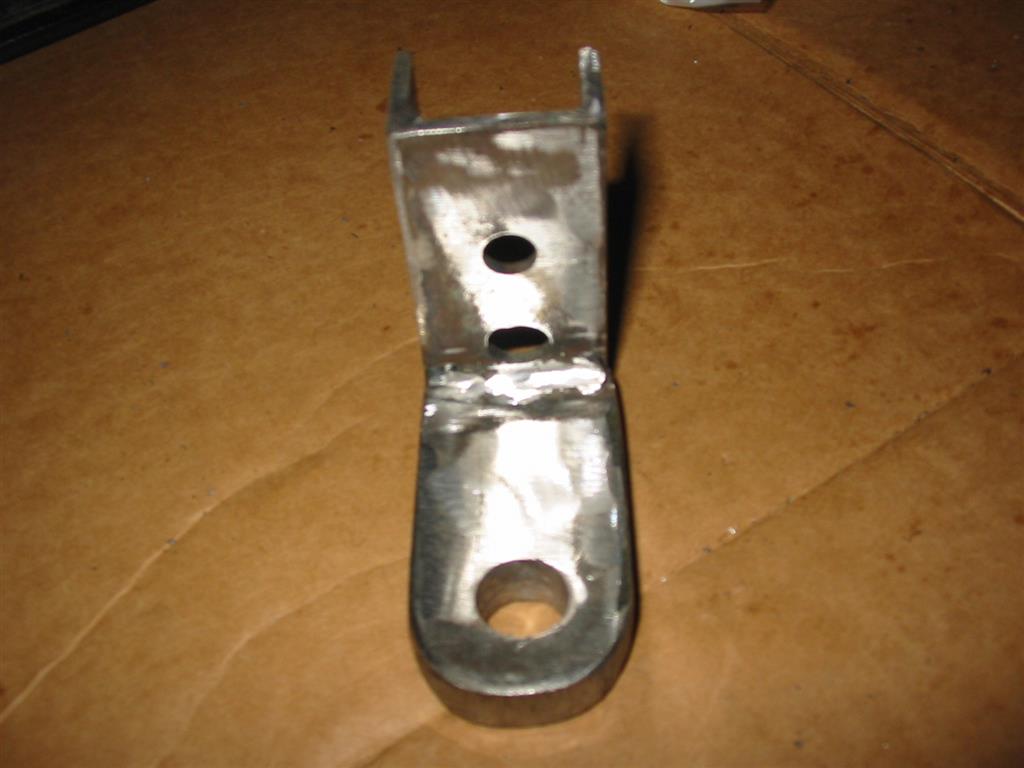
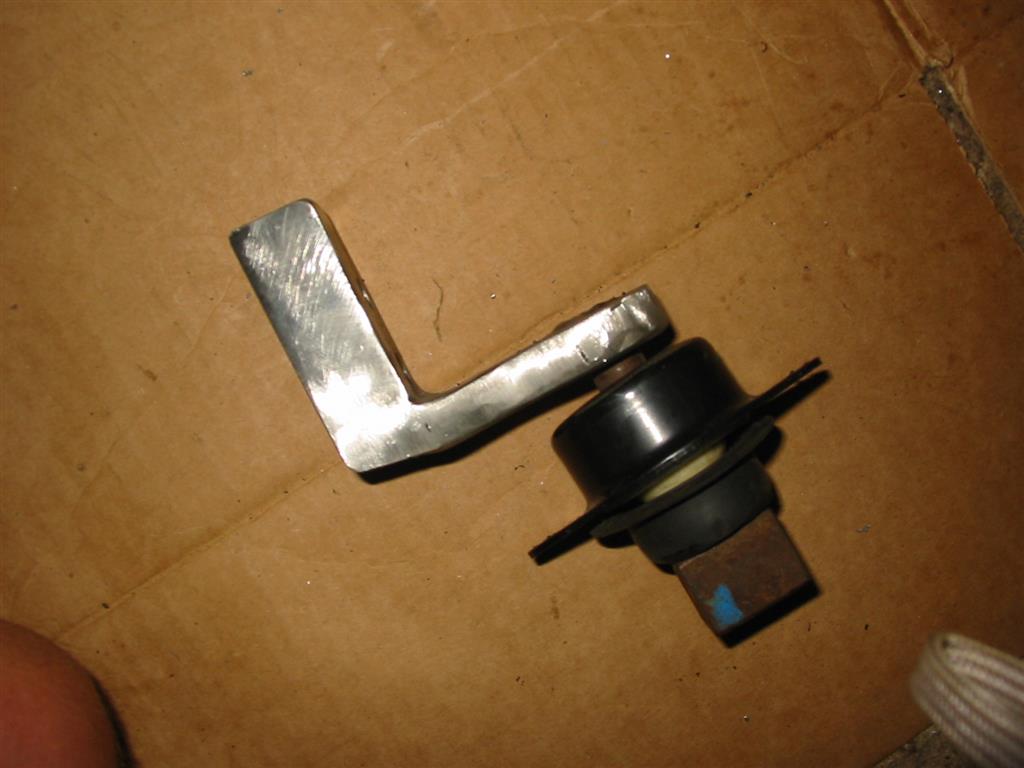
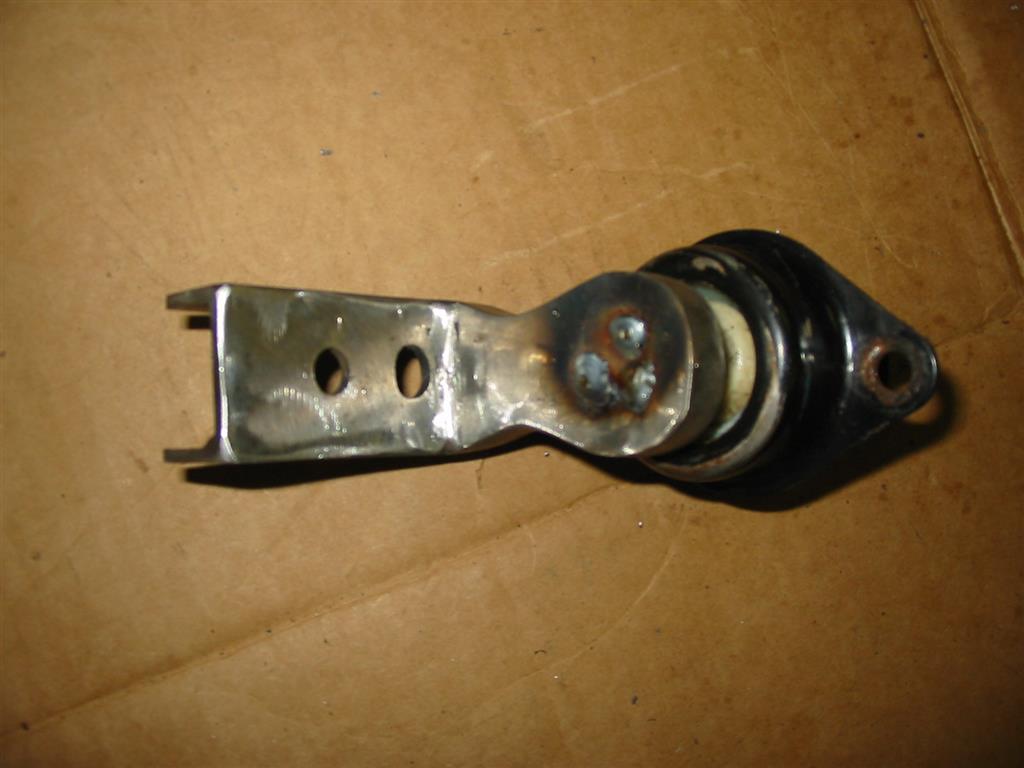
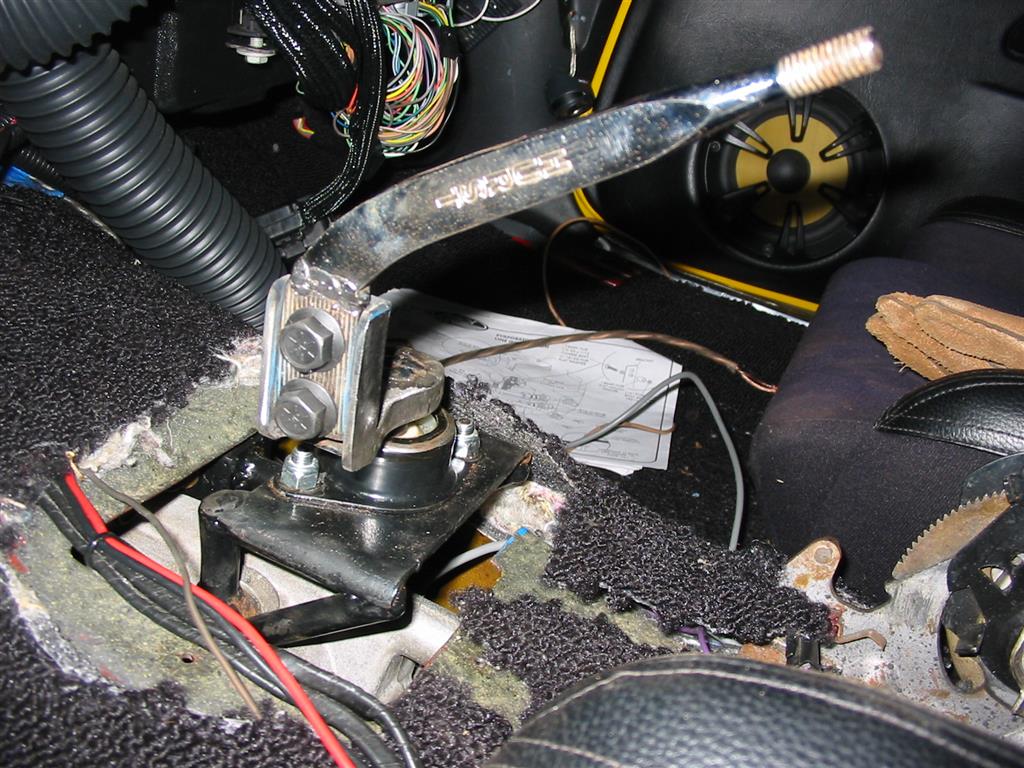
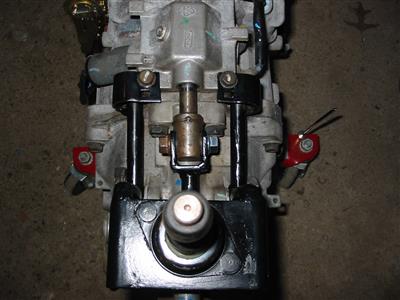
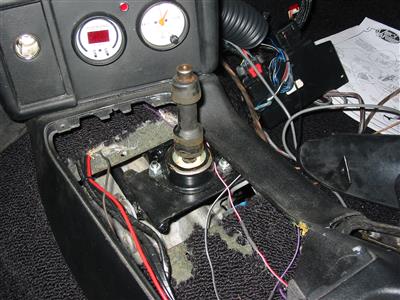
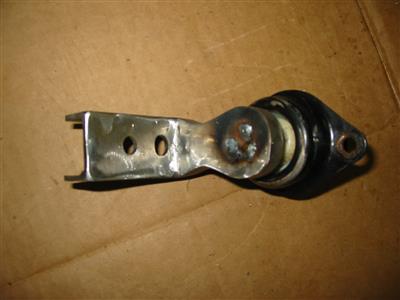
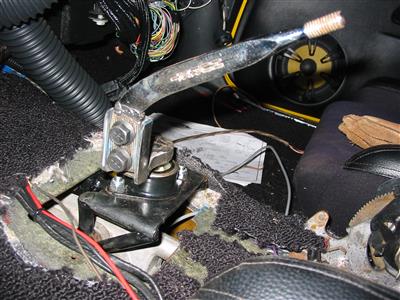
| Here is the finished product. I built my own shifter linkage. |
|

|

|
|
|
|
| The factory 4 speed shifter is offset to the left. Unfortunately, my shifter mounts
in the center of the trans tunnel. I had to cut some of the passenger side of the
tunnel to make room. Later I patched the hole with some sheetmetal and weather stripping
to seal the cabin from the elements. |
|

|
|
|
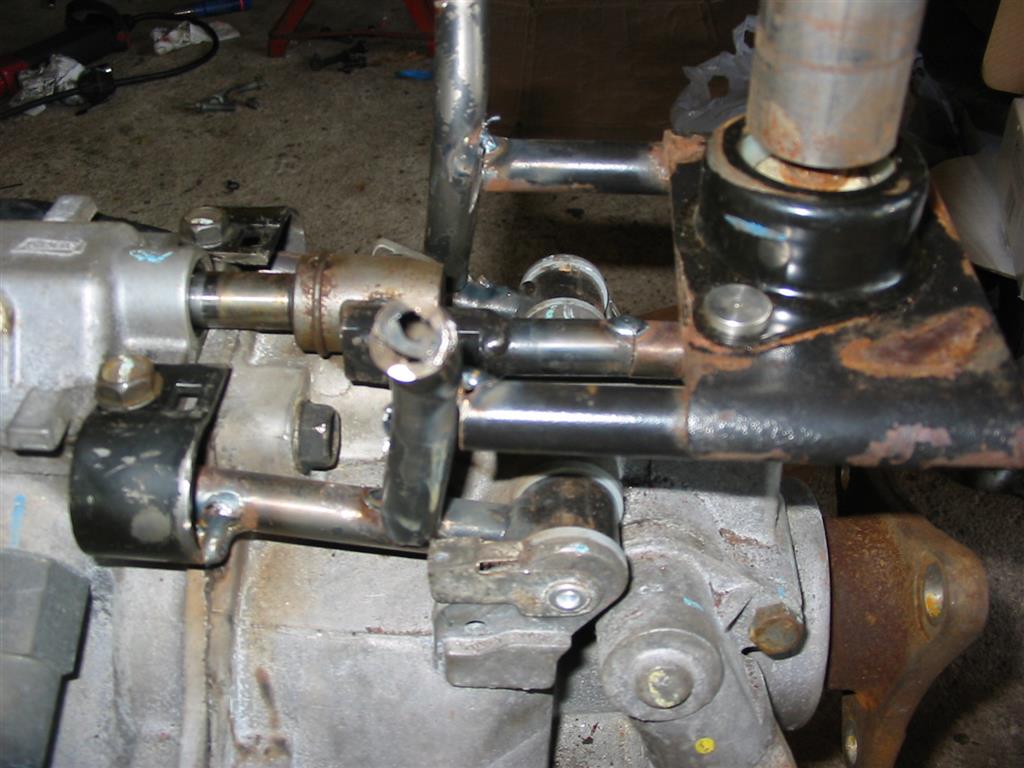
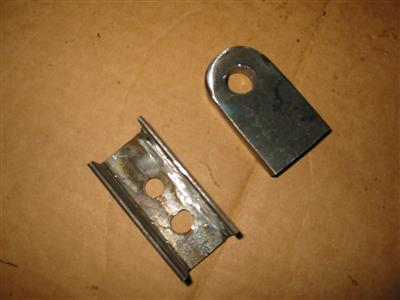
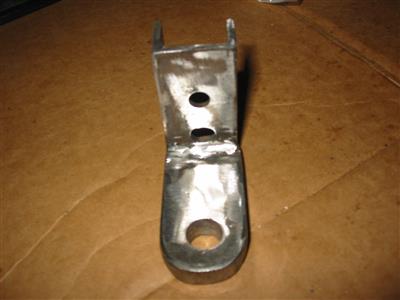
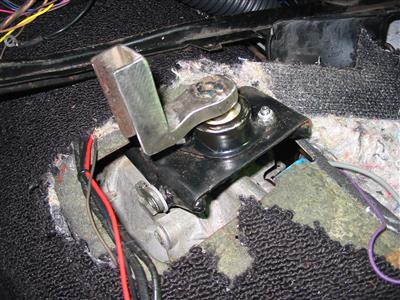
| I used some steel to make an offset shifter mount for the handle. This offset mount
will mount on top of the cut down factory stick. I used a thicker piece of steel for the
bottom of the mount, a piece of angle iron for one side and another piece of steel for
the other side of the angle iron. |

|
|
|
|
|

|
|
|
| The factory stick was too high to work with the new shifter. I needed to cut it down
and weld it together. |
|

|

|
|
|
|
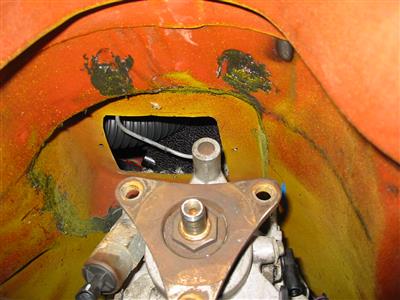
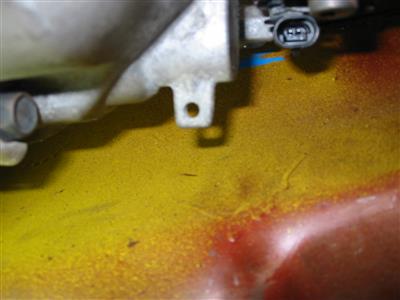
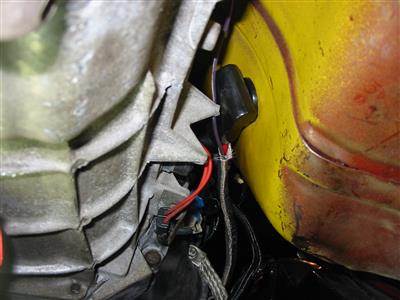
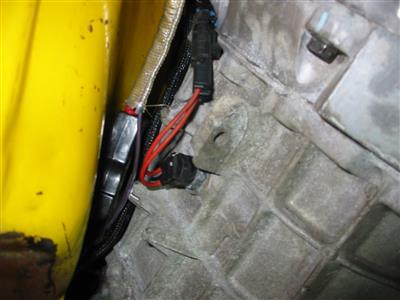
| The transmission fit in the tunnel with no issues. The only issue was a small tab that
interfered with my starter wire bulkhead.
|
|
|
|
|
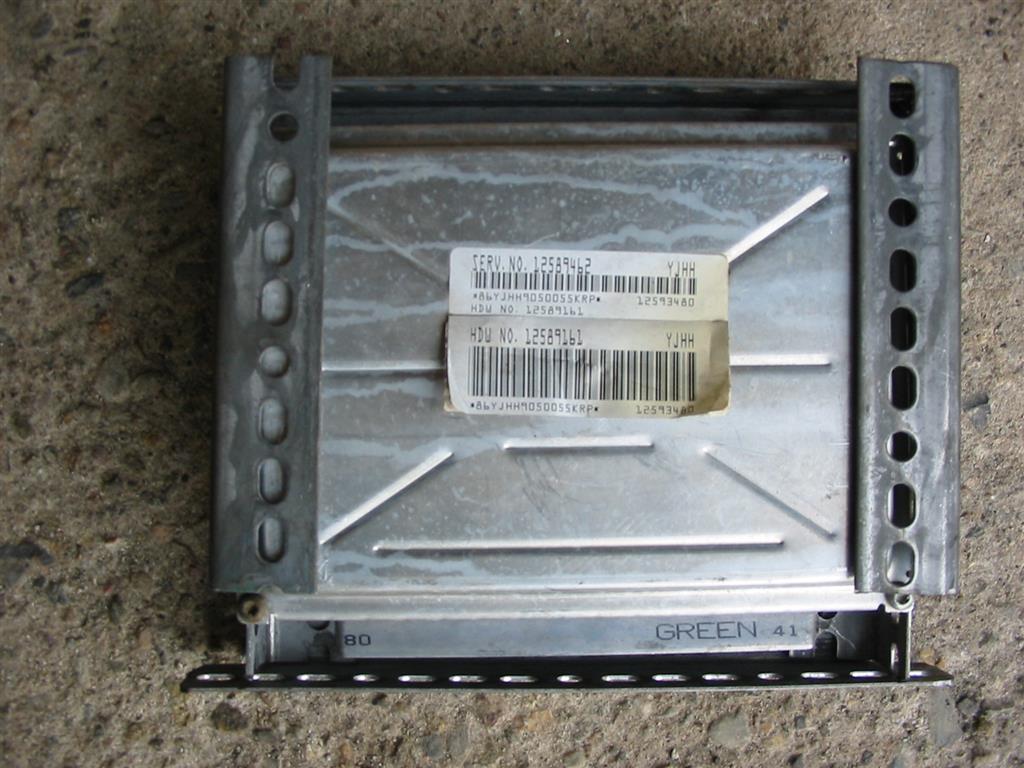
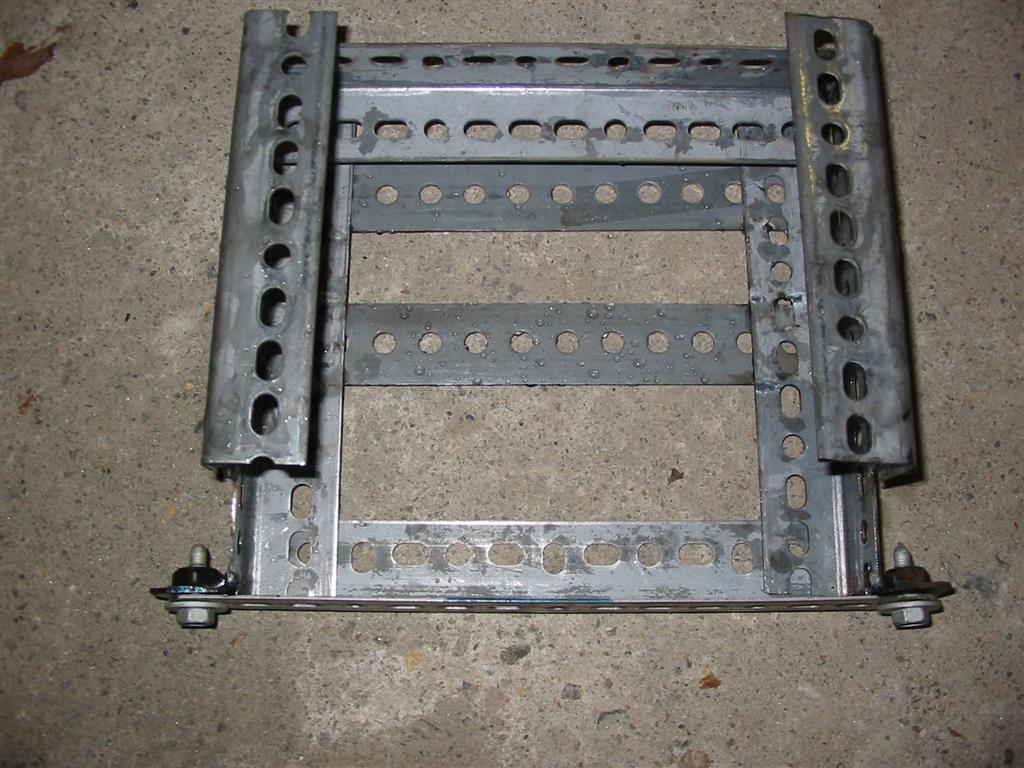
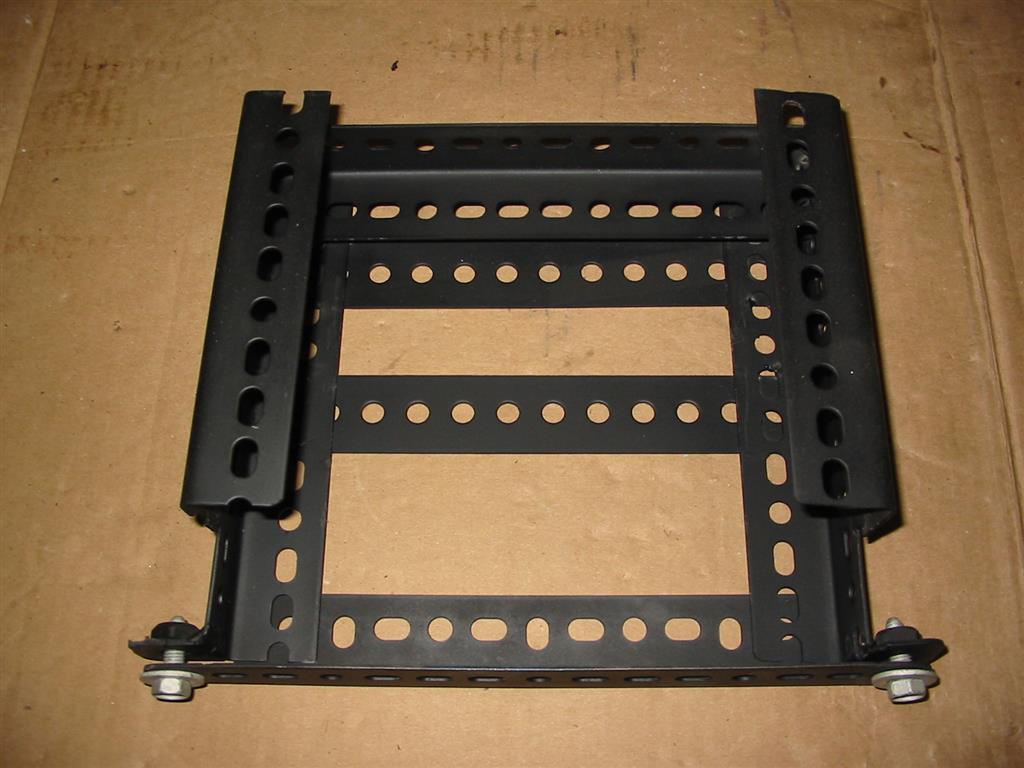
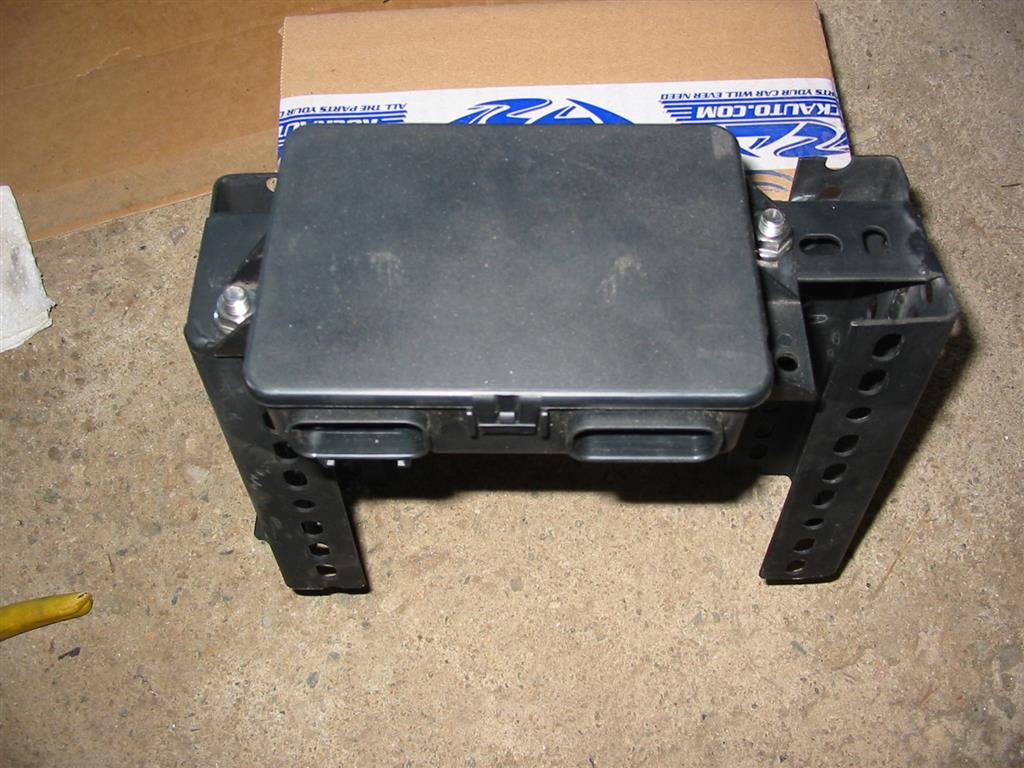
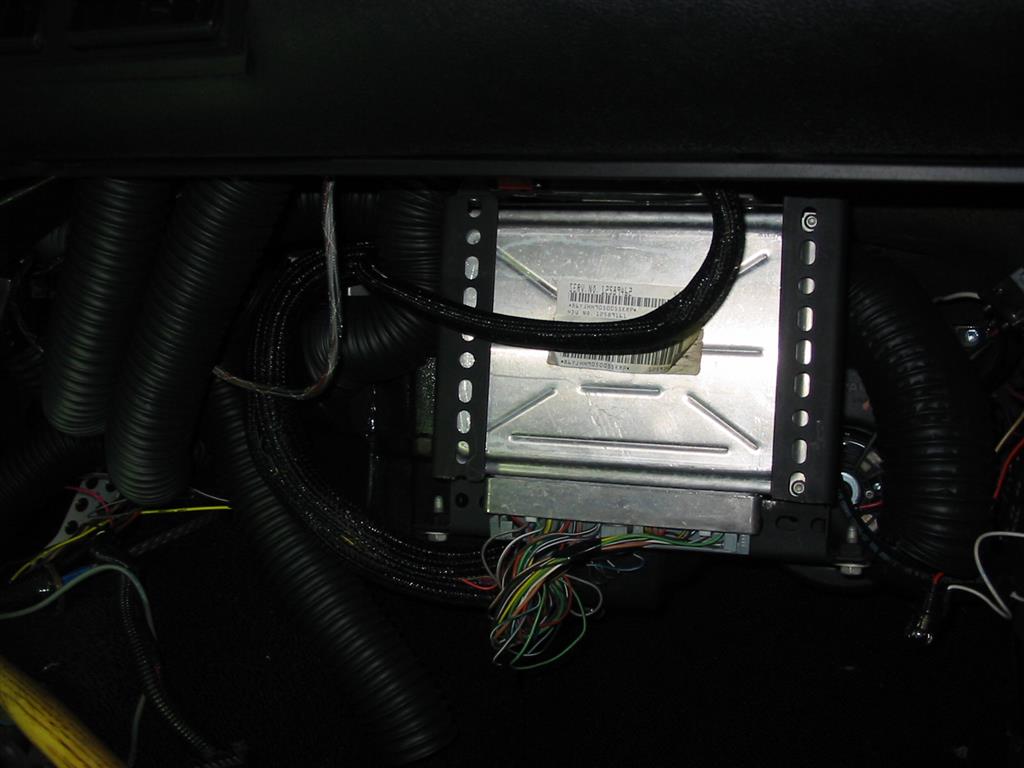
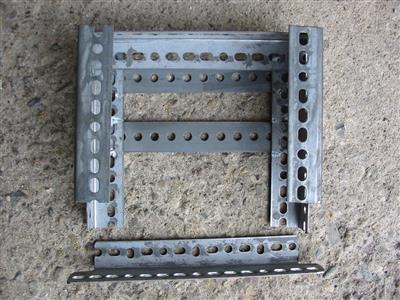
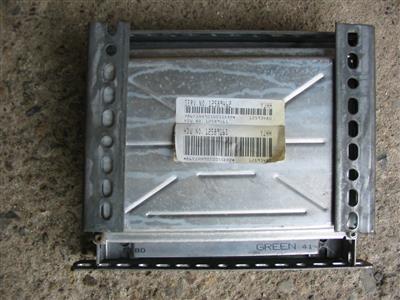
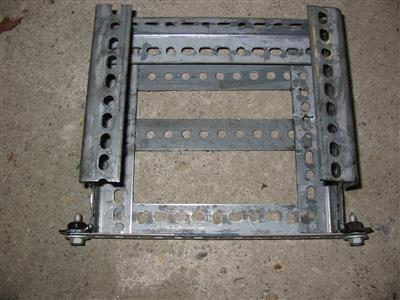
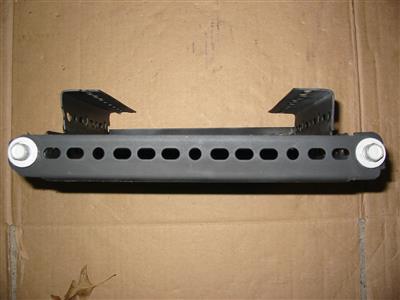
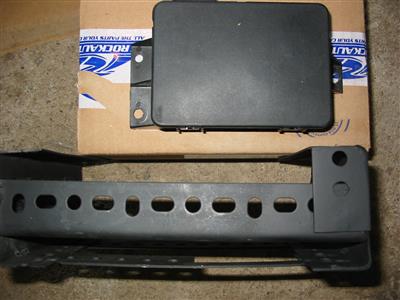
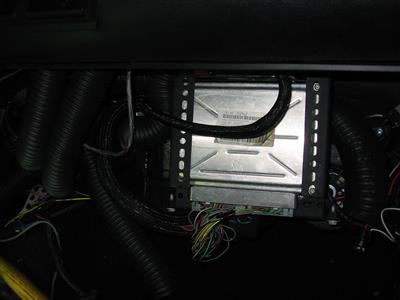
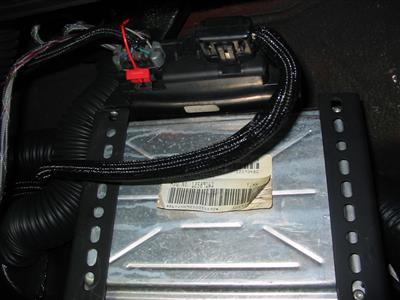
| I needed to create a mount for the engine computer. I used some angle iron with holes
in it. This is similar to the mount I made for the TPI computer previously. I also
mounted the TAC module to this mount. This mount is then mounted to the Vintage Air
mount behind the glove box. |
|
|
|

|
|
|

|
|
|
|