|

Engine and Transmission Installation (June 25, 2009)
This page documents the installation of the engine and transmission. This was a major milestone in my build. I had not seen the car with fenders and an engine in nearly 20 years. I also document the modifications to the Super T-10 transmission to work behind a Truck bellhousing properly. My bellhousing has a casting number of 460486. This bellhousing was used in trucks and can fit a 12 inch clutch. Unfortunately, the center hole that the bearing retainer mates with is 5 1/8 inches. A car bellhousing has a center hole of around 4 11/16 inches. It is not good to have that gap, because it can cause alignment issues with the transmission. Fortunately, AUTO GEAR COMPANY makes a new bearing retainer in the larger size for the T-10. This is great news because truck bellhousings can be found for $20 or less and the adaptor is under $60 and the truck will allow you to run a 12 inch clutch. The car bellhousings that allow you to run an 11 inch clutch go for over $125 dollars and are not easy to find. Reproduction ones cost around $160.My Super T-10 transmission is out of a 74 Camaro. It has an aluminum case and the following gear ratios: 1st-2.64 2nd-1.75 3rd-1.33 4th-1.00 and came with a Hurst Competition Plus shifter.
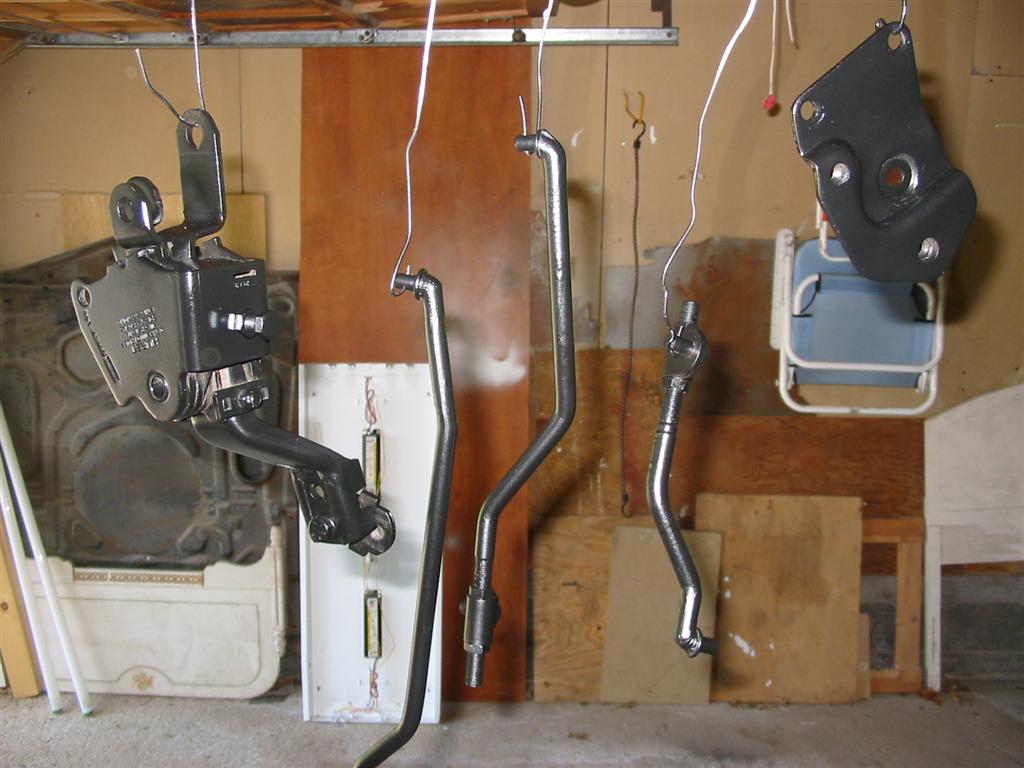
Status photos as of 6/25/2009:
| Here is the transmission with the shifter installed before being cleaned up. | The following photos are of the transmission with the shifter removed and the case cleaned. |
|
|
|
|
|
|
| Here is the transmission cleaned up and the side cover painted with Eastwood Black Rust Encapsulator. | |
|
|
|
|
|
|
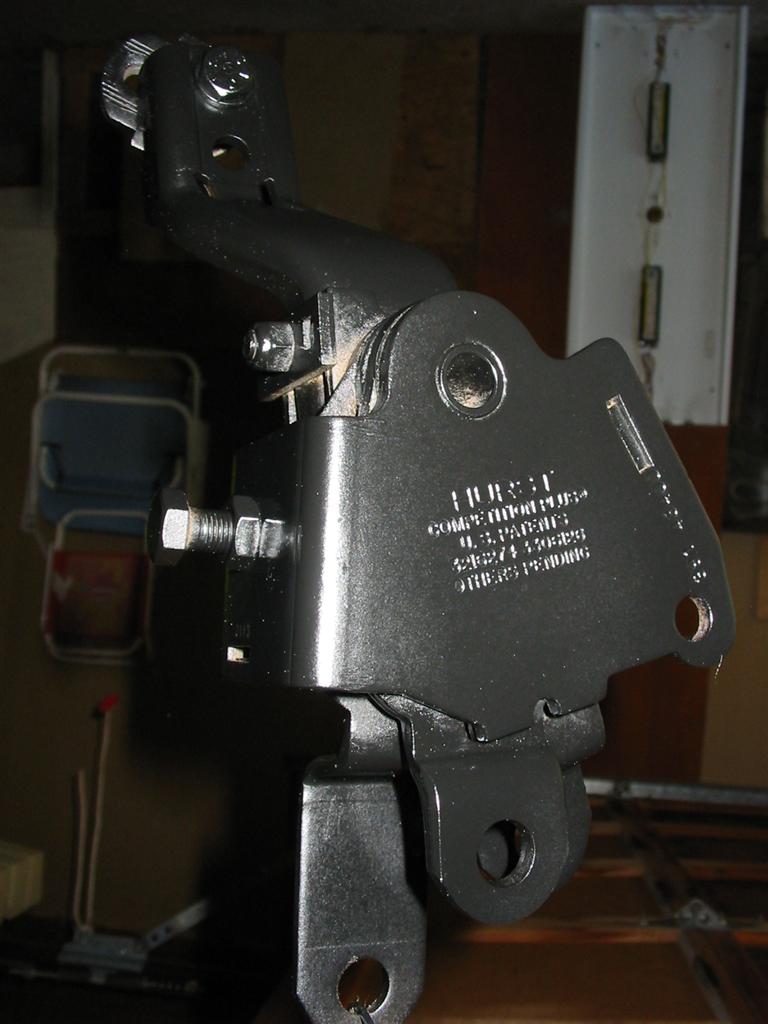
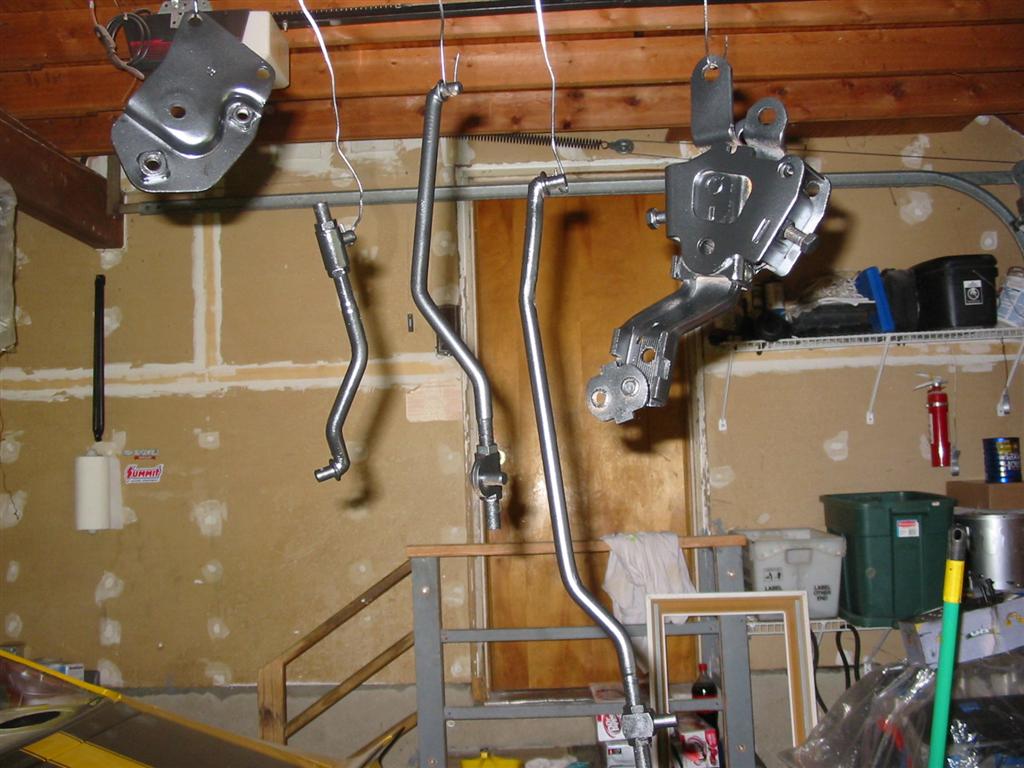
| Here is the shifter cleaned up and painted with Eastwood Chassis Black. | |
|
|
|
|
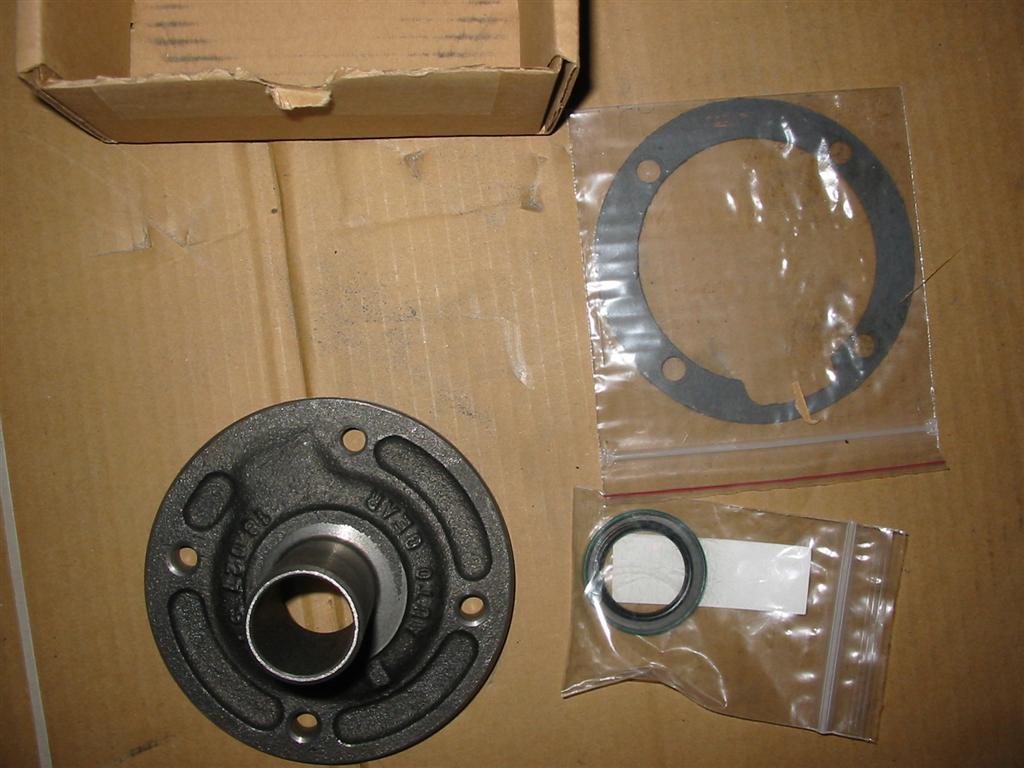
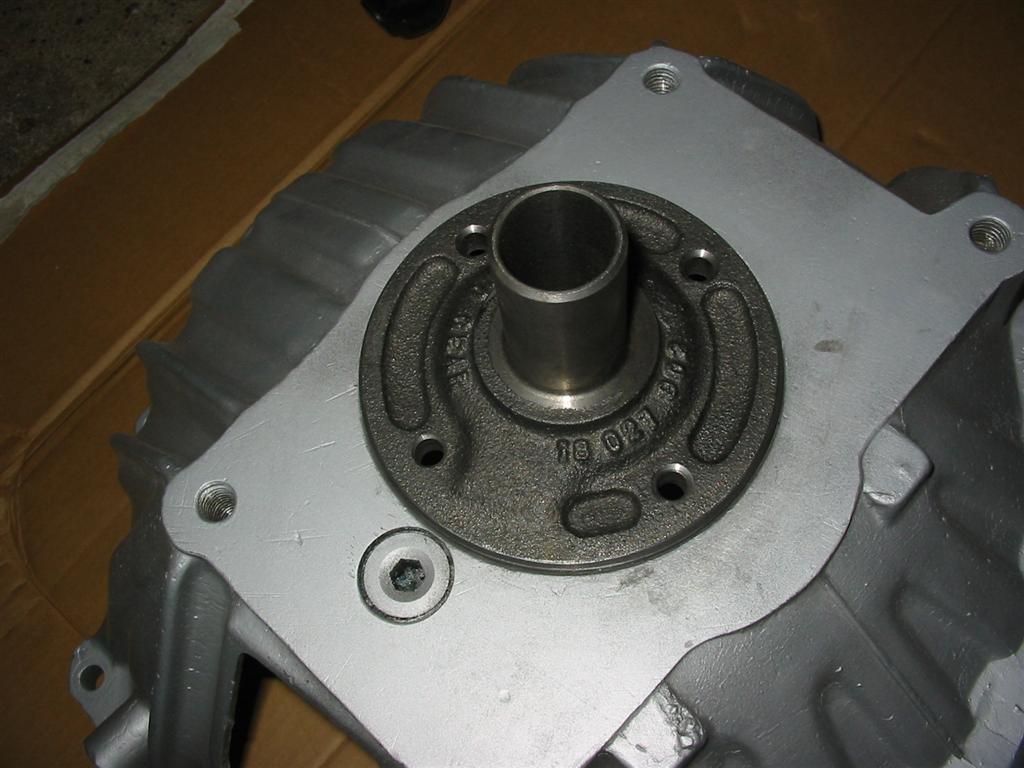
| Here is the larger Auto Gear Bearing retainer with a new gasket and seal. | This is the original bearing retainer on the transmission. |
|
|
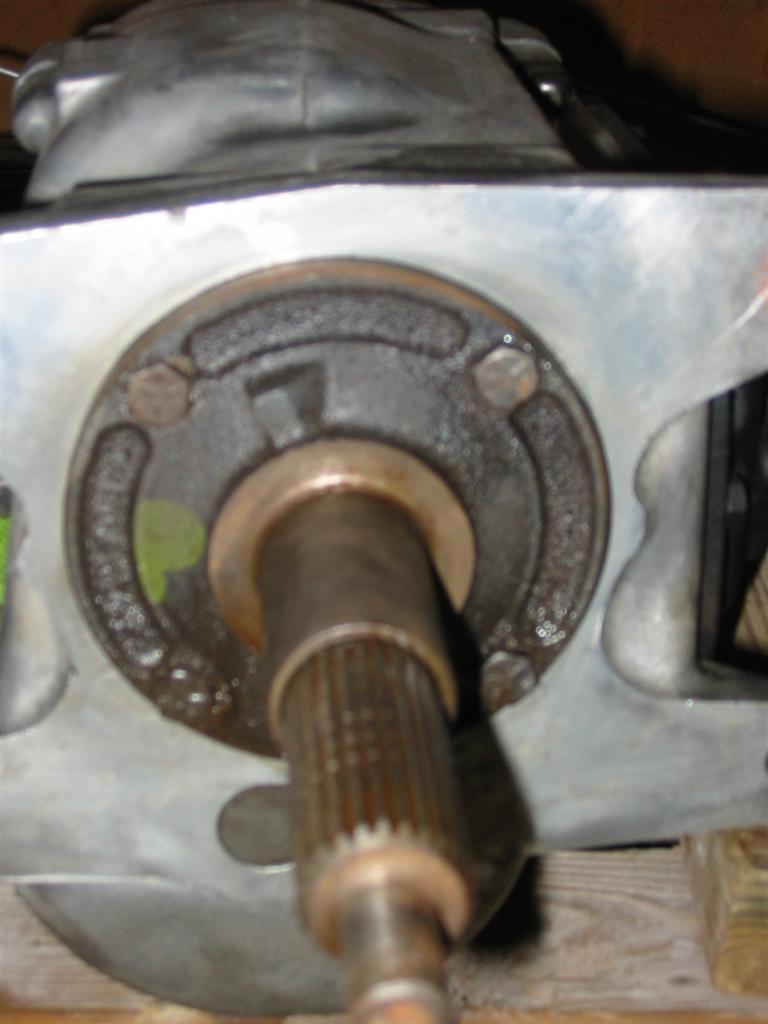
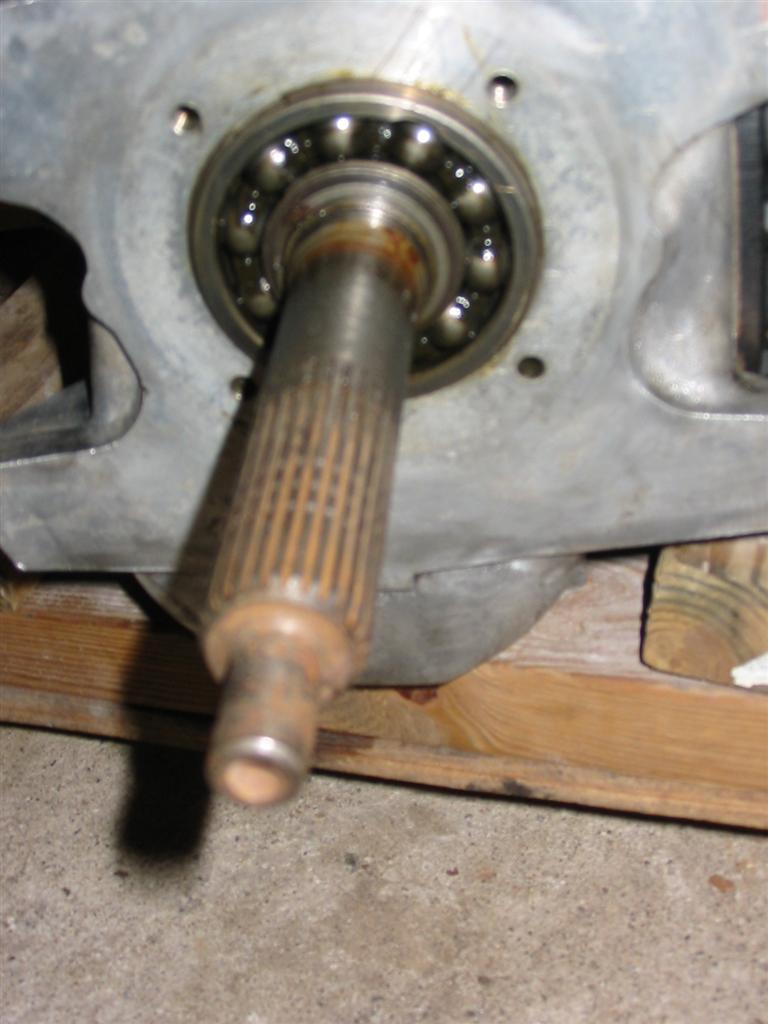
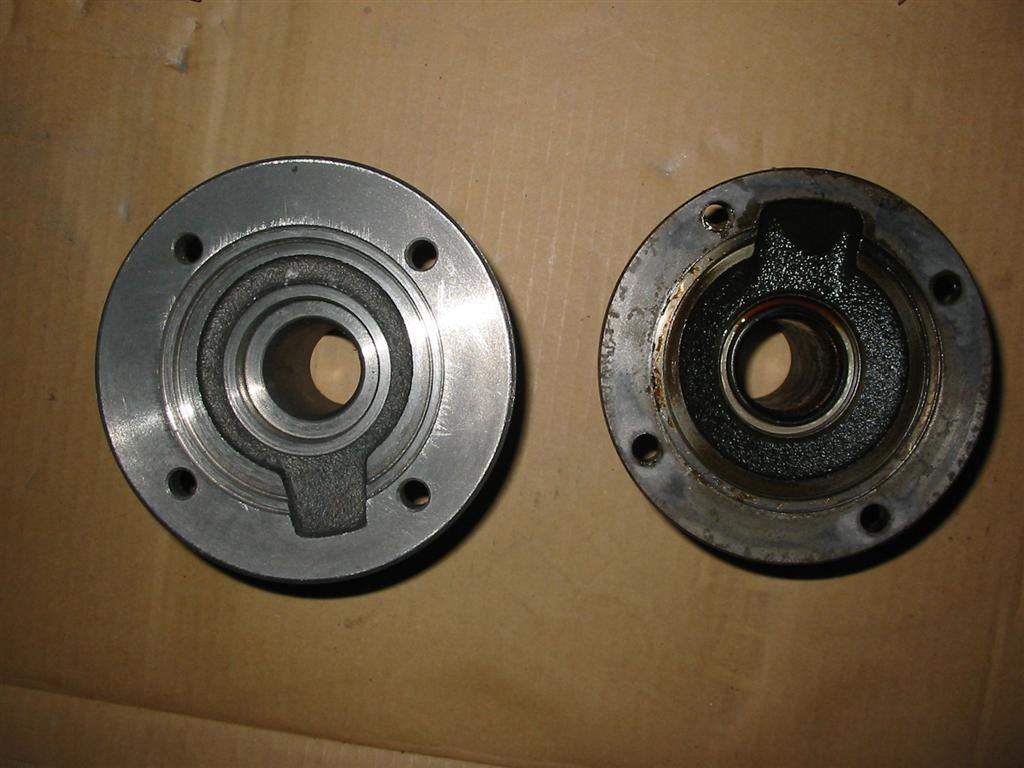
| Here is the transmission with the bearing retainer removed. | Here are the bearing retainers side by side for a comparison. |
|
|
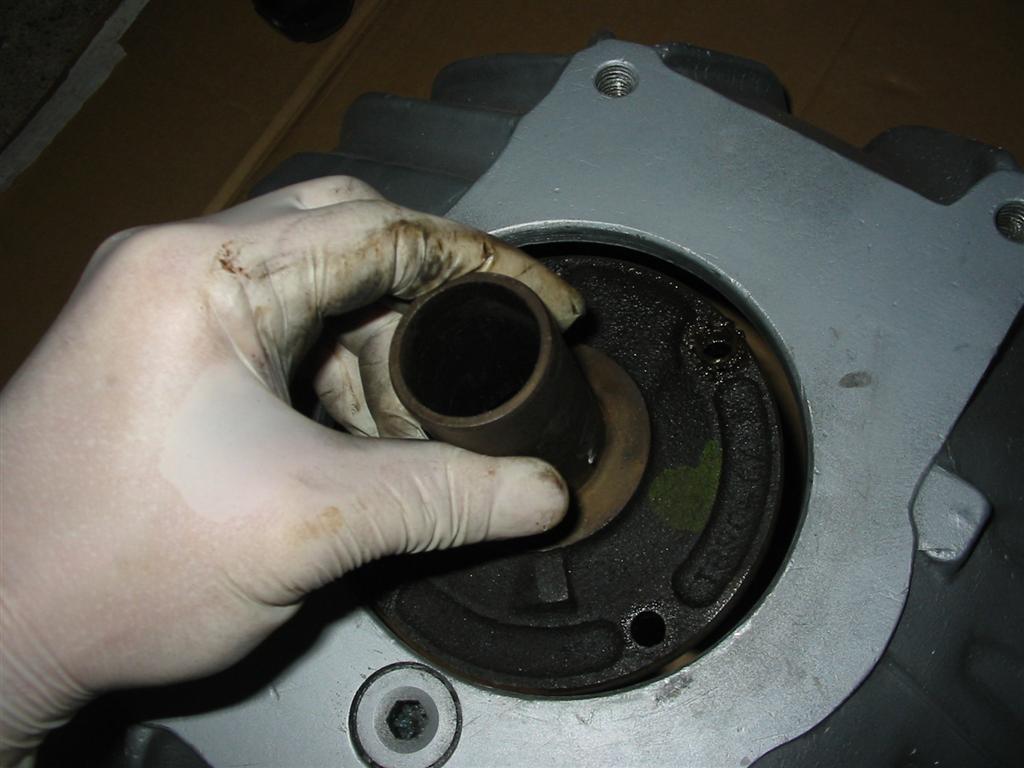
| Here is a comparison of the bearing retainers fitting into the bellhousing center ring. Notice the gap around the original car retainer. | |
|
|
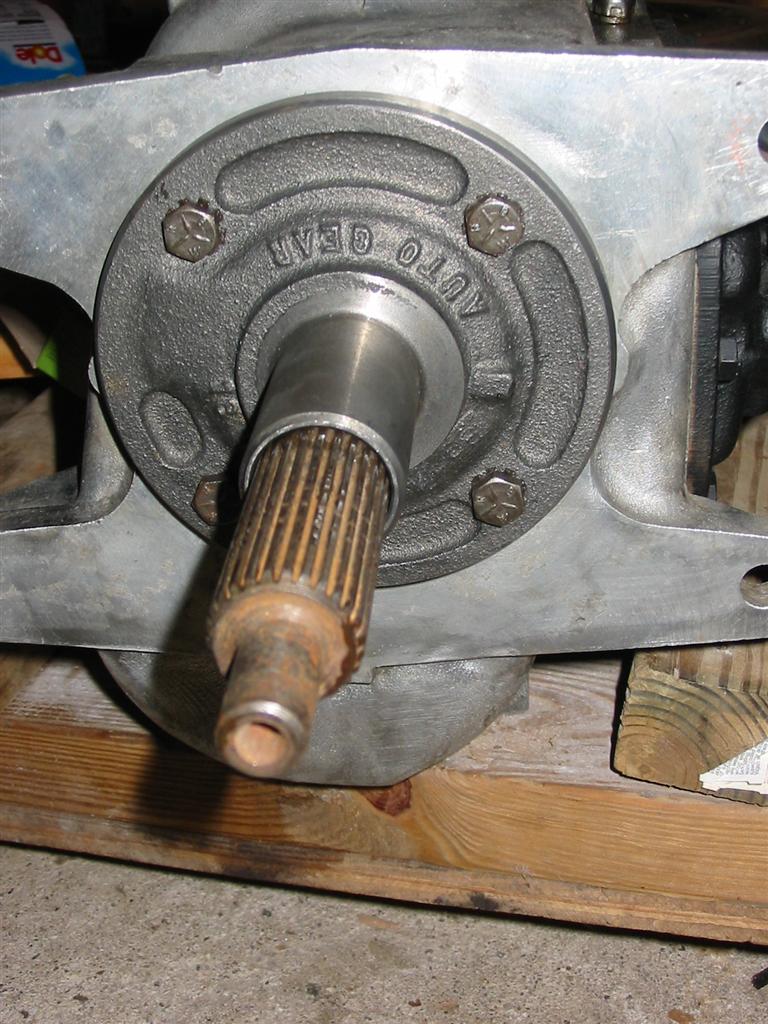
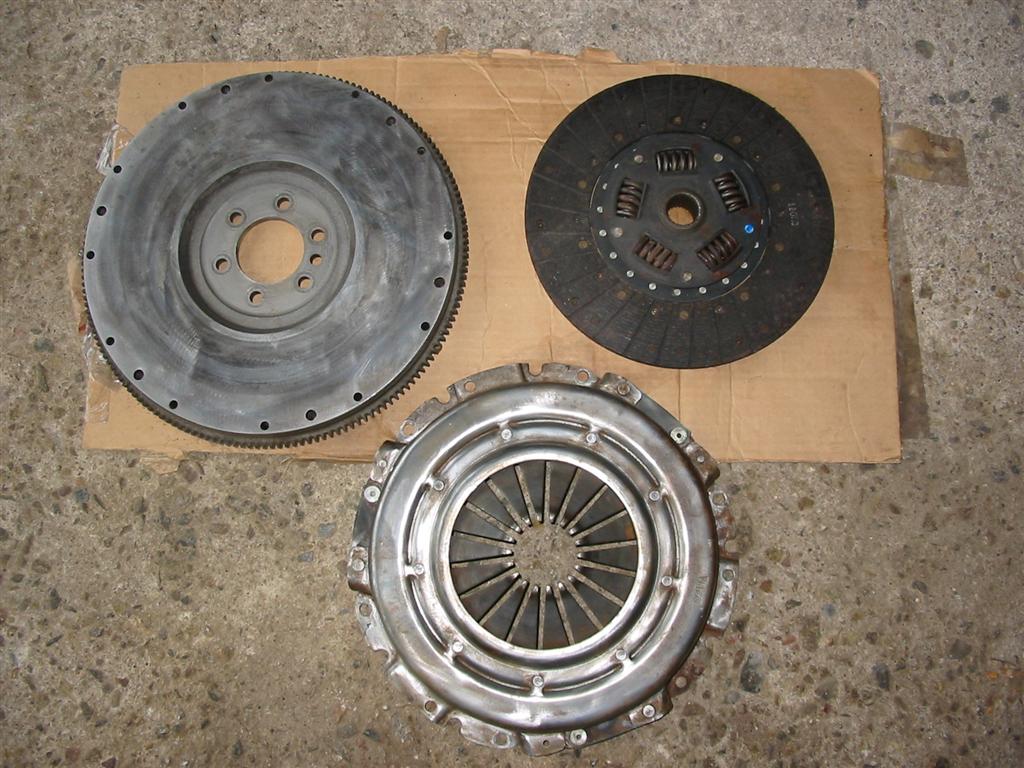
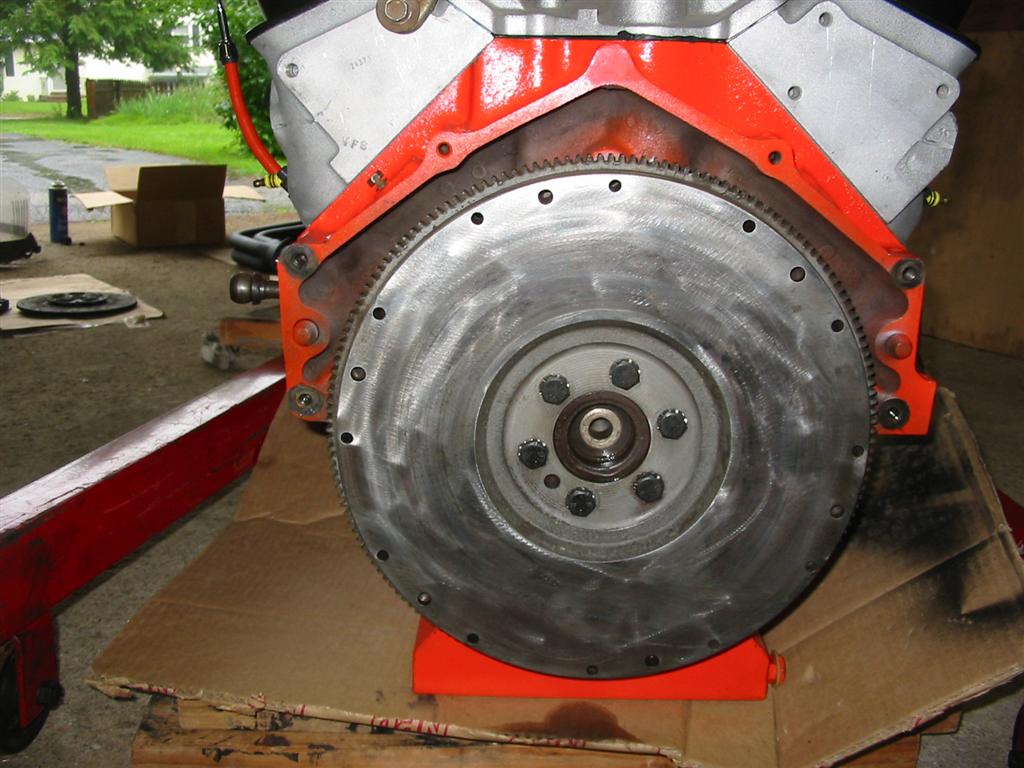
| Here is the new bearing retainer installed on the transmission. | Here is the flywheel, clutch and pressure plate ready for installation. The clutch is an 11 inch unit. It came with the transmission and is in near new shape. You can still see the part number that was painted on the clutch. All I know is that it is a Valeo unit. |
|
|
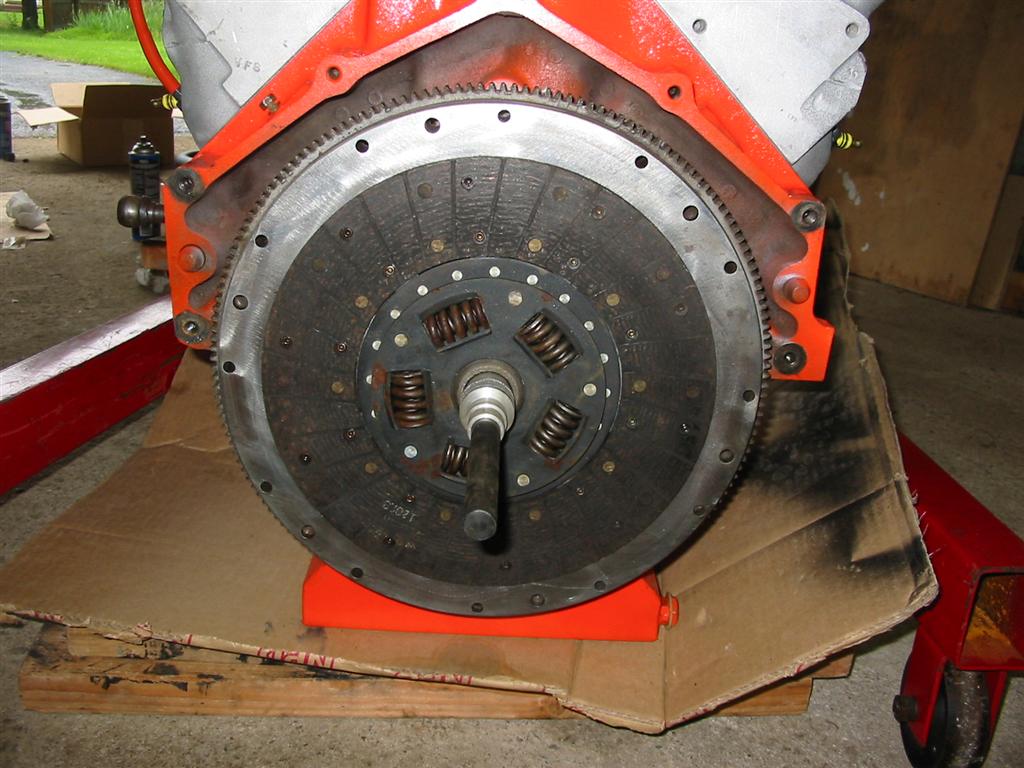
| Here is the flywheel installed. | Here is the clutch installed and centered using a clutch alignment tool. |
|
|
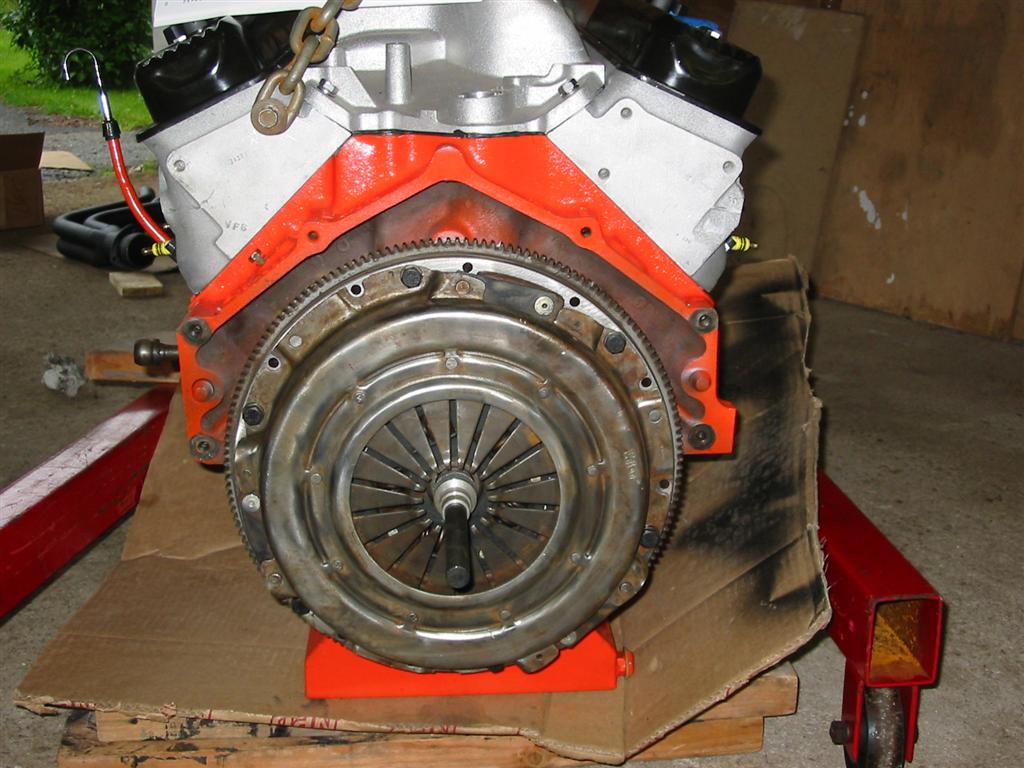
| Here is the pressure plate installed and torqued to specs. | |
|
|
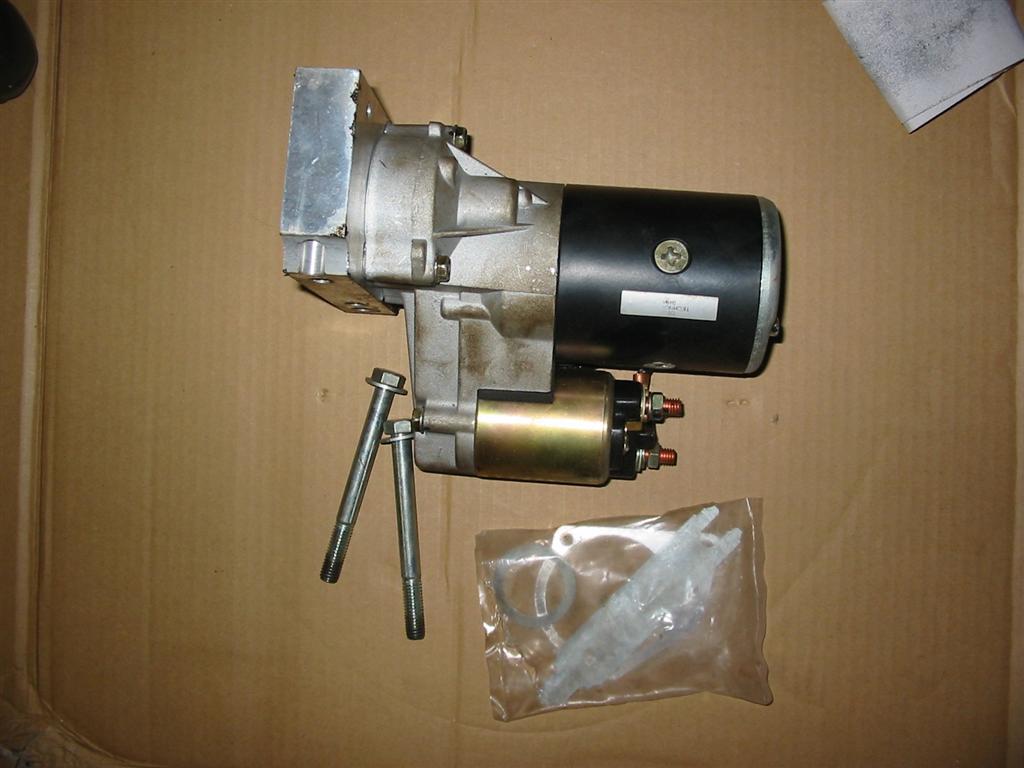
| I decided to install the starter while the engine was out of the car. It was much easier to check for clearances and shim with the engine out of the car. | |
|

|
| Here is the engine without and with the transmission installed. Just a tip for everyone doing this. Make sure you install the clutch fork before installing the bellhousing. You can not install it through the access hole on the side. I found this out the hard way once the engine was in the car. | |
|
|
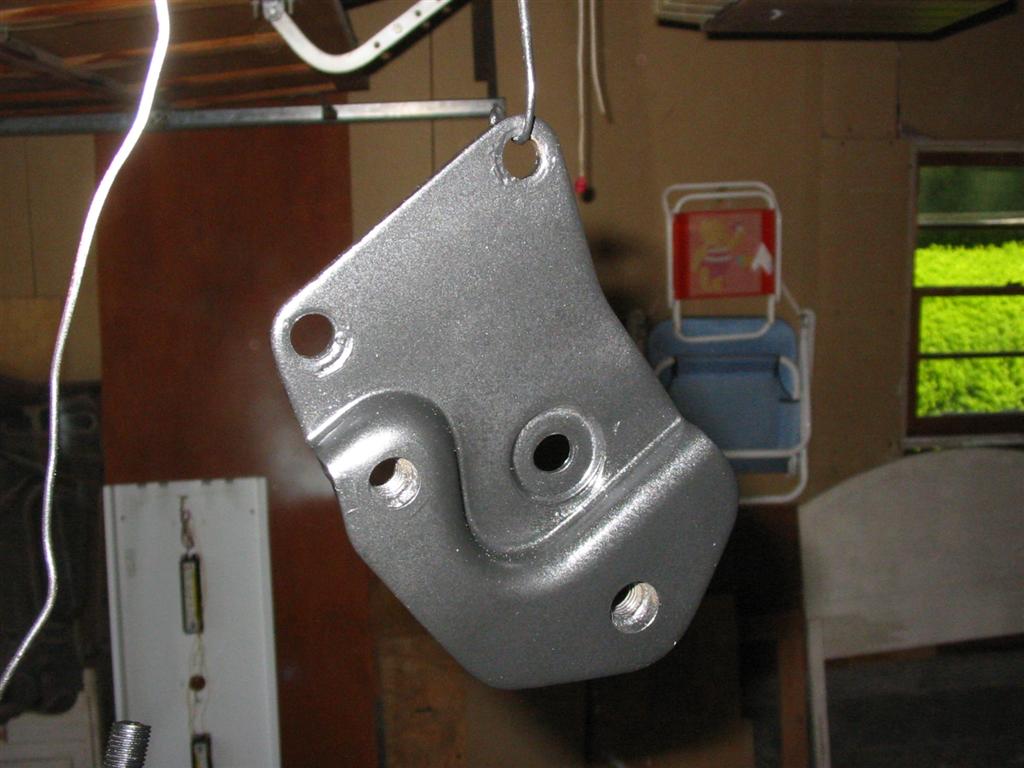
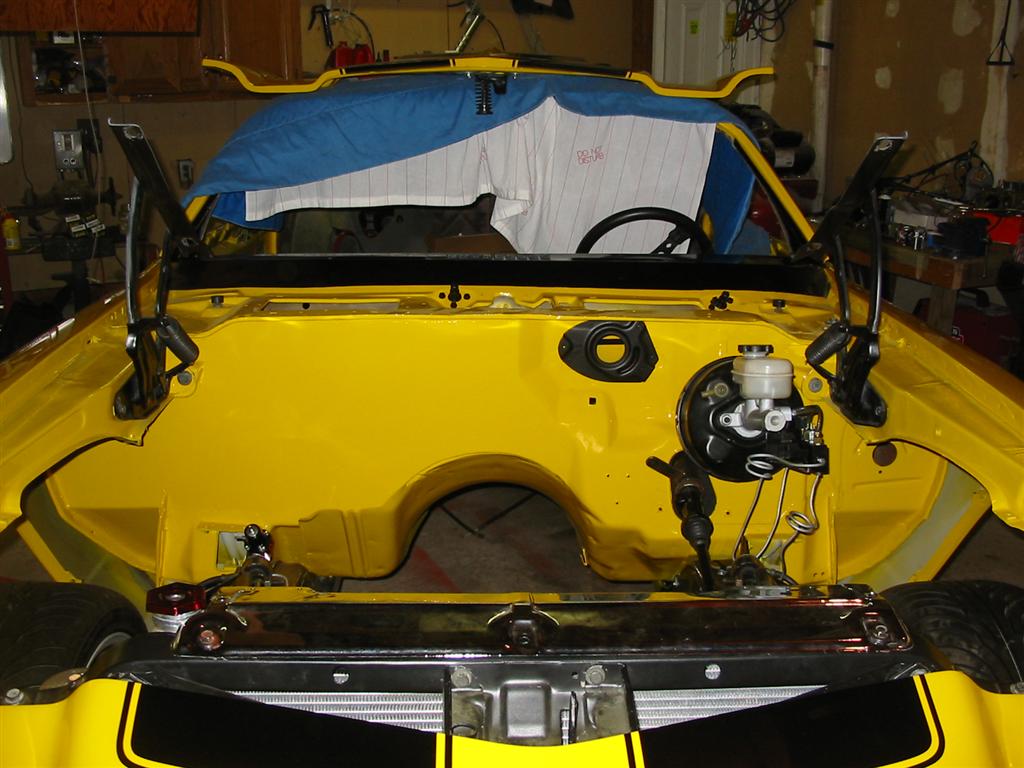
| Here is the new transmission mount I used. | The empty engine bay waiting for the engine and transmission. |
|
|
|
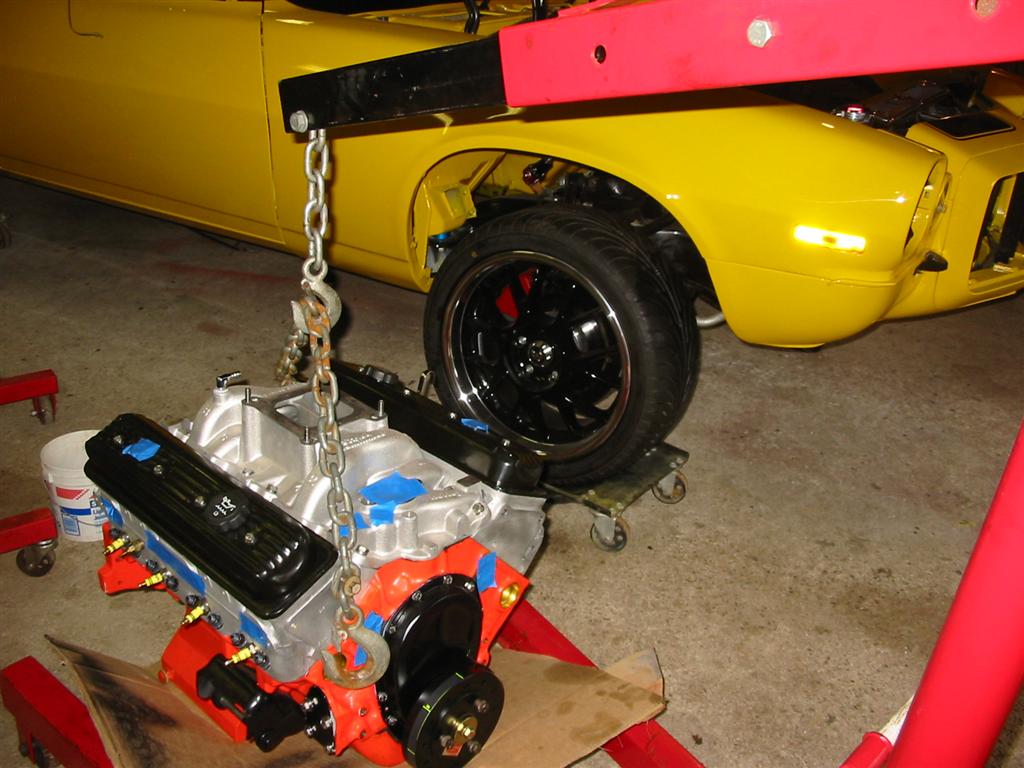
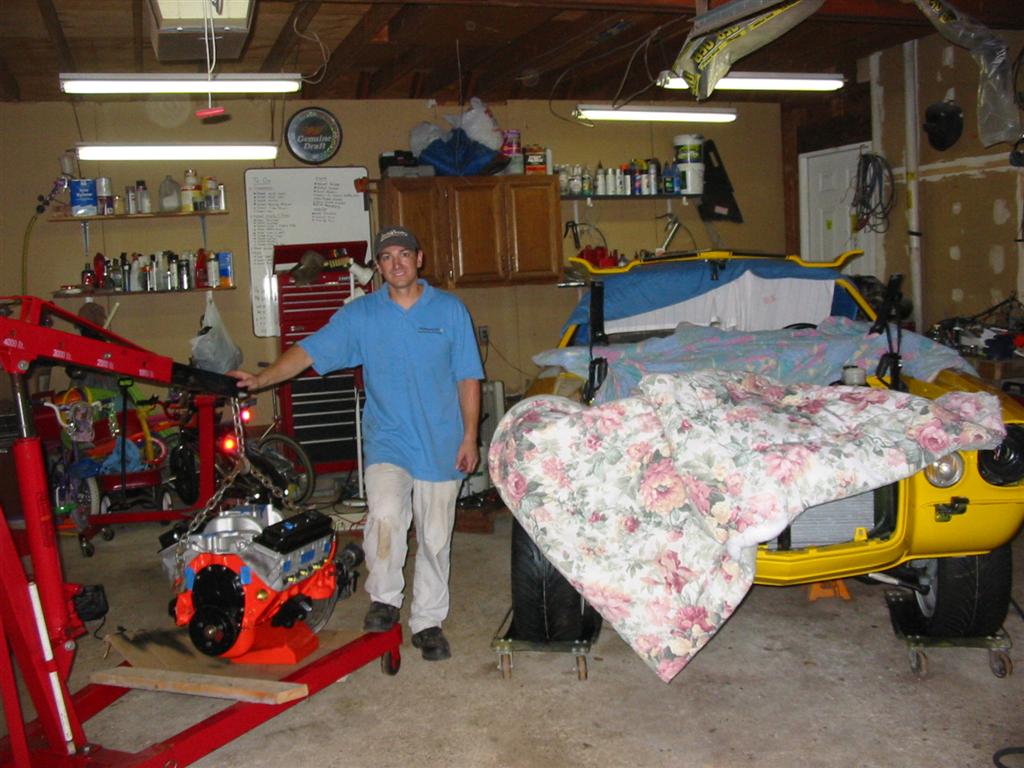
| Here I am standing next to the engine ready for the install. | |
|
|
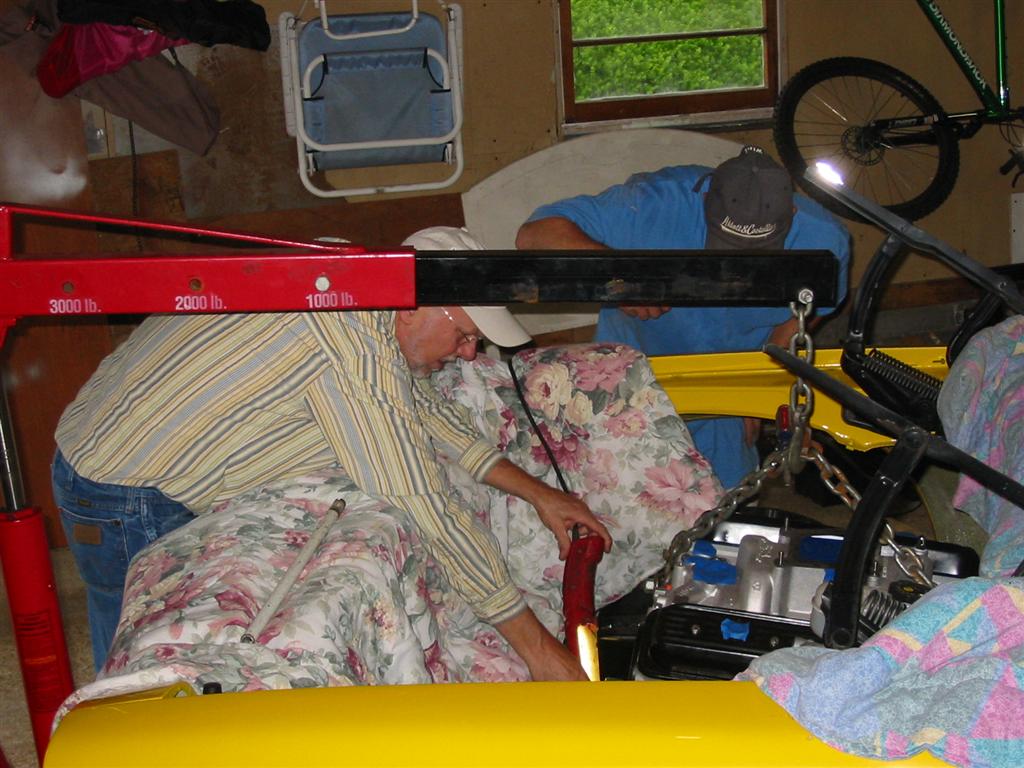
| The following photos are of my friend and I trying to get the engine on the mounts. It was trickier and took longer than I thought it would. | |

|
|
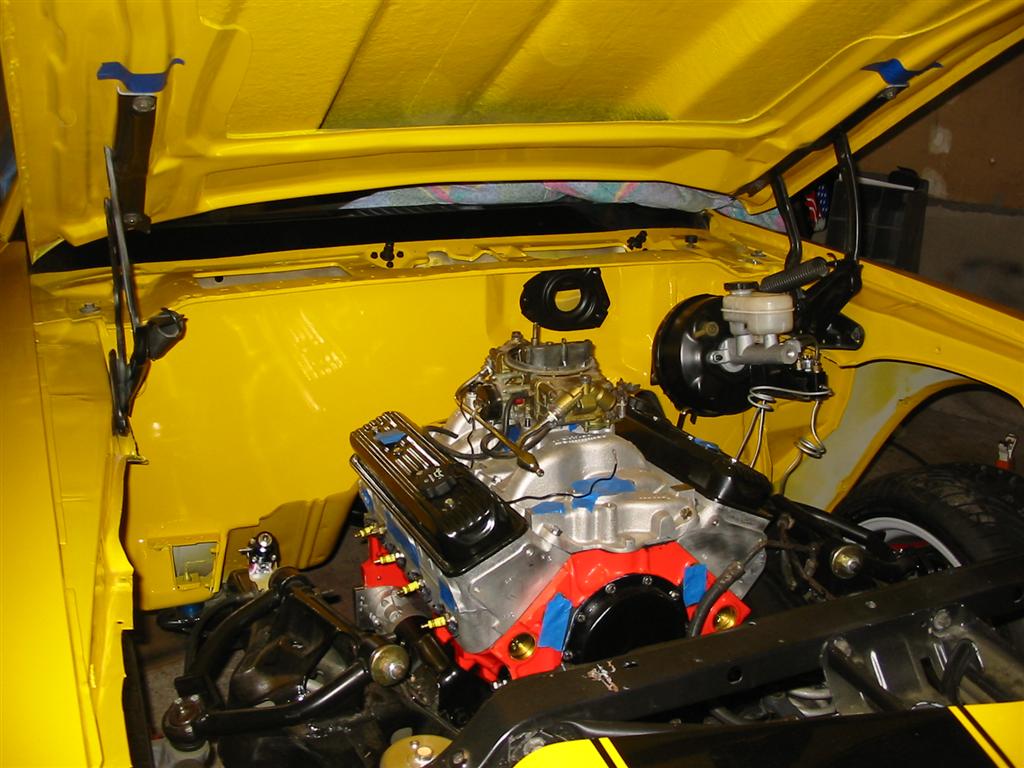
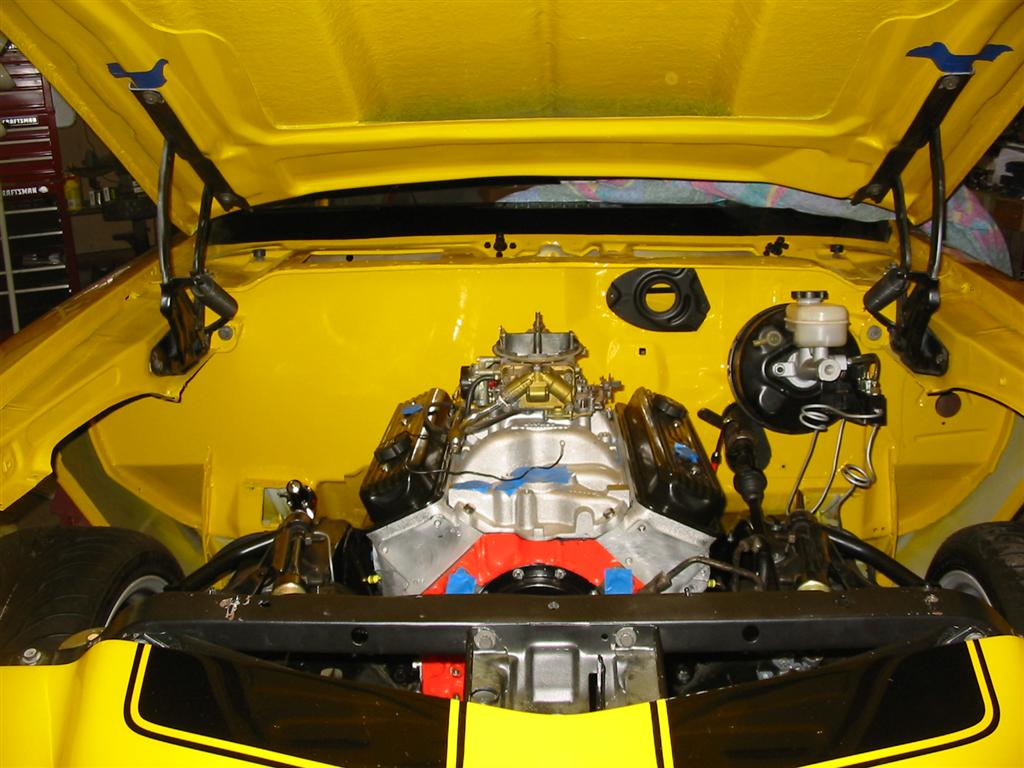
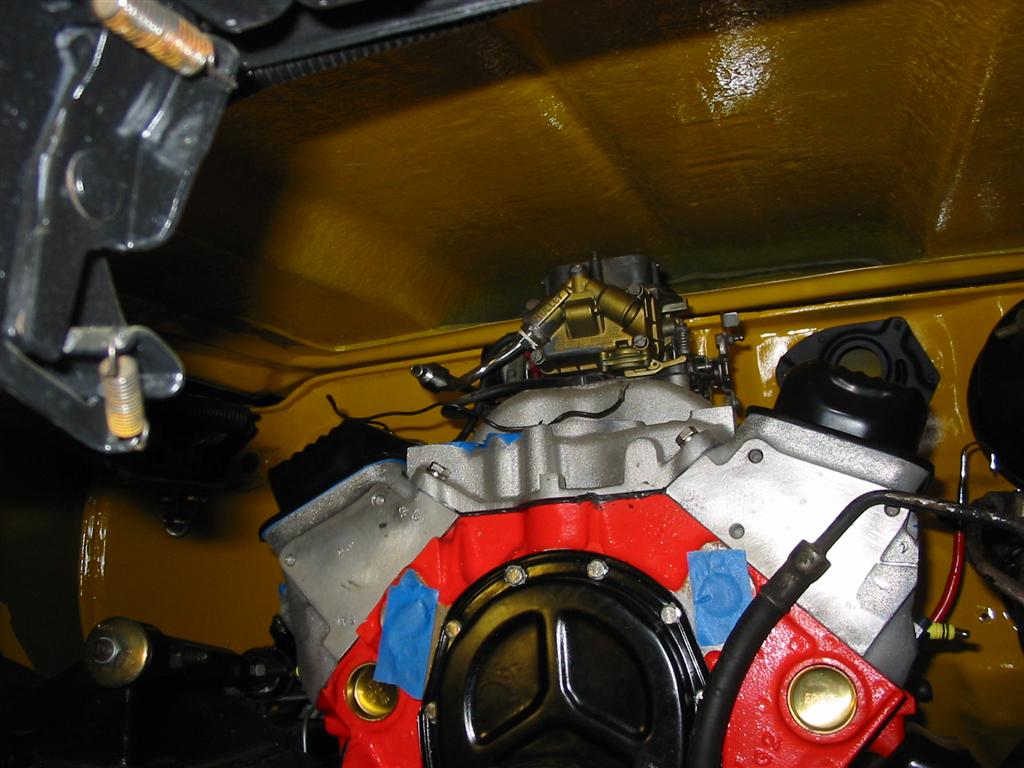
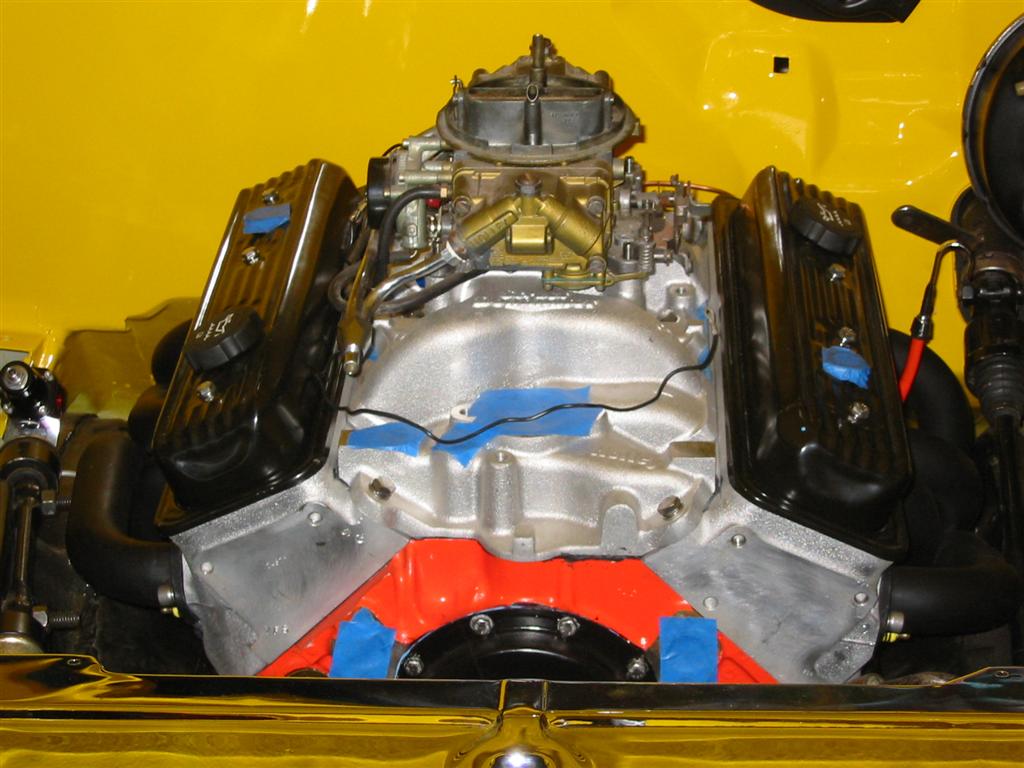
| Here is the engine and transmission installed. | |

|
|
|
|
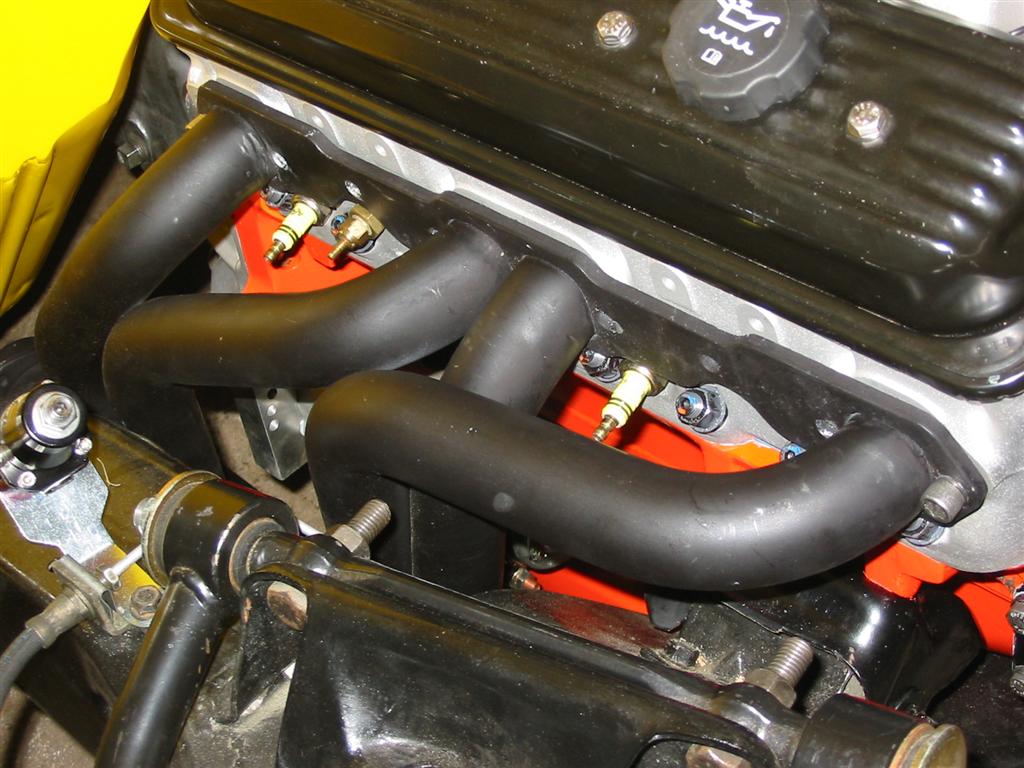
| Here are the headers installed. To install the headers I had to remove the starter on the passenger side and could fit the headers from the top. On the drivers side, they were installed from the bottom with the clutch linkage not installed. I tried to install the headers with allen head bolts. Unfortunately, they will not work with these headers. I will need to buy bolts with traditional bolt heads. | |
|

|
|
|
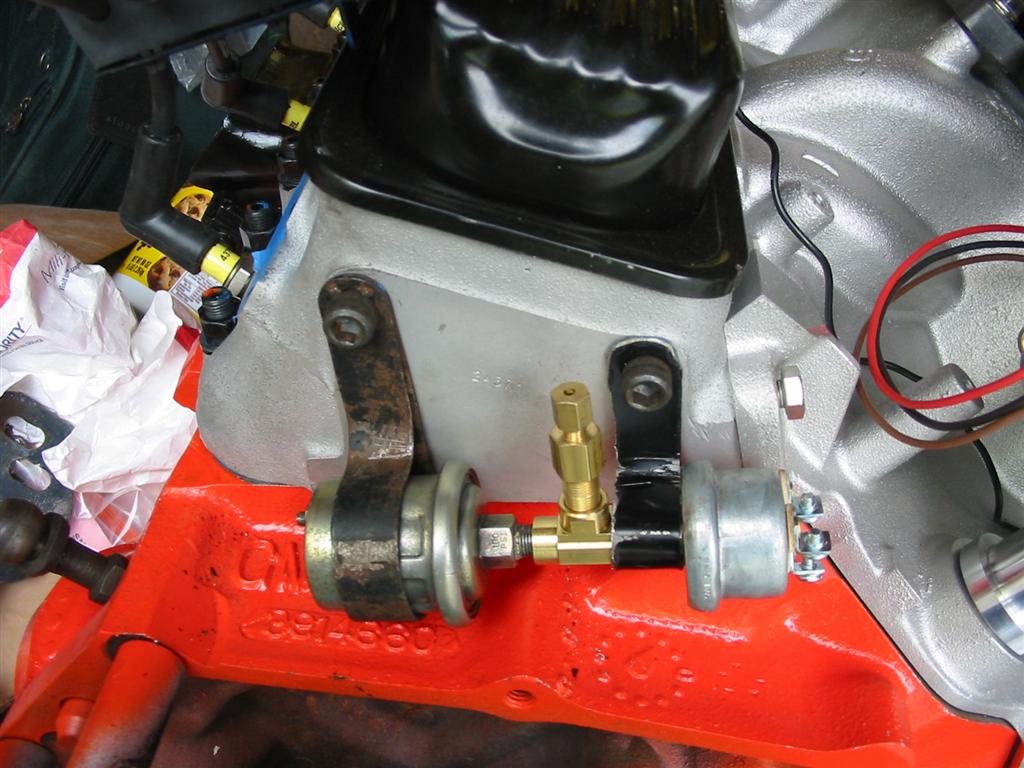
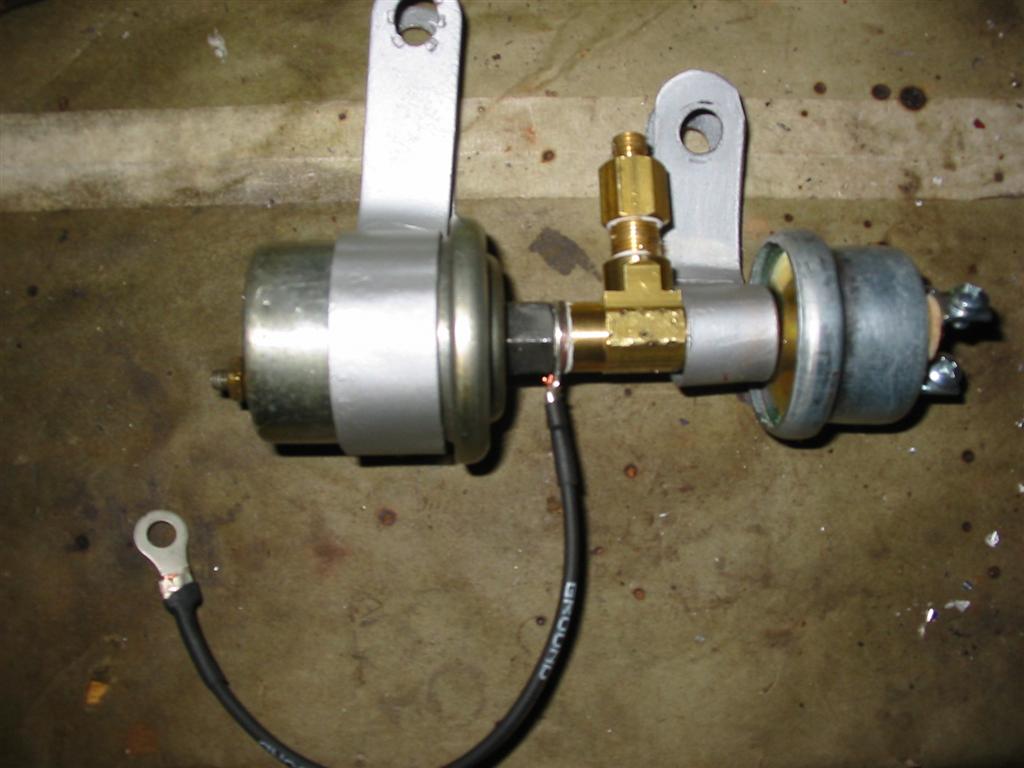
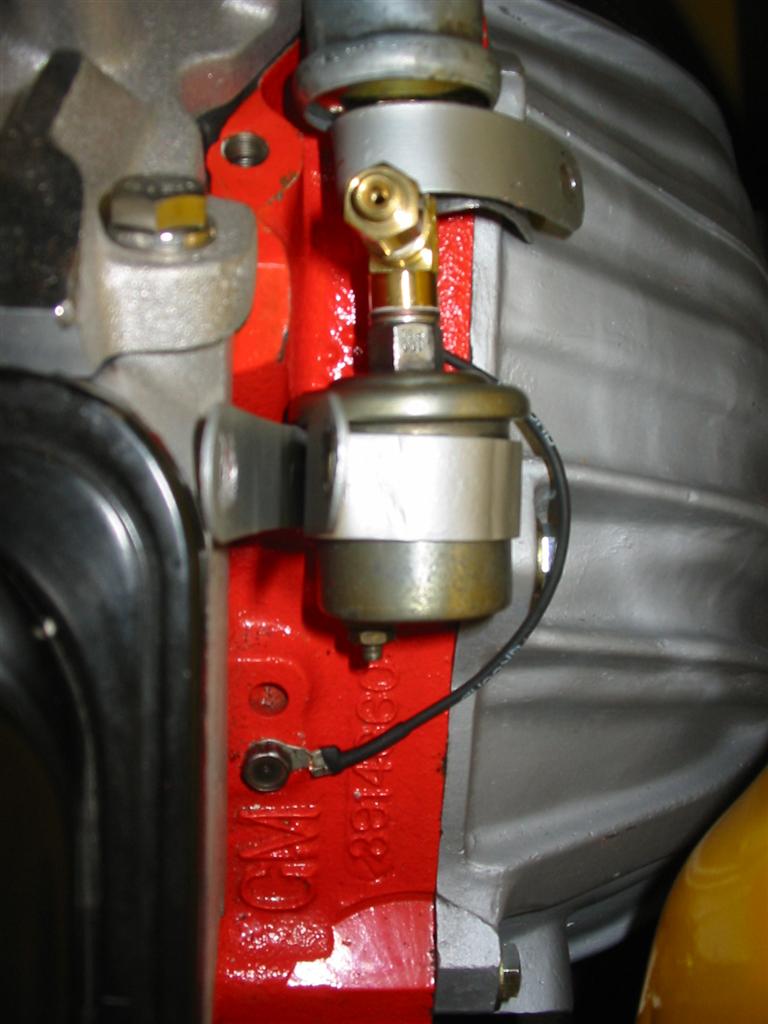
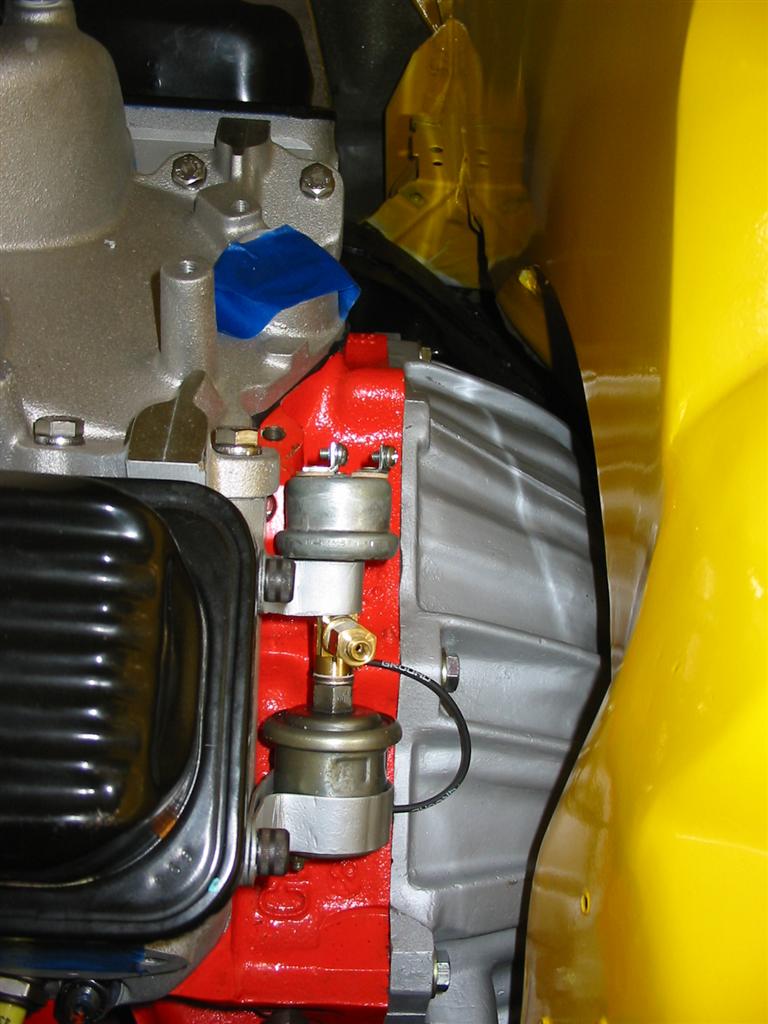
| Here are a few pictures of what I had to do to mount my oil pressure gauge sending unit and an oil pressure safety switch for my electric fuel pump. My block only had one pressure port so I fabricated this setup using some brass fittings and an Autometer copper Gauge Supply Line Kit. I then modified a bracket I had to mount the oil pressure sending unit to the head and I made a bracket for the oil pressure safety switch out of sheet metal. I also added a ground wire to the units to ensure proper readings. These units were mounted to the rear of the drivers side head. | |
|
|
|
|

|

|