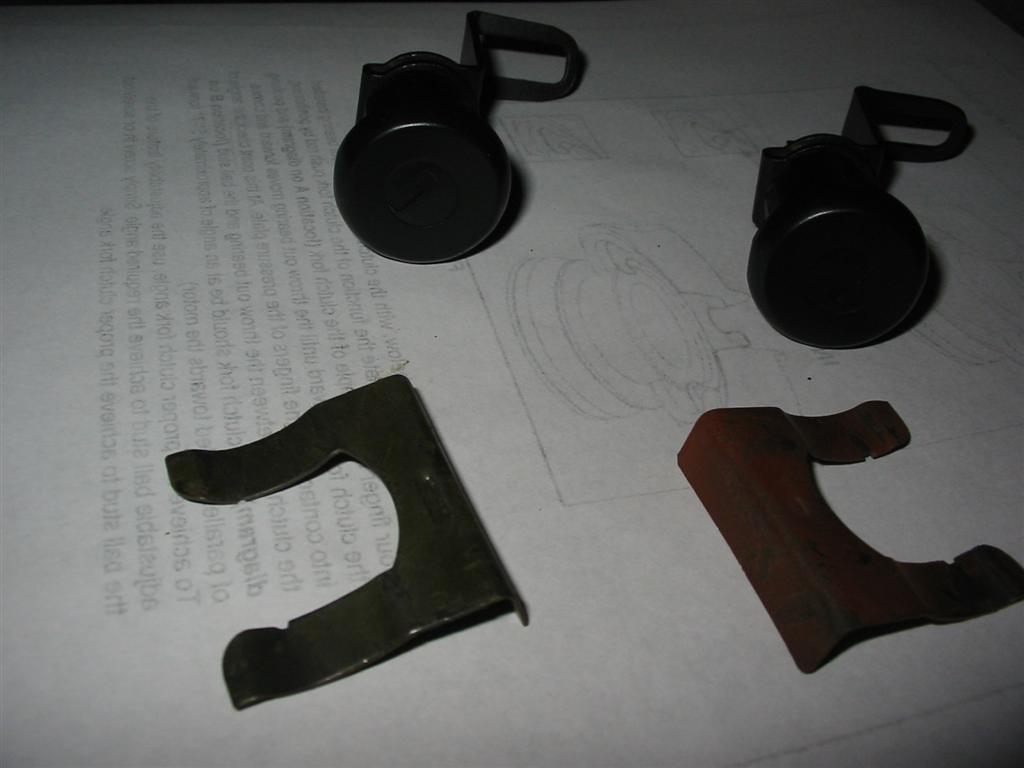
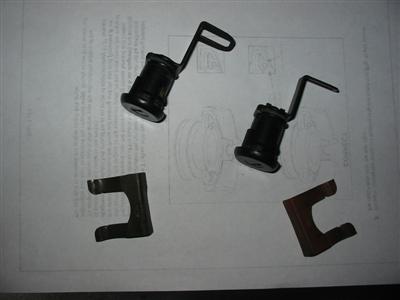
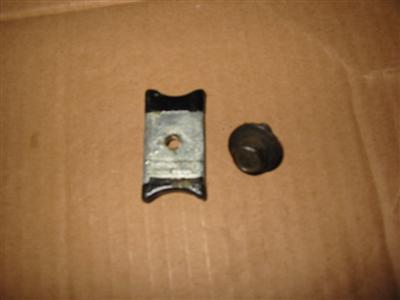
| Here are the lock cylinders. I scuffed them up and painted them with SEM Trim Black
to match the rest of the trim on the car. |
|

|
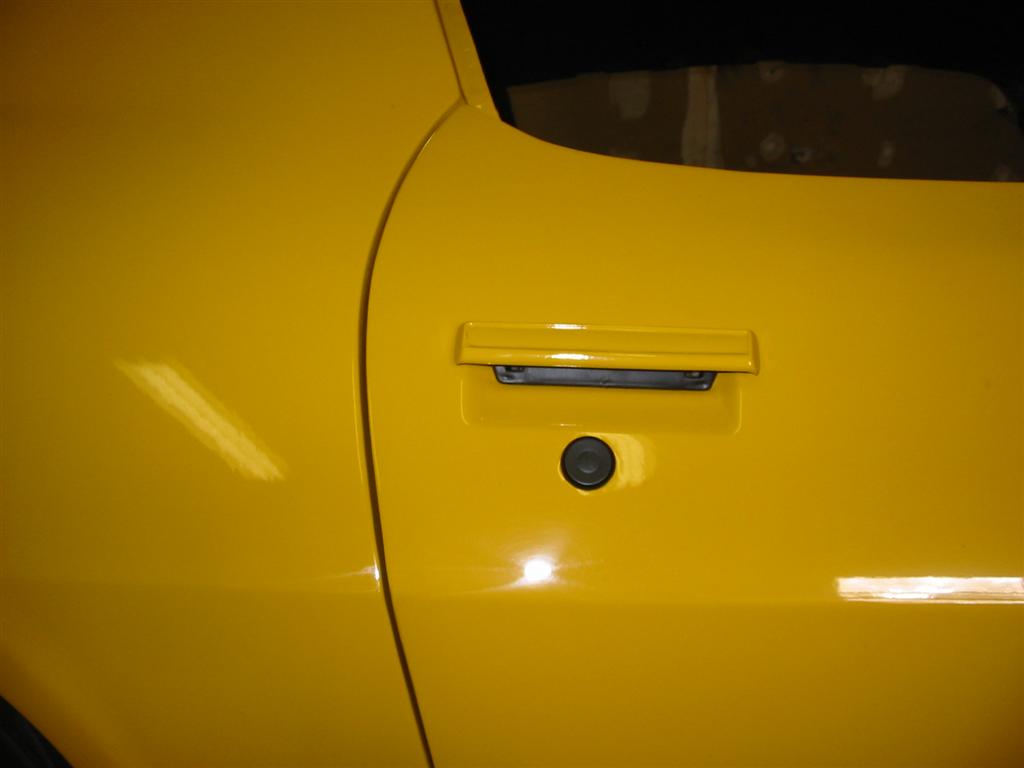
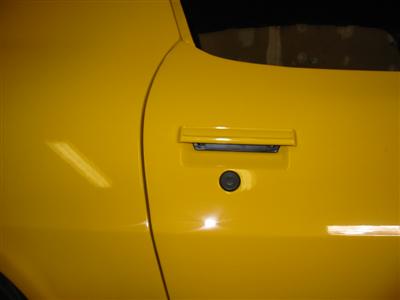
| Here are the locks installed in the door. |
|
|
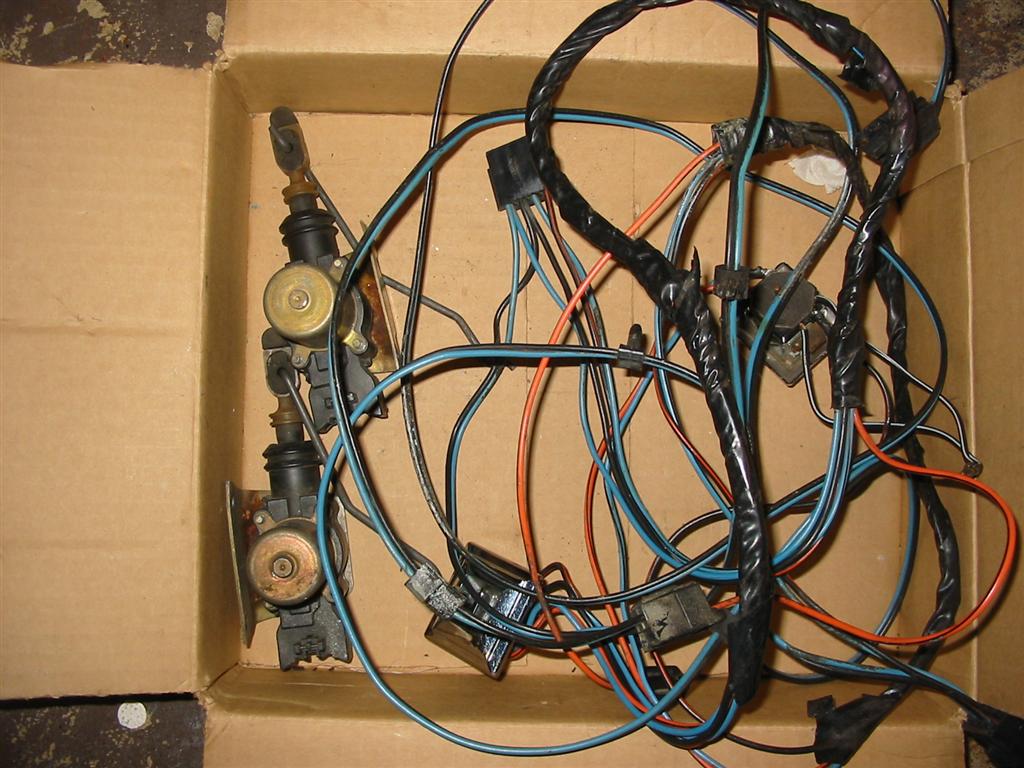
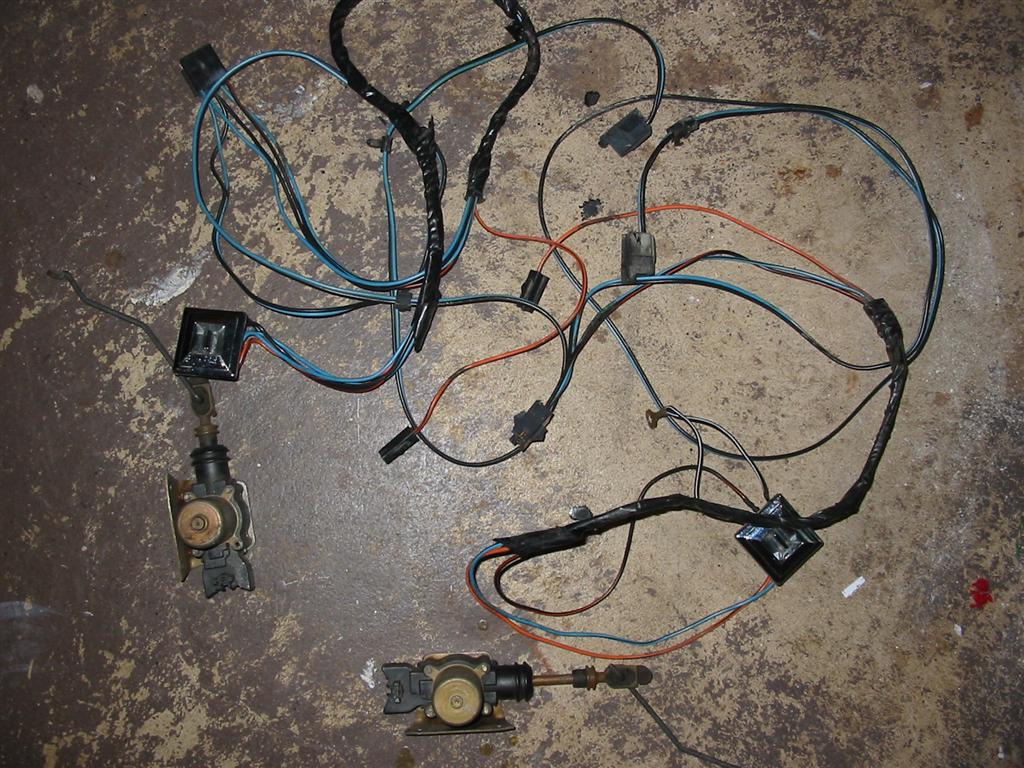
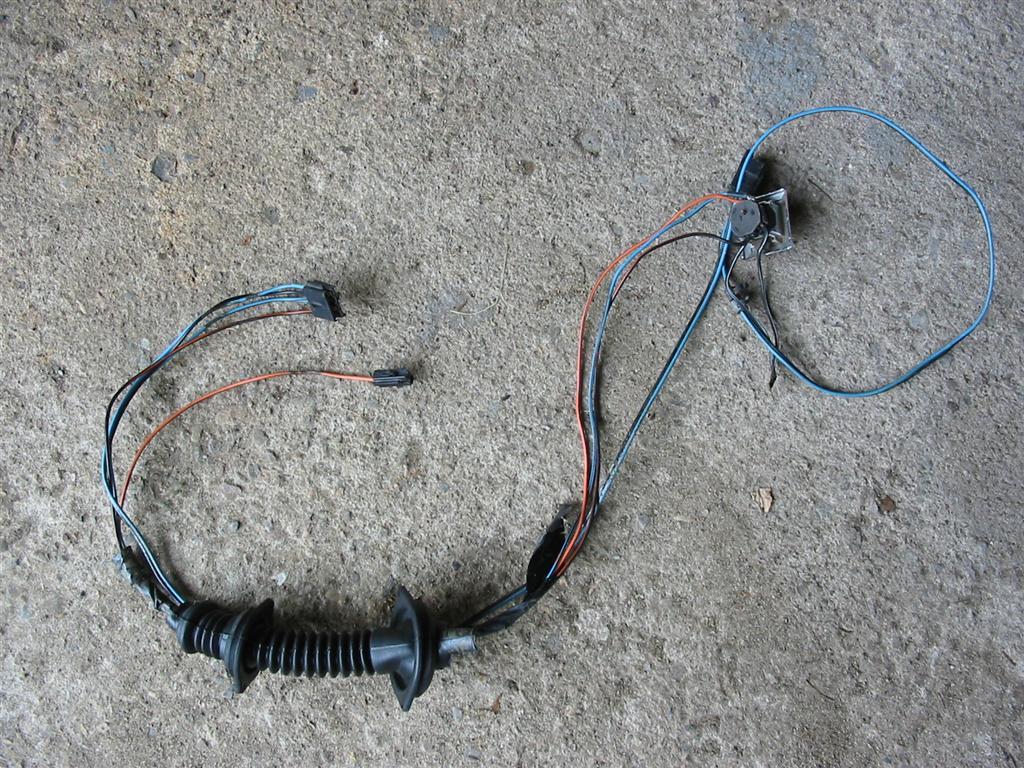
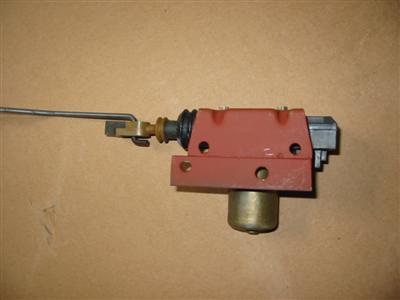
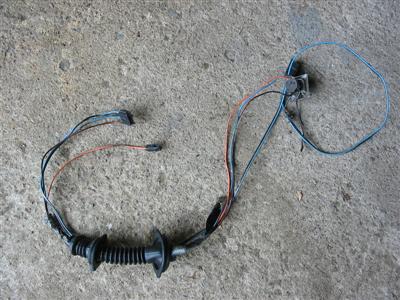
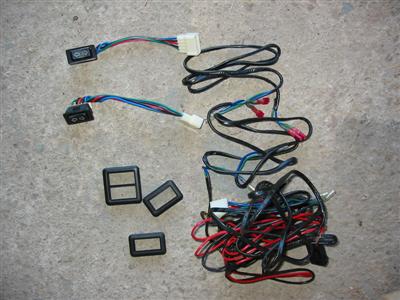
| Here are the factory power locks with wiring. |

|

|
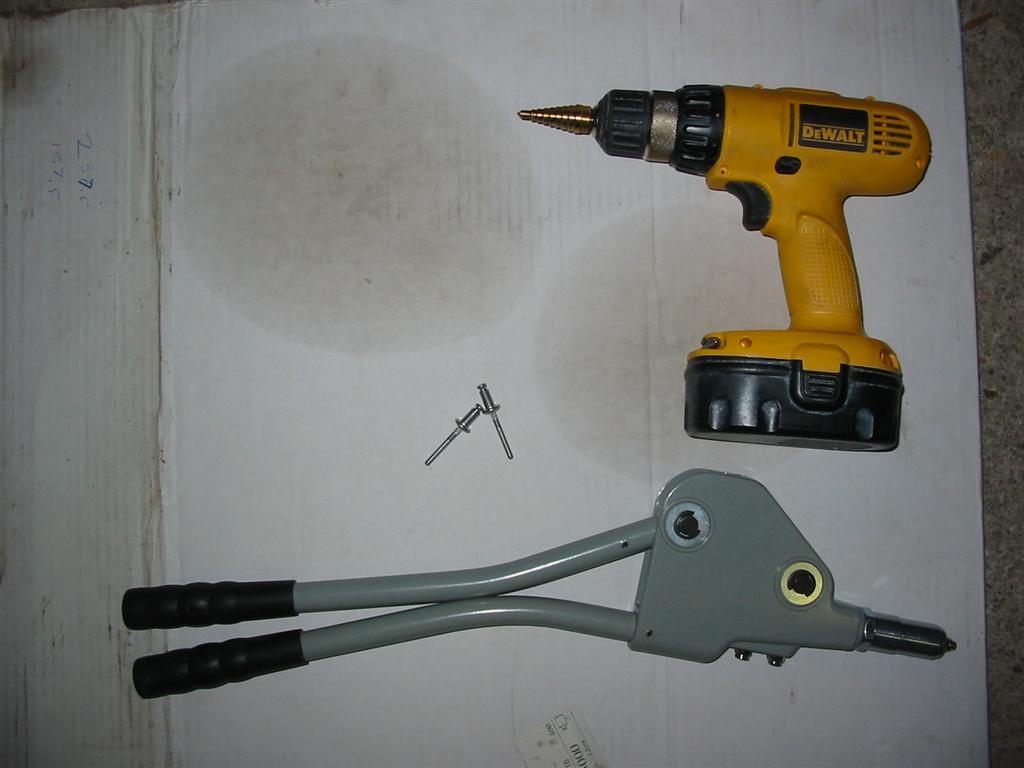
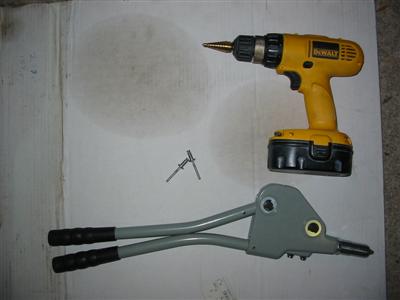
| Here is the drill, rivet gun and rivets I used to mount the regulators and power lock
actuators. The rivets are a specific type for installing regulators into doors. |
|
|
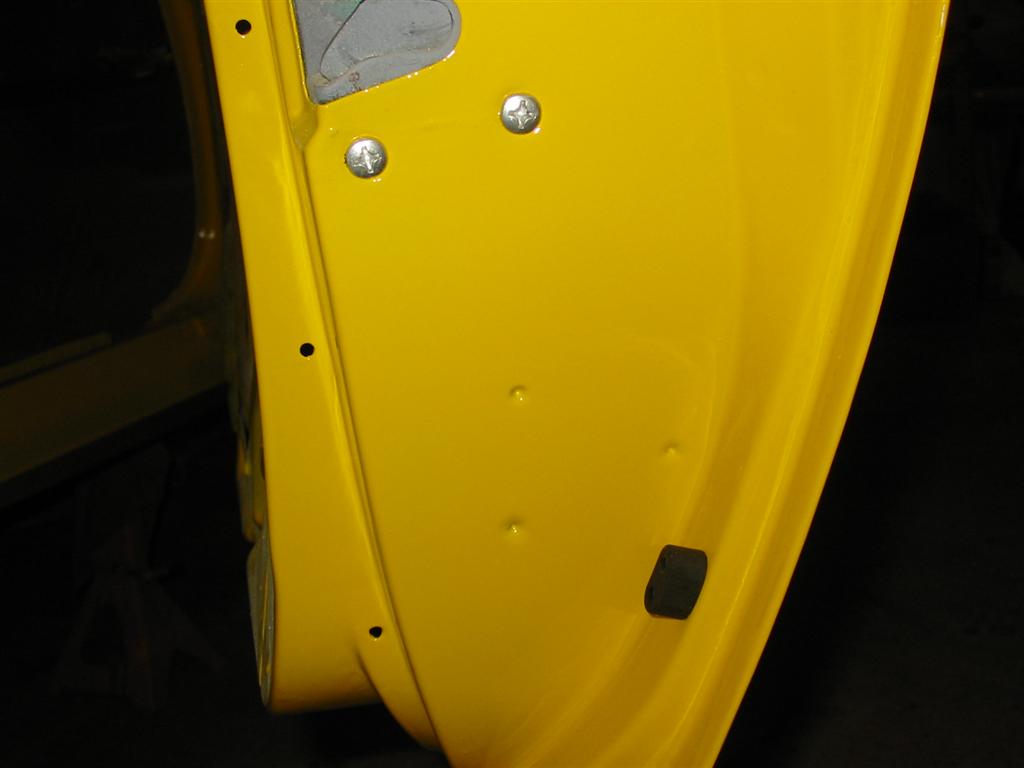
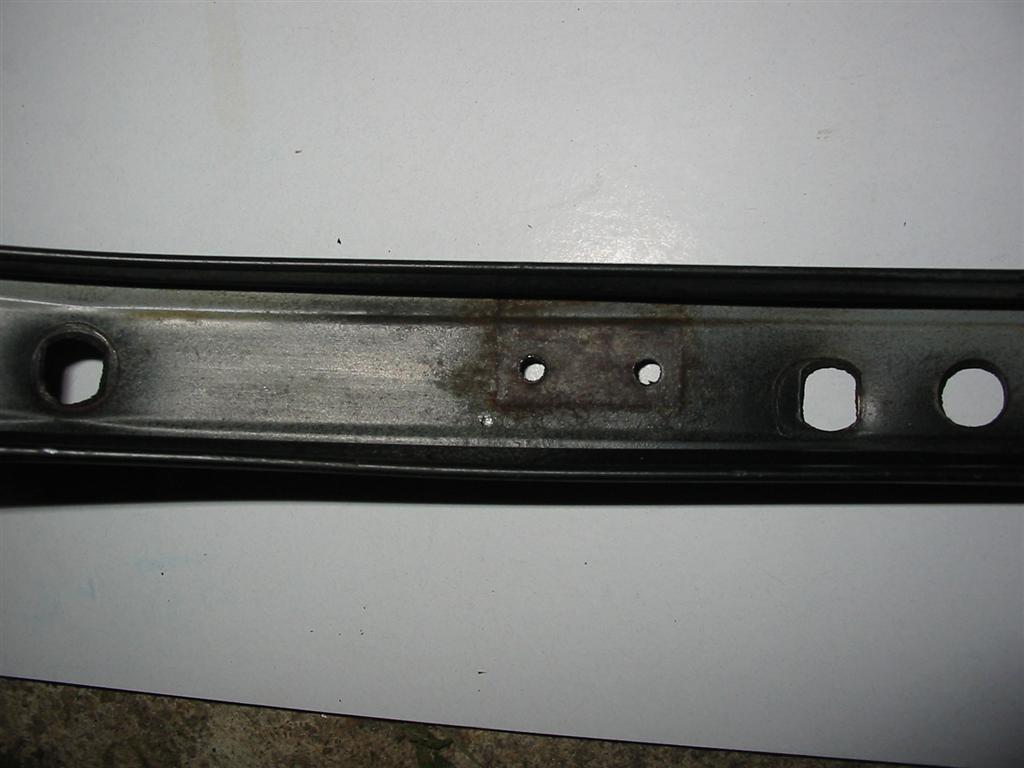
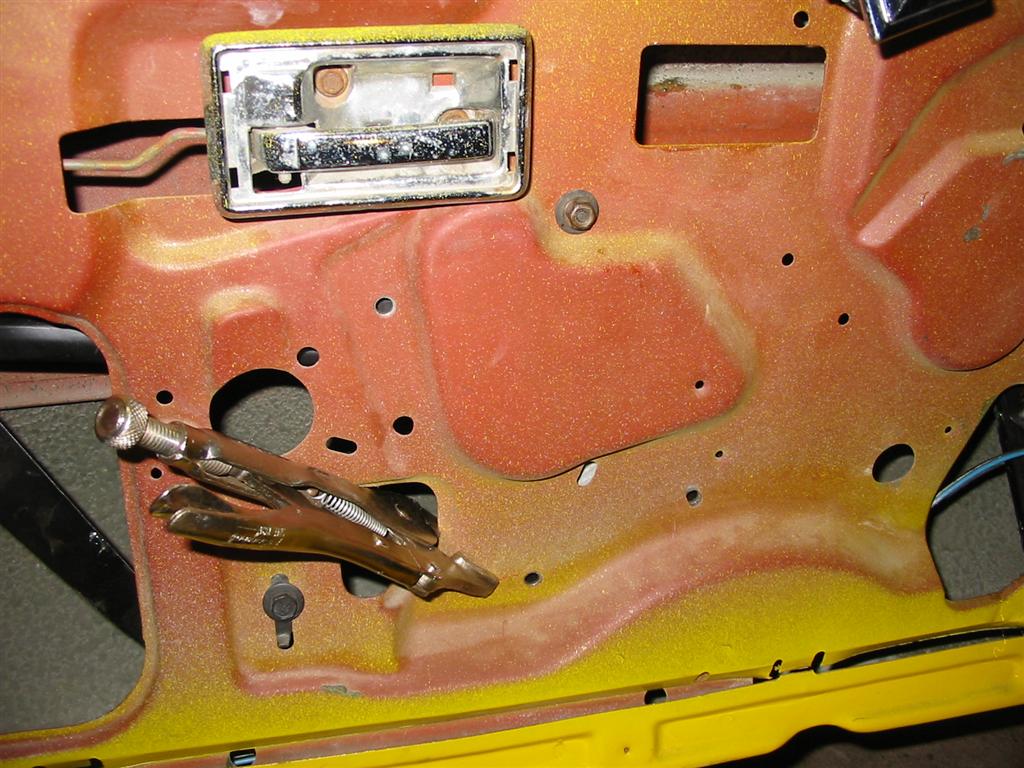
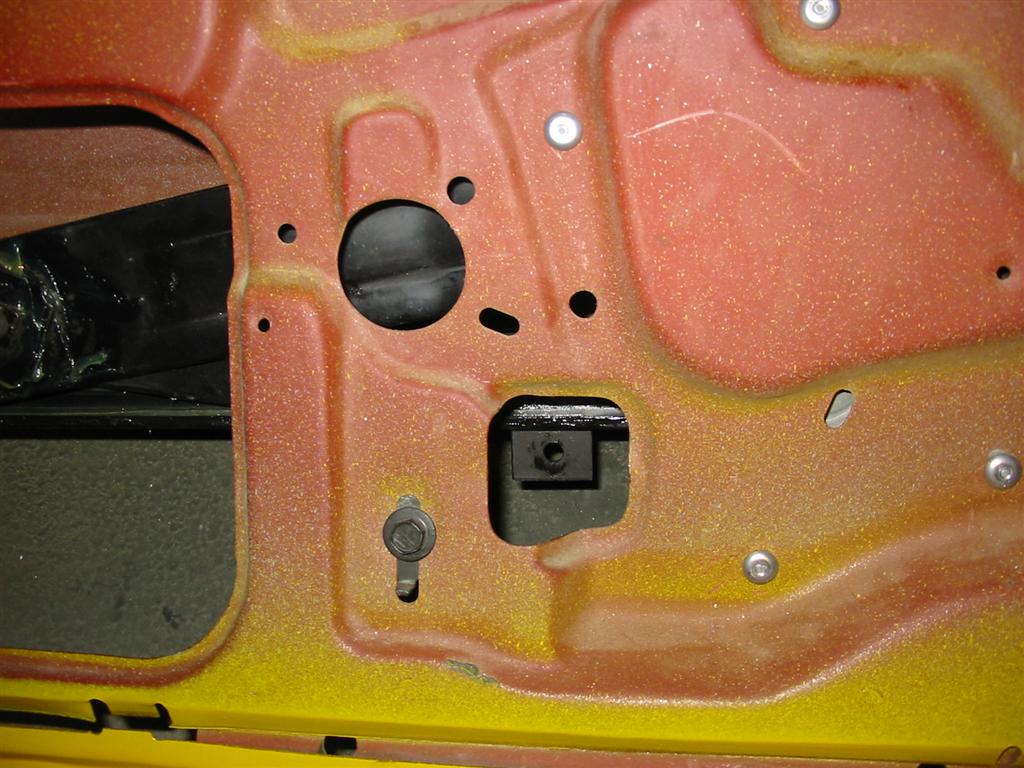
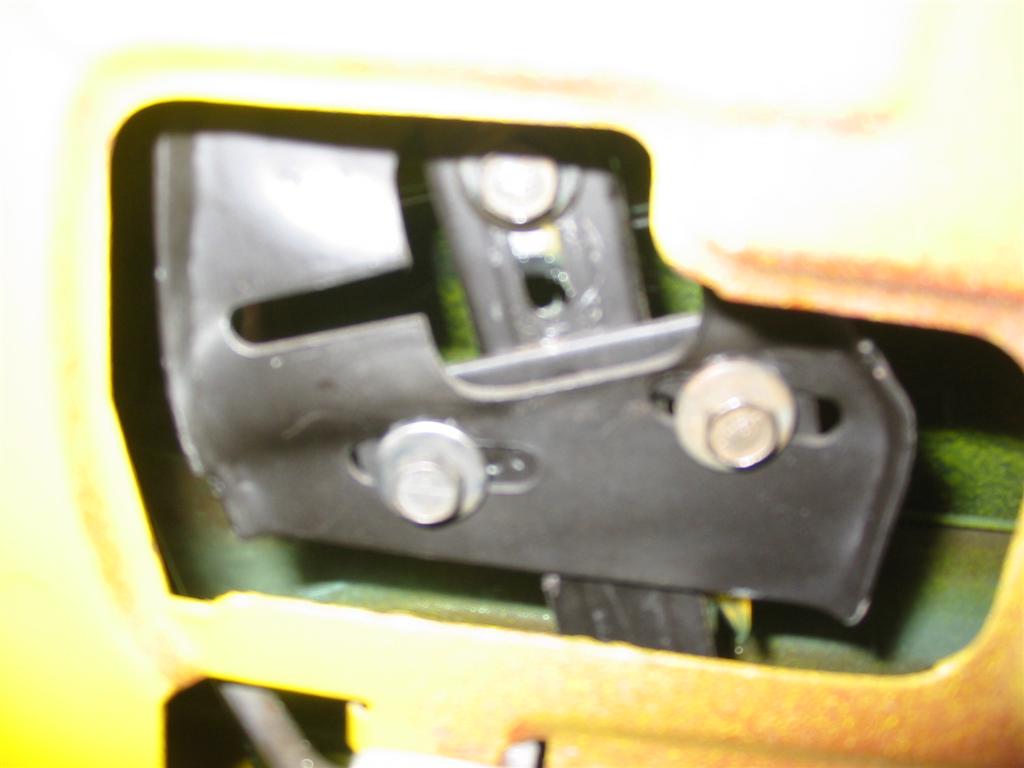
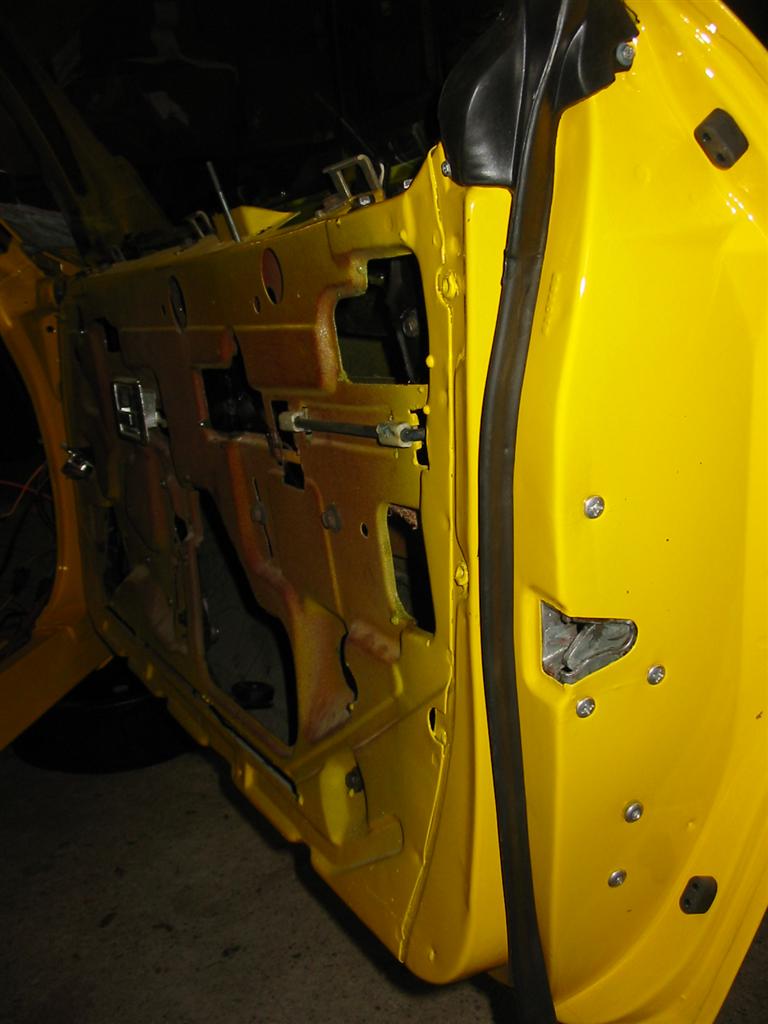
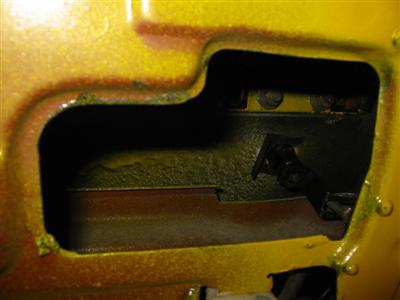
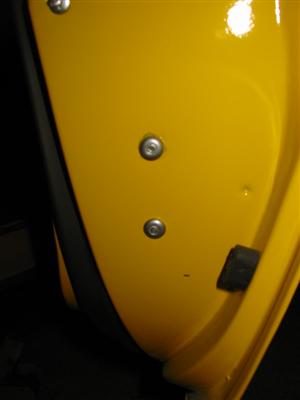
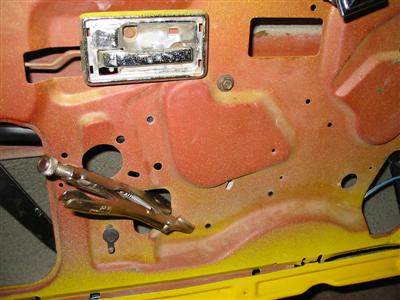
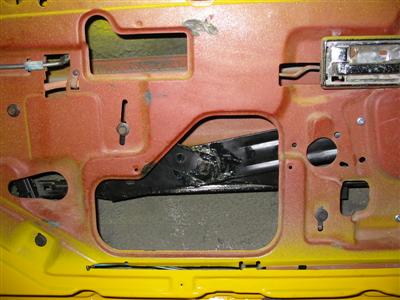
| Here is the lower back bottom of the door. This is where the power lock actuator mounts.
There are dimples in the door and I thought that these dimples were the marks for the holes to
mount the power locks. Unfortunately, this was not the case and I only found out after I
drilled the holes. |

|

|
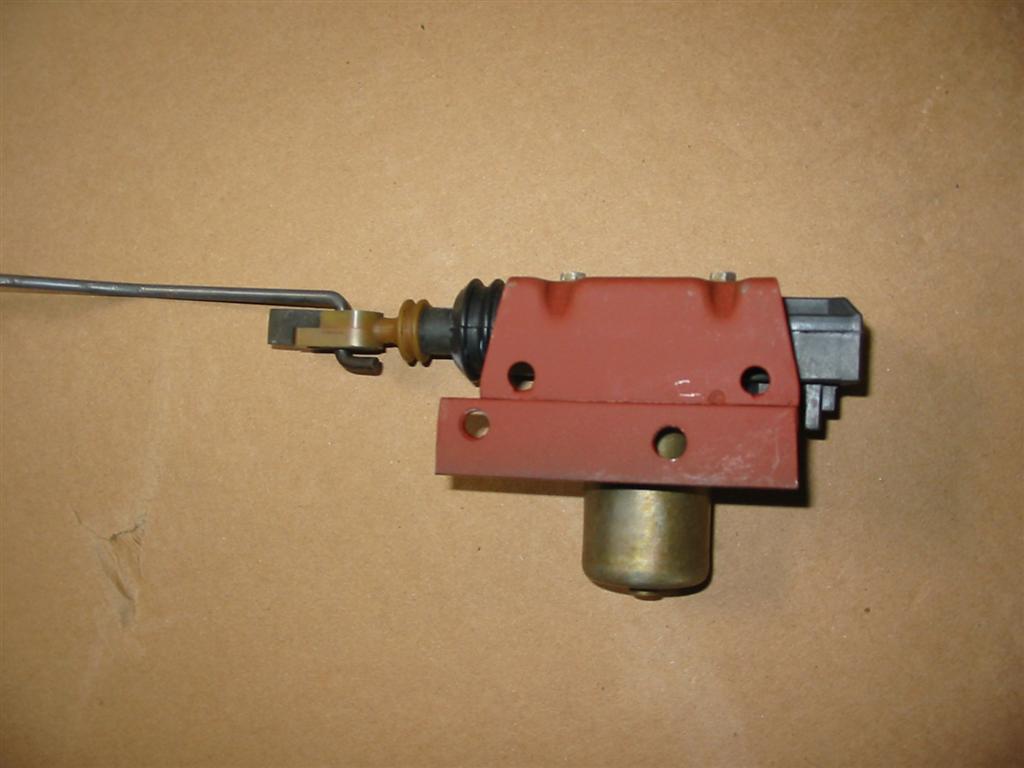
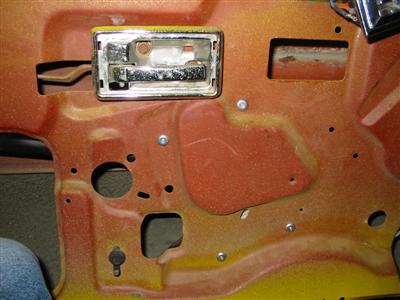
| Here is a picture of the door lock actuator modified to work with the holes I drilled above.
I needed to weld an additional piece of metal to the bracket and drill new mounting holes. |
Here are the rivets for the actuator installed. |
|
|
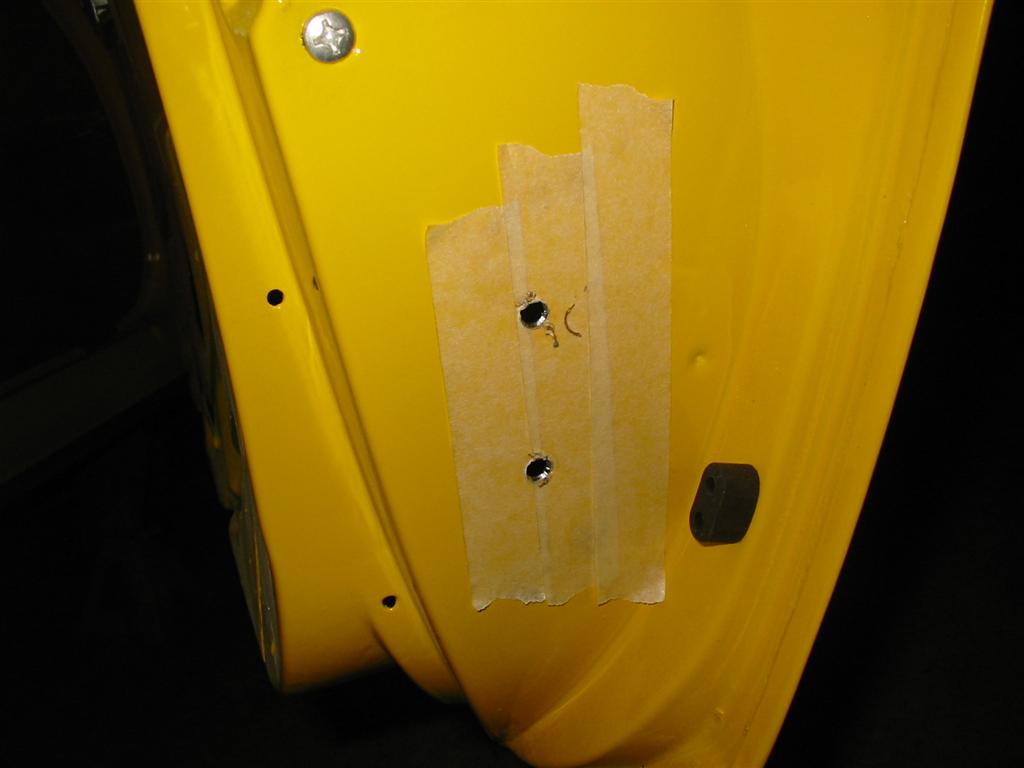
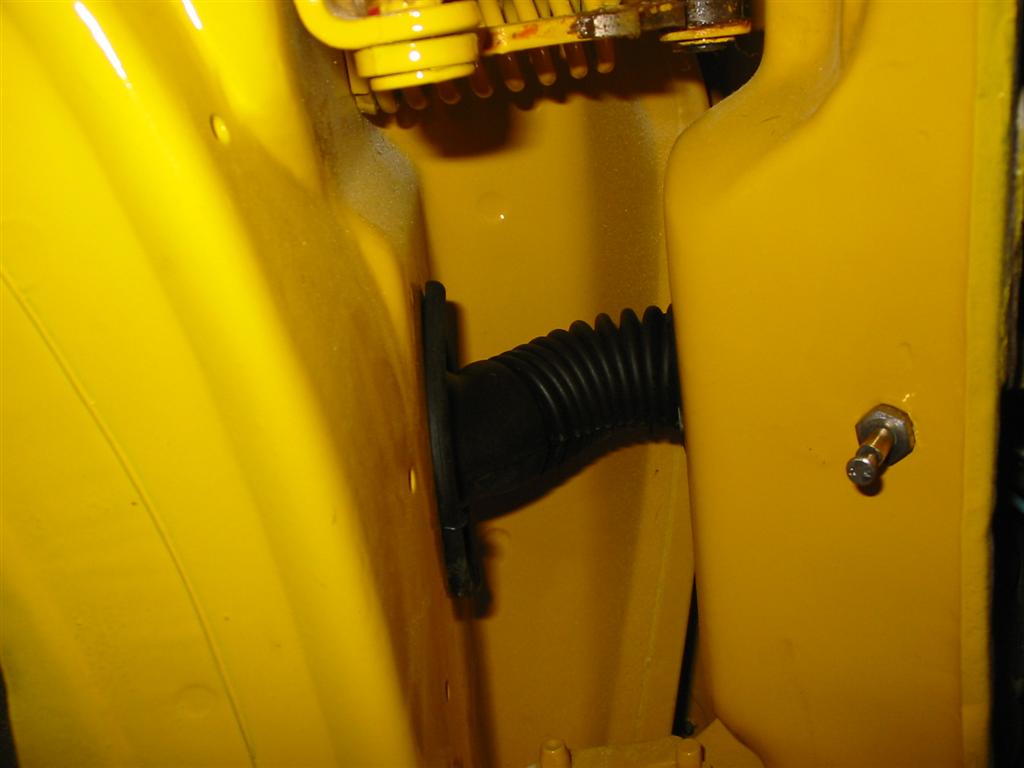
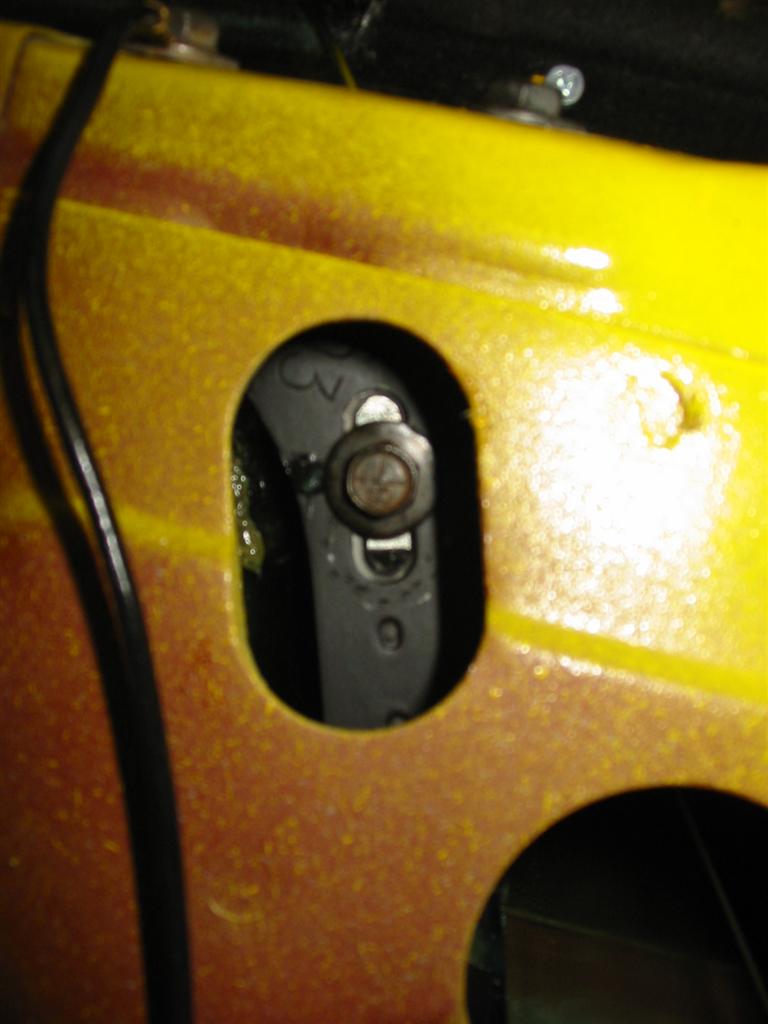
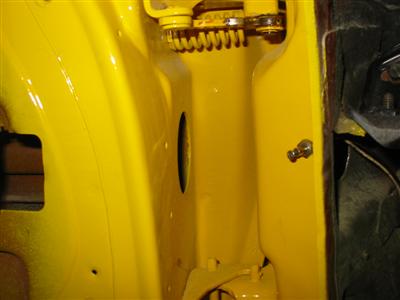
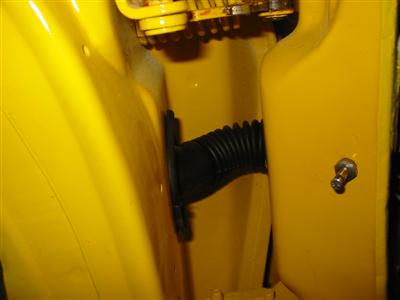
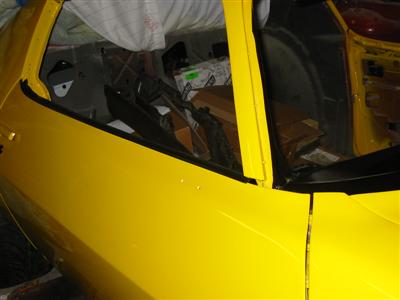
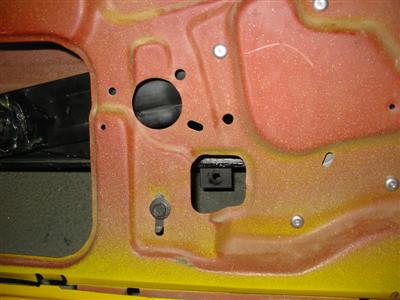
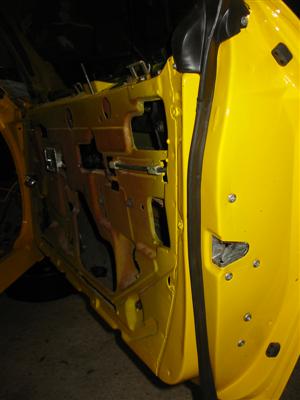
| Here is the power lock wiring with the door wire protective boot. These get installed between
the door and the body as seen in these pictures. The door had a block off plate that needed to
be removed to install this. The body needed holes drilled for the boot to mount to and the
wires to pass through. I drilled these holes before the body was put together and painted. |
|
|
|
|
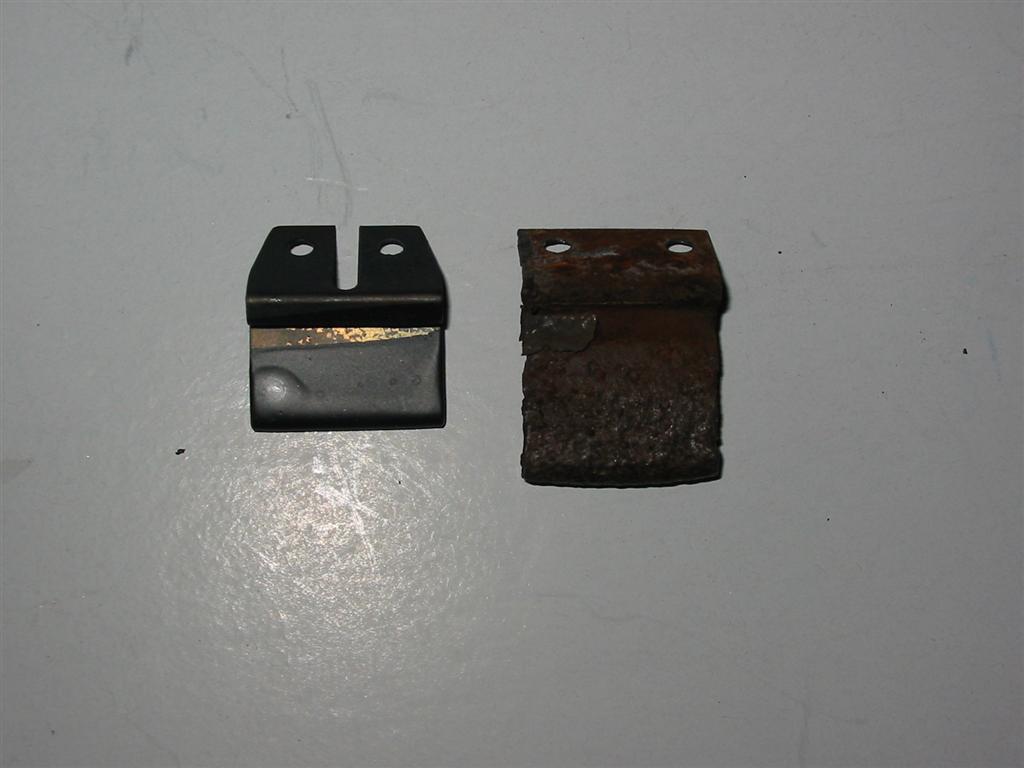
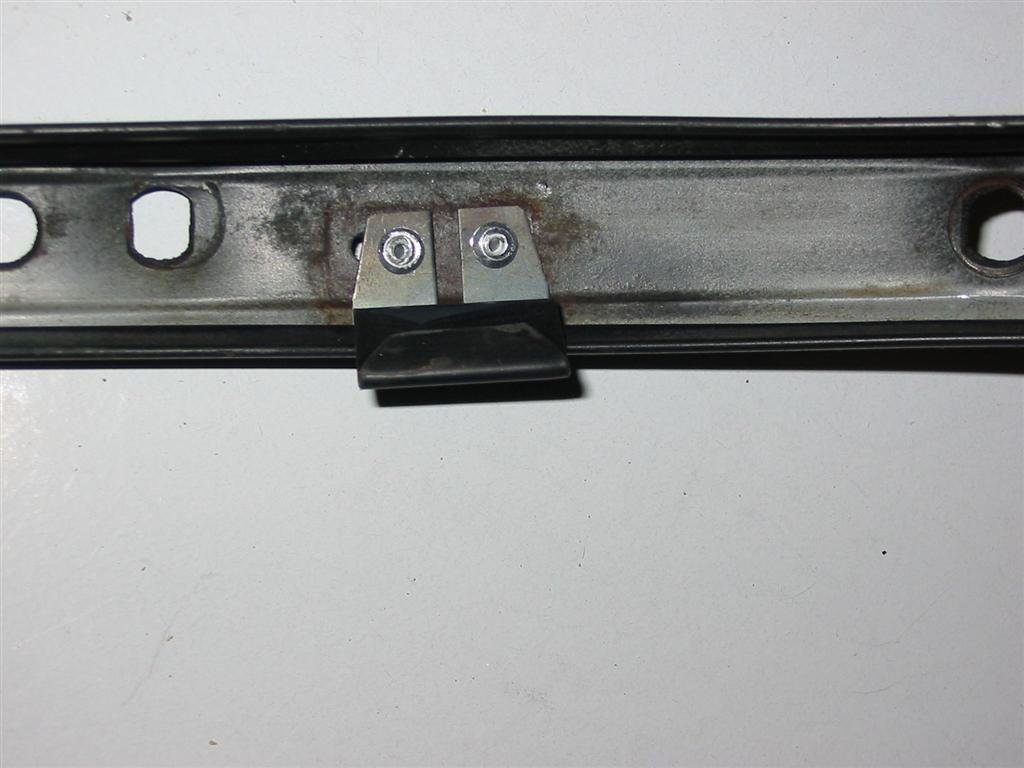
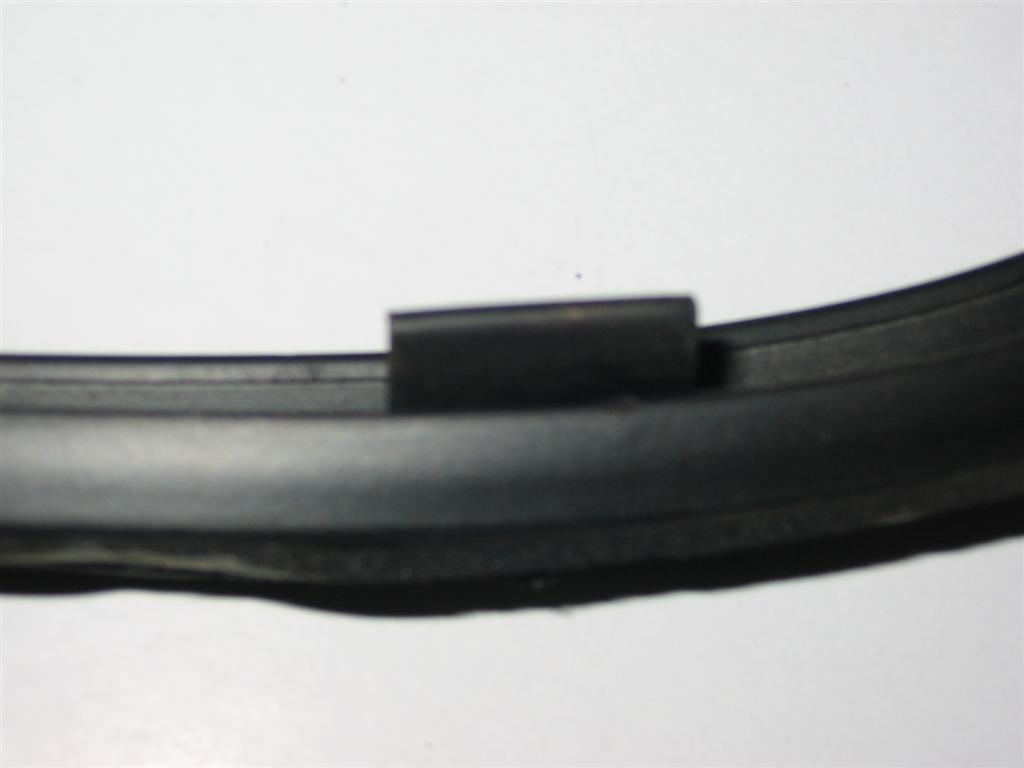
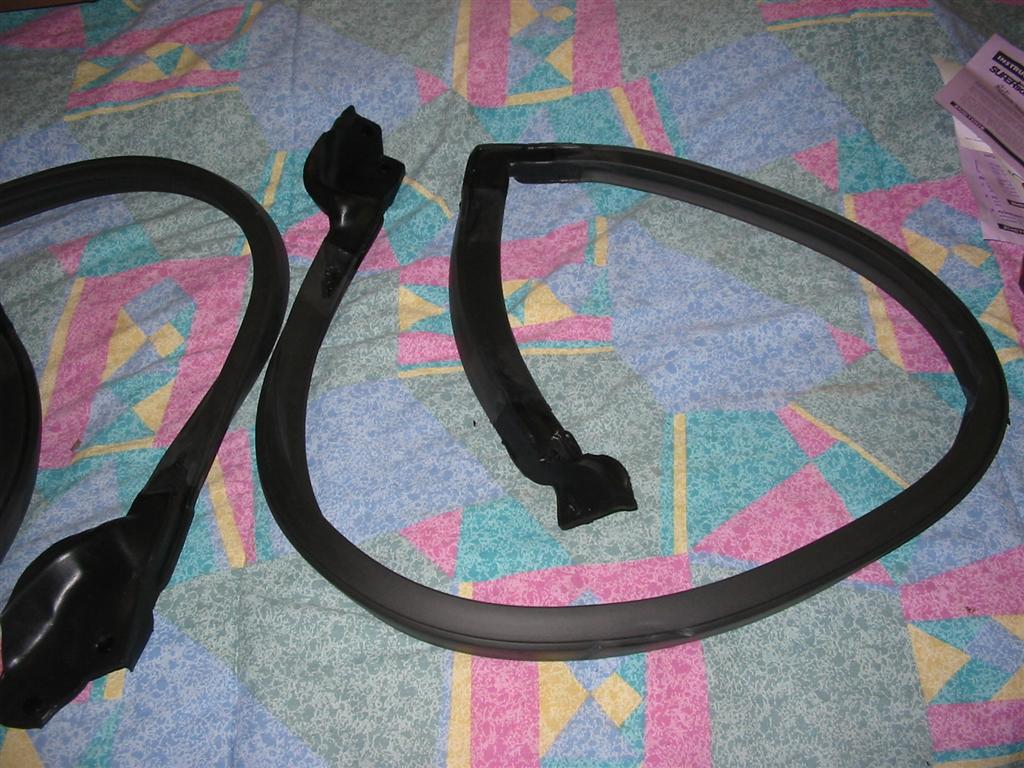
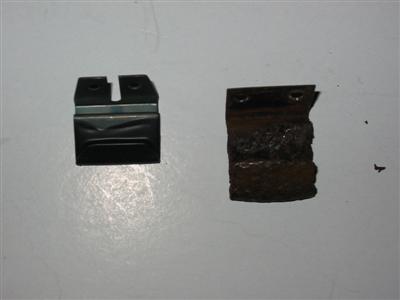
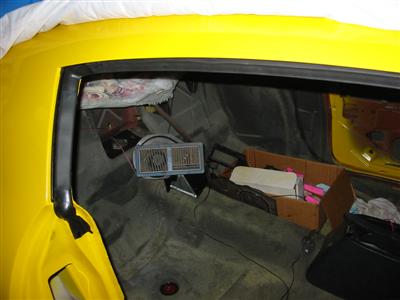
| I reconditioned the upper door frame weatherstripping mounts and painted them black. I
also needed to replace the window anti blow out clips. These pictures document the process
of removing and replacing them. |

|
|
|
|
|
|
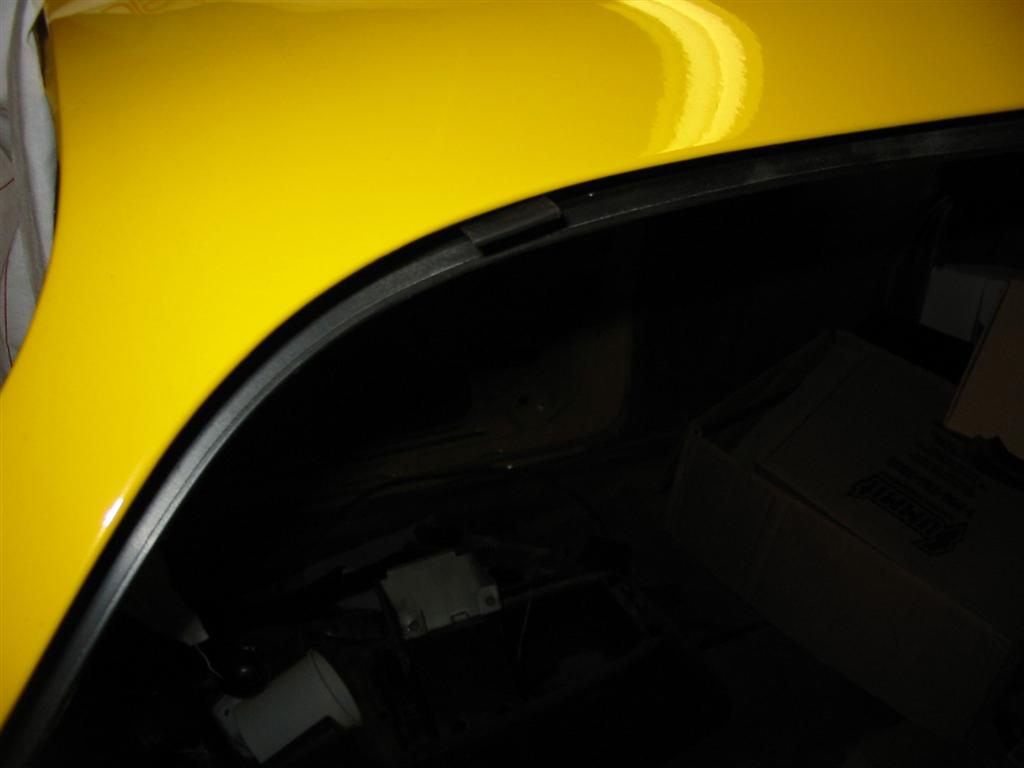
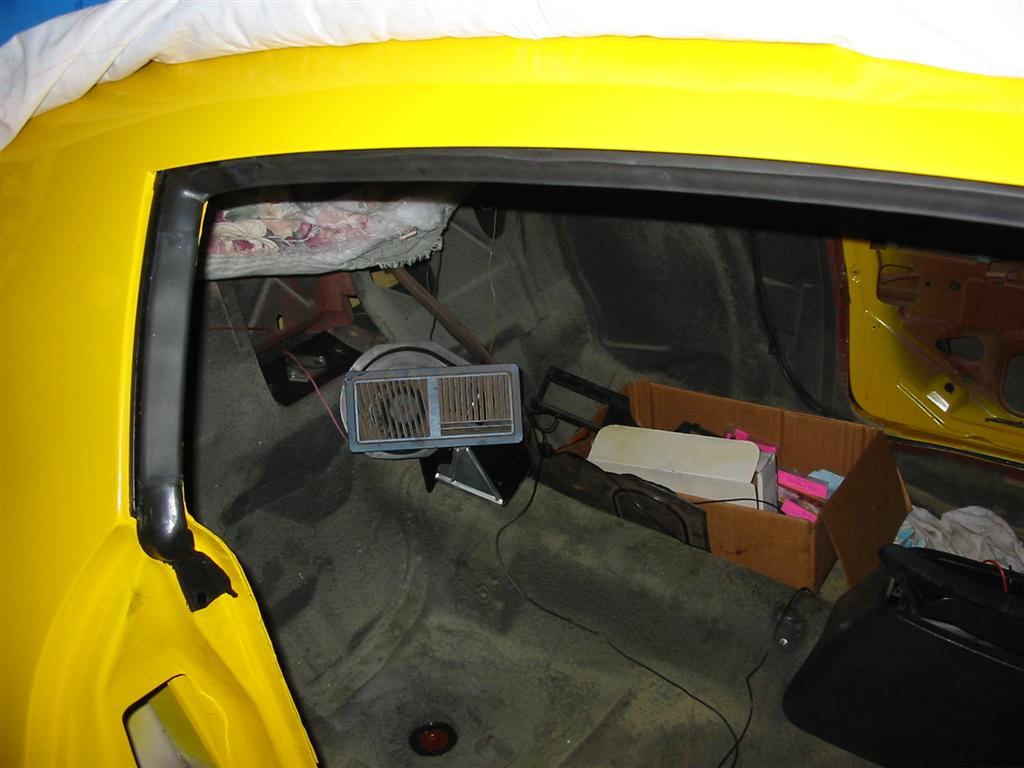
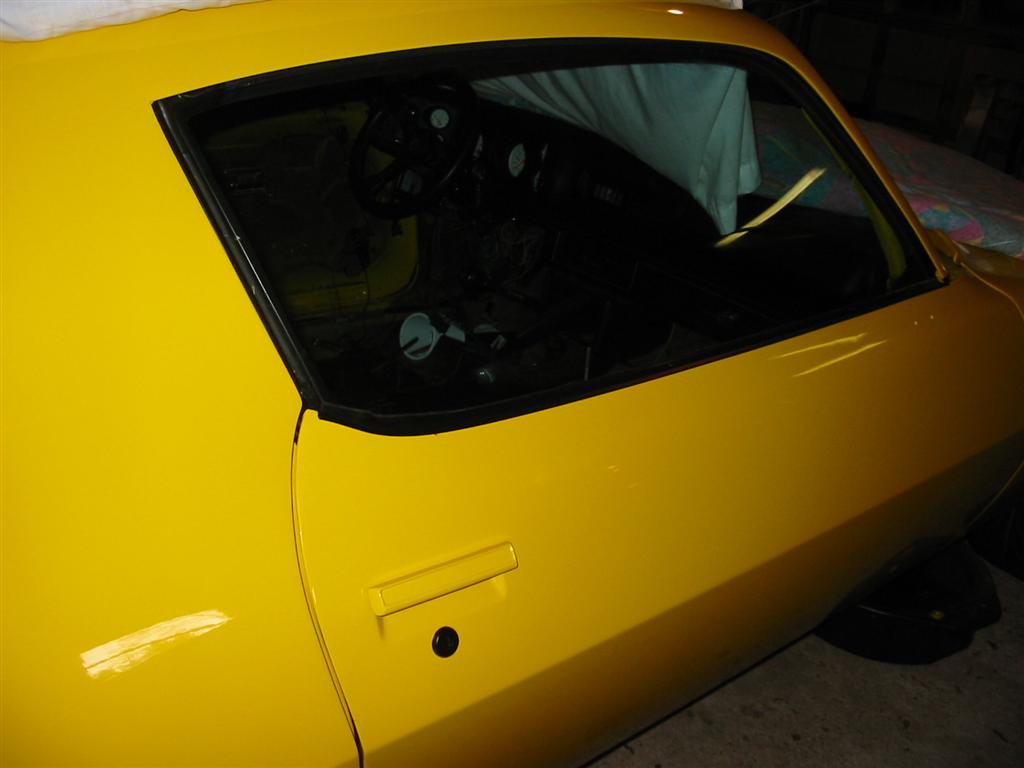
| Here is the driver's side weatherstripping mount installed. |

|
|
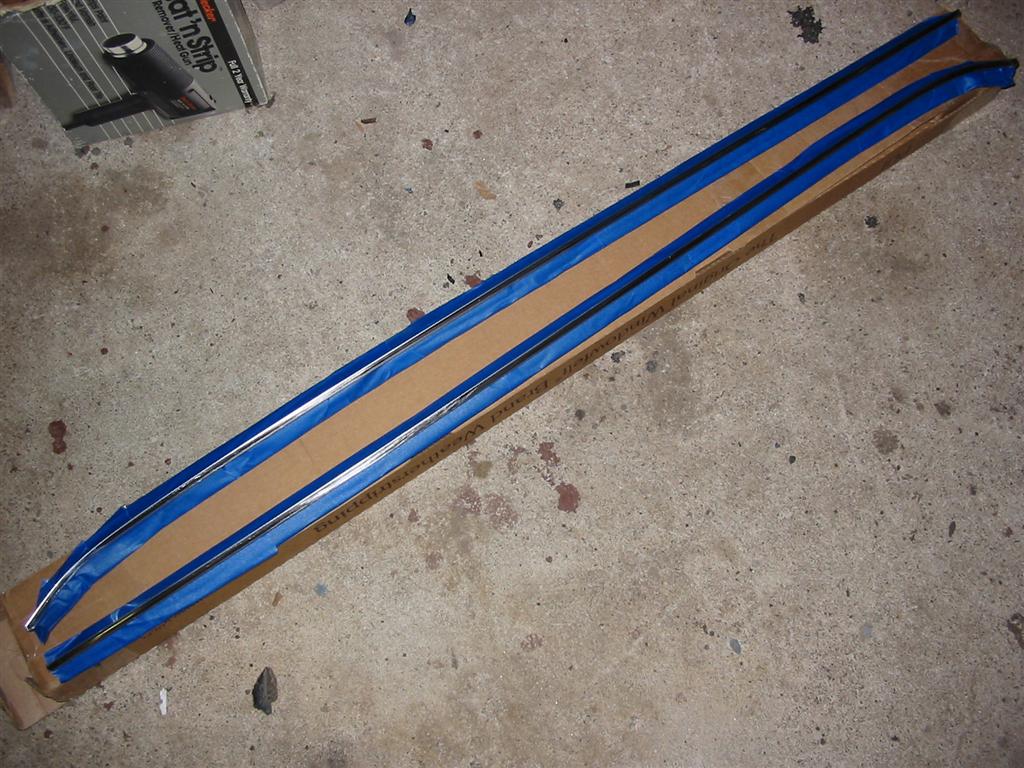
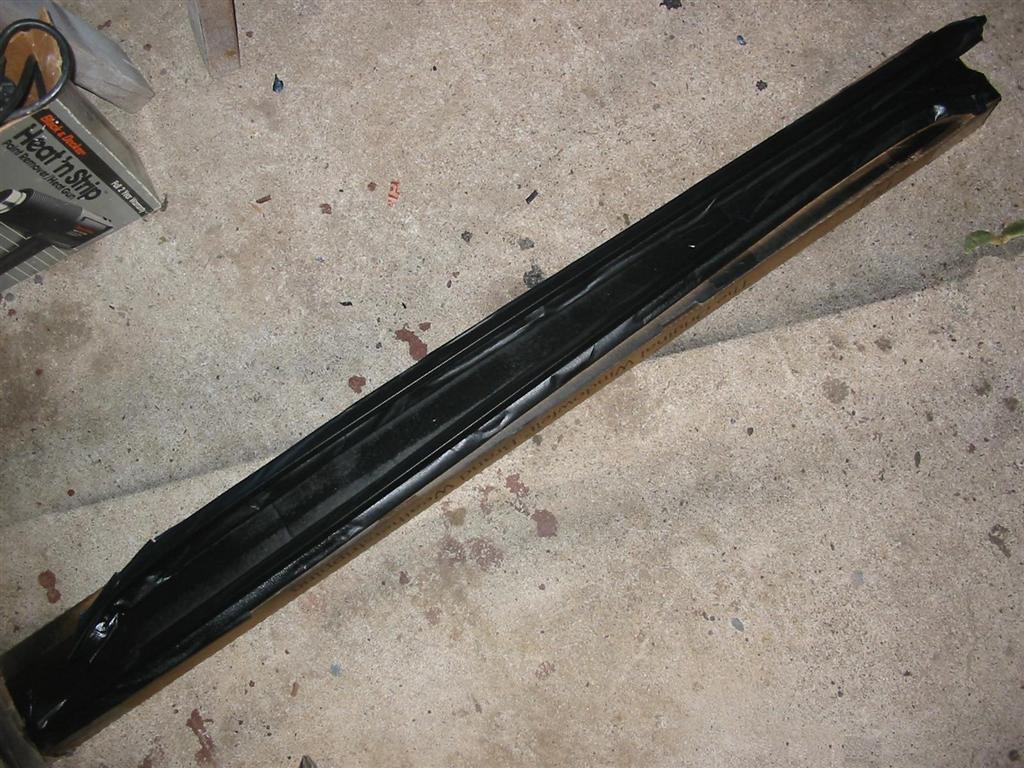
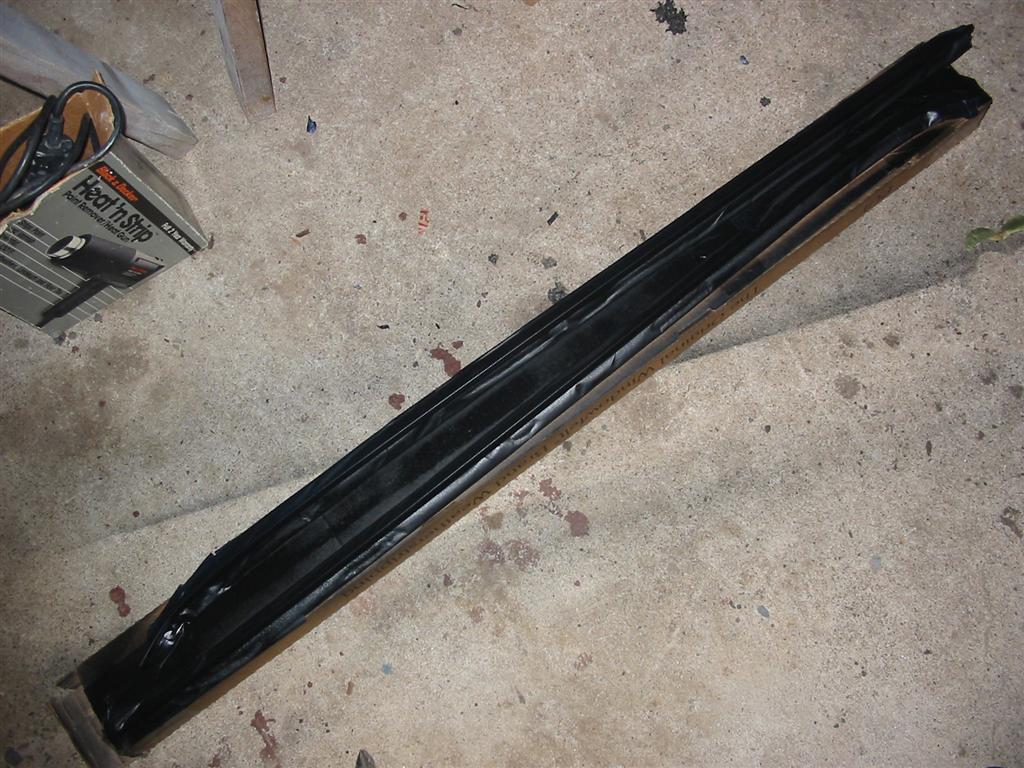
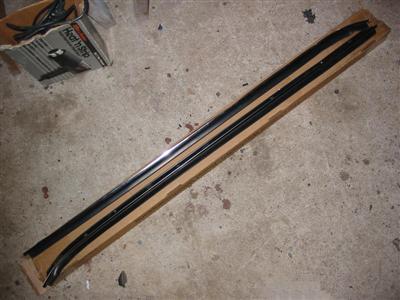
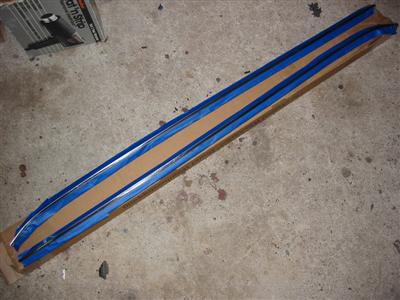
| Here are the aftermarket window outer felts. I taped off the felt and scuffed and painted
the chrome trim black. |
|
|
|
|
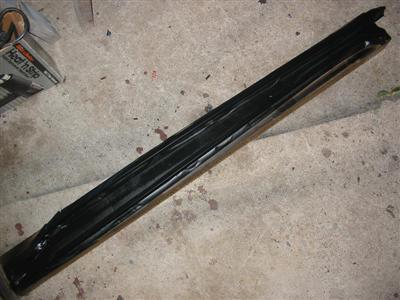
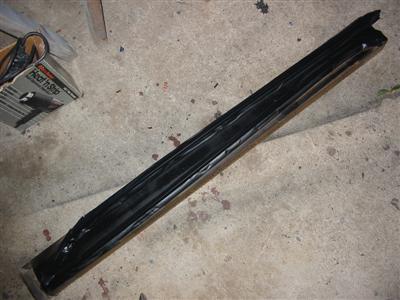
| Here is the passenger side window felt installed. |
|
|
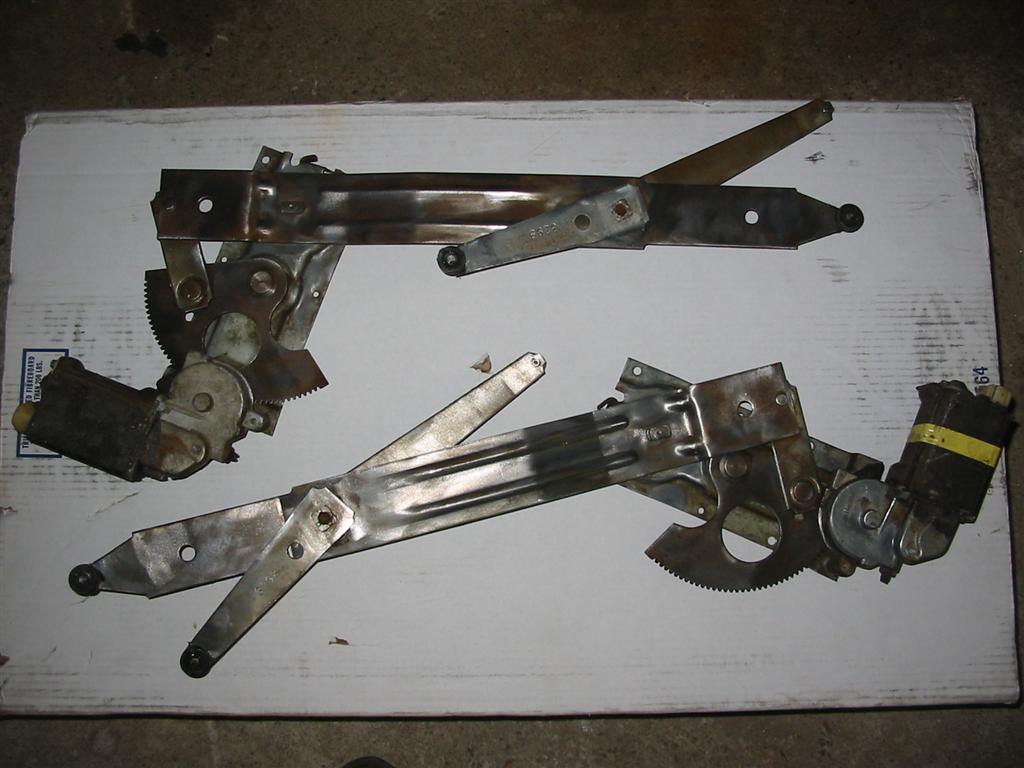
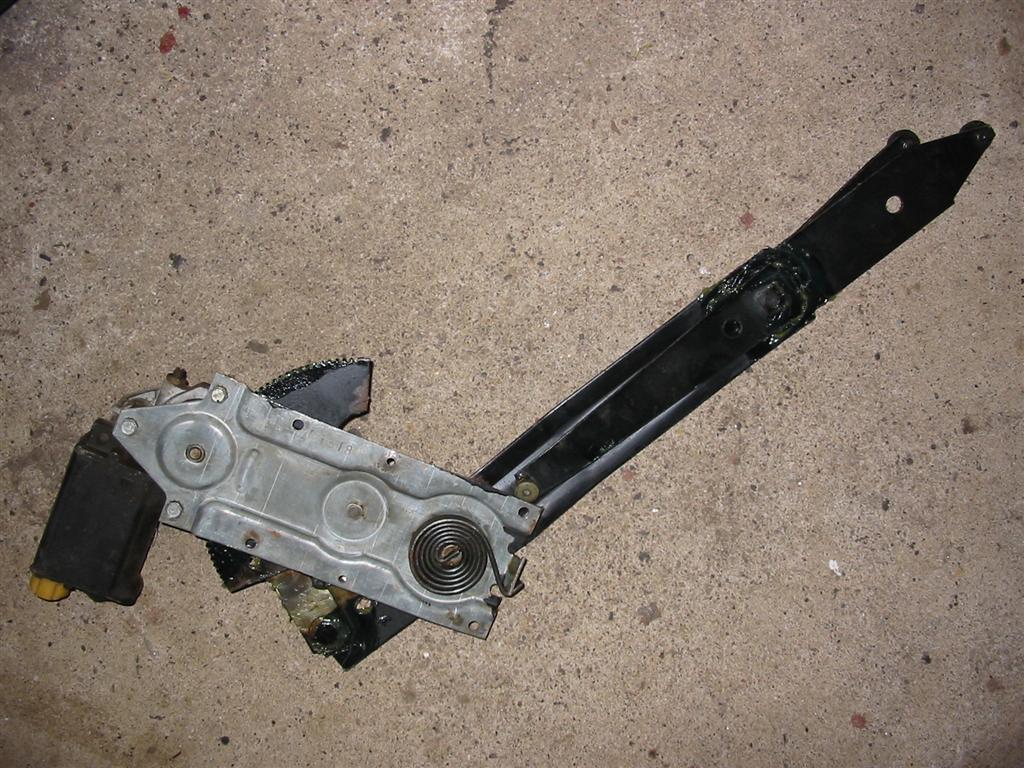
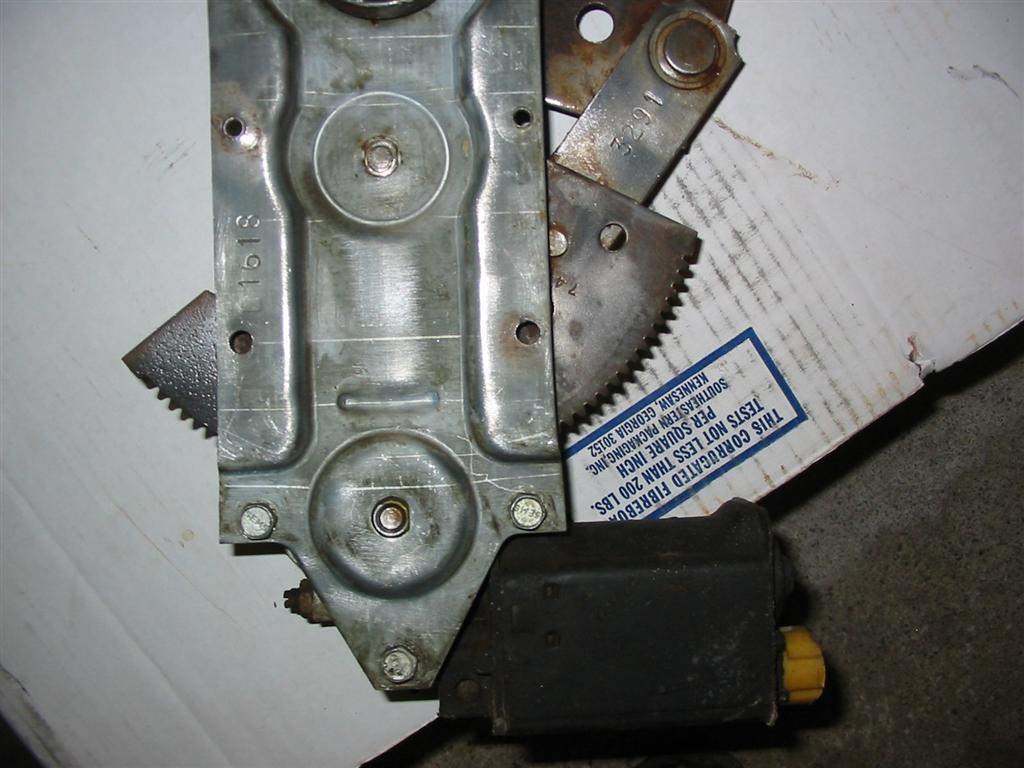
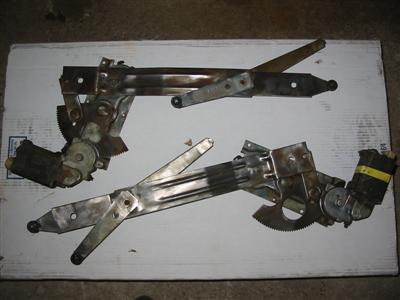
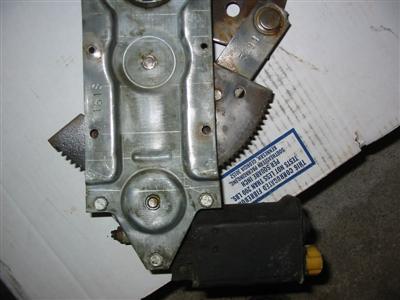
| Next I cleaned up and painted the power window regulators. |
|

|
|
|
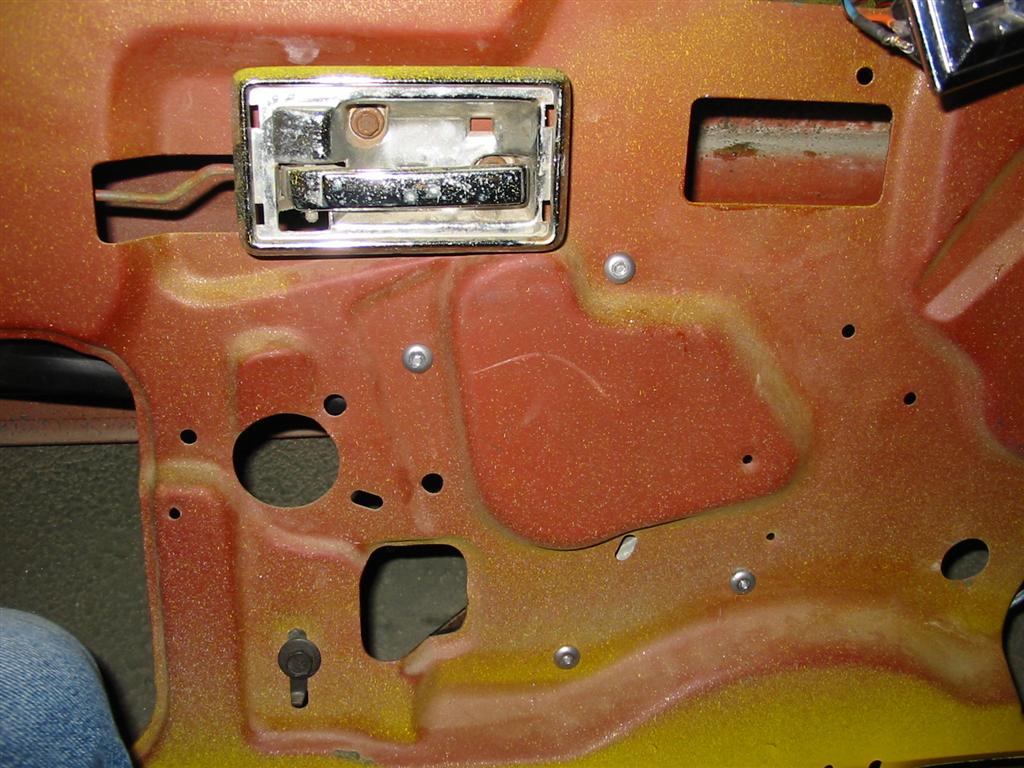
| Next I installed the regulators into the doors. The holes to mount the regulators were
already in the doors. I used the special door rivets to mount the regulators. |
|
|
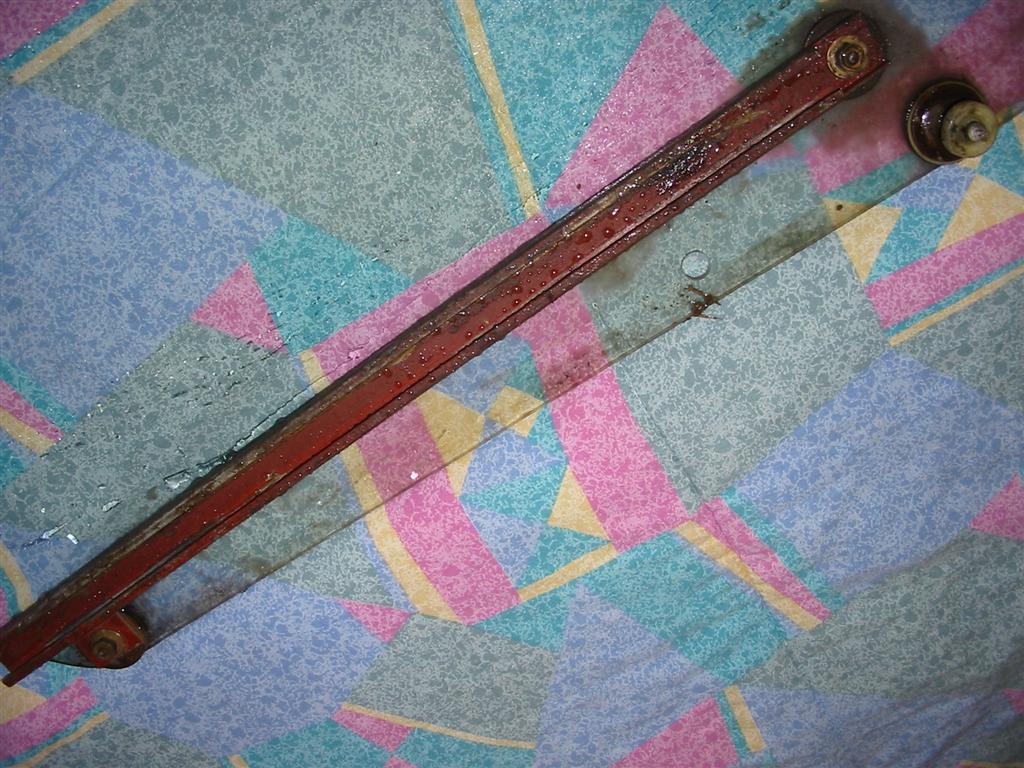
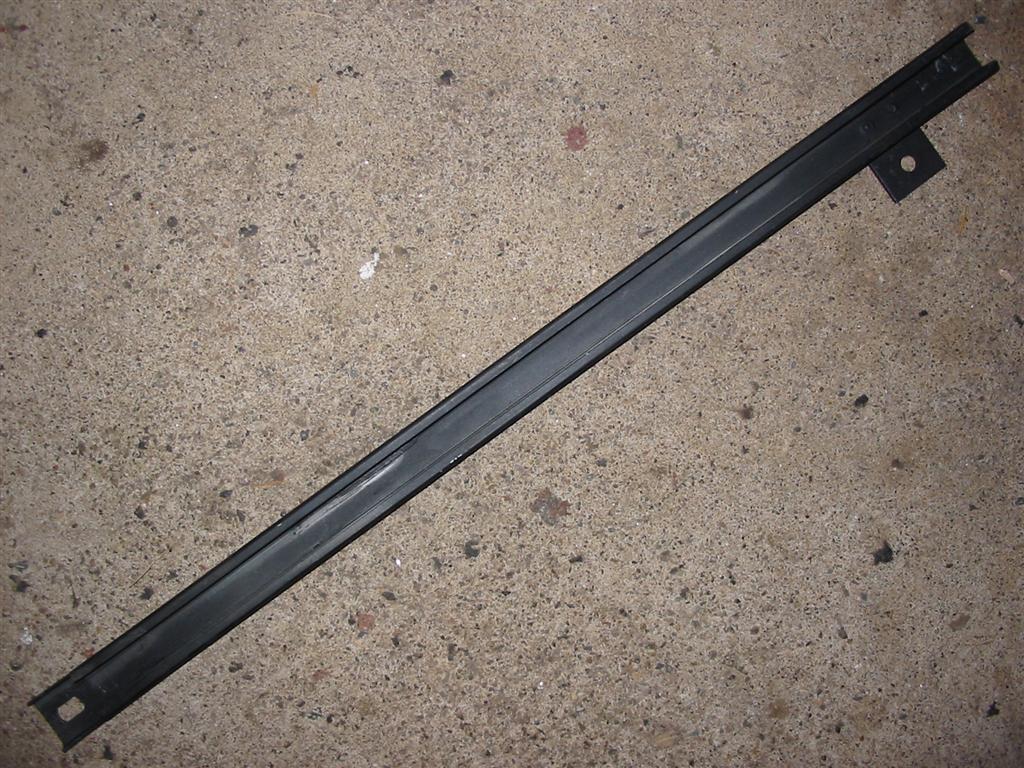
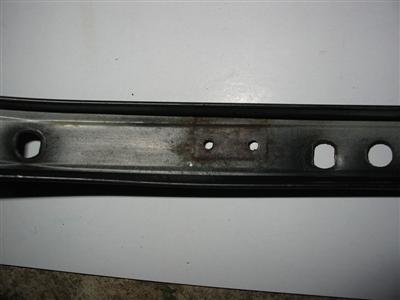
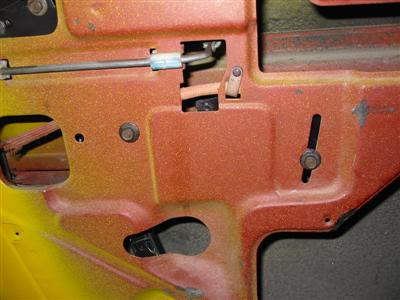
| The next step was to mount this horizontal track that the regulator rides in. |

|
|
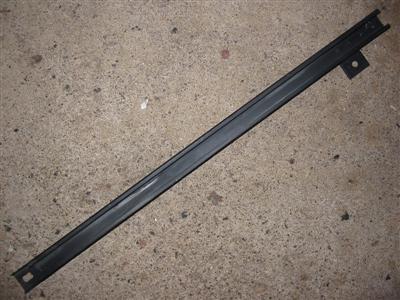
| Here is a picture of the track at the bottom of the window. I remove them, cleaned them
and painted them. To install the window, these are removed and mounted to the regulator.
The regulator needs to be lowered to the point where you can see the mounting holes for
these tracks. |

|
|
|
|
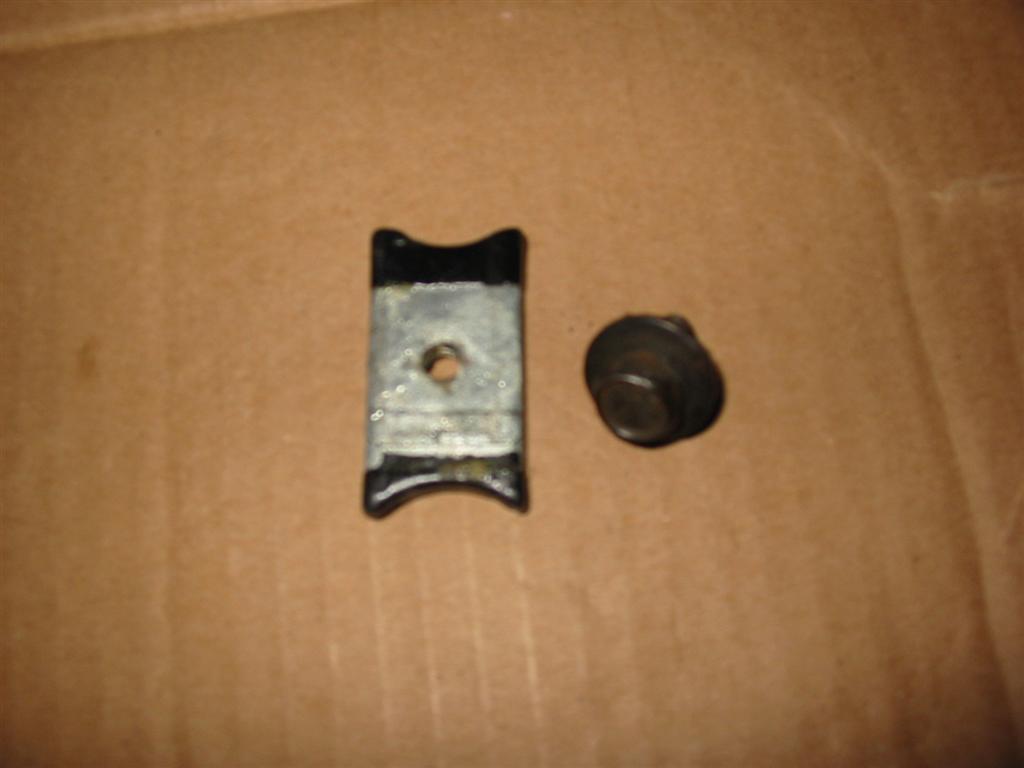
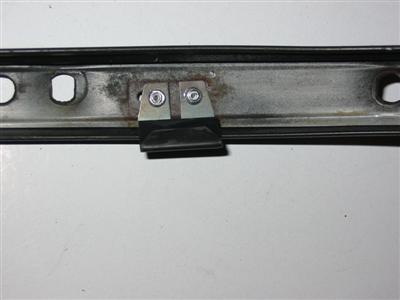
| These are the window stops that are mounted to the top of the tracks. These keep the windows
from coming out of the top of the tracks. They also need to be removed to slide the glass
down into the tracks. |
|

|

|
|
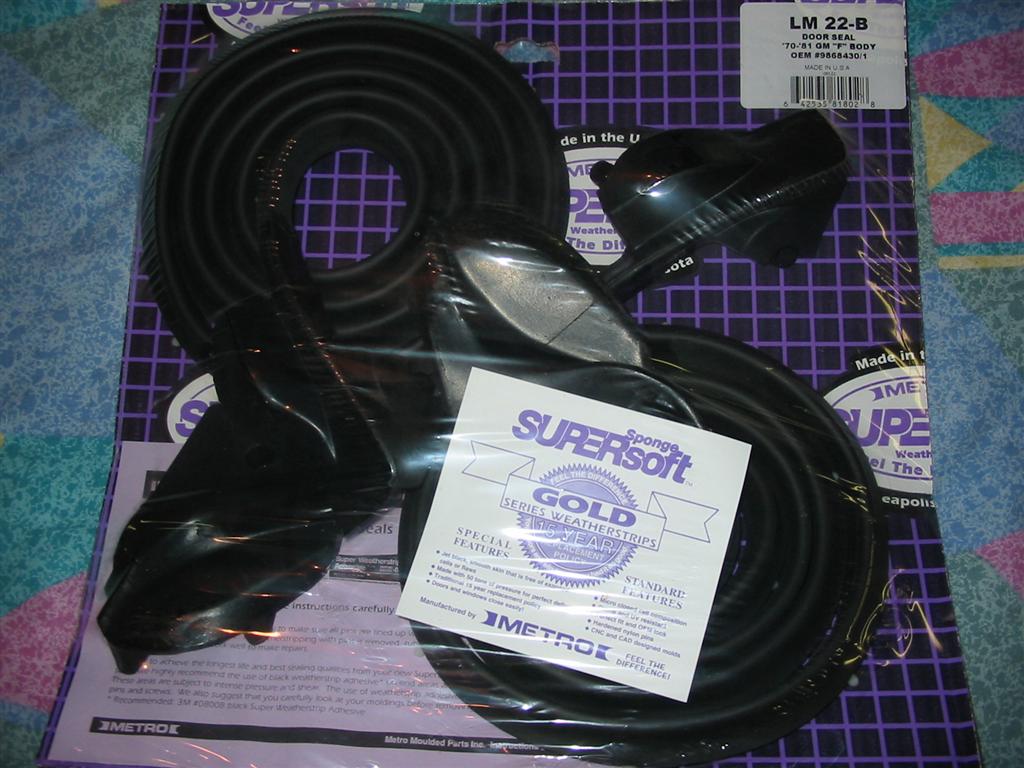
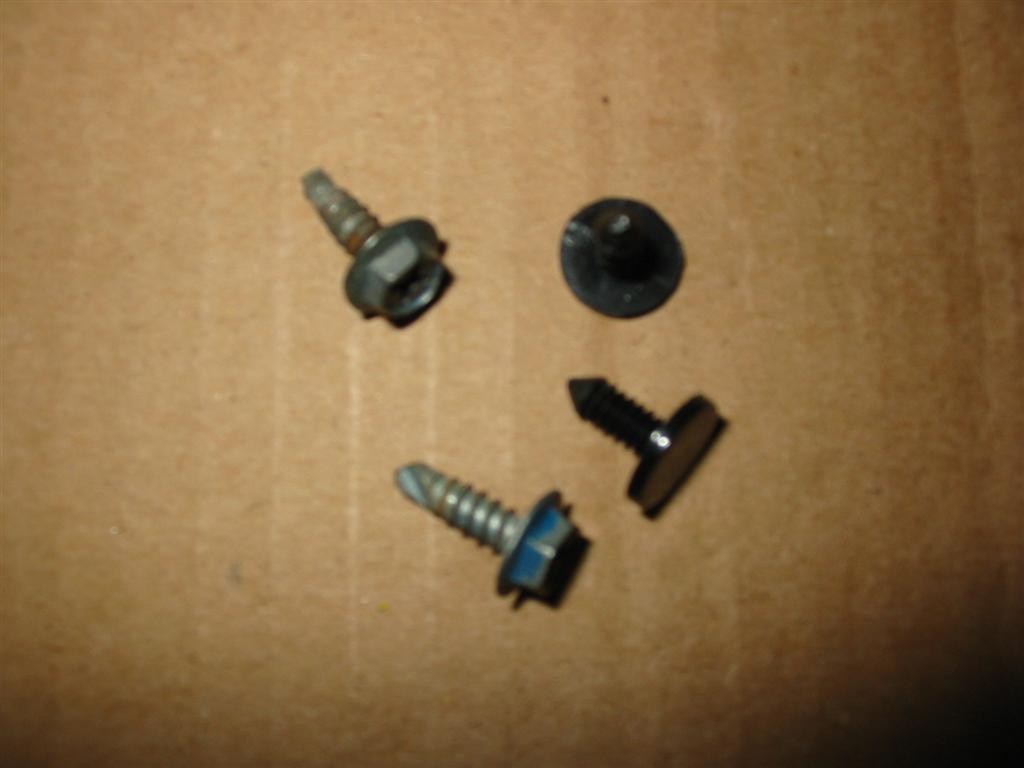
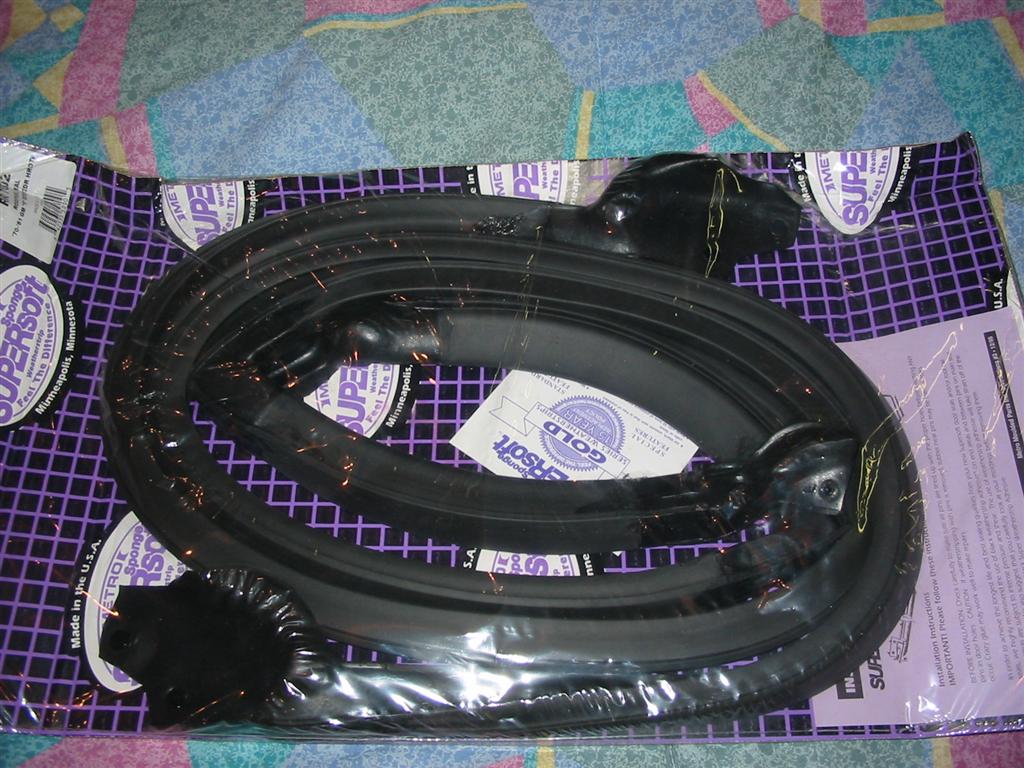
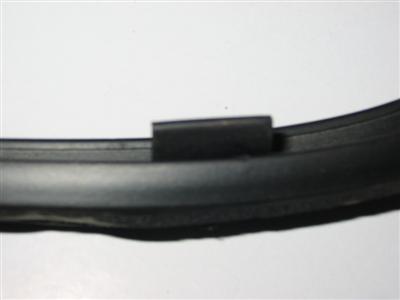
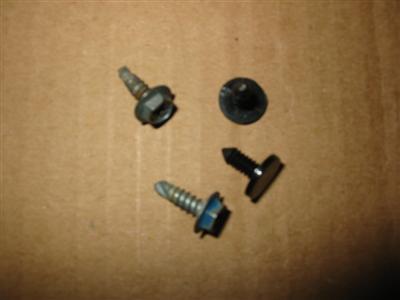
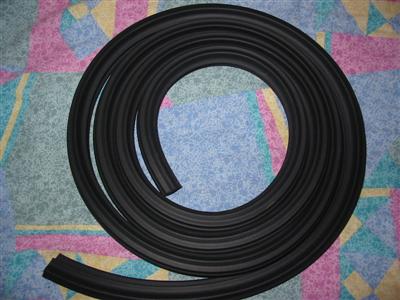
| Next was the weatherstripping that mounts around the door. I decided to replace the push pins
on the edge of the weatherstripping with the screws from the original weatherstripping. The
weatherstripping is installed with pushpins and a little bit of 3M adhesive. |
|
|
|
|
| I then installed the weatherstripping that mounts to the body around the door opening. |

|

|

|
|
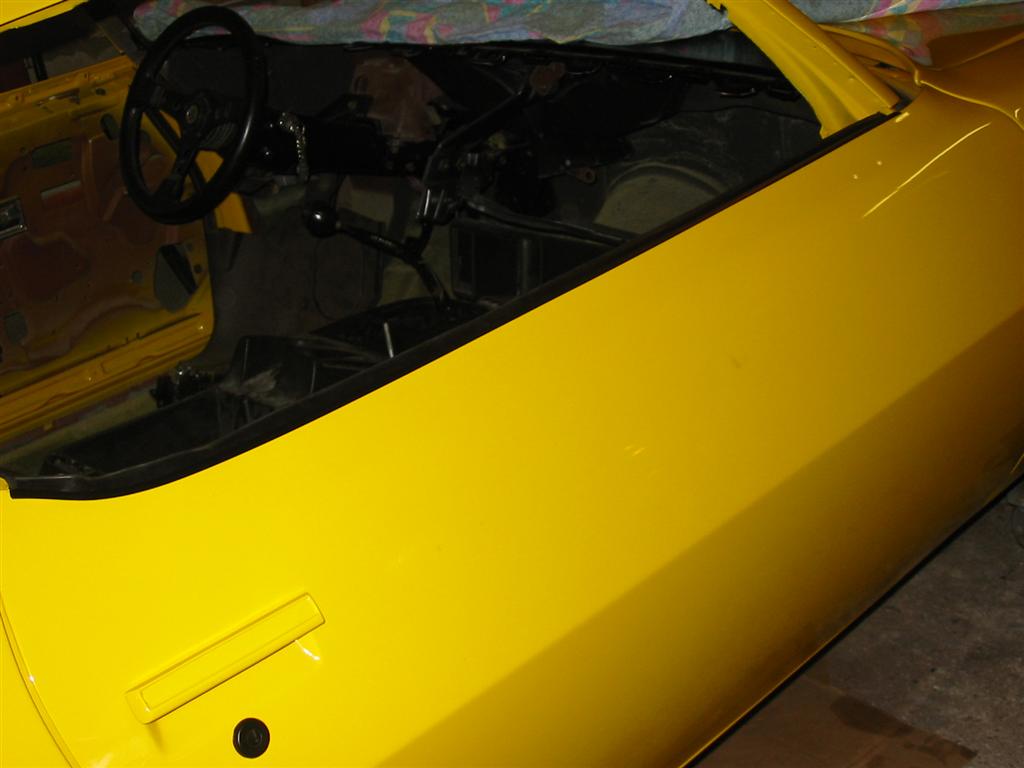
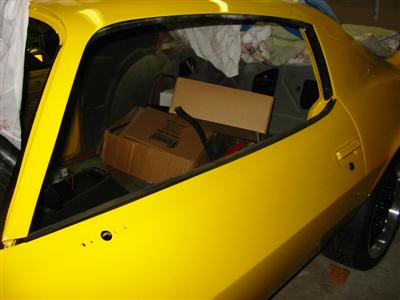
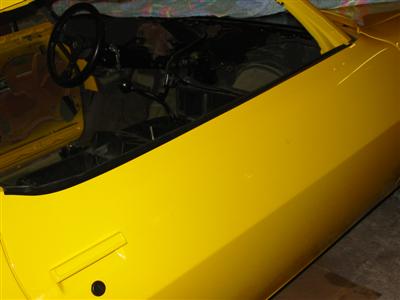
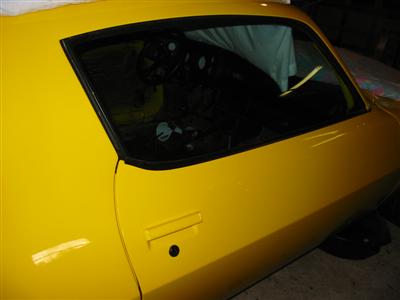
| Here is a door with the weatherstripping and glass installed. |
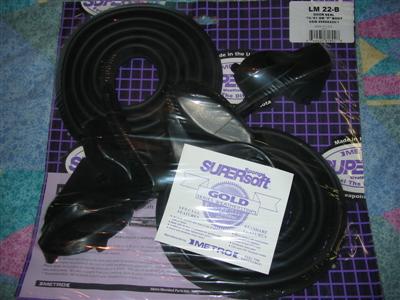
Here is a harness I picked up for the power windows. This is a generic harness that I picked up. |
|
|
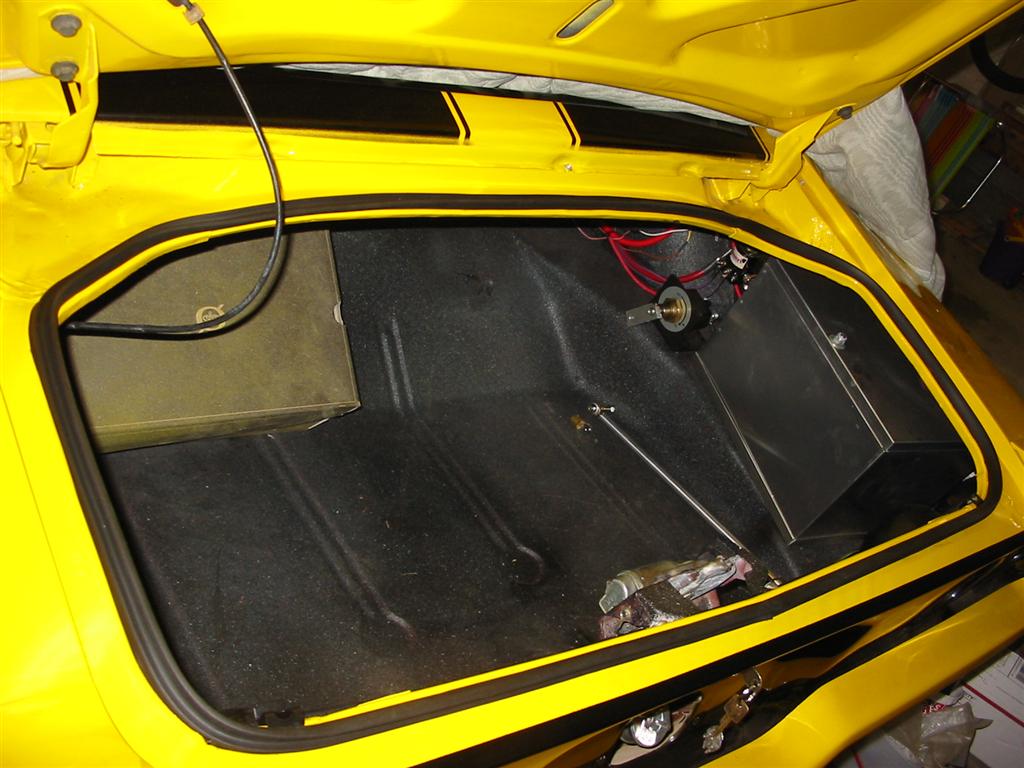
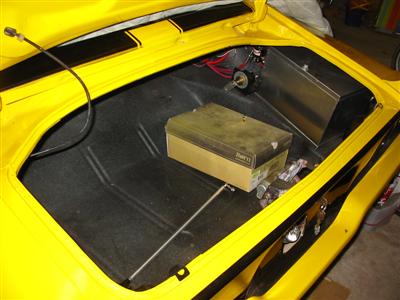
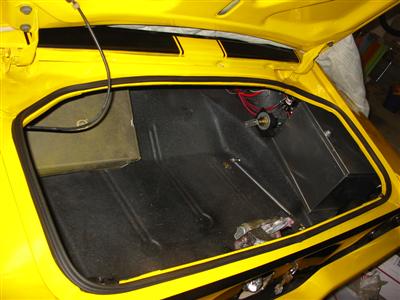
| Here is the installation of the trunk weatherstripping. |
|
|
|
|