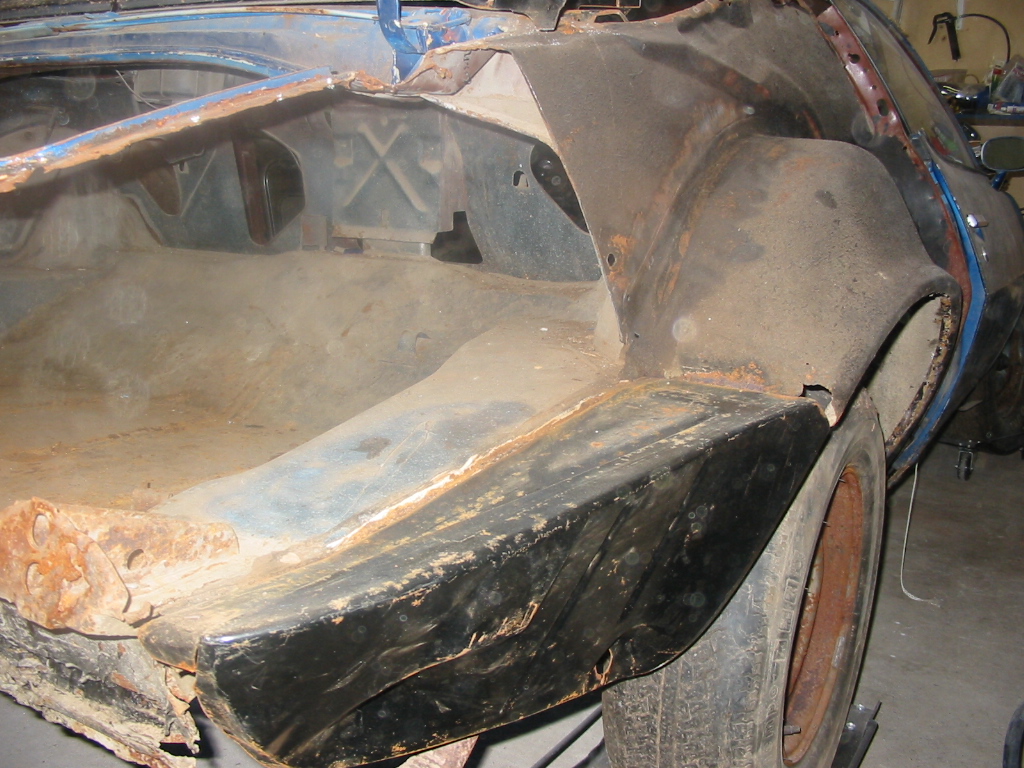
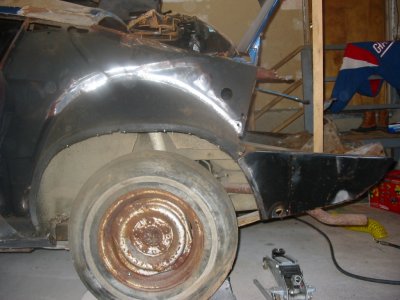
| Right Rear of the car with the filler tacked in from 1989 |
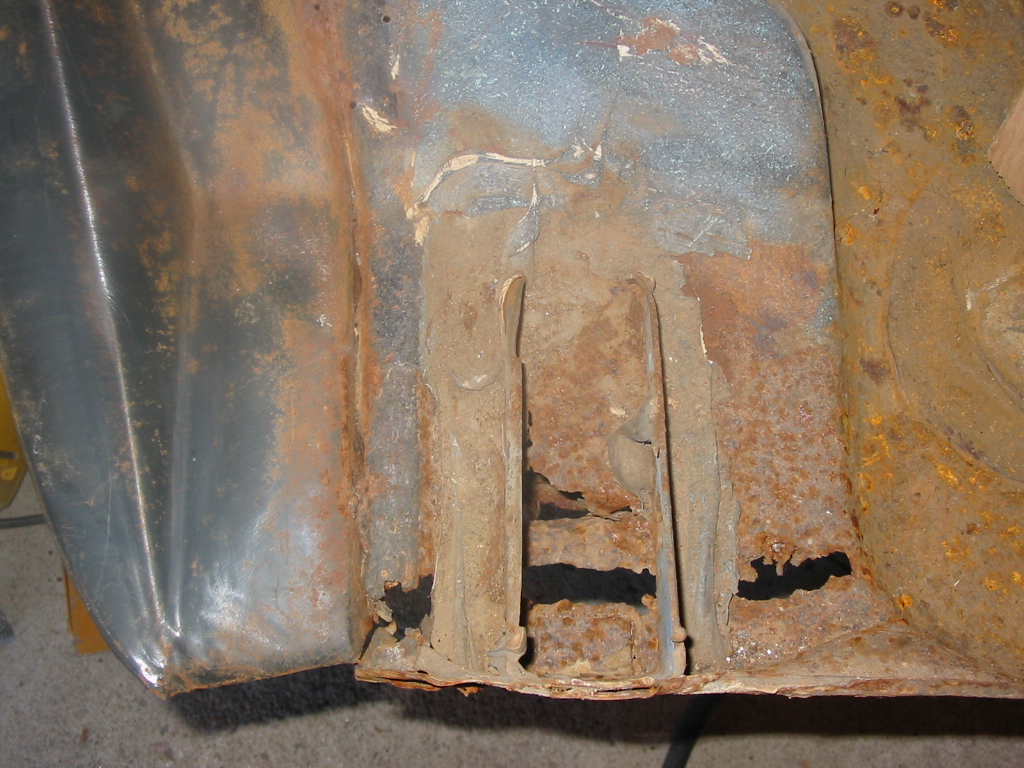
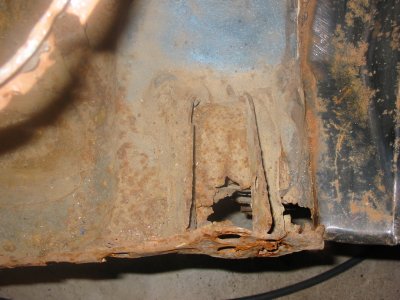
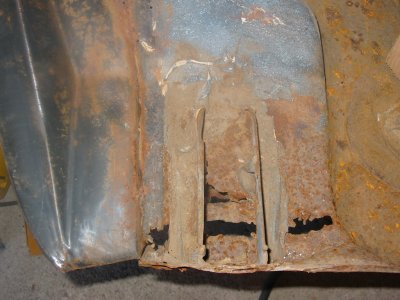
Closeup of the hole in the trunk floor on the right side |

|
|
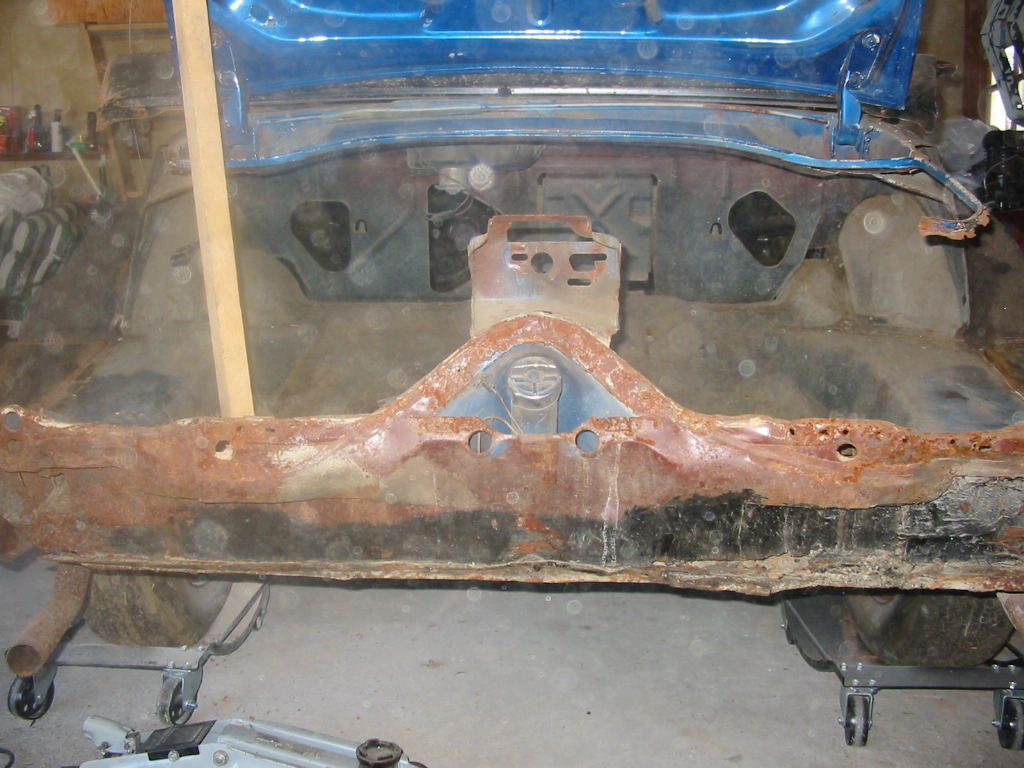
| Rear of car. |
Closeup of the hole in the trunk floor on the left side |

|
|
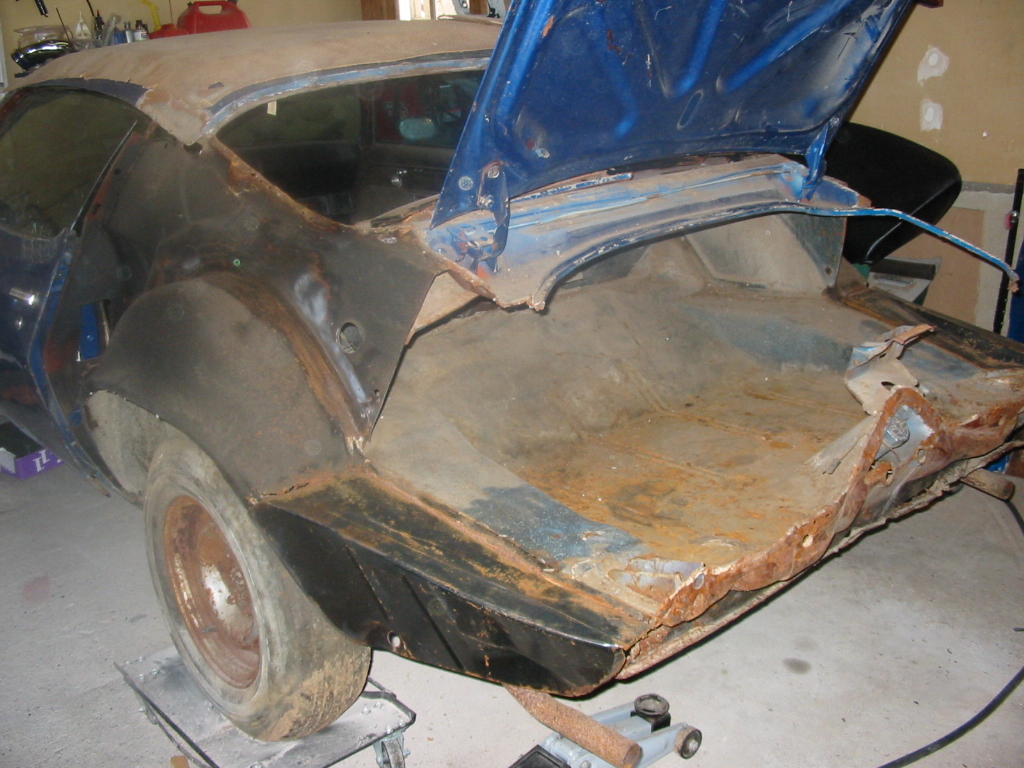
| Left Rear of the car with the filler tacked in from 1989 |
|
|

|
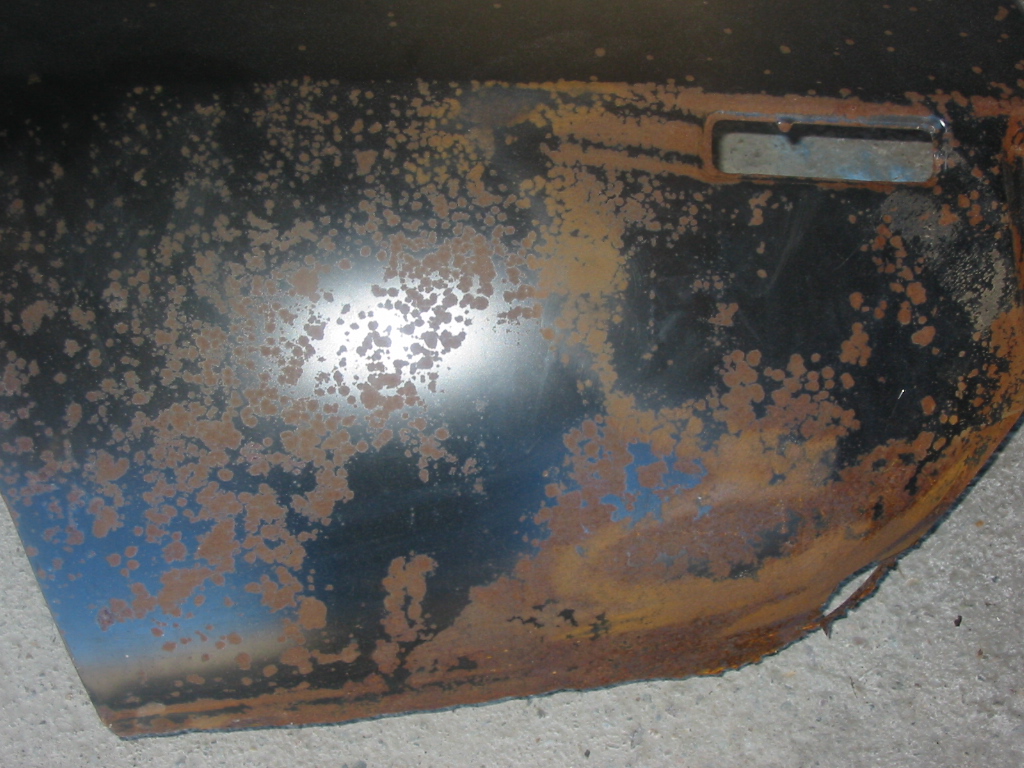
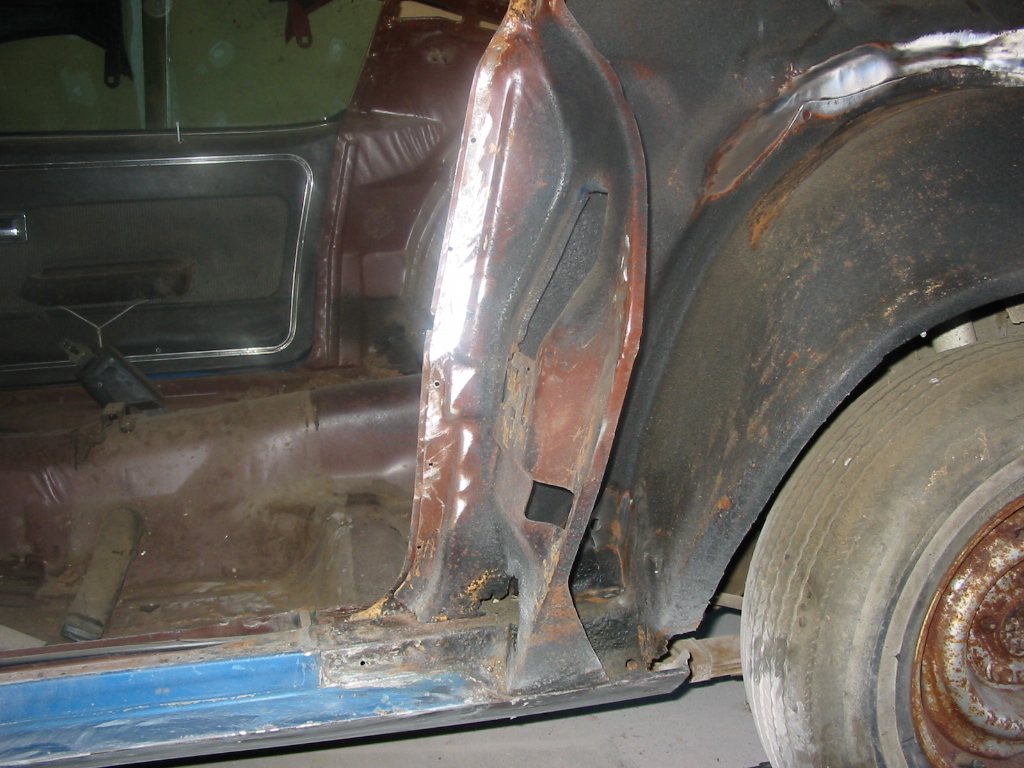
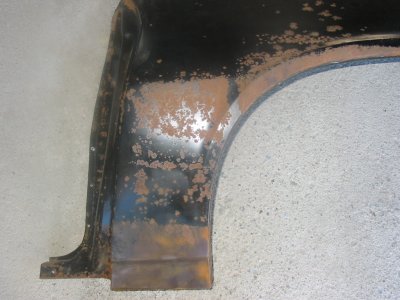
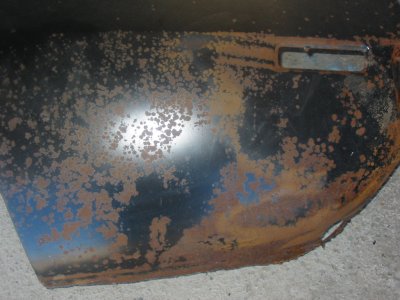
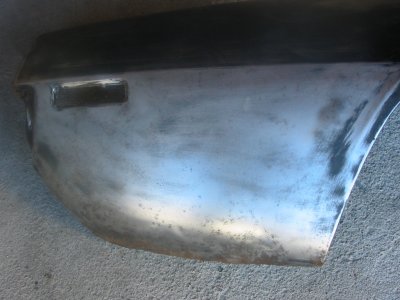
| Closeups of the left NOS GM quarter panel. Unfortuantely, the quarter panel
rusted sitting in the barn and will need to be patched. |
|
|
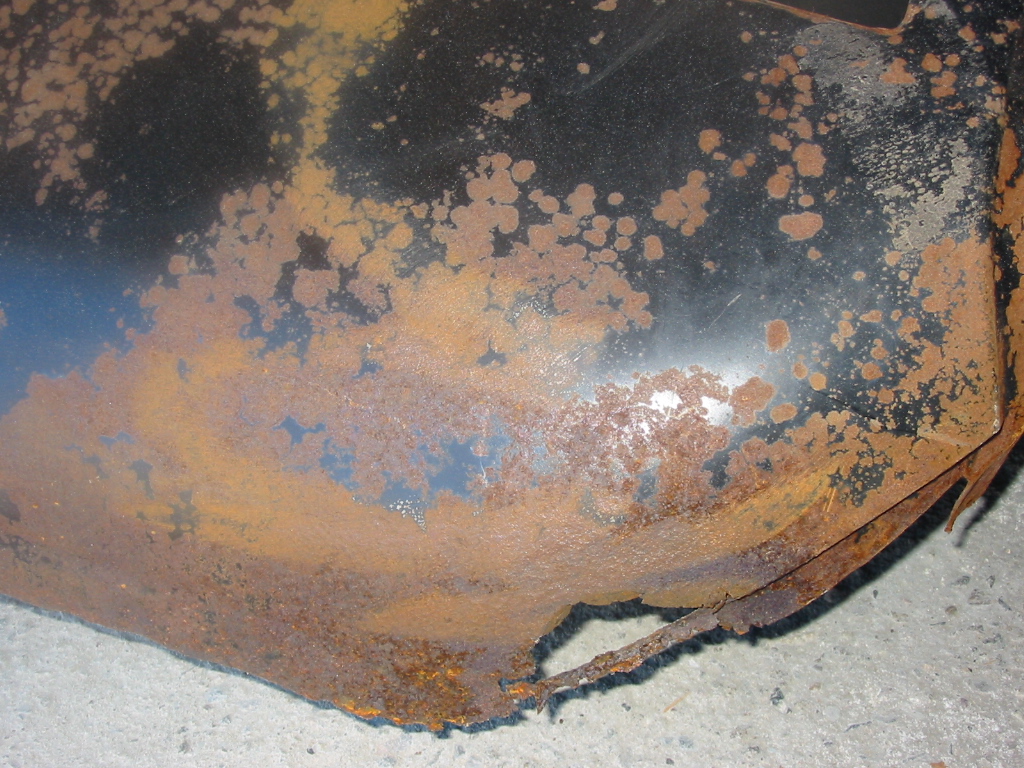
| Another shot of the Left quarter panel |
GM NOS tailpanel. It just has some surface rust to clean off |
|

|
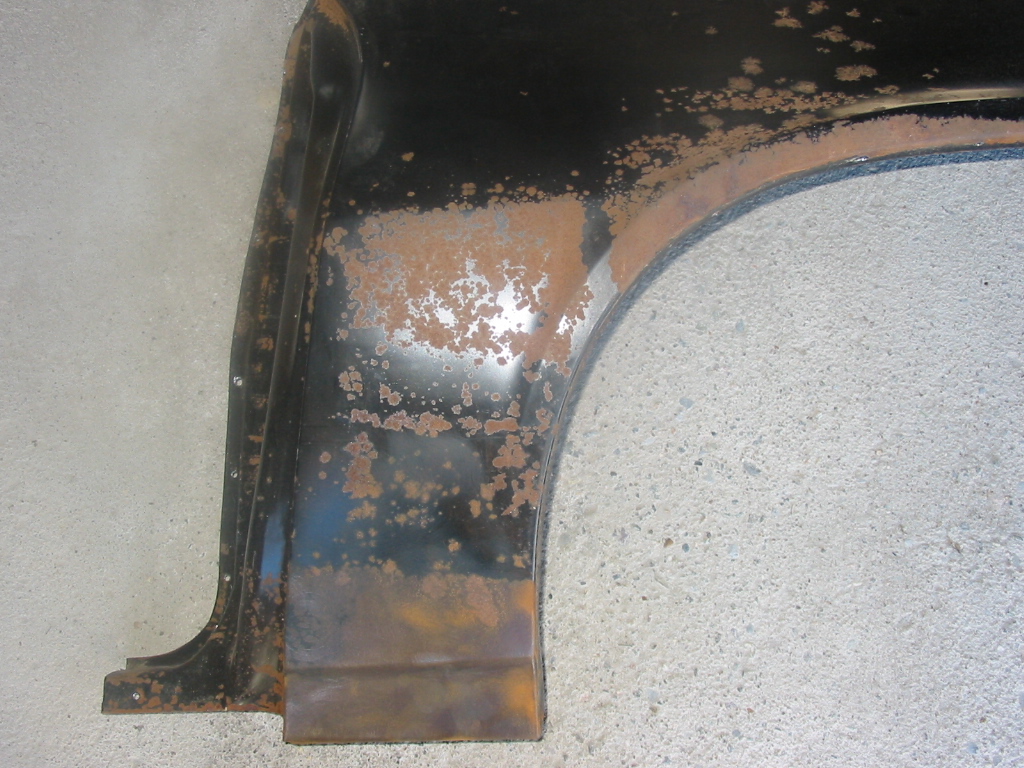
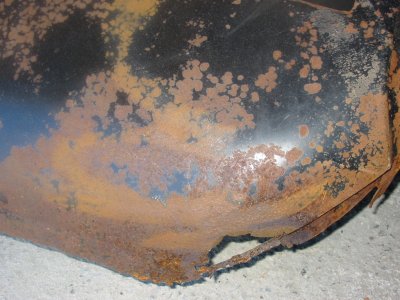
| Closeups of the right NOS GM quarter panel. This quarter panel did not
rust as badly sitting in the barn and will not need to be patched. |

|

|
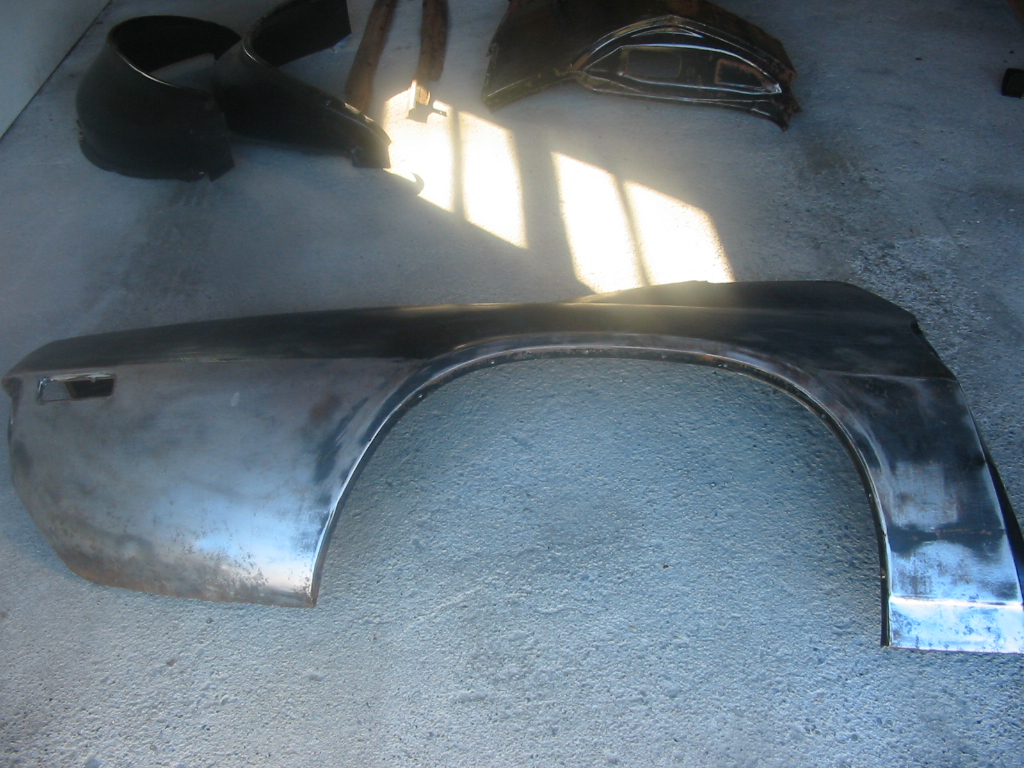
| More Shots of the right quarter panel |
|

|
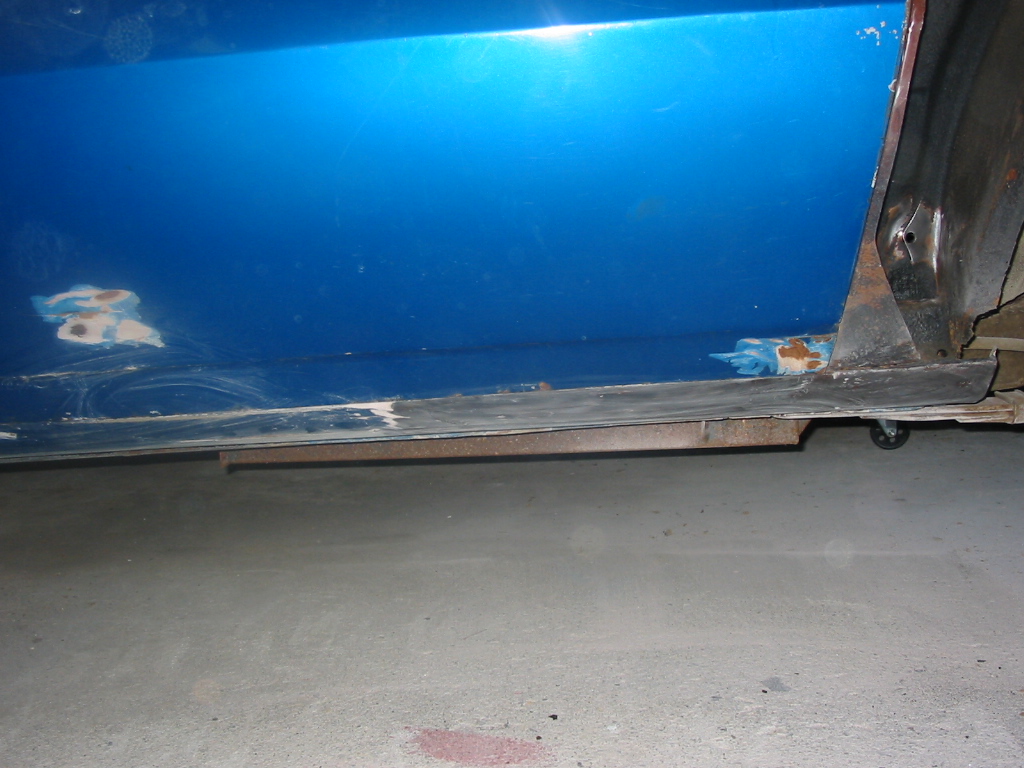
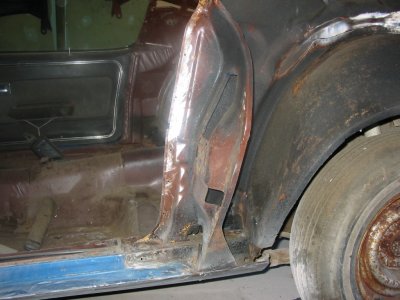
| A shot of the left side door and rocker |
Left Rocker panel. This part is rust free. |
|

|
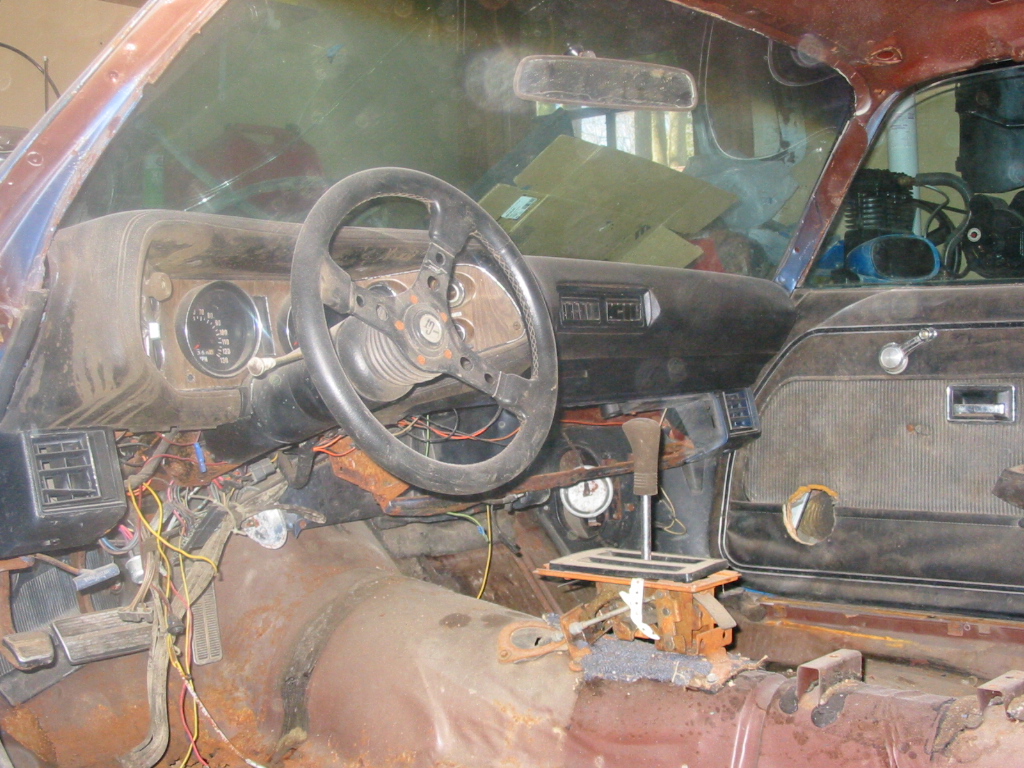
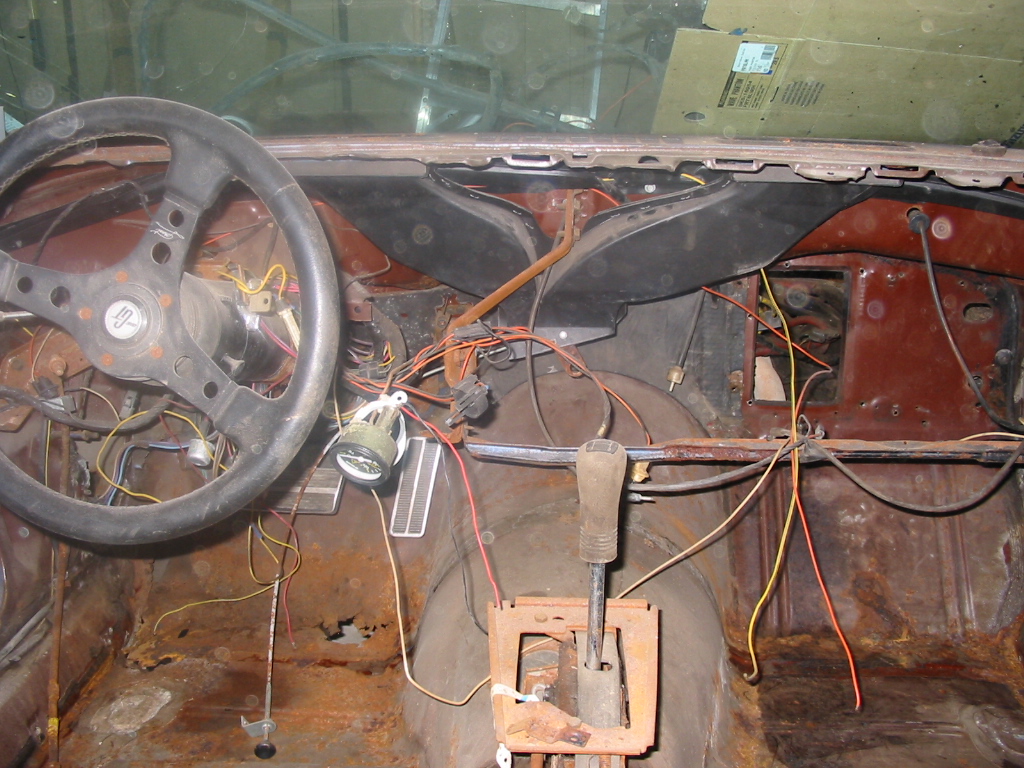
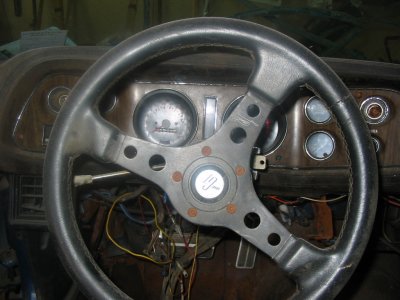
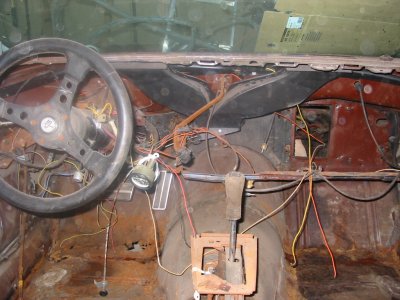
| Picture of interior before. |
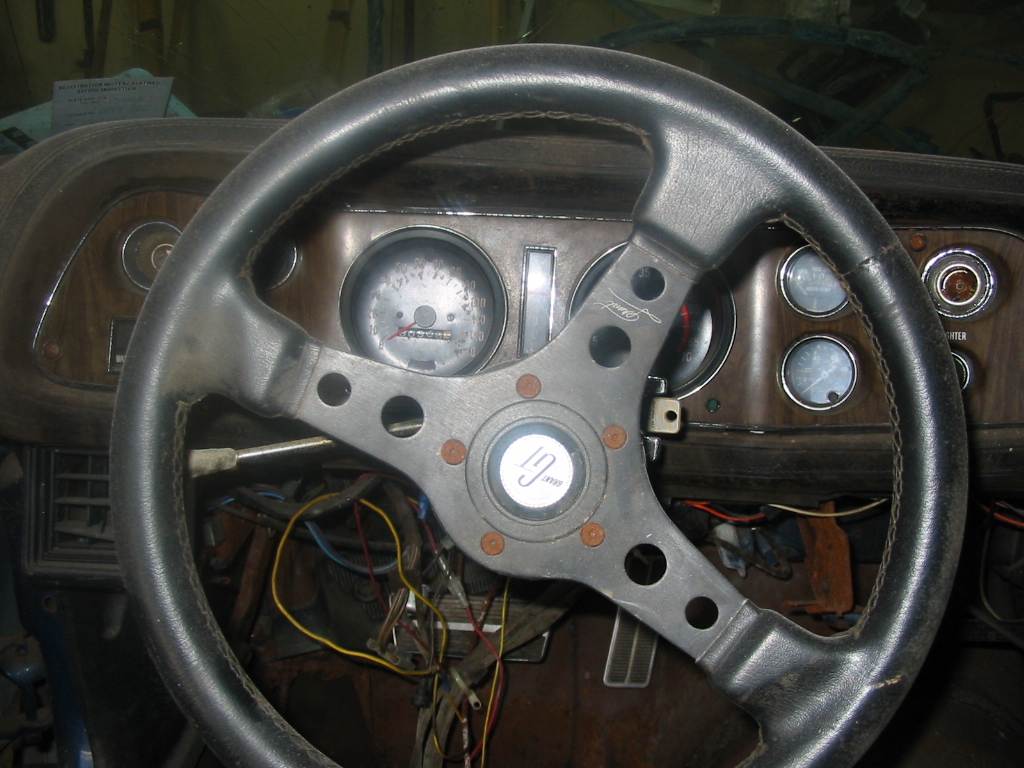
The dashboard |

|
|
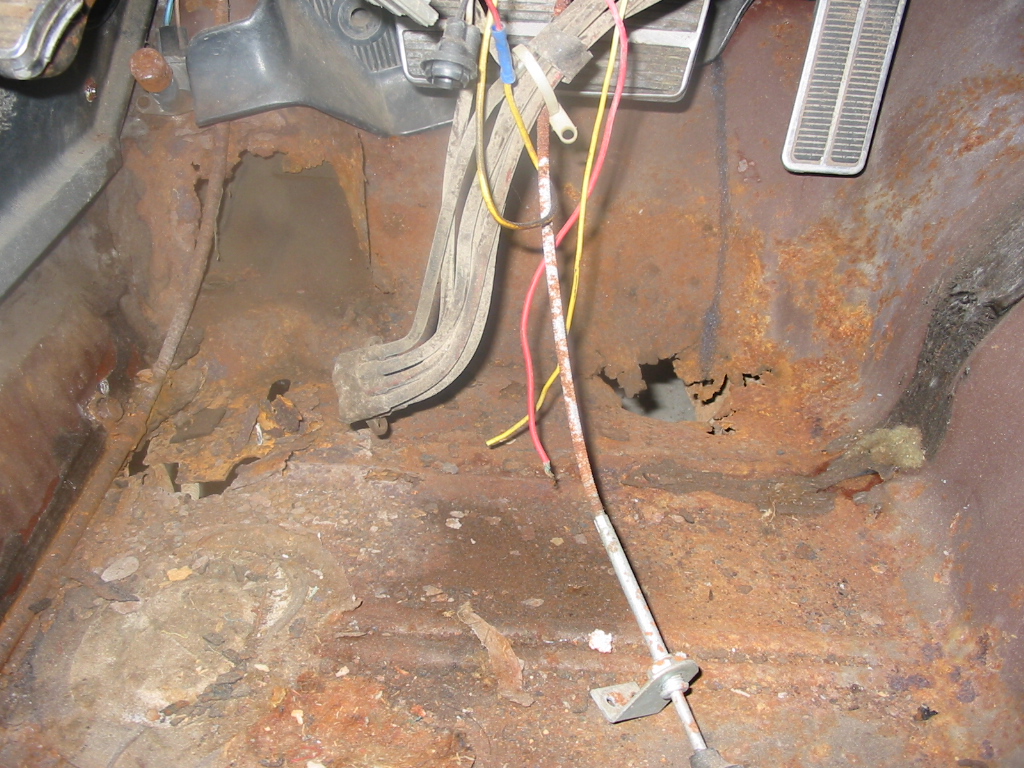
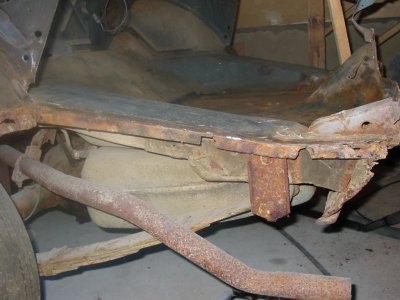
| The left floor. This needs patching |
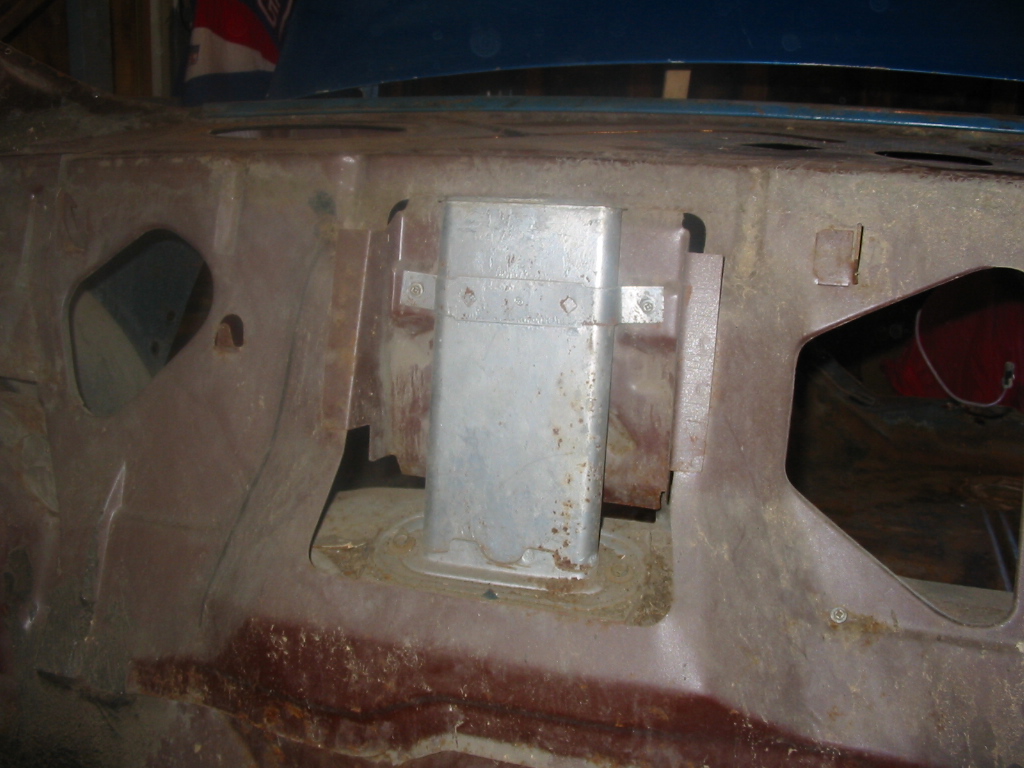
A picture of some item between the rear seats and the trunk that is connected
to the fuel system |

|

|
| Here is the interior stripped of the dash |
Here is the left trunk with the filler removed. |
|
|
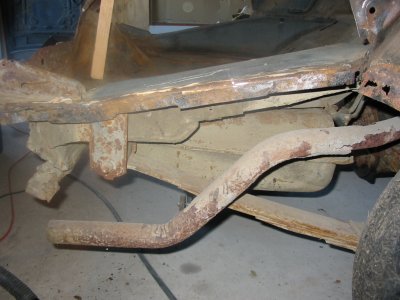
| Here is the right trunk with the filler removed. |
|
|
|