|

Tail Panel Install (August 25, 2005)
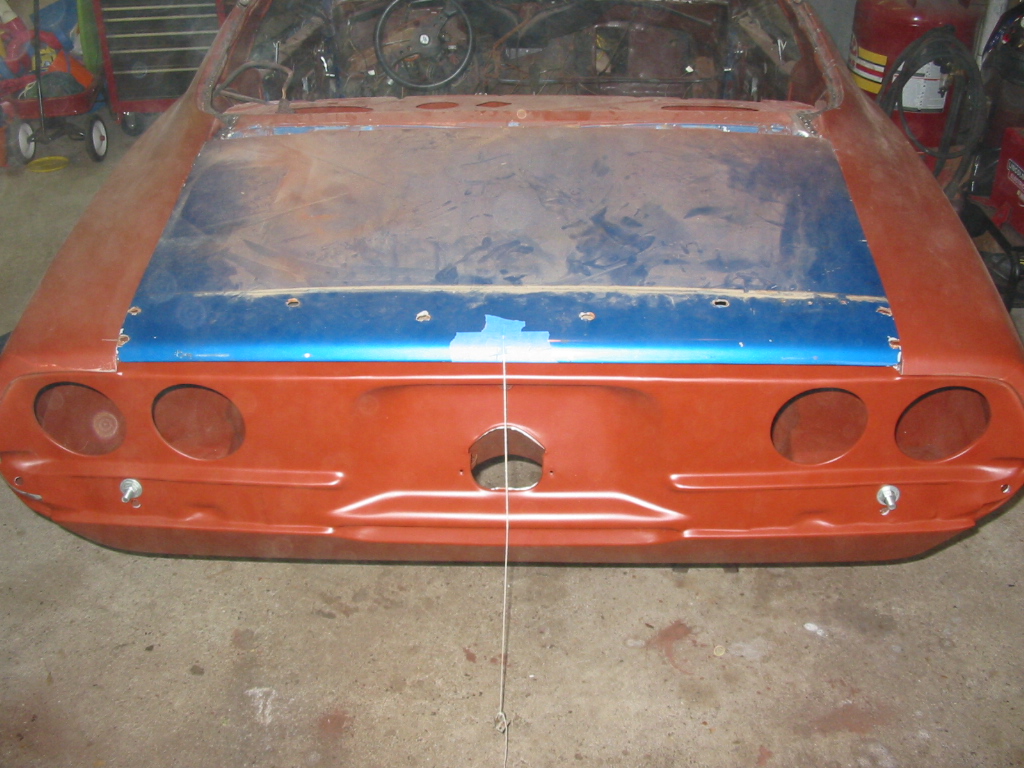
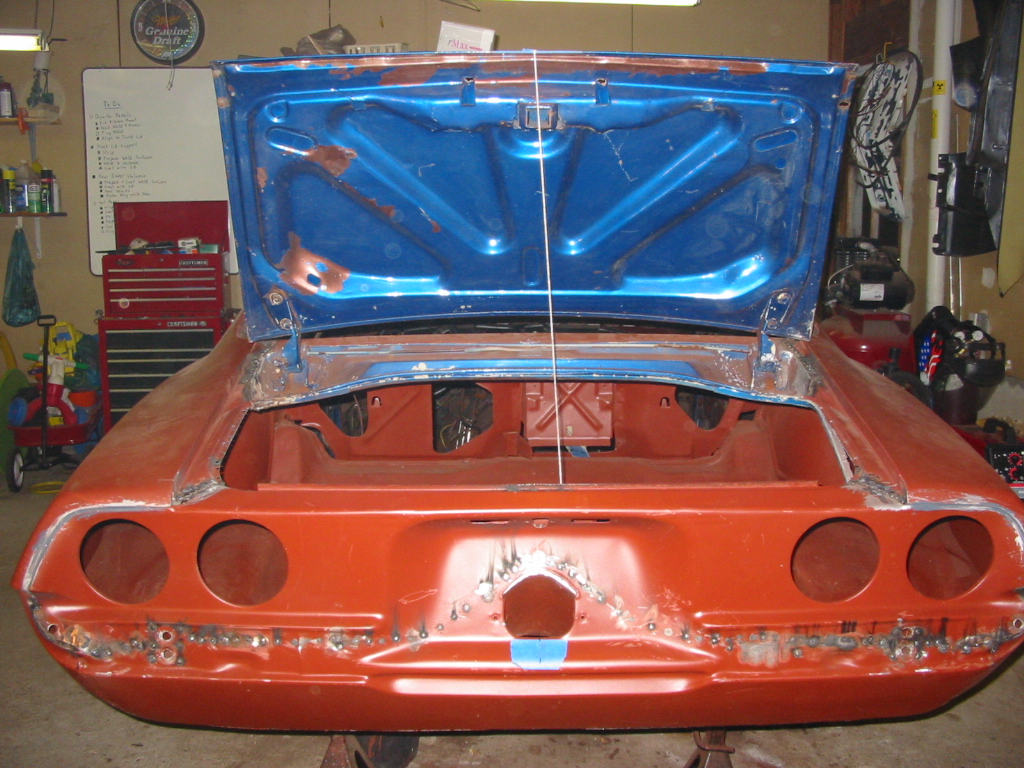
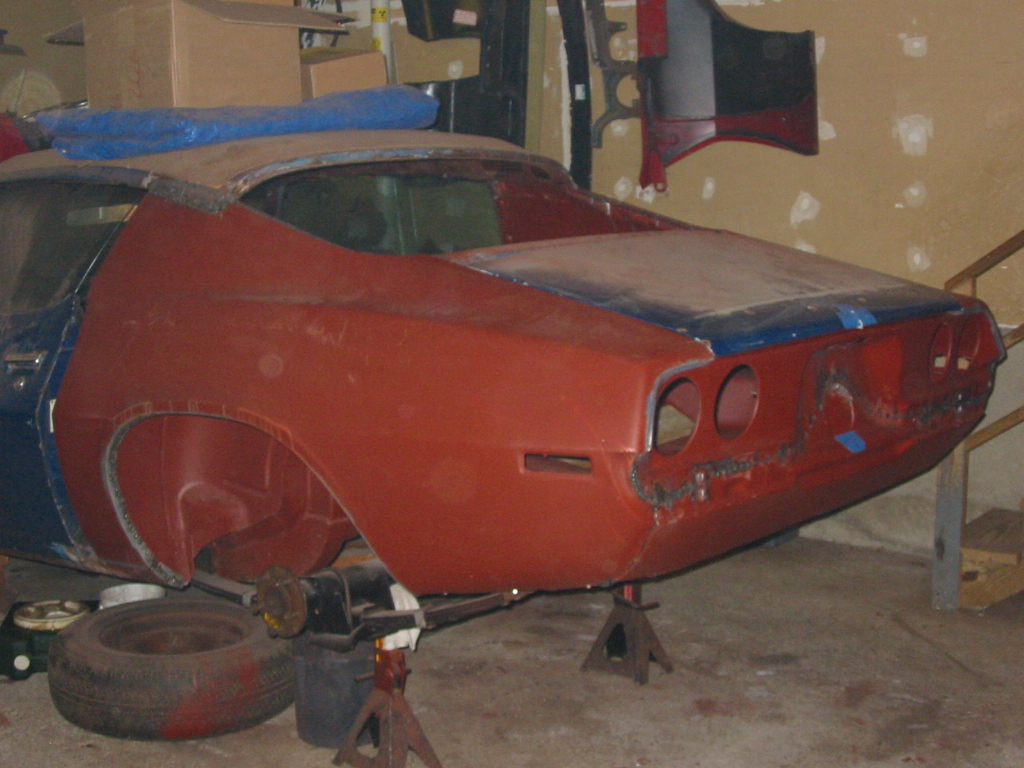
Here are the pictures of the Tail Panel replacement. I have owned the Tail Panel and Quarter Panels since purchasing them from GM in 1989. I have finally installed them 16 years after buying them and over 2 years since I started this restoration project up again. All I have left on the rear of the car is the grinding down of all the welds and the final body work. All metal repairs are finally done. This is the first time I have ever seen my car all steel. When I bought it, it was mostly fiberglass and bondo in the rear.I mounted the Tail Panel using a combination of body panel adhesive and plug welds. I used the adhesive to mount the Tail Panel to the Quarter Panels near the Tail Lights. The rest was welded. Also pictured here is the final finishing of the Inner Valence. I coated the Inner Valance with ZeroRust and sealed up all my welds with Seam Sealer. Hopefully this car will never rust again in my lifetime.
Status photos as of 08/25/2005:
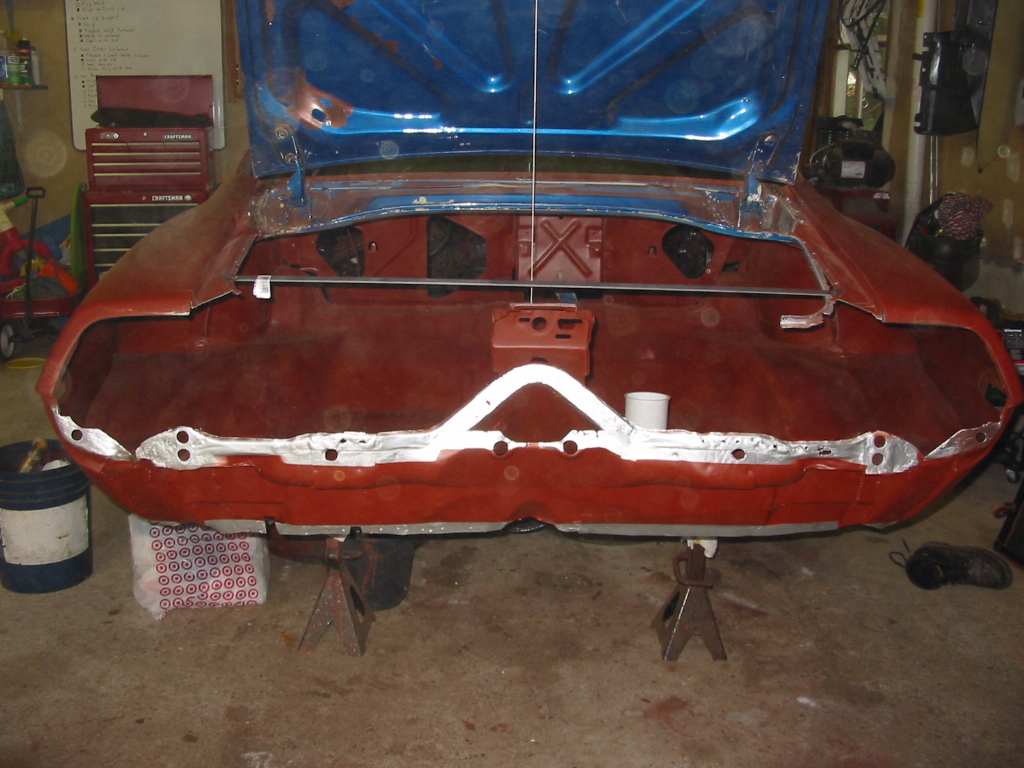
| Here is the Rear Inner Valance coated with ZeroRust and weldable primer. | Here is where the Rear Inner Valance meets the left Quarter Panel. |
|
|
| Here is where the Rear Inner Valance meets the right Quarter Panel. | Here is a picture of the Rear Inner Valance with all seams sealed. |
|
|
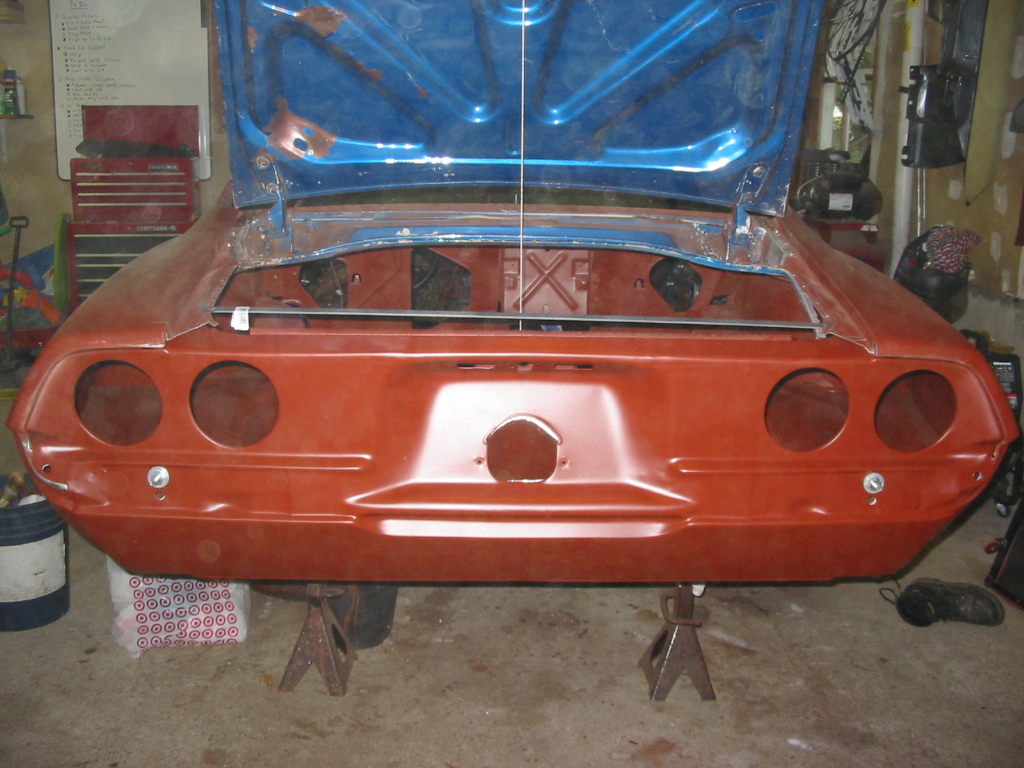
| Here are a few shots of the Tail Panel being prefitted | |
|
|
|
|
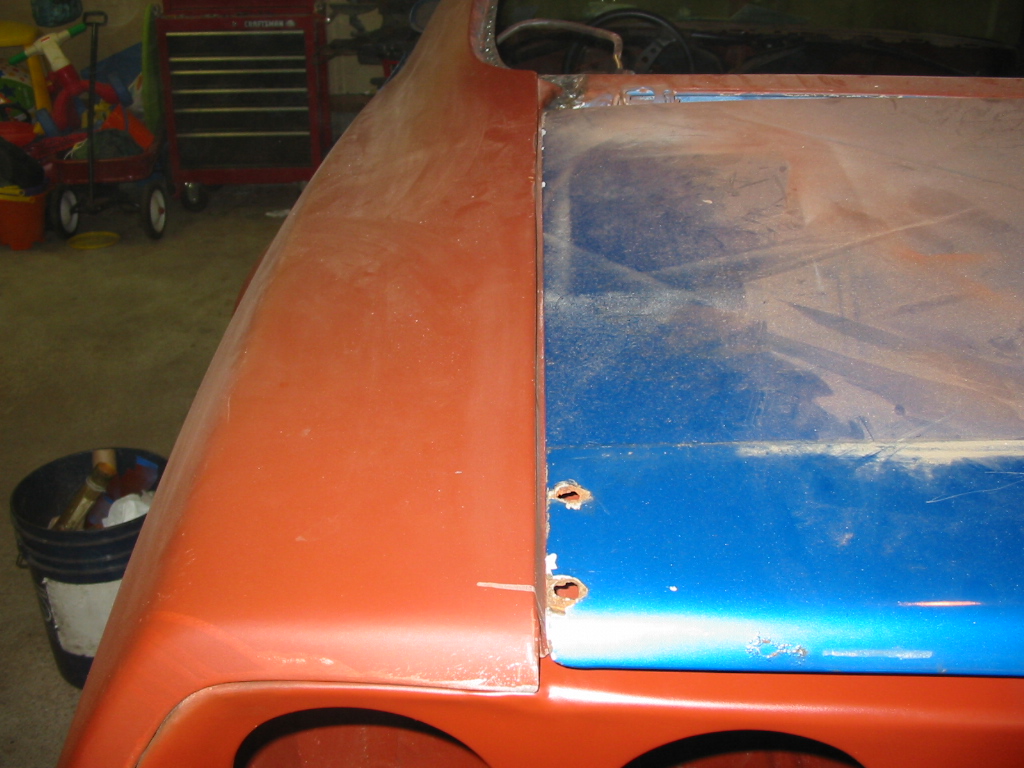
| Here are the Trunklid to Quarter Panel seams. | |
|
|
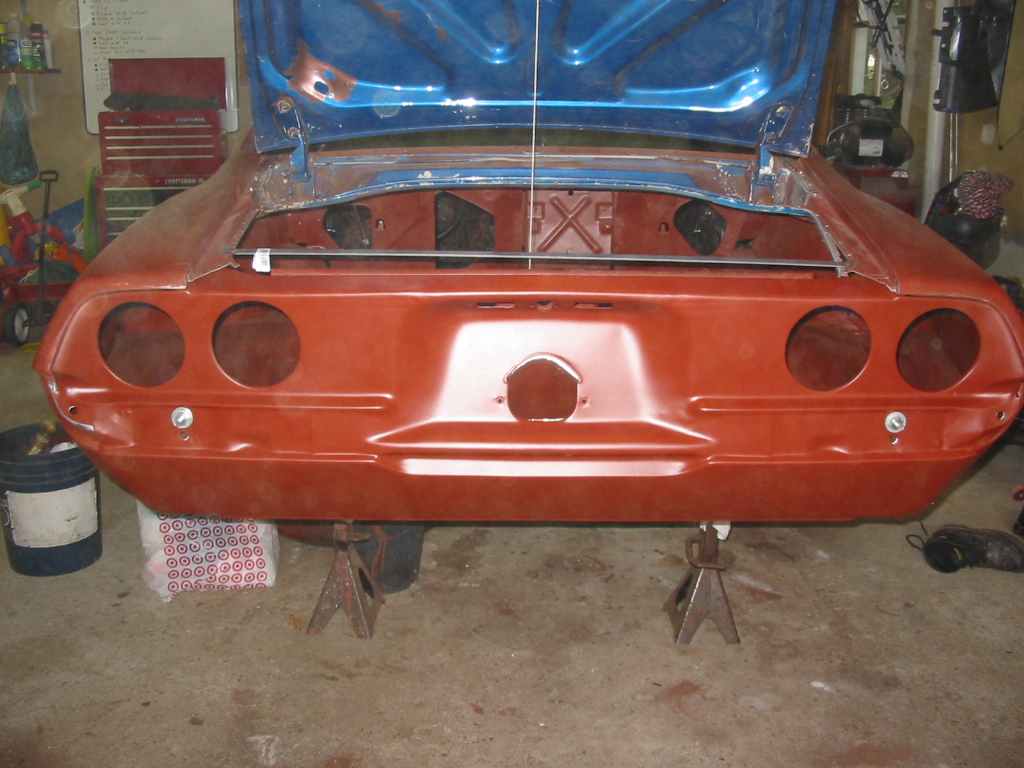
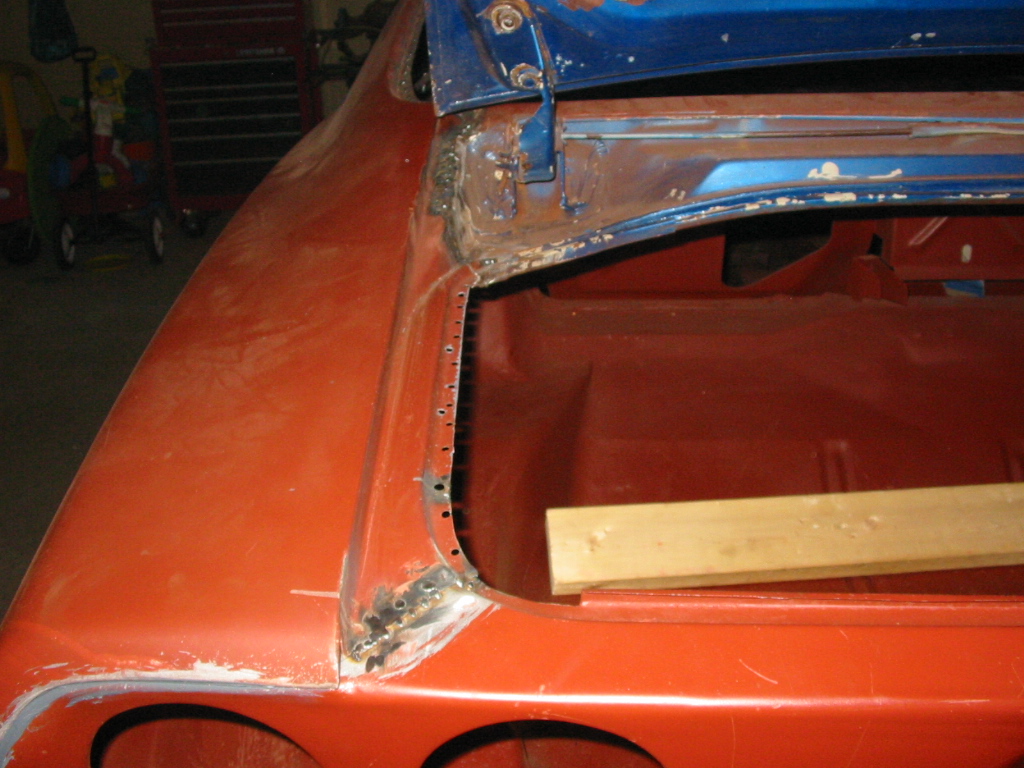
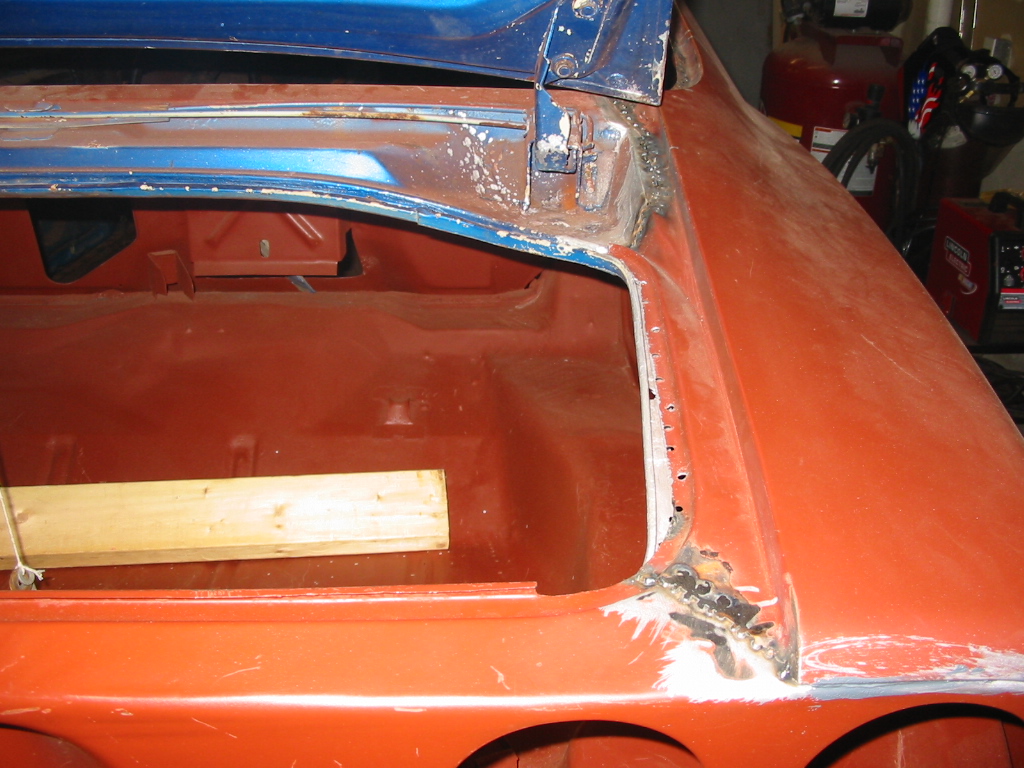
| Here is the Tail Panel glued into place. I then went and welded the bottom to the Inner Valance, the middle to the trunk floor and the tops to the quarter panels. | |
|
|
|
|
|
|
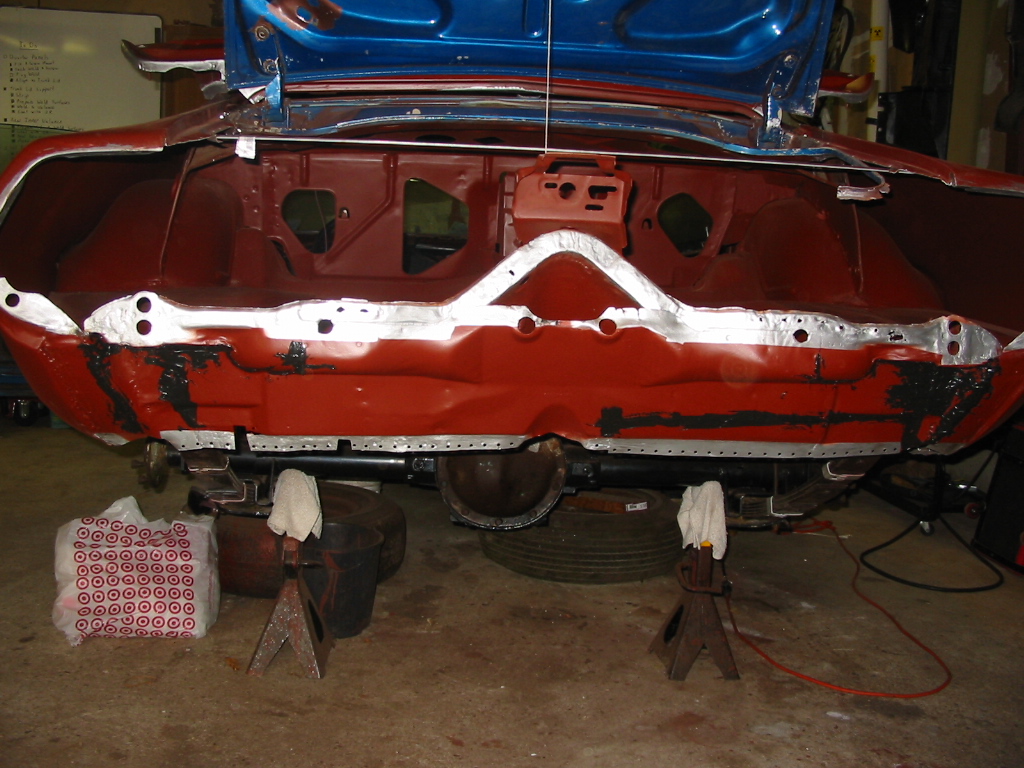
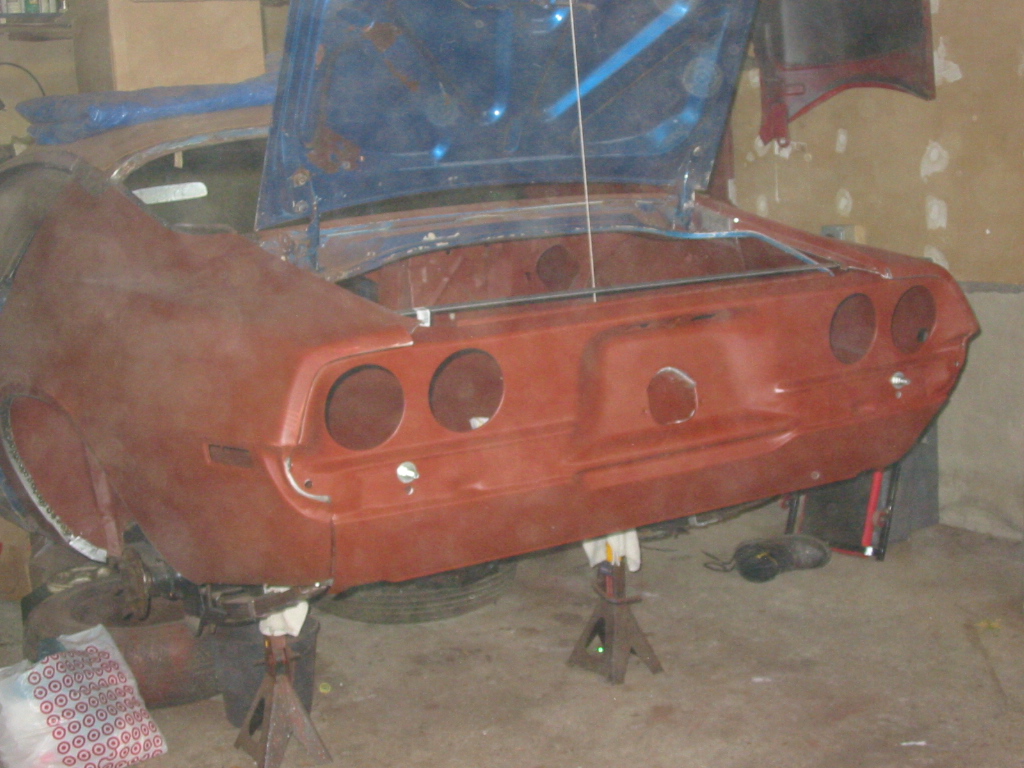
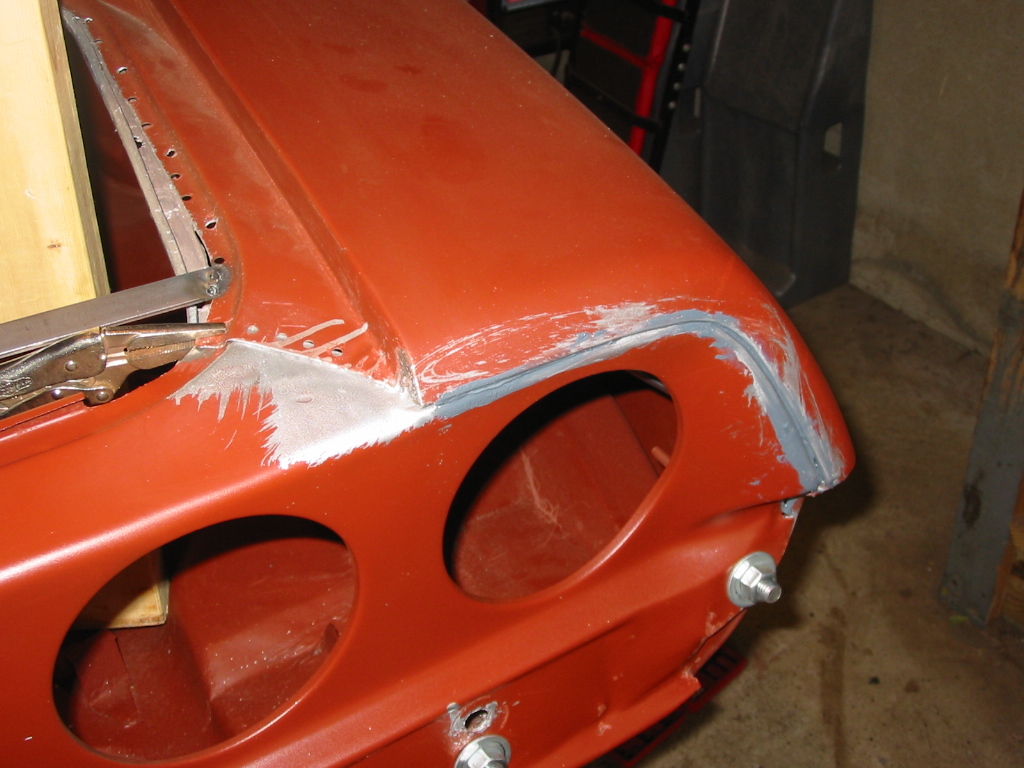
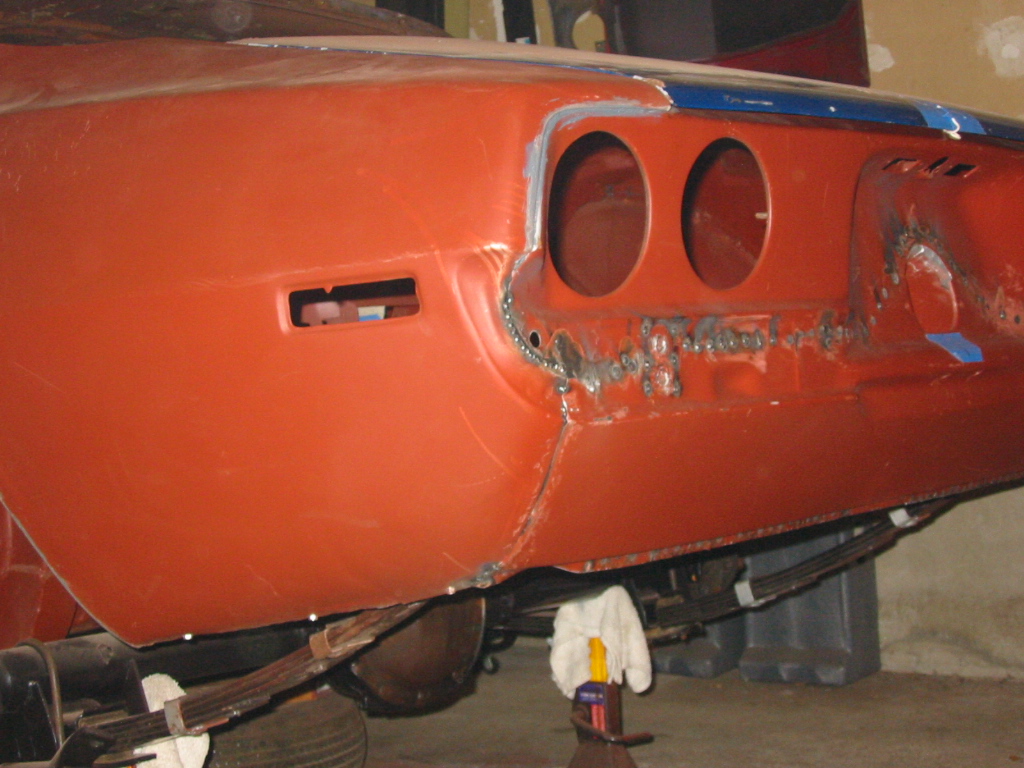
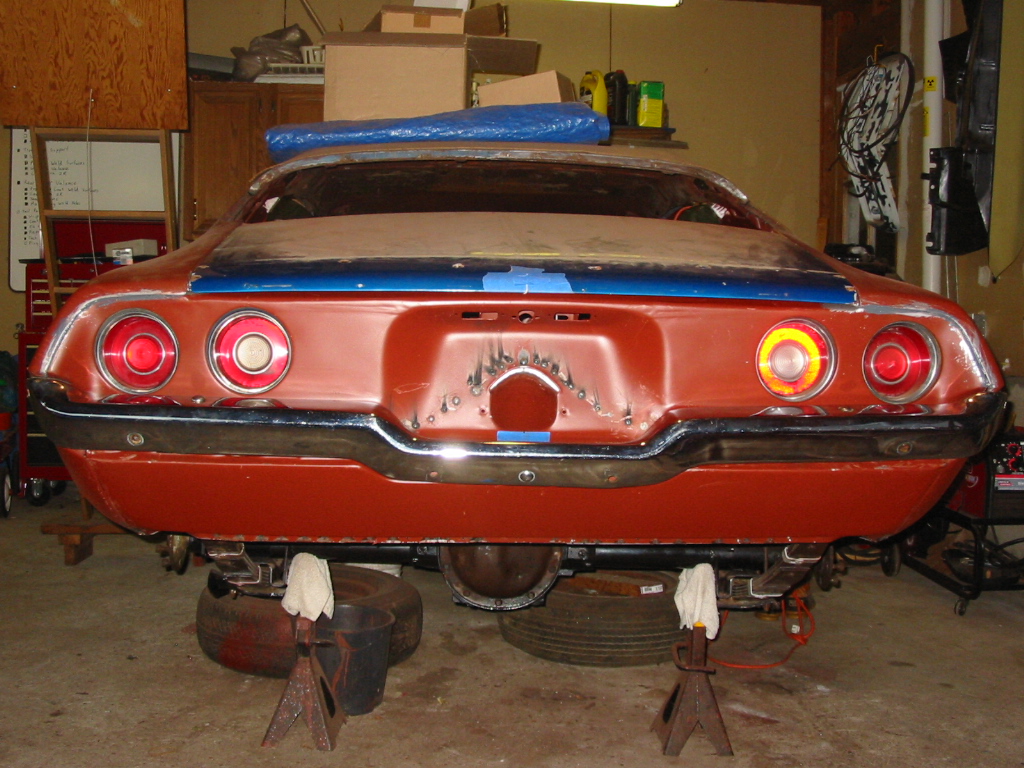
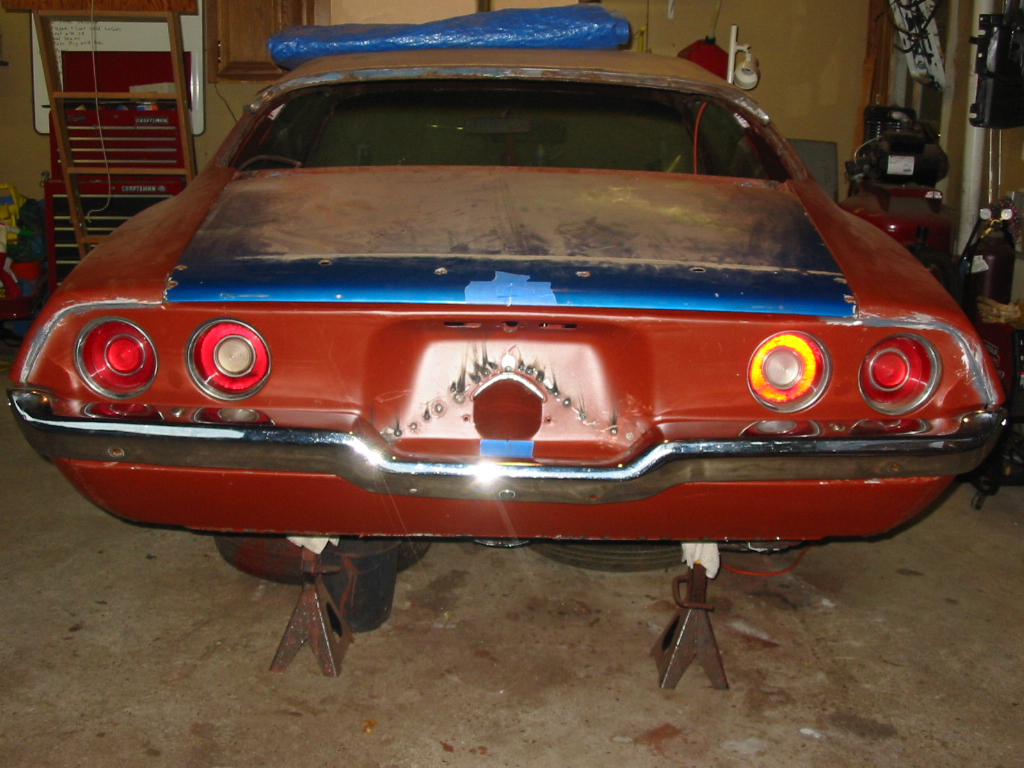
| Here are some shots of the Tail Panel welded into place. | |

|

|
| Here are some shots of the Tail Panel welded into place. | |
|
|
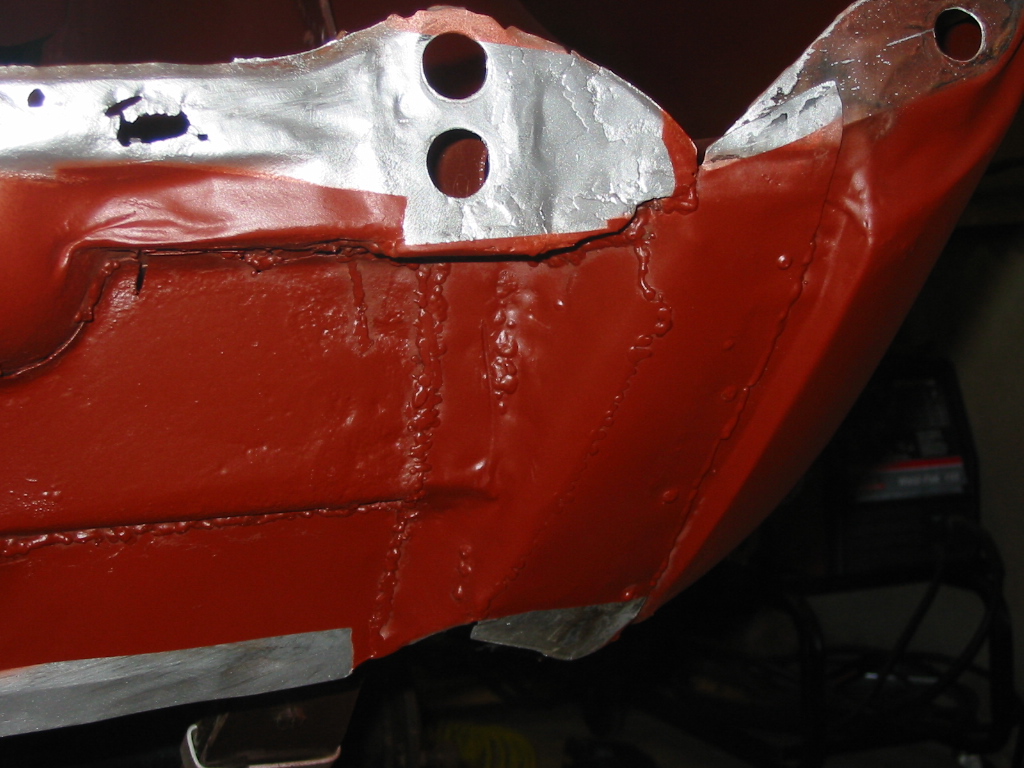
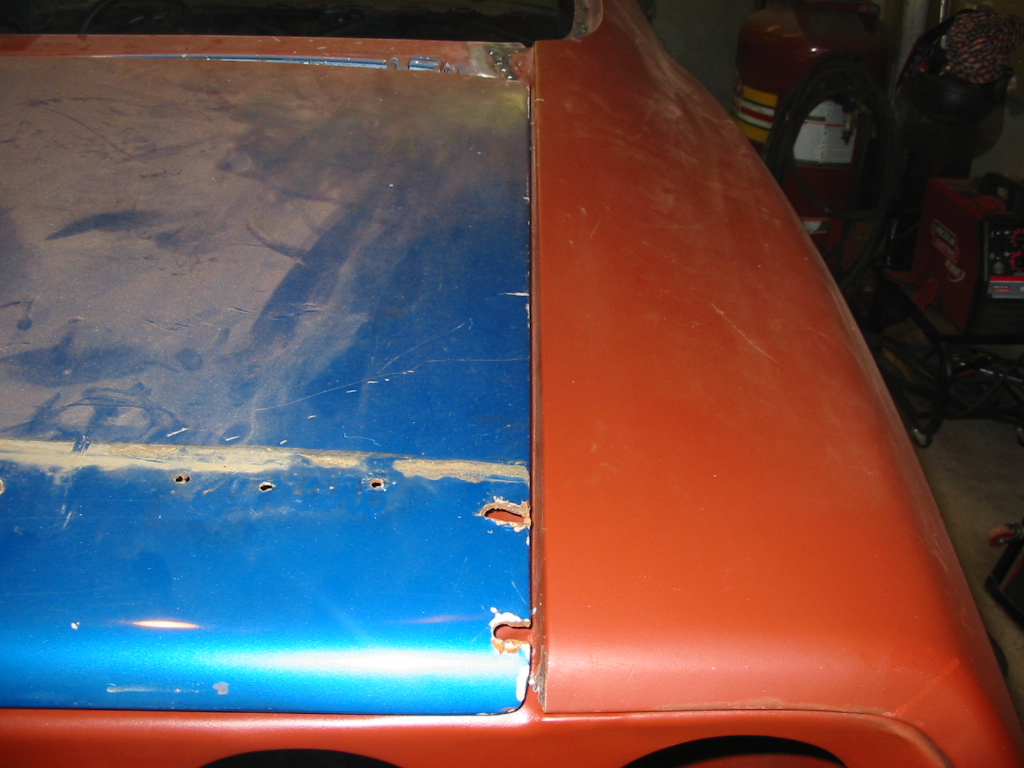
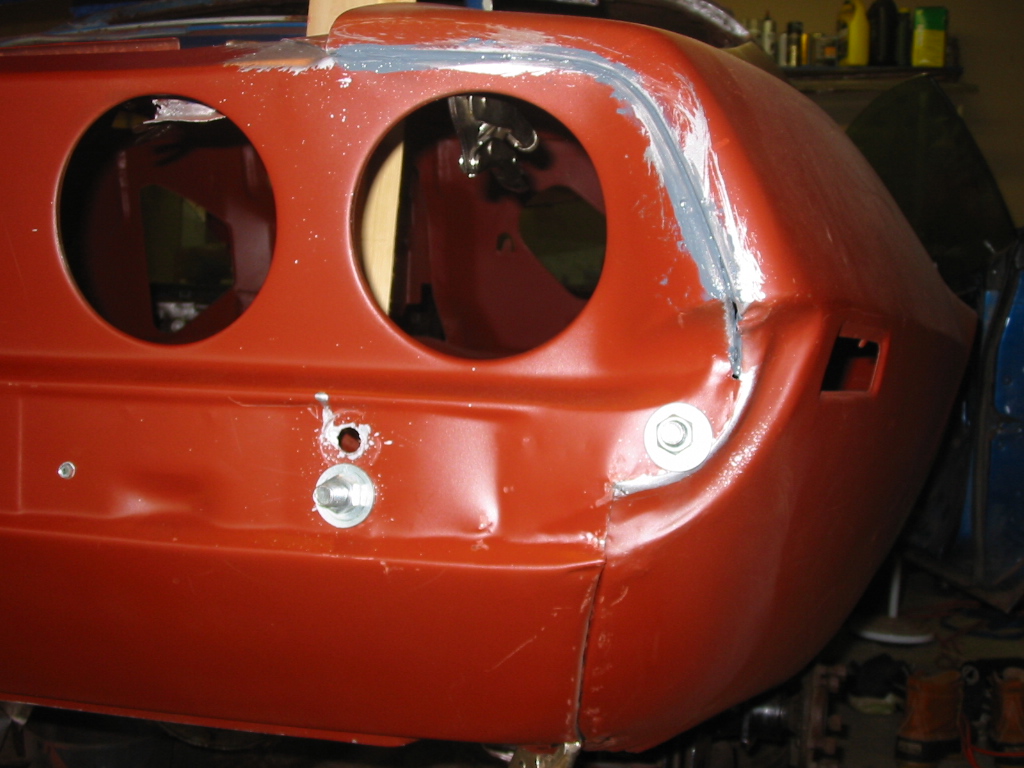
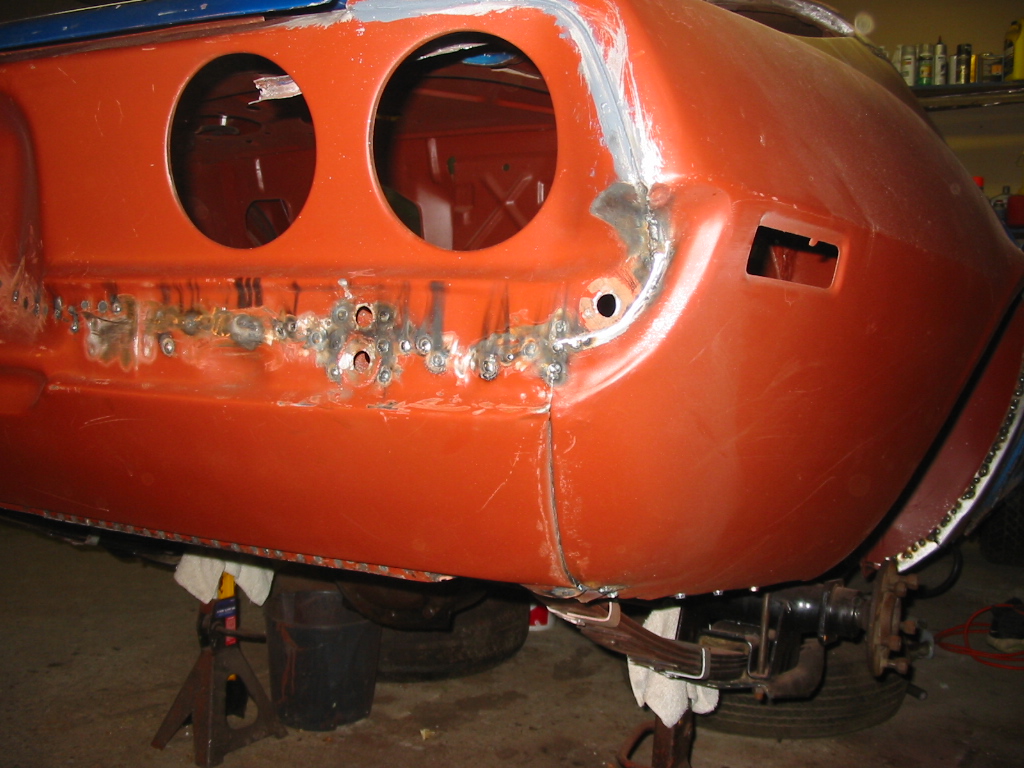
| Here is where the Tail Panel gets welded to the Quarter Panel on the Trunk edge. This will get seam sealer before paint. | |
|
|
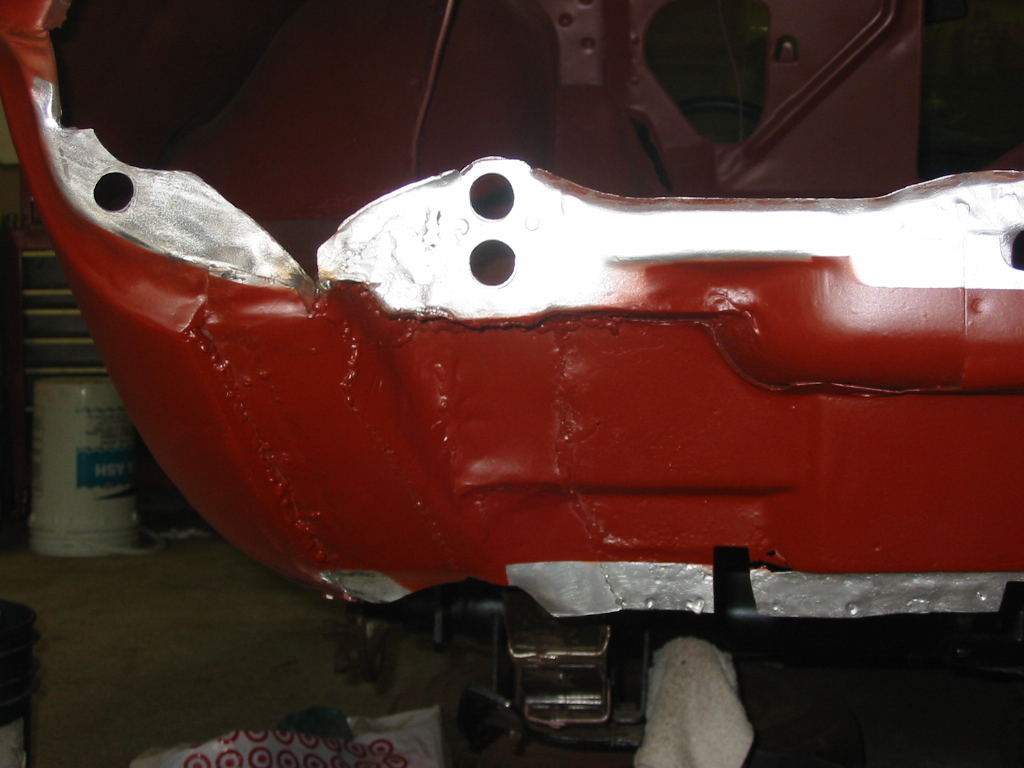
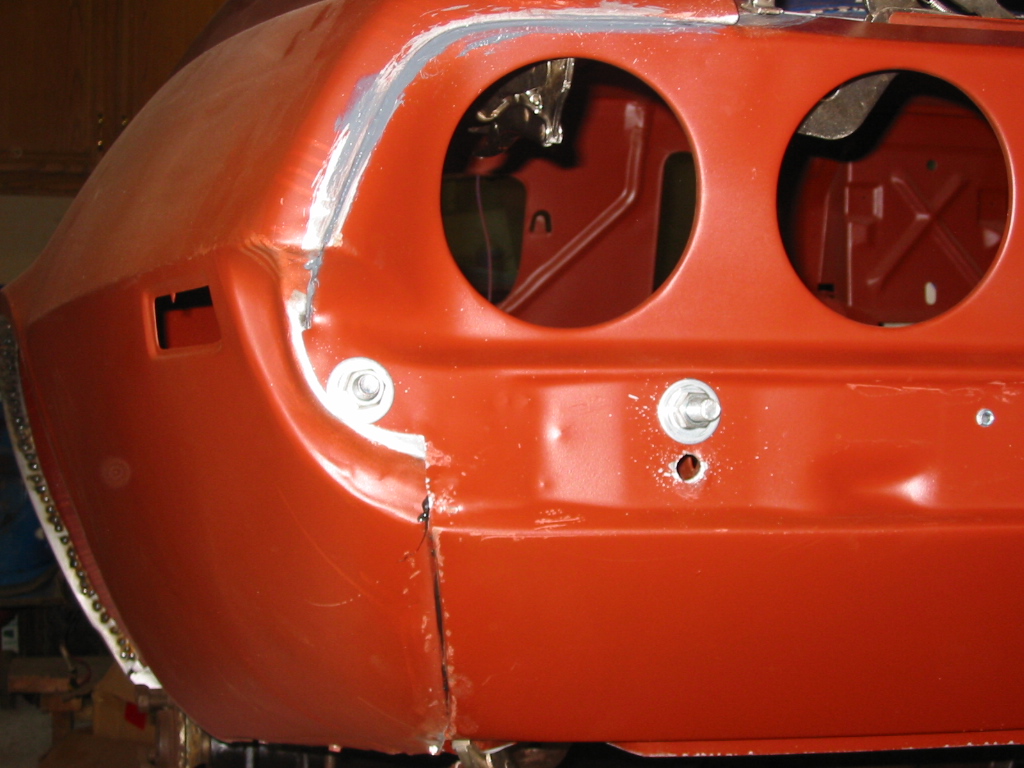
| Here are the seams between the lower section of the Quarter Panel and the Tail Panel. There are no welds or glue holding the panels together at this seam and this is how it came from the factory. I filled the area with seam sealer right beore mounting the Tail Panel and will put more in the seam before painting to keep water and dirt from getting behind the panel. These seams also required a litle work with a body hammer to get proper alignment. | |
|
|
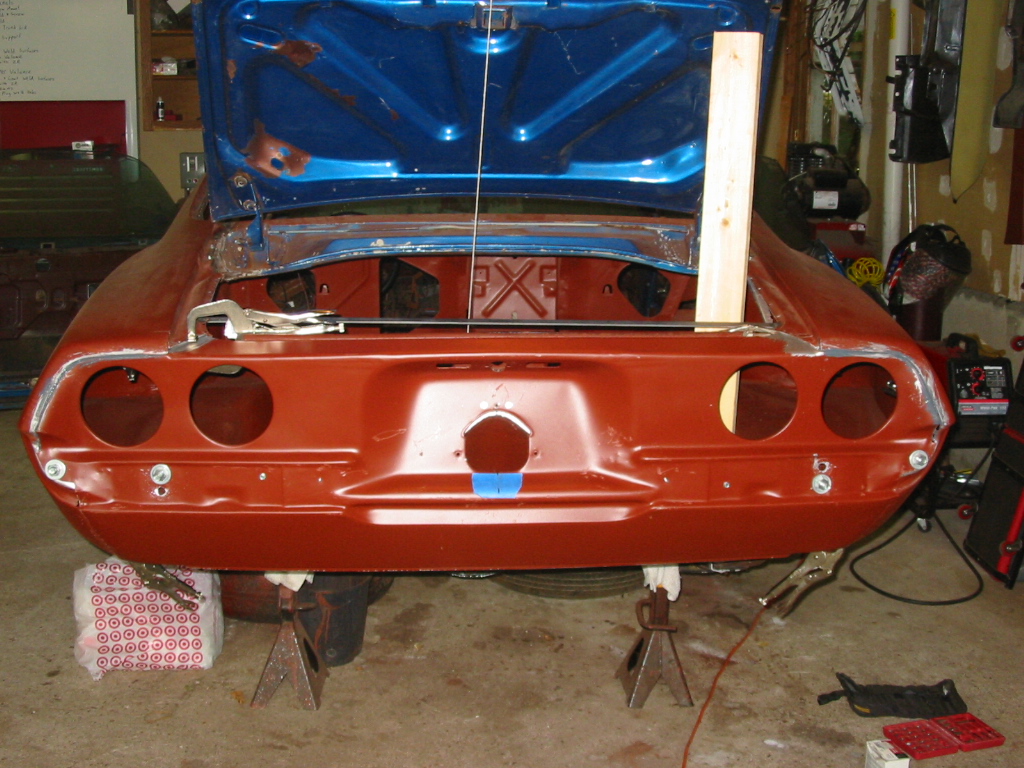
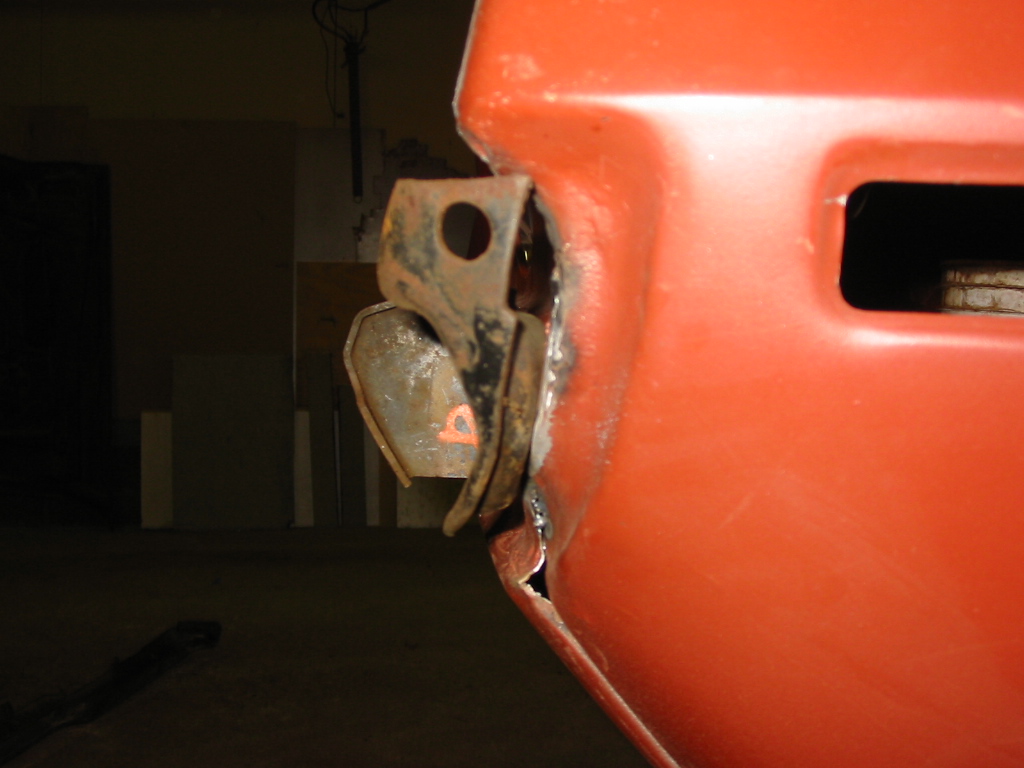
| Here are som shots of the Bumper mounted so I could verify everything lined up ok. Because this is a 73 model, the bumper sticks out a little further from the car. I am looking to find some 70-72 style bumper mounts to tuck the bumper closer into the body for a cleaner smoother look. | |
|
|

|
|
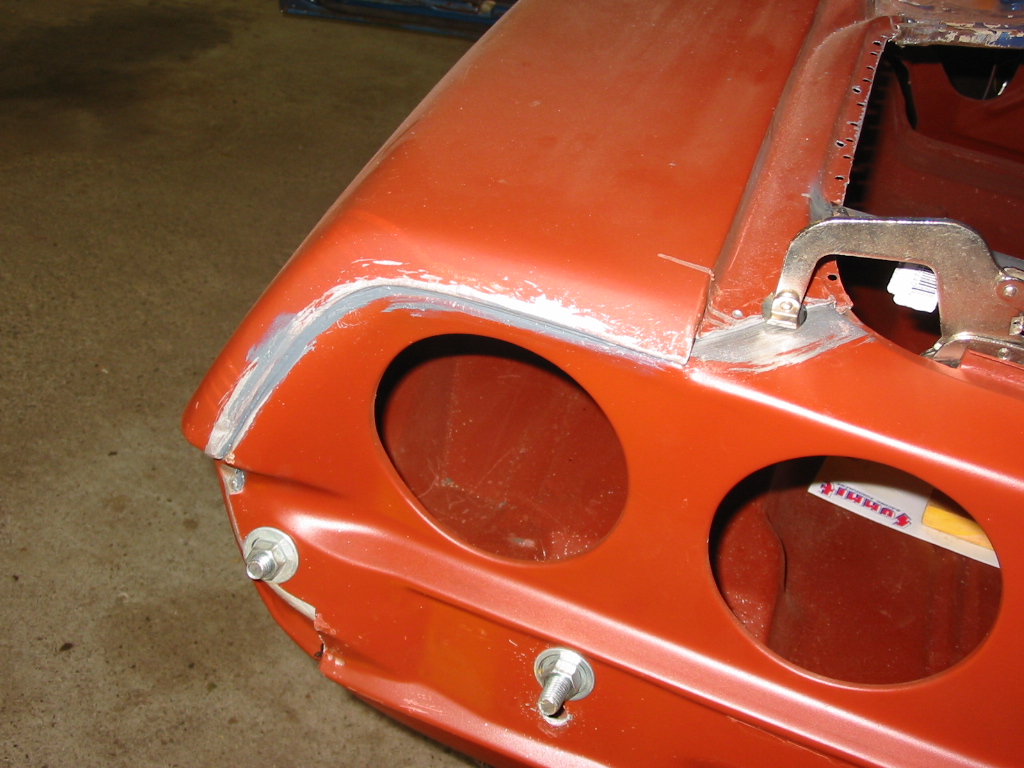
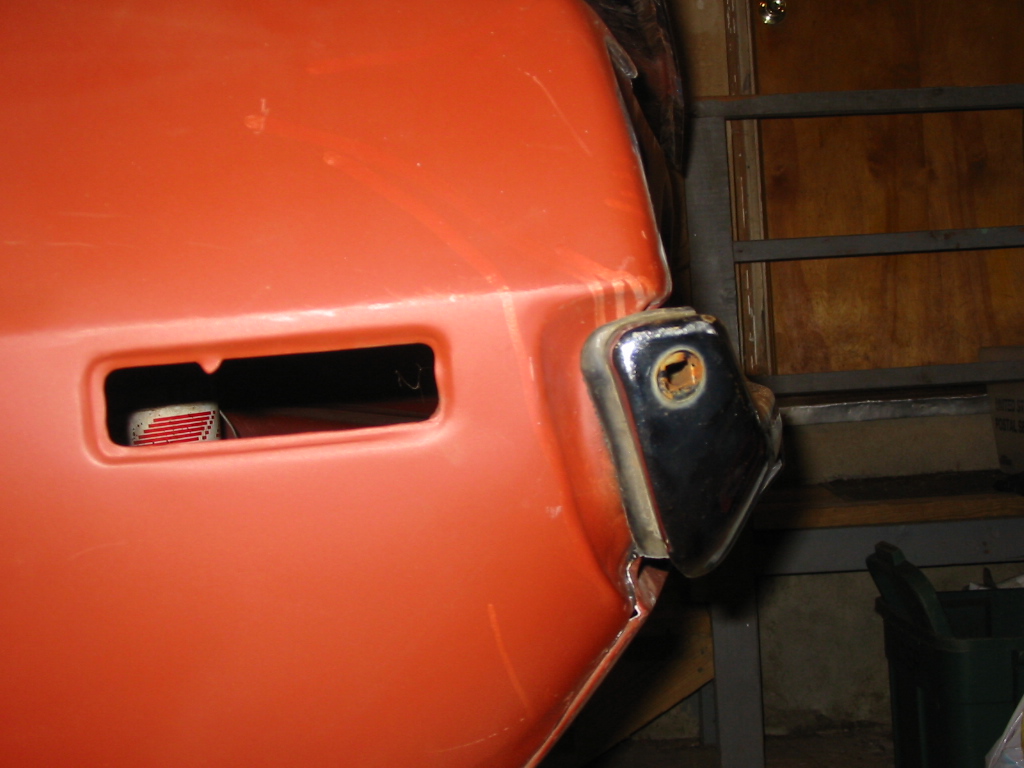
| Here is a close up of the right end bumper mount from the side. | Here is a close up of the right bumper mounts from the top. |
|

|