|

Roller Rocker Install (January 22, 2012)
This page documents the installation of a set of Comp Cams Pro Magnum Roller Rocker Arms. It also documents the installation of a set of aluminum valve covers that were needed for clearance. I purchased the rocker arms new off of eBay. They feature a 1.6 ratio, are made of 8620 Chromemoly Steel, are Rebuildable and have a lifetime guarantee. I preferred the steel rockers over the aluminum ones and I wanted to go with a name brand. I was able to get these for less than a set of no name import rockers so I grabbed them.I did have an issue with clearance between the bottom of the retainers and the valve stem seals. The heads had positive seals installed on the exhaust stems and the heads were not clearanced for them. The camshaft had 0.453 inches of lift with the 1.5 rockers. With 1.6 rockers the lift was increased to 0.483 inches. With my retainers I had around 0.48 inches clearance between the bottom of the retainer and the valve stem boss. I was real lucky that I did not bend any pushrods. The solution was I installed retainers from my original heads that had a little more clearance and I used the umbrella seals on the exhaust. I now have over 0.500 inches of clearance on the exhaust.
I picked up the Stef's Fabrication aluminum valve covers used off of a local message board for cheap Best Replica Watches . They needed a little sanding and polishing and they cleaned up nice. They came pre clearanced for roller rockers fit nice and were nice quality.
Status photos as of 1/22/2012:
| Here are pictures of the rocker arms. | |

|

|
| Here is one of the set of valves with the old rocker arms off. | |

|
|
| Here are pictures of the damaged valve stem seals. As you can tell, the exhaust seal is totally chewed up. I got real lucky. | |

|

|

|
|
| Here are the new seals. I bought positive seals for the Intake and the Exhaust and the umbrella seals. | Here is a picture with the old seals removed. |

|

|
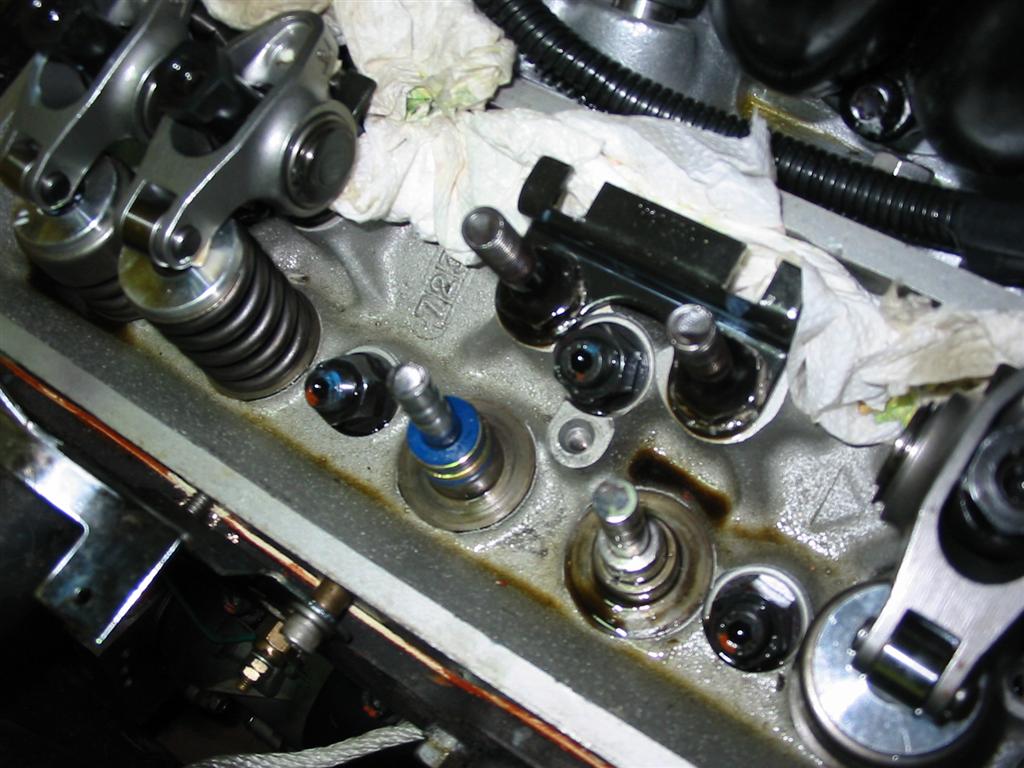
| Here is an intake seal installed. | Here I am using a spring compressor to install the valve spring. |
|

|
| Another picture of the spring compressor. | Here is a completed intake valve and the positive seal installed on the exhaust valve. I measured the clearance on this valve and did not use the positive seal. |

|

|
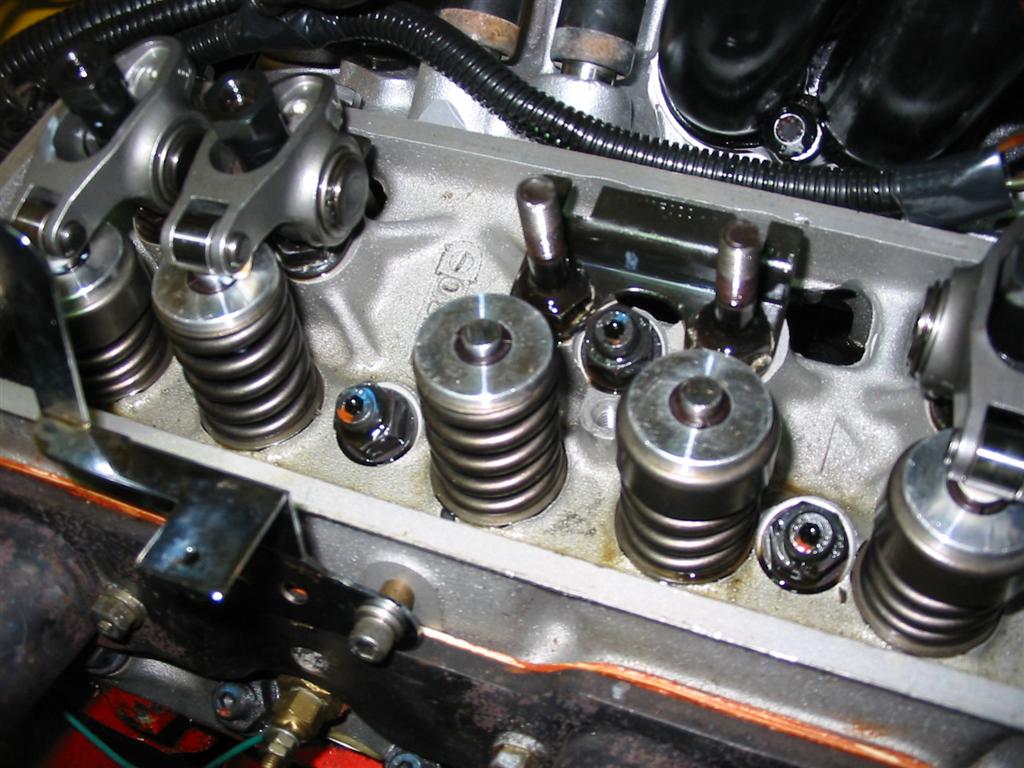
| Here are pictures of completed installs. I did not use the oil shields on the intake springs, just the exhaust valves. | |

|
|
| Before installing the rocker arms, I put engine assembly lube on the tips of the pushrods and valve stems. | |

|

|

|
|
| The valve covers were a bit tarnished. Here is what I started with. | |

|
|
| The valve covers were a bit tarnished. I didn't want a full polished look. I decided to sand them down to a brushed look. The first photos are with them sanded with 80 grit paper. | |

|

|
| Next was 120 grit. | |

|

|
| Next was 220 grit. | |

|

|
| Next was 320 grit. | |

|

|
| Last was 600 grit. | |

|

|
| Here they are done and cleaned up with metal polish. | |

|

|

|

|
| Here is a before picture of the valve cover next to the other completed valve cover. | |

|

|

|

|
| Here is the clearancing that the previous owner did for roller rocker arms. | |
|
|
|
| Here are the valve covers installed on the engine. | |

|

|

|

|

|

|