|

Radio Install (May 18, 2014)
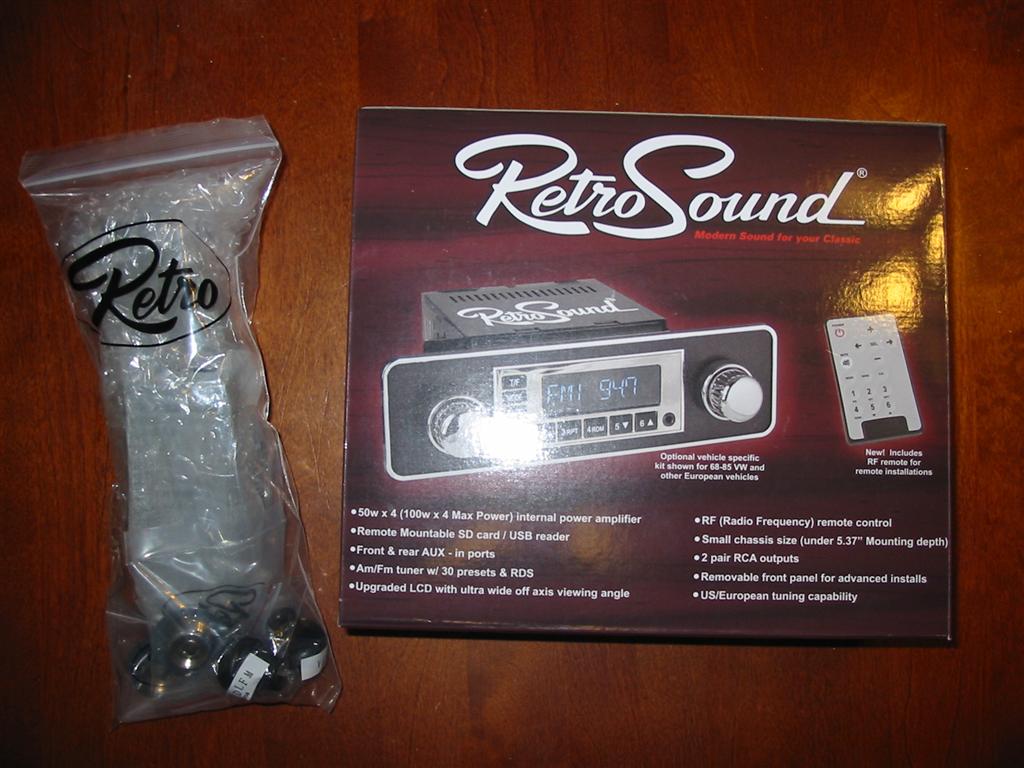
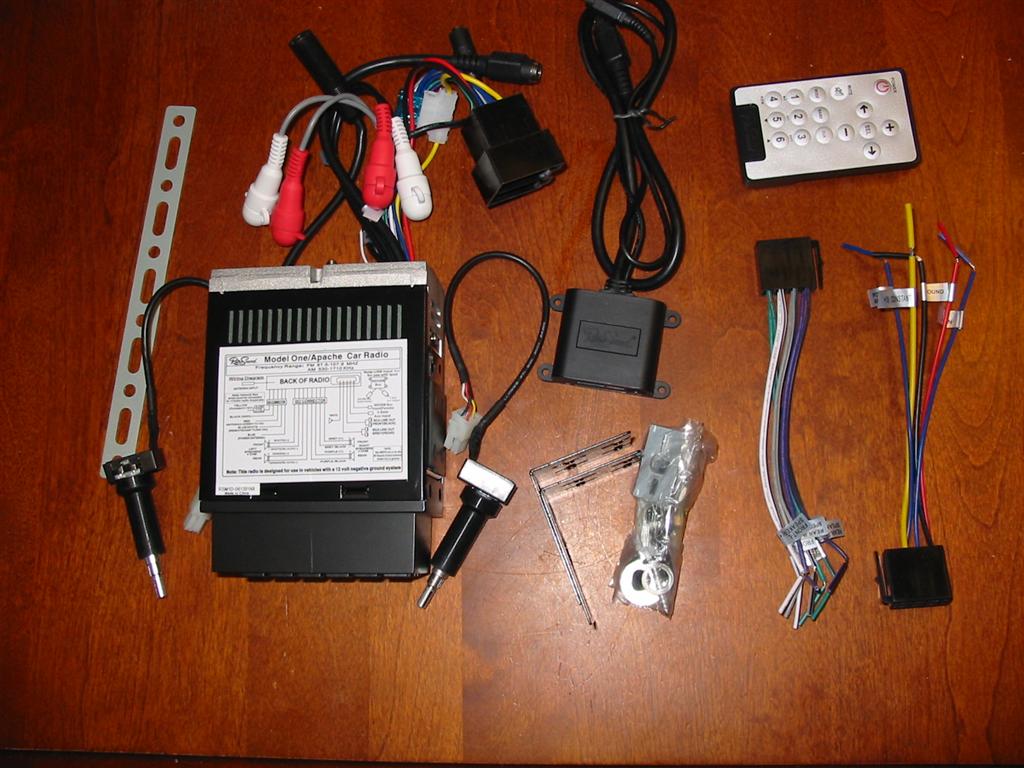
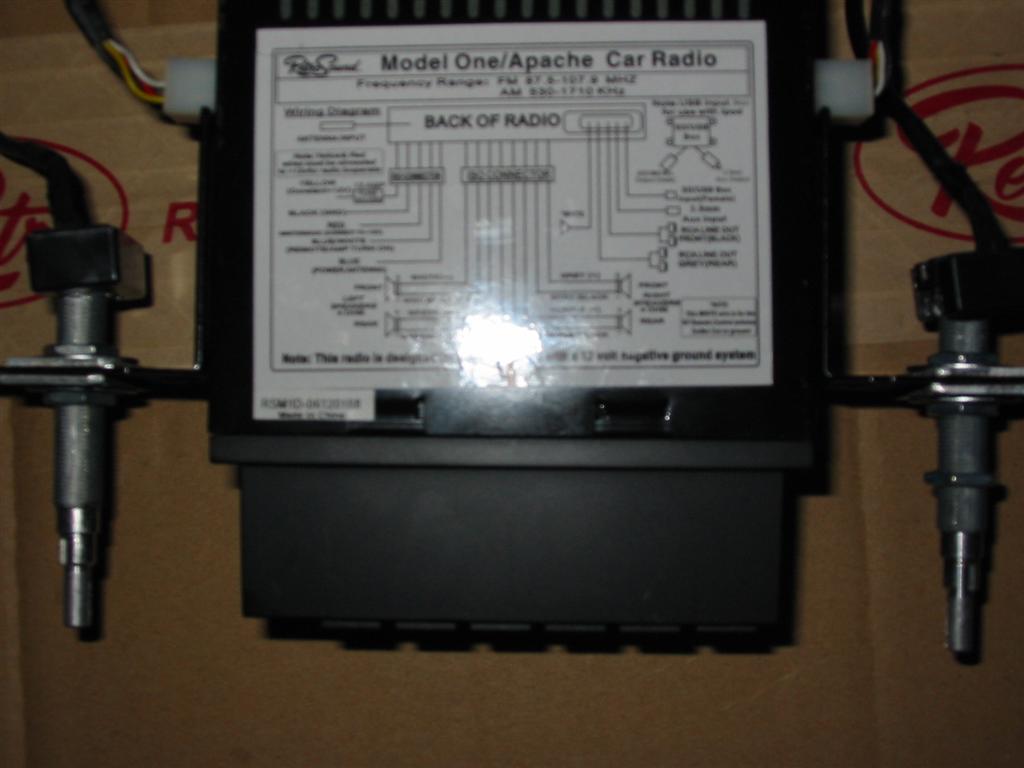
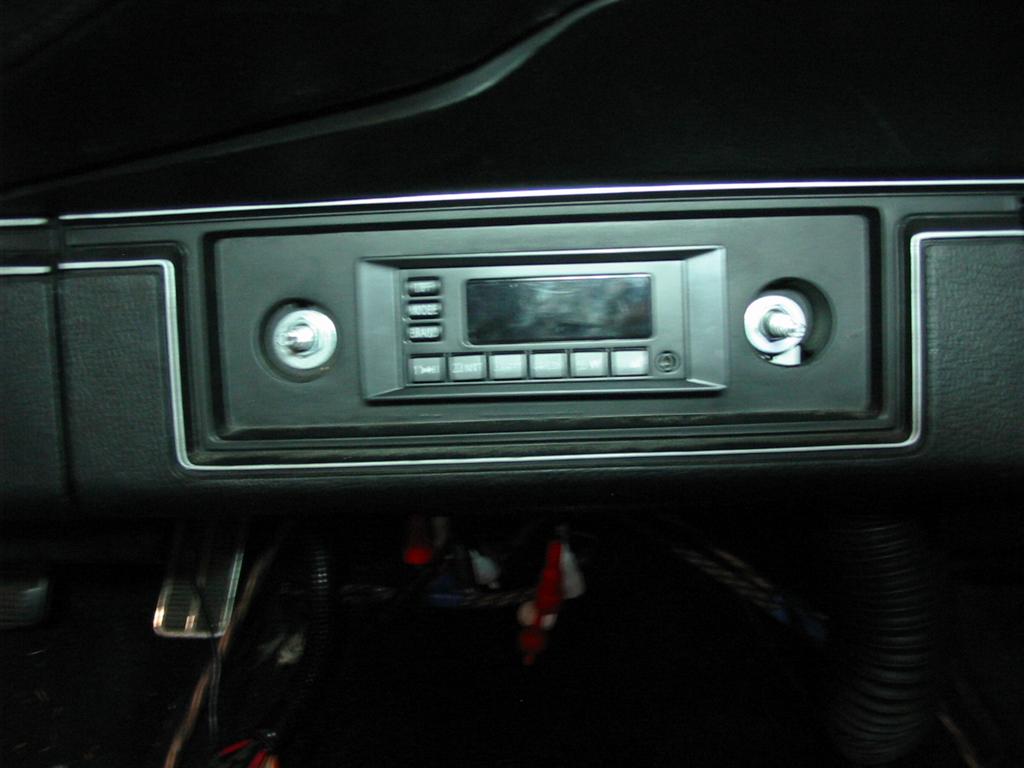
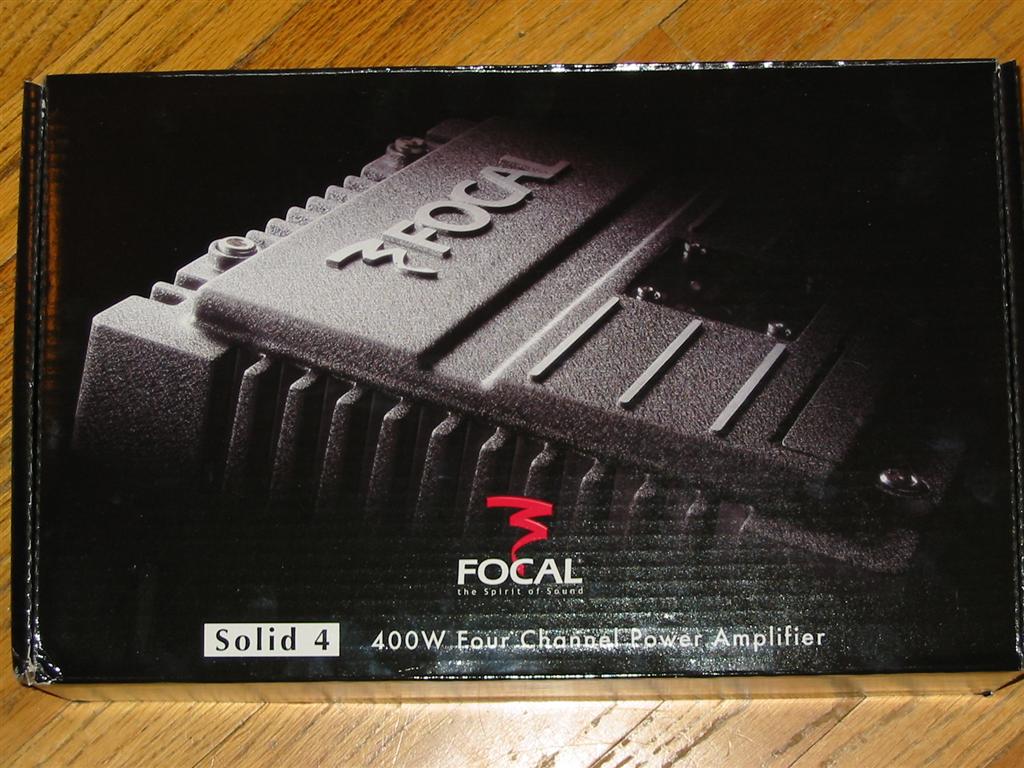
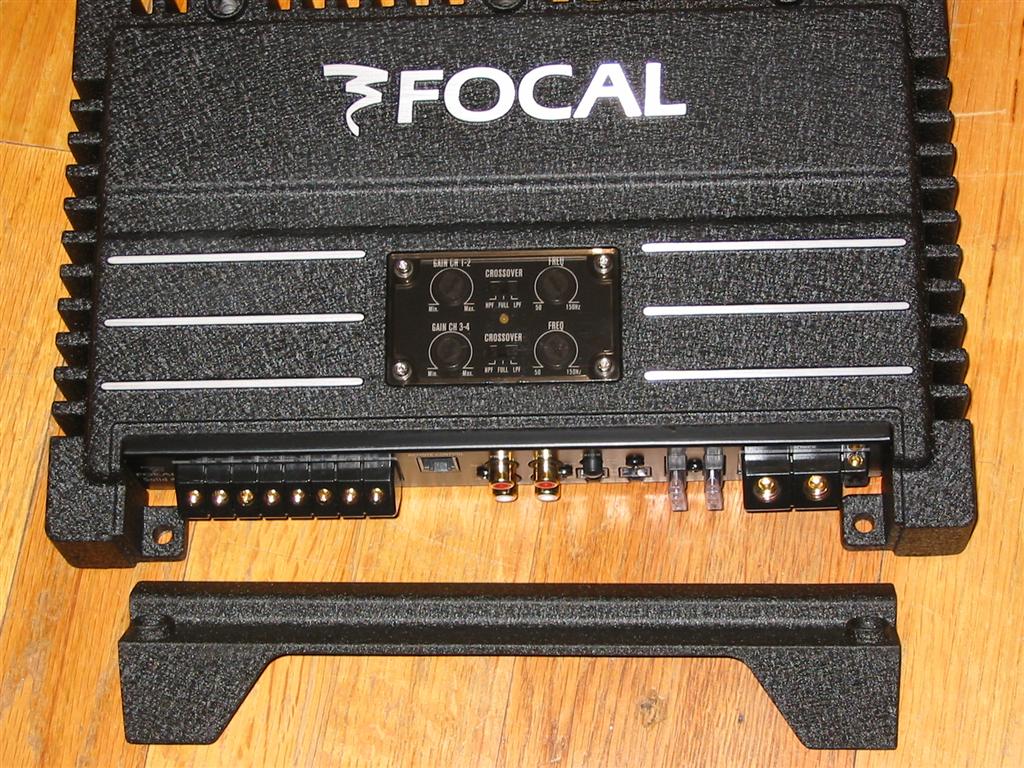
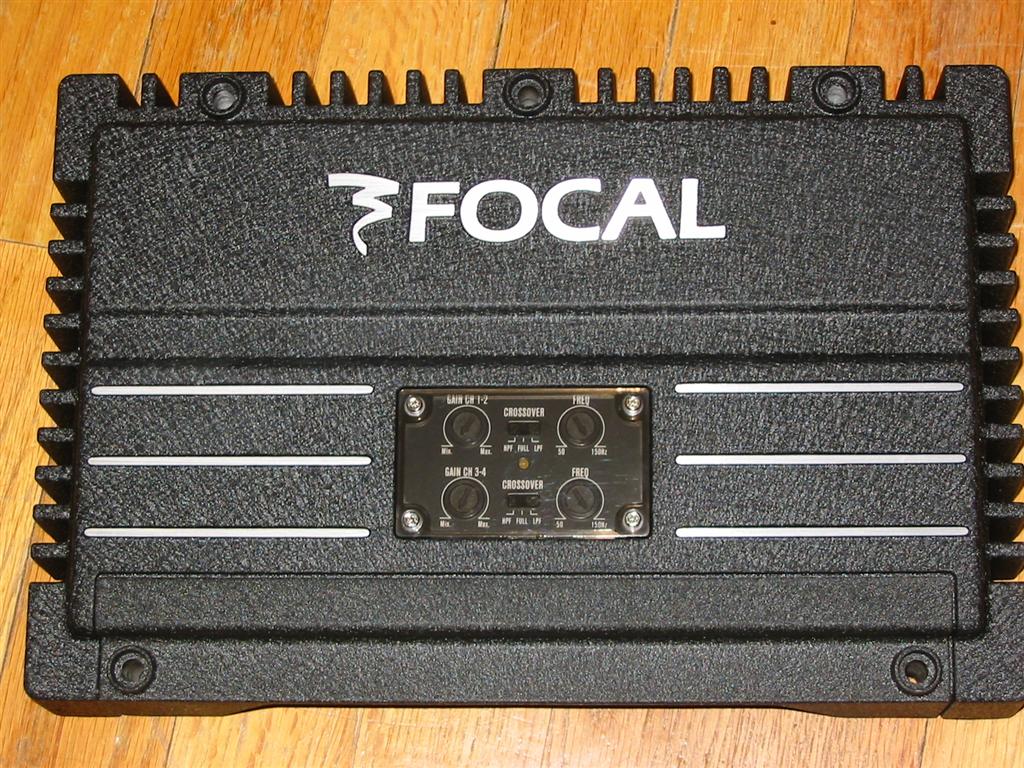
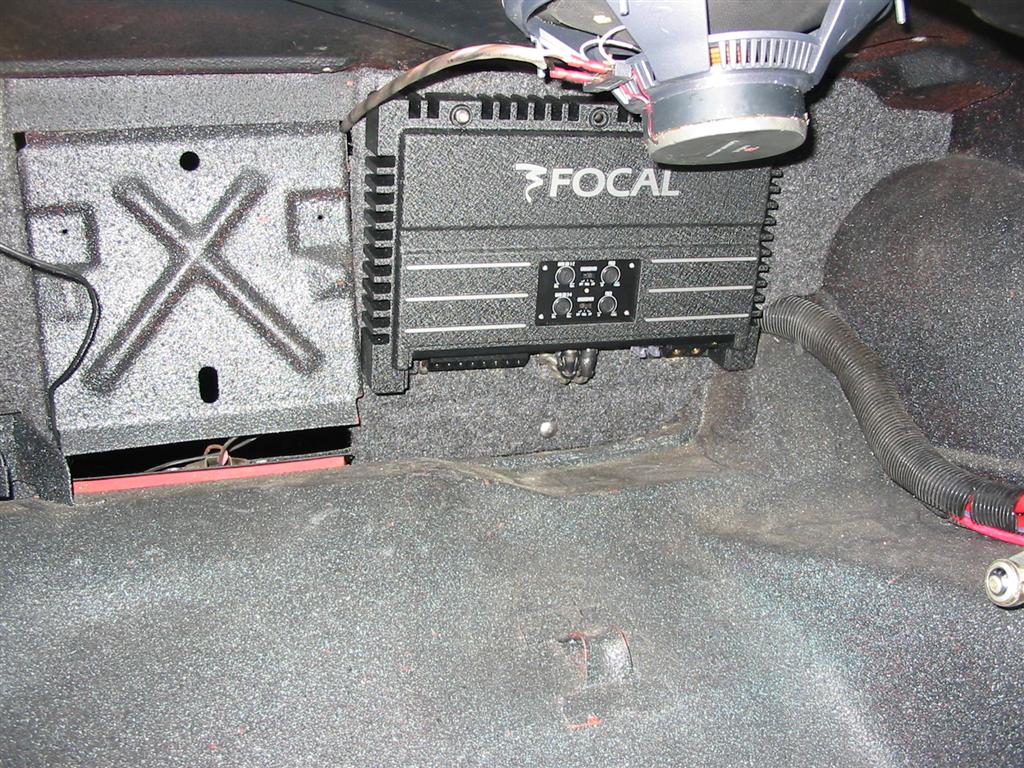
This page documents the installation of the head unit, speakers and amplifier. For a head unit I installed a RetroSound Model One stereo. The unit has an auxiliary input as well as a USB and Memory Card adapter. I went with this unit because I was looking for a head unit with an auxiliary input and pre-amp outputs that didn't require me to cut the dash. I don't want to cut the dash because it is an original 1970 dash without the Fasten Seat Belt light in it. The head unit has decent sound and controls and installed easily.After trying several Amps that I had, I went with a new Focal Solid 4 amplifier to power the front and rear speaker. The Solid 4 is a 4 x 100 amplifier with built in crossovers.
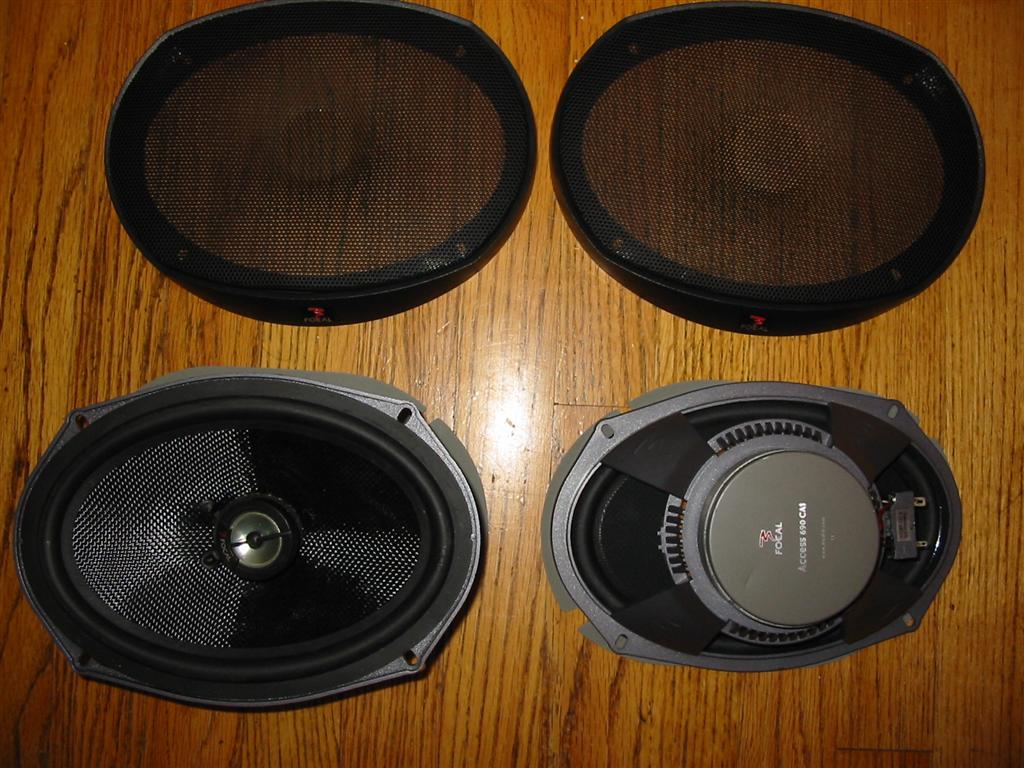
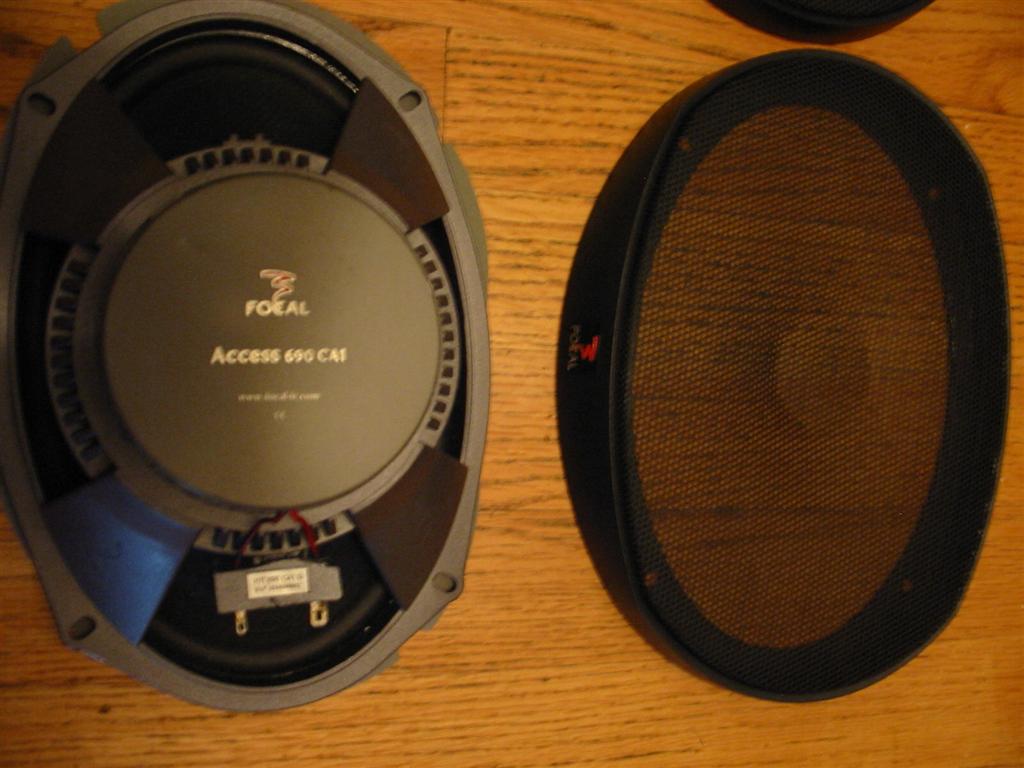
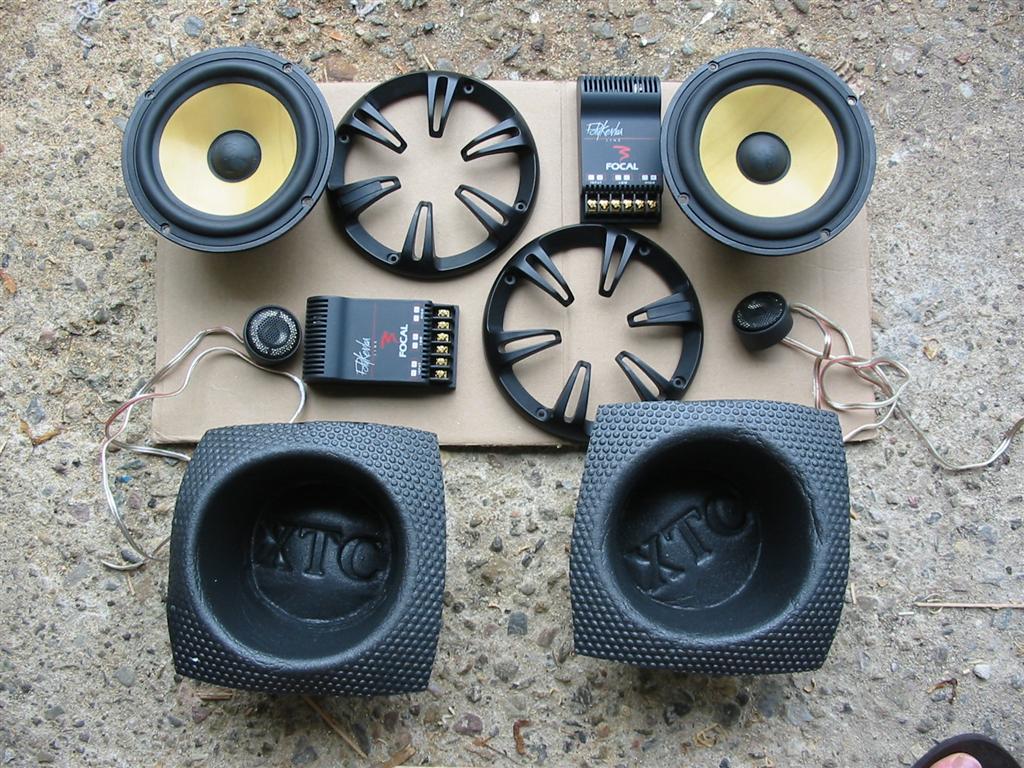
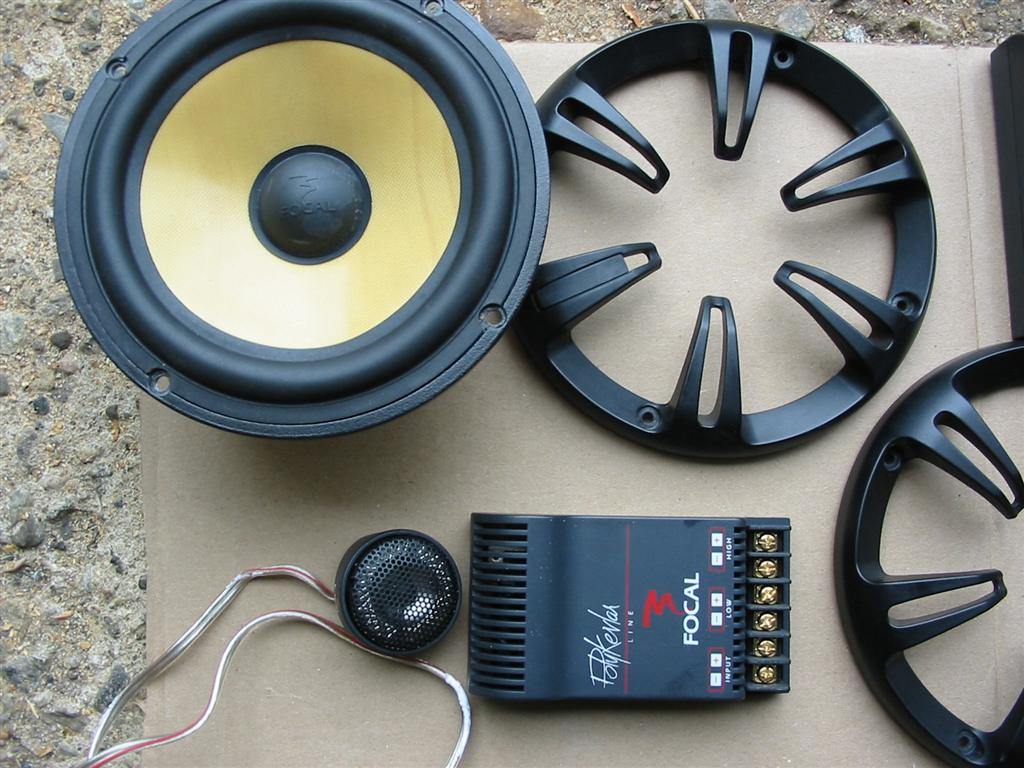
Lastly, I installed Focal Polykevlar 165K 6.5 inch components in the front and Focal Access 690 CA1 6x9 speakers in the rear.
Overall the system sounds good. Eventually I will need to add a subwoofer to the system for better sound.
Status photos as of 5/18/2014:
| Here is the trunk wall. You can see the back seat through the cut outs. I needed to create a wall to mount my amps to and clean up the trunk area. | |

|

|
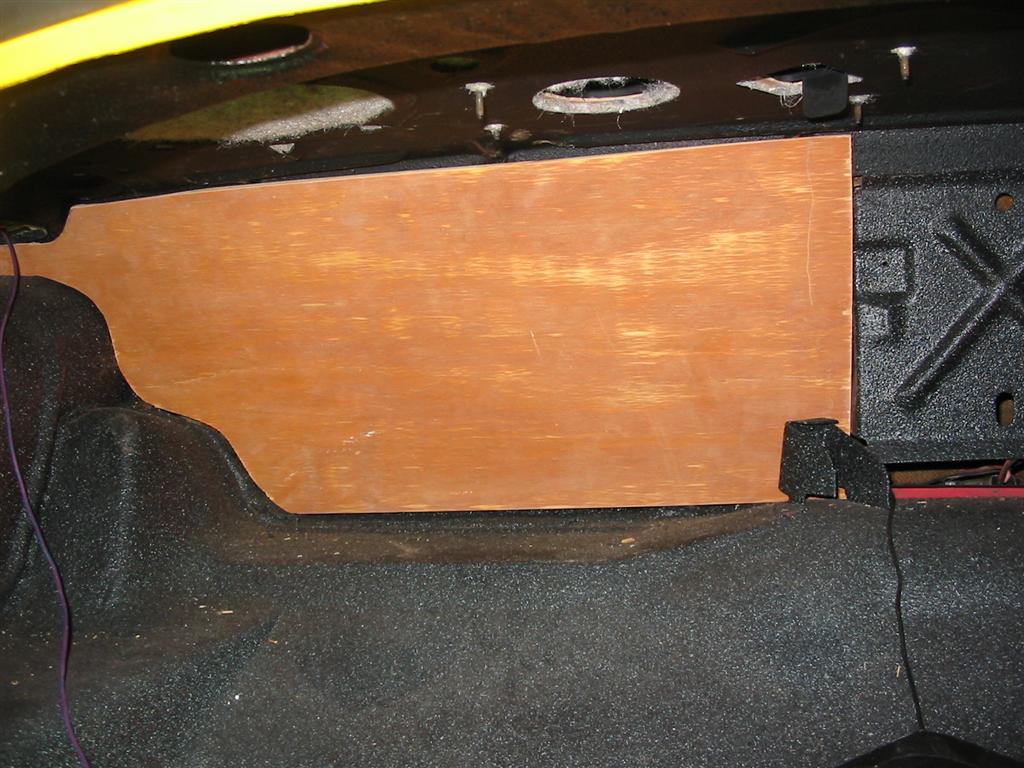
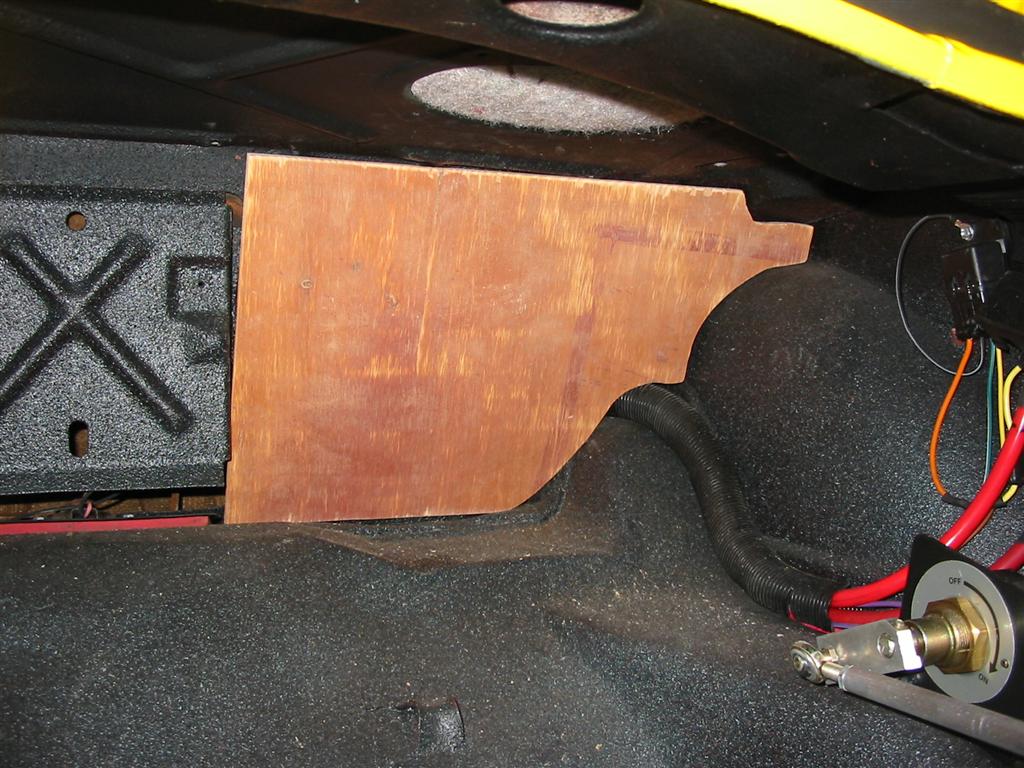
| Here are pictures of the walls I created out of plywood. | |
|
|

|
|
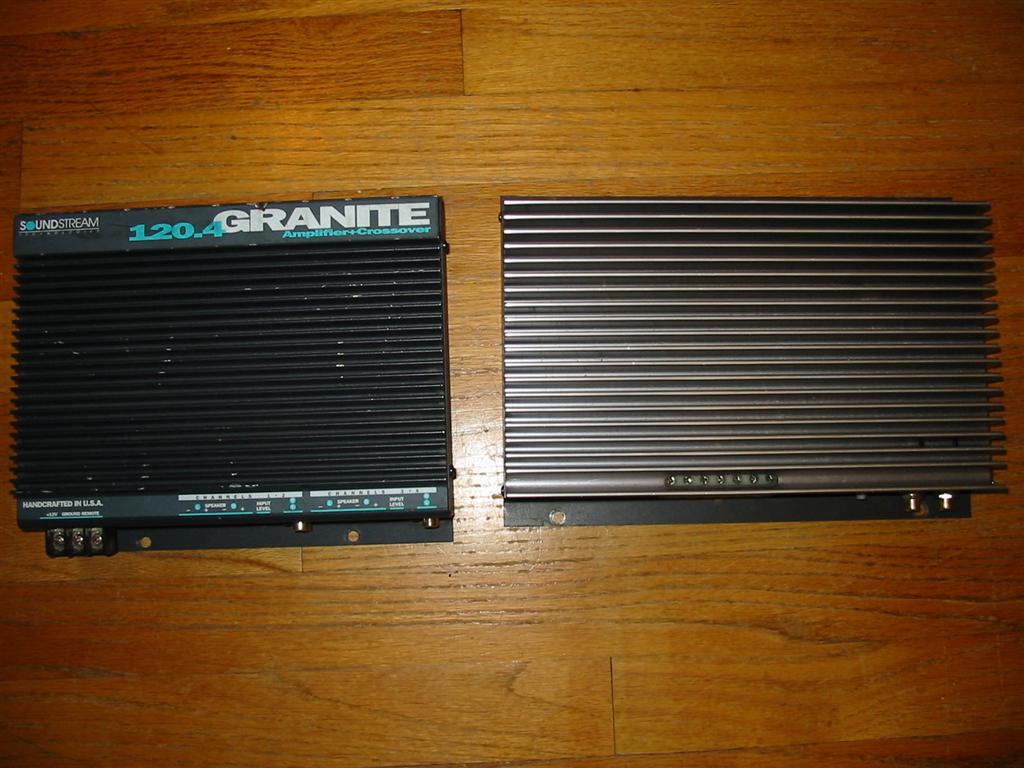
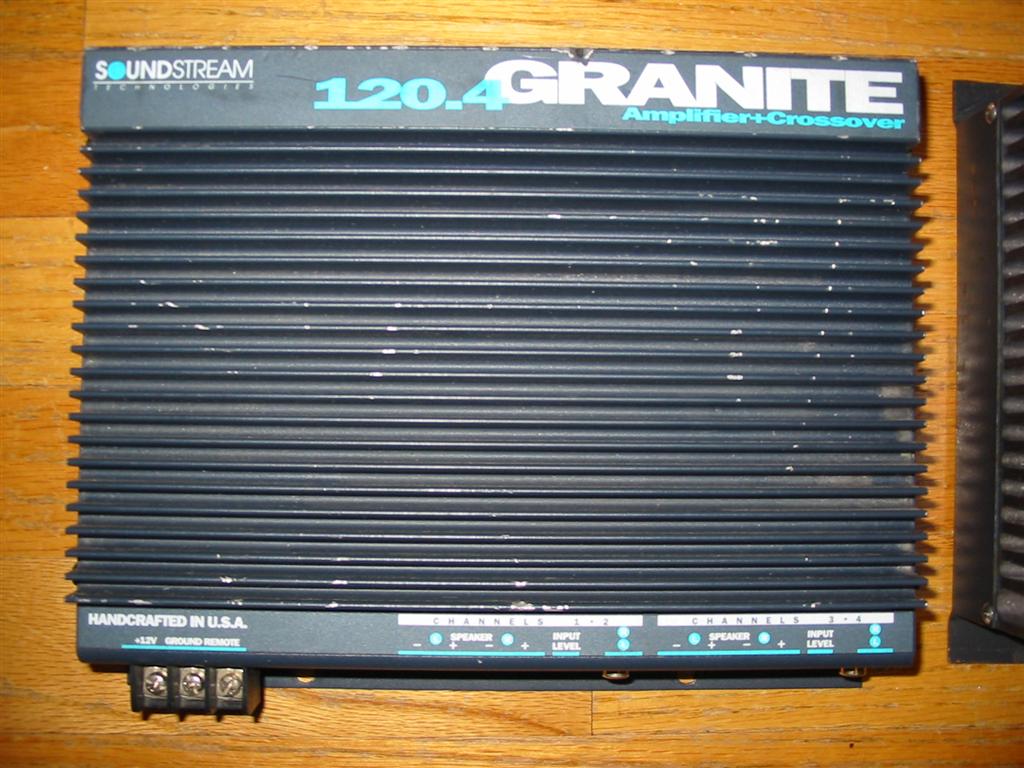
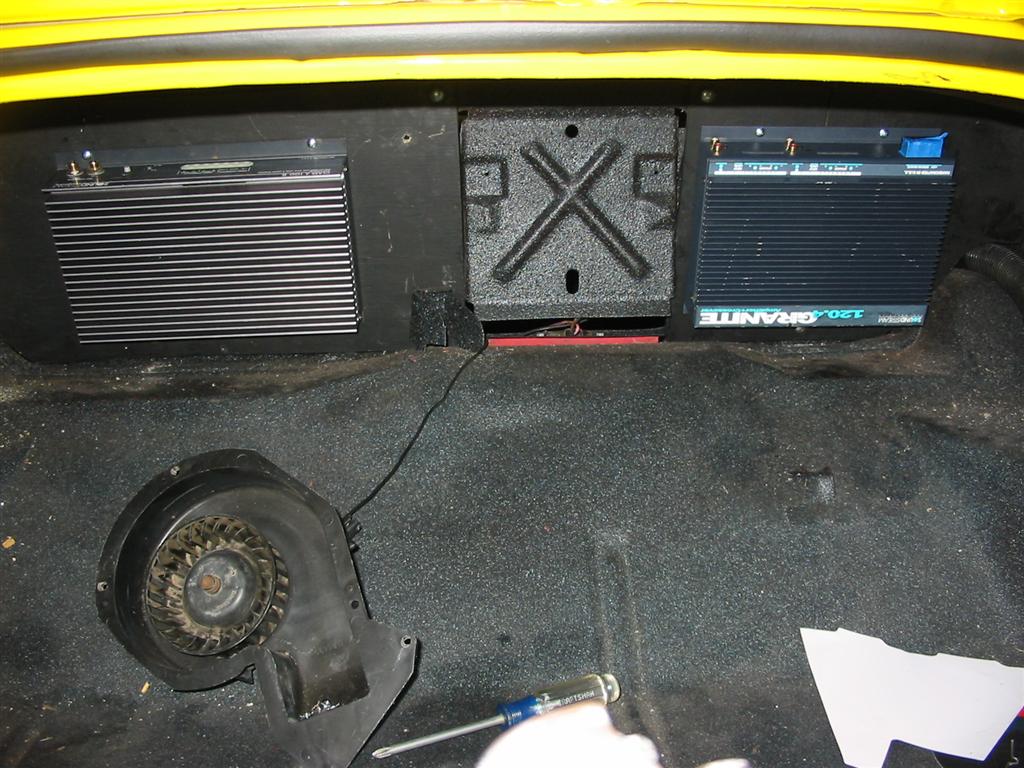
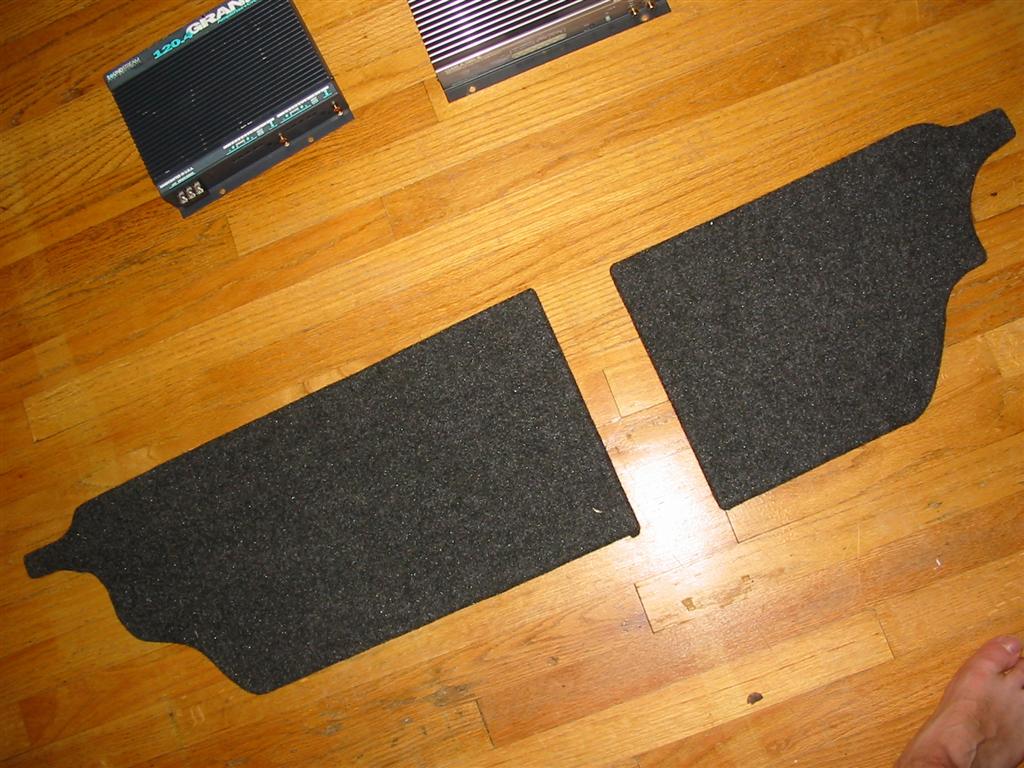
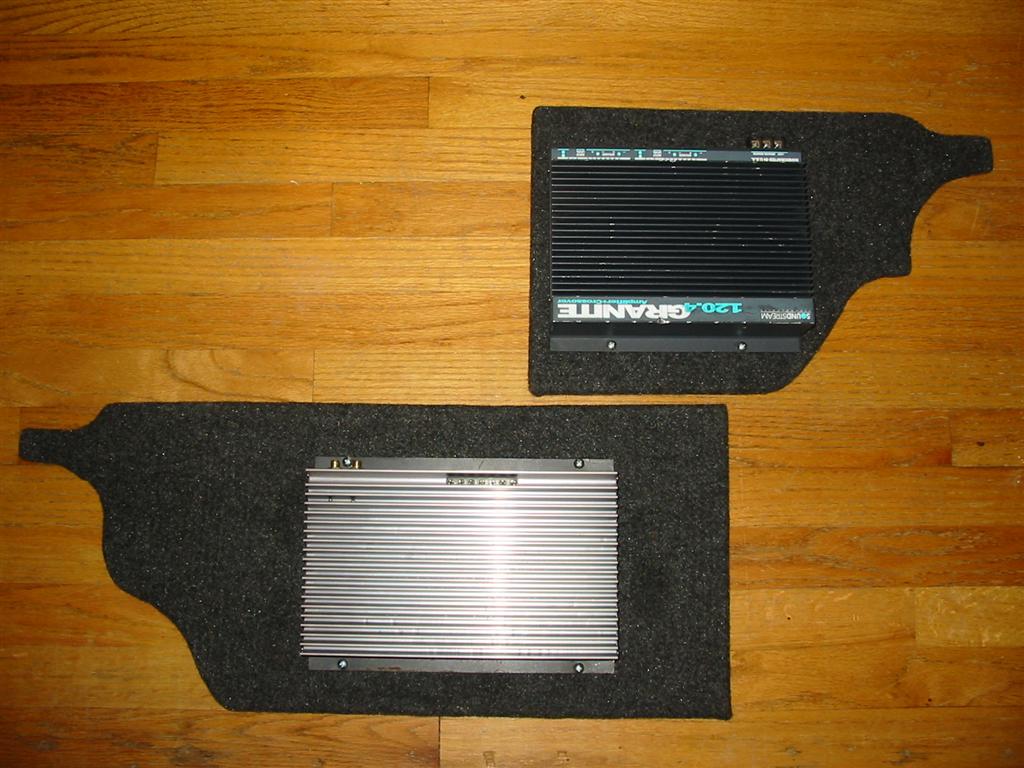
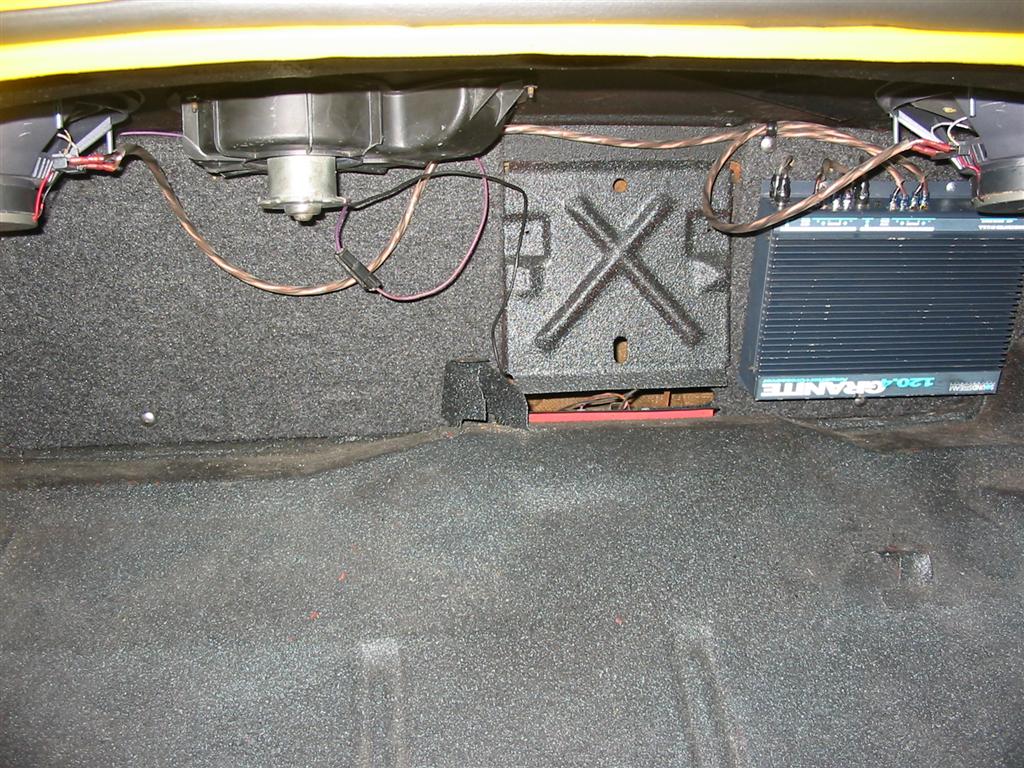
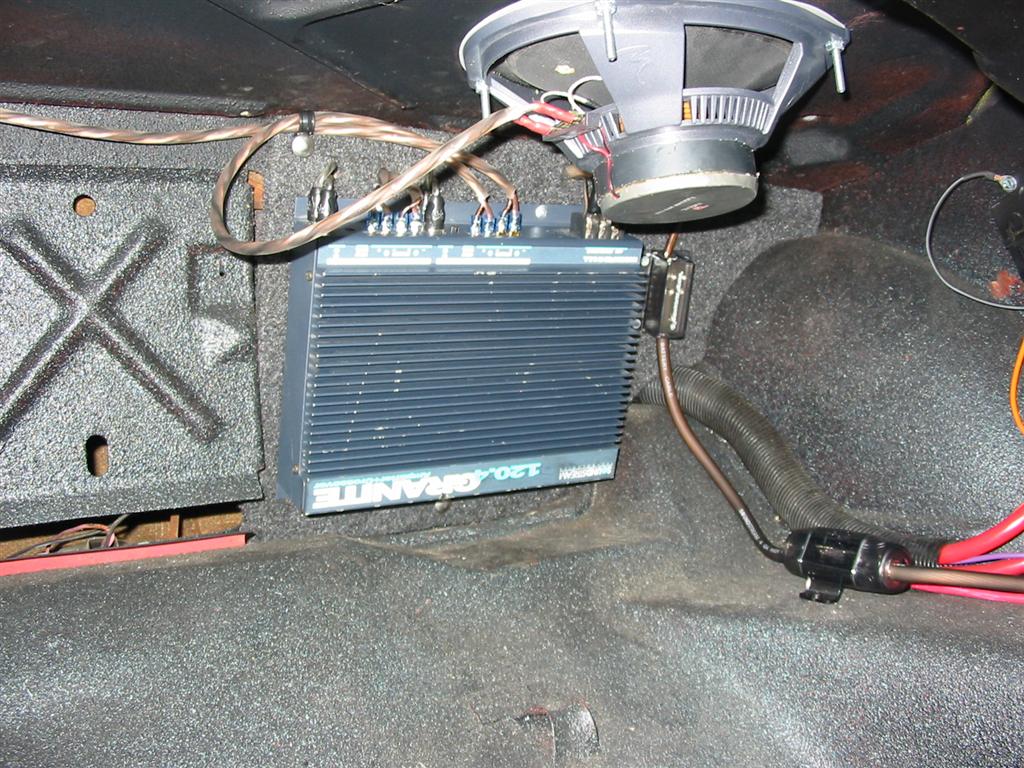
| Originally, I had planned on running a pair of Soundstream amps. The fronts were going to be powered by a Soundstream Class A 100 Watt amplifier and the rears were going to be powered by a Soundstream Granite 4 x 30 amp. The Granite was going to be mounted to the right and the Class A was going to be mounted to the left. I dumped these amps because they developed problems and some of the channels stopped working. Here are build images of the walls and amps. | |
|
|
|
|
|
|
|
|
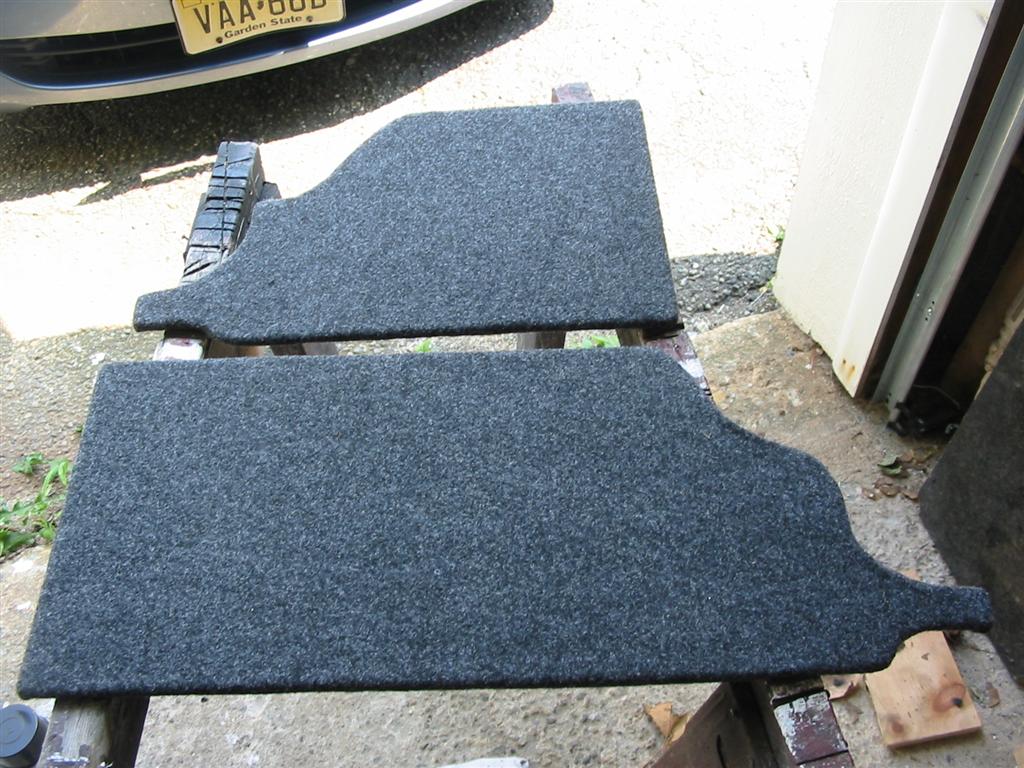
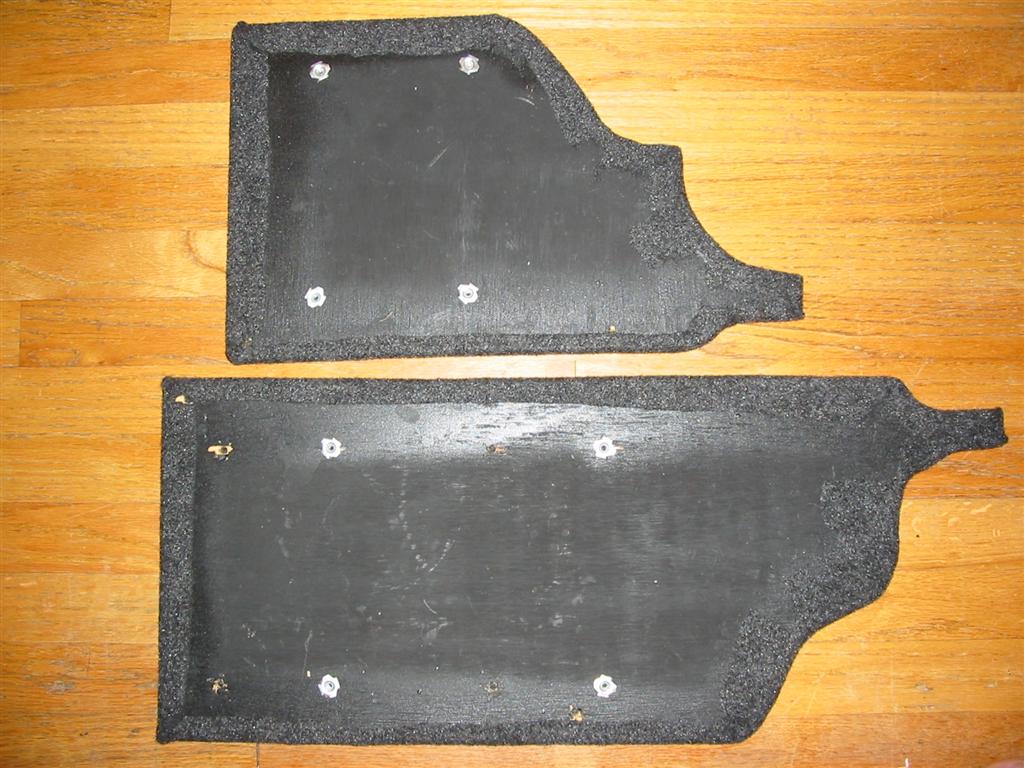
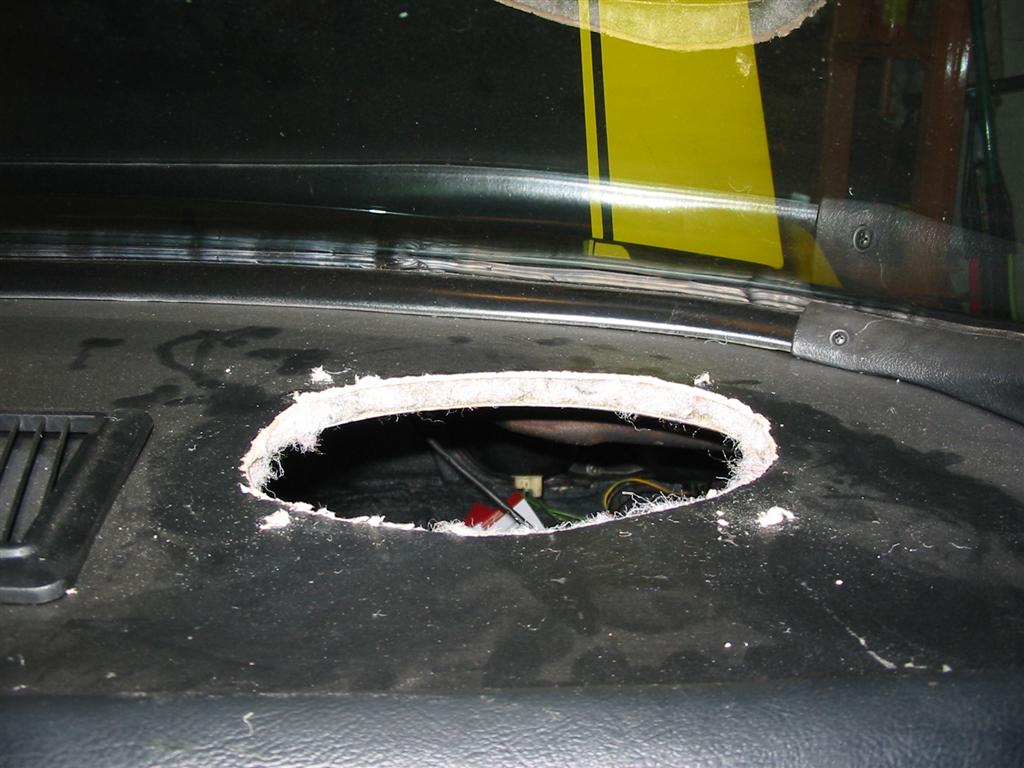
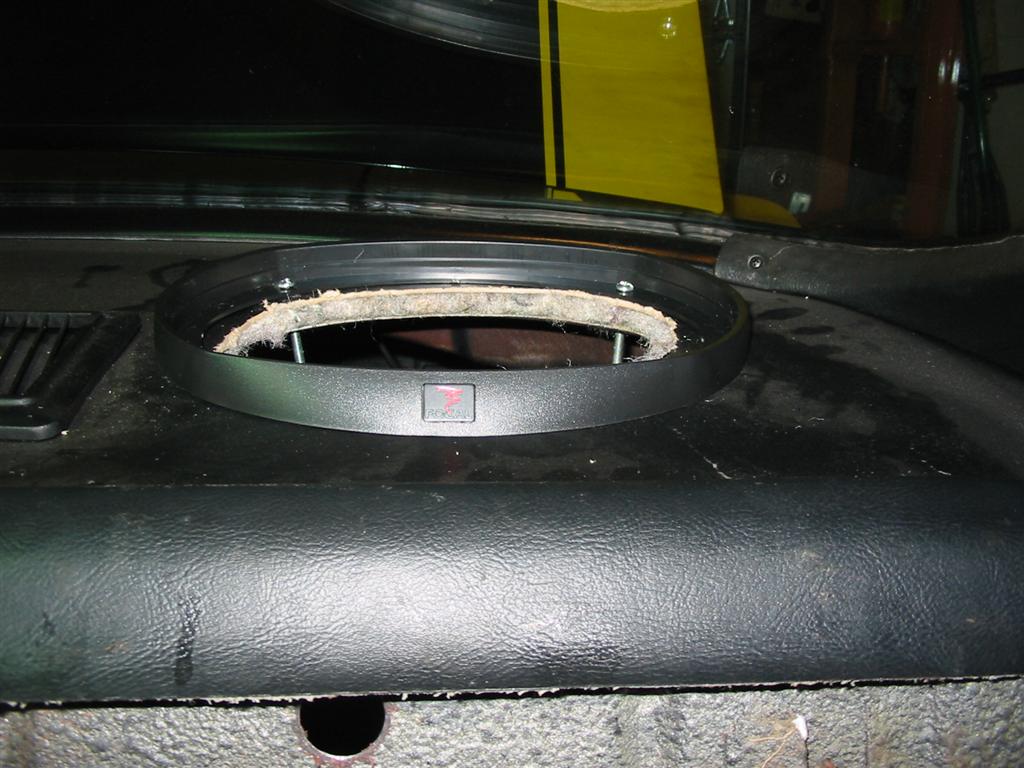
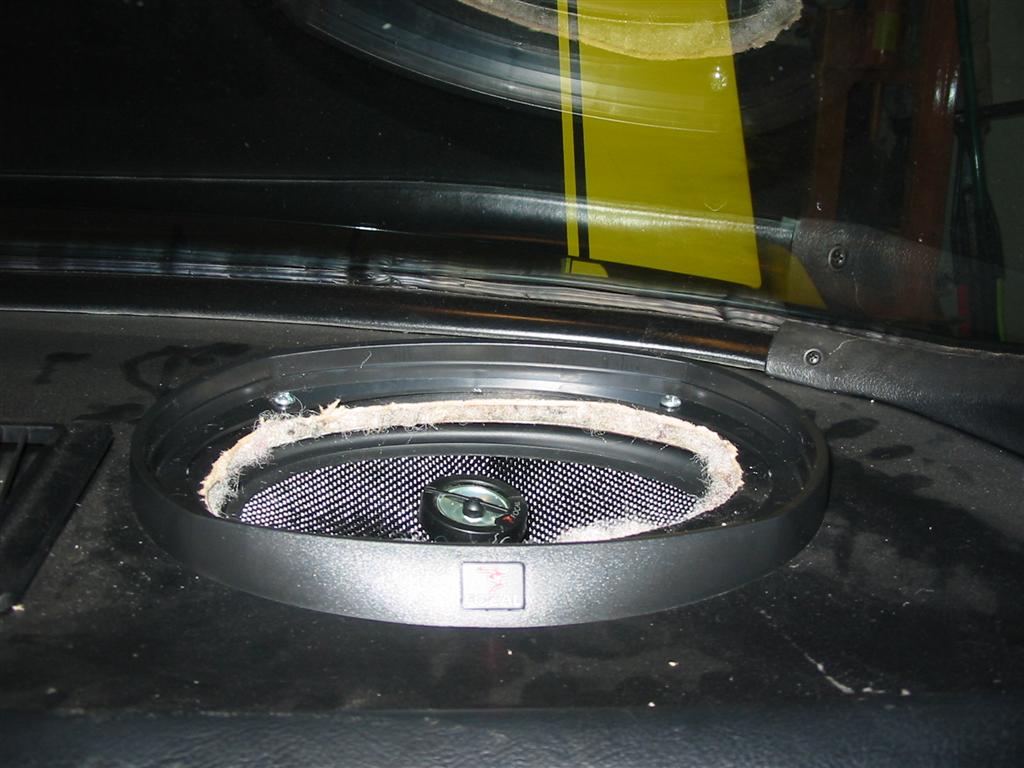
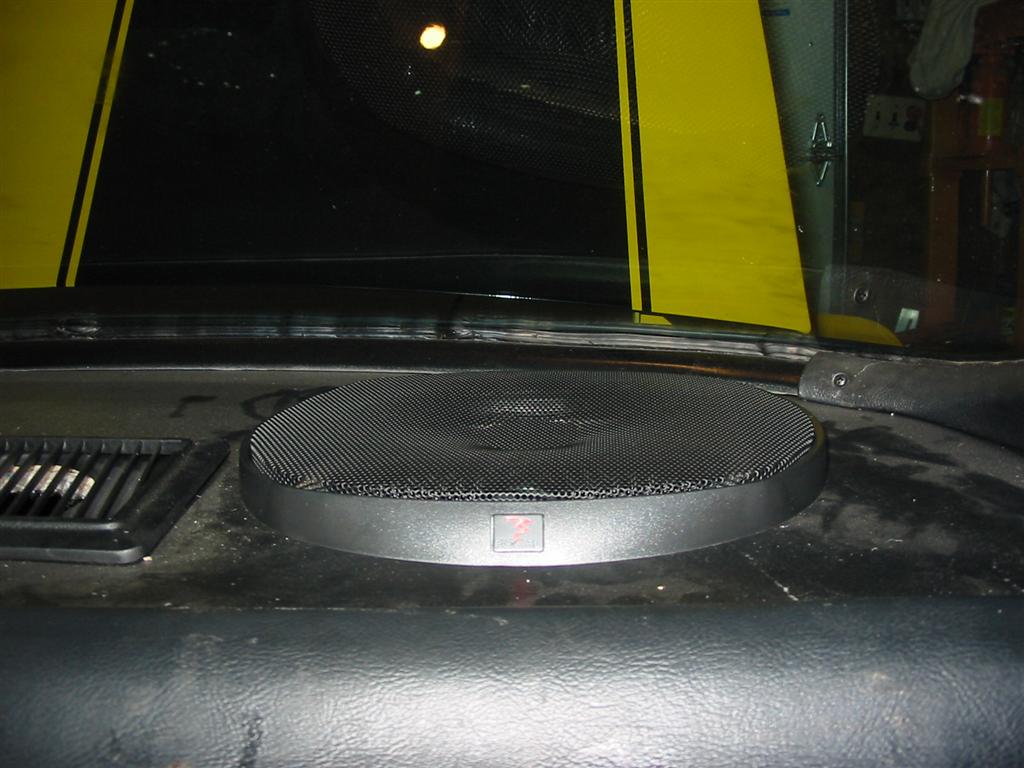
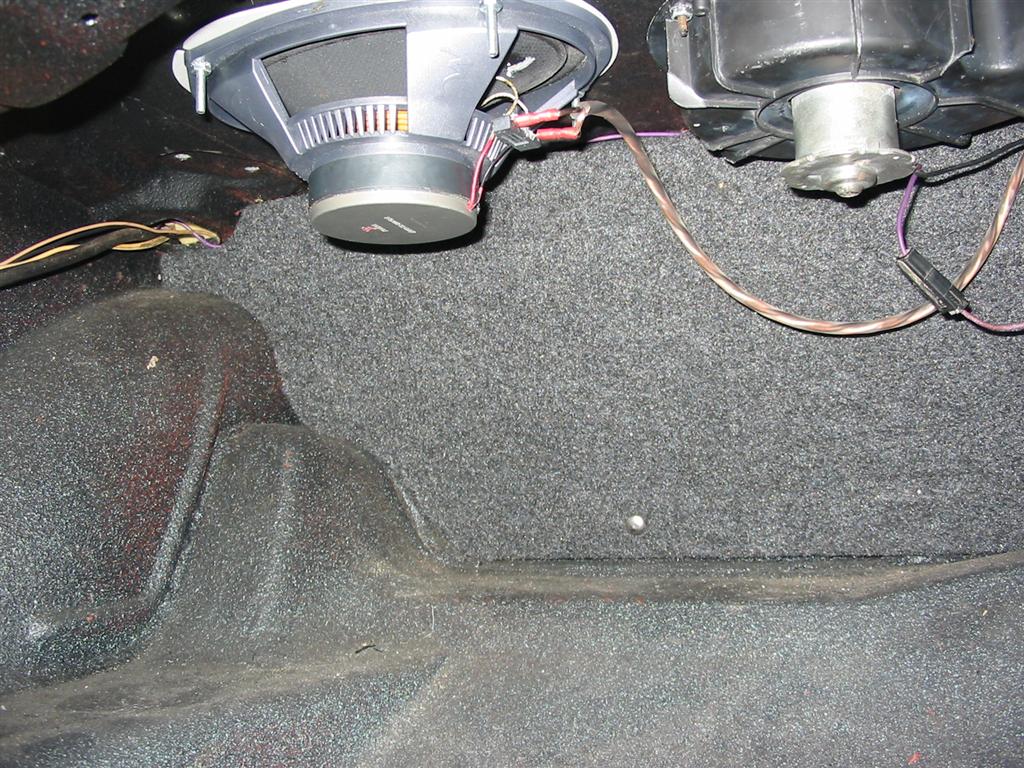
| The rear speakers were installed into the rear deck panel. To install the speakers, I needed to cut the rear deck panel. | |
|
|
|
|
|
|
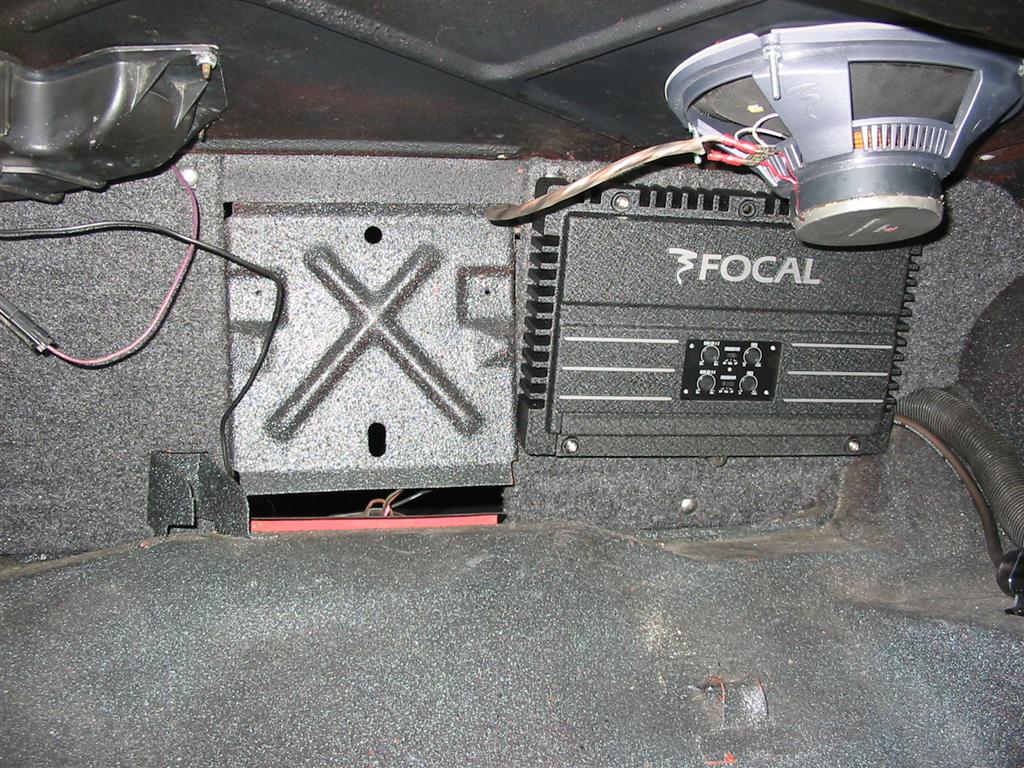
| Here is the the Granite amp installed with the amp walls. | |
|
|
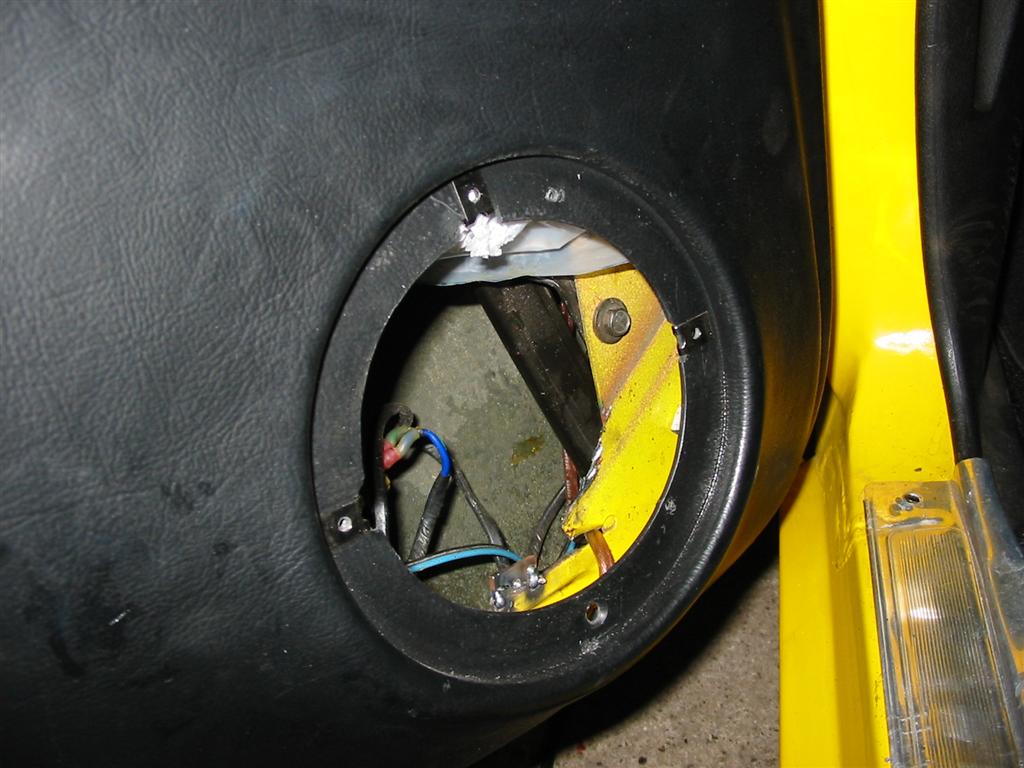
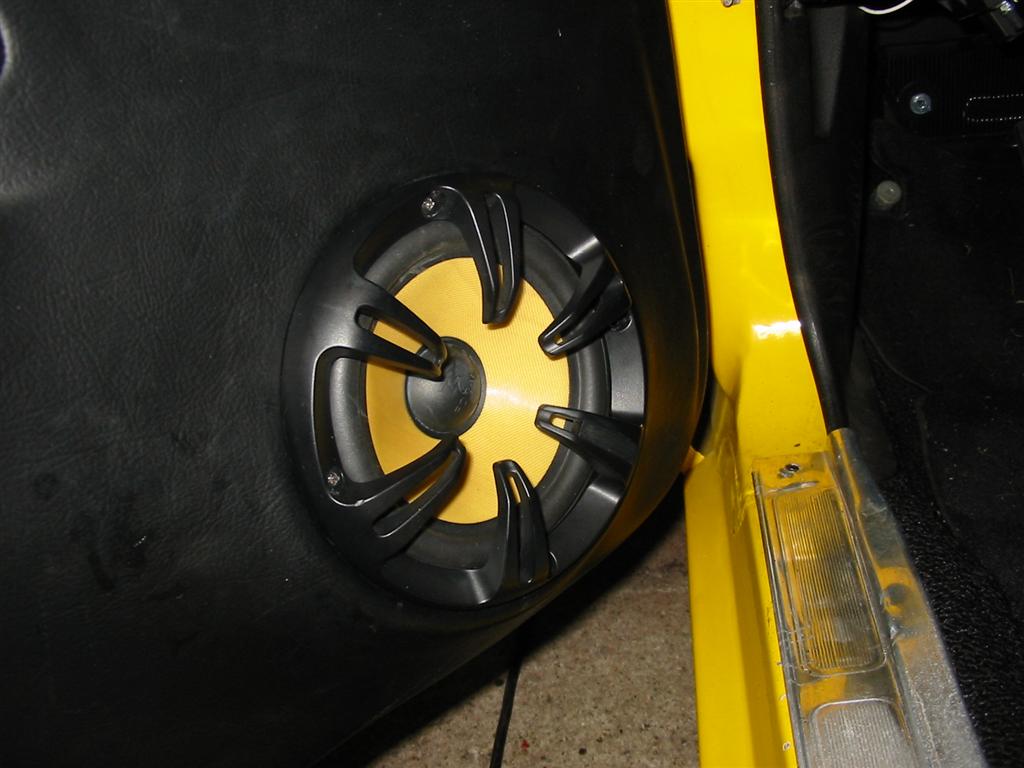
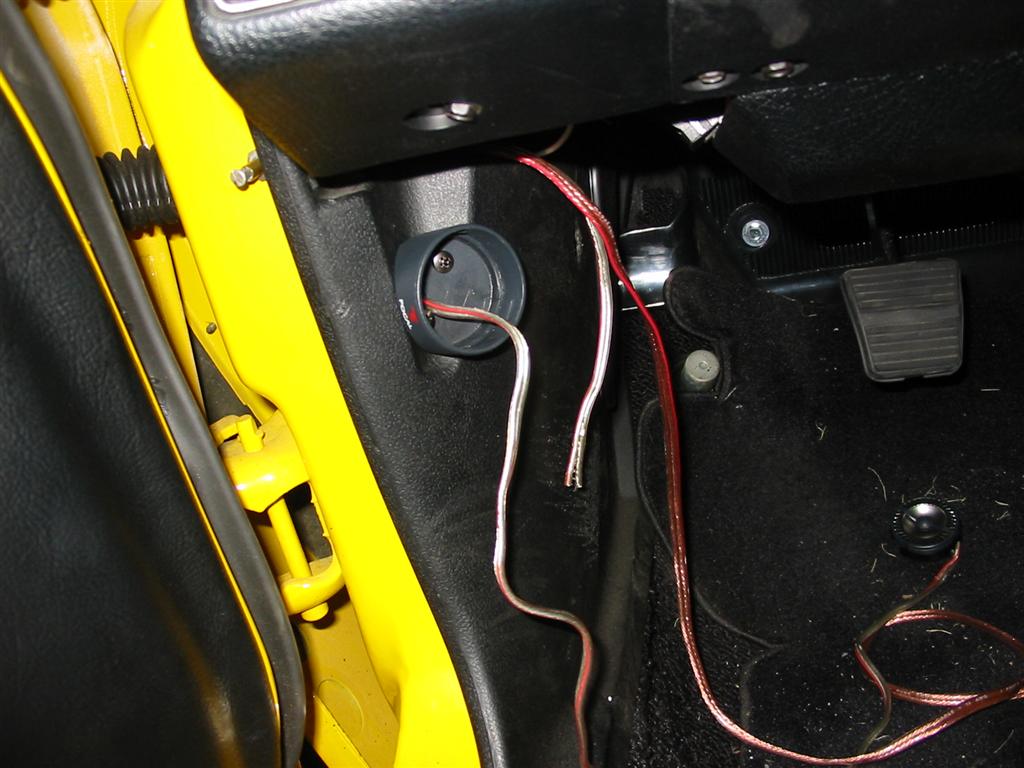
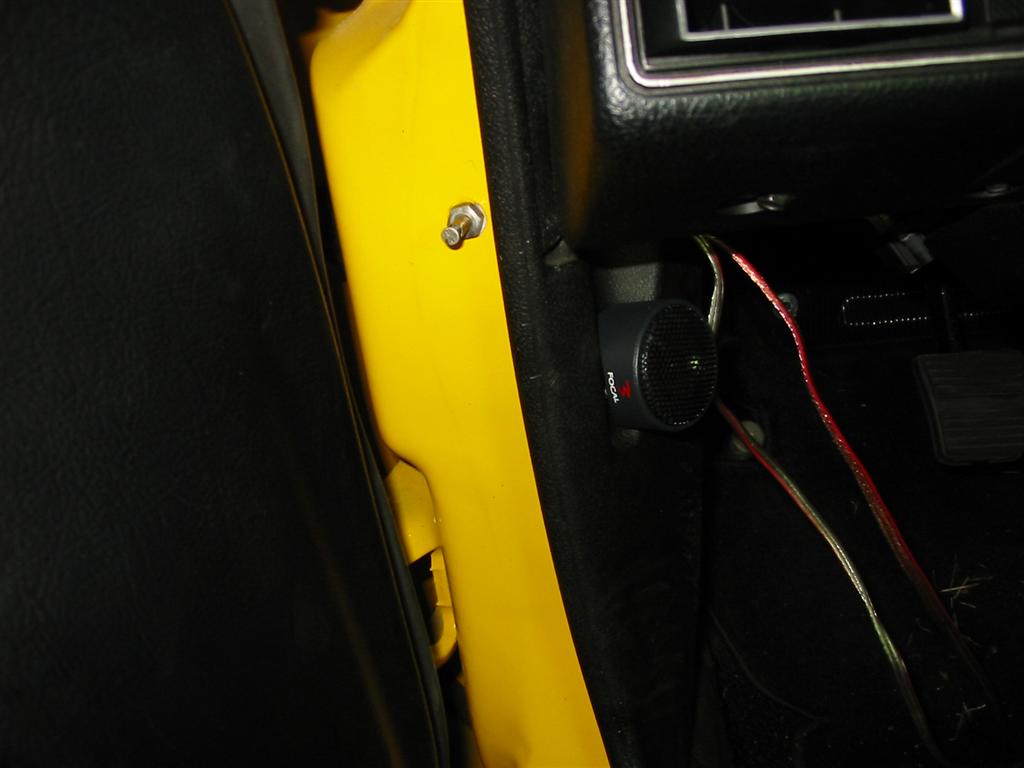
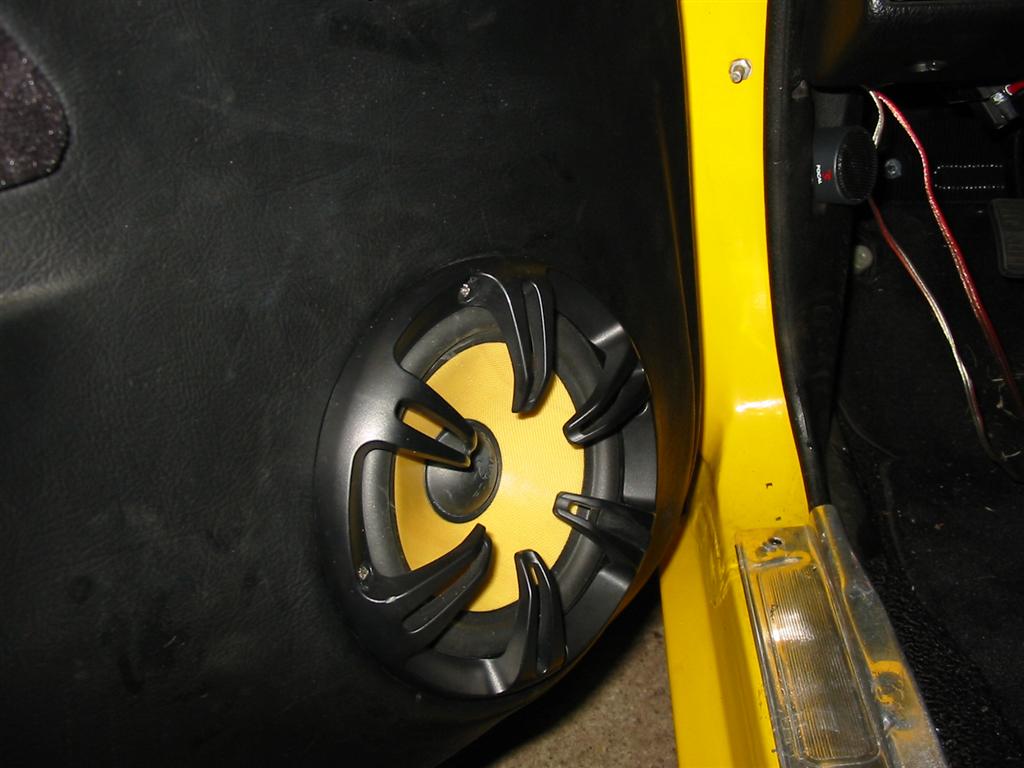
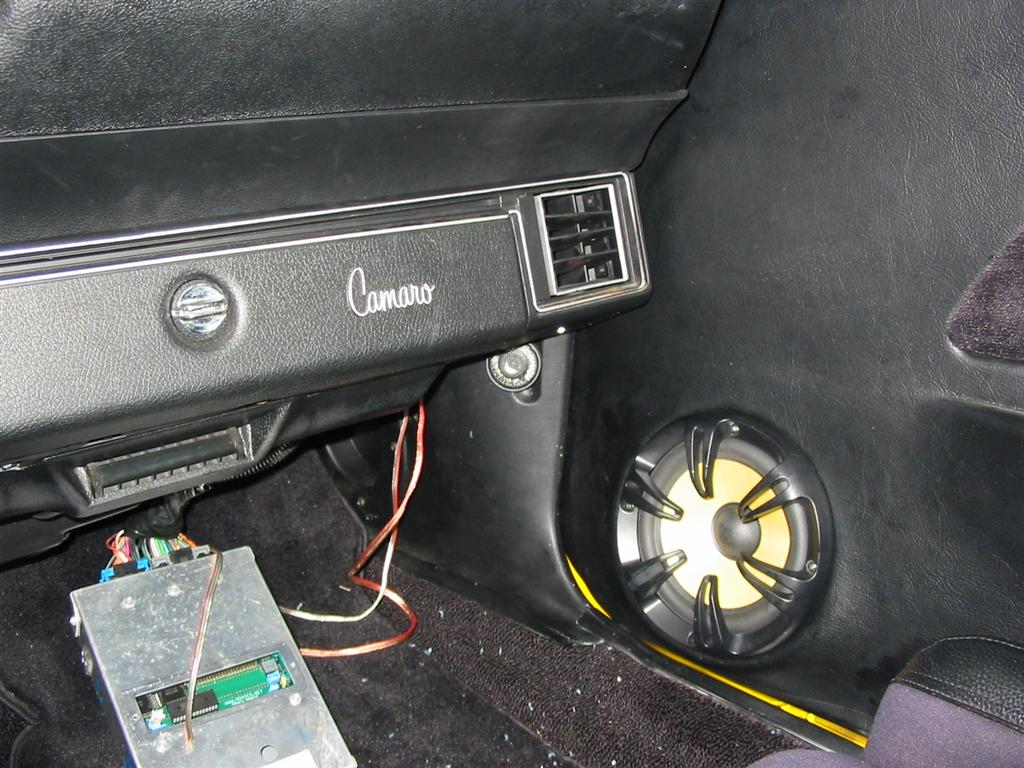
| In the front I mounted the Focal speakers in the door using the existing holes in the Year One door panels. I also mounted the tweeters in the kick panels. | |
|
|
|
|
|
|
|
|
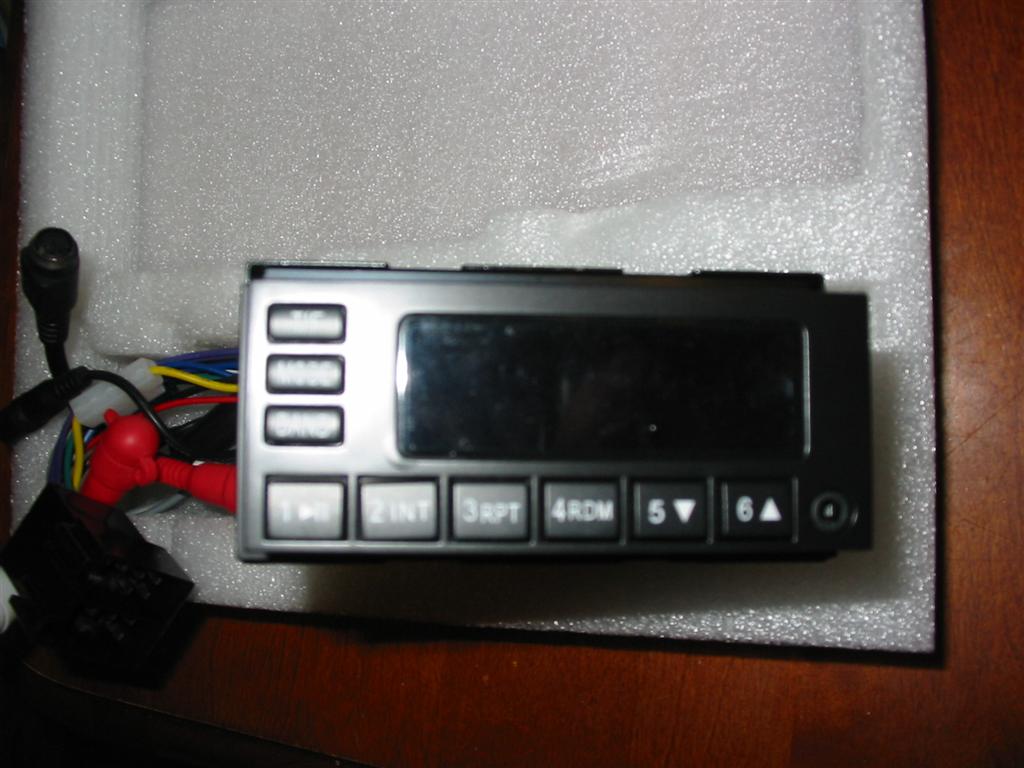
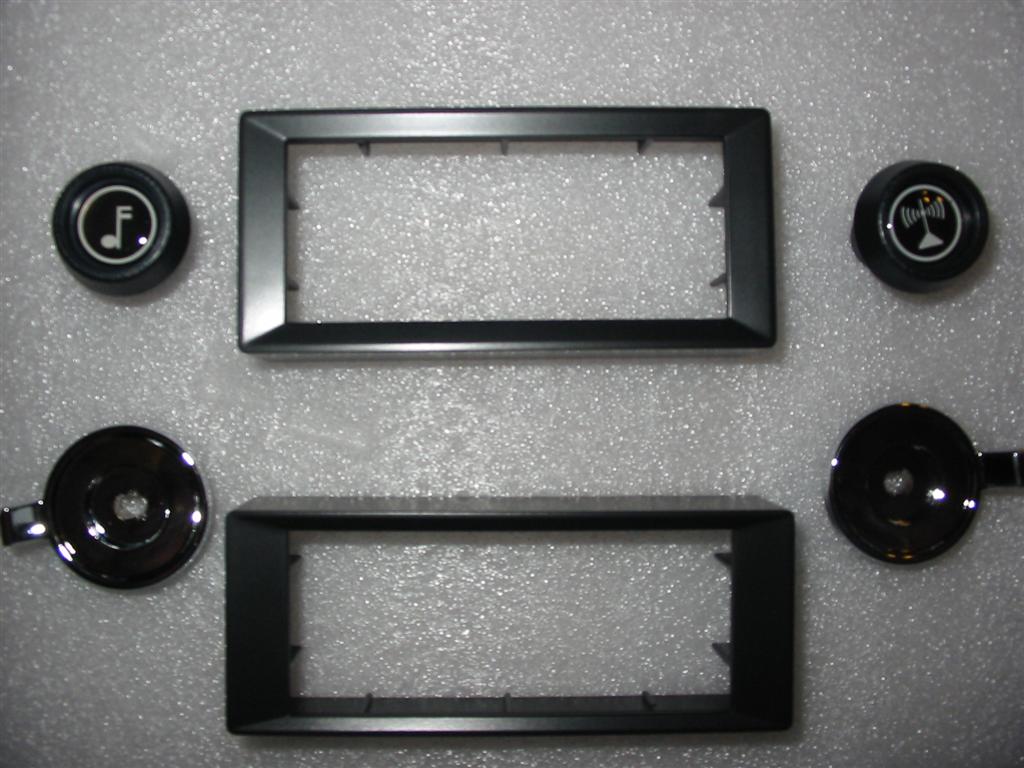
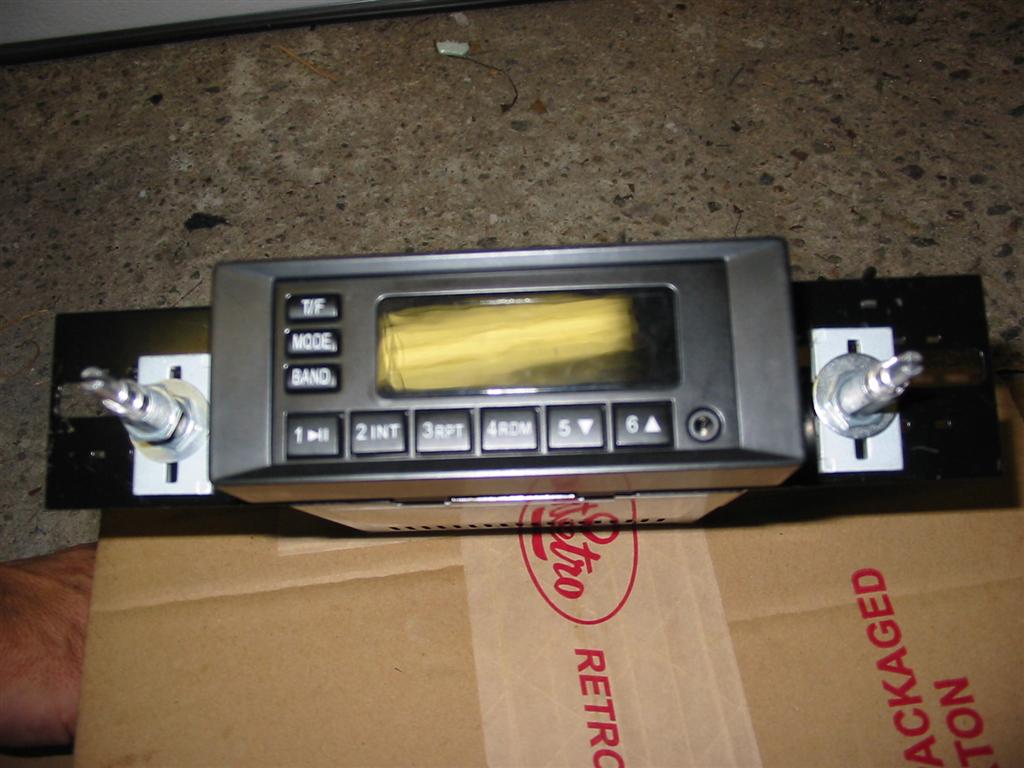
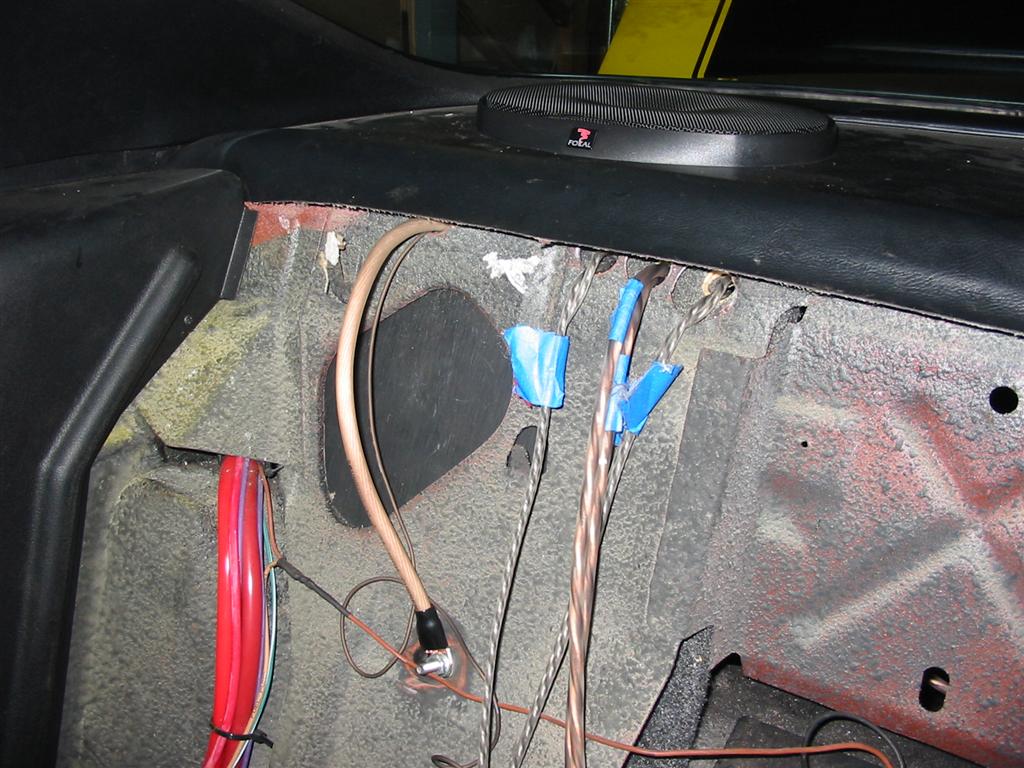
| Here are pictures of the Retrosound Radio installation into the dash. | |
|
|
|
|
|
|
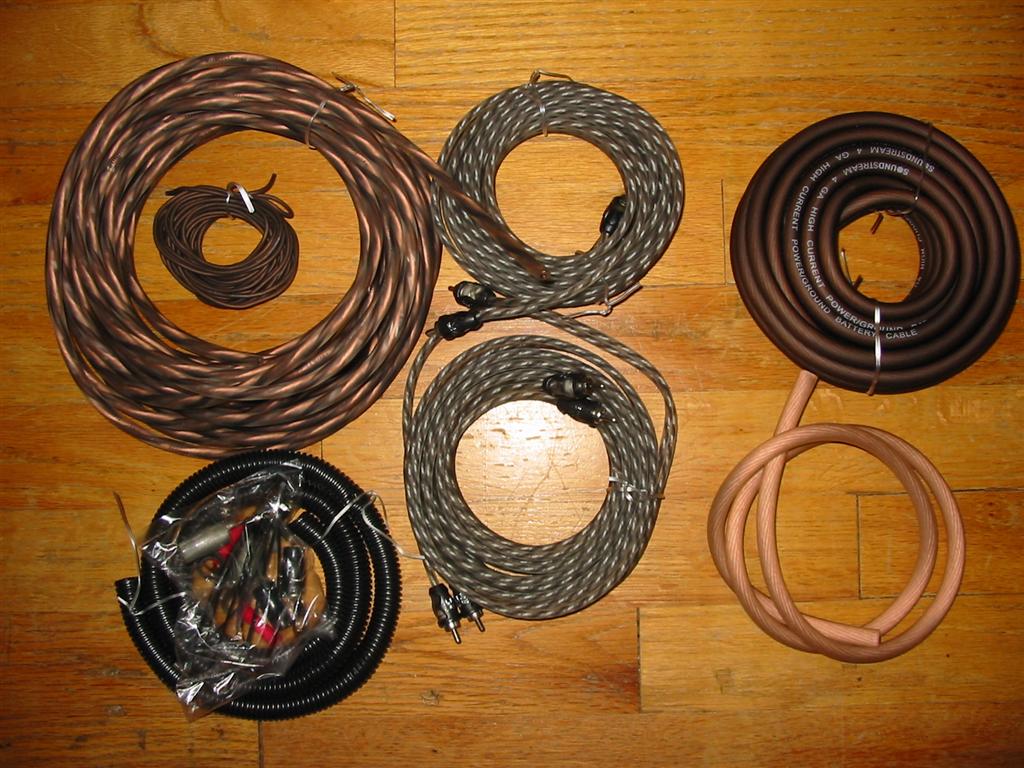
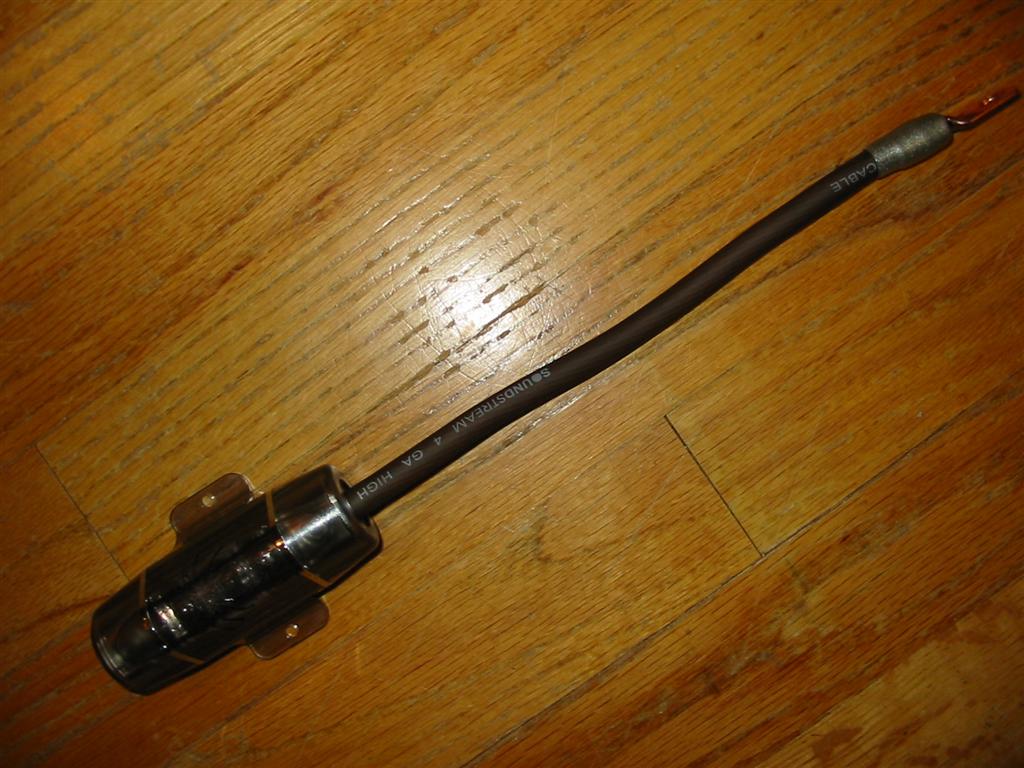
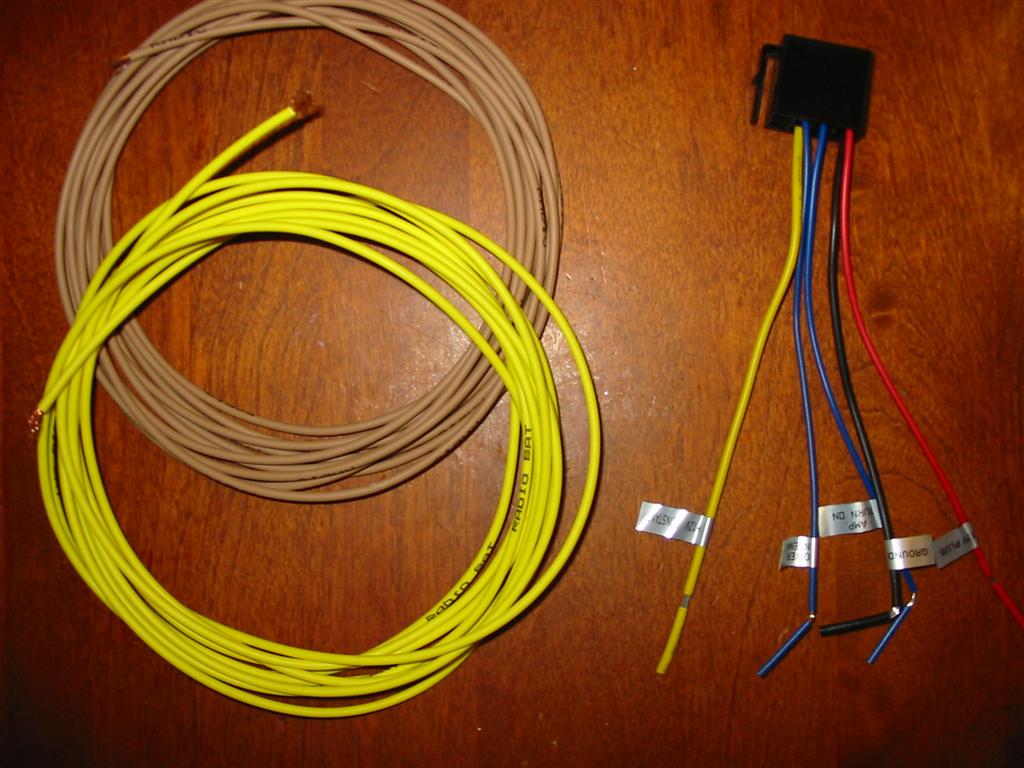
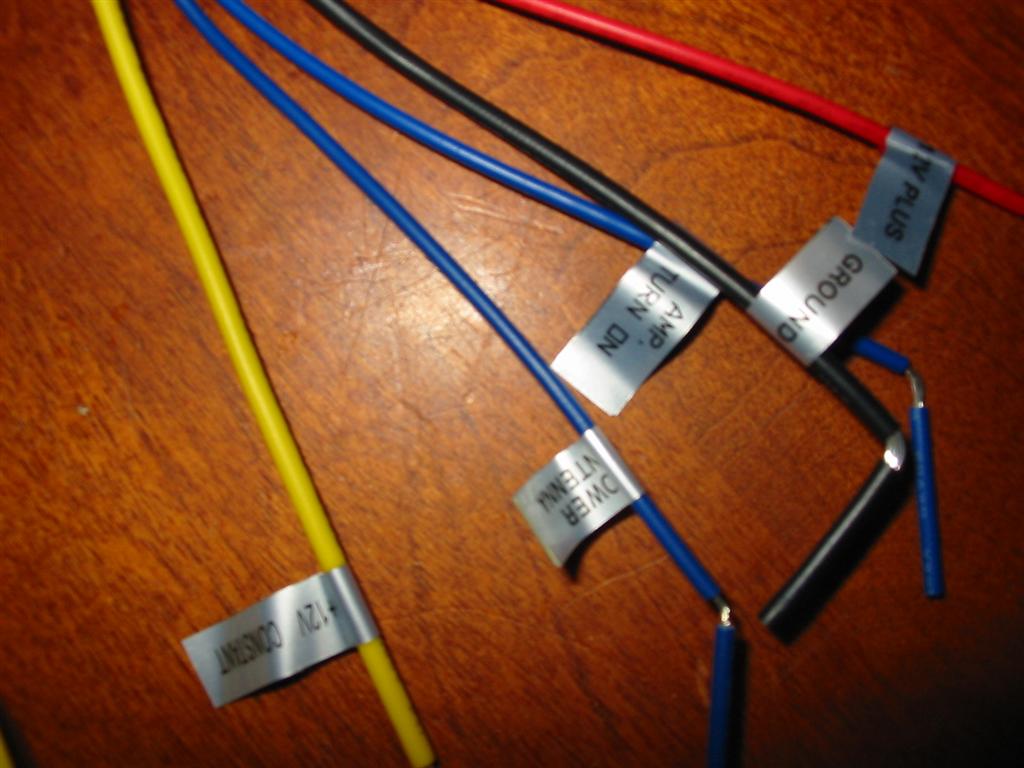
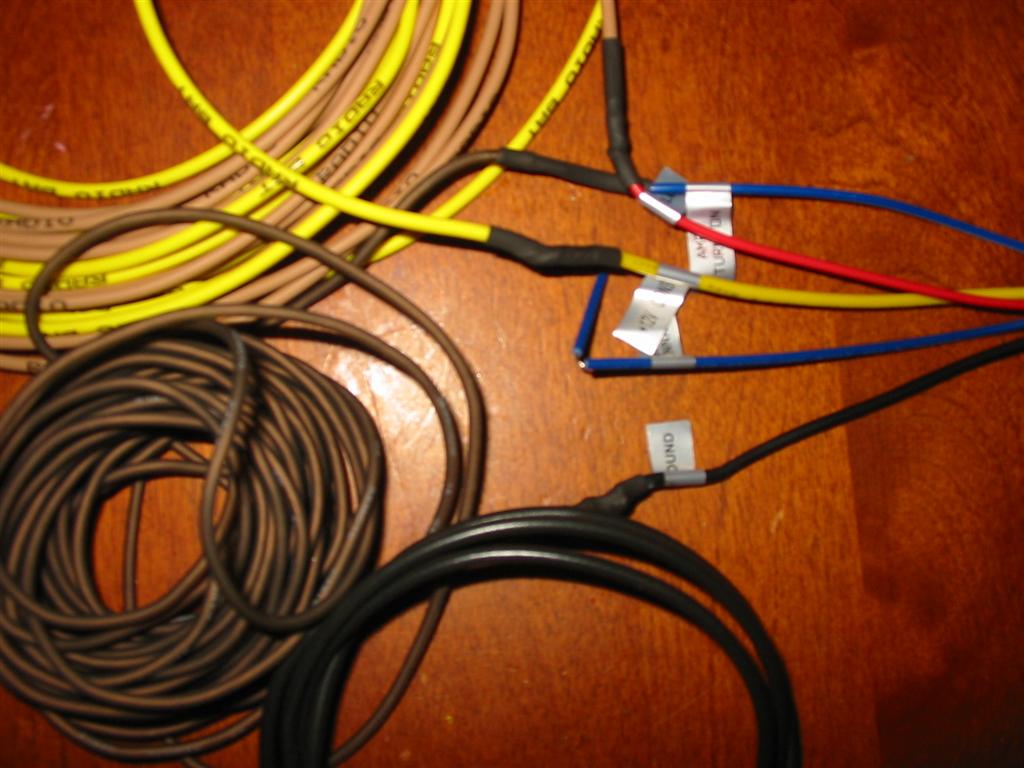
| Here are pictures of the wiring for the radio and amps. The radio power wires were part of American Wire Harness. The radio plug is part of the Retrosound radio and the amp wires were purchased seperately. | |
|
|
|
|
|
|
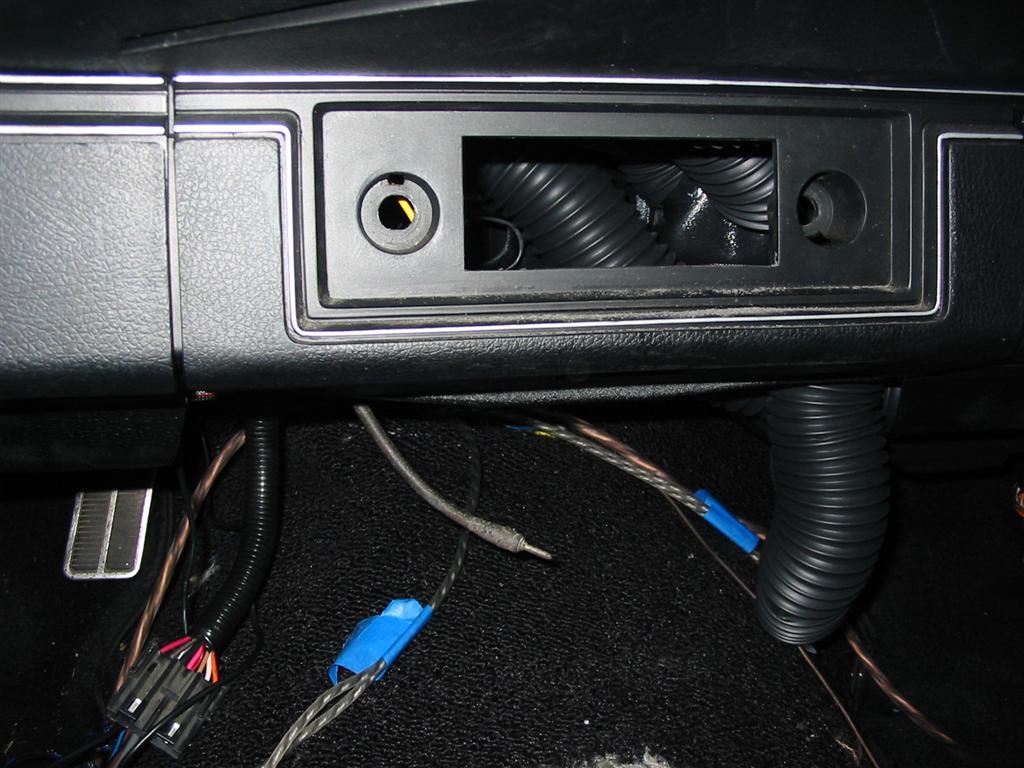
| Here are pictures of the radio installation into the dash | |
|
|
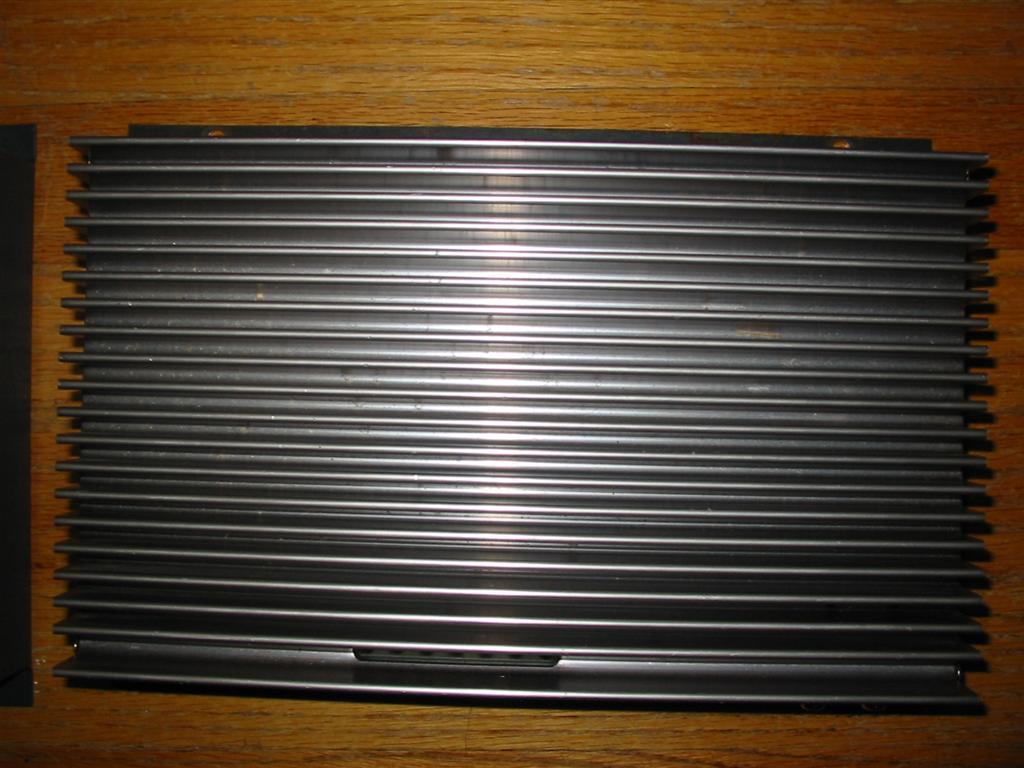
| Here are pictures of the Focal Solid 4 amplifier and the installation. | |
|
|
|
|
|
|
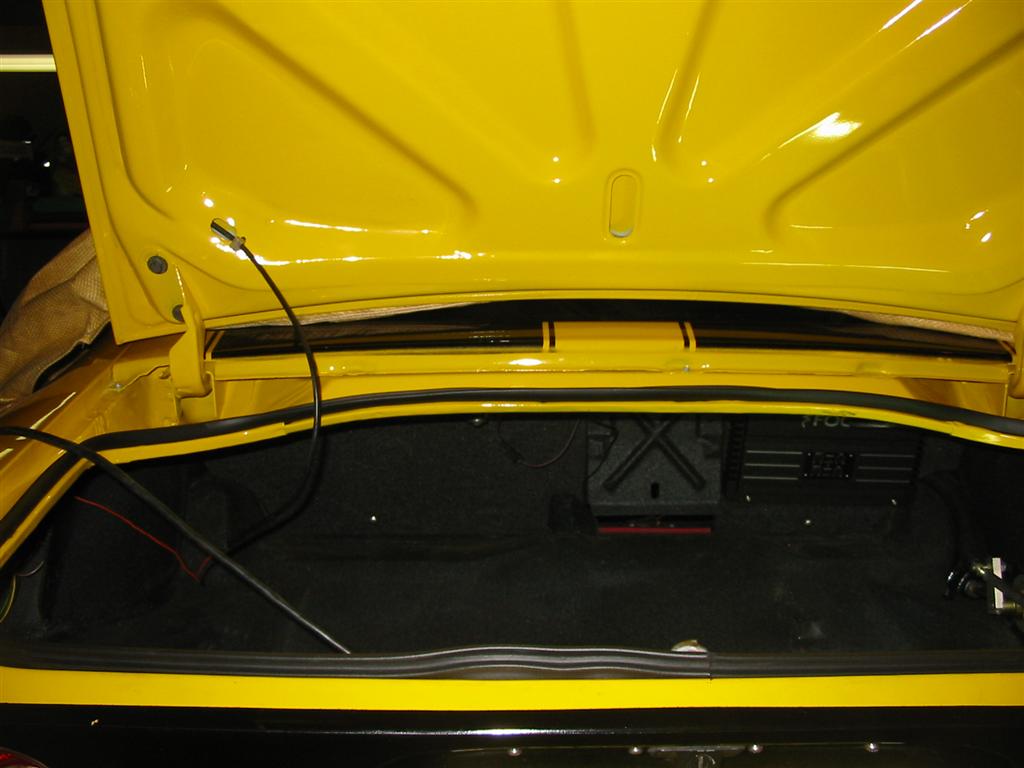
| Here are final pictures of the trunk. | |

|
|