|

Front Floor, Cowl Cleanup and Firewall Smoothing (July 10, 2006)
This page documents the stripping of the cowl and front interior floor. In earlier pages I documented the repair of the front floors. On this page, I document stripping the paint and surface rust off of the remaining steel then coating the metal with ZeroRust. I also took the time to strip the top and sides of the cowl and coat them with ZeroRust.I also document the installation of the sheet metal panel I created to cover all the factory HVAC holes in the right side firewall. Once I welded this panel on, I ground the welds down smooth and coated the panel with ZeroRust.
At this point I am done with almost all the metal work on the shell of the car. All I have left is filling a few tiny holes in the left side of the firewall, some miscellaneous small holes in the floorpan and mounting the shifter hump. In a few months I will strip the remaining paint off of the body and put a coat of epoxy primer on the whole shell. Once the car is primered, I will start on the body work. My next step is restore the front suspension including the subframe.
Status photos as of 7/10/2006:
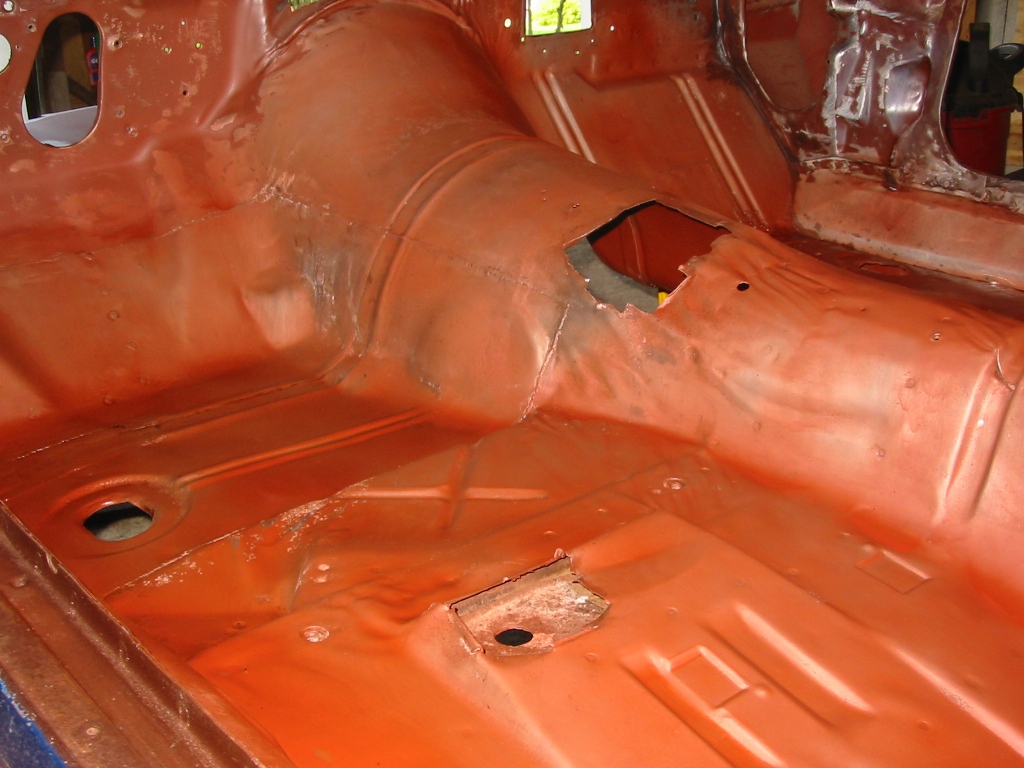
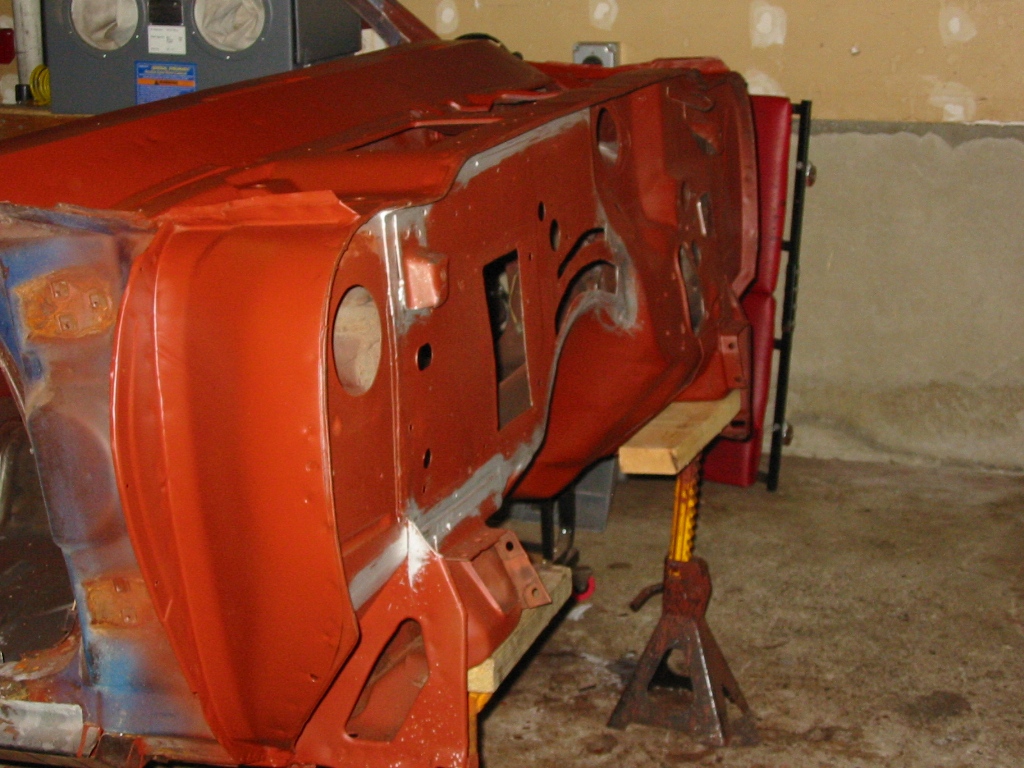
| Here are pictures of the front floors before being stripped. | |
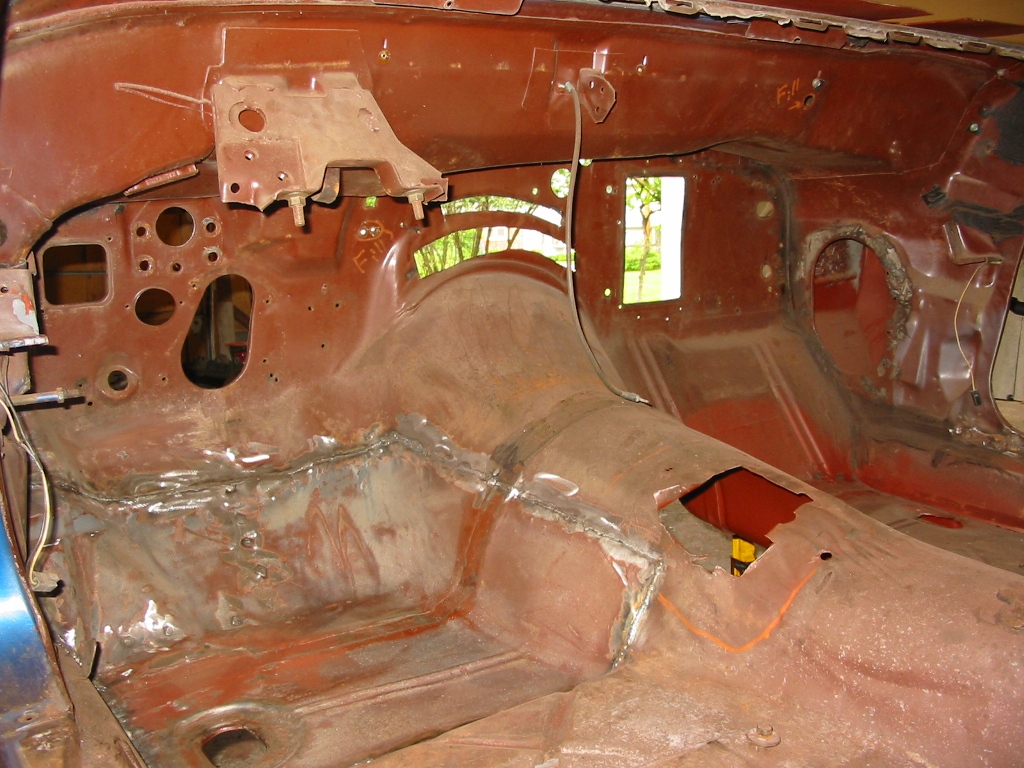
|
|
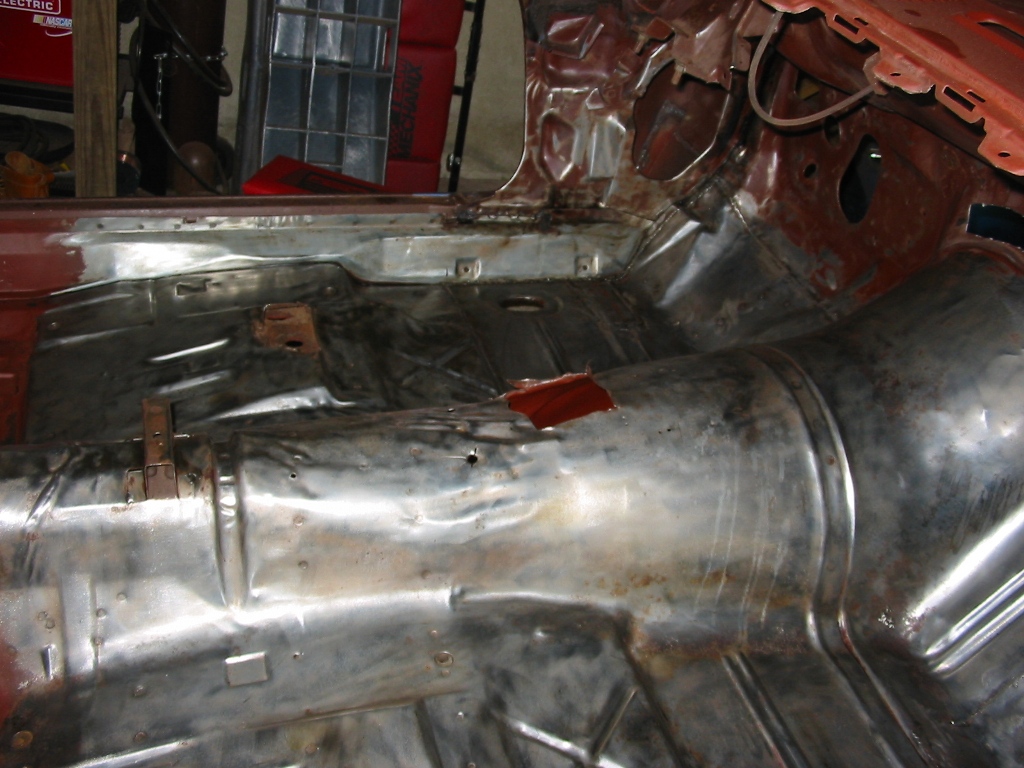
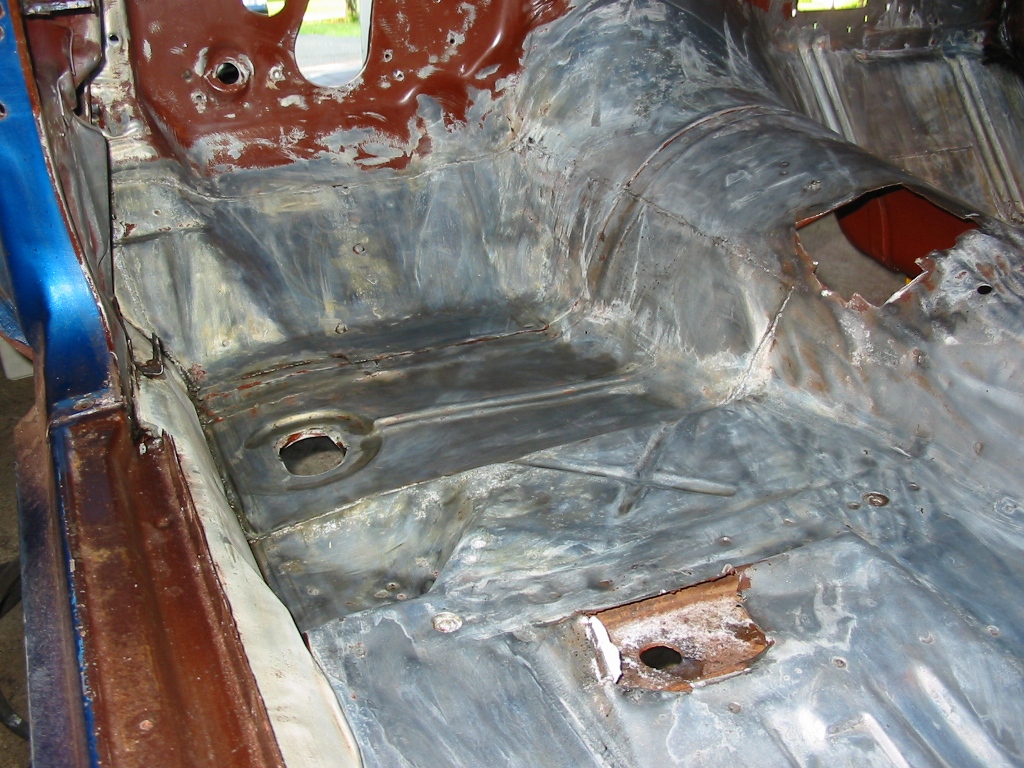
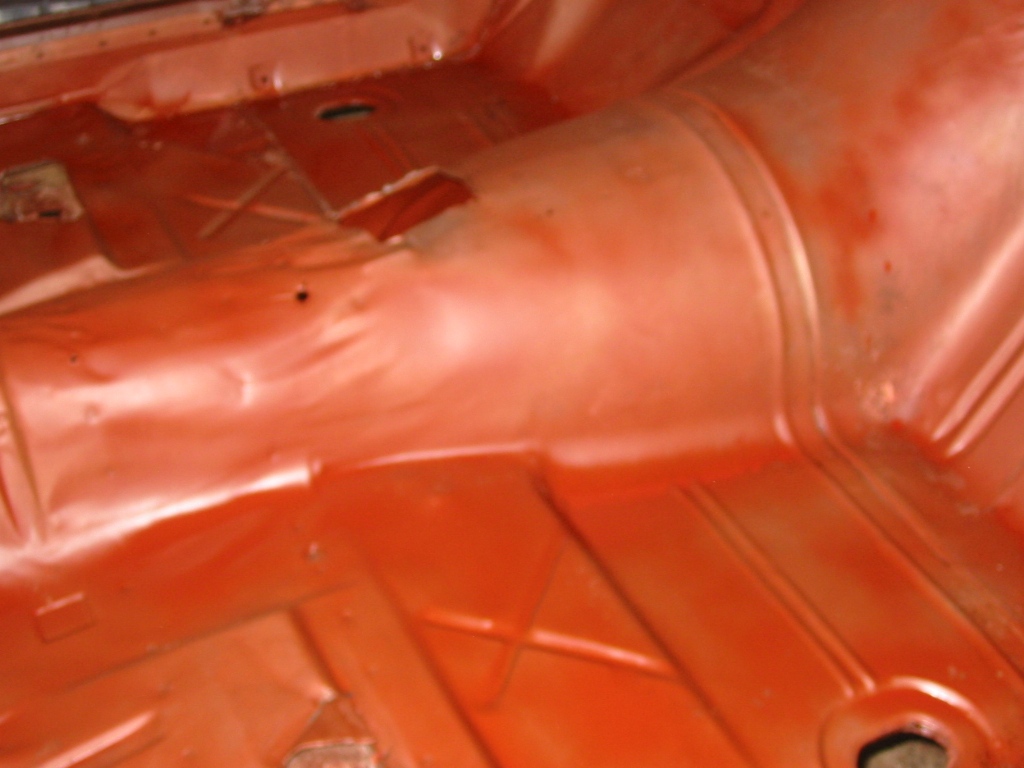
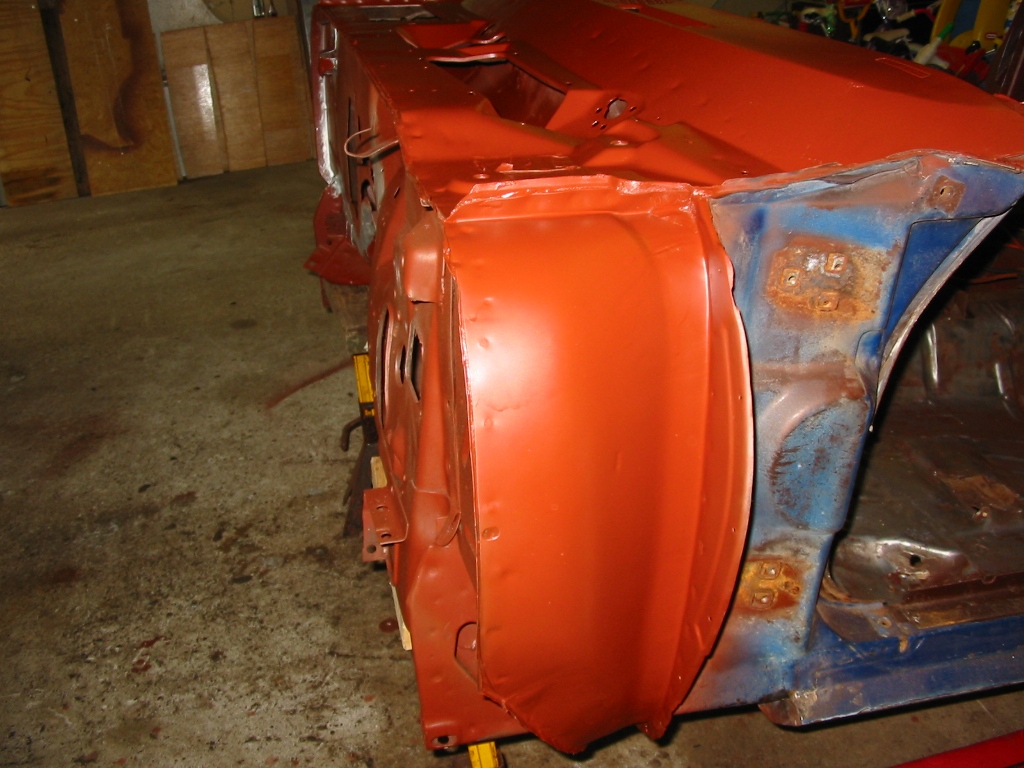
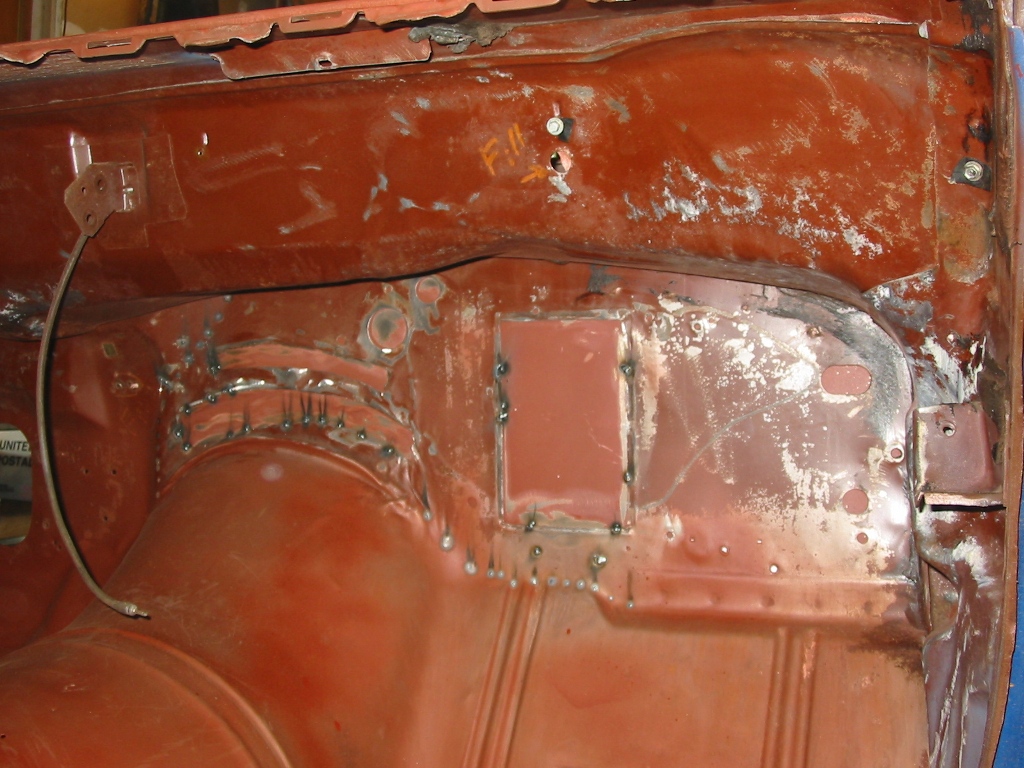
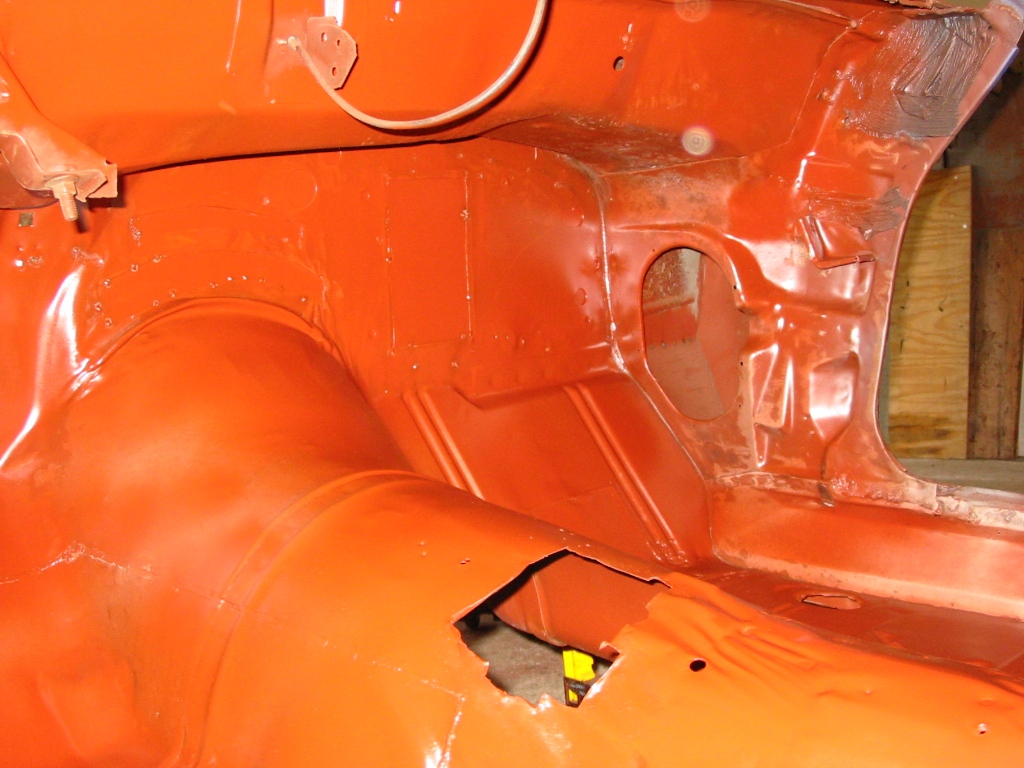
| Here is the front floor stripped down to steel. | |
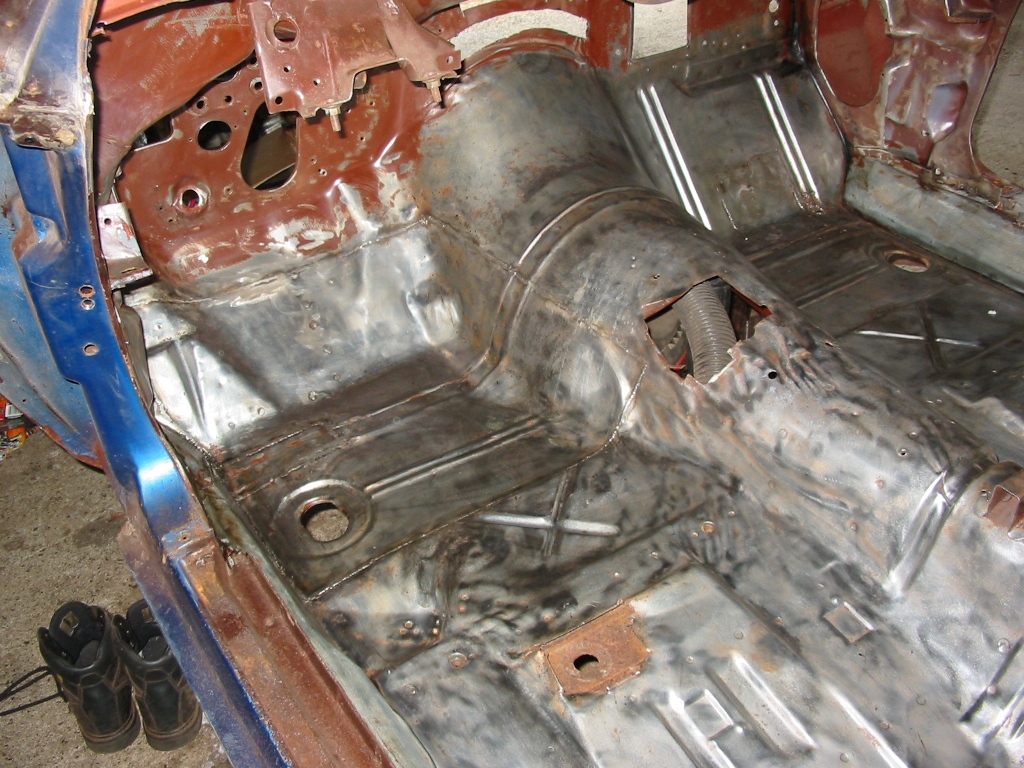
|
|
|
|
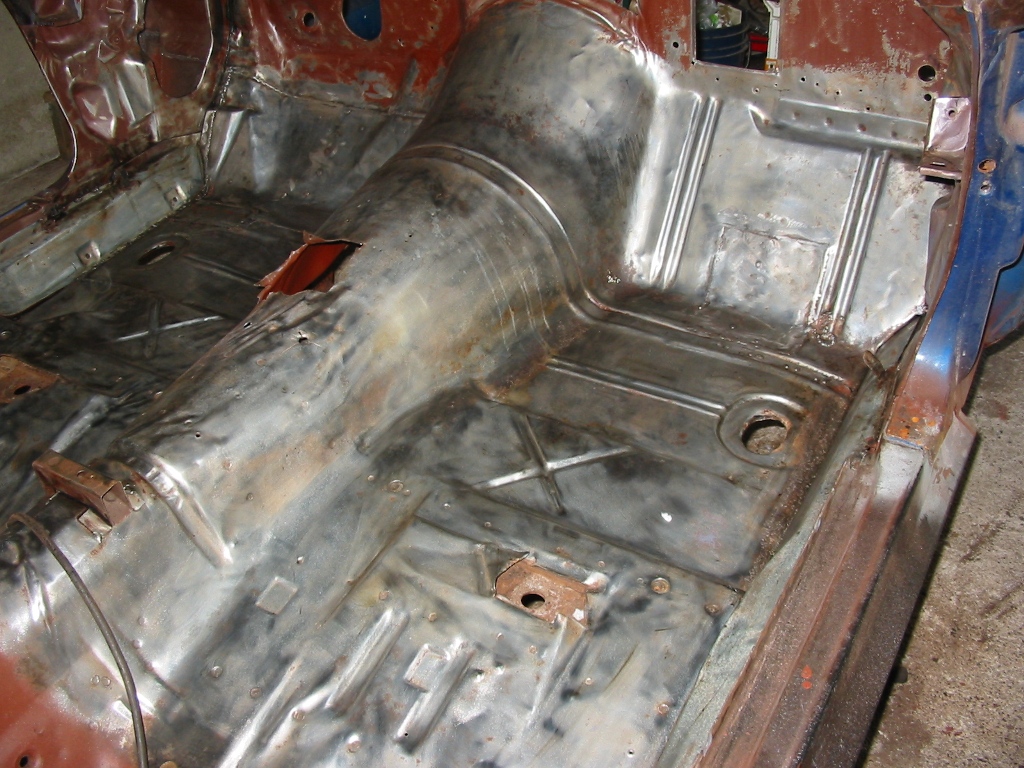
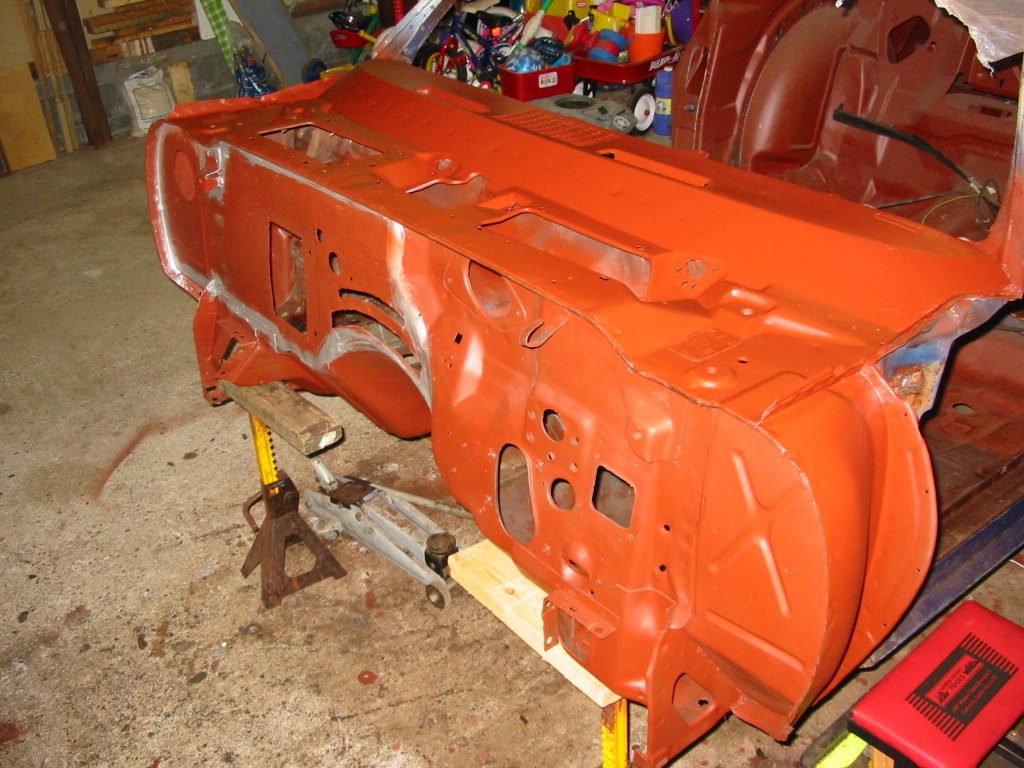
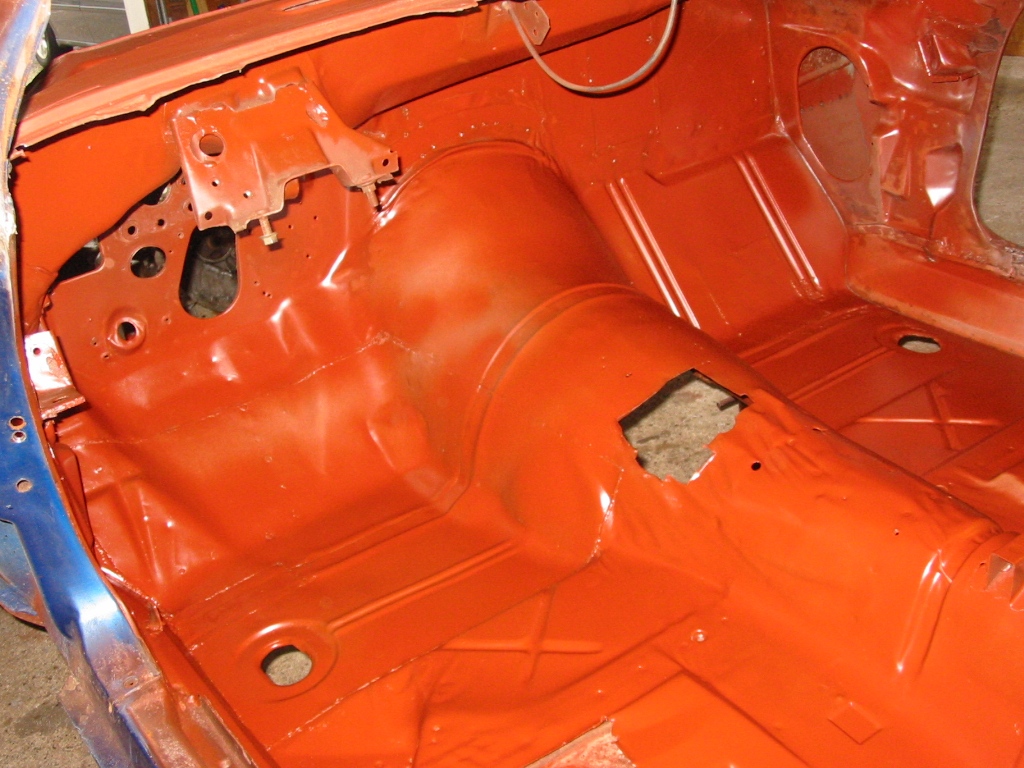
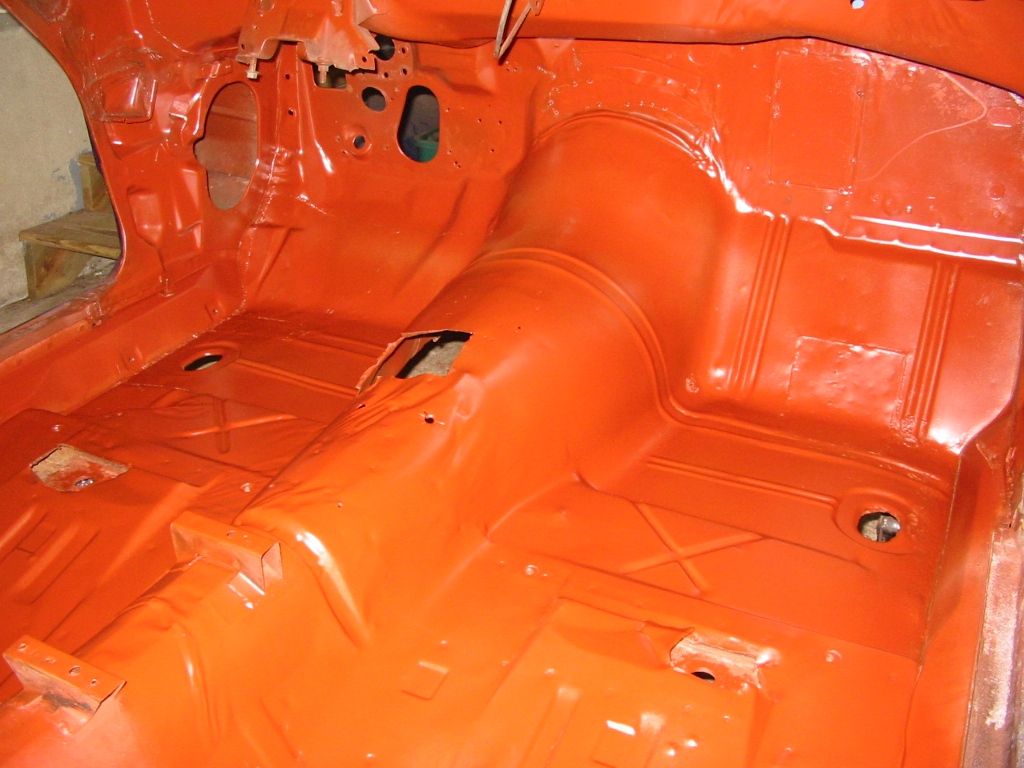
| Here are the front floors before being coated with ZeroRust. They have been treated with POR-15 METAL-READY. | |
|
|
|
|
| Here is the floor with a single light coat of ZeroRust. Unfortunately, I ran out of ZeroRust after this coat and had to wait a week before doing the second coat. This added to the process, because I had to clean and degrease the painted surface. | |
|

|
|
|
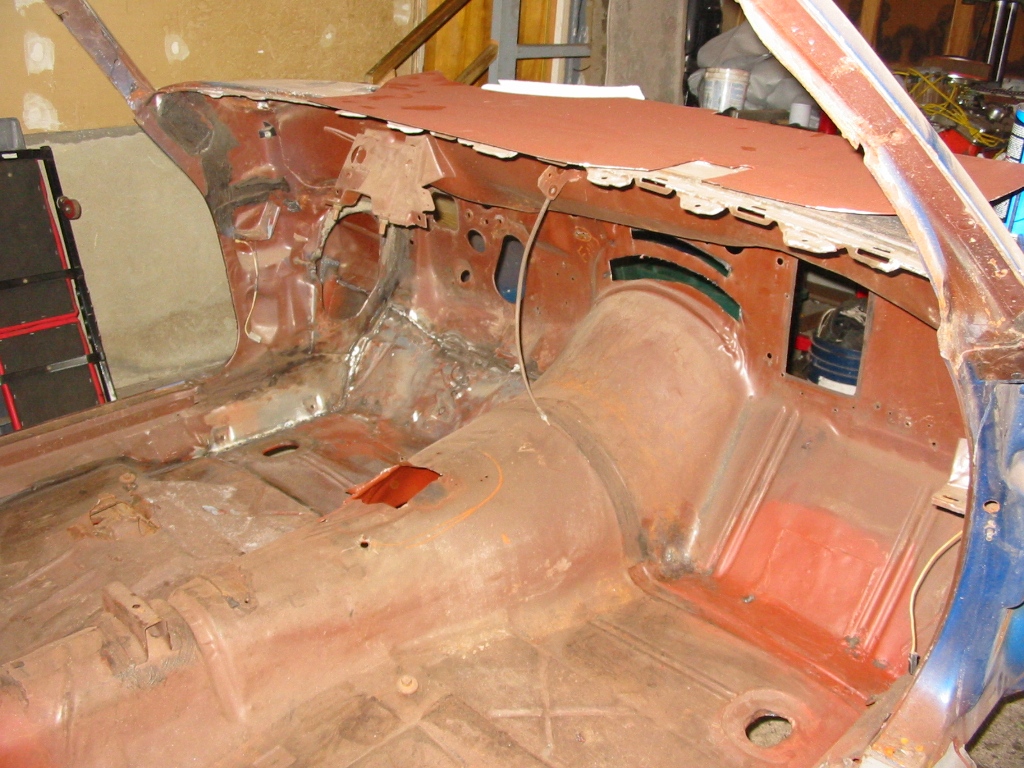
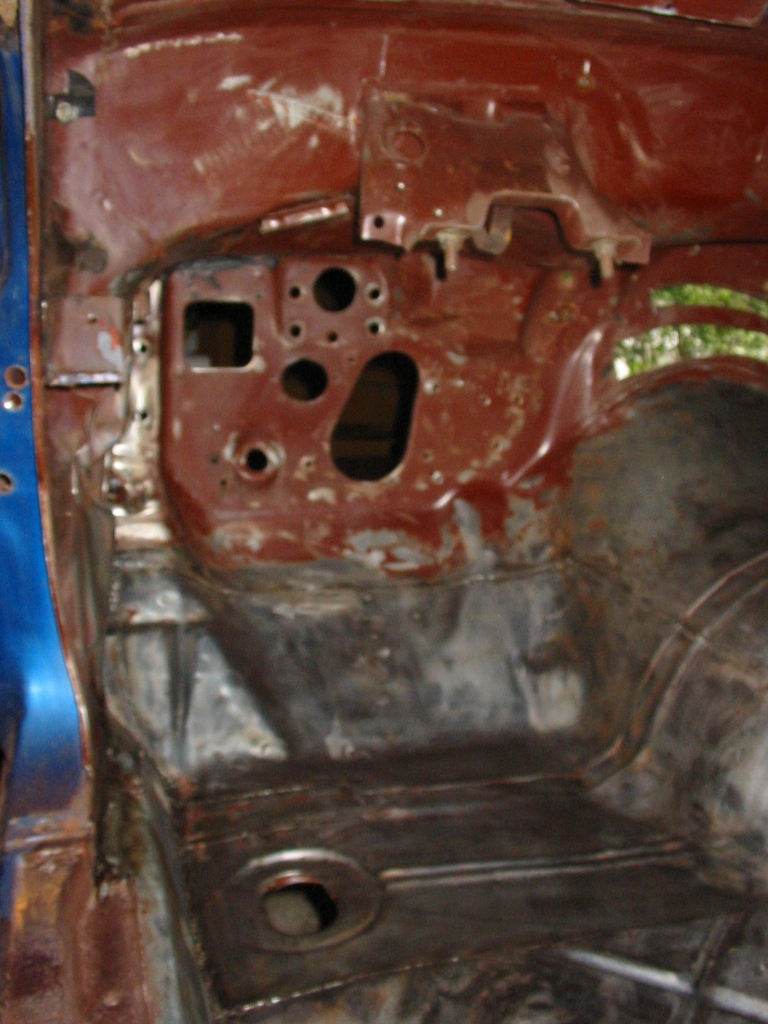
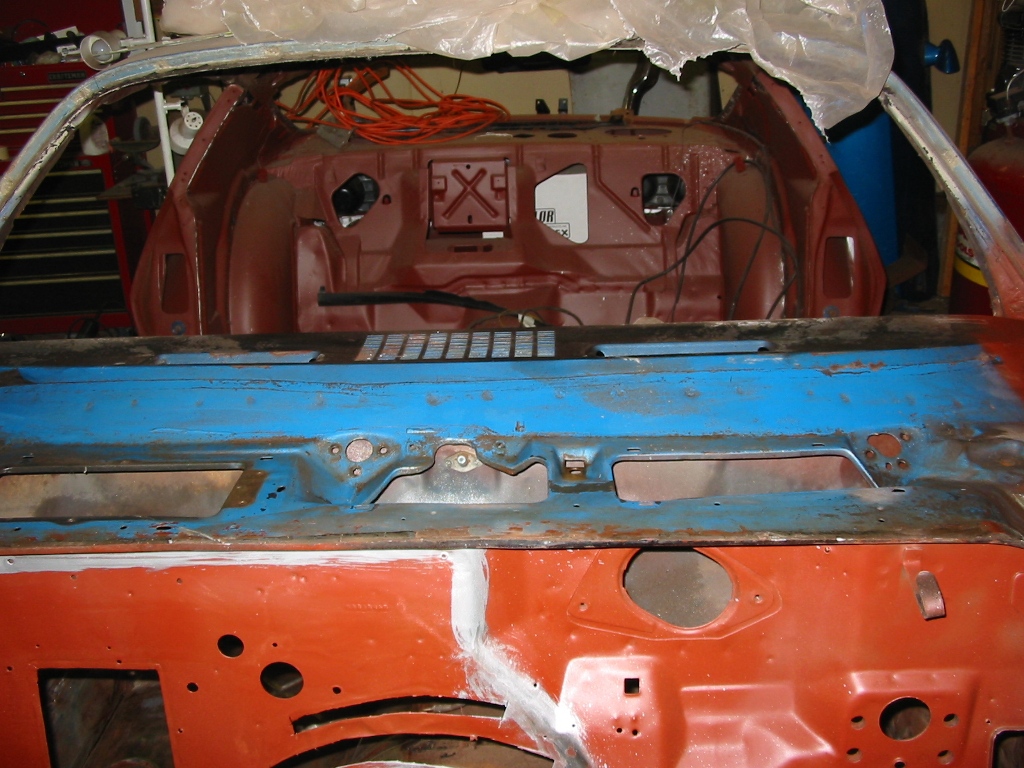
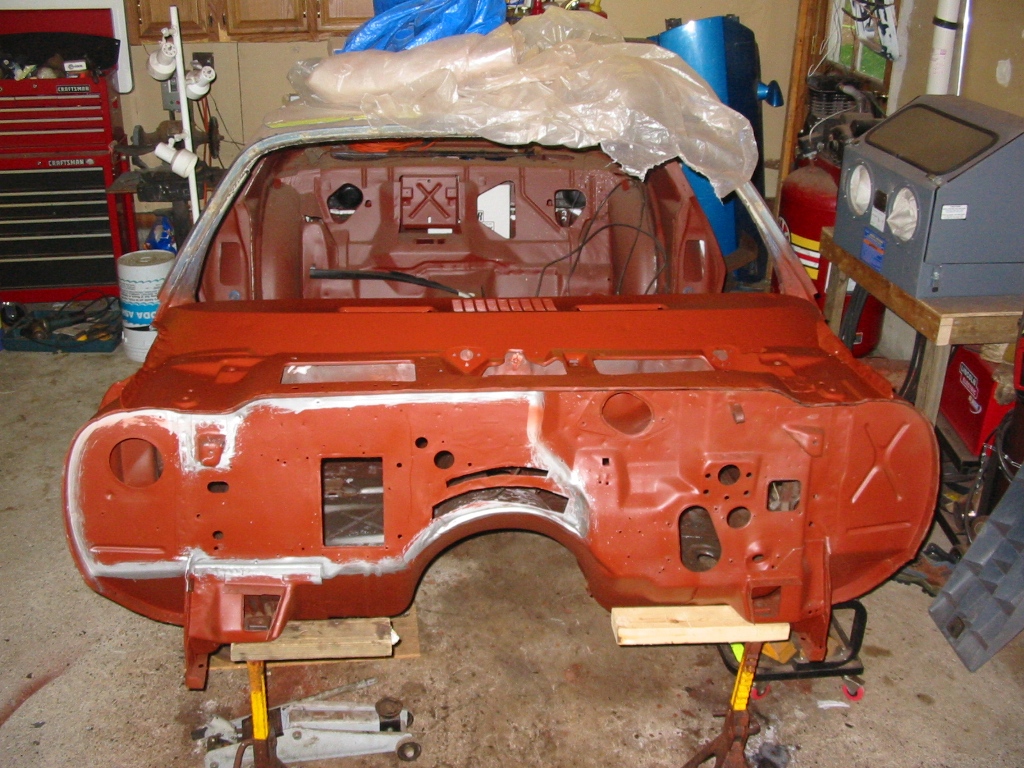
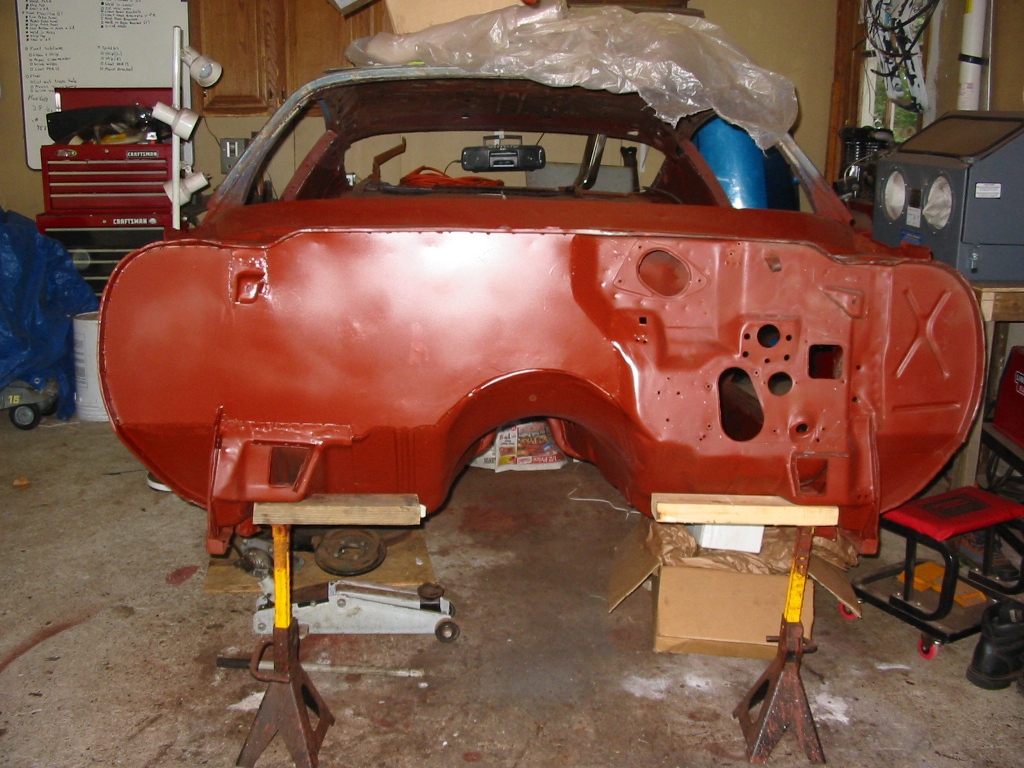
| Here Is a picture of the upper cowl and dash before stripping the existing paint off.. | |
|
|
| Here is the cowl stripped to the bare metal. | |
|

|

|
|
| Here is the cowl coated with ZeroRust. | |
|
|
|
|
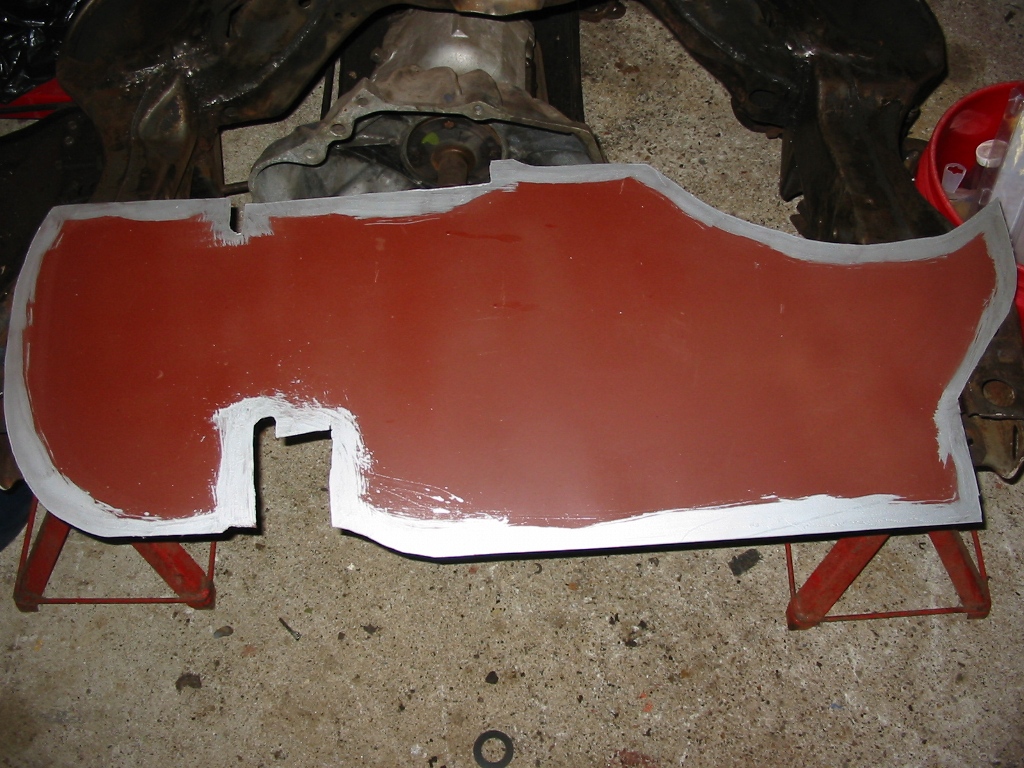
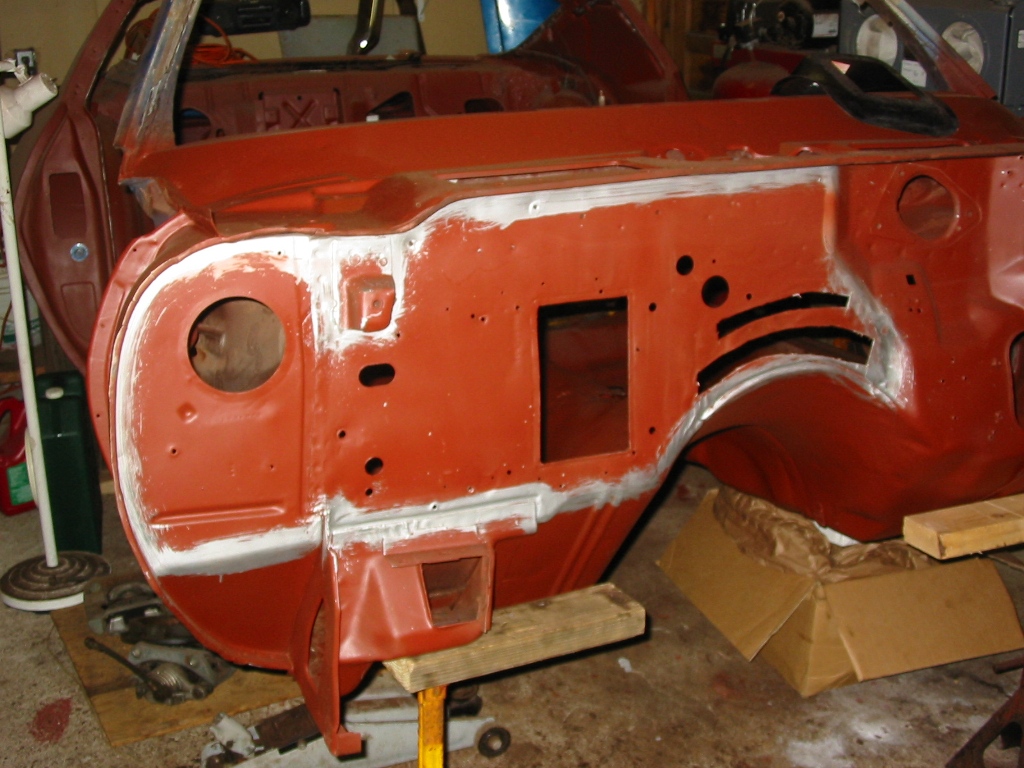
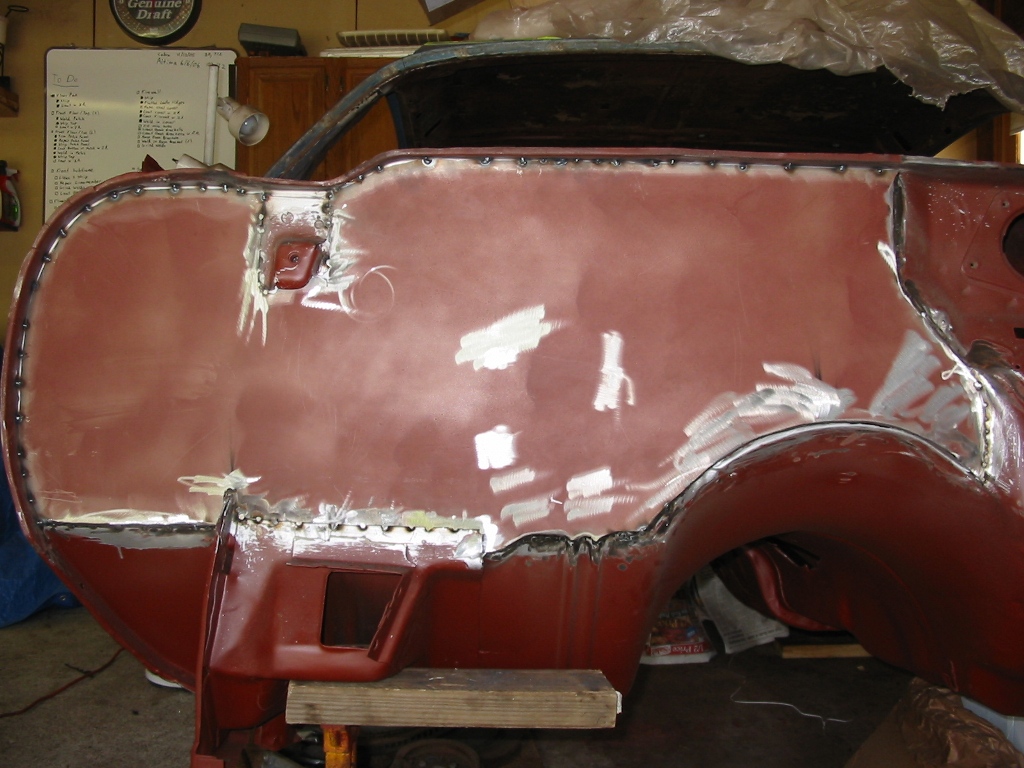
| Here is a picture of the firewall cover I made out 18 gauge steel. I stripped the inner edges and coated them with weldable primer. | Here is a picture of the firewall with the weld areas prepped with weldable primer.. |
|
|
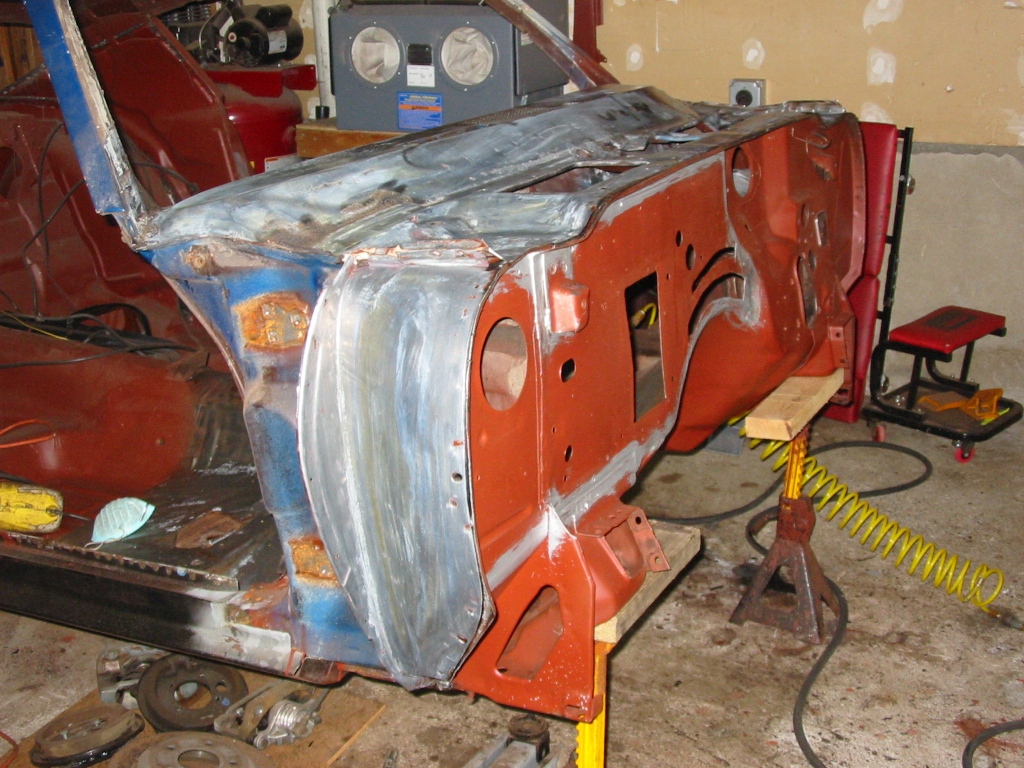
| Here is the firewall cover tacked into place. | |
|
|
|
|
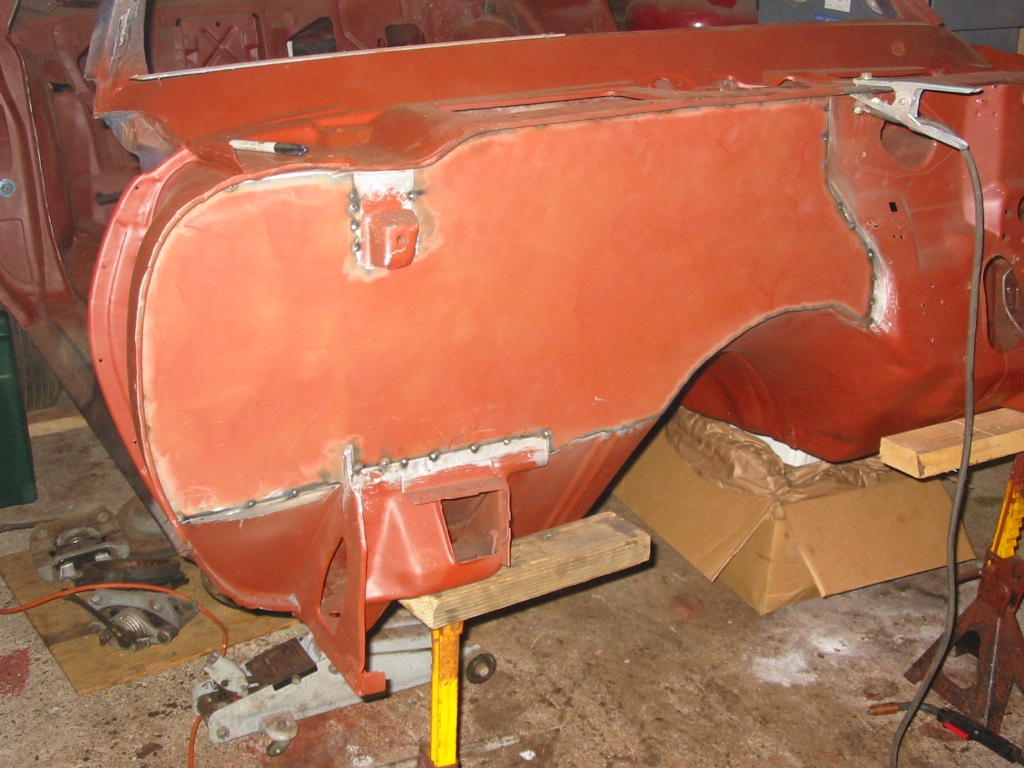
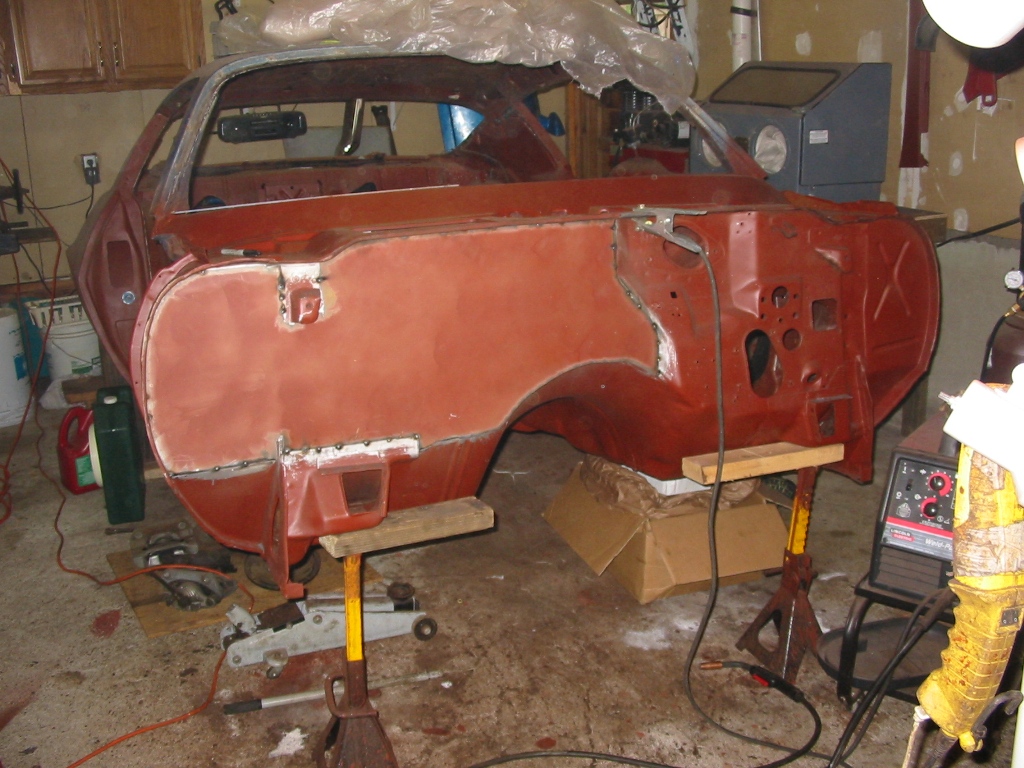
| Here is the firewall cover welded into place. | |
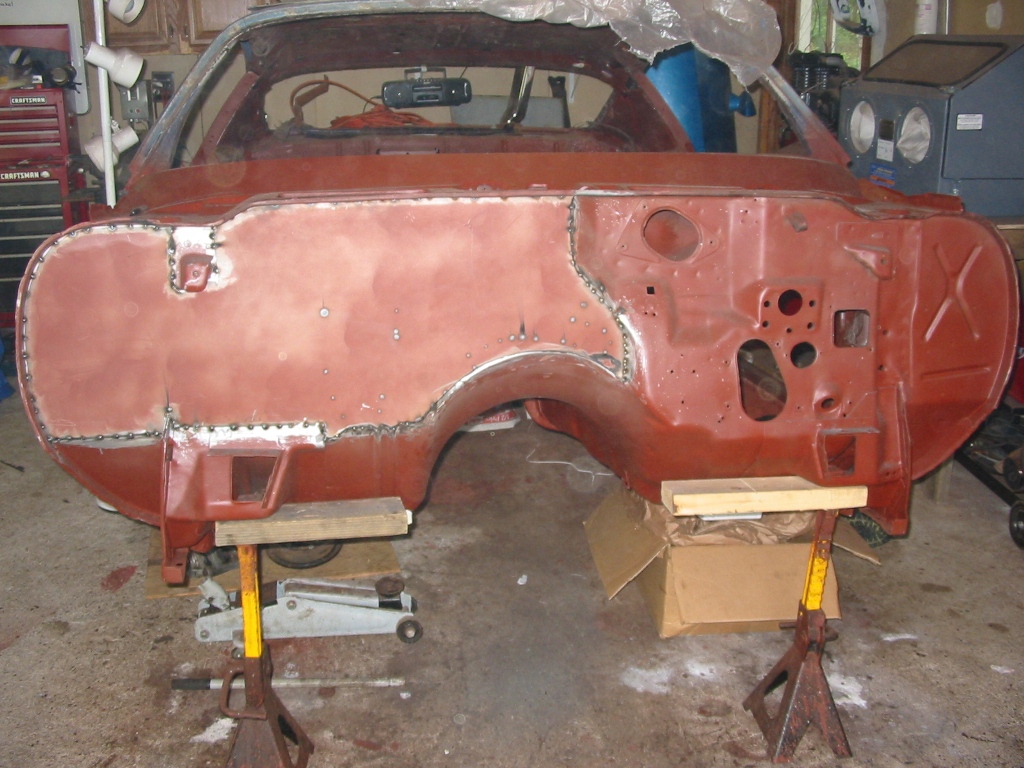
|
|
| Here is picture from inside of the car of the firewall cover welded into place. | |
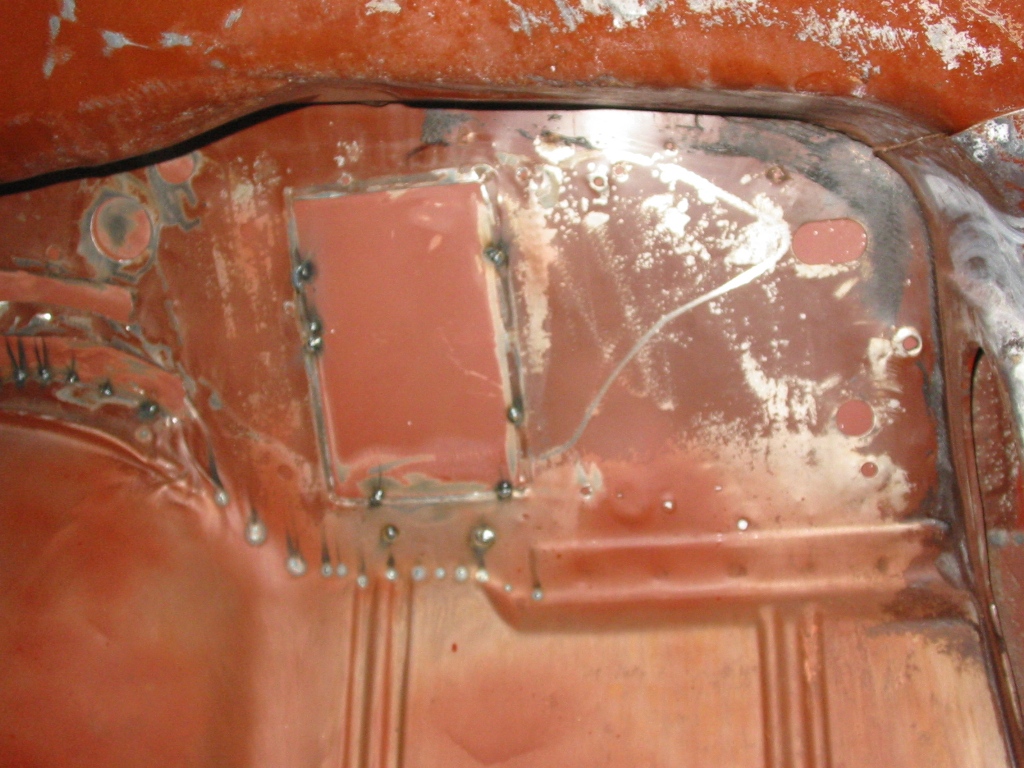
|
|
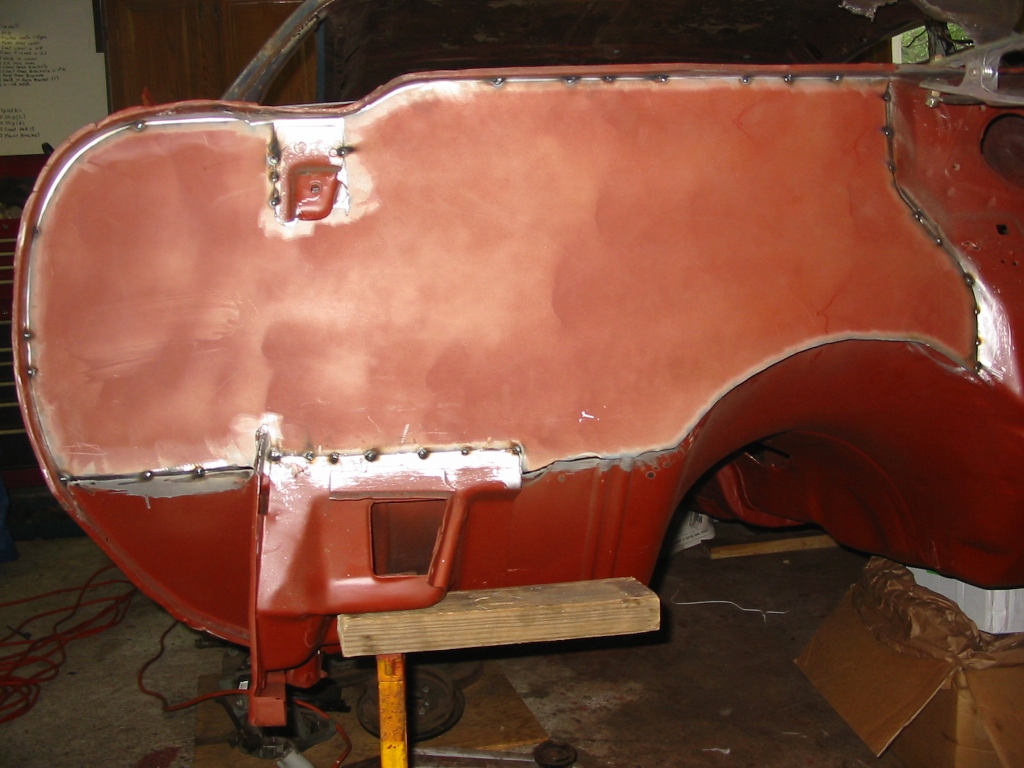
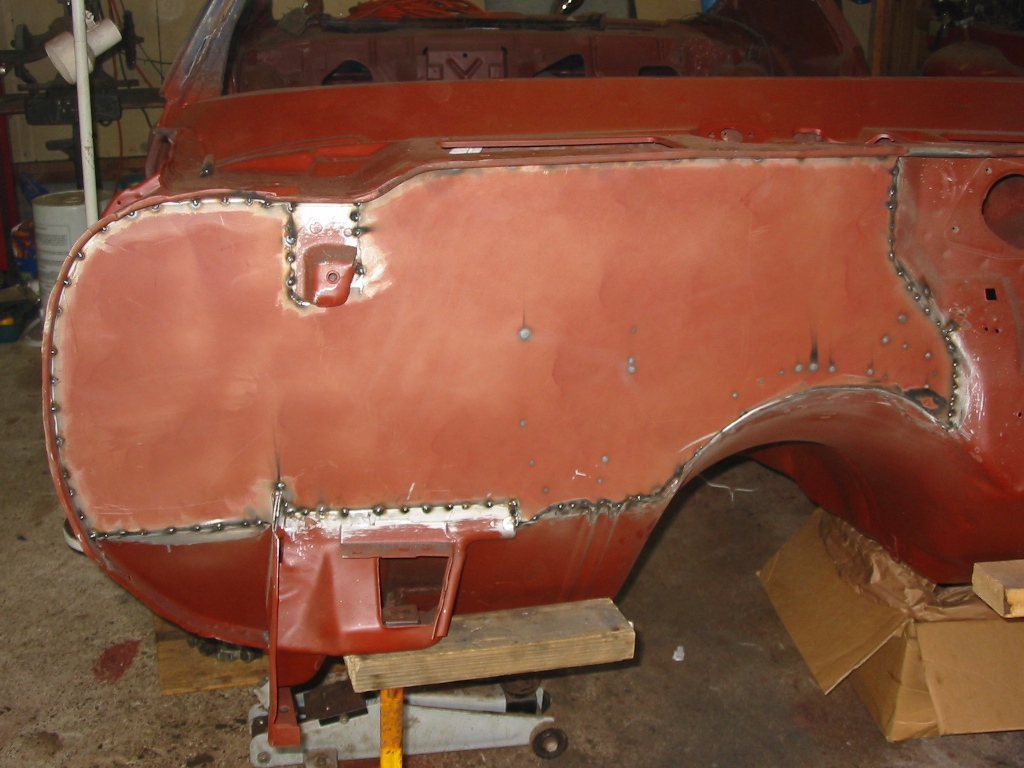
| Here is a picture of the firewall cover with the welds ground smooth. | |
|
|
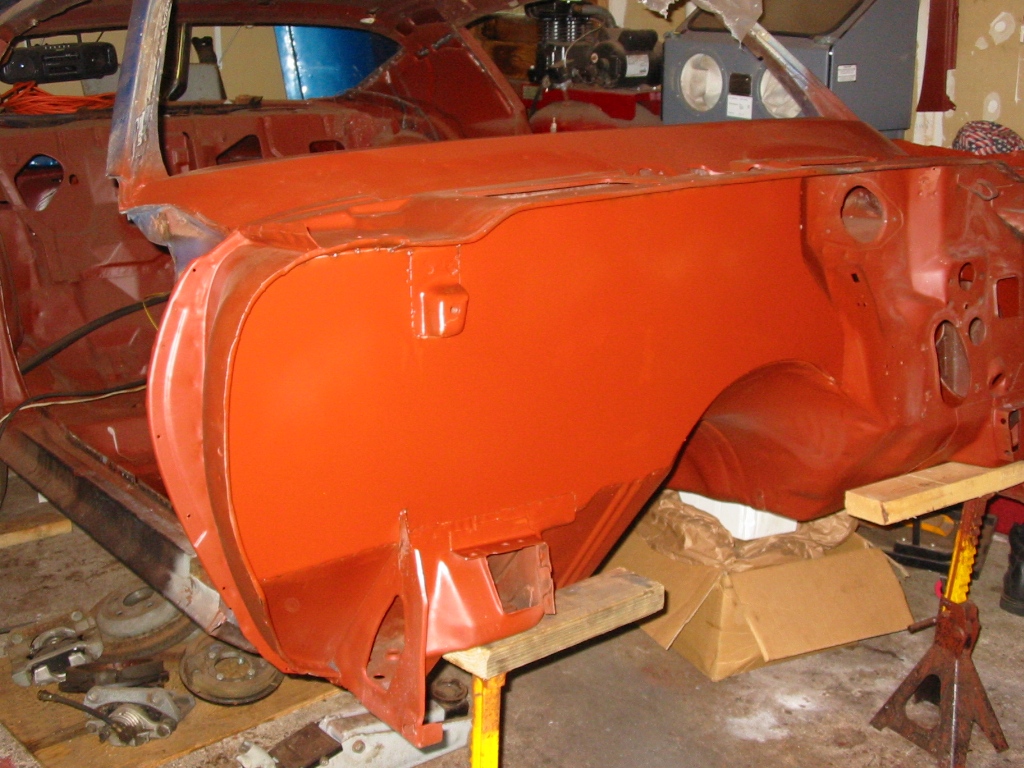
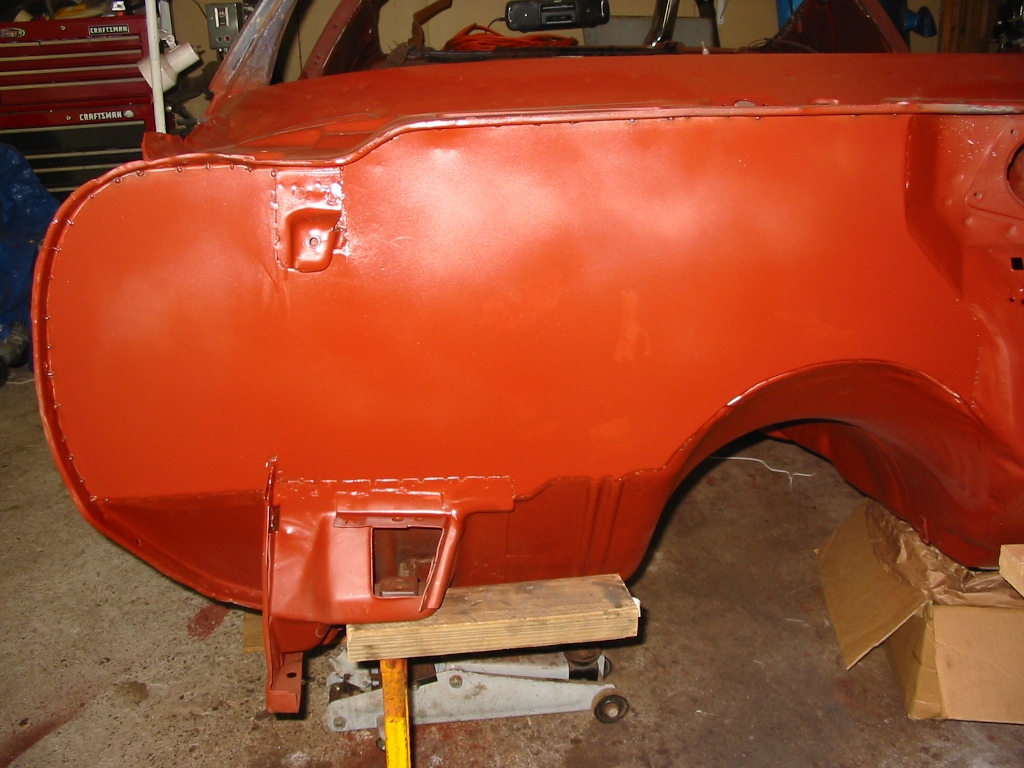
| Here are pictures of the firewall cover with a coating of ZeroRust. Eventually the patch panel seams will be smoothed over using filler and will look like it came from the factory like that. I still have to seal all the internal seams with seam sealer. | |
|
|
|
|
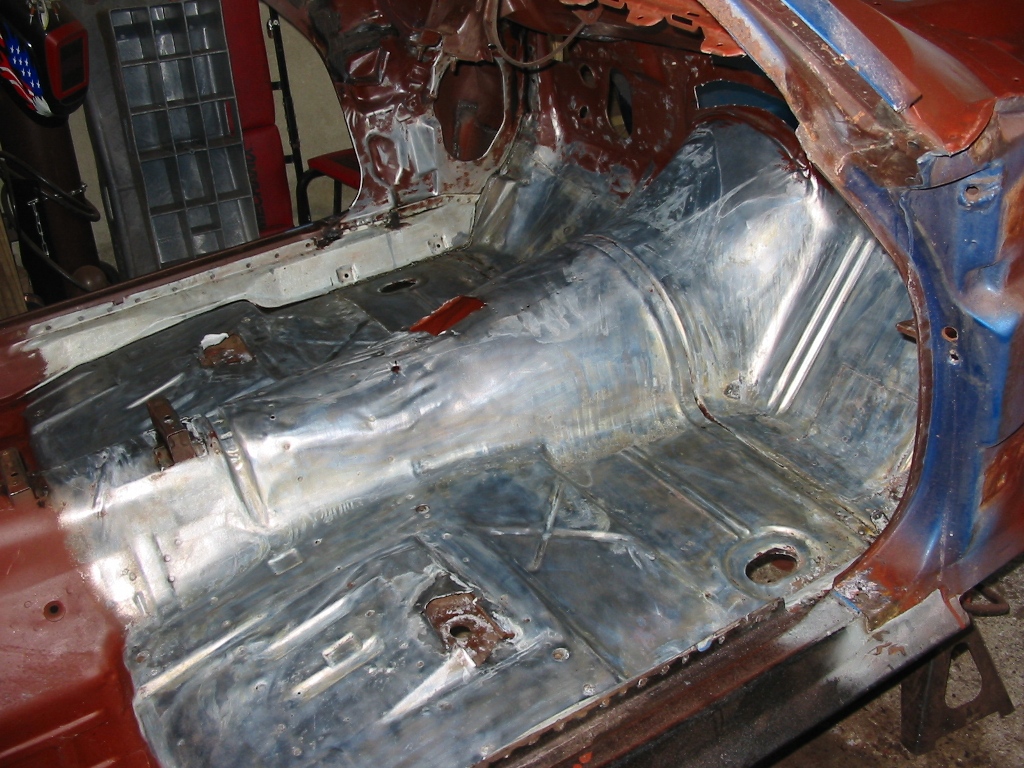
| Here are the front floors with a final second coat of ZeroRust. I still need to go around and touch up some hard to reach places that I missed with the paint. I will use a ZeroRust rattle can for those areas. | |
|
|
|
|